Commodore Amiga Retro
![]()
Please remember that text for pages was originally
written for my Amiga 1200 to read... so thin paragraphs
A4000D Replacement Motherboard
Finally that sad old battery damaged A4000can be brought back to life
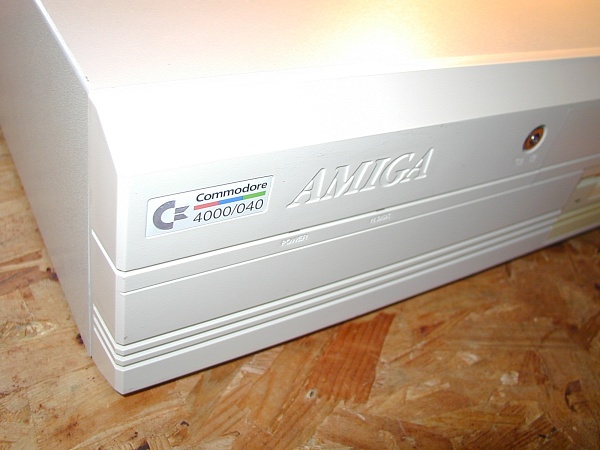

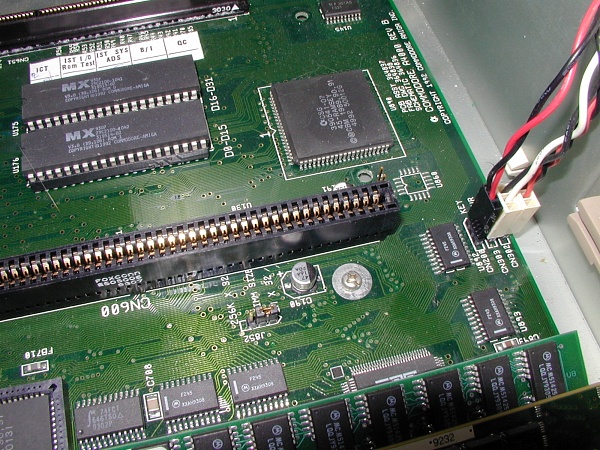
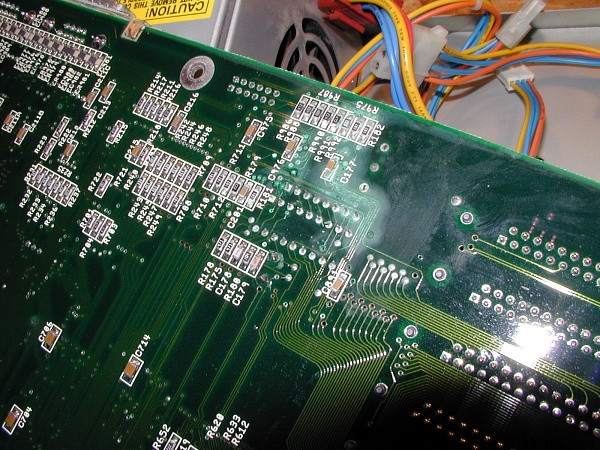
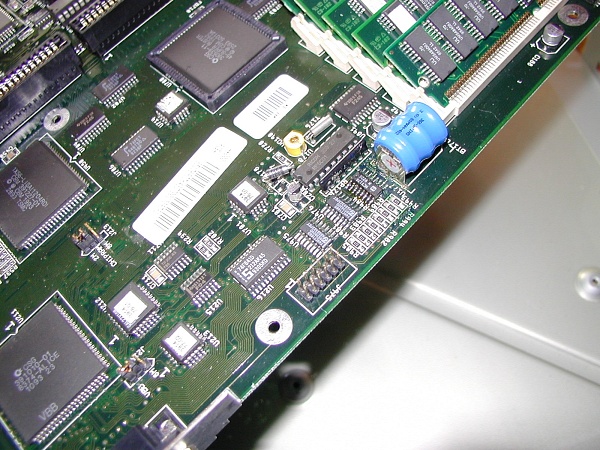
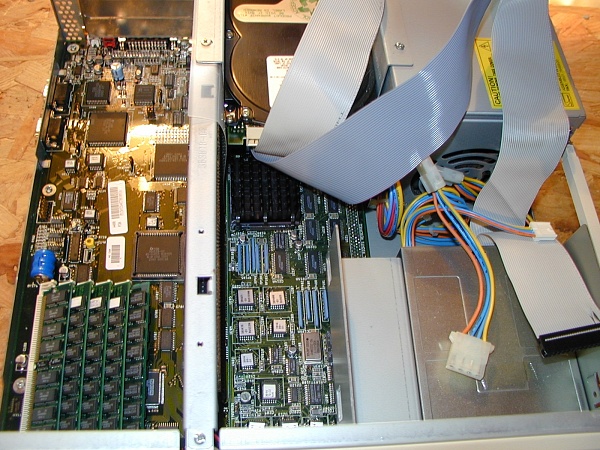
The subject for attention here is the A4000/040 with a
very badly damaged motherboard, caused by battery leakage
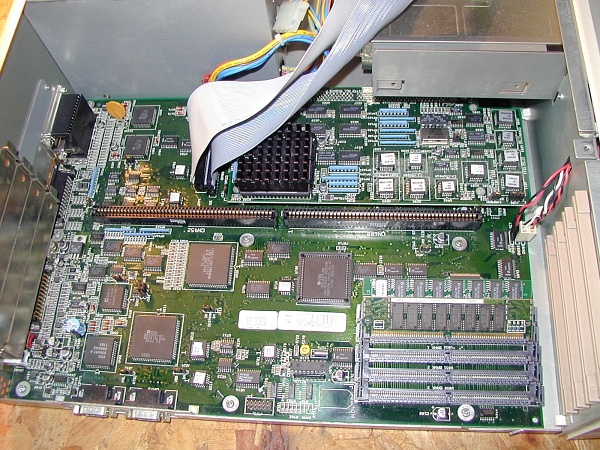
You can see the light green area to the motherboard at
the bottom of the picture. This has rendered this board
useless, and the only solution is to replace it
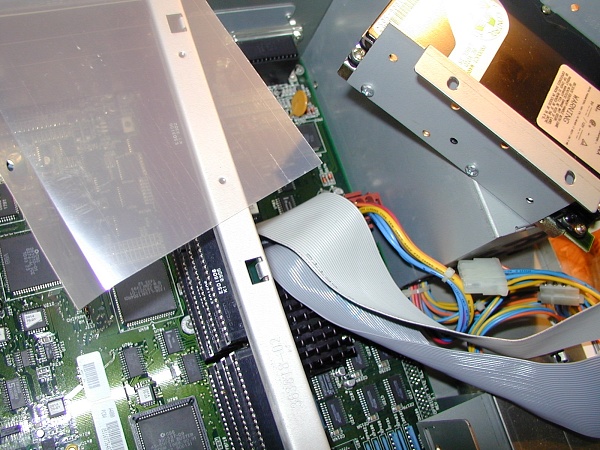
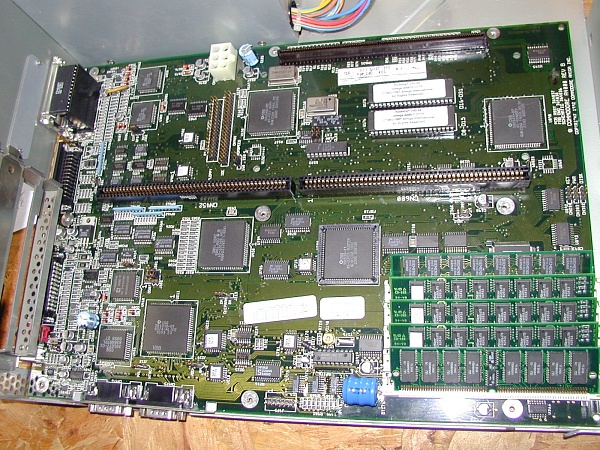
First thing to do is to unplug the hard drive and unscrew
the cradle. Place both cradle and plastic spacer in safe place
Then remove the two screws holding the daughter board
restraint in place, and then very carefully ease the
daughterboard from the motherboard. Again, store safely
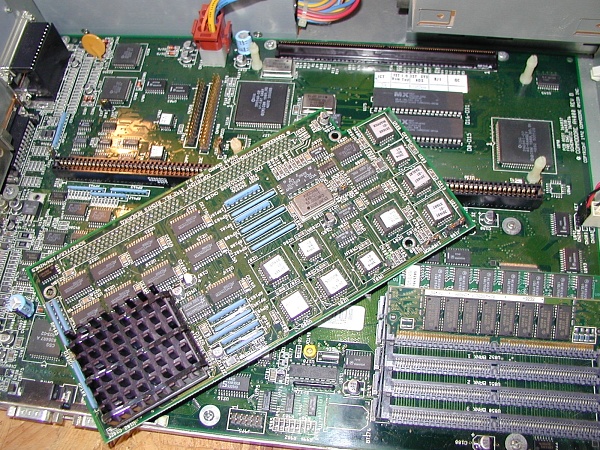
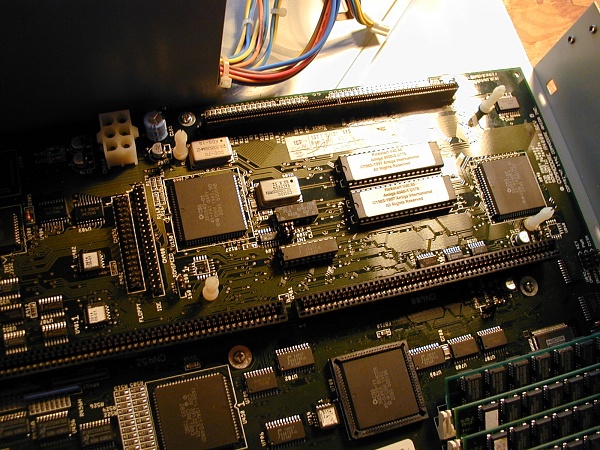
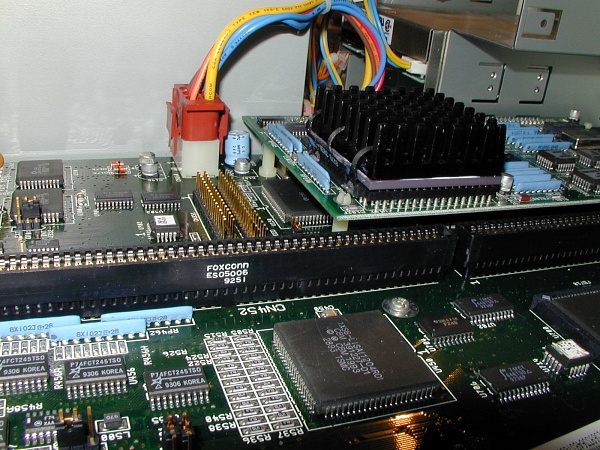
Probably a good idea at this stage to lift off the four
plastic white pegs, the processor board and again place
in safe storage. You will also need to remove the four
plastic pegs, if they are not present on the new
motherboard. Note the electrical connection arrangement
to the LED and lock that connect on the motherboard.
Removing the screws to the motherboard is hindered by one
screw which sits below the floppy drive and CD cradle
There is no option here but to remove the front fascia.
Simply clasp the plastic prongs that fit through into
the front casing and push through, having first removed
the LED and lock connectors to the motherboard. Thread these
wires through the convenient hole in the casing.
Make sure you rescue the long plastic on/off button rod
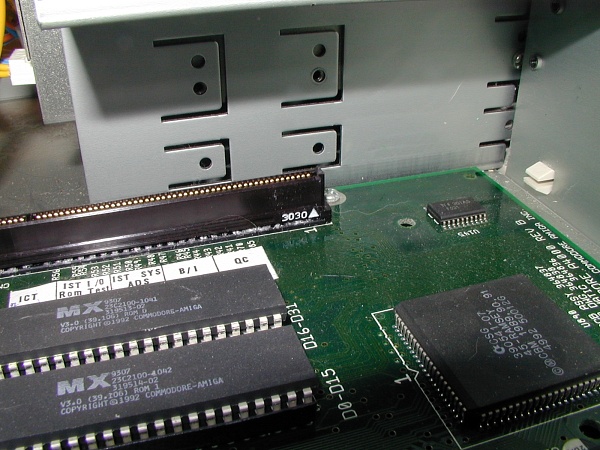
One of the port connectors to the rear of the unit has
to be unscrewed and then with all nine motherboard screws
removed you can ease out the motherboard. Turning the
board over reveals the full extent of battery damage
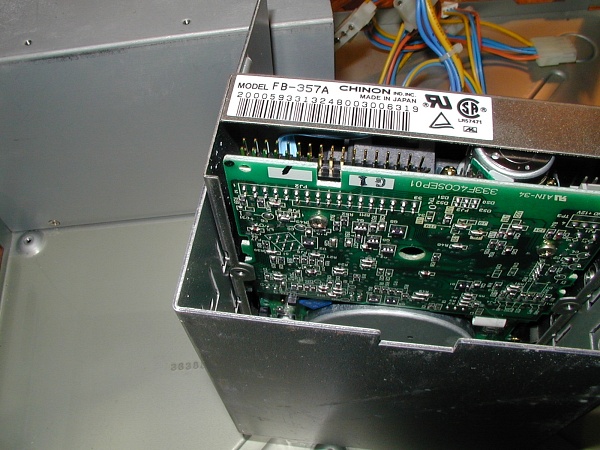
Always worth checking the pin number configuration
to the floppy drive to ensure that the red edge to
the ribbon corresponds to Pin 1.
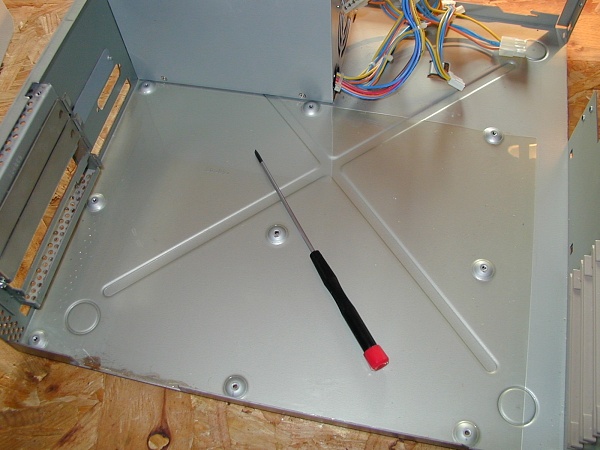
And so you should now have a clean cabinet ready to
take the new motherboard. Worth a quick clean.
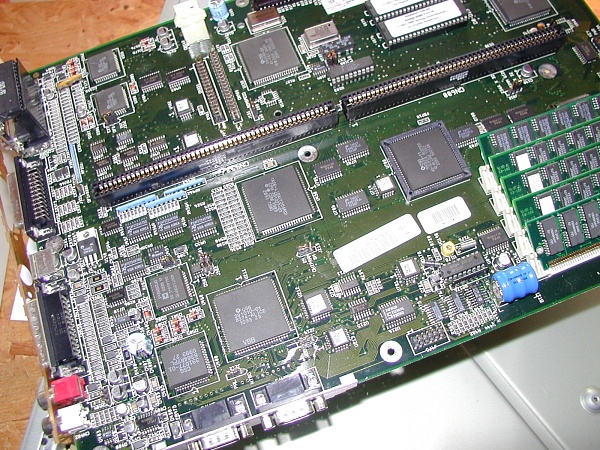
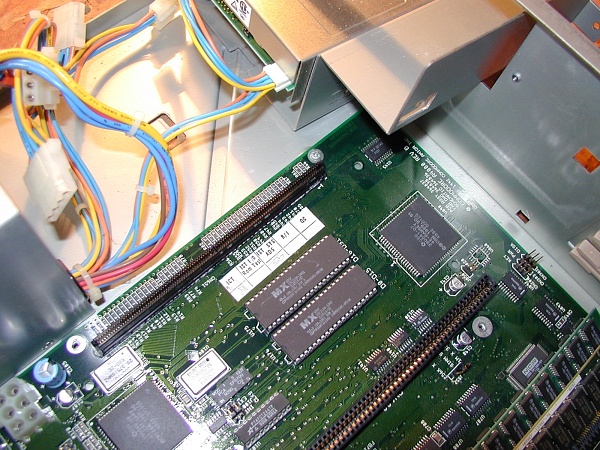
Time for the new motherboard, and the joy at seeing the
the area to the board without battery damage
Simply screw the motherboard back into the case and
reverse the removal process. It may be sensible to
insert the processor board before putting the floppy
cradle in, to ensure that those legs are installed correctly
You can also be comfortable that the edge connector is fully
seated properly
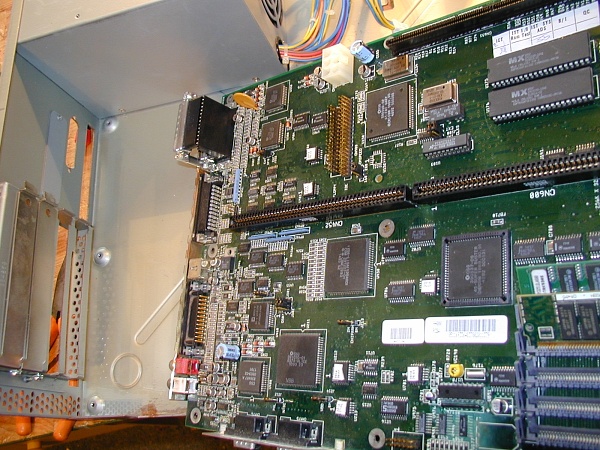
Make connections to the motherboard including the power
connector and ribbons. Remember that PIN 1 corresponds
with the red edge of ribbons. Be careful not to bend
pins over, or miss any.
Having made all those final connections it is time
to power up.. and guess what...........
She worked fine Great stuff. Another Amiga
back on her feet.
If you can only see this CONTENT window
then click the image above for the full site
Last updated 07/10/06