Click for a festive message
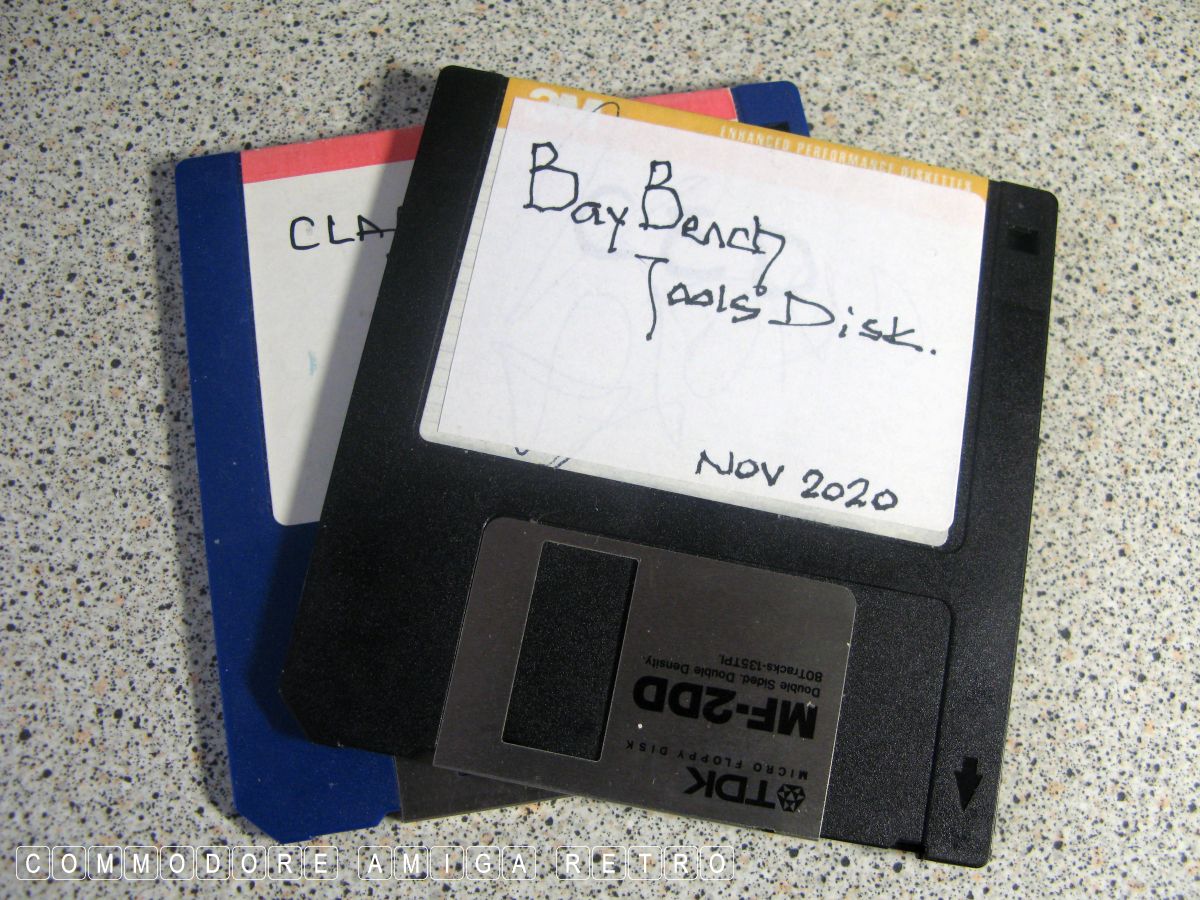
Baybench 1.3 - Make your own WB.
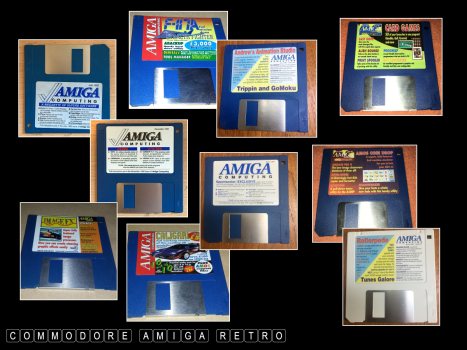
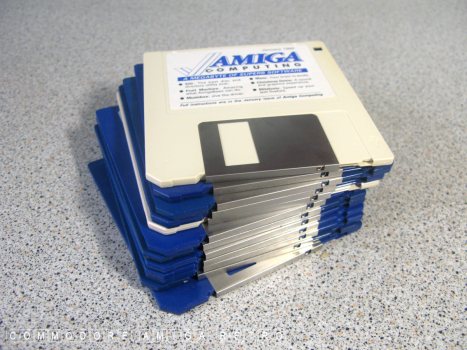
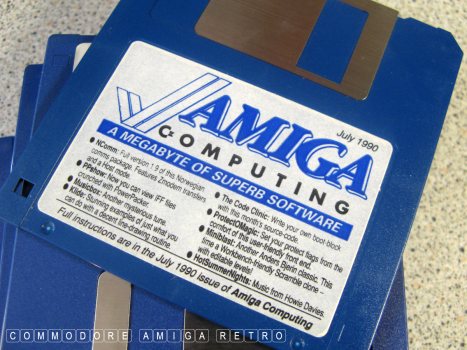
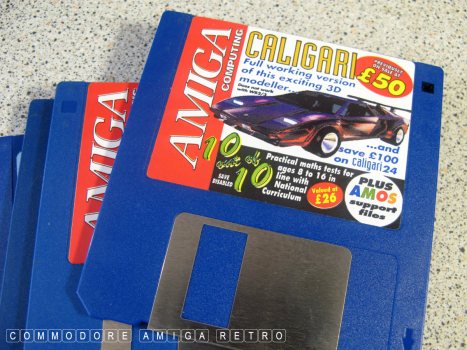
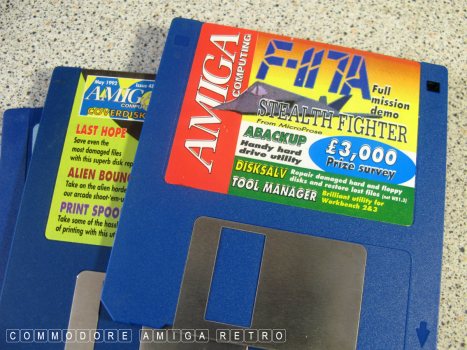
All ten of these disks were available off
Ebay when I made this blog. The trick is
to get disks from the period of the A500.
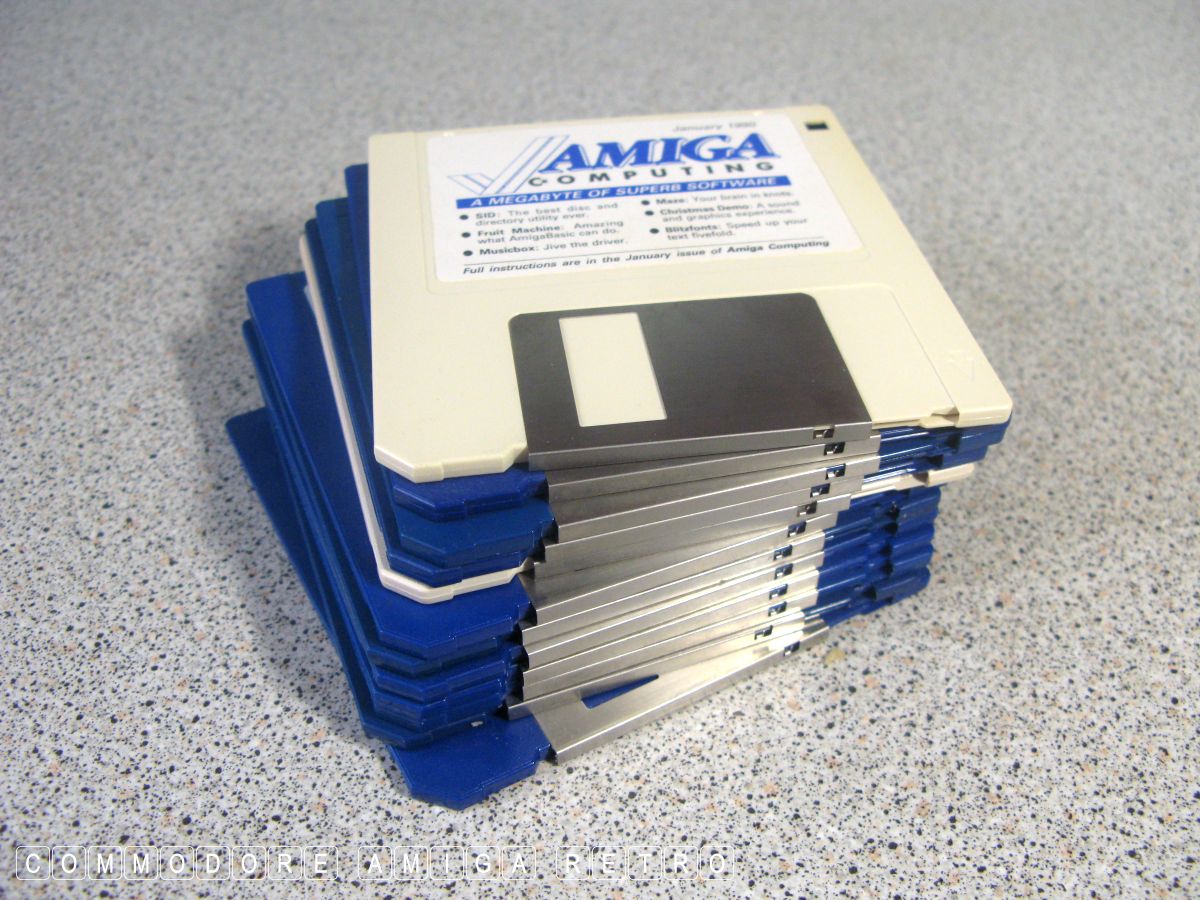
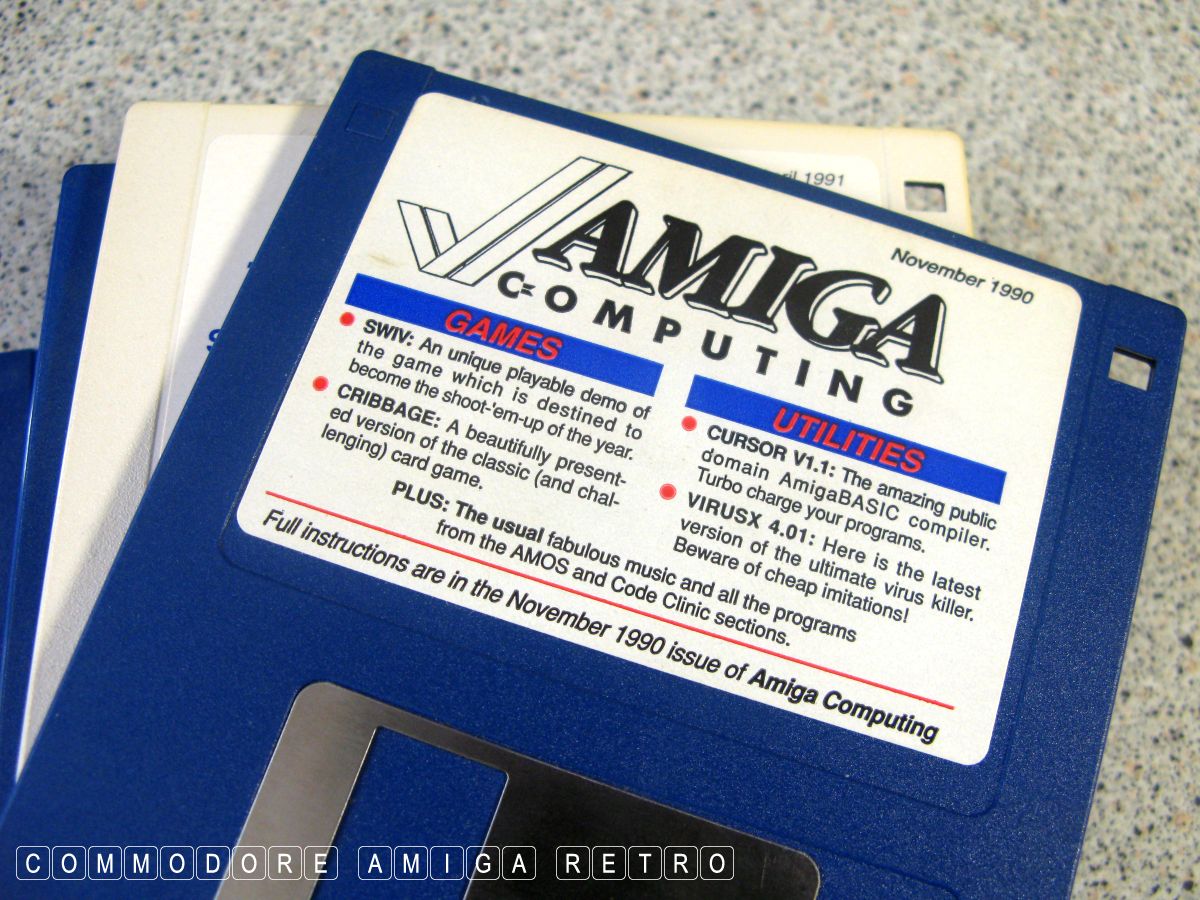
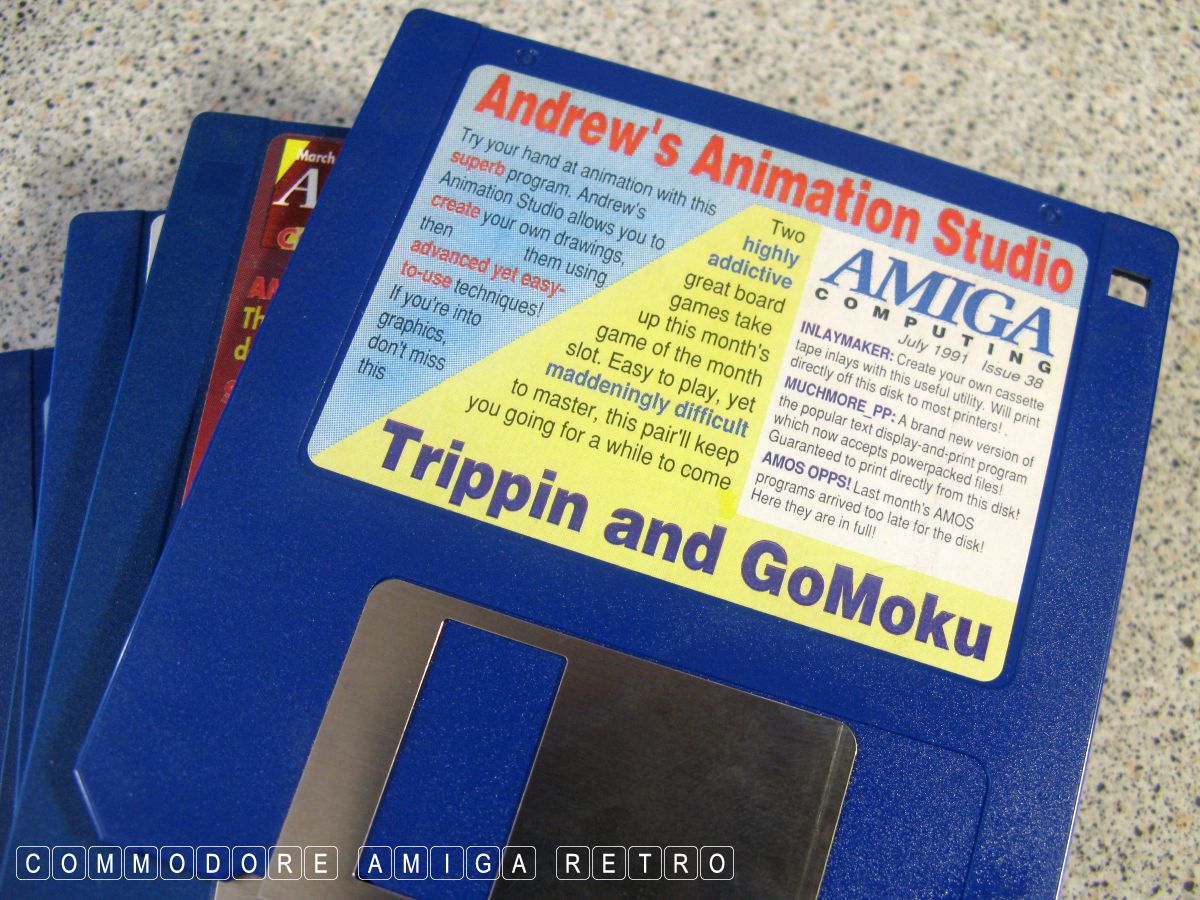
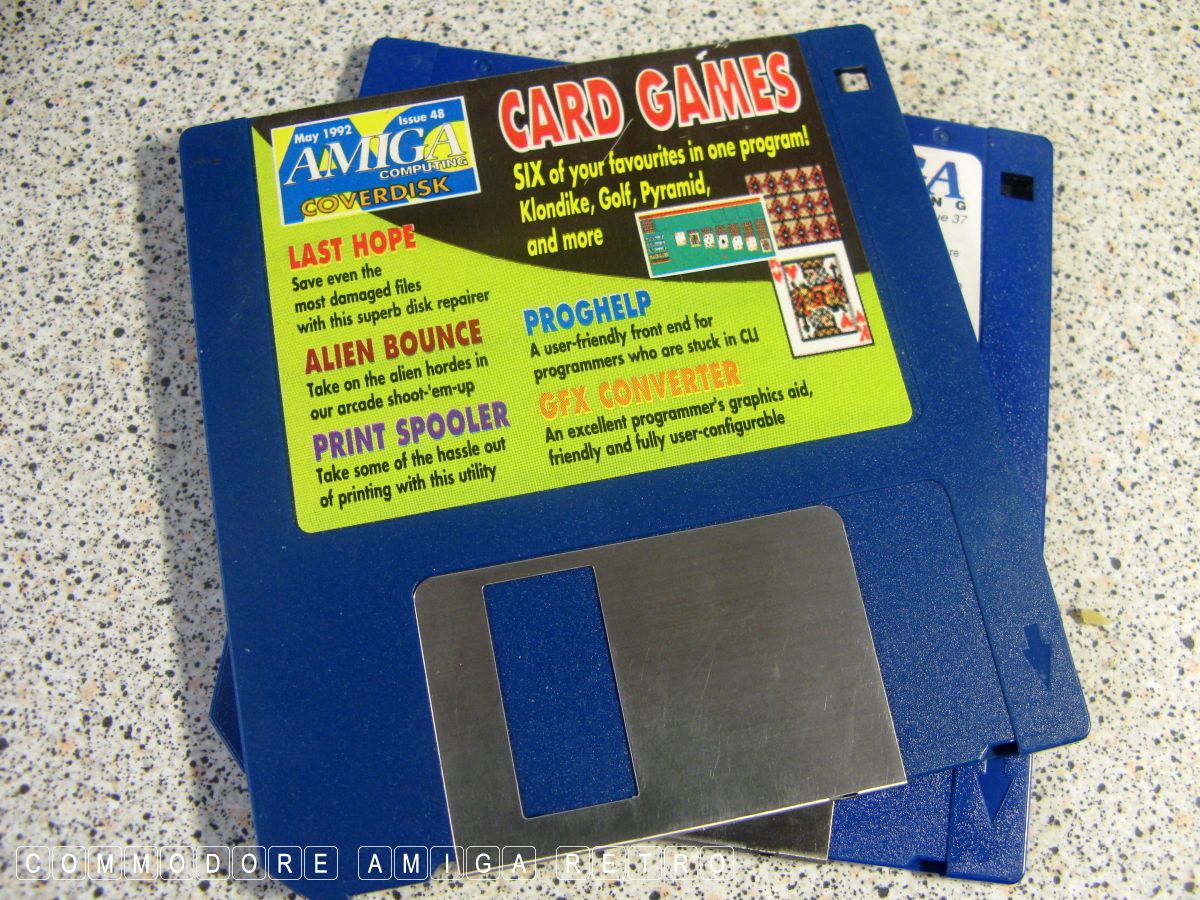
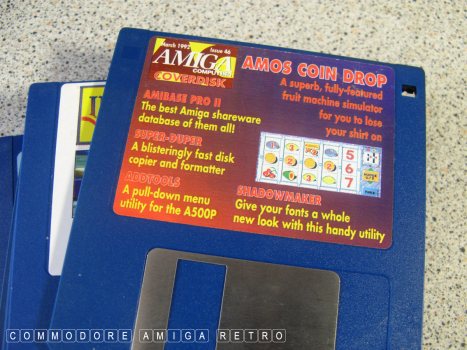
Amiga Computing has a healthy batch of
tools and files suitable for a 1.3 WB.
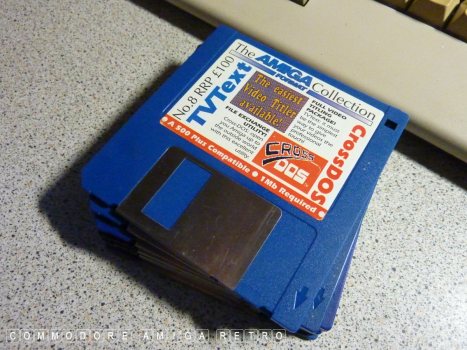
Other disks to keep an eye out for are
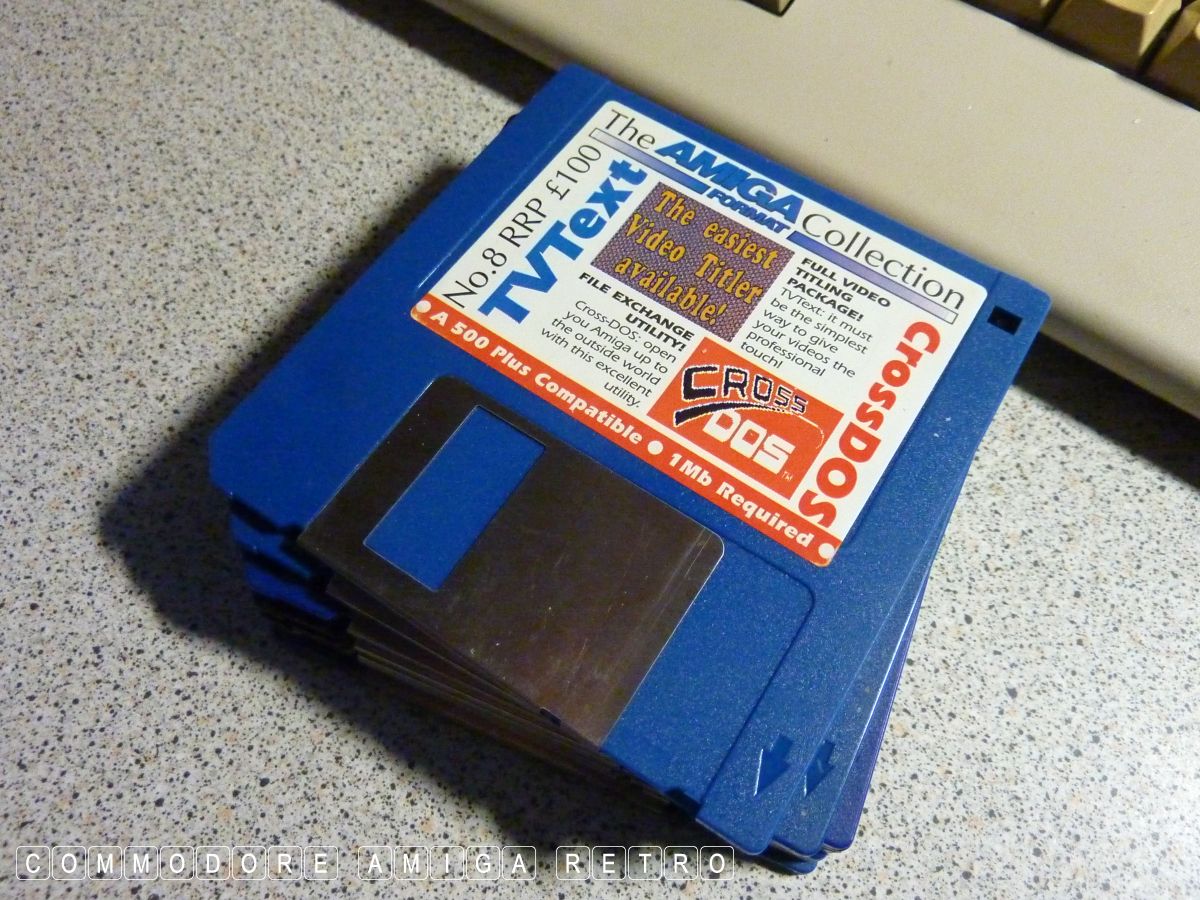
The Amiga Collection No.8 which has an
early version of CrossDOS.
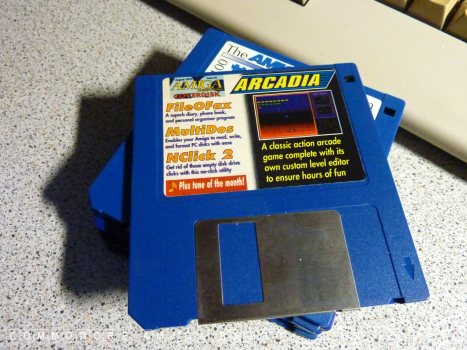
Arcadia from Amiga Computing with MultiDOS.

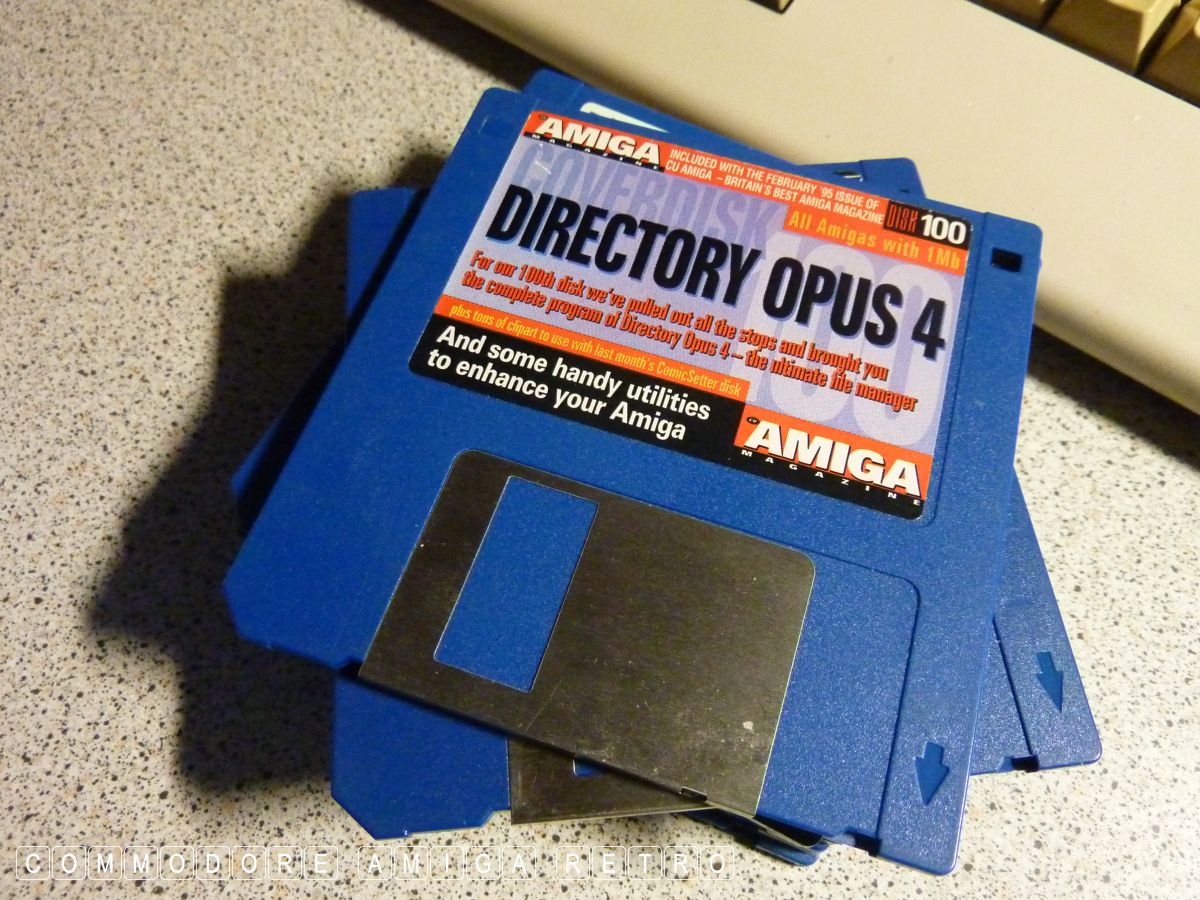
And the very wonderful CU Amiga DOpus 4.
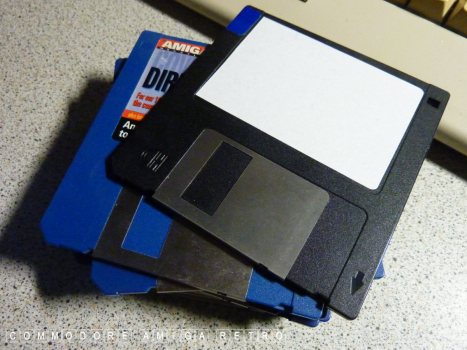
You may also want to dig out a PC HD disk
which we will use tomorrow.
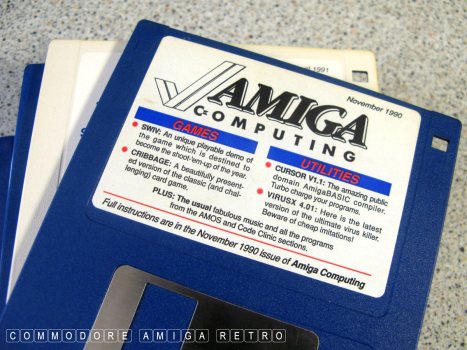
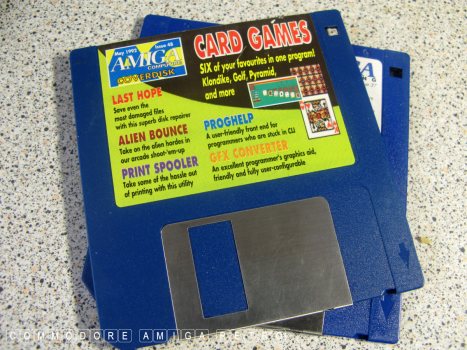
OK these are the same disks as those shown
in the first image plus your blank disks.

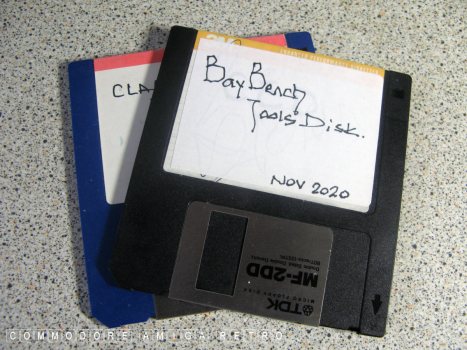
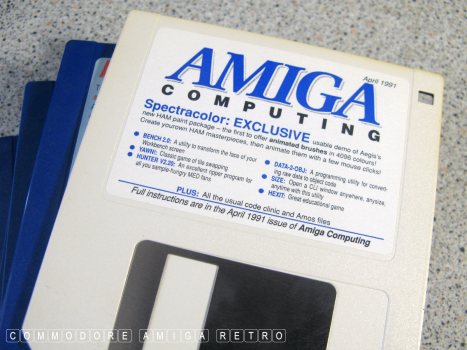
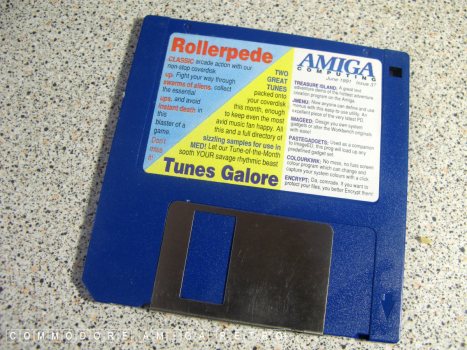
One disk that was not available on Ebay
was this Amiga Computing disk with SID
on it. SID is a file manager and a makes
my explaining here a little easier. Later
I explain how to carry out the same functions
but with the SHELL or CLI [ Command Line Interface].
You will need three disks. Two disk can
be used but you would need to remove all
your hard work to use it.
Format these in advance if you can. Don't
worry if you can't, you soon will be able
to do so.
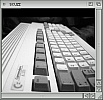
These are the featured disks we will use.
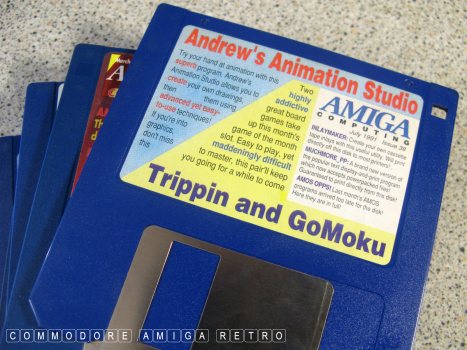


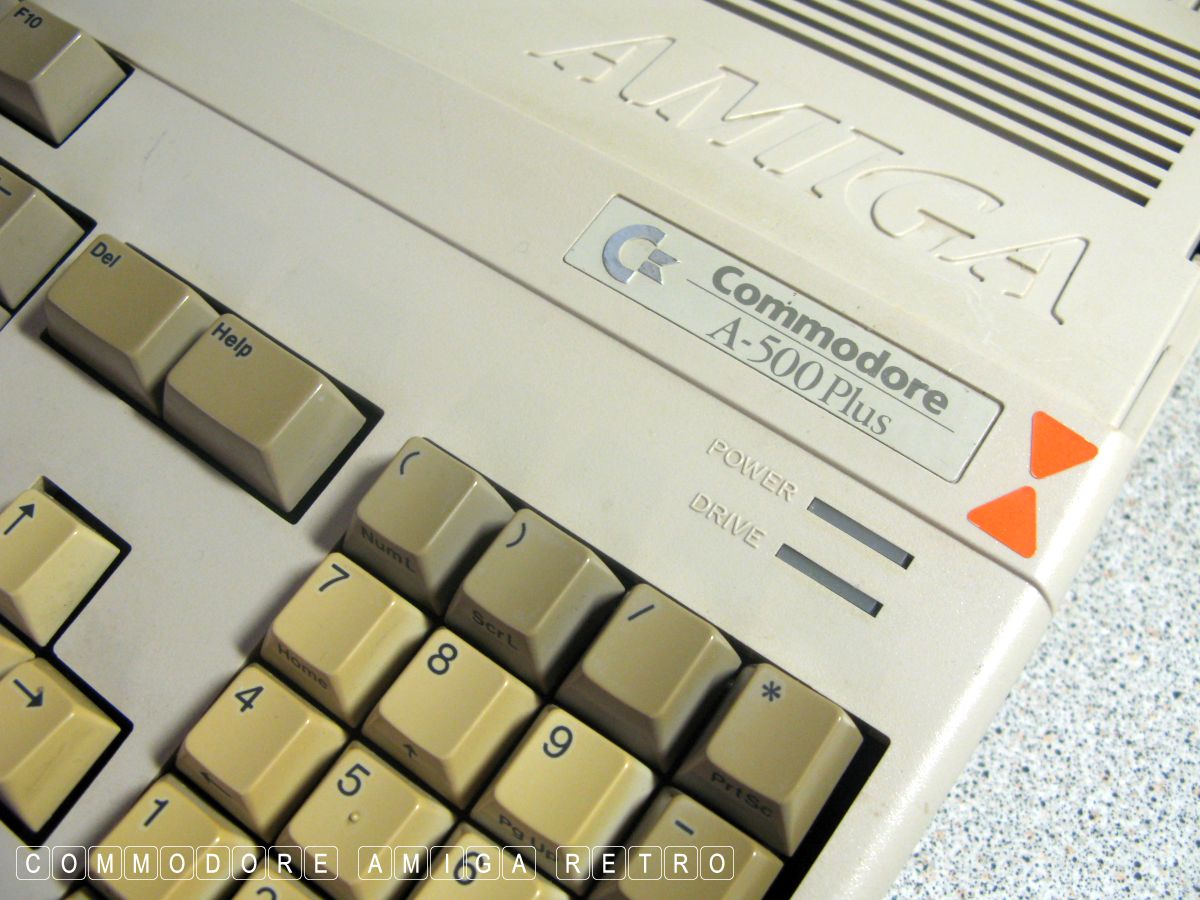
I will be using the A-500 Plus for this exercise.
With the ROM switched to 1.3.
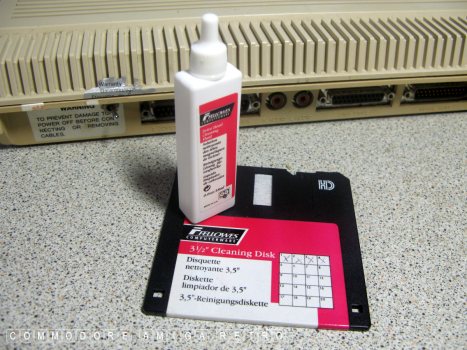
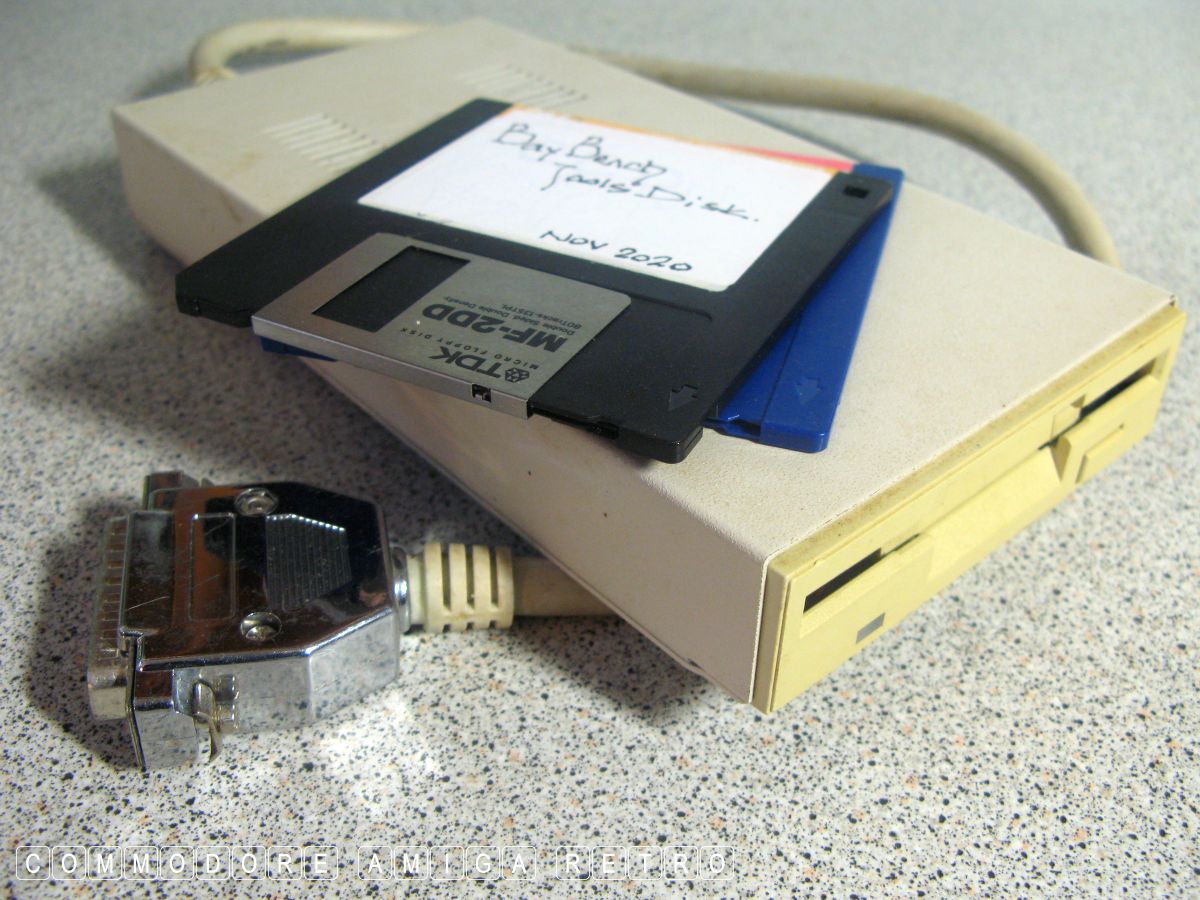
A disk cleaner is very useful as it saves
you having to take your drive apart to
clean when you come across a dodgy disk.
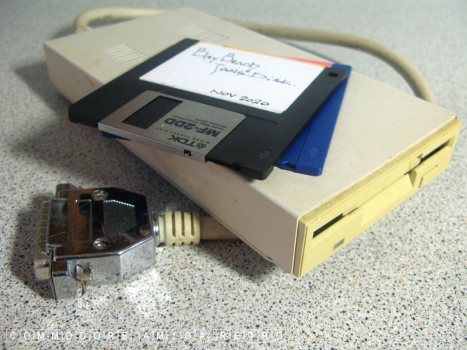
An external drive makes life easier but is
not essential. Later I will show how to do
the file management without one.
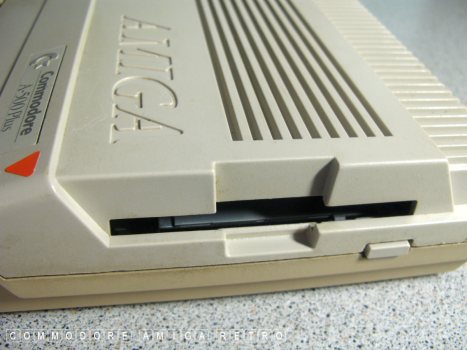
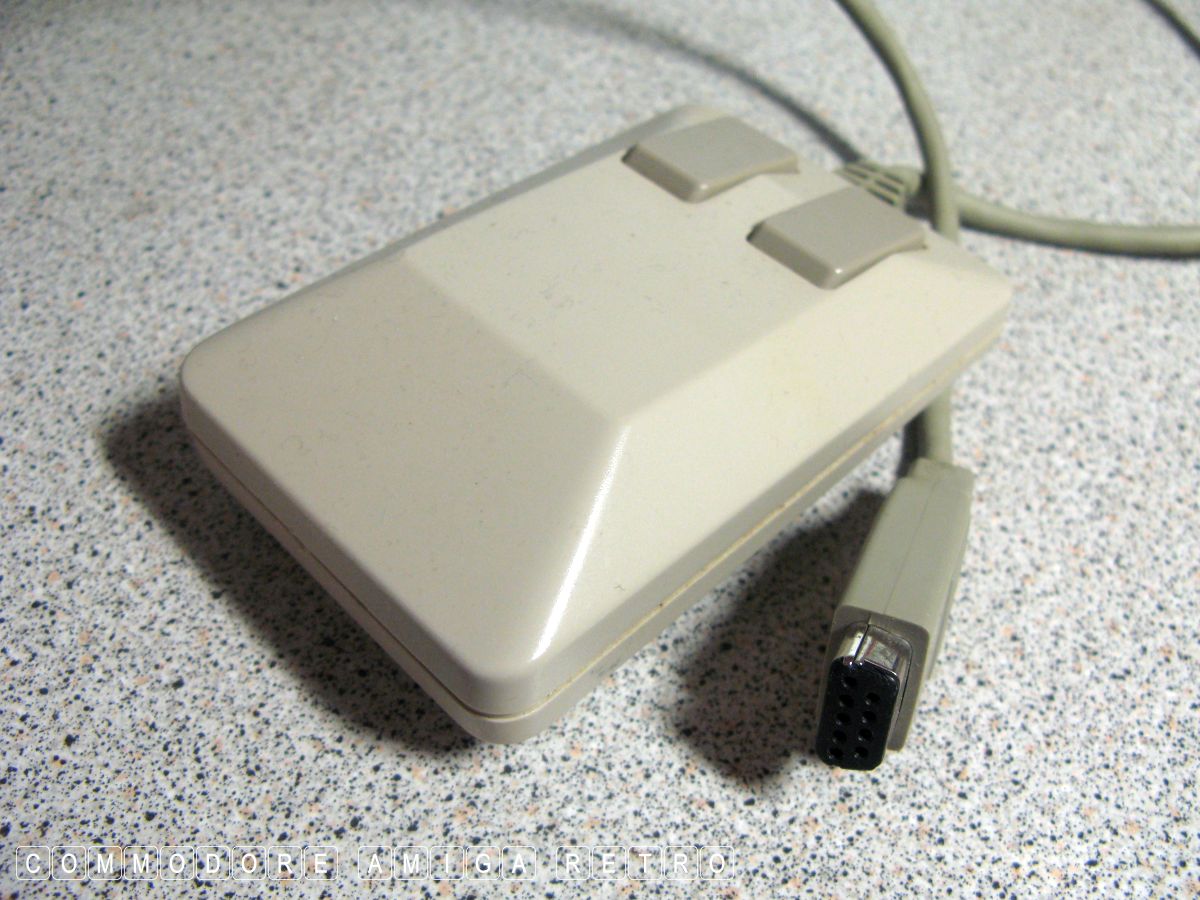
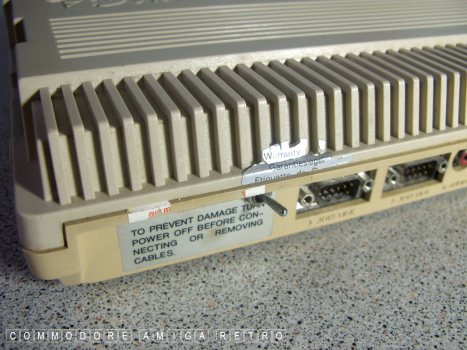
Always keep your computer port covered
when not in use. Dust is the enemy here.
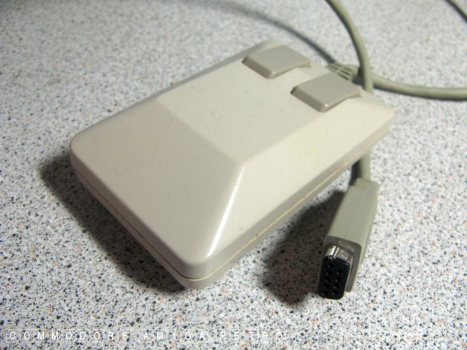
I am using the classic Amiga mouse.
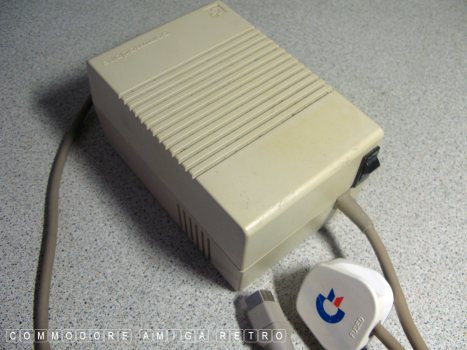
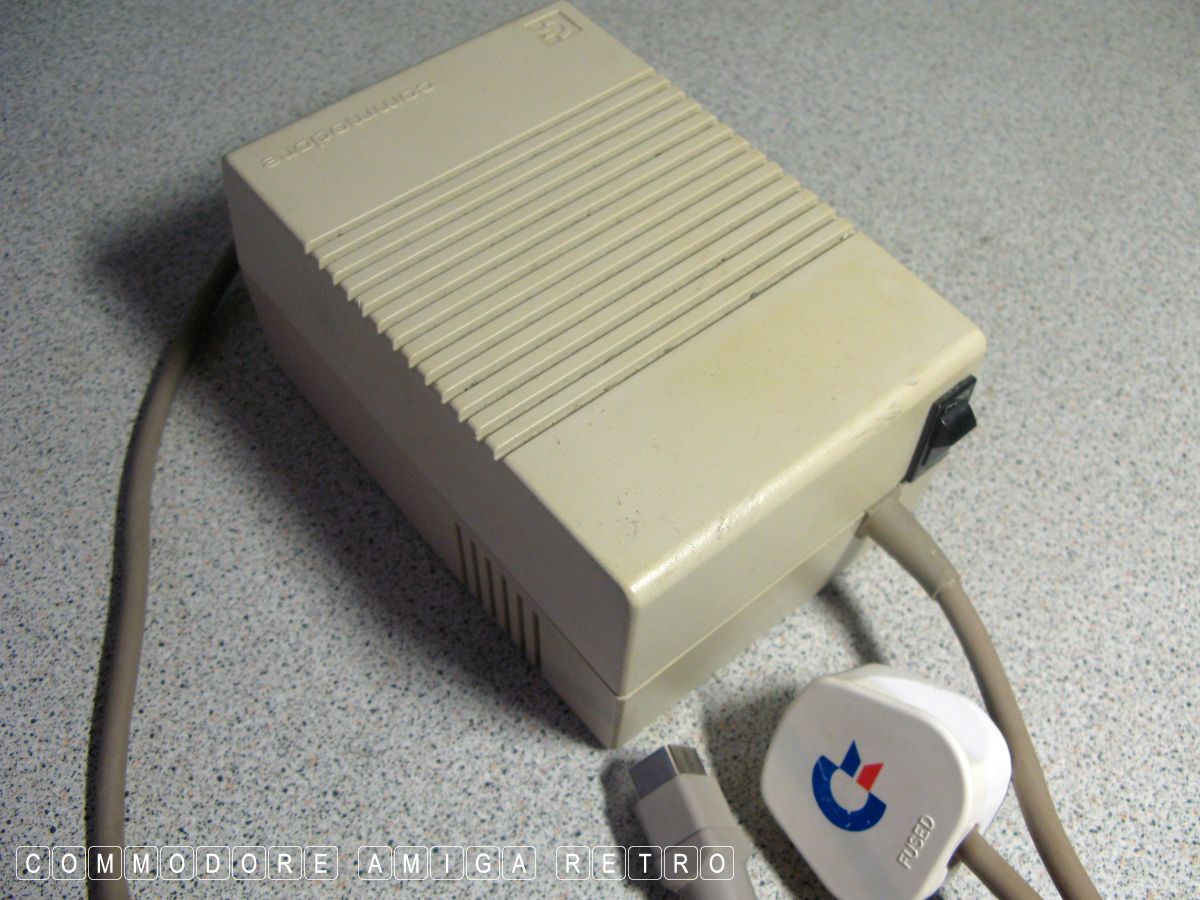
The power is provided by an A500 PSU.

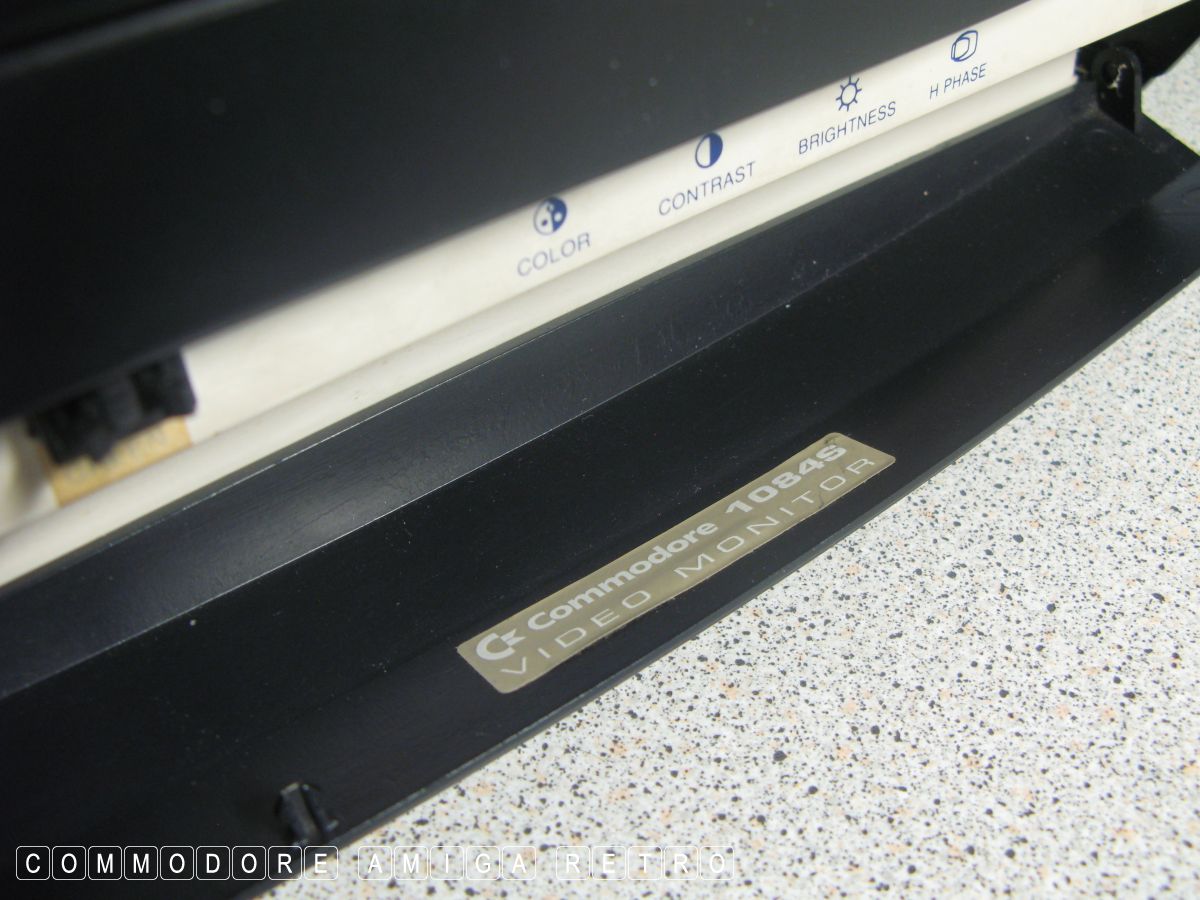
I am using the 1084S black for the CDTV
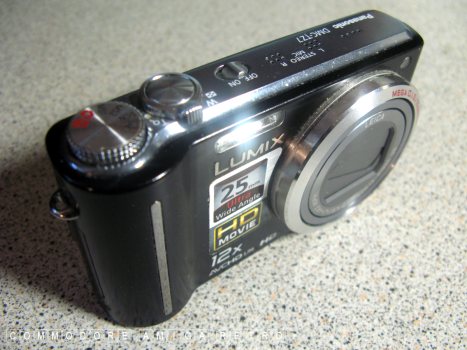
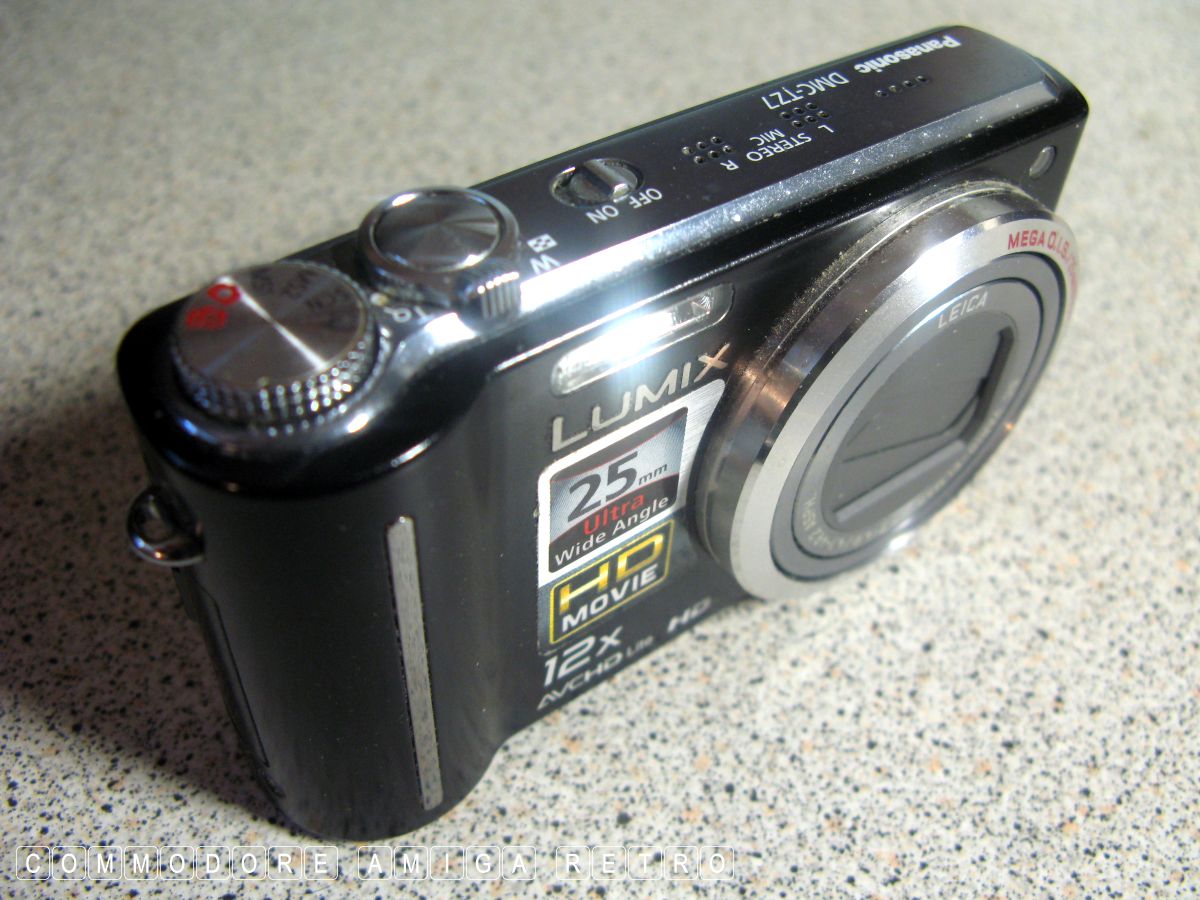
I use a LUMIX for images of the screen
as it has a filter for kinda removing
the scan lines.
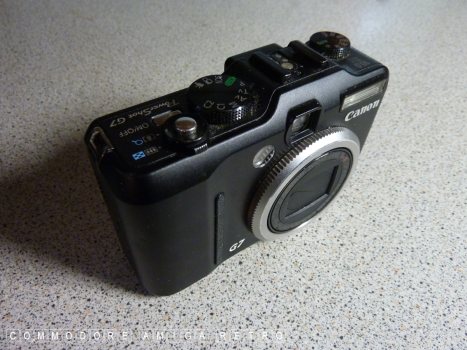
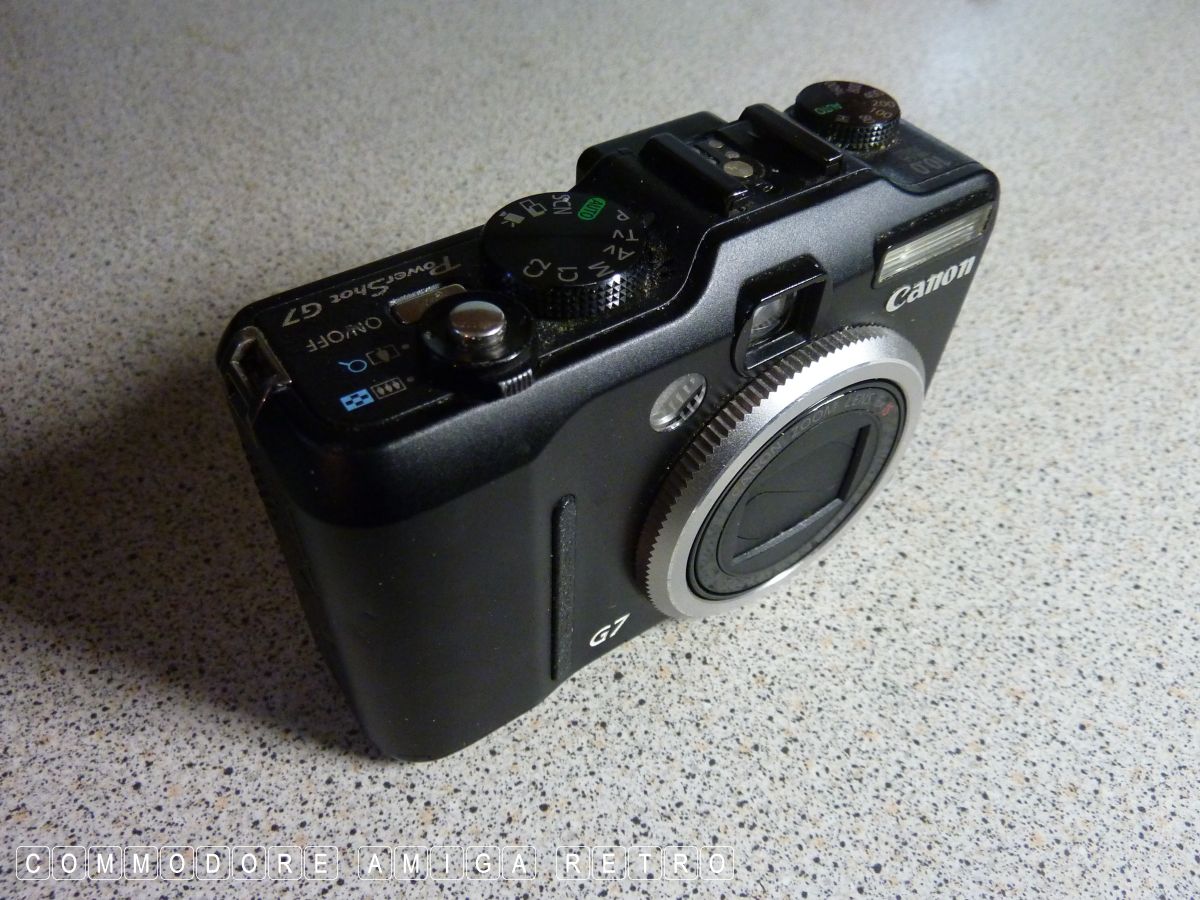
The Canon G7 is my general purpose camera.
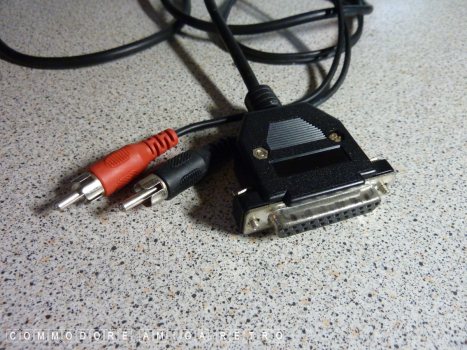
RGB plus sound connectors to the A-500 Plus.
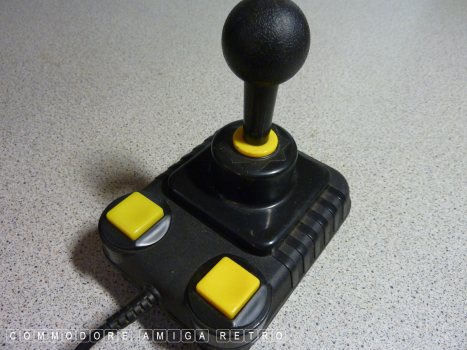
A stick just in case I need joystick commands.

OK. We are ready to rock and roll.
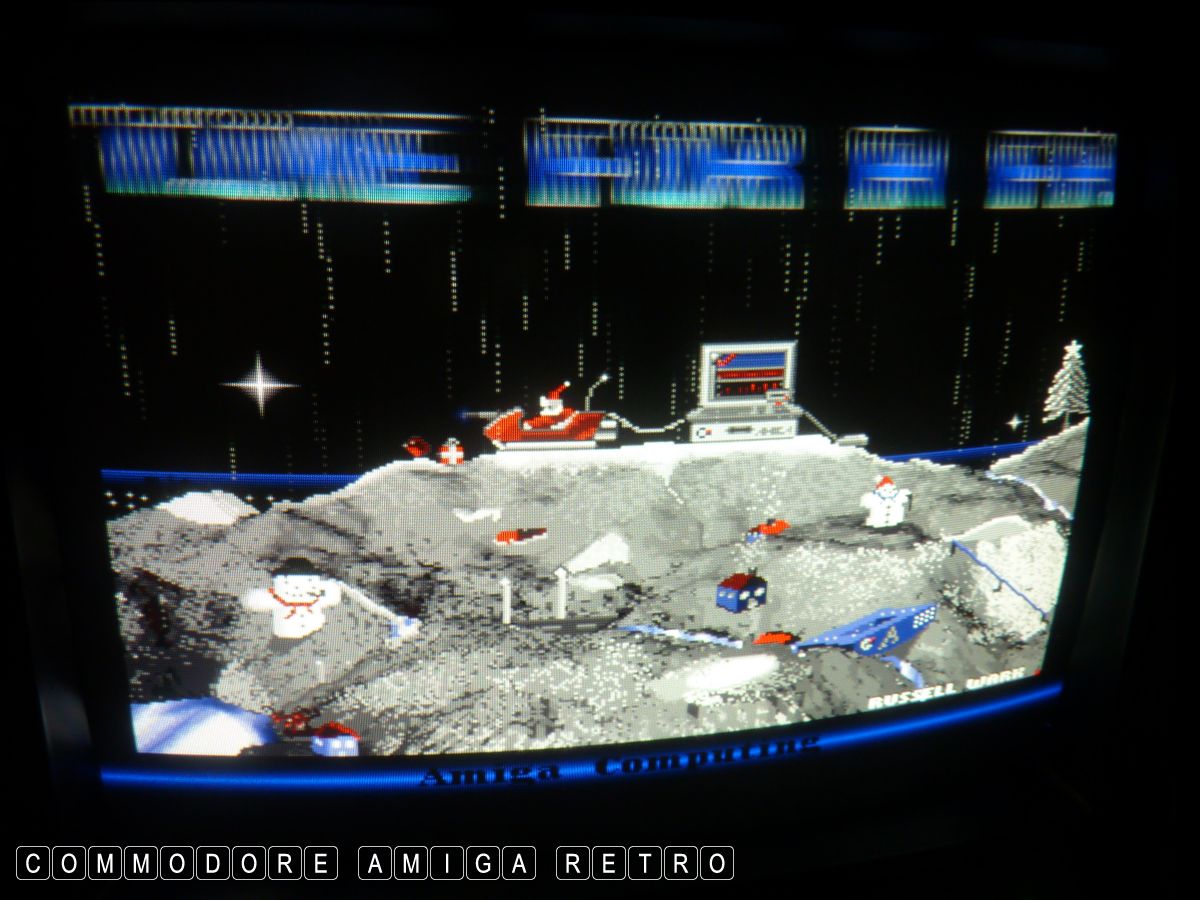
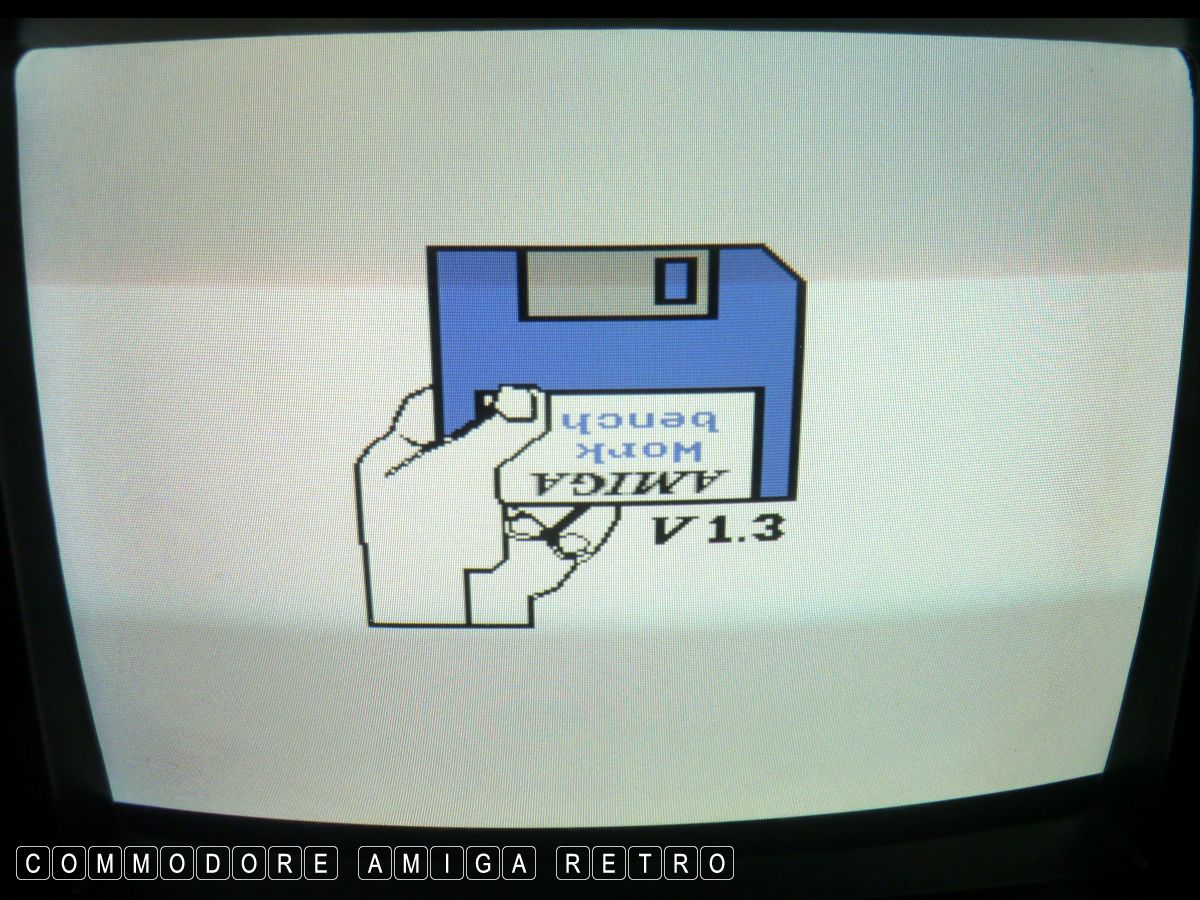
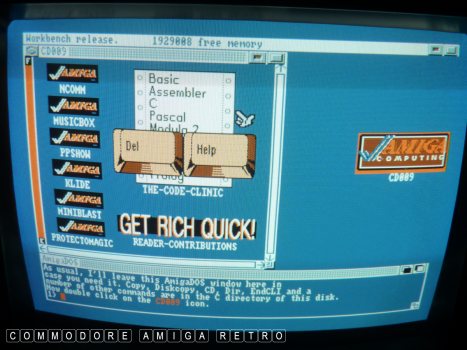
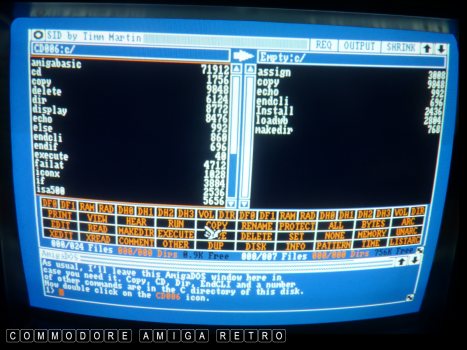
The SID disk has a Christmas theme and plays
a little bit of Christmas music as the intro.
Just insert an Amiga Computing disk and boot up.
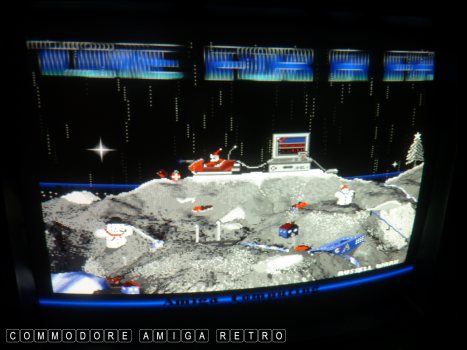
That's one high tech Santa there.
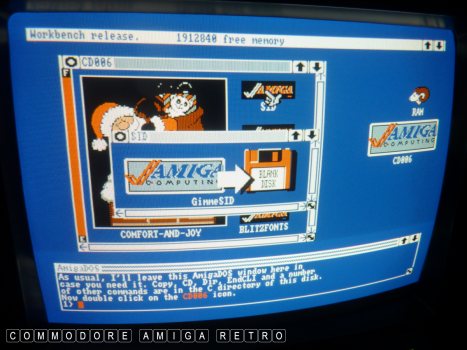
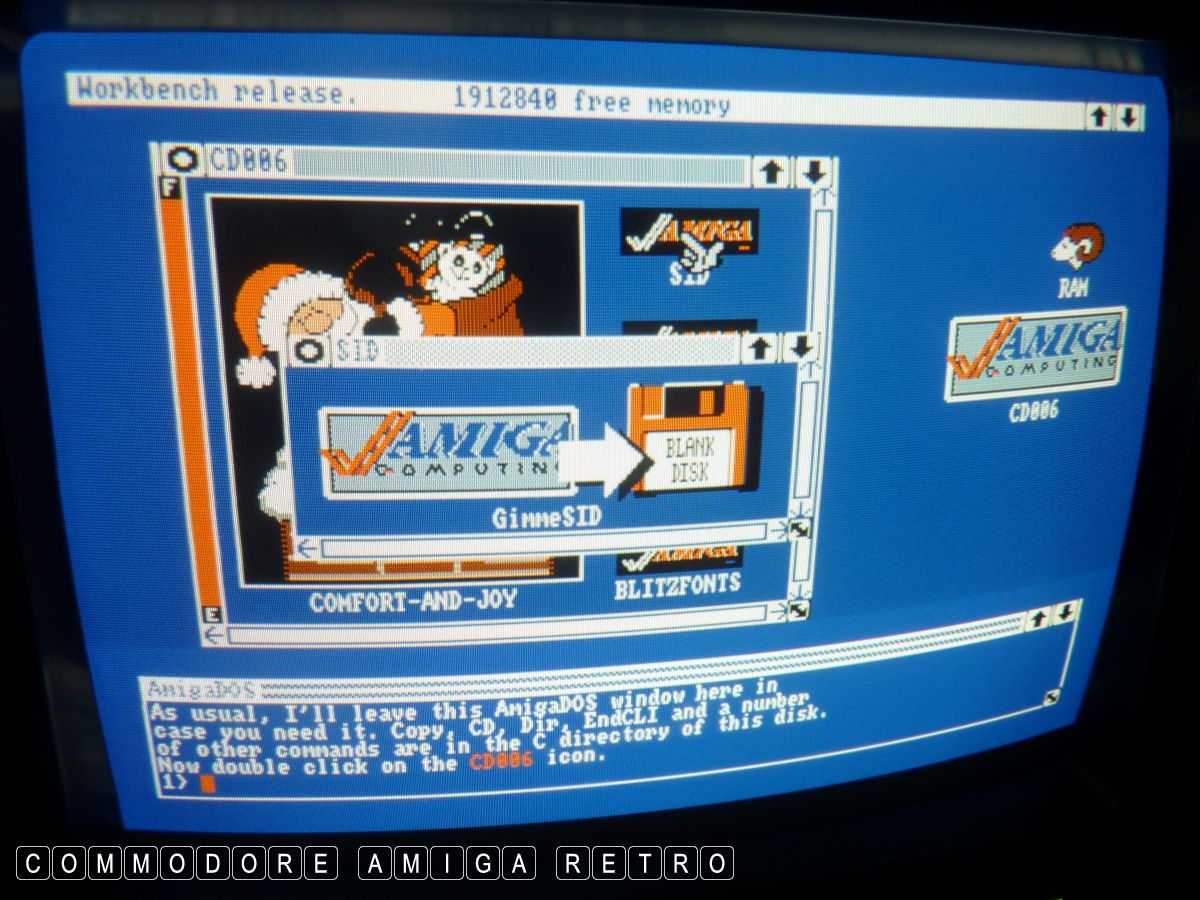
OK I am cheating a bit as I am going to
use a SID disk from CD006 Amiga Computing
to create a File Manager. Simply so I can
better show what I am doing.
The SID disk is created and once booted
lets me remove the disk and use the drive
to have my empty disk to copy to.
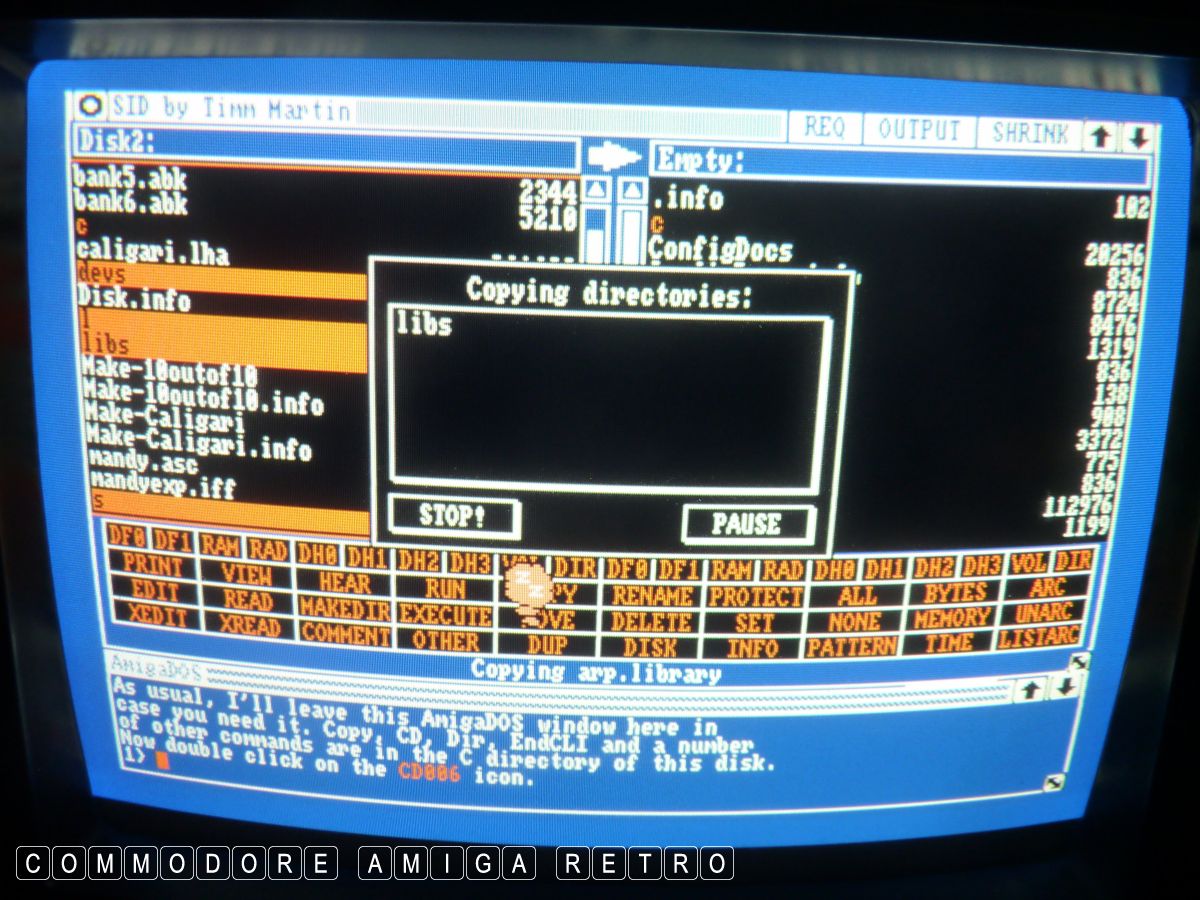
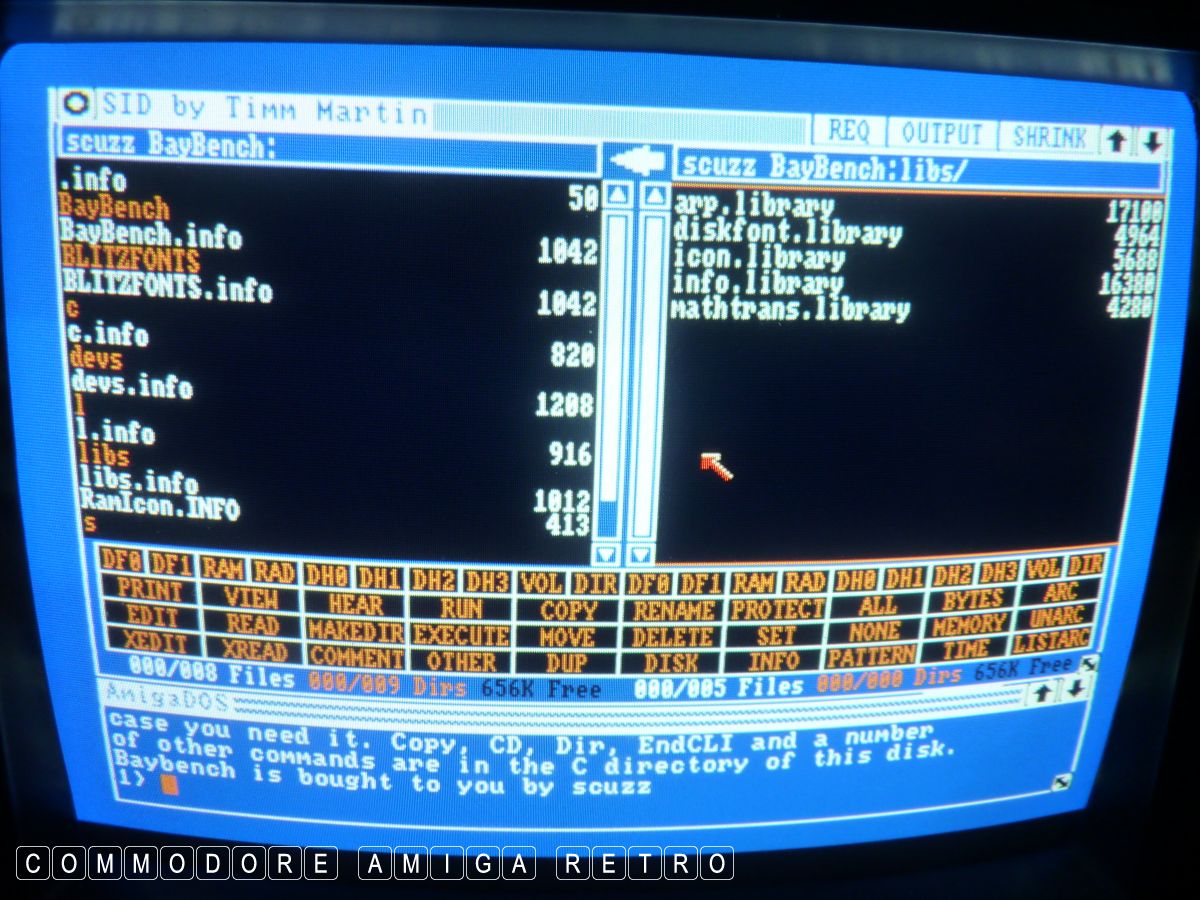
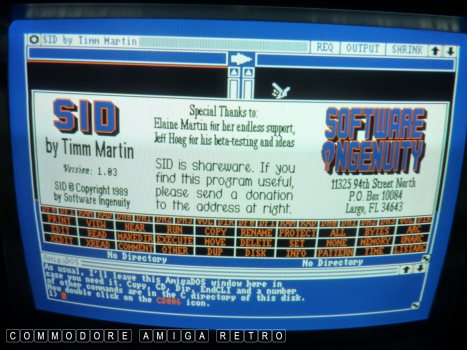
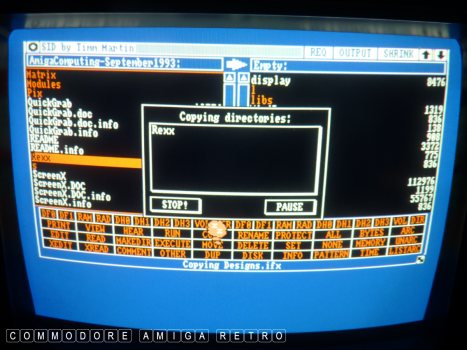
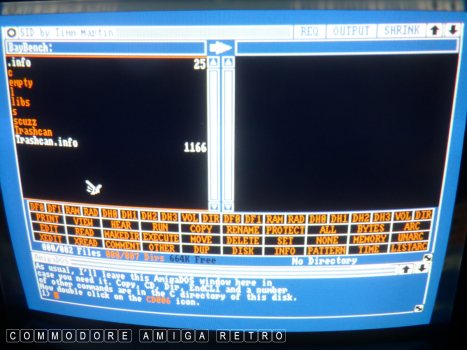
A quick word about SID. The left hand pane
is one disk/drive and the right is the other.
The arrow at the very top tells you the
direction the command is going. So you click
'DF0' and the pane will show the contents
of DF0: If then you click DF0: again on
the right side it will also show the same
floppy disk. If you open a drawer by clicking
on the right side and then click an item on the
left side and then click COPY with the arrow
pointing from left to right.... It will copy
the item from that location on the disk into
the drawer you selected.
To copy an item from one disk to another simply
select the item in DF0: and then click DF1: on
the right hand pane. Make sure the arrow is going
left to right and then click the COPY on the left
hand side of the window. Note that commands are
duplicated, one for the left and another for right.
Just have fun with it and practice a bit.
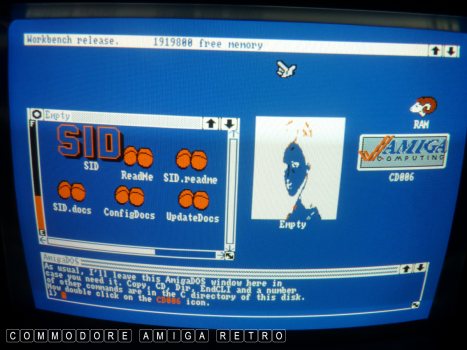
This shows the lovely Clara Veiga as empty
and the SID disk still in place.

OK from this point we are going to study
each of our disks and pilfer/nick/copy all
the core system files onto our empty disk.
Core drawers are C,Devs,L,Libs,System, S and
Utilities and say T. We start by simply copying
whole directories from the first disk.
Here I am copying 'C'.
You are not interested in the actual
programs on the disk so there is no
need to click on the disks themselves.
Just remove a disk when done and then
insert the next in your main drive DF0.
Then click DF0 in SID to review the contents.

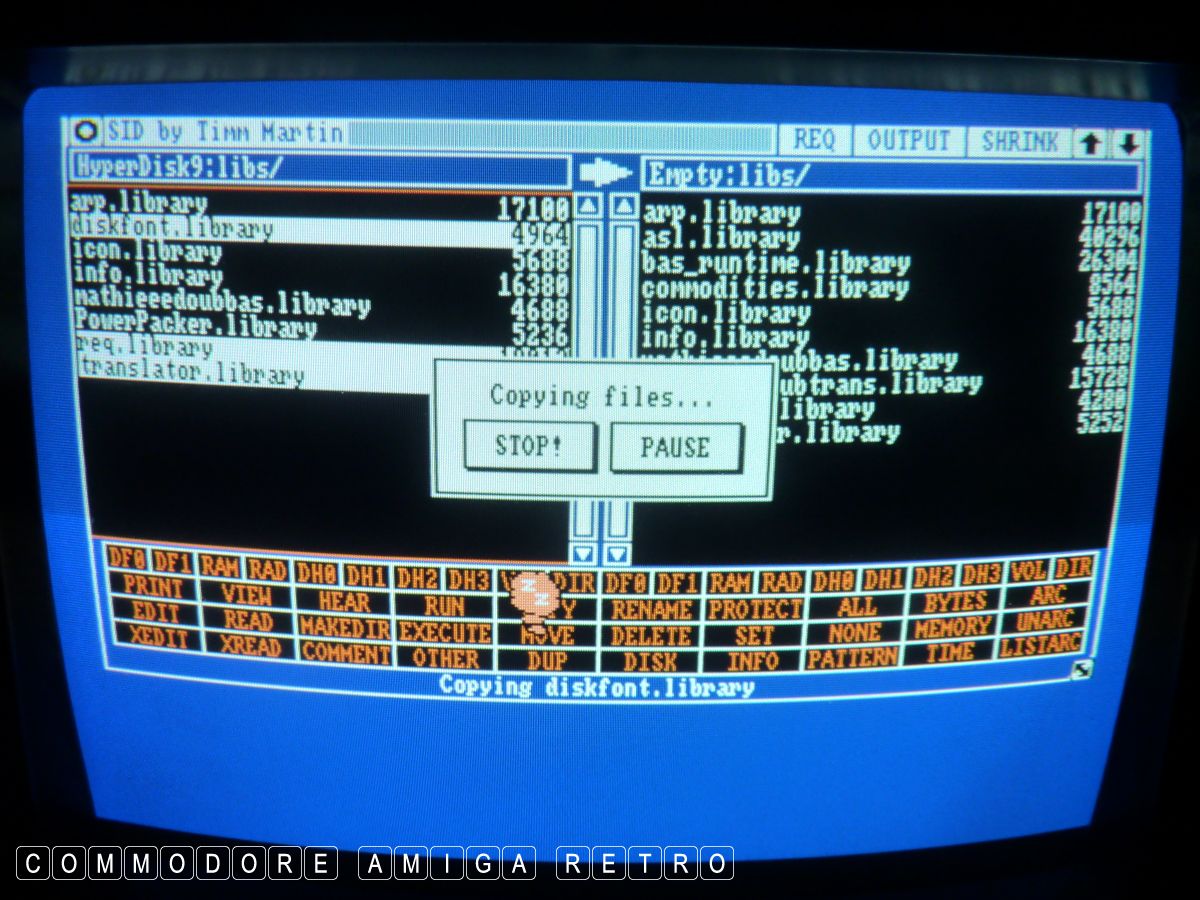
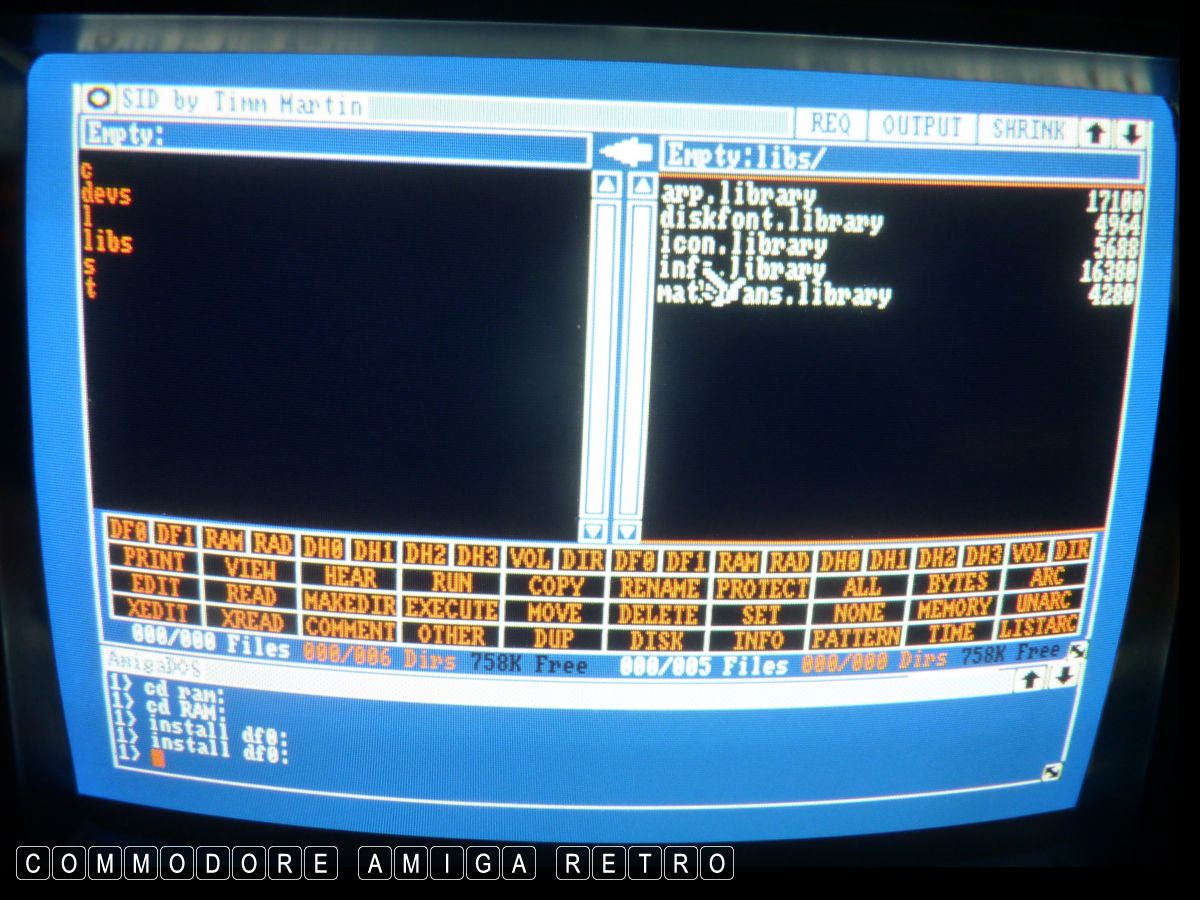
Now we copy libs.

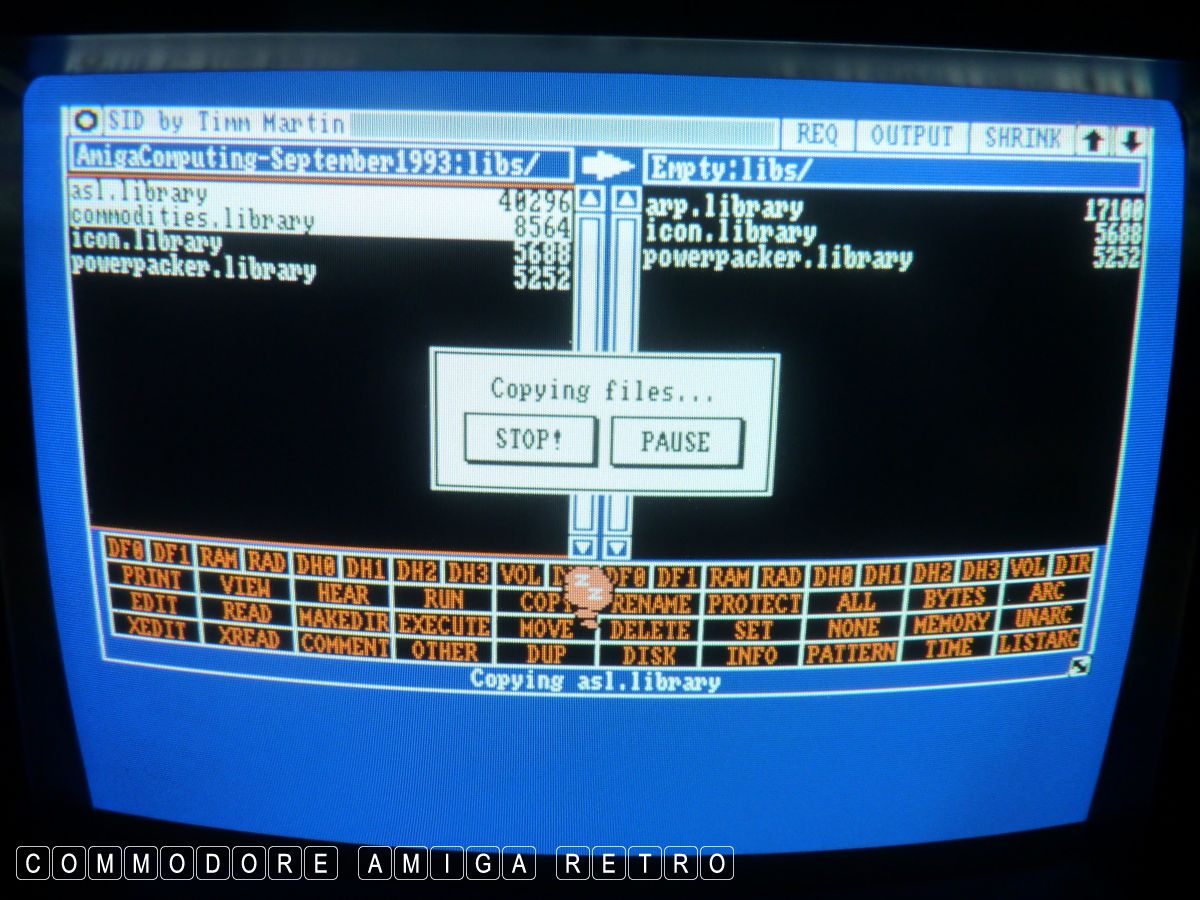
On subsequent disks we simply open the
libs directory and copy the contents.
There is no need to copy if you have them.

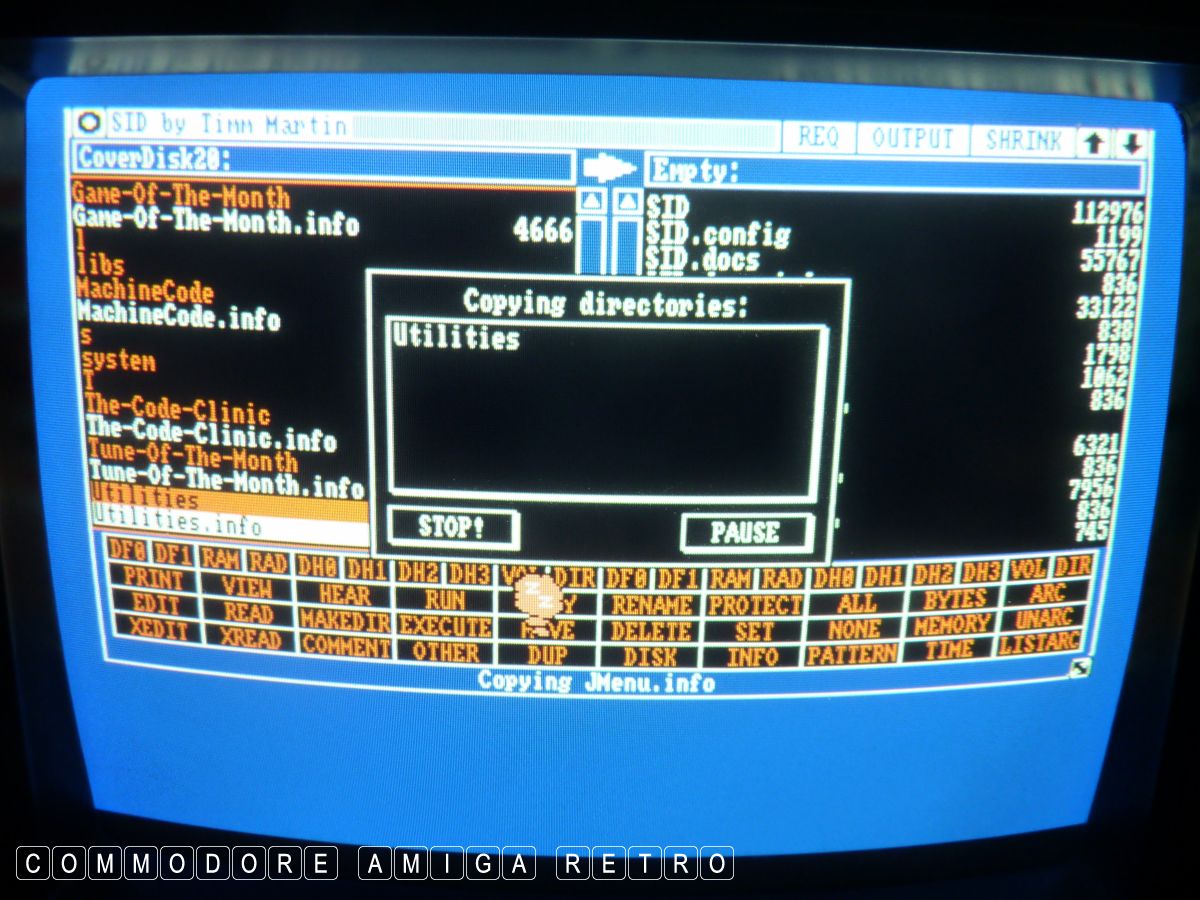
Though not essential Utilities is a nice to have.

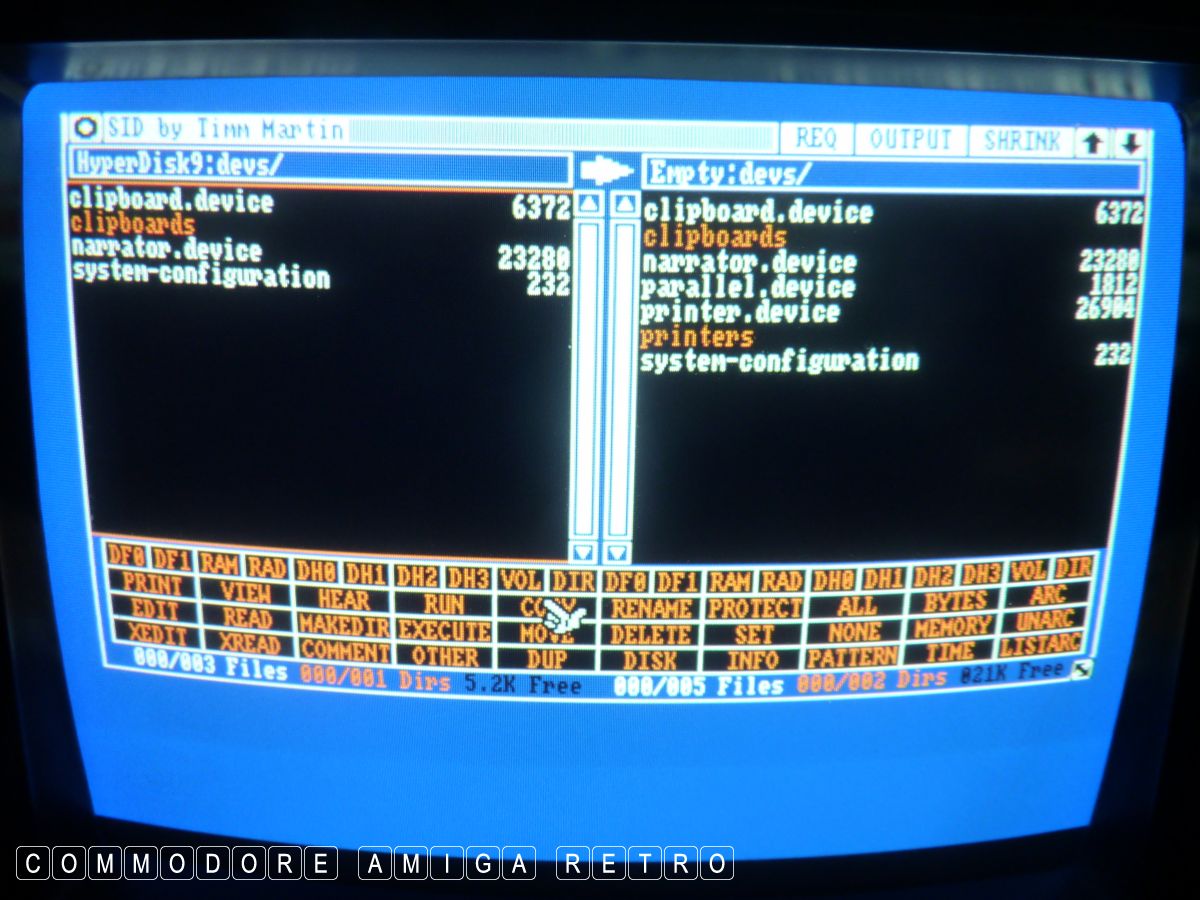
Copy devices to the Devs drawer.

Rinse repeat all your disks copying
as many files as will fit on the disk.
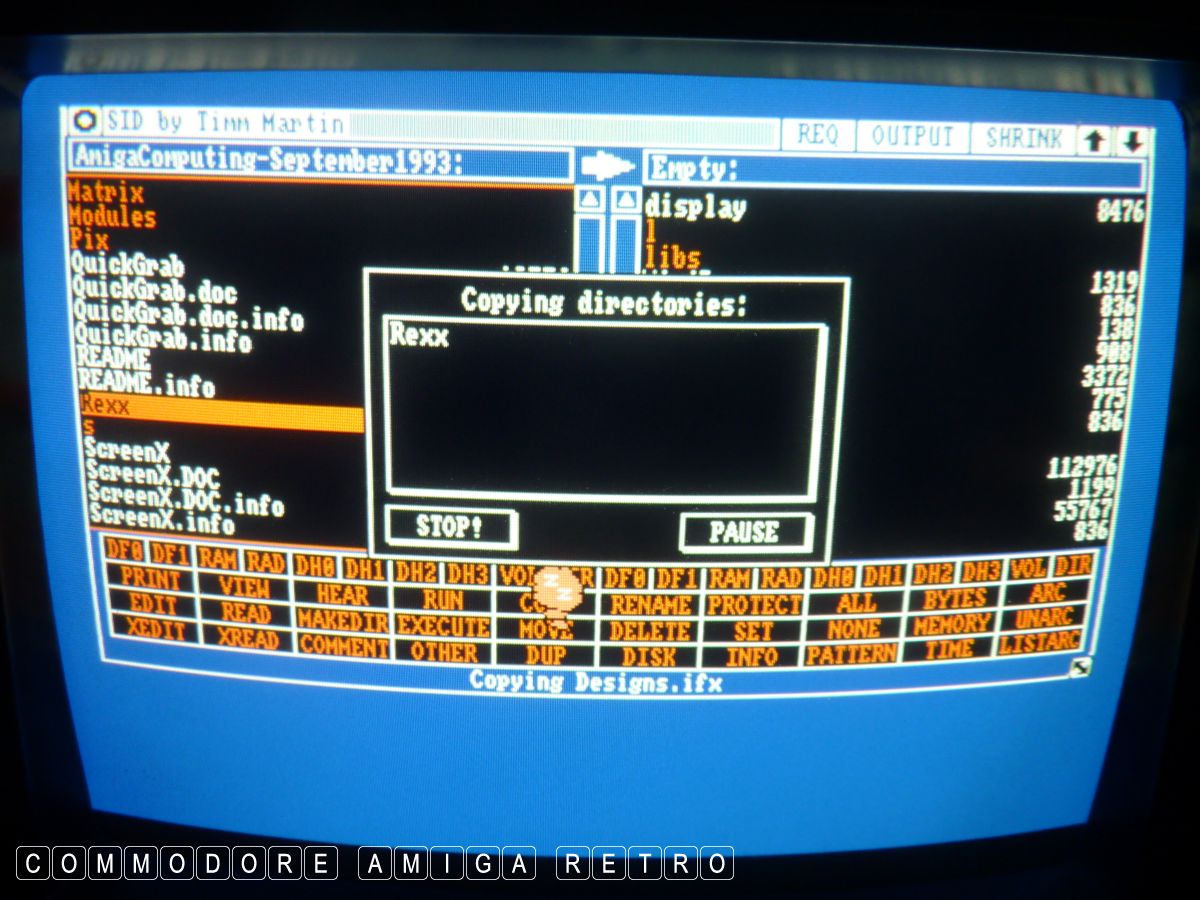
Rexx isn't essential at this time.

OK time co copy all the main directories
onto what becomes your 'baybench' tools disk.
The directories are as shown.

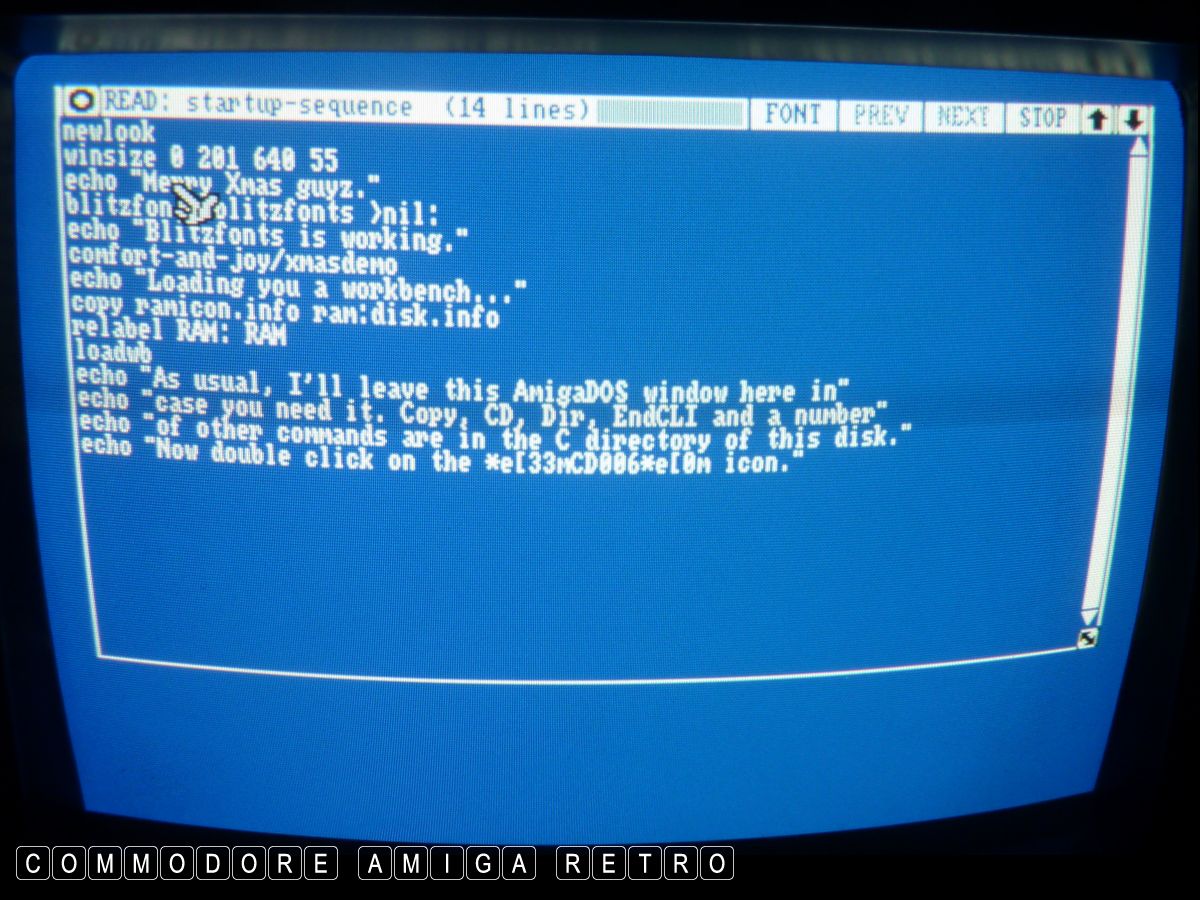
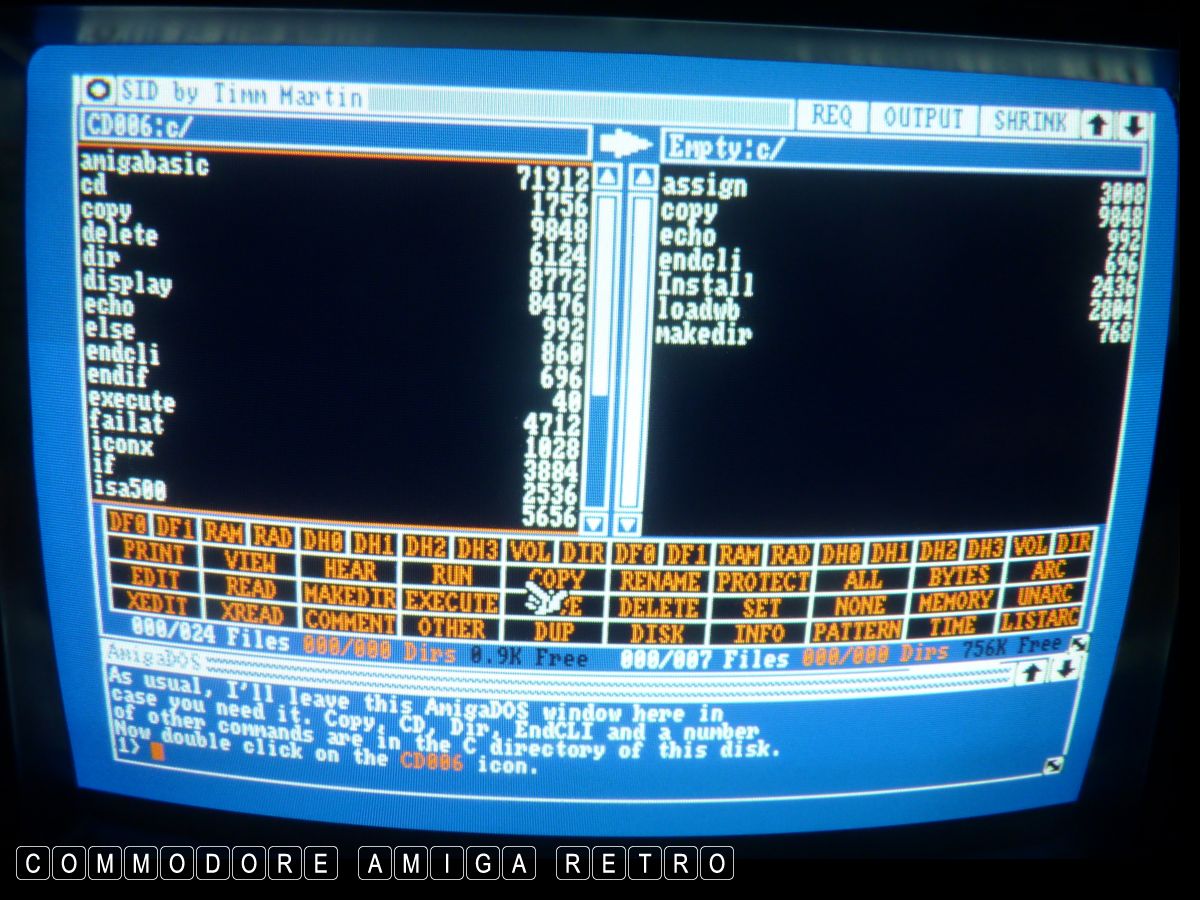
Copy a startup-sequence from the first
disk to the 'S' drawer. If you do not have
a text editor then use SID to look at the
file.
This is the file that tells the Amiga what
to do when the disk is booted. The one here
is creating a CLI[shell] in a window and
gives the co-ordinates of the corners. The
message is the opening message on screen.
The Blitzfonts folder I will discuss in a
moment. Next it will set up the RAM icon
and then load a Workbench and write a message
in the CLI[Shell] window.
To use a disk as a self booting disk we
need to 'INSTALL' the disk. So copy the
install tool from C on your baybench disk
to an empty disk that will become your workbench
disk. That makes three disks.
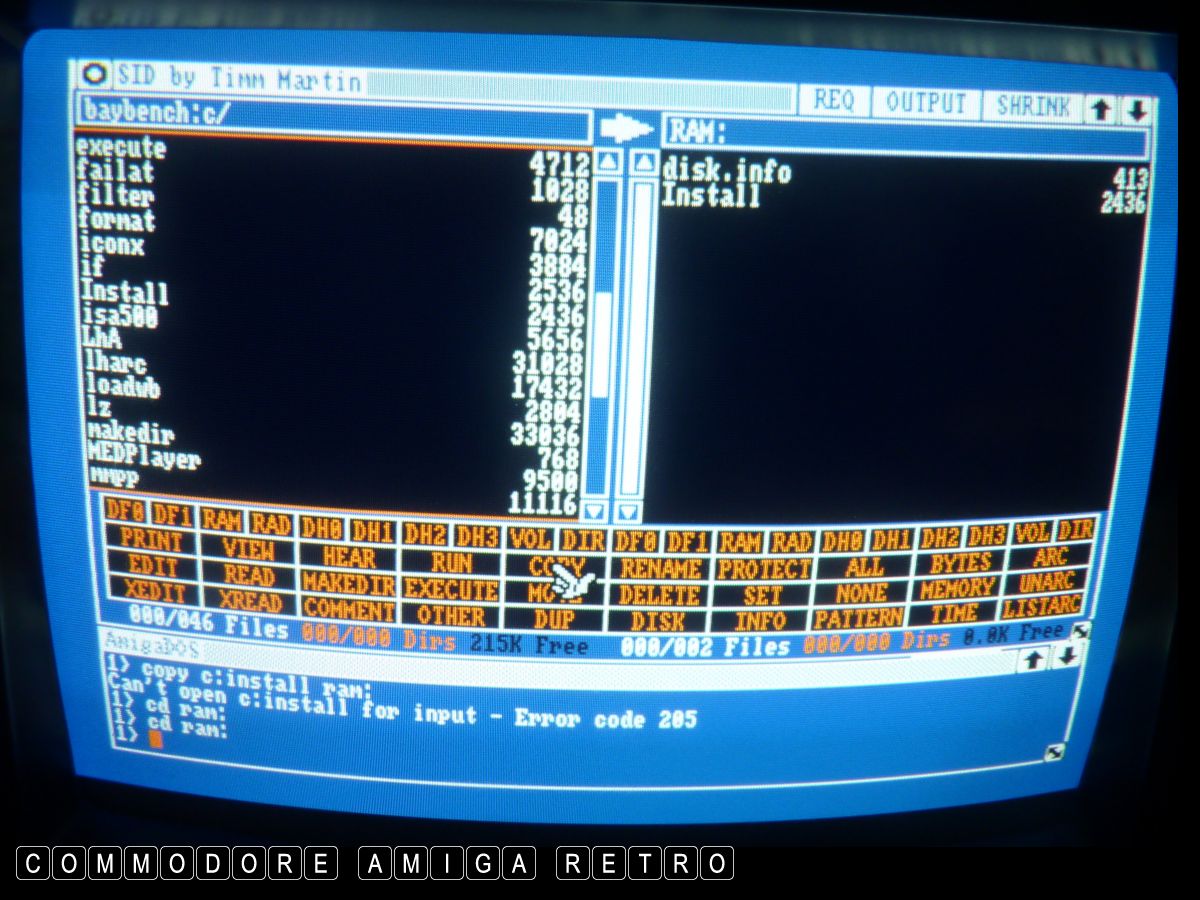
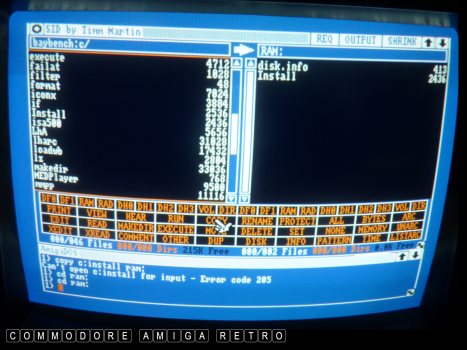
Copy 'install' from your tools disk to RAM.

Now place a clean empty disk in DF0, your
main computer drive and then enter in the
box below SID CLI{shell] the line CD RAM:
Then type the words install DF0: and press
the RETURN key.
Note that the tool CD [ change directory ]
needs to be present in a C drawer on an active
disk in your drive. You cannot CD to RAM: without
it being present. The CLI hunts down the C drawer
and uses what ever tools are in there.
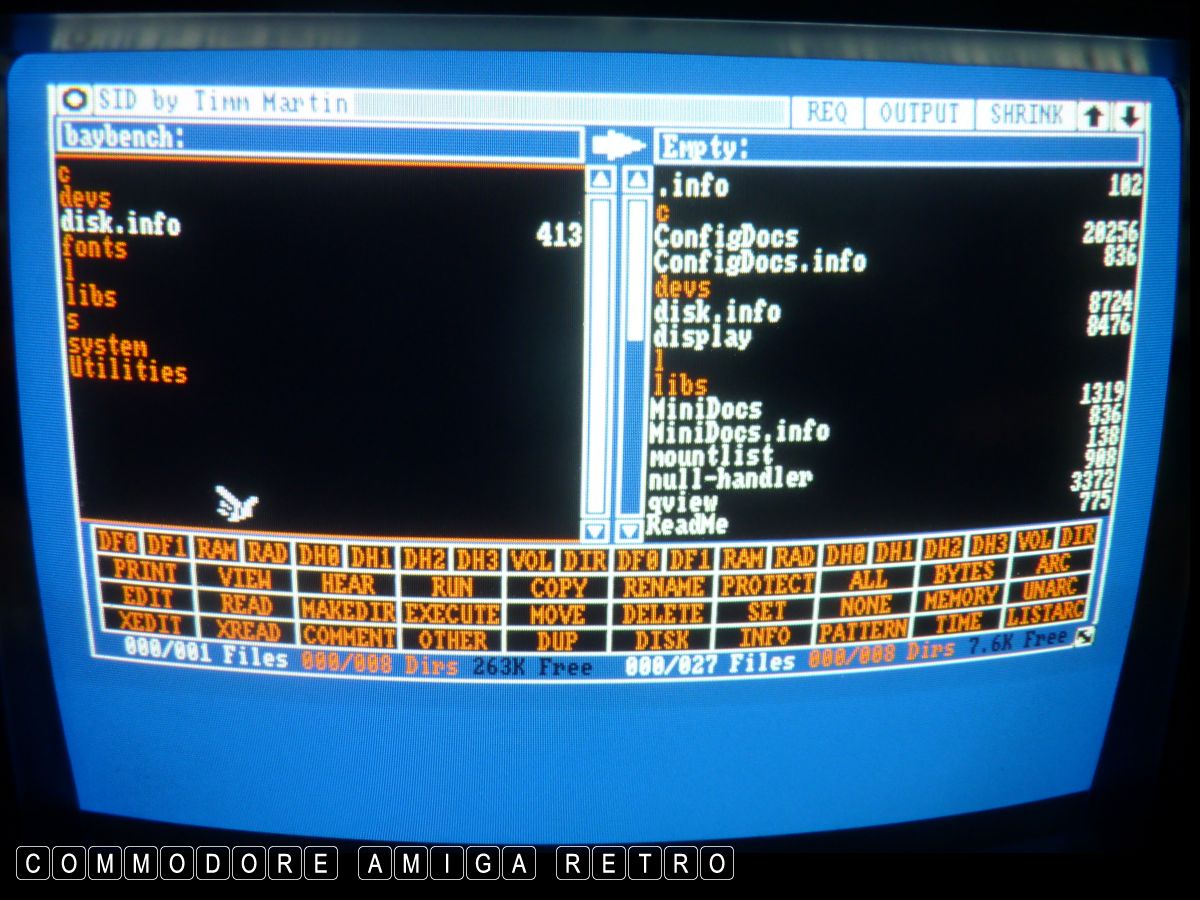
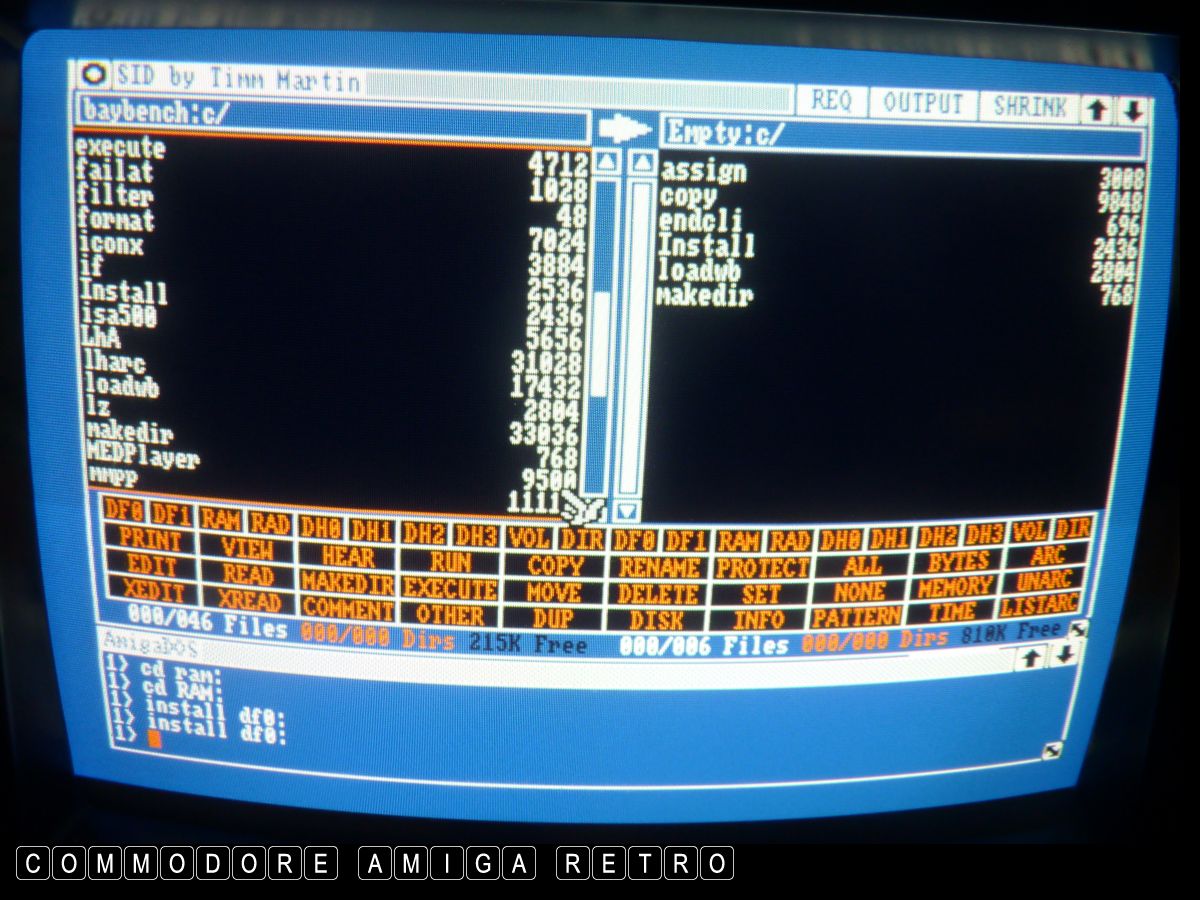
Once done create directories on your new
empty 'installed' disk as shown to the
left in the above image. Then simply copy
the libraries I show to Libs.
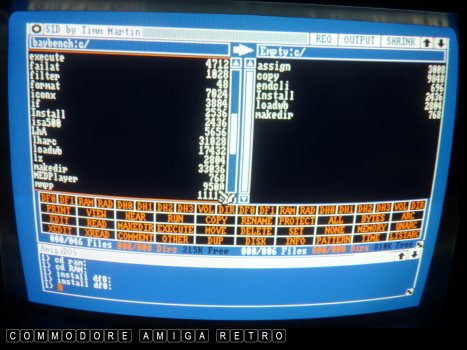
Then copy these 'C' tools to your C drawer.
I was missing 'echo' which was on the main disk.

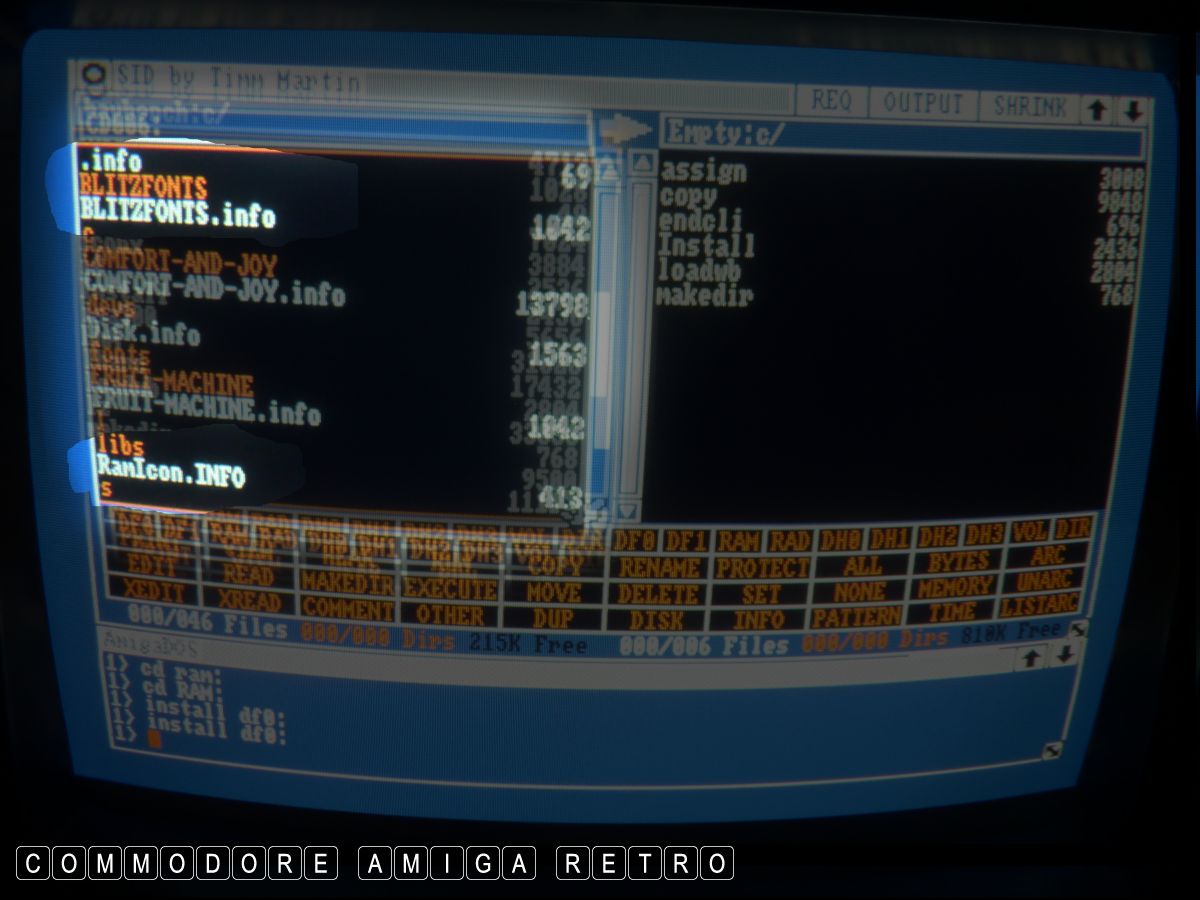
Also to get the sexy RAM image and the drawer
then copy the RAMIcon.info and the Blitzfonts drawer.
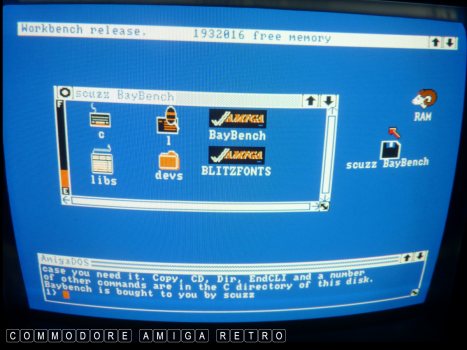
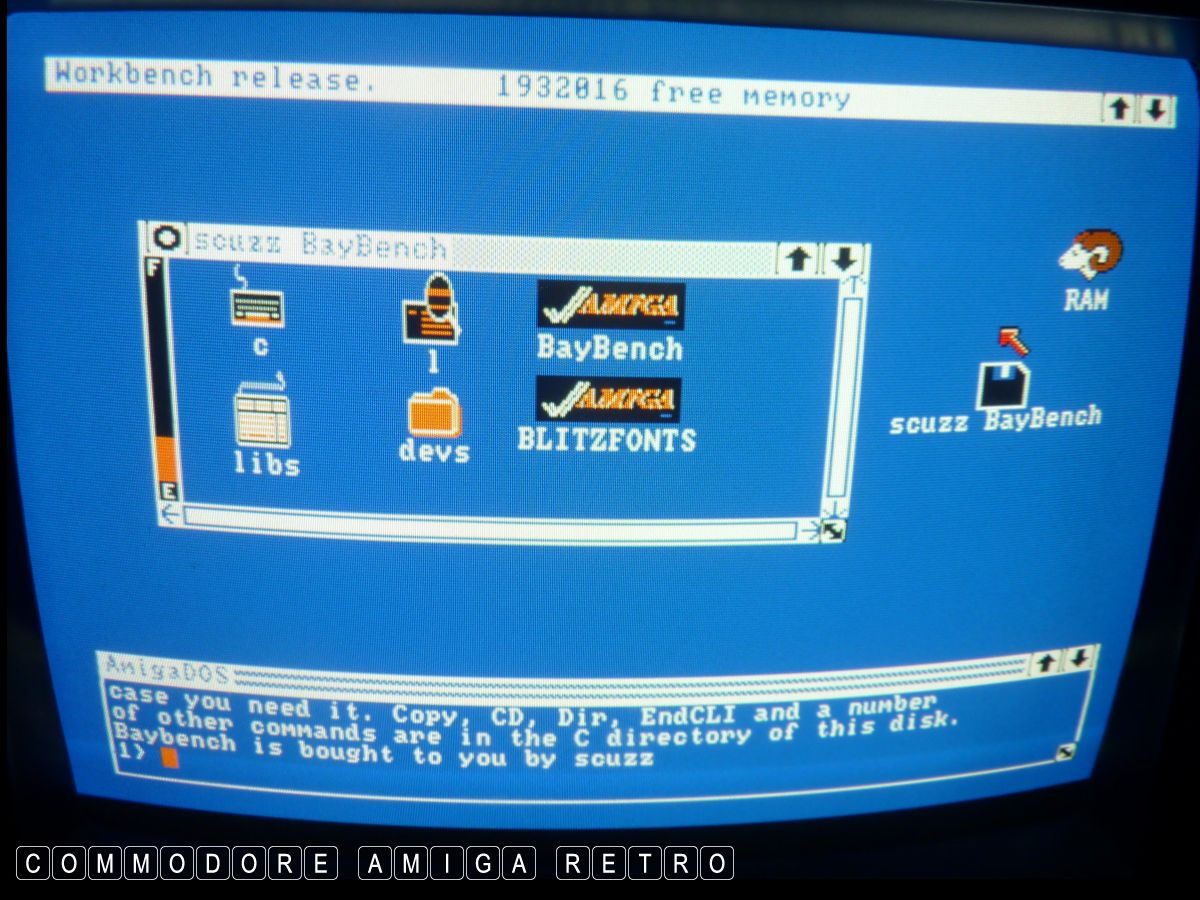
Remove everything and insert your freshly
created disk and it will boot thus.
Well not quite cus I renamed the disk to
scuzz Baybench and added some icons. This
can be done thro the file manager as I
rescued some sexy icons as I went thro
the process but I will not discuss that now.

These are the contents of your disk and you
now have enough tools to run a crude workbench.
We can now start jacking in all the essential
tools from your disk to give it extra added
trumpets... or maybe even some jingly bells.
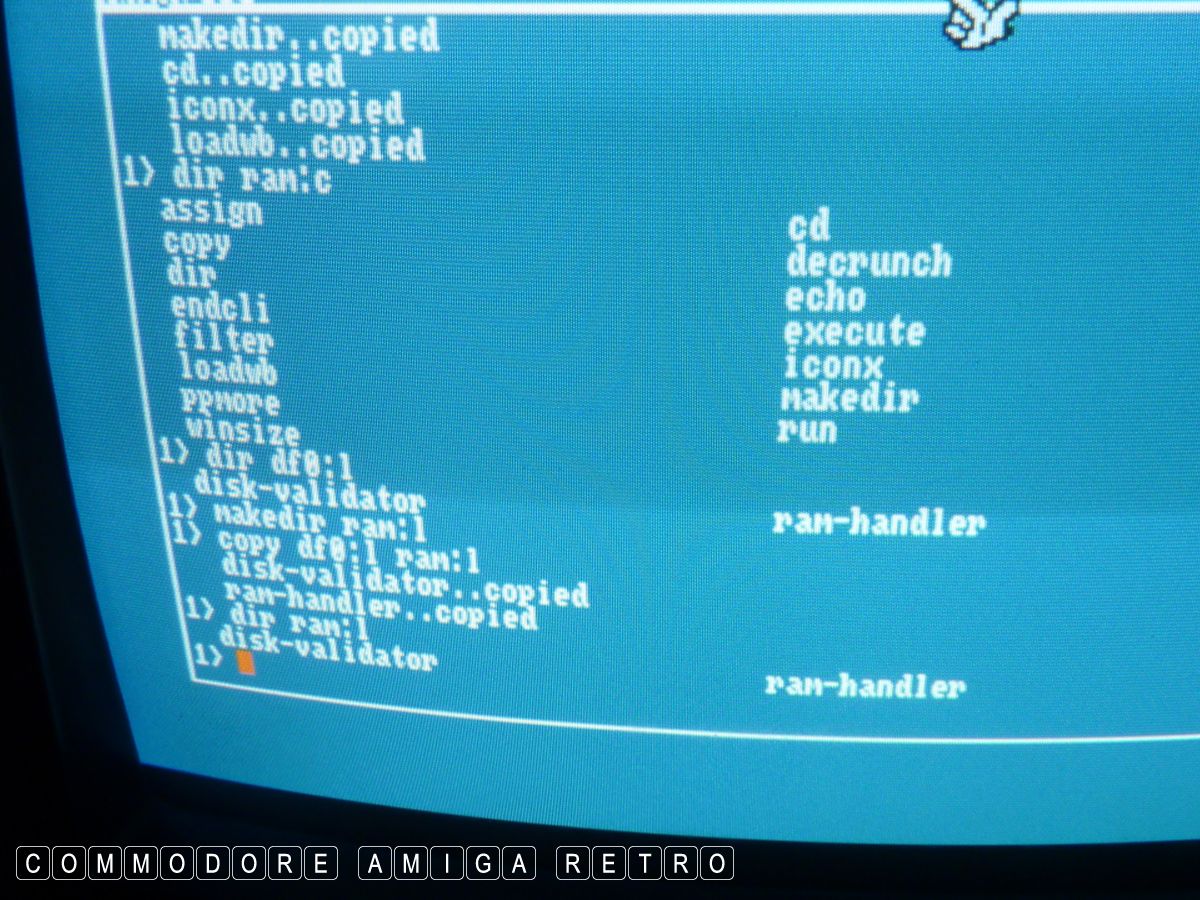
OK So what happens if I don't have the SID
disk and a second floppy drive.
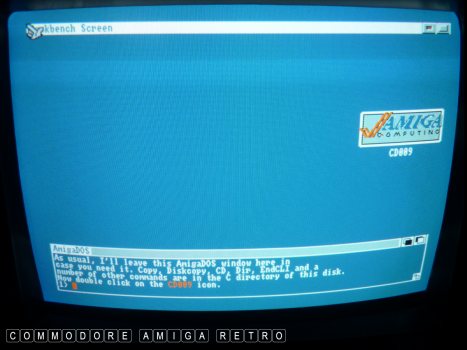
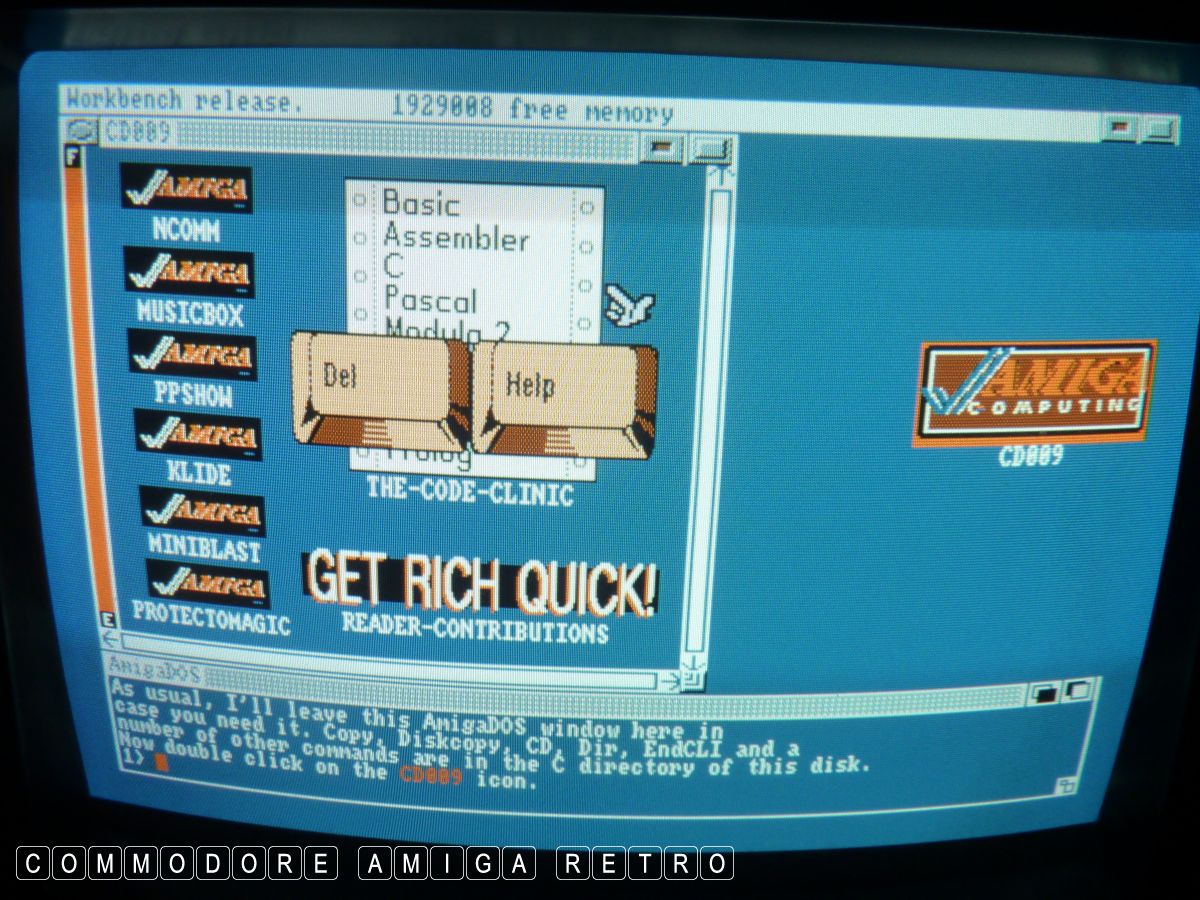
Simply load one of your other Amiga
Computing disks and it will boot like this
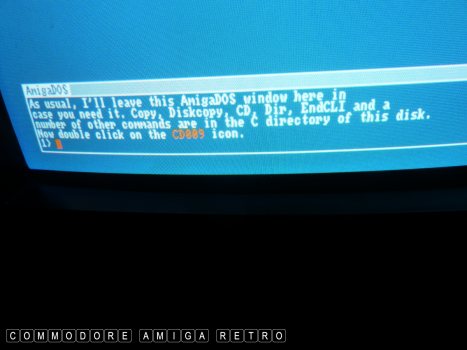
At the base of the screen is a CLI or Shell
window where you can use AmigaDOS commands
that reside in your 'C' drawer.

Simply drag the window to the top of the
screen and expand the window using the
bottom right corner 'expandy' thingy.
Now you have a bigger window to see stuff.
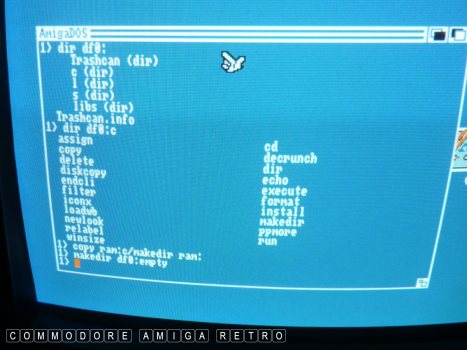
Simply type dir DF0:c and this will show
the contents of the 'C' drawer. Note that
the command 'dir' was on the list. If it wasn't
you would not get a directory. Simply boot
another disk till it works. You are looking
for tools like CD, copy, diskcopy, dir, format,
endcli, loadWB, list, install, .
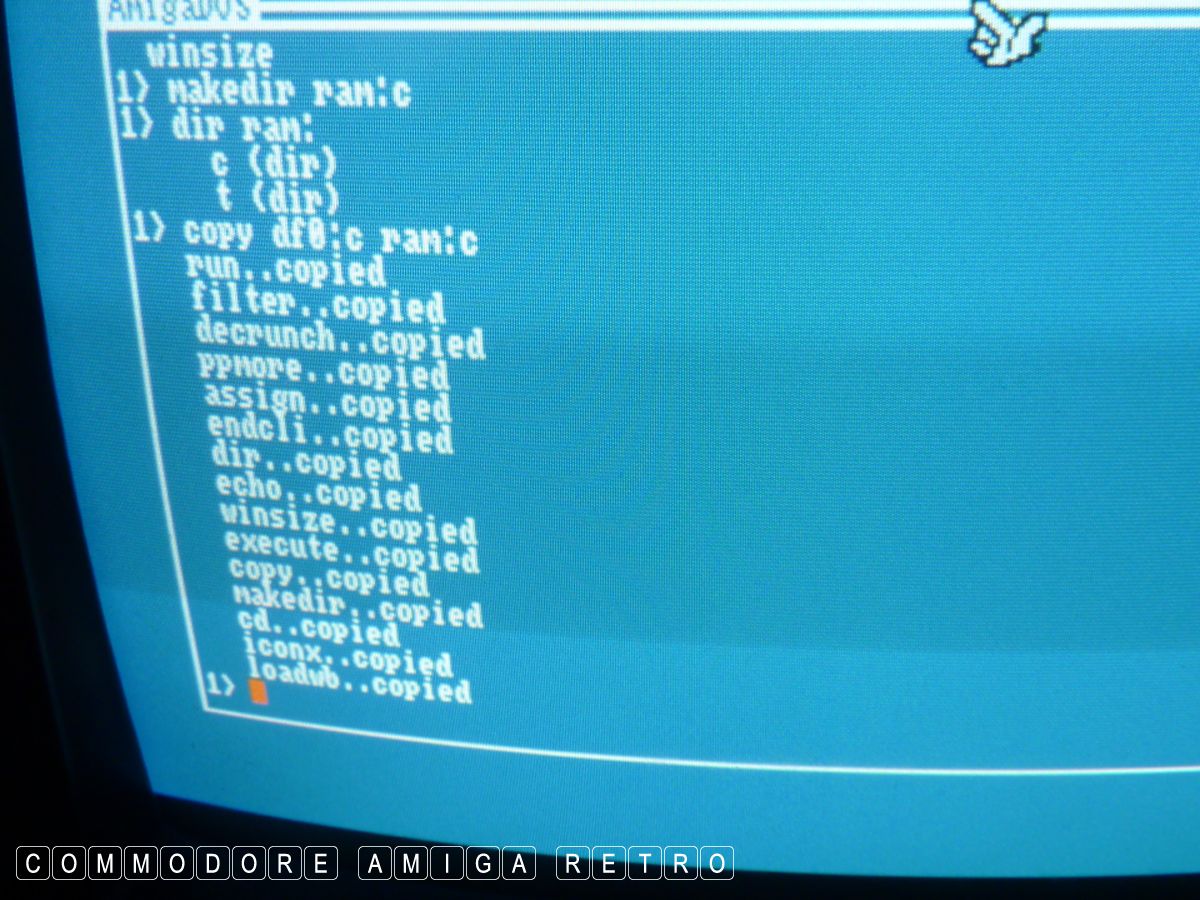
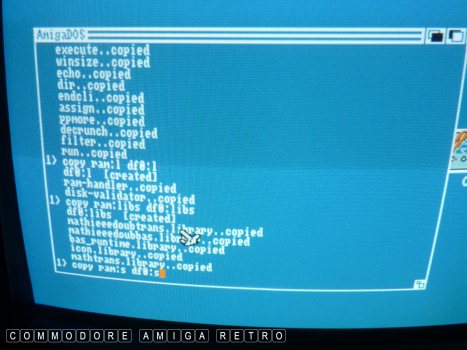
We will use RAM as our second disk drive.
So go ahead and copy DF0:c to RAM as shown.
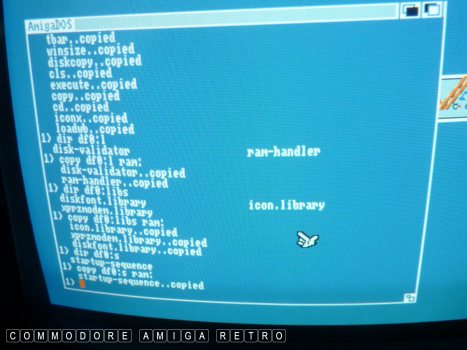
Check the contents of each disk with dir
and then simply copy useful directories
and or tools. Note that when you copy a
drawer and it does not exist the computer
will create one for you.

Do as before but use the command lines
to copy the contents to drawers in
the RAM disk.

Go through all your disks.
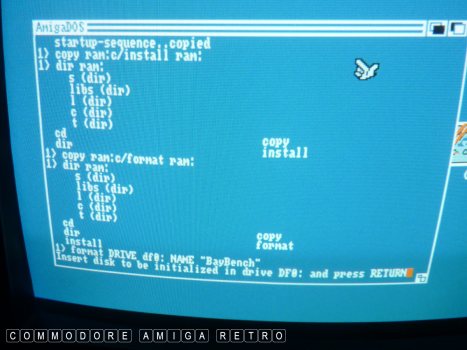
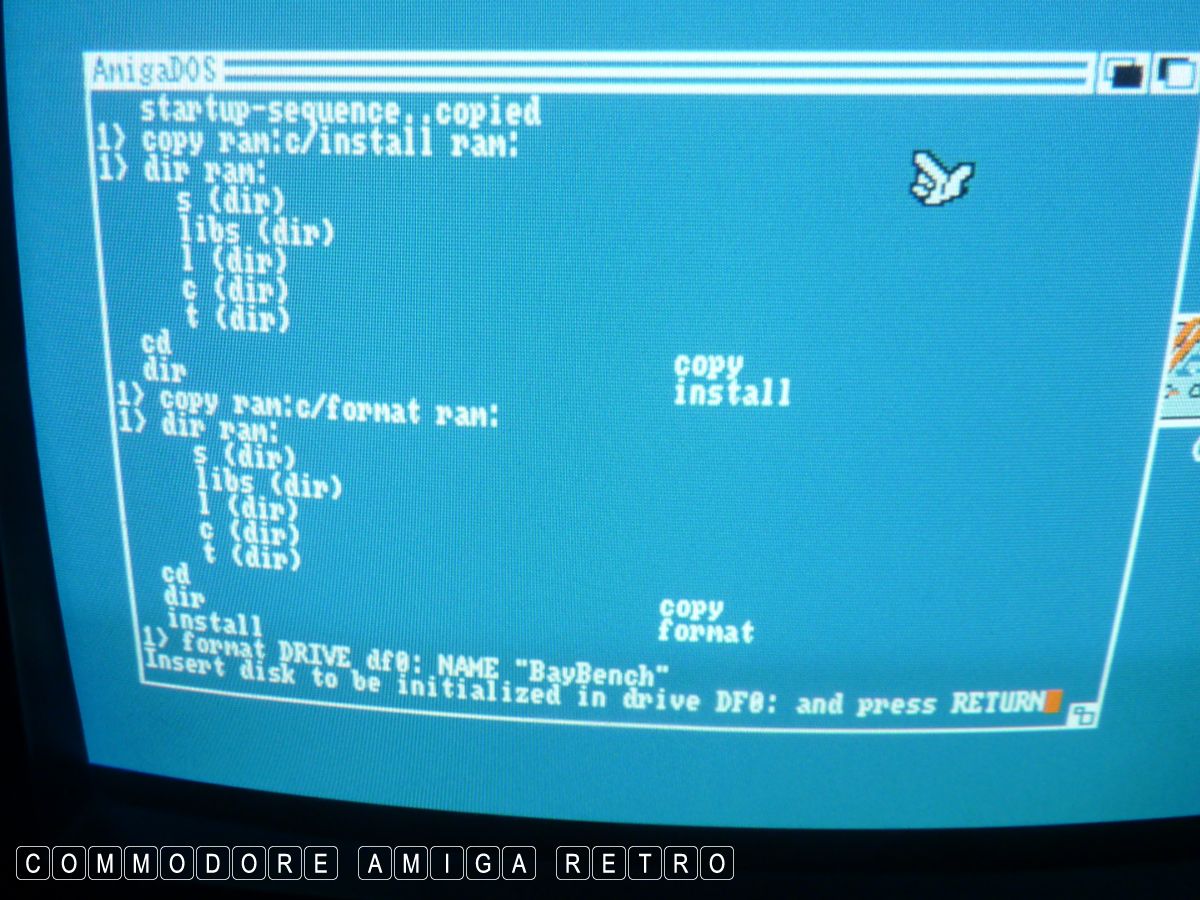
OK time to create your disk. First copy
CD, copy, dir, install and format to RAM.
You will already have format etc in C on
in RAM but it needs to be in the main root.

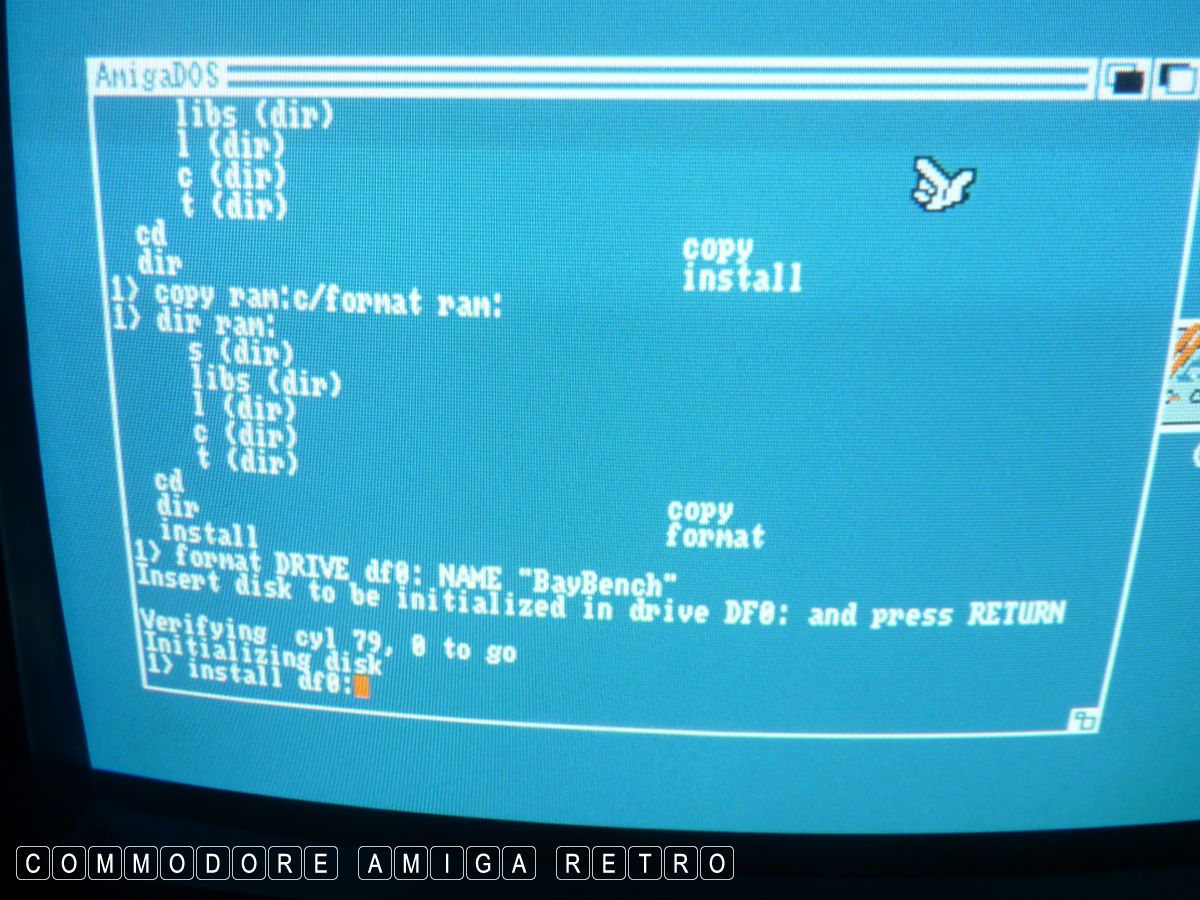
And then simply format the disk in drive DF0:
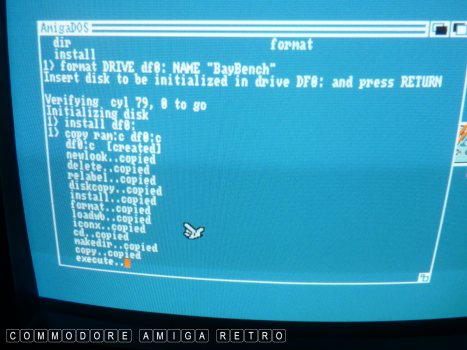
Next ' install df0: ' as before and then
copy over the necessary directories. In
this instance copy everything from RAM.
You will have to be a little more selective
on which files you copy in the first instance
as you will have limited memory capacity.
All done. Make sure you copy the system-startup
to S from your first disk you used.
I also make an 'empty' drawer on the disk
as 1.3 is a pig for creating drawers.
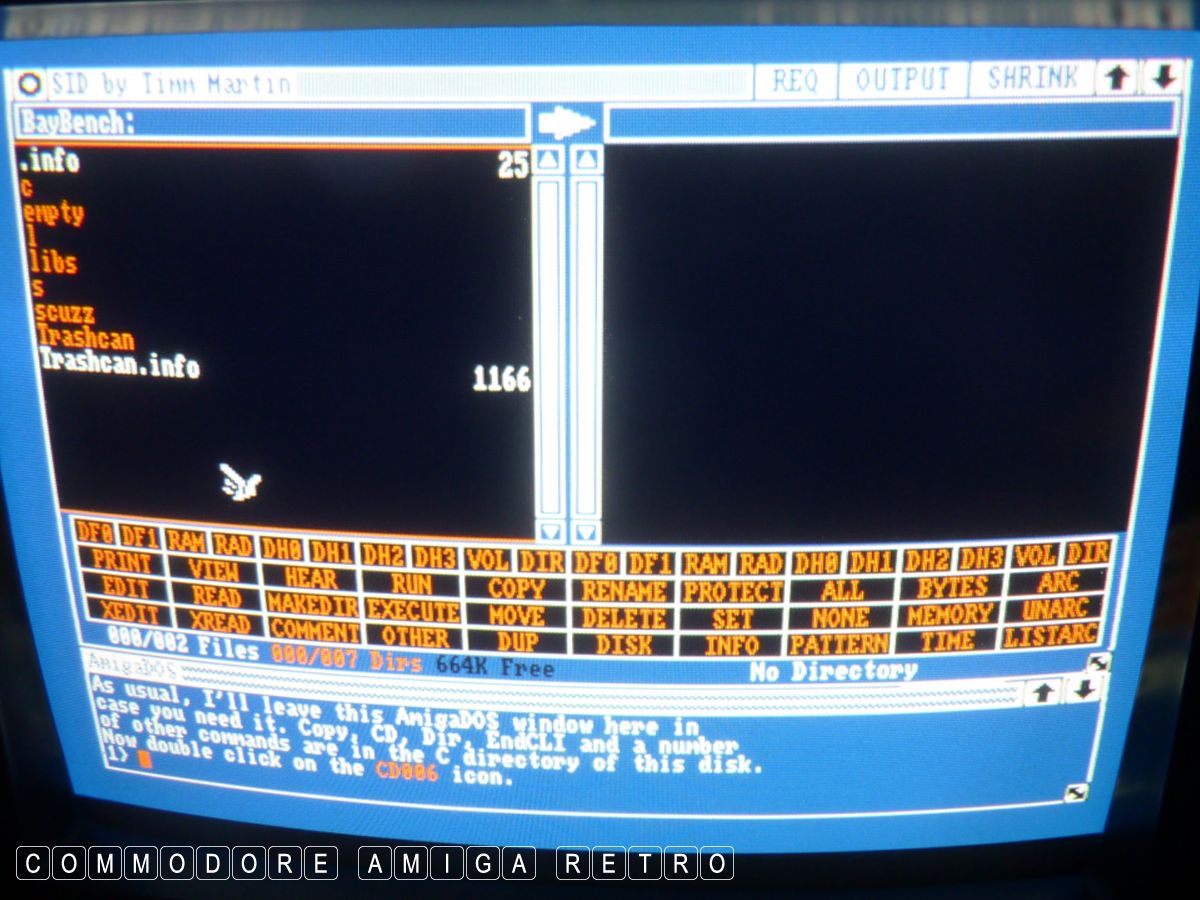
OK Time to see if your disk works. If so
fire up SID and check that you have these
contents.
Hope that helped.