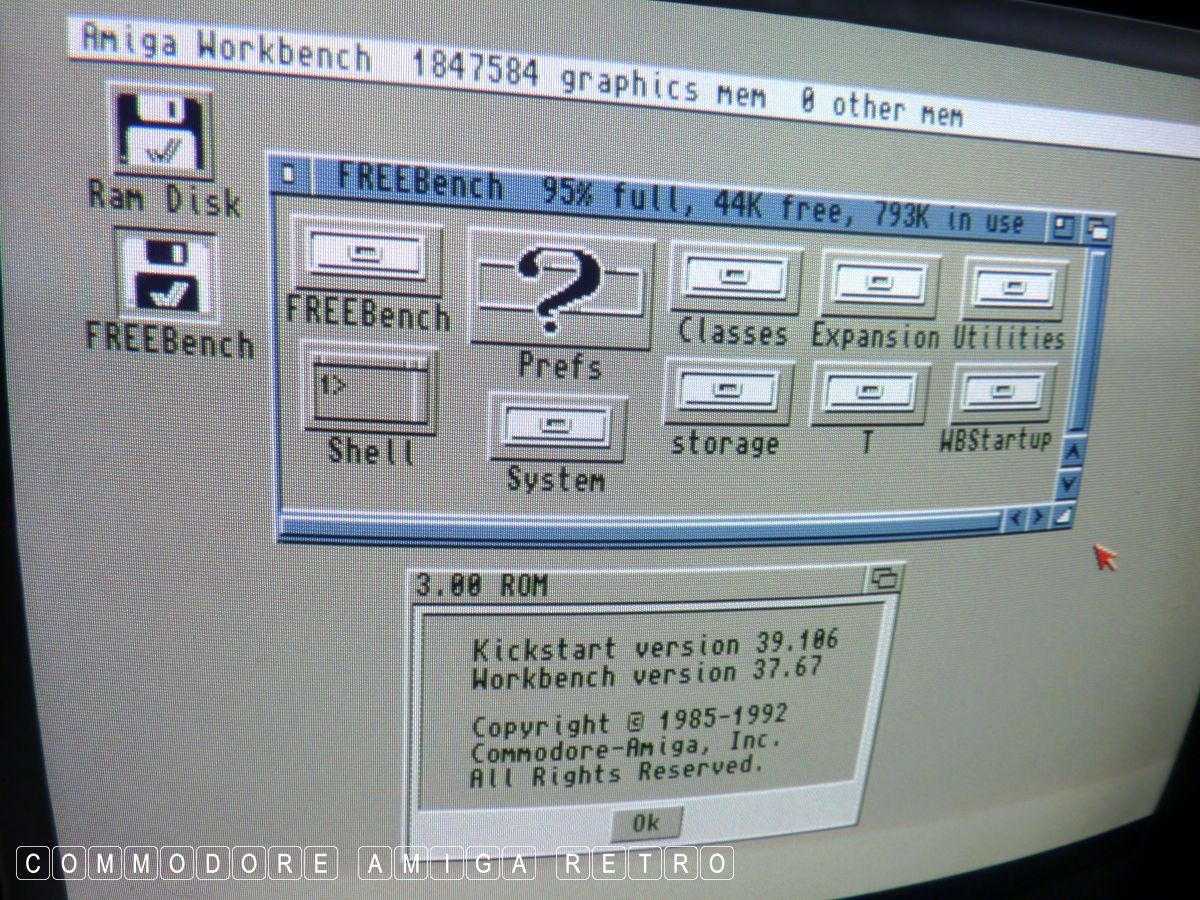
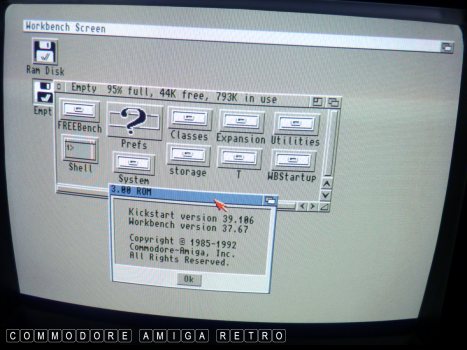
FreeBench 3.0 - Make your own Workbench.

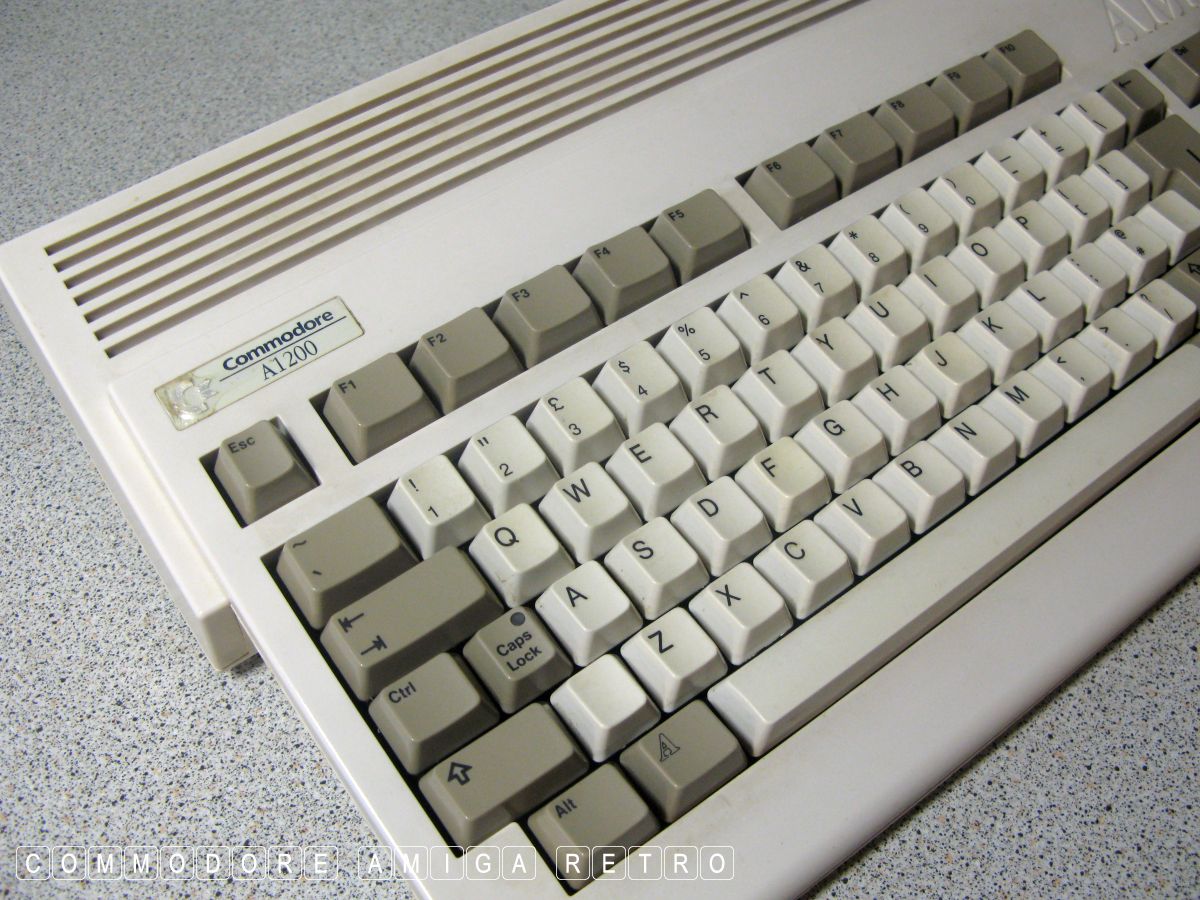
For this I used a sad under-used Amiga 1200.
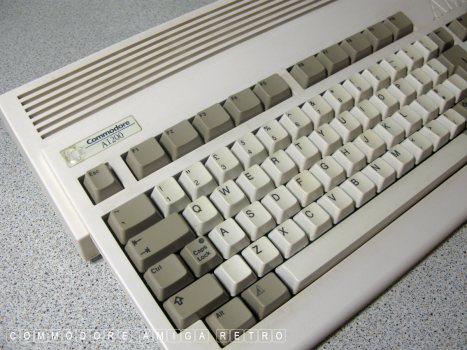
She is the only Amiga 1200 that I own that
does not have a hard drive.

She works just fine and is very clean looking.

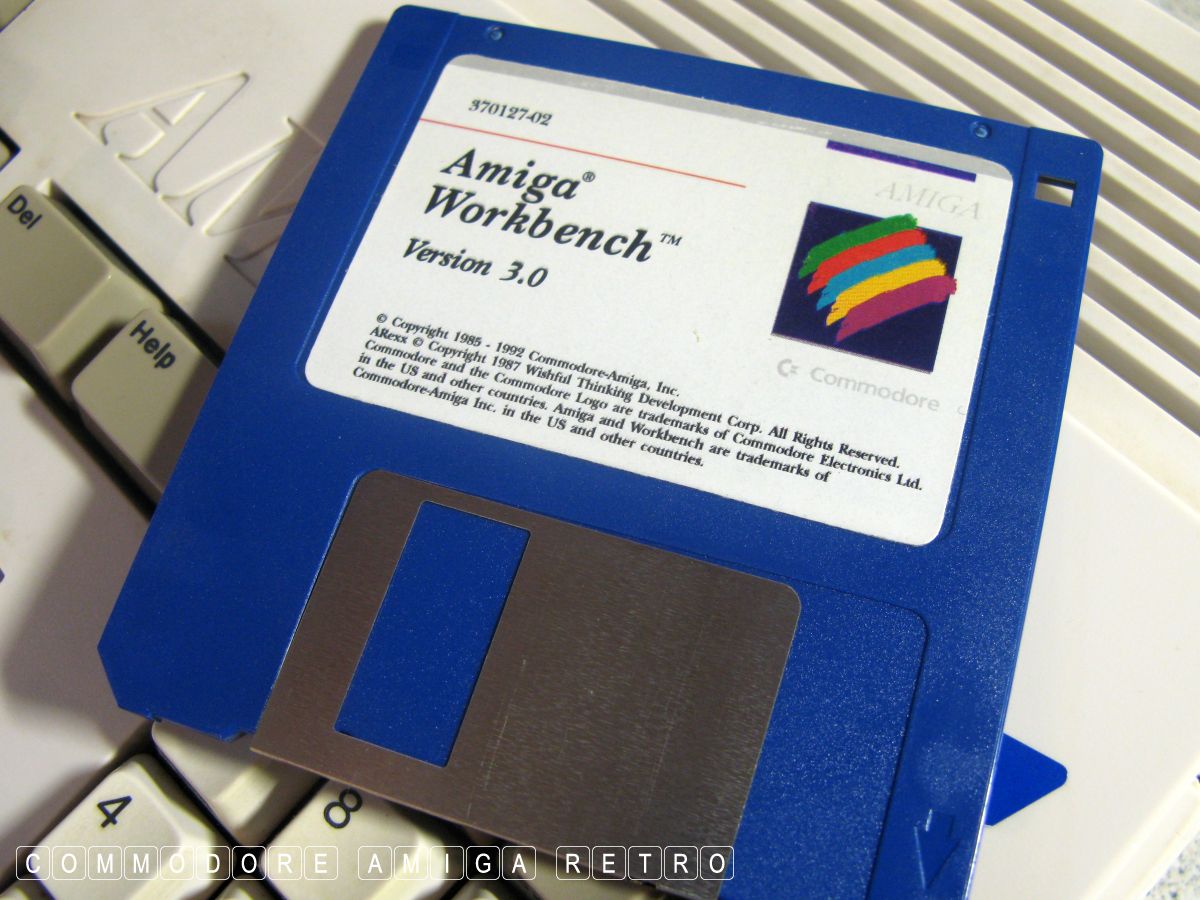
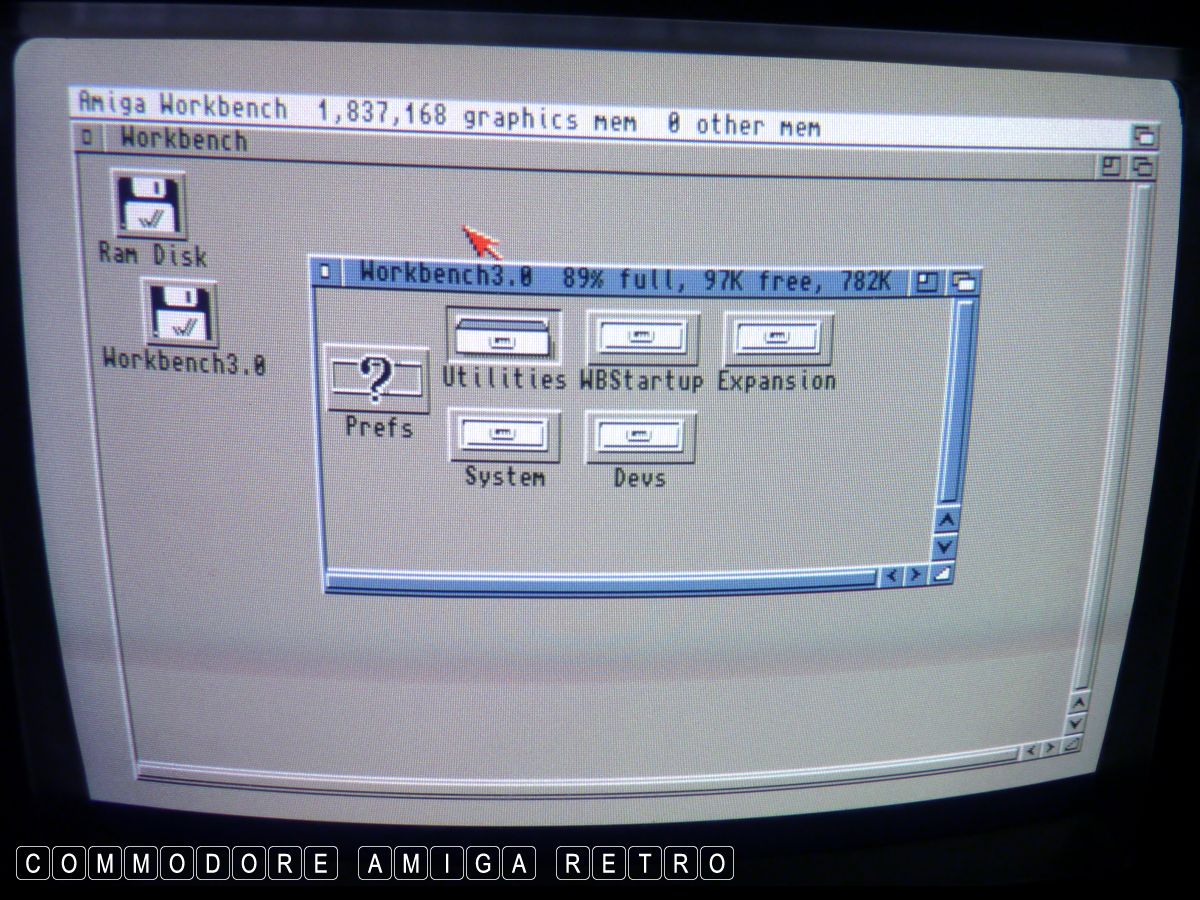
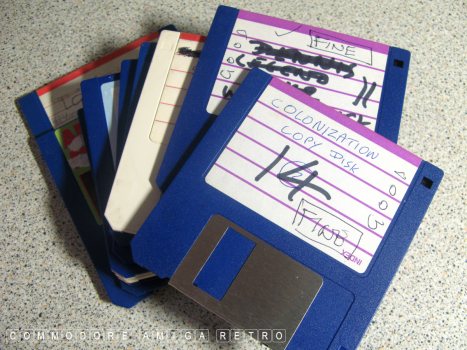
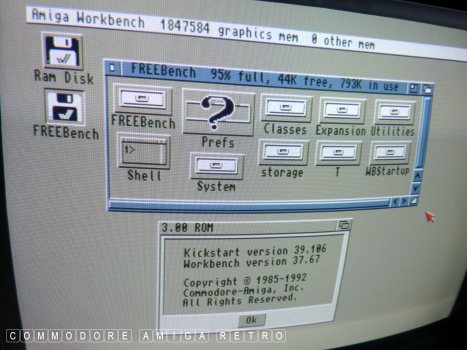
This is the disk I am to replicate
without using the actual Workbench disk.
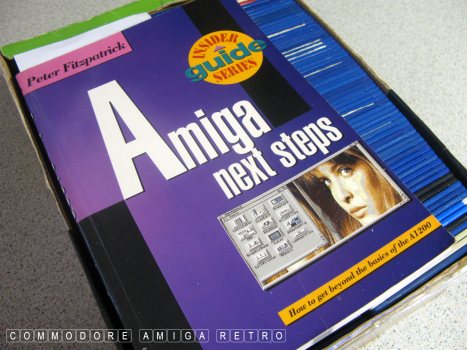
I will be using this book. Next Steps.

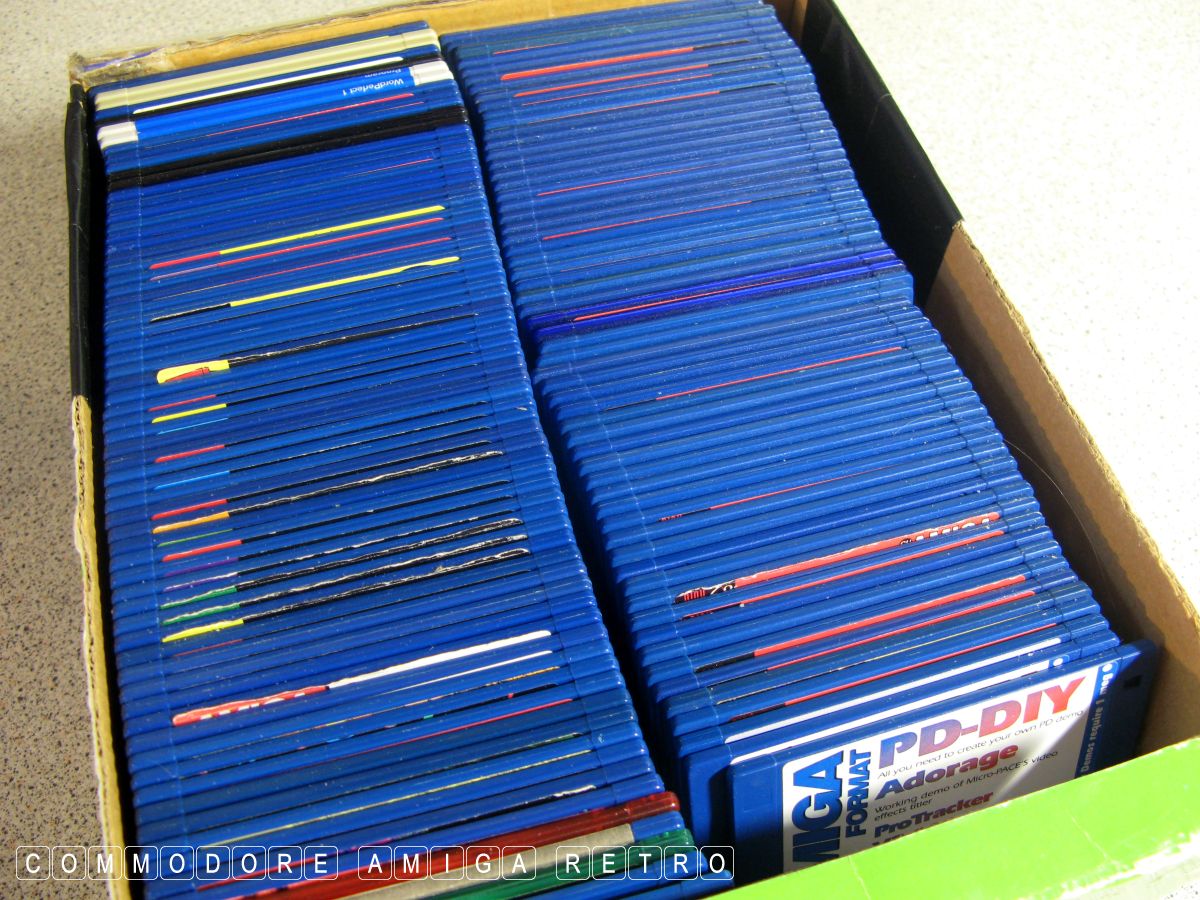
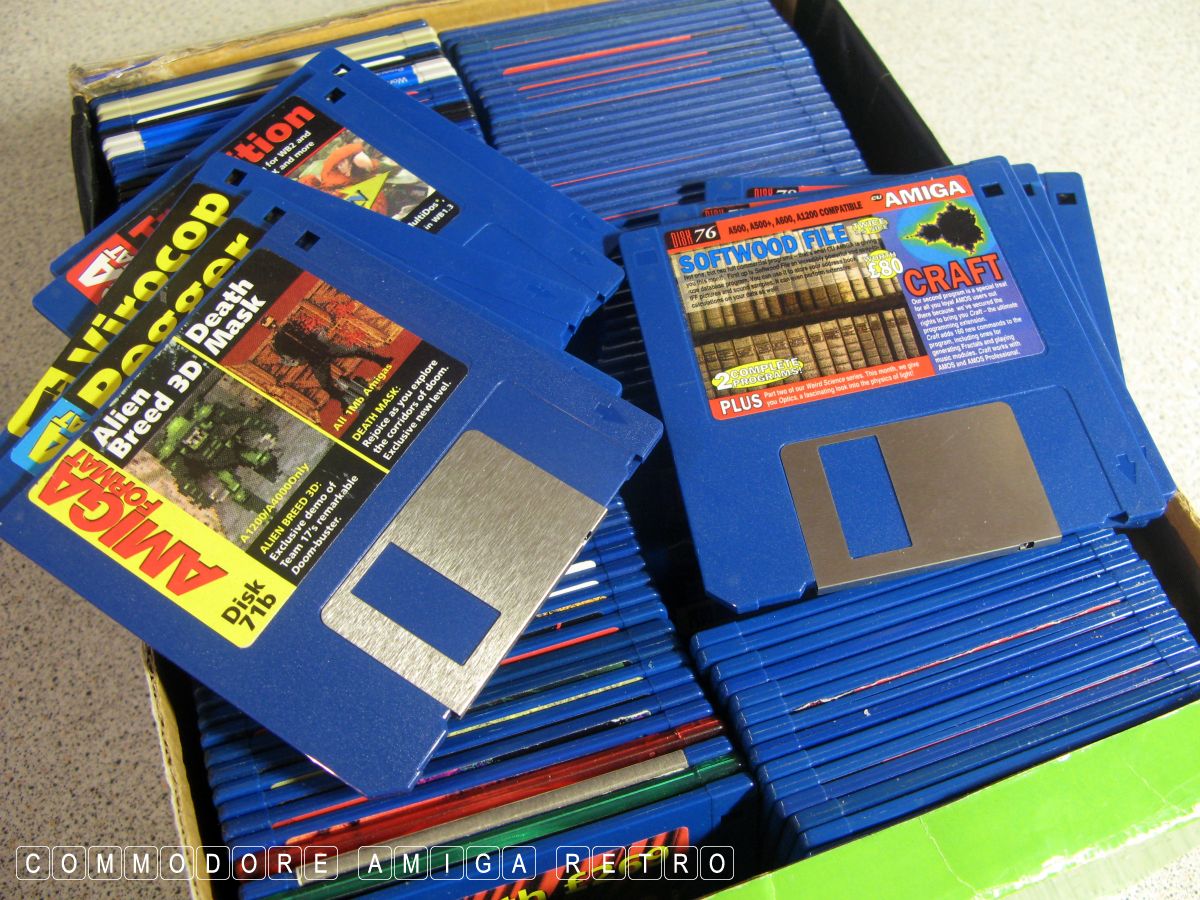
And my actual box of cover disks that I used
with my A1200 from 1993 to 1995'ish.
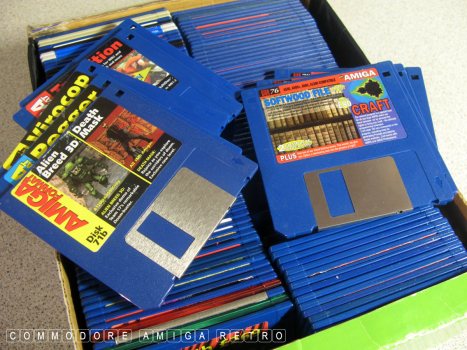
Mostly Amiga Format and CU Amiga with
a sprinkling of Amiga Computing.
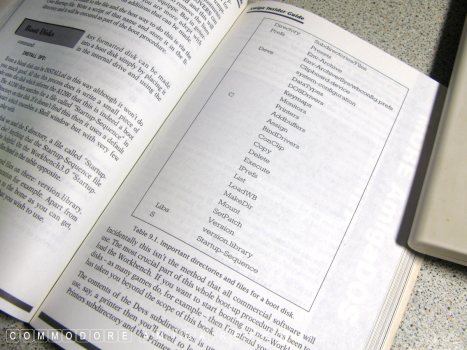
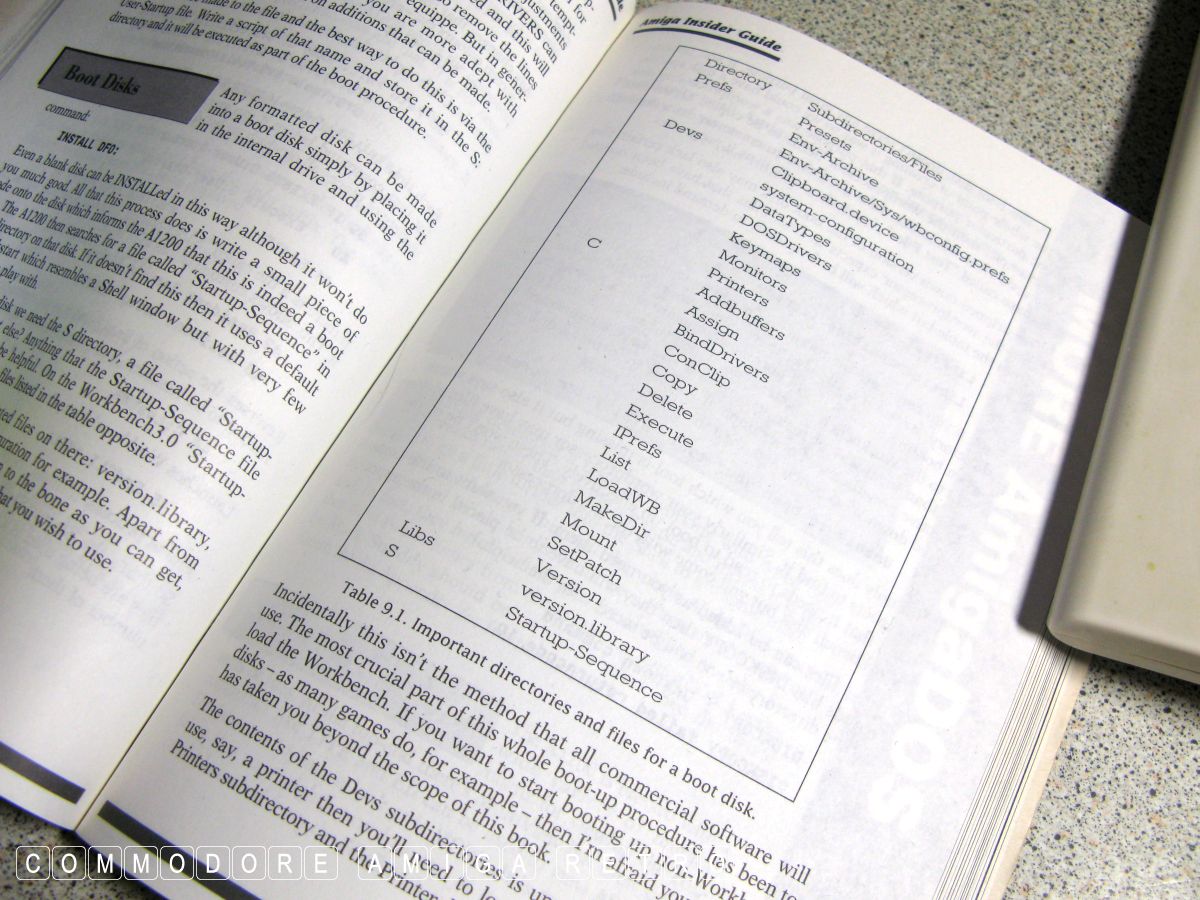
Next Steps actually lists the files
Tools and Drawers you will need.
This is the full list.
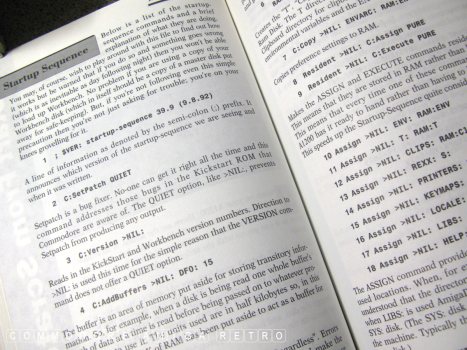
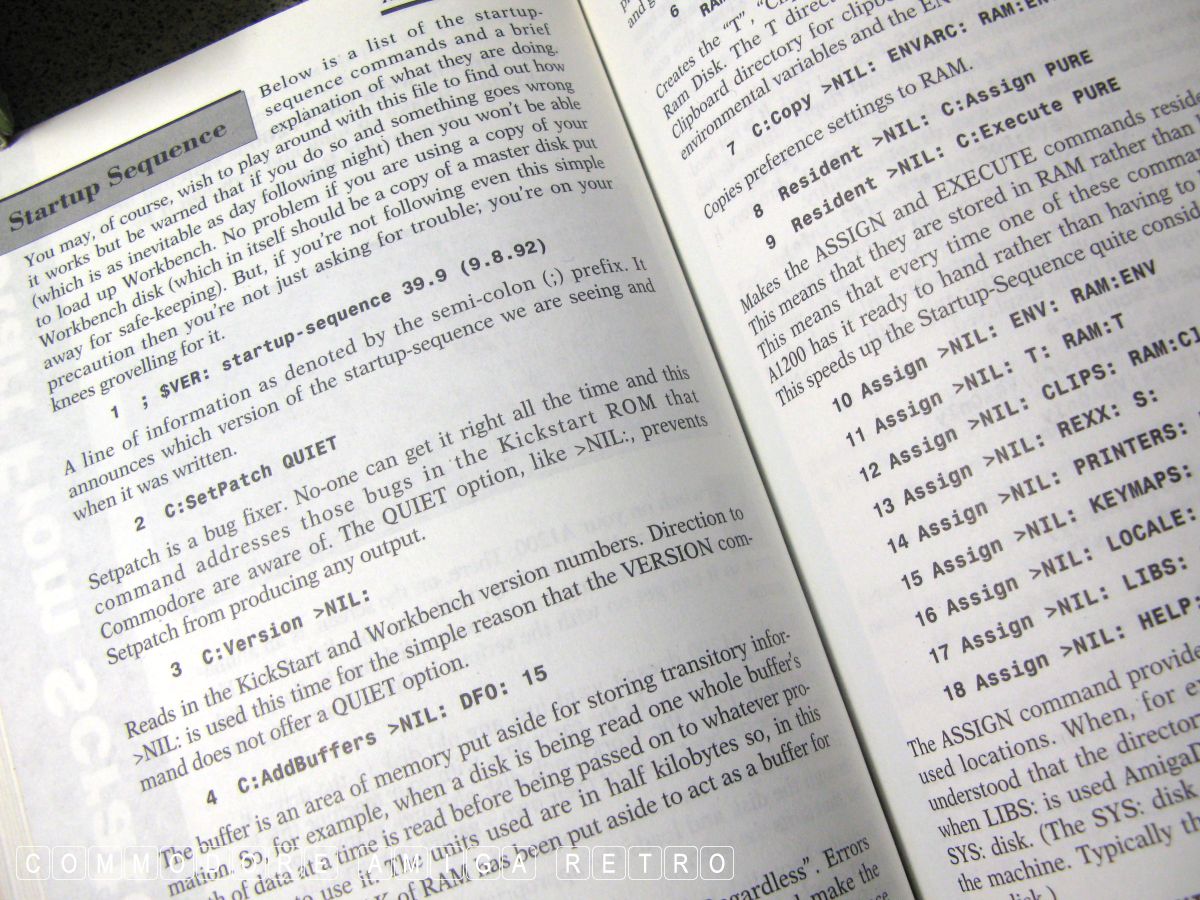
The book also breaks down the Startup-Sequence
line by line. Very useful.
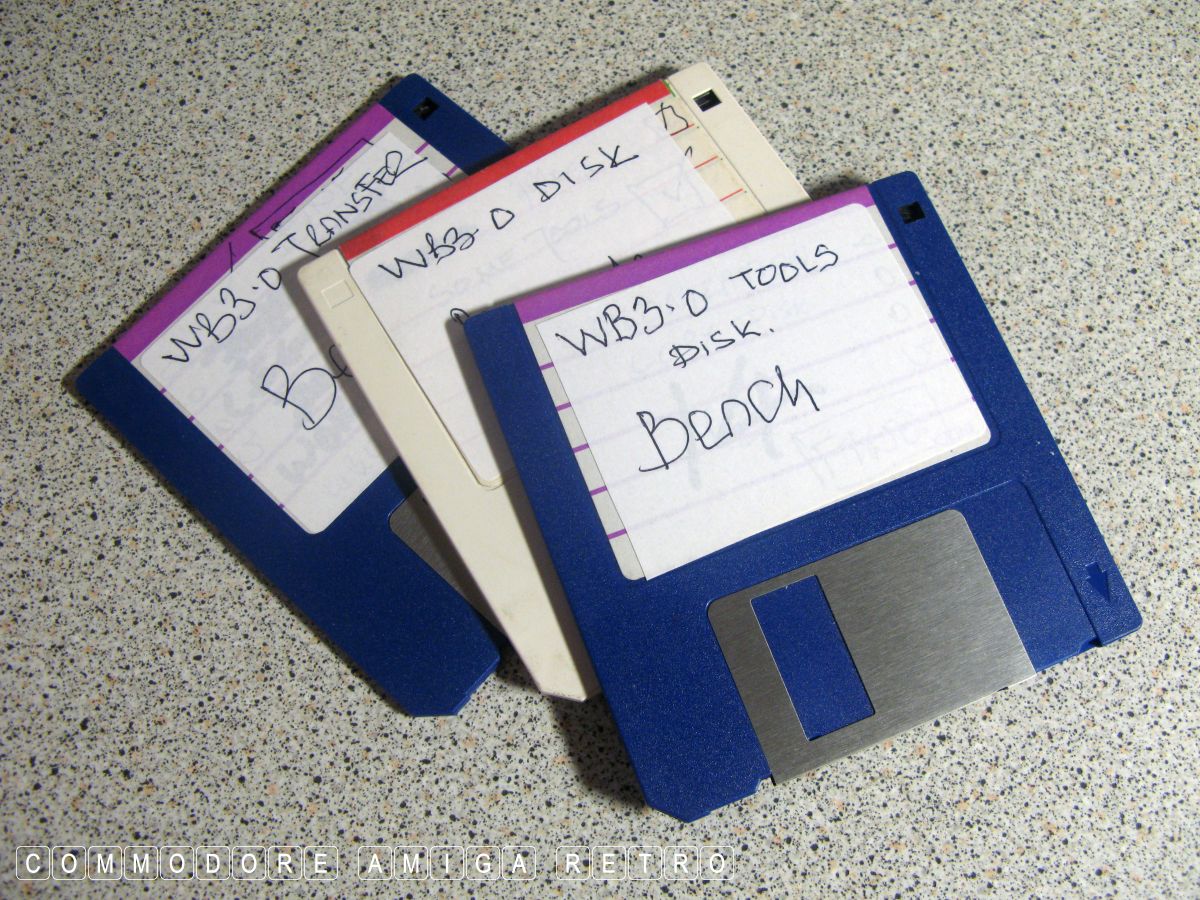
So I nabbed a few old disks from my
stockpile and formatted them. I also
checked them for errors with DiskSalve.
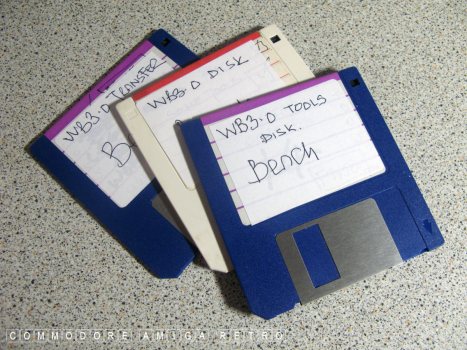
I labelled the disks as Bench and Transfer.
Without a hard drive I aimed on simply
copying disk files and then transferring
the necessary tools/projects/drawers to
a base Bench disk before setting up the
actual FreeBench disk. So a few disks
are needed and clearly labelled.

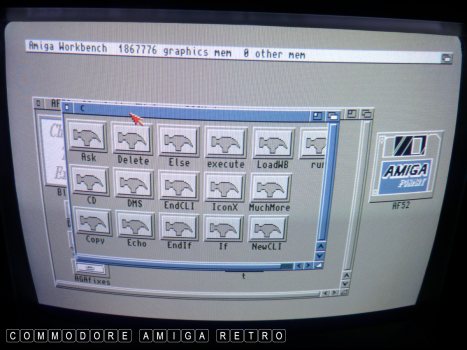
Just to remind myself this is a Workbench disk.

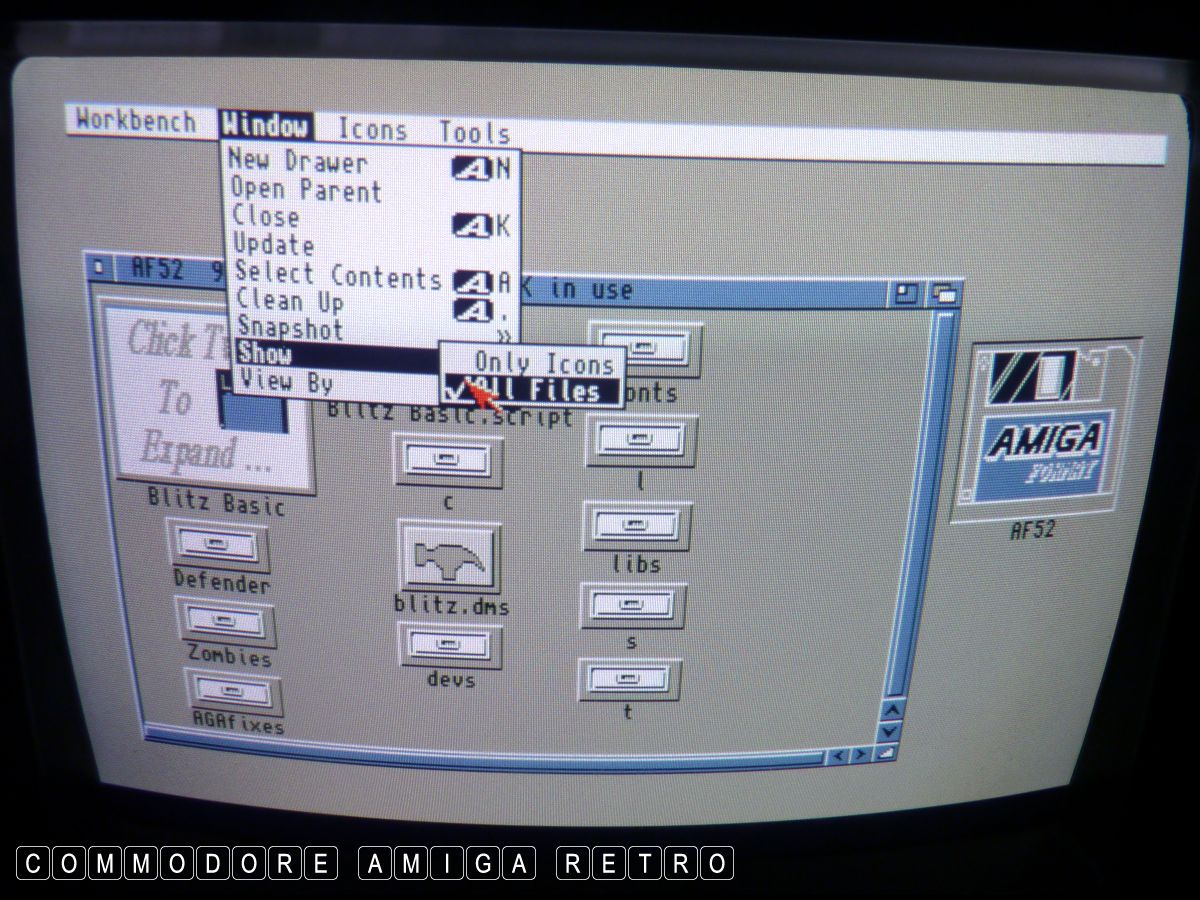
I booted using Amiga Format Disk 52.
Always select 'All Files' and let the
copying begin. Onward.
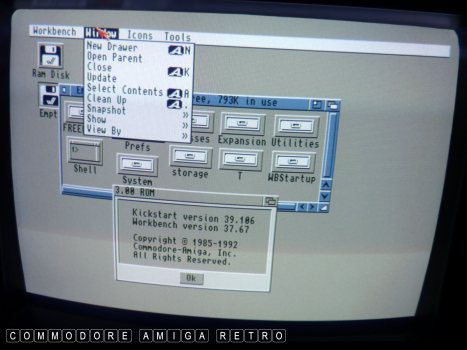
You can either just hunt down the files
you need or just copy everything from
each of the disks you open.
Just create the necessary drawers on a
blank disk and copy over files to the
drawers when you find them on cover disks.
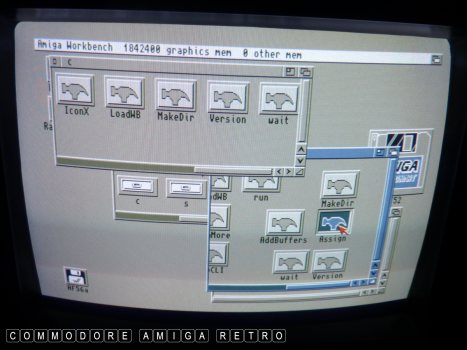
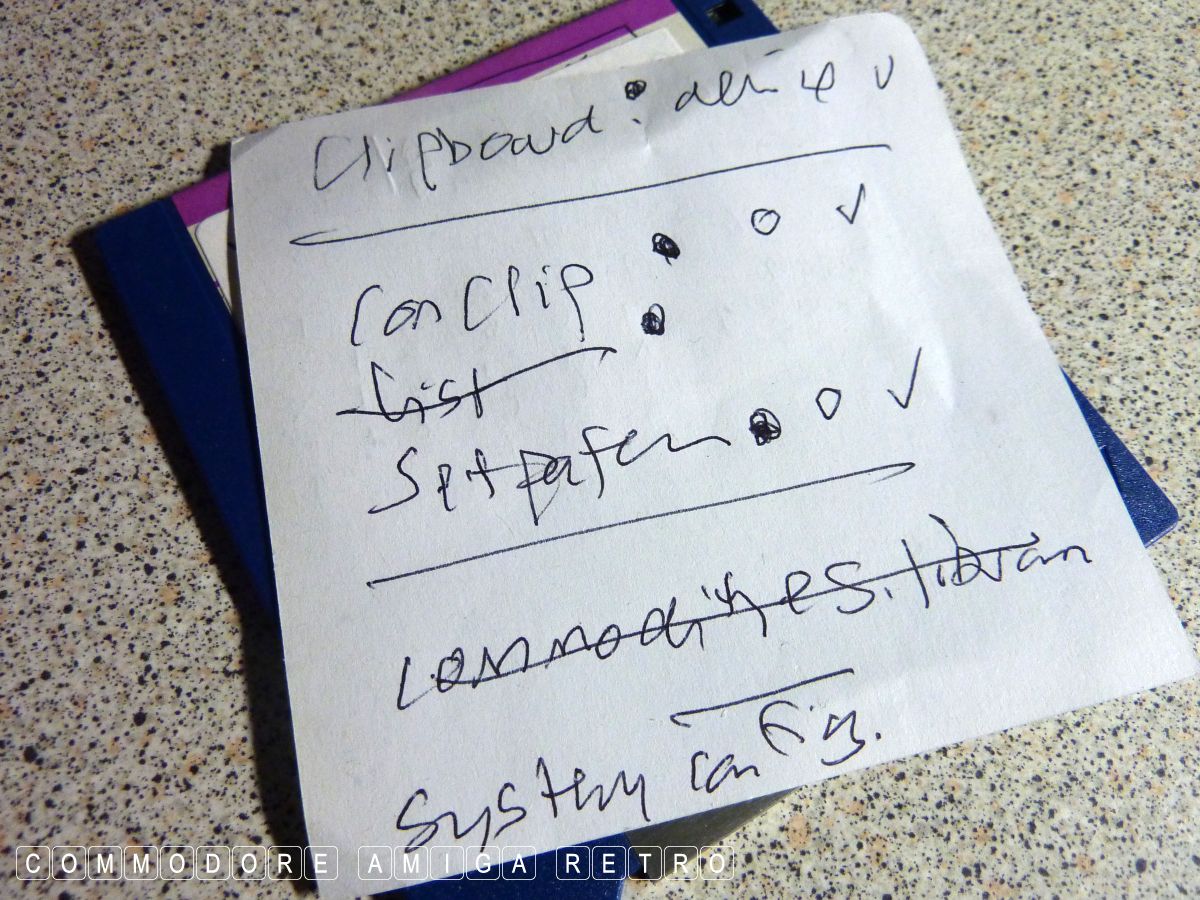
Just fill in the blanks from your list.

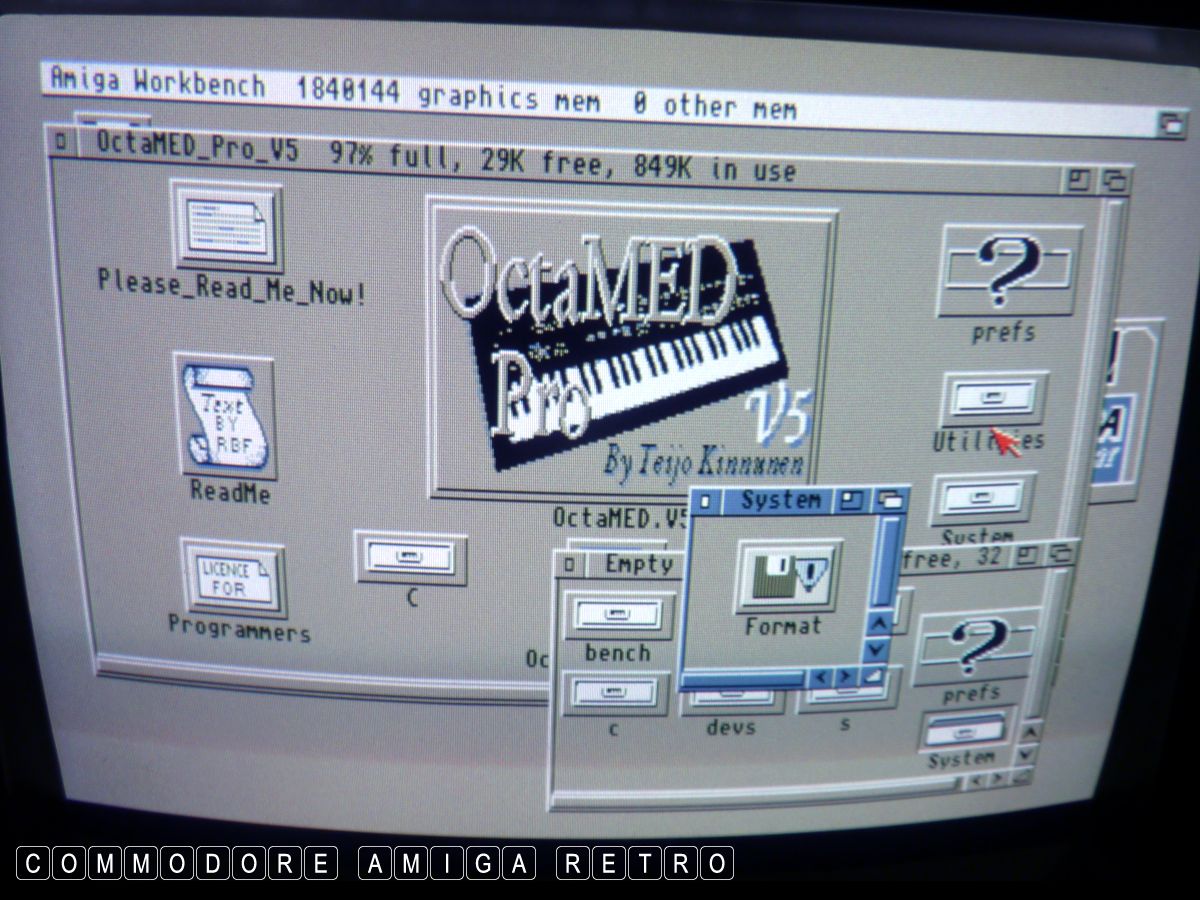
Some disks had preferences and system
tools such as Octamed which are very useful.

It was very easy to collate the necessary
disks needed for a Workbench 3.0 disk.
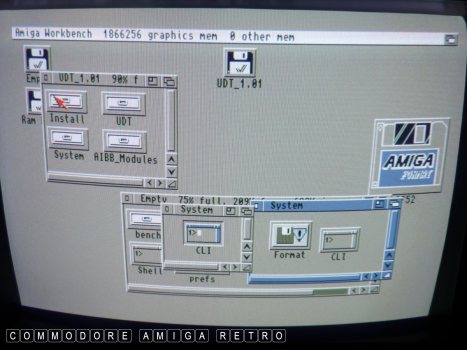
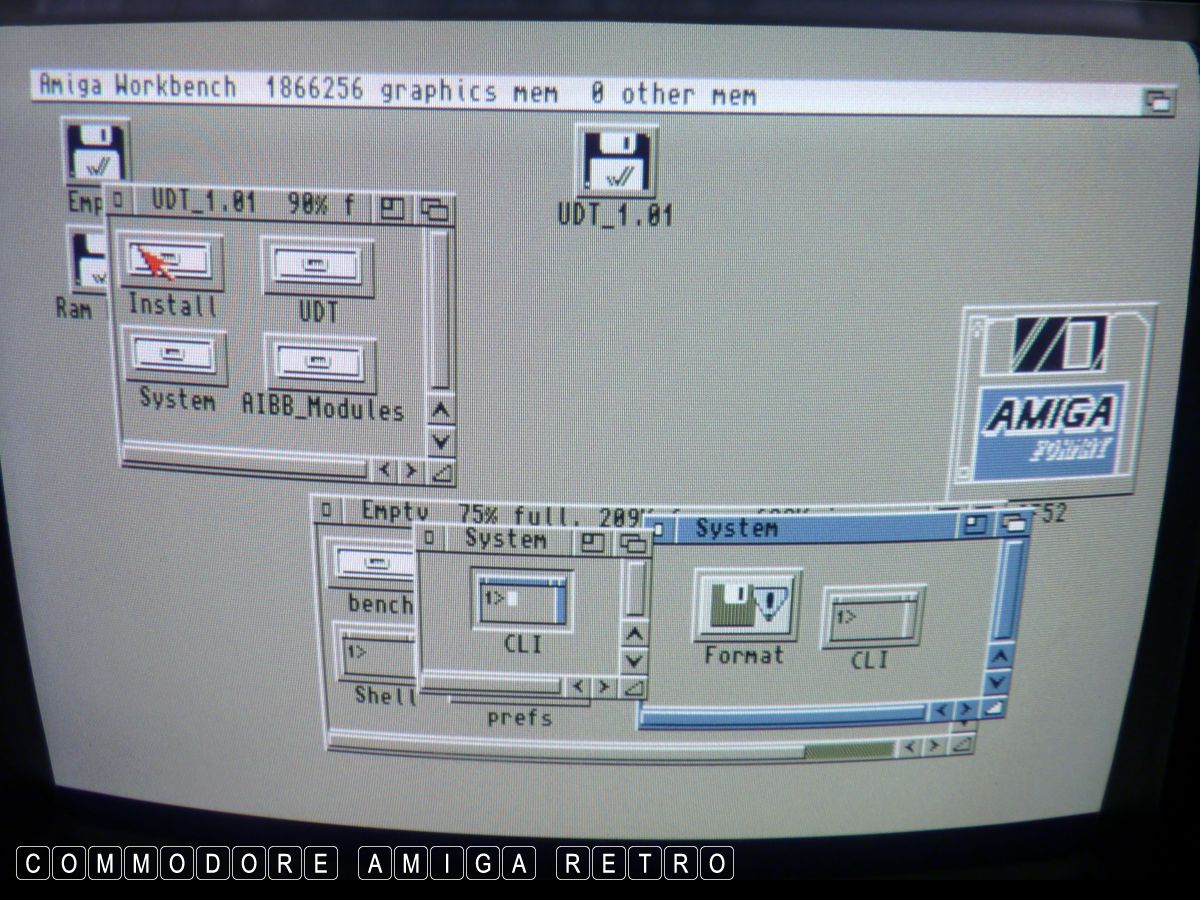
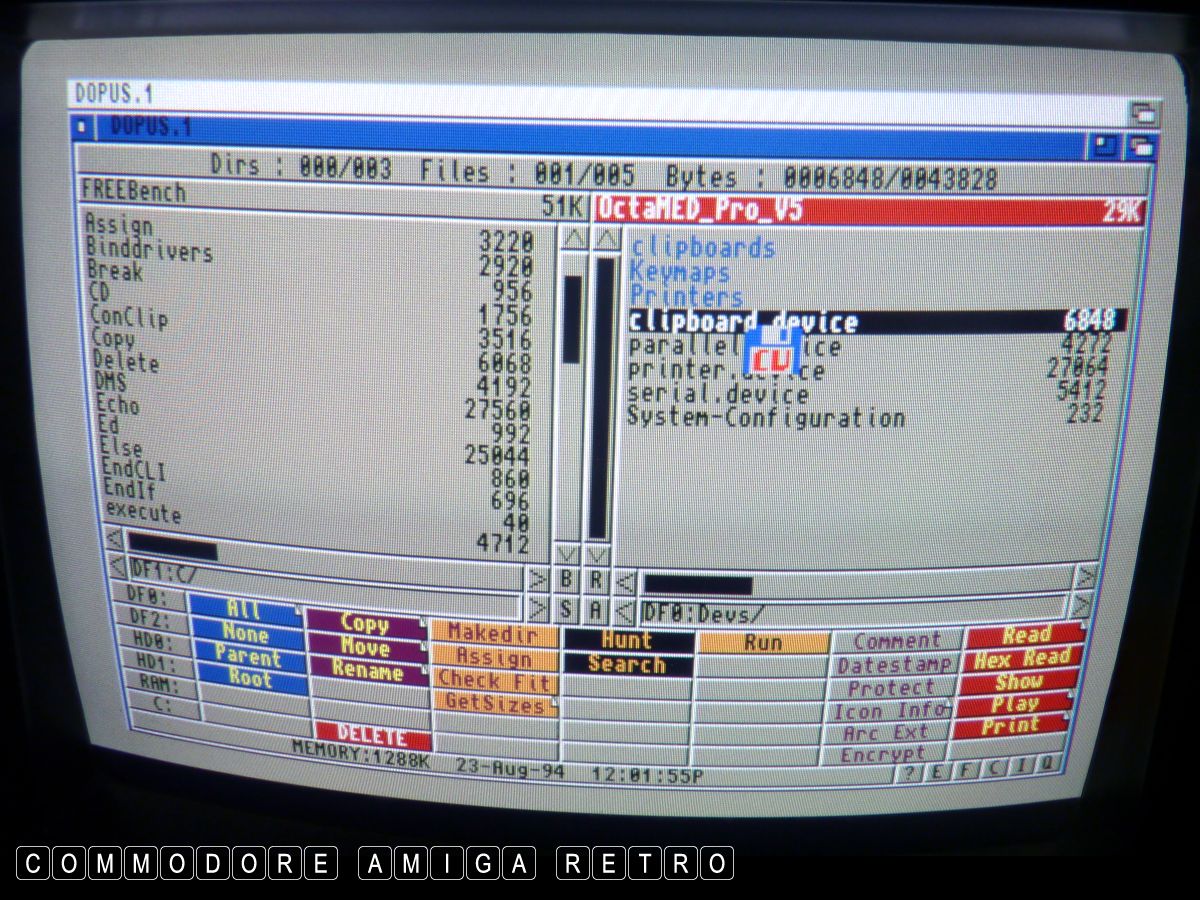
I even found the System CLI command.
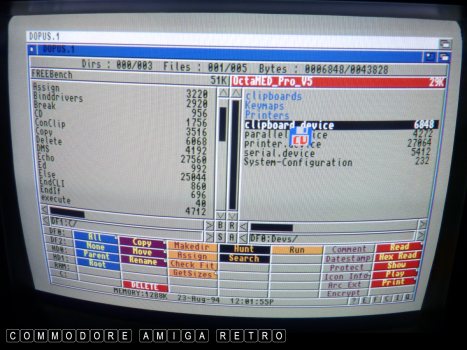
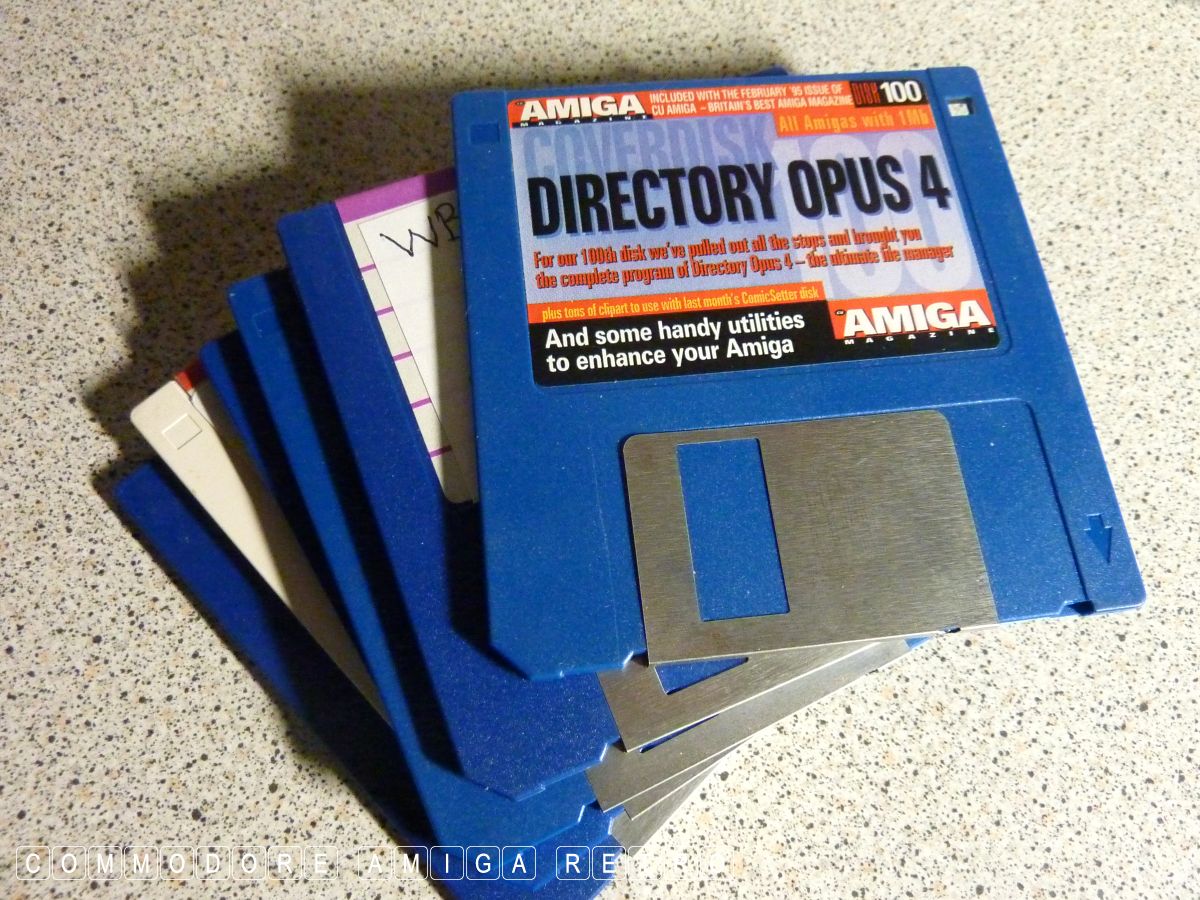
By the time I got to CU Amiga Disk 100
I was able to use DOpus making the
search and copy process way easier.
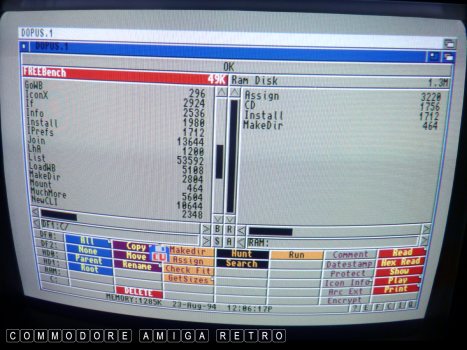
Time to make that BOOT disk.
I copied Assign, CD, Install and MakeDir to
RAM and Installed the blank disk in DF0:

Having copied files to RAM as shown
I changed directory to RAM and installed
the disk by typing in 'install DF0:'

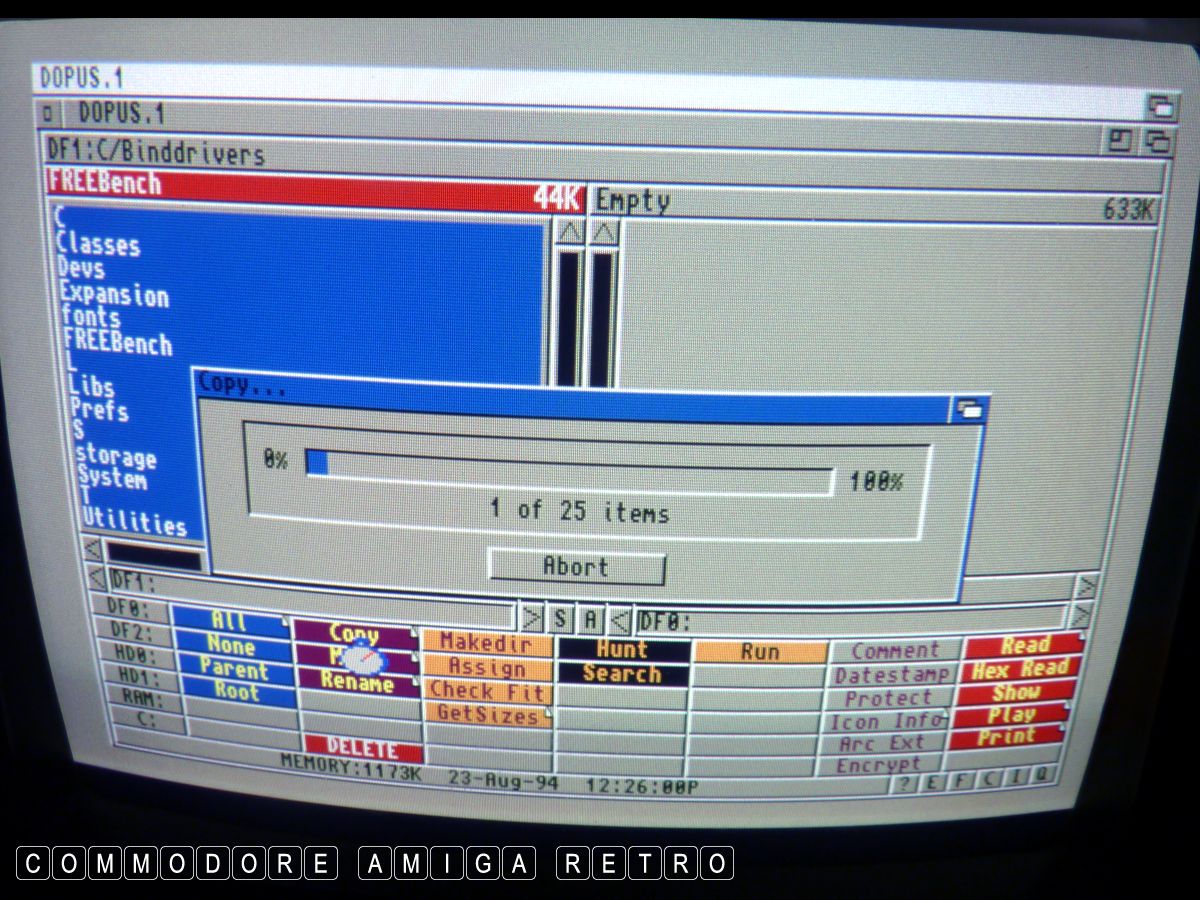
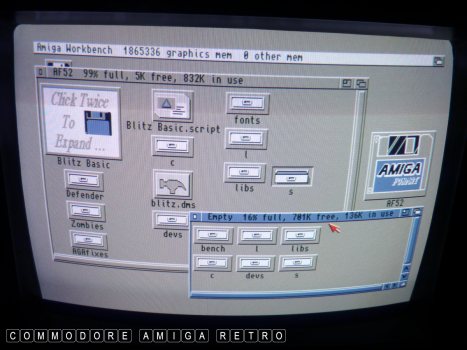
Next I used DOpus to copy all my drawers
to the blank disk that I just installed.
I composed my Startup-Sequence as per
the lines from the book using CED.
That worked and I was soon able to
mount the empty disk as a bootable
Workbench 3.0 disk.
The disk was already fully functional.

I only needed a handful of disks in the end.
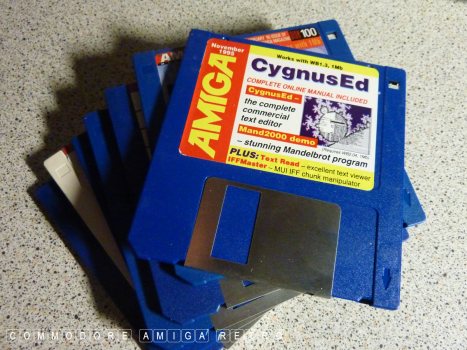
I used CED for the startup-sequence.
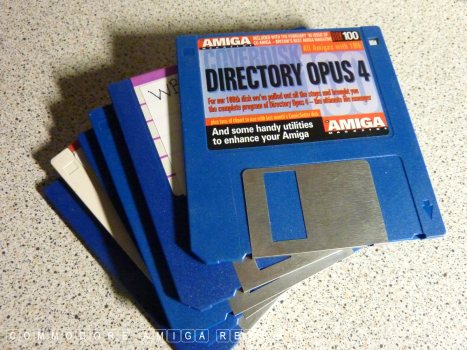
And Directory Opus 4 for file management.
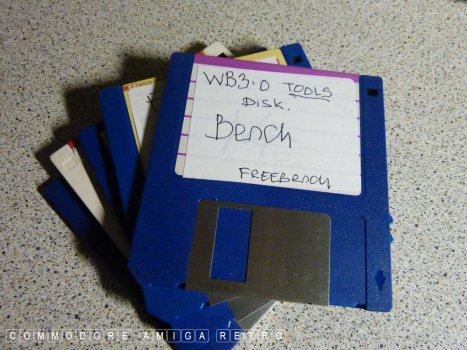
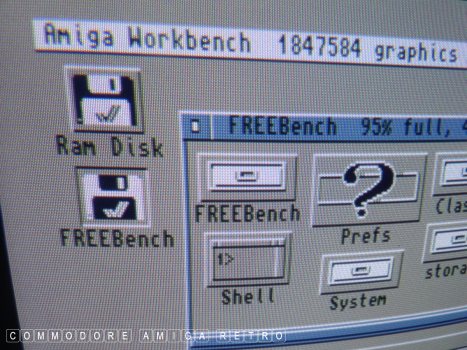
I created a FreeBench Tools disk.
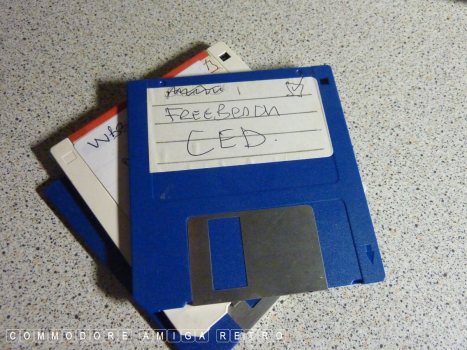
And other disks for CED and DOpus.
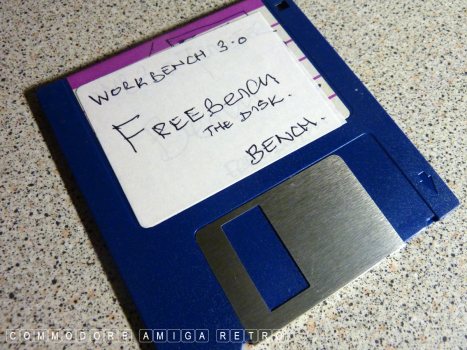
And finally renamed the main disk FreeBench.
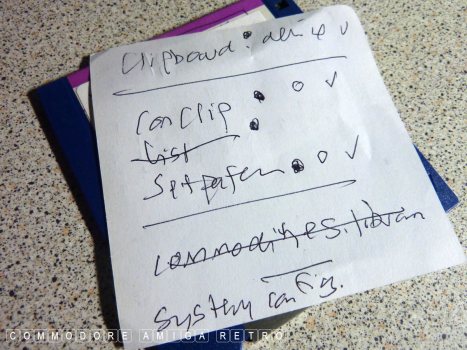
The list of missing files eventually got
ticked off after going through a handful
of my cover disks. Amiga files were pretty
prolific on most disks.
So there we have it.
If you have a fistful of old cover disks
there is no reason why you cannot create
your own Workbench disks. It really is that easy.