
CED and DOpusIV for you to download.
You can either obtain the CU Amiga cover disk from
Or obtain from this link to the official release.
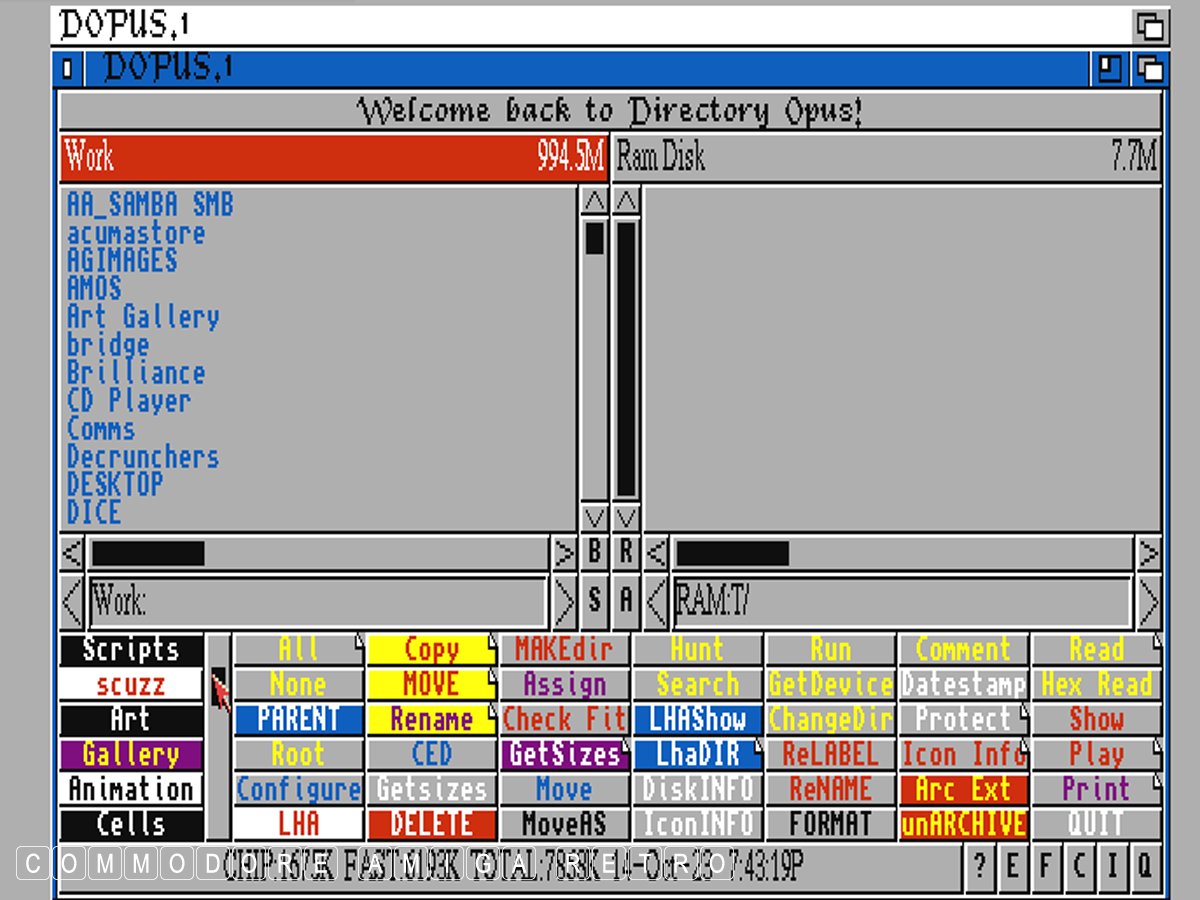
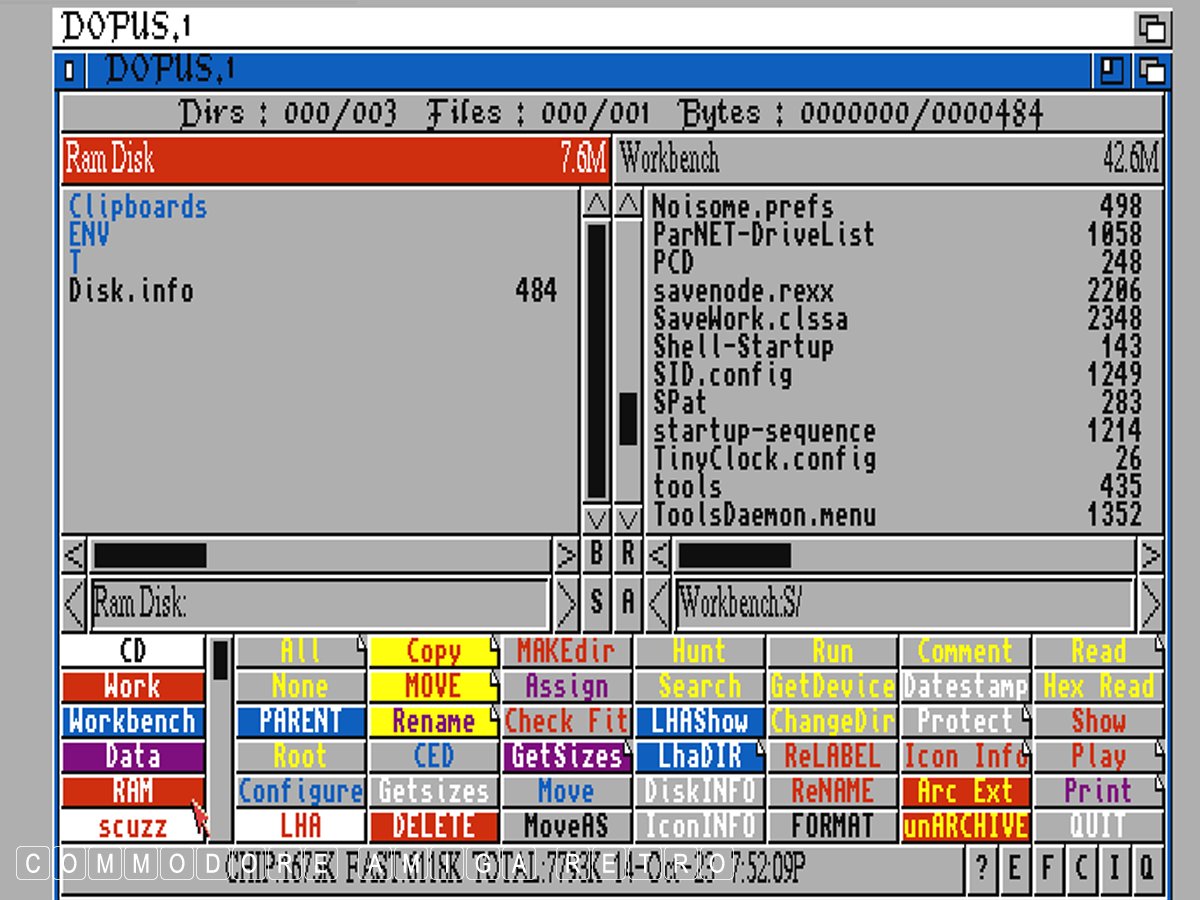
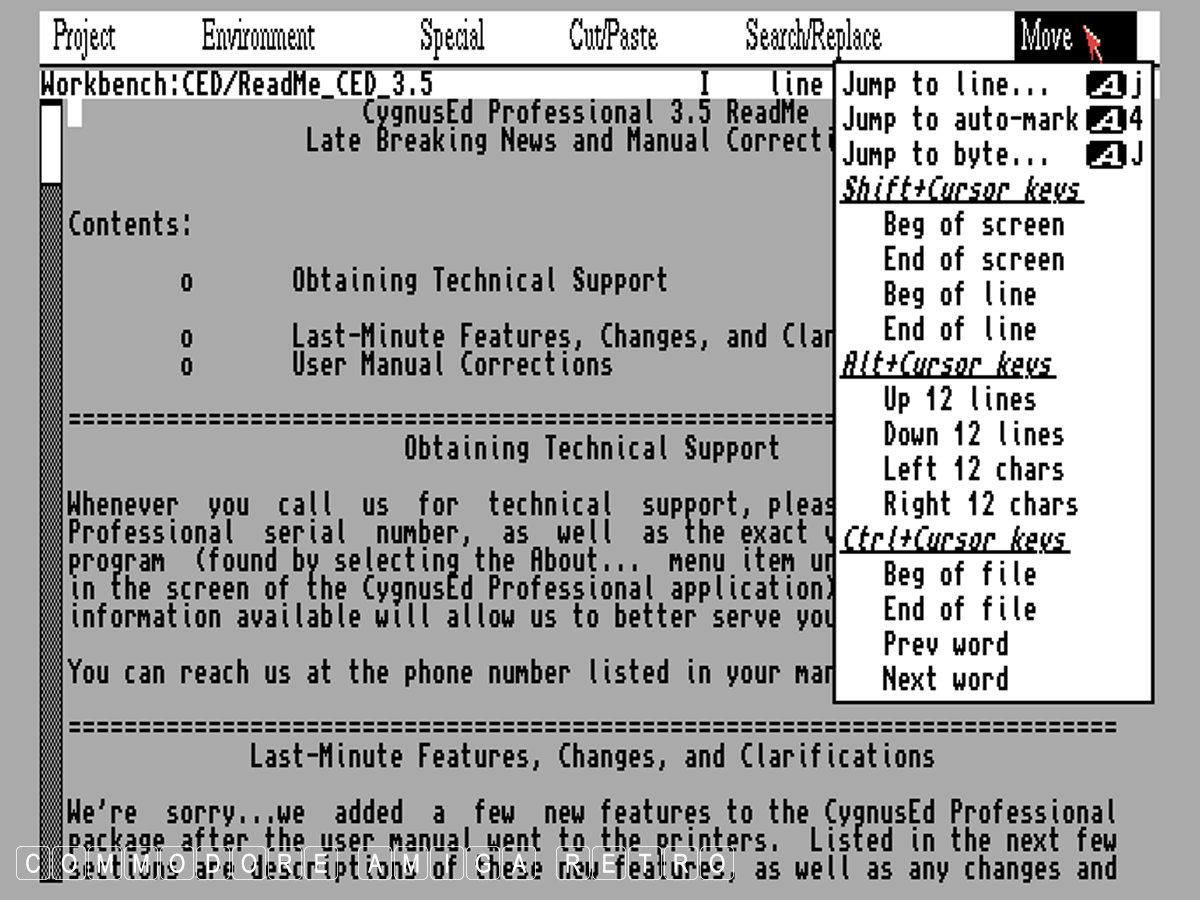
DOpus 4 with the drives bottom left There are five
Today I show how we configure a button/drive to link
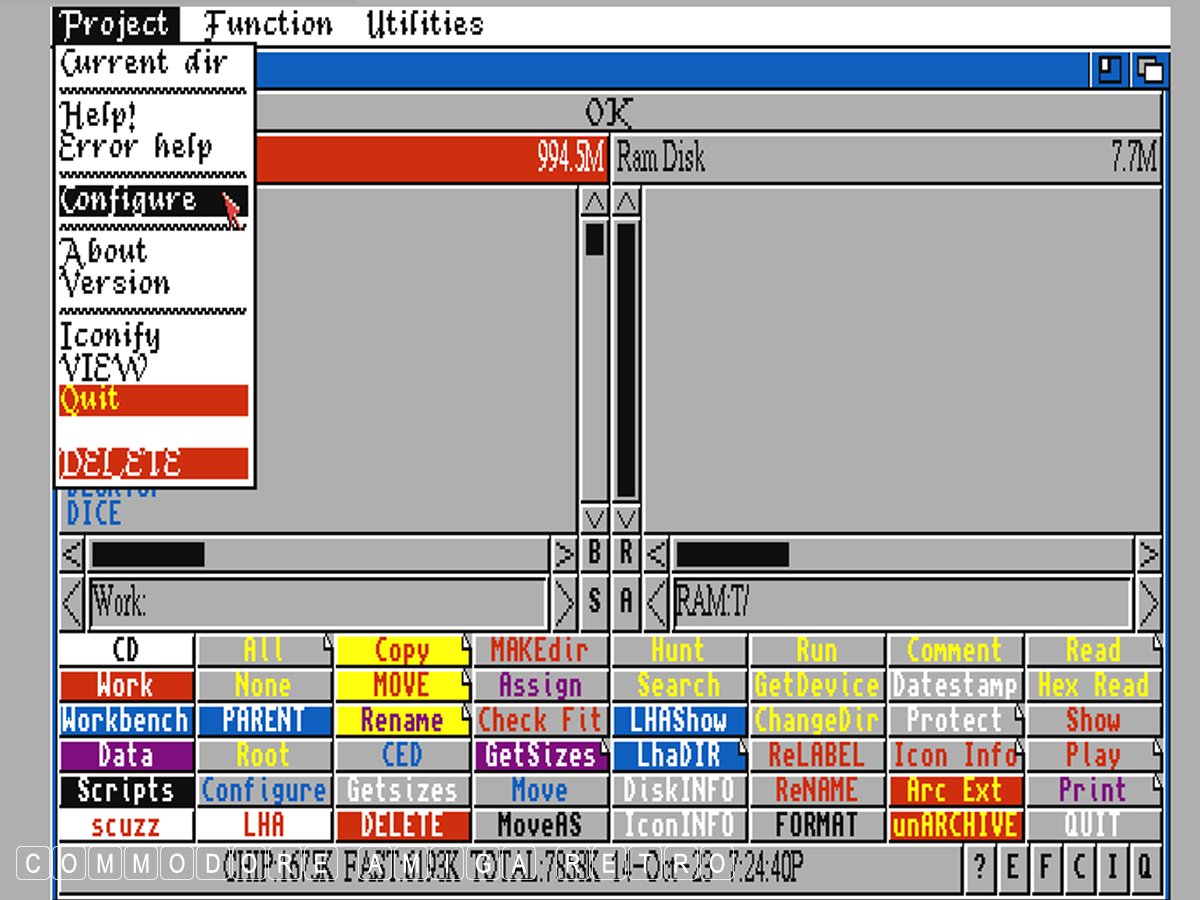
From the menu click the 'Configure' selection
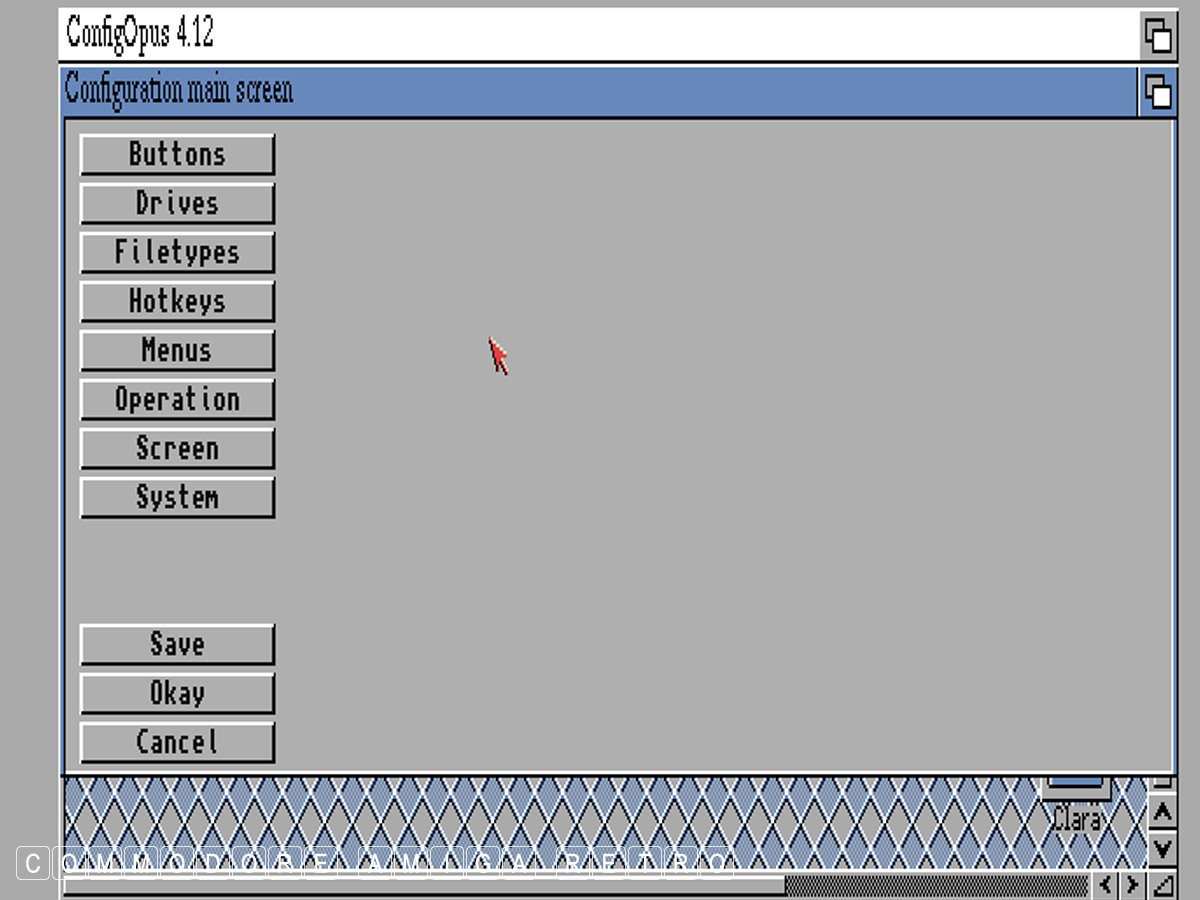
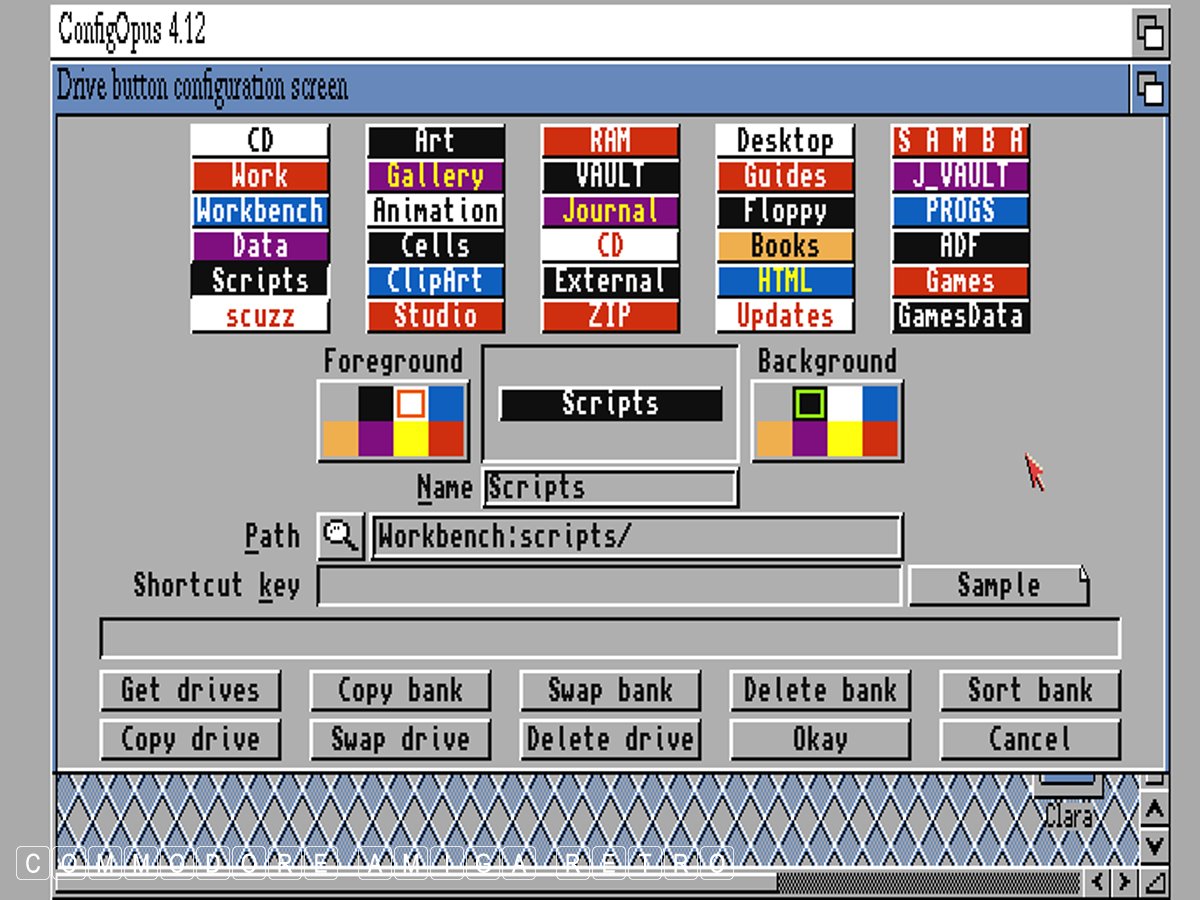
Next select Drives
These are your bank of five drives
I will now check the 'scuzz' drive
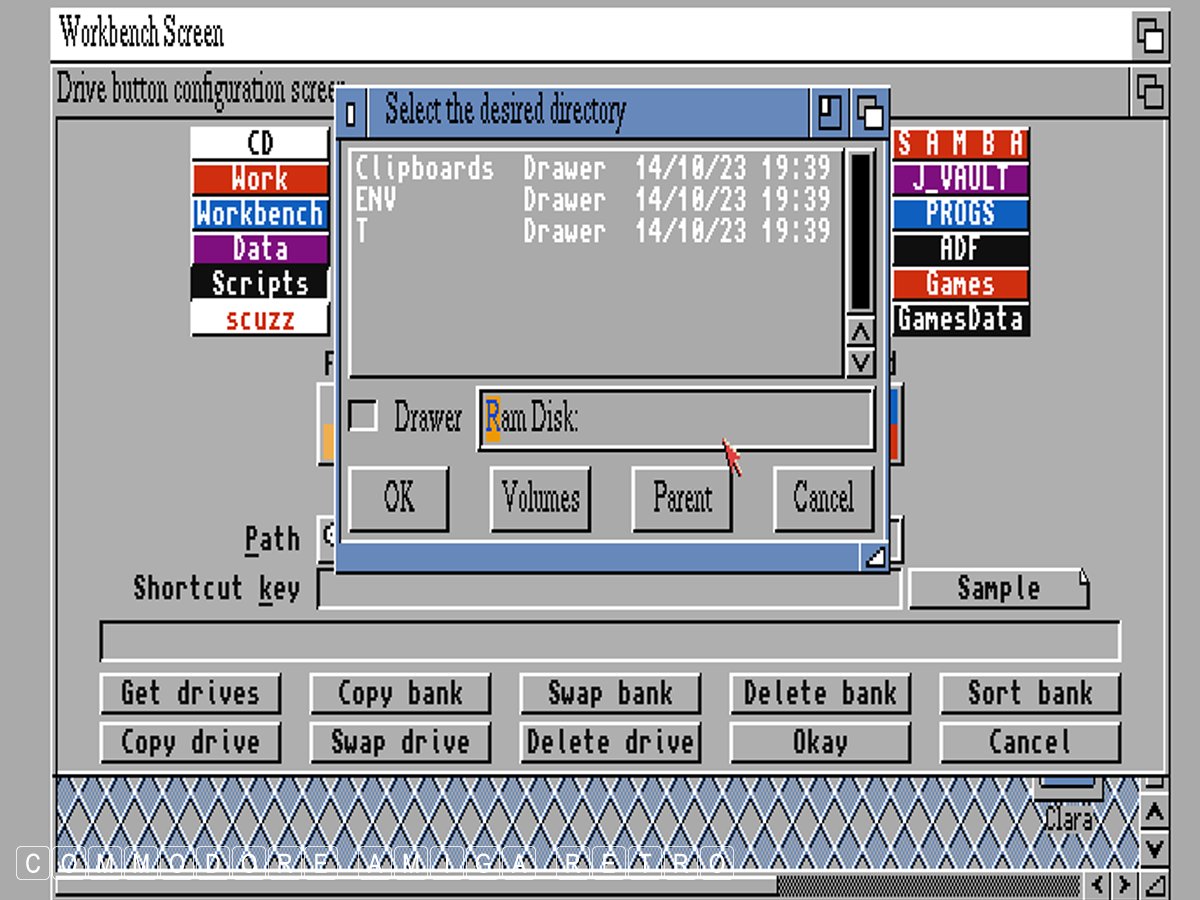
Clicking 'scuzz' opens this next window
Clicking the magnifying glass opens the
I Click Work and then find scuzz and click that
Clicking Work and then scuzz gives us the
The search tool will place the directory path
You must press 'RETURN' when you have edited the
I close the previous window and save if I am happy
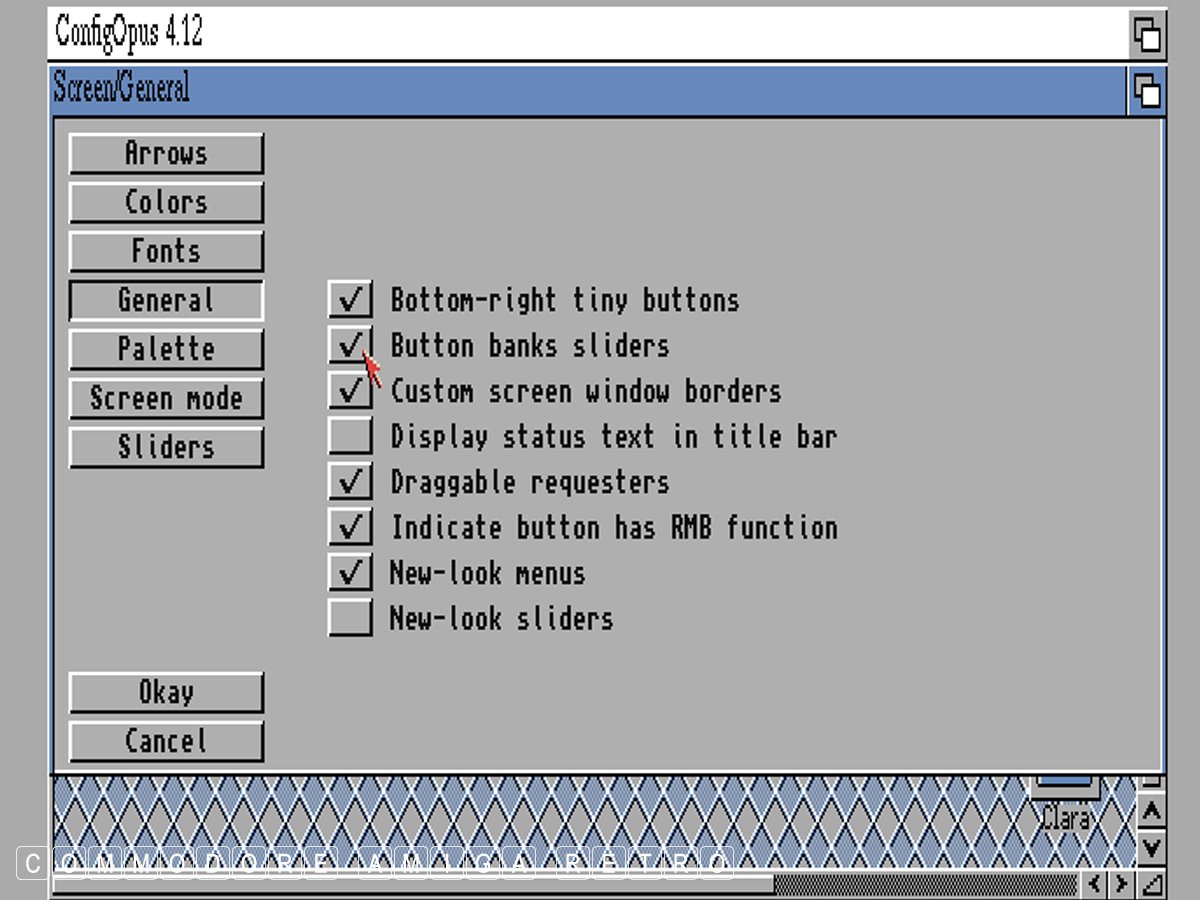
The Drive selection list is obtained by
Or you can go to the Configuration menu again
And then 'Sliders' ..
And select the 'Button banks slider' if you
Now you have a slider to scroll through Drives
Note that the config files for DOPus are in Let's see if you have understood what I did
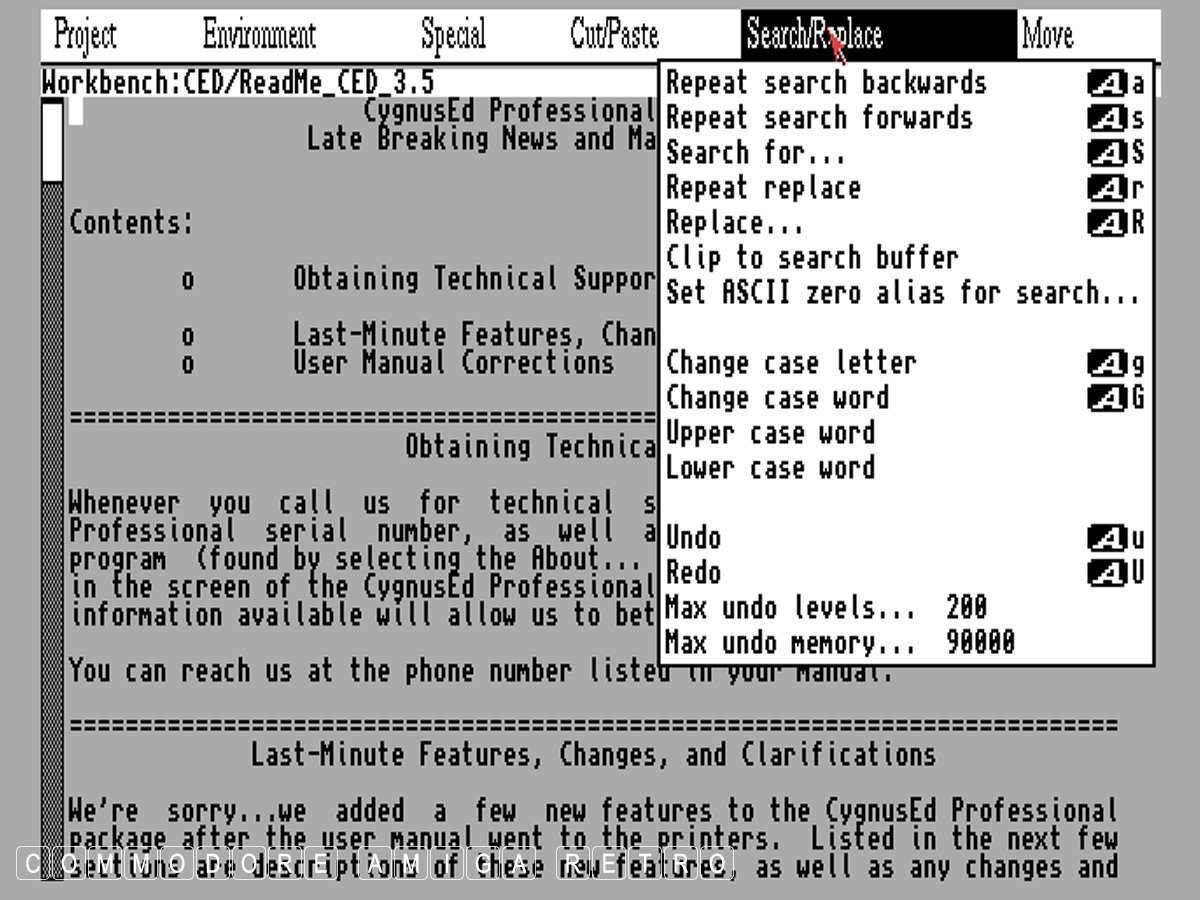
I click the button called 'Scripts' [ Colour white on black ].
We click the magnifying glass to find RAM
Don't forget to make sure you use the search
Next edit the words to say RAM and edit
When you have edited the wording for the button
So with the button now set for RAM you can
You will see buttons for Arc Ext, unaARChive and LHA
If you have copied your DOpus disk and are being
You will need to add an assign statement as shown for
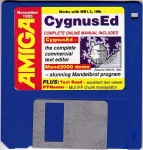
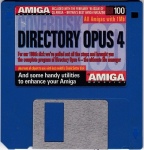
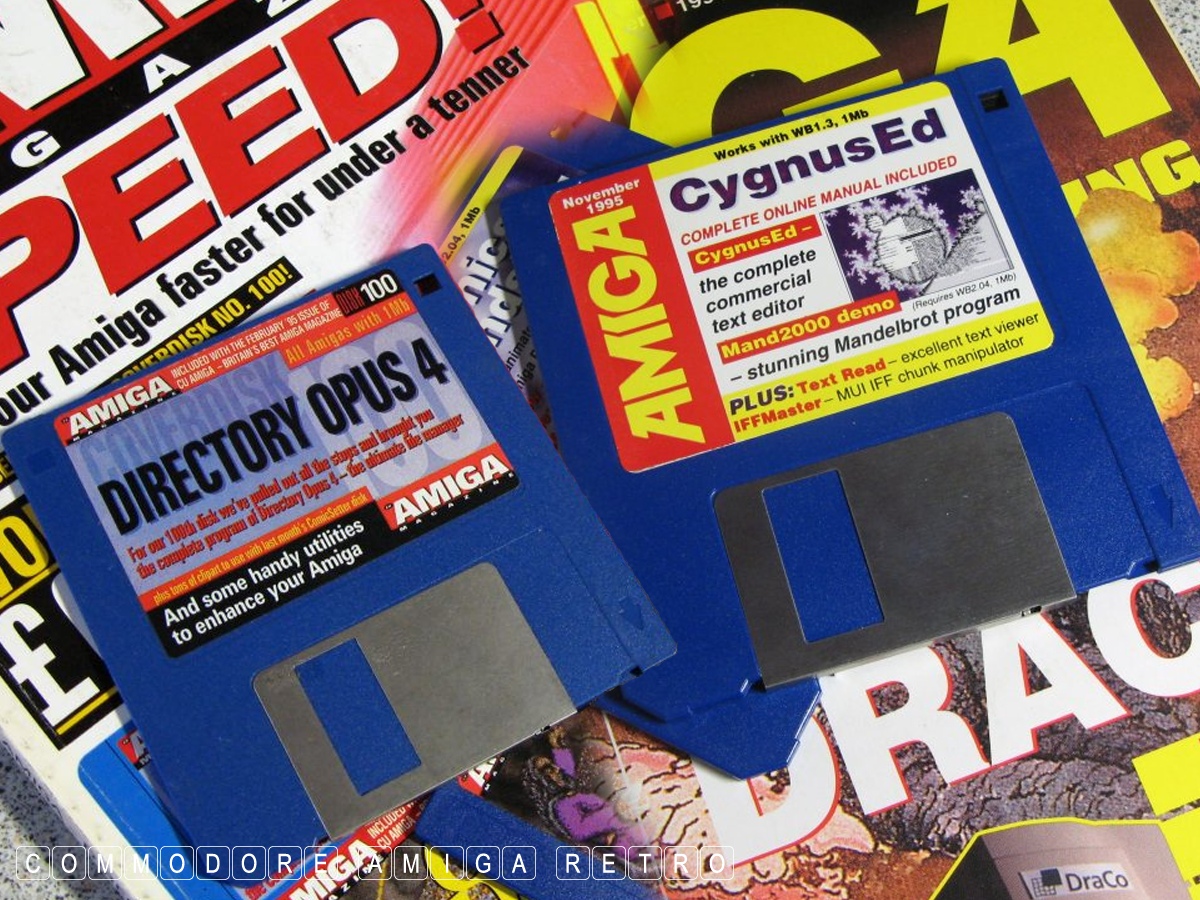
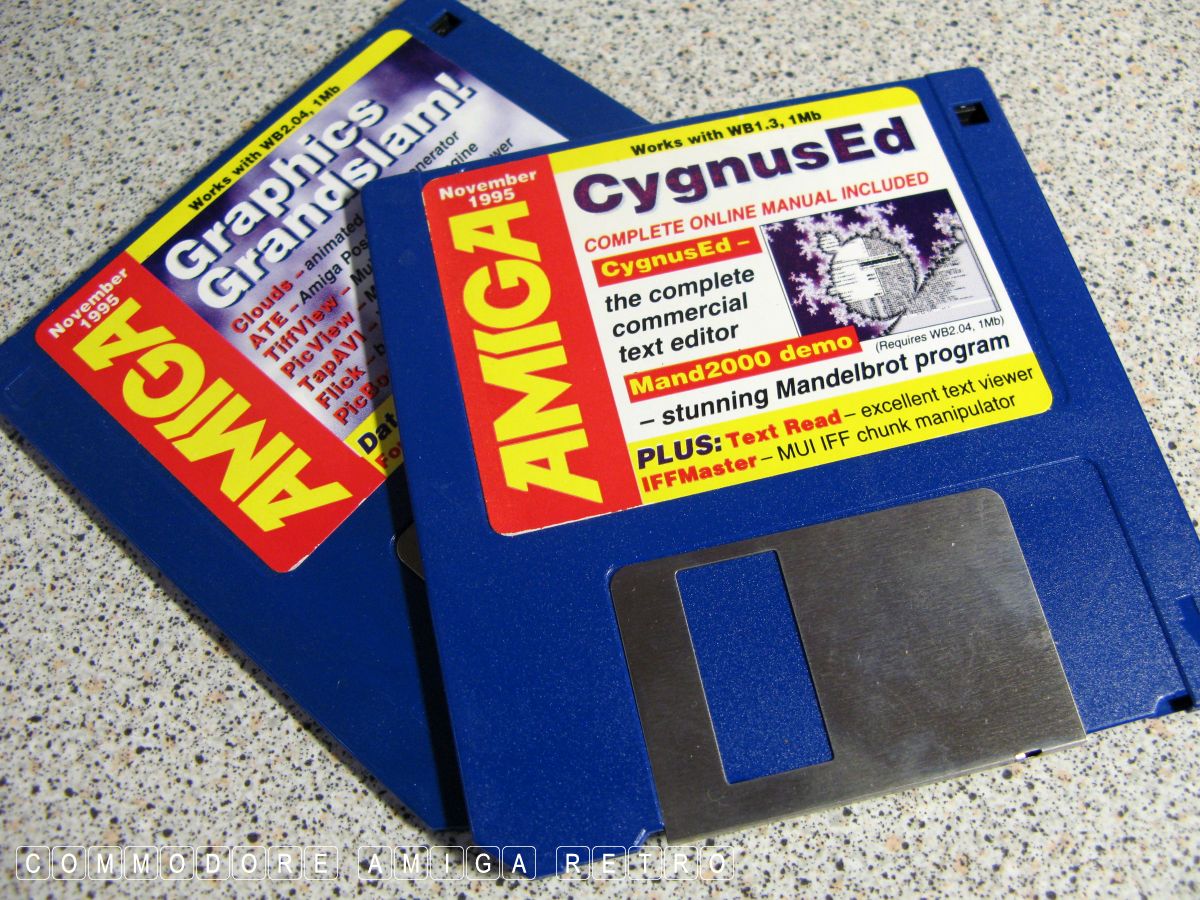
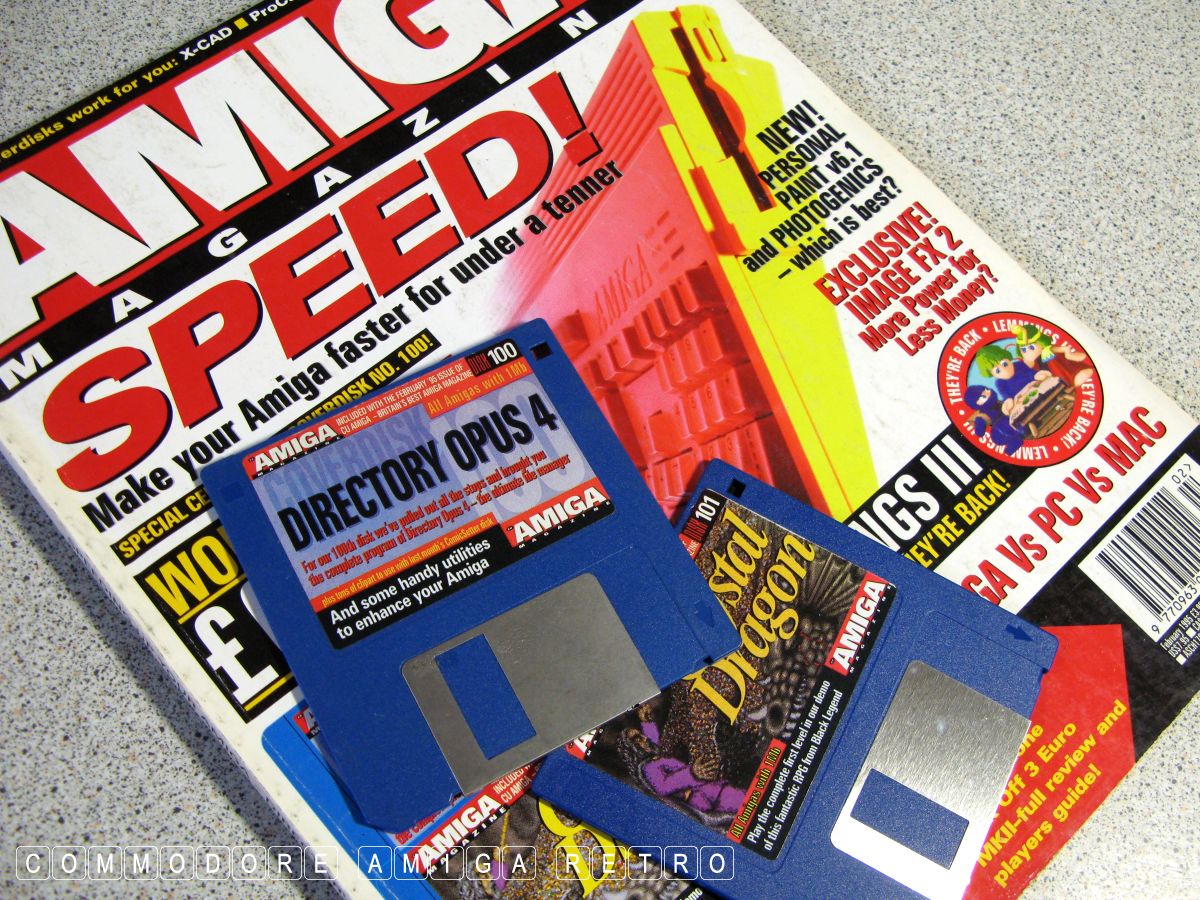
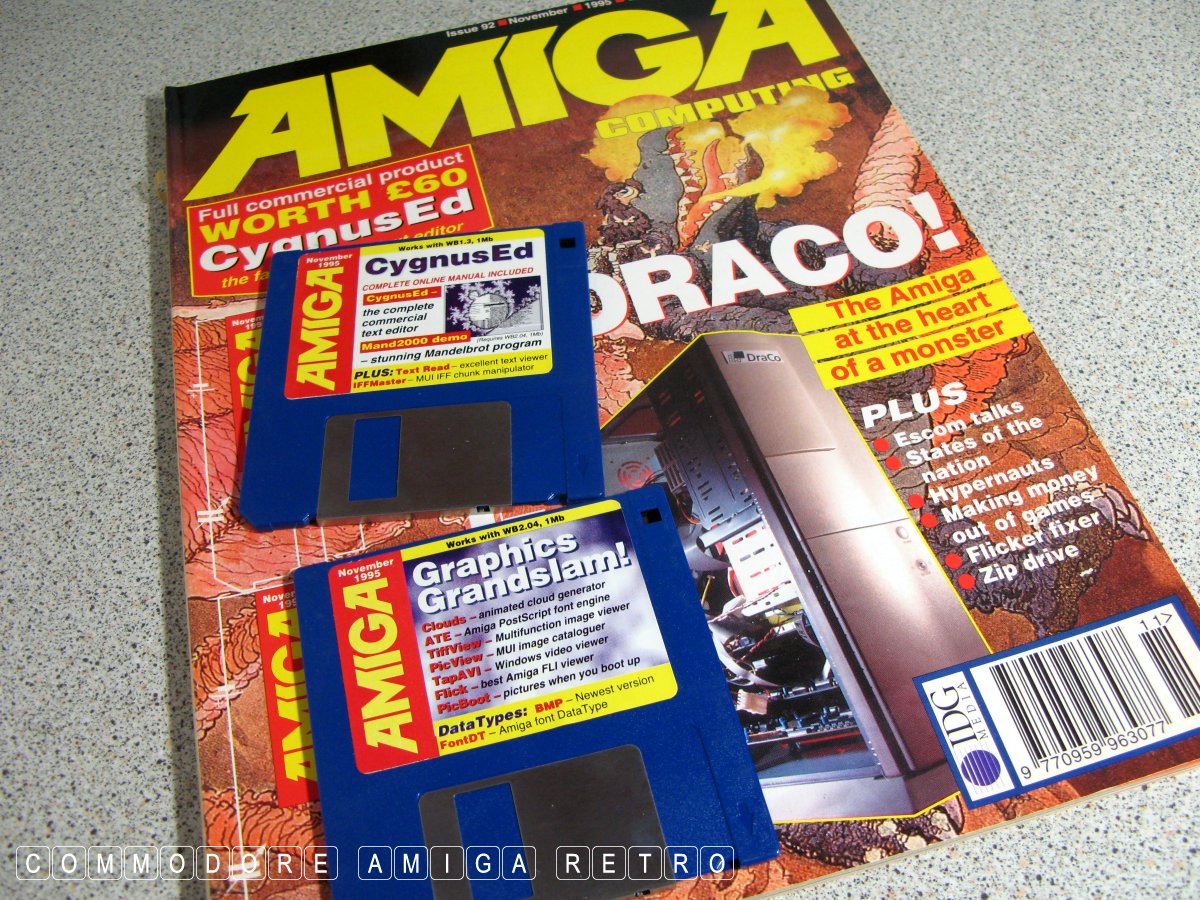
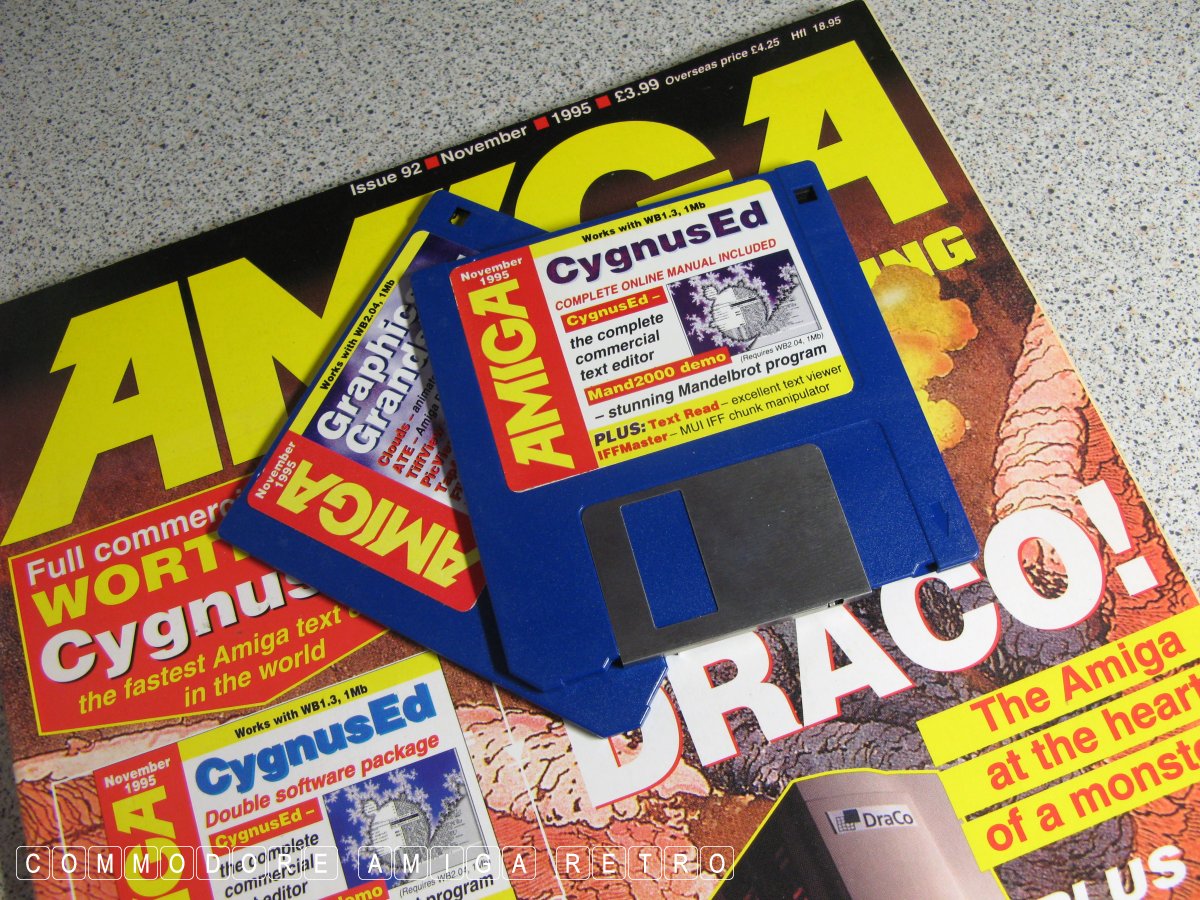
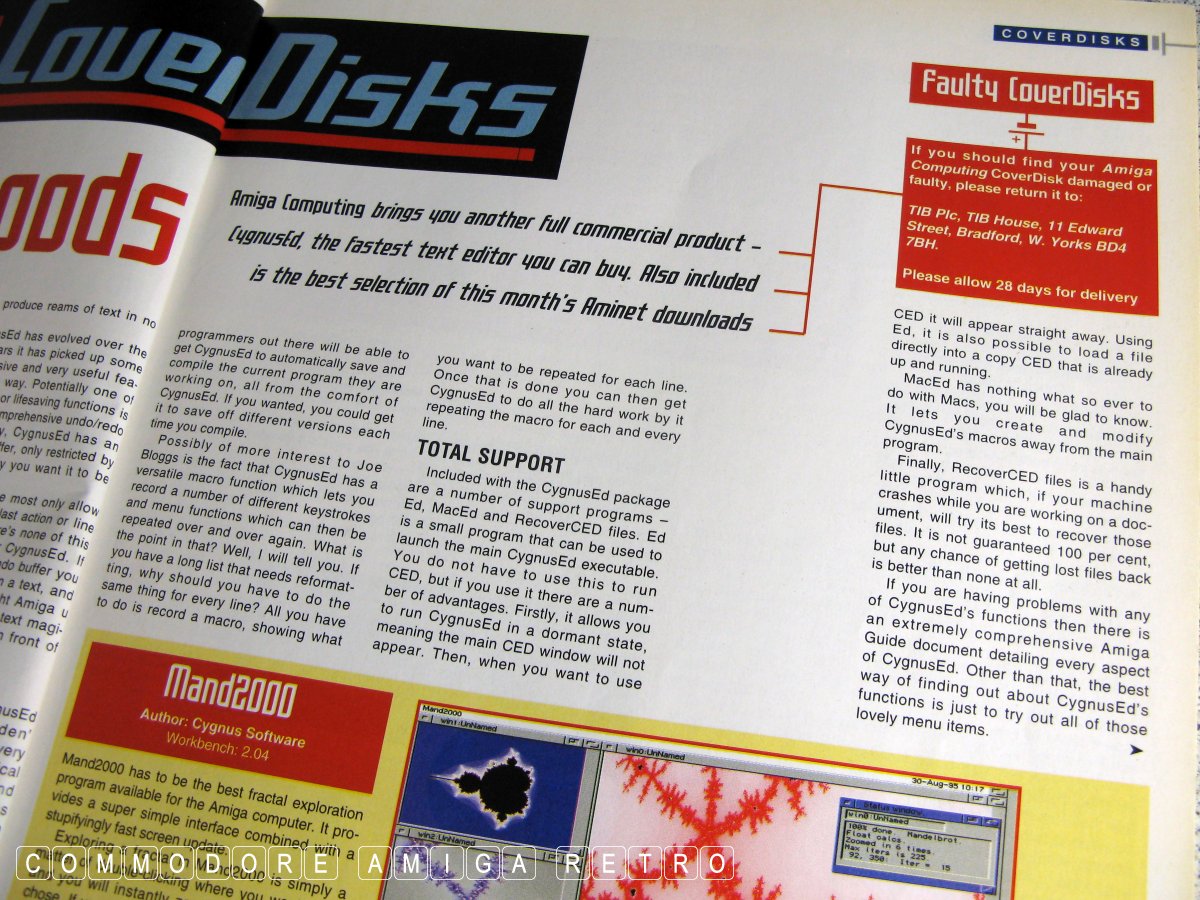
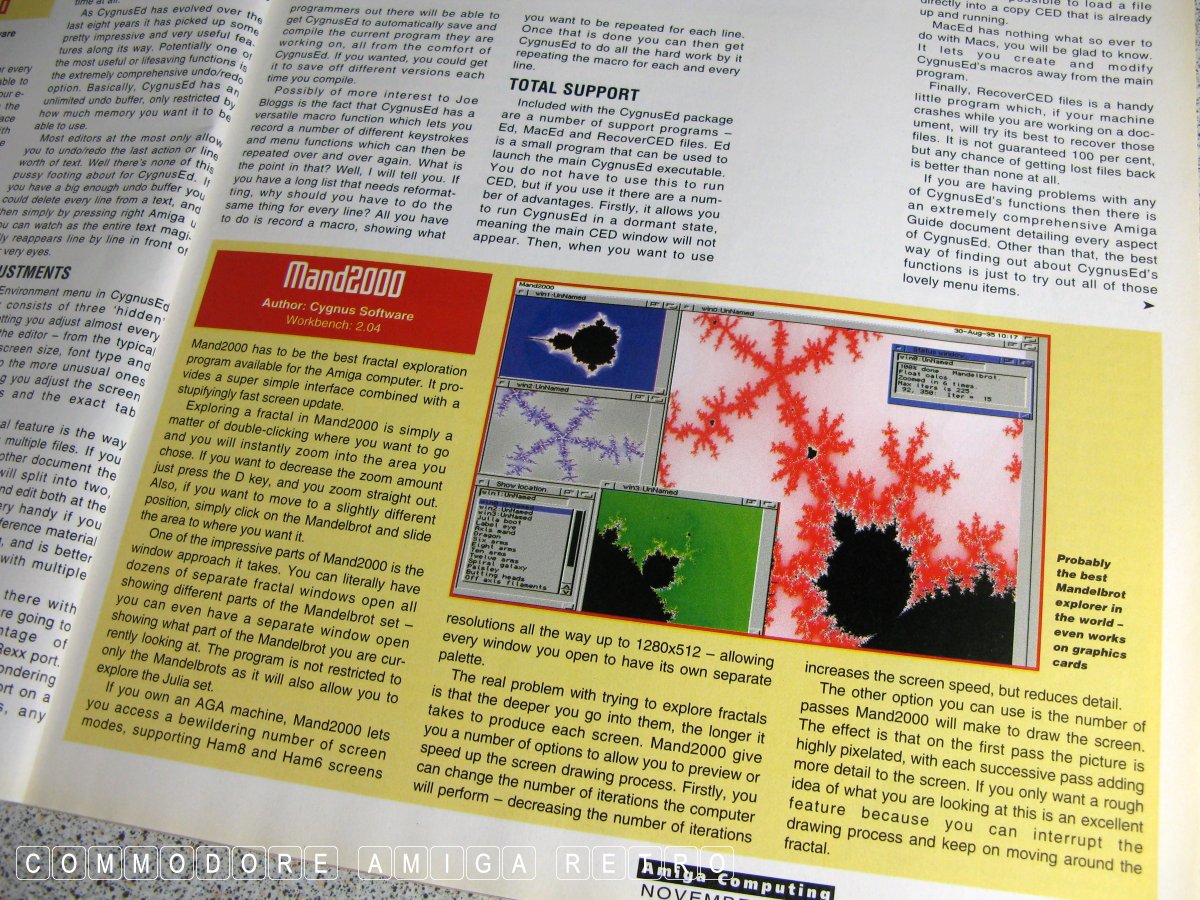
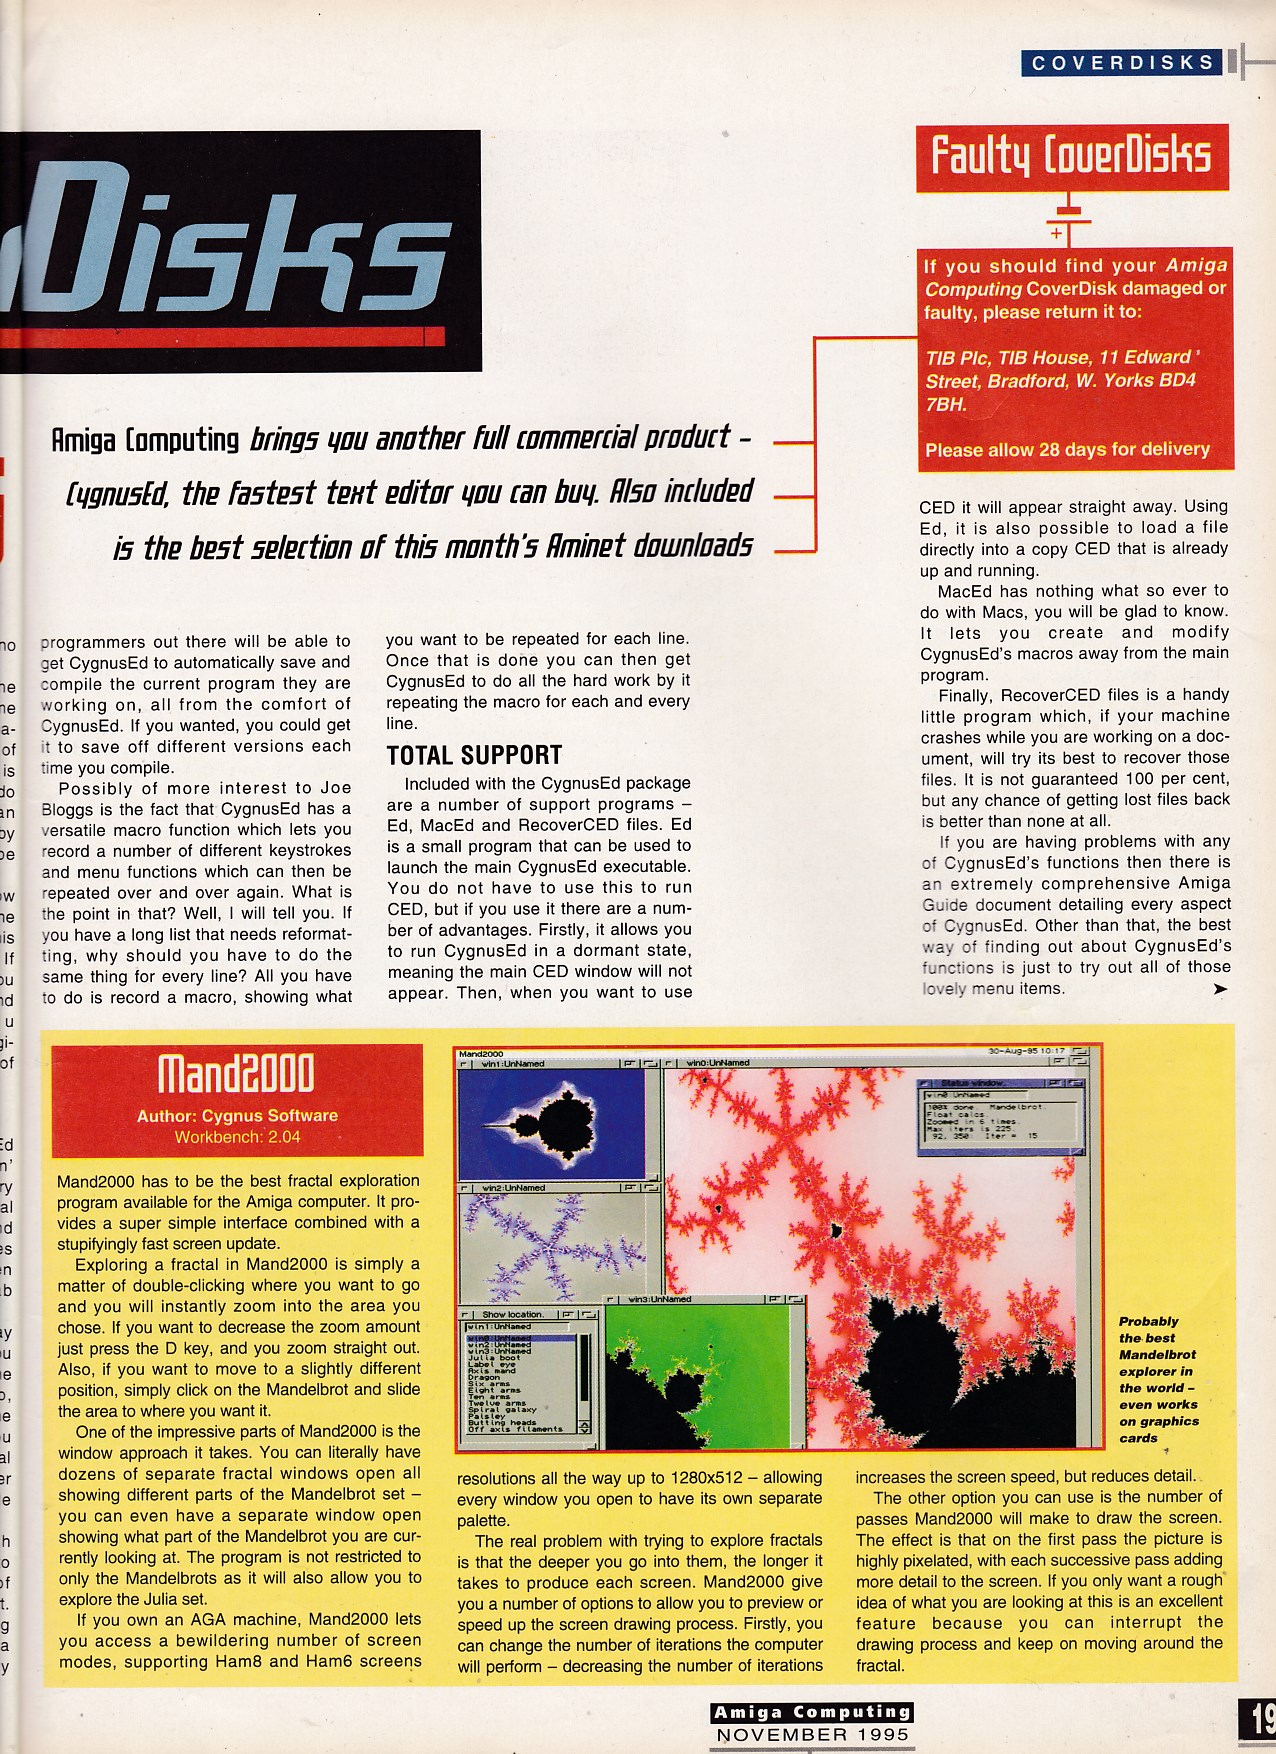
DOpus 4 was released on CU Amiga cover disk 100
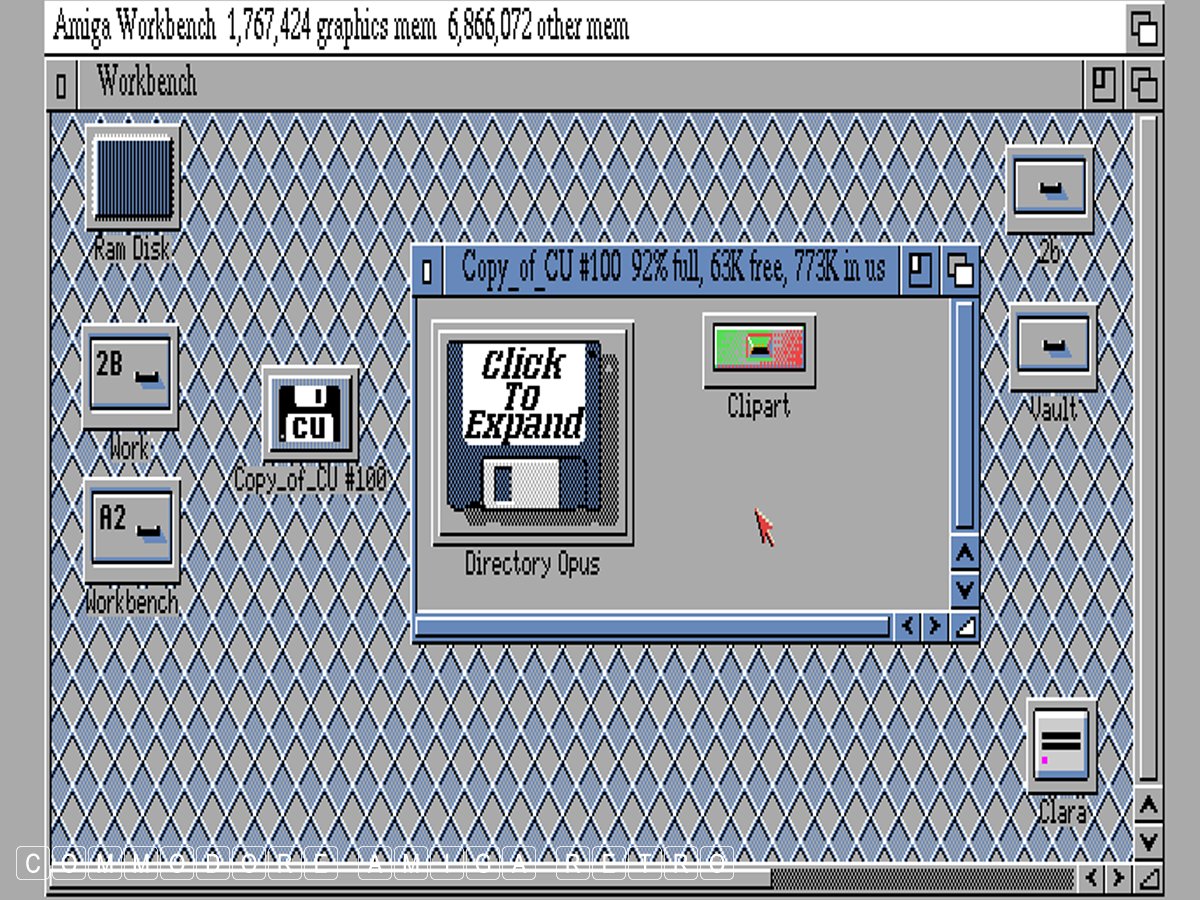
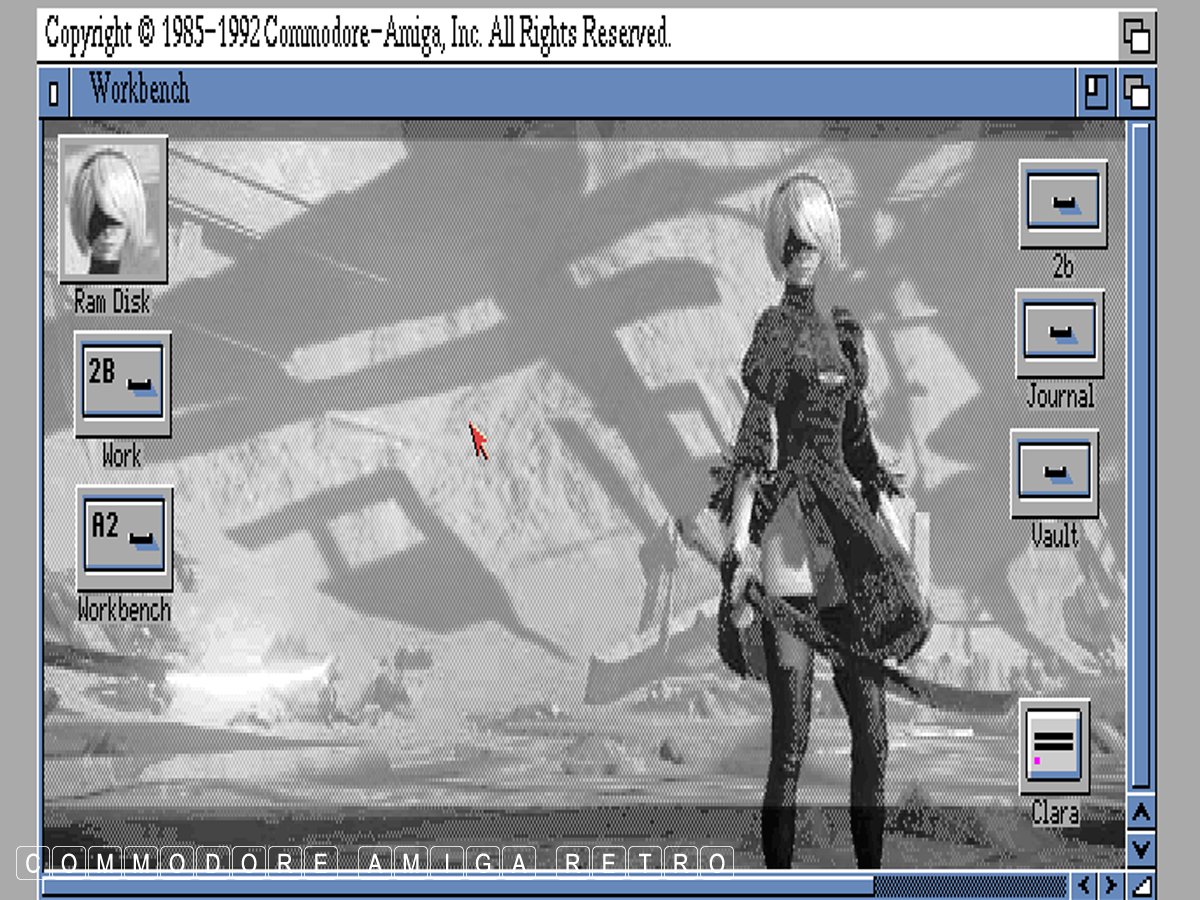
Sorry I had to backdrop 2B for this exercise.
She also appears as the RAM DISK
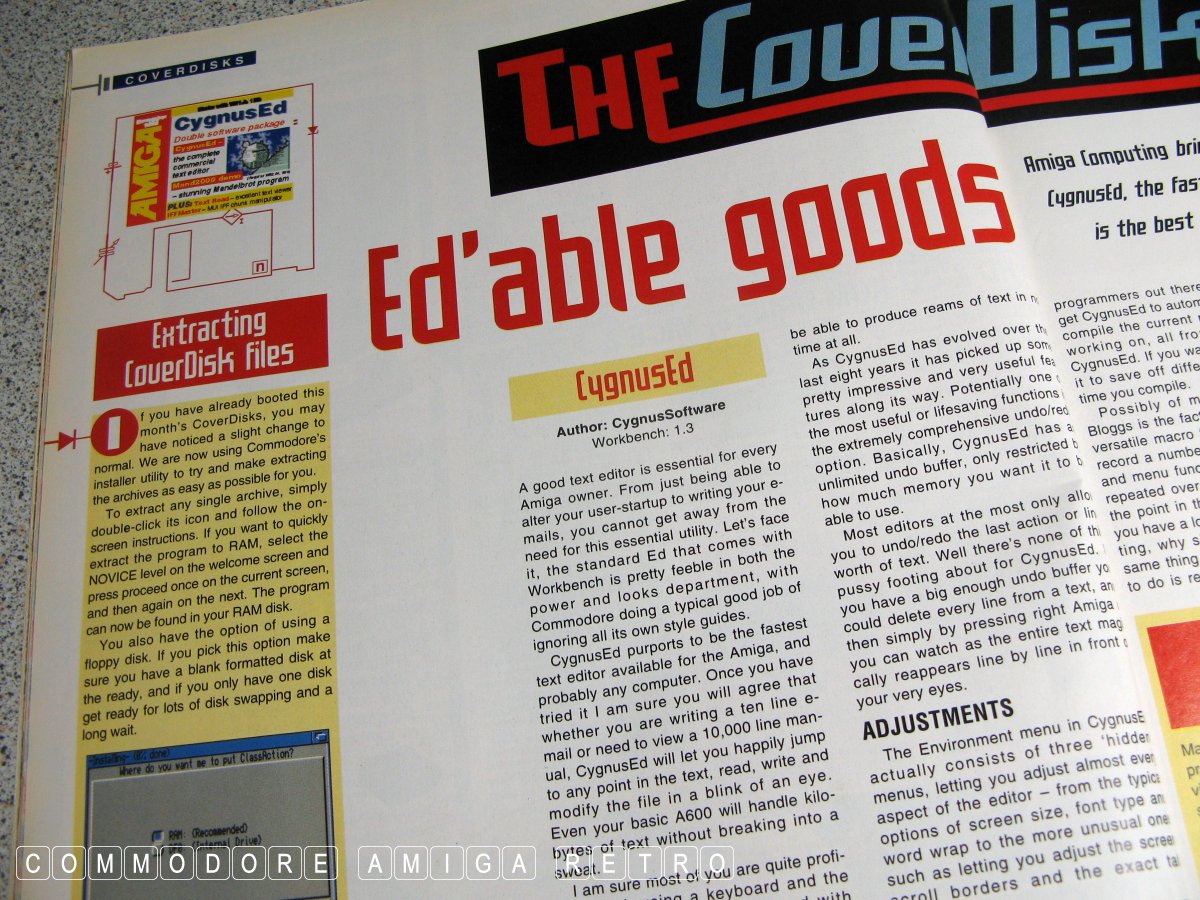
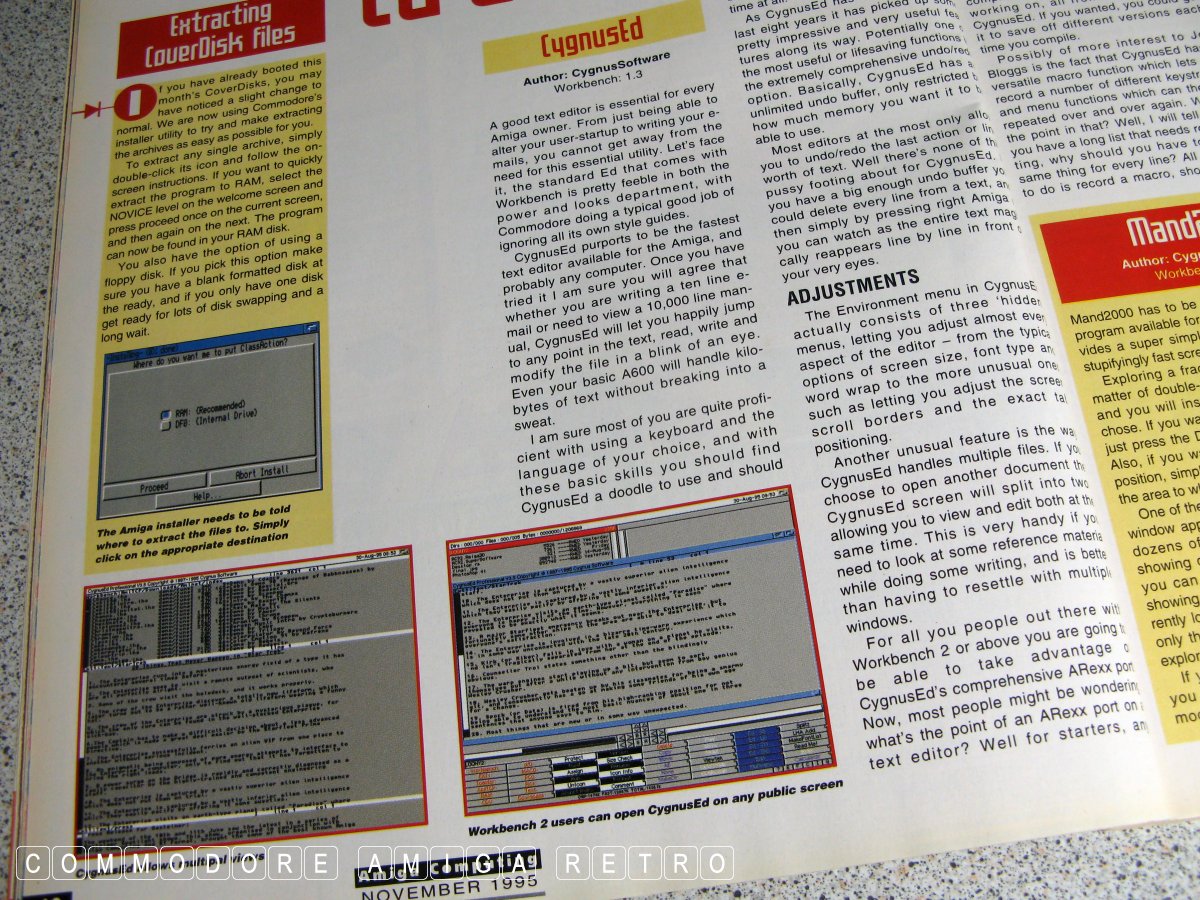
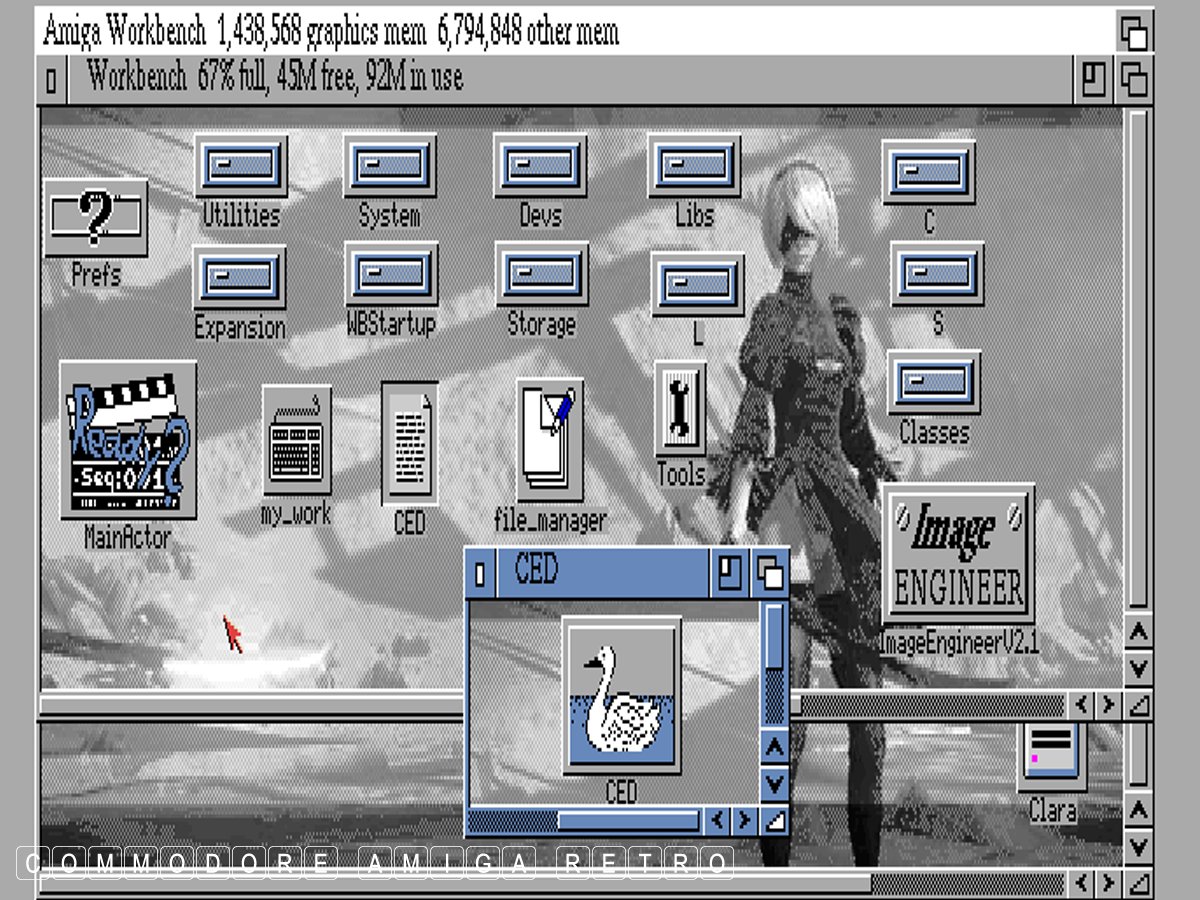
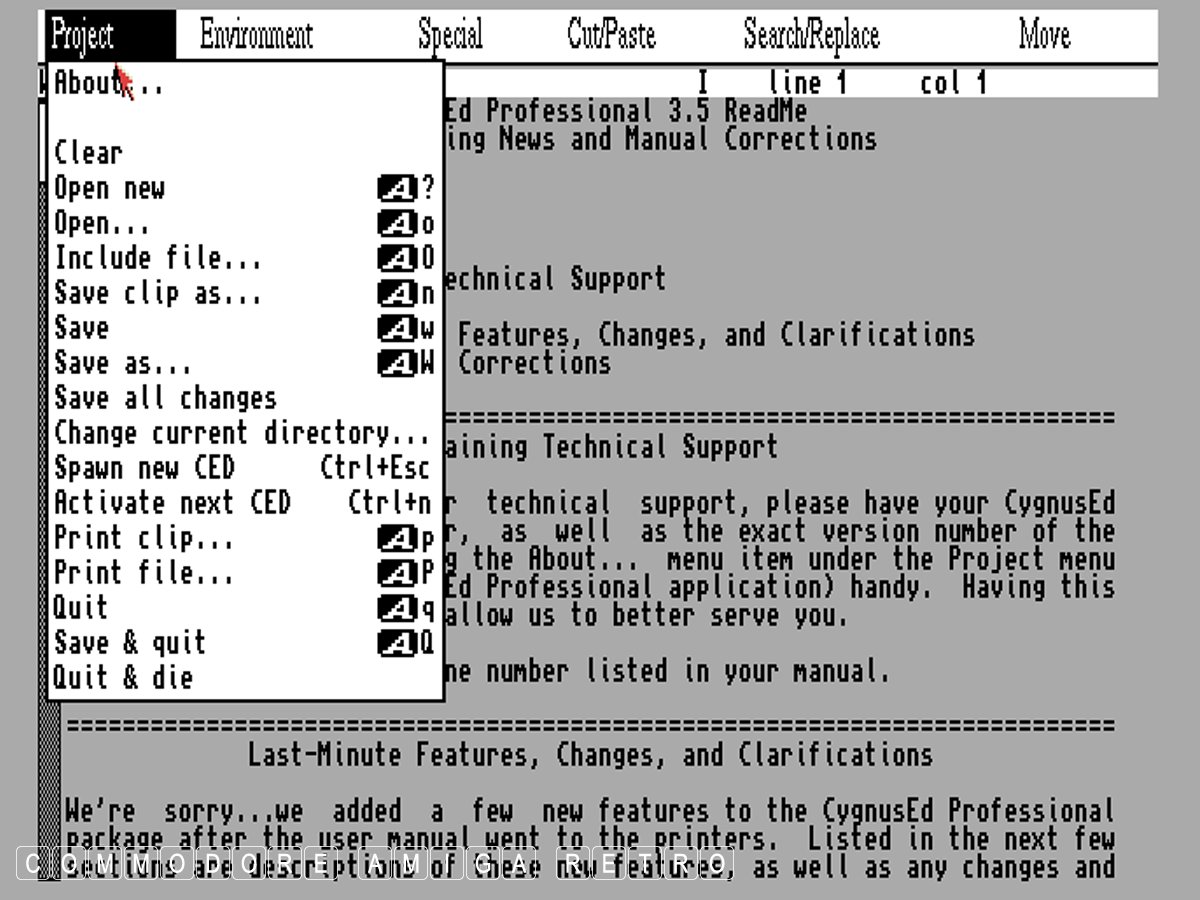
CED has rather an unassuming icon.
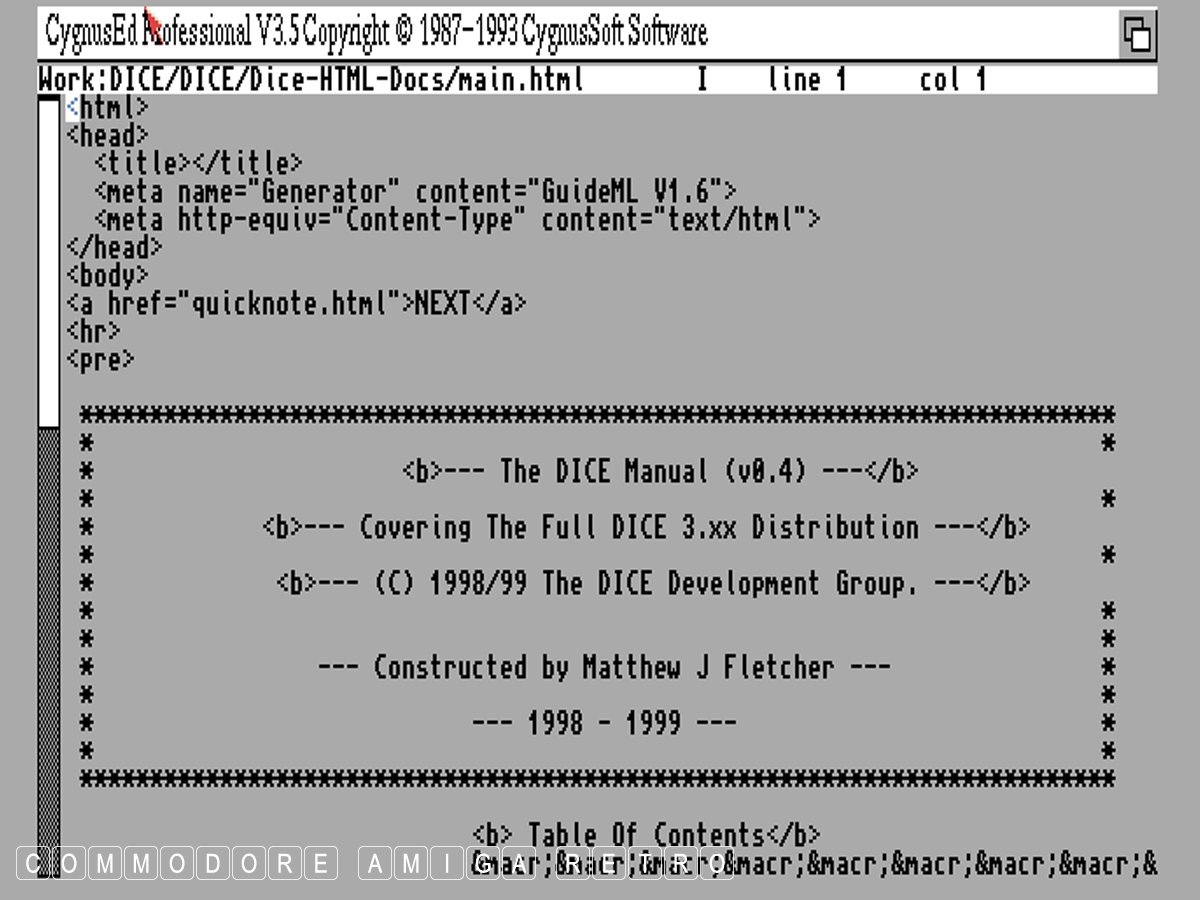
CED will read any text file on the Amiga.
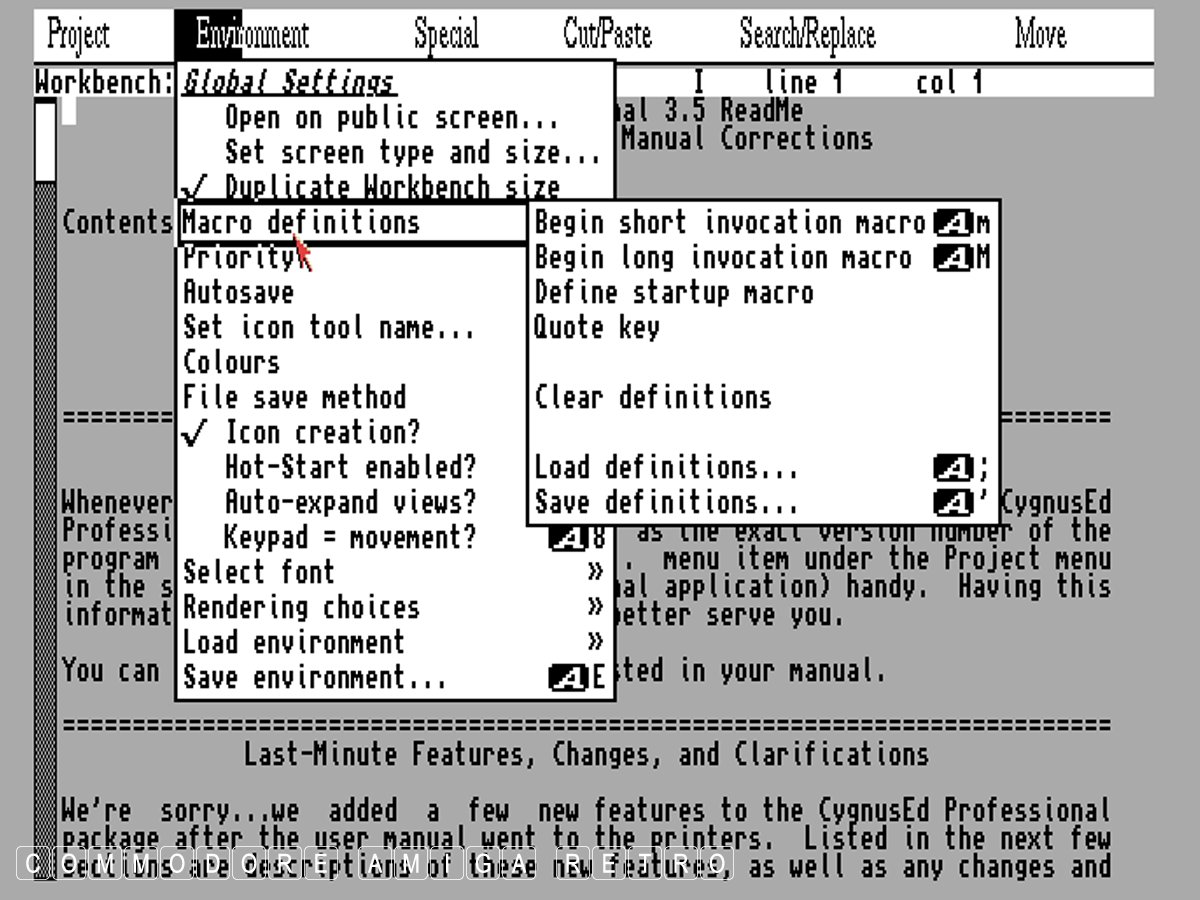
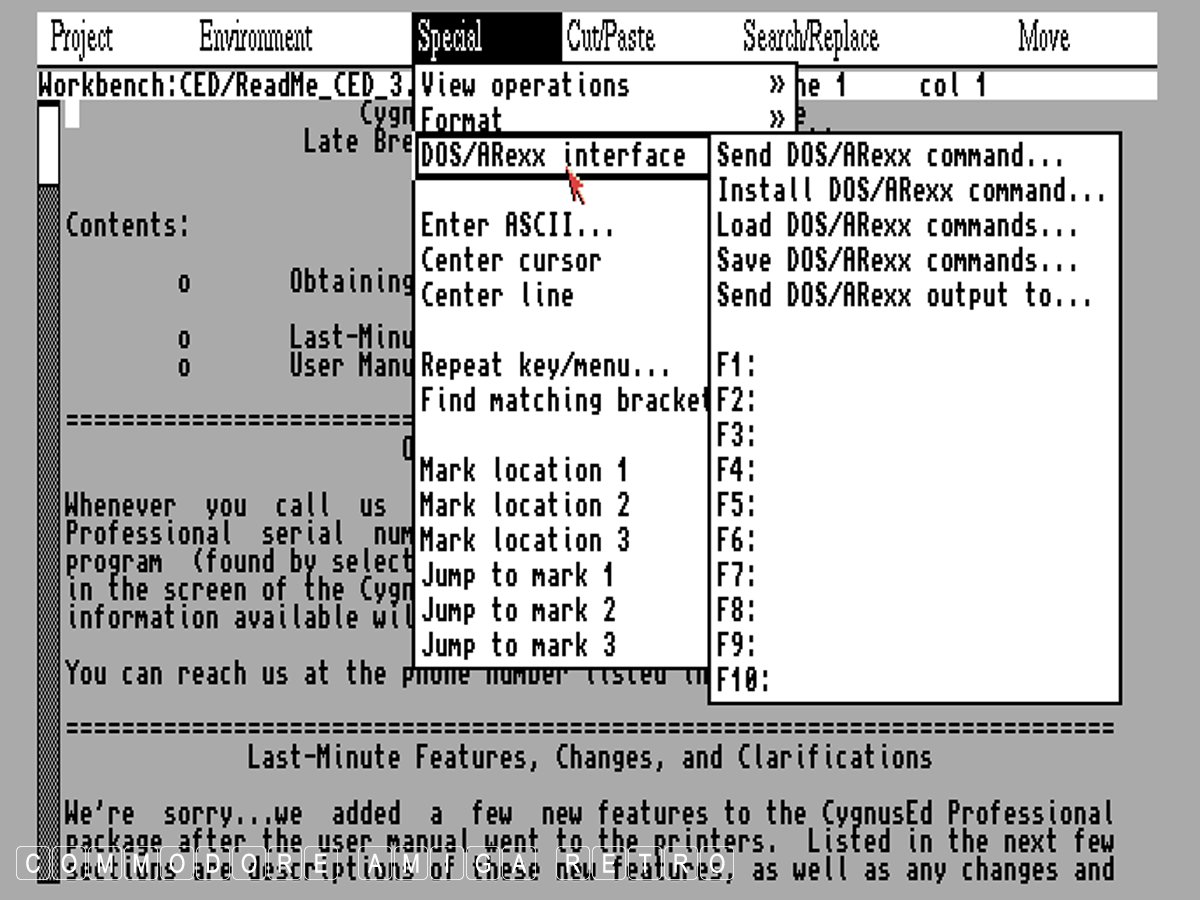
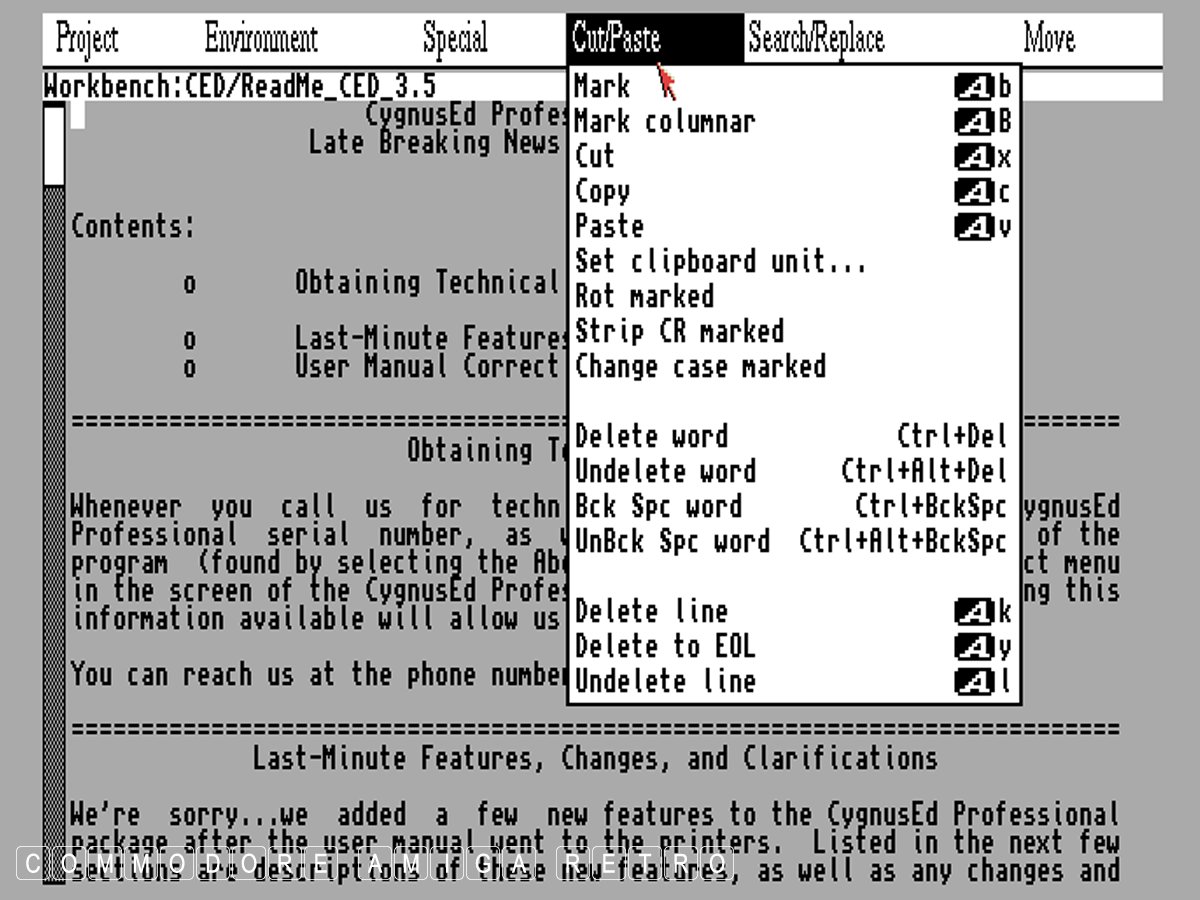
The depth to the menu system provides
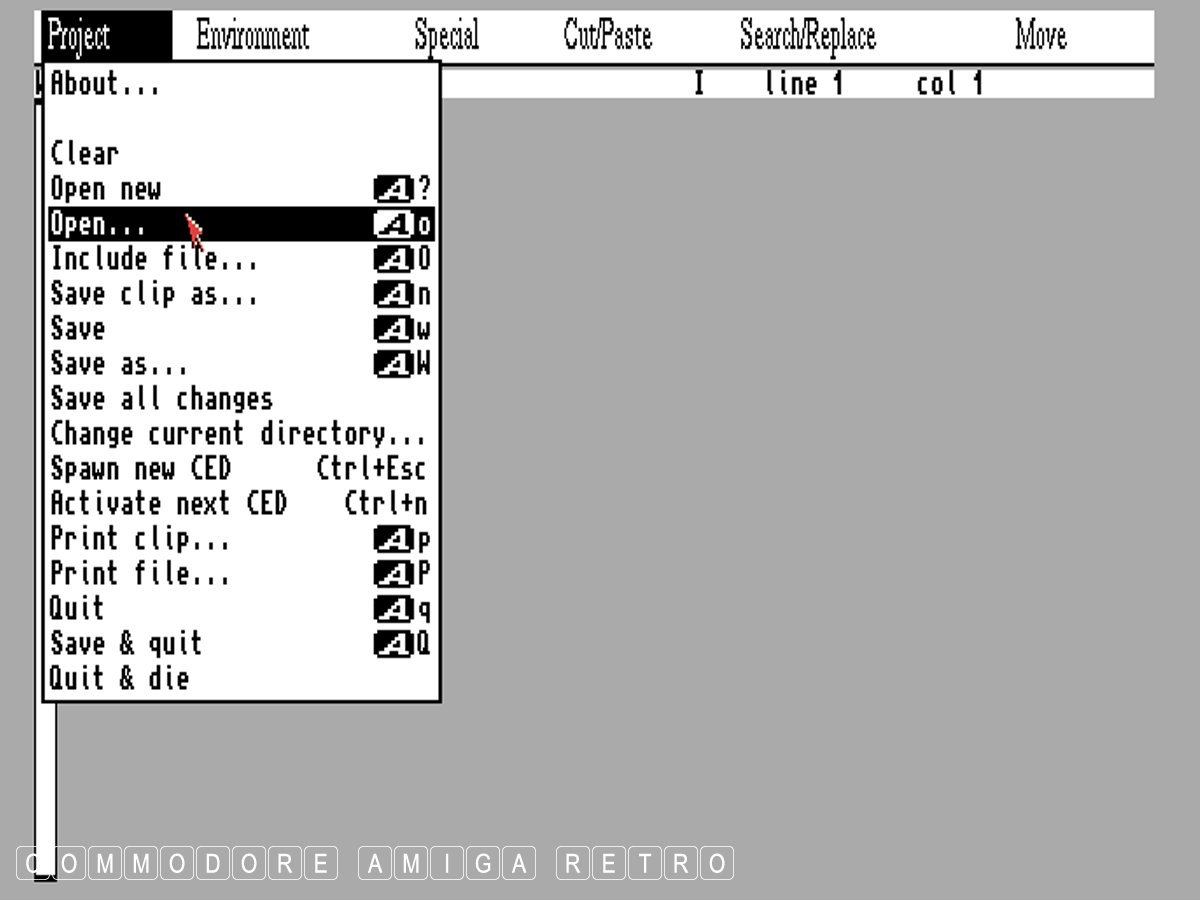
OK let's open a file.
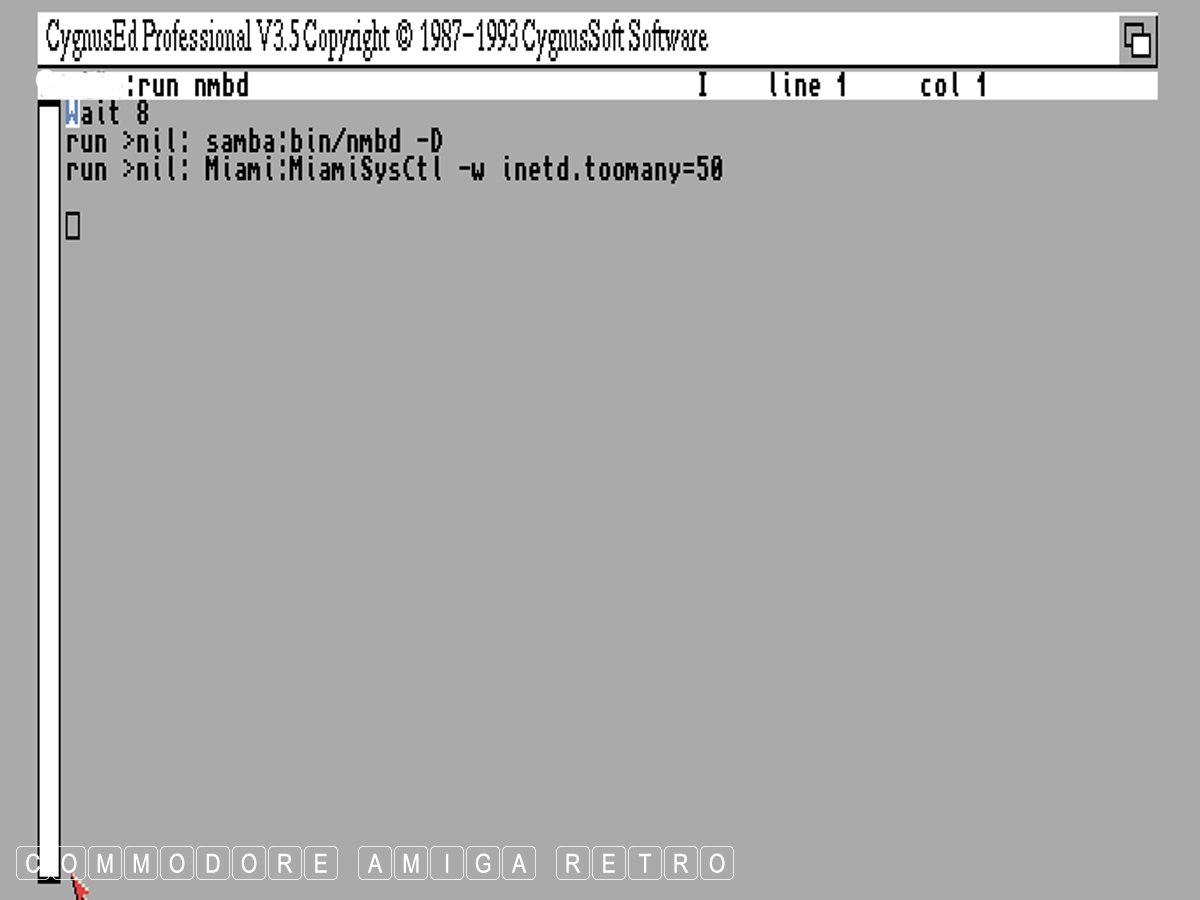
This is a simple script I wrote to
That's how scripts can be initiated.
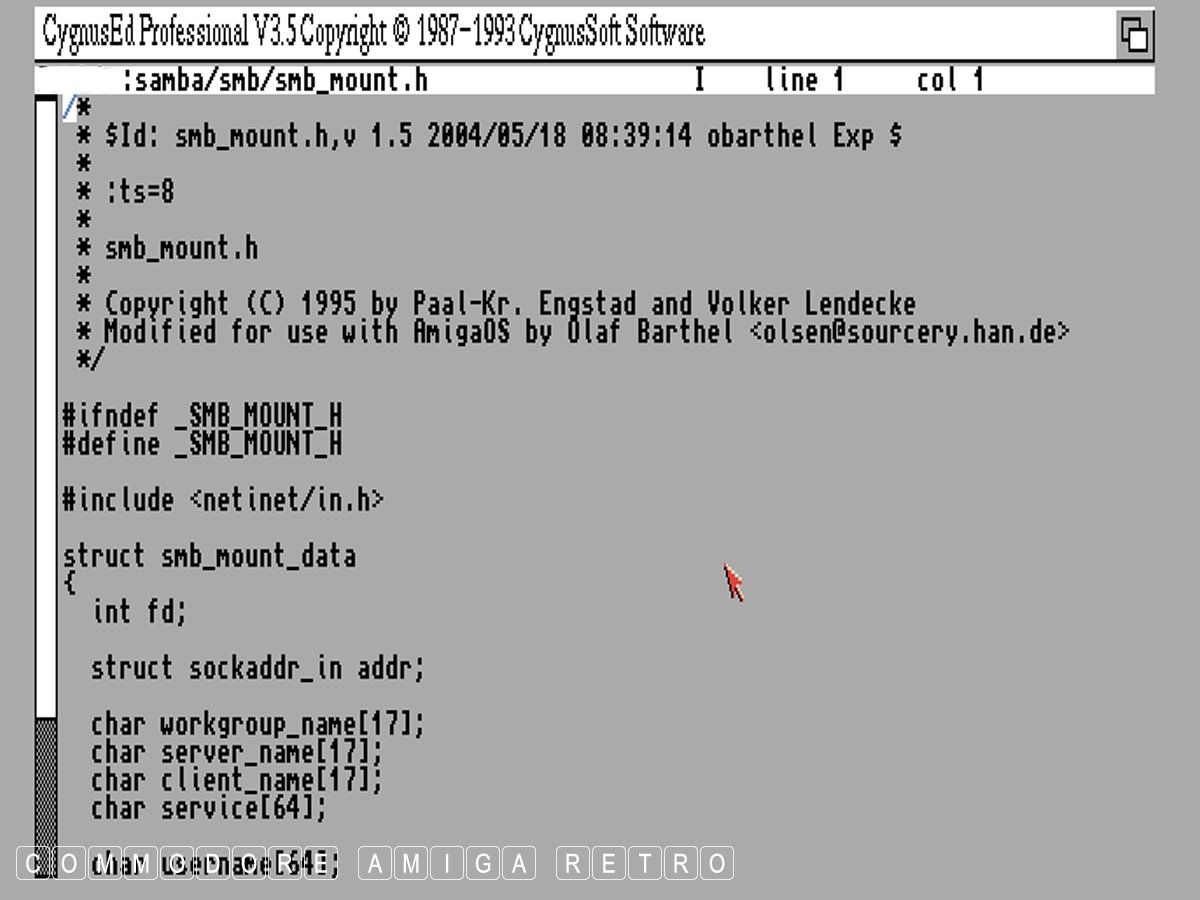
This script is a mount file.
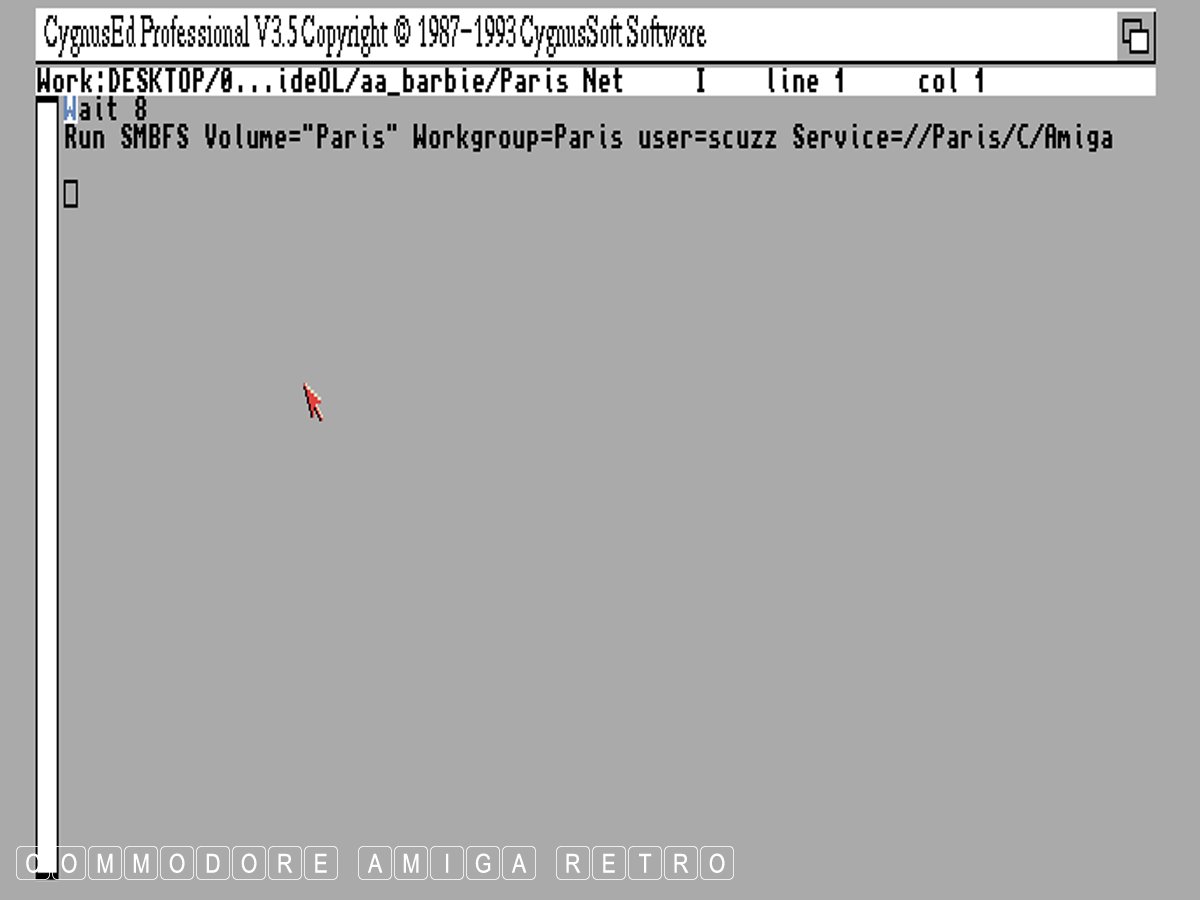
Next let's open a PARNET MountList.
The key elements are the parnet.device and
A lot of problems regarding devices and tools
CHECK YOUR SCRIPTS and Tools/icons.
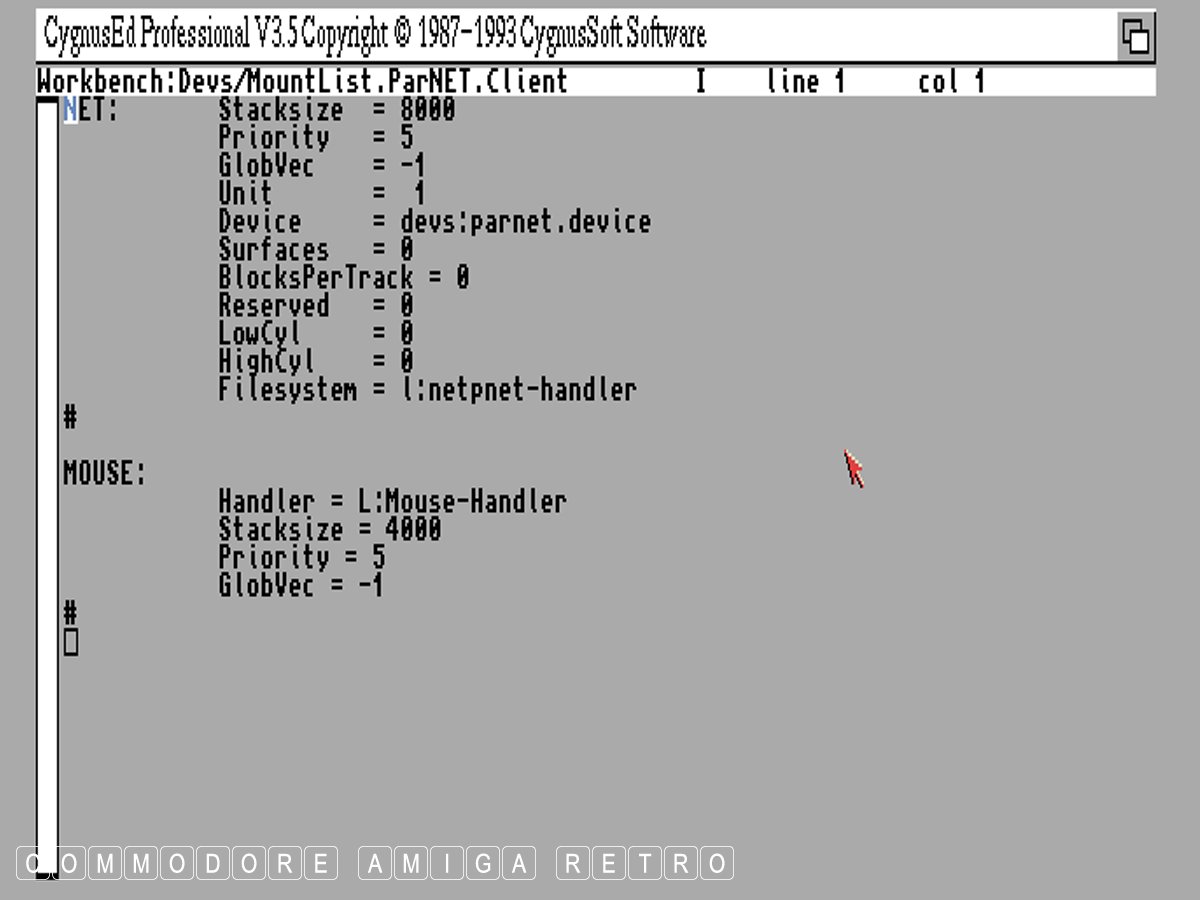
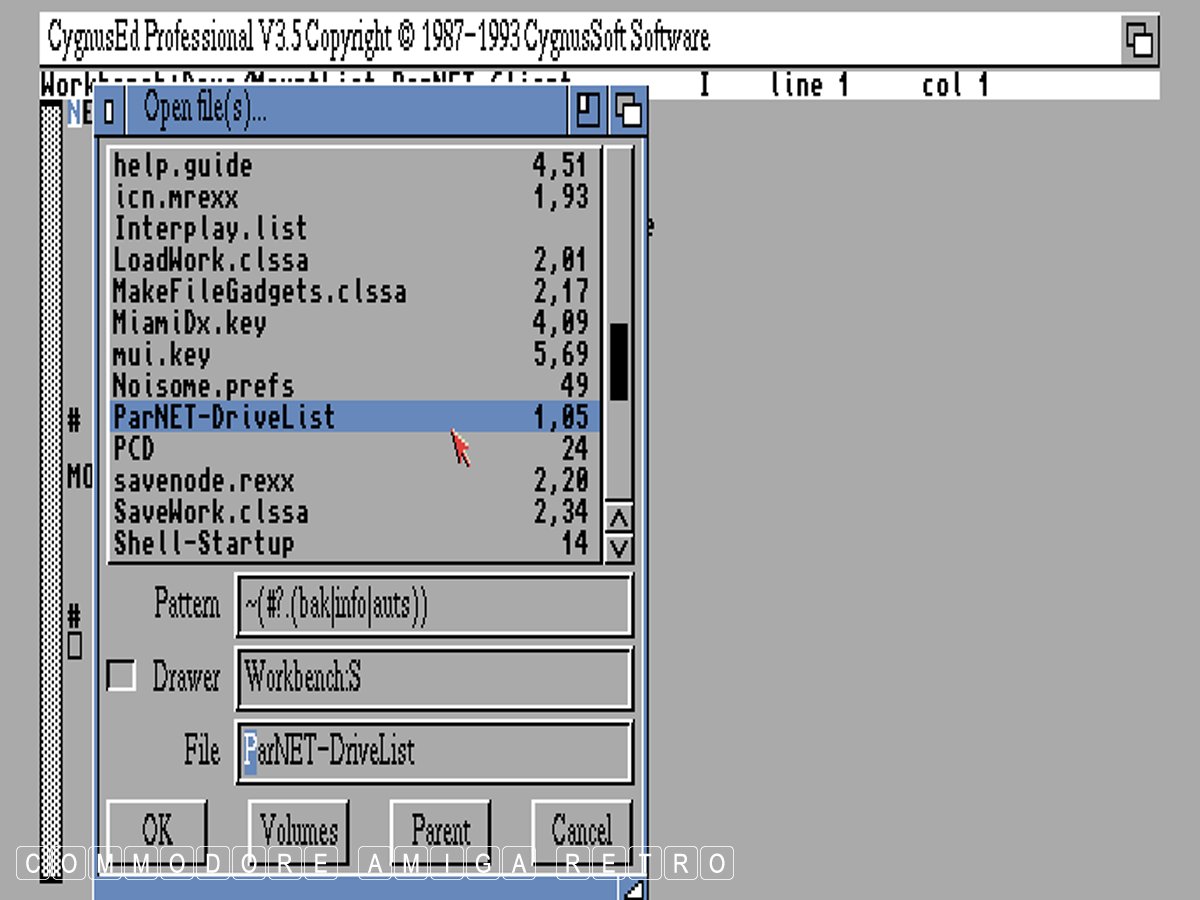
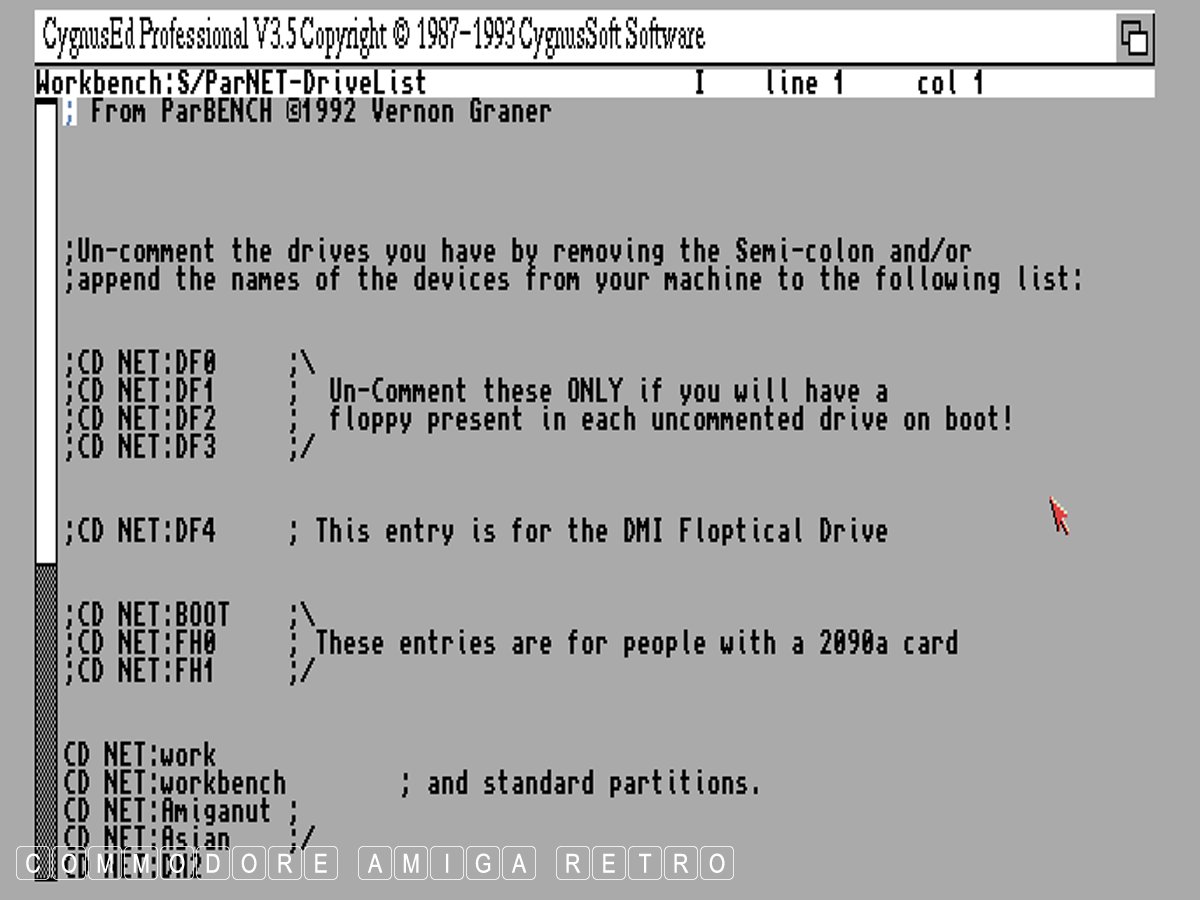
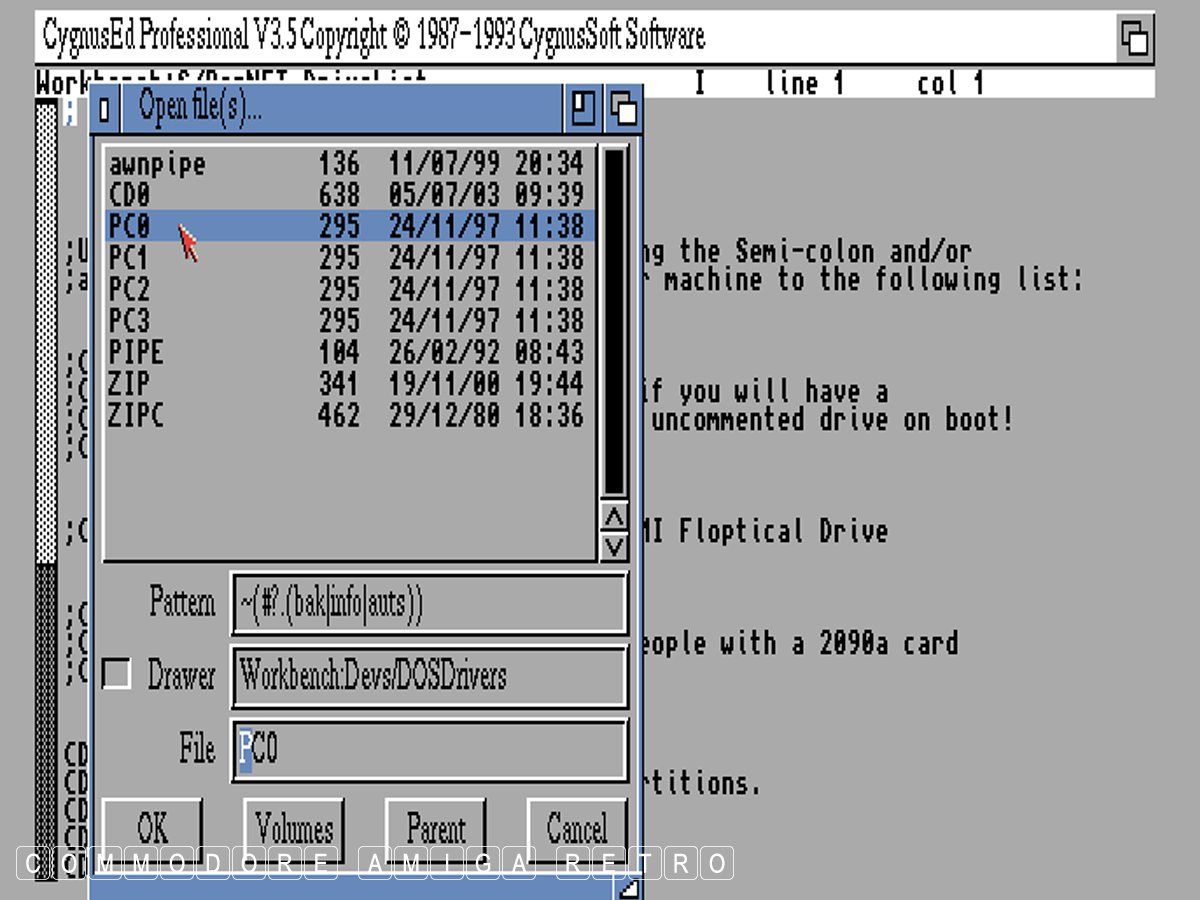
Next I will open a drive list.
Note that the descriptive actually tells
CD NET:work and CD NET:workbench have the
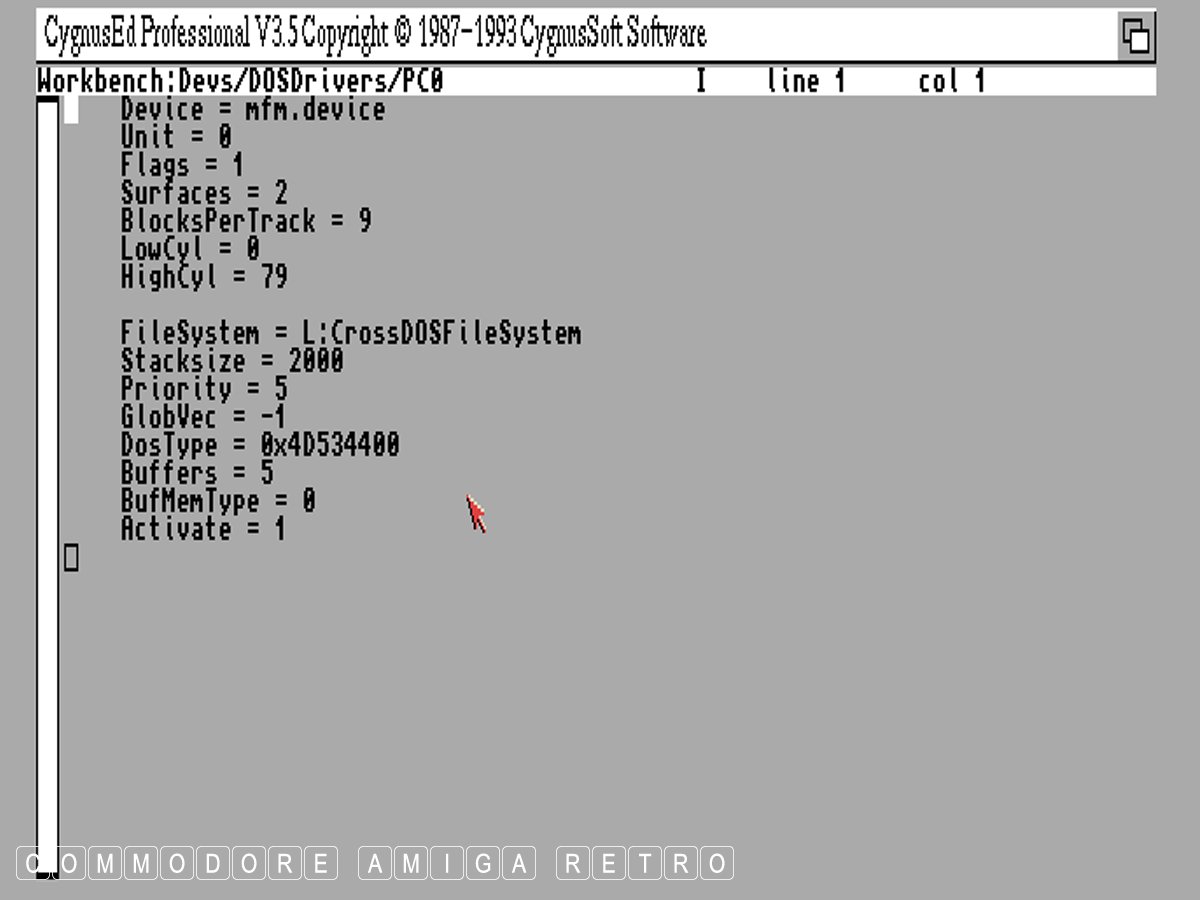
DOSDrivers for various drives can also be
Note the location again of the CrossDOSFileSystem.
This is a simple script to initiate a
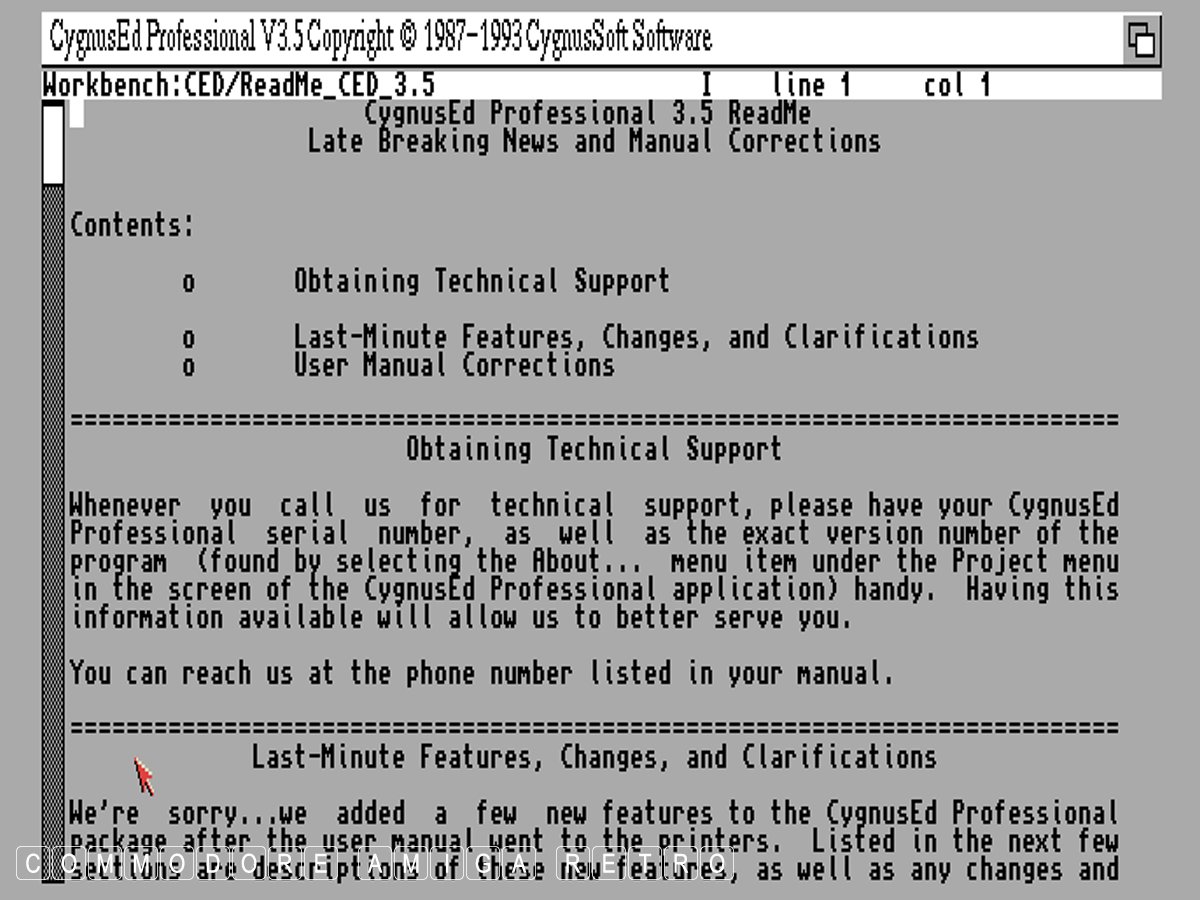
The text editor can be used for editing
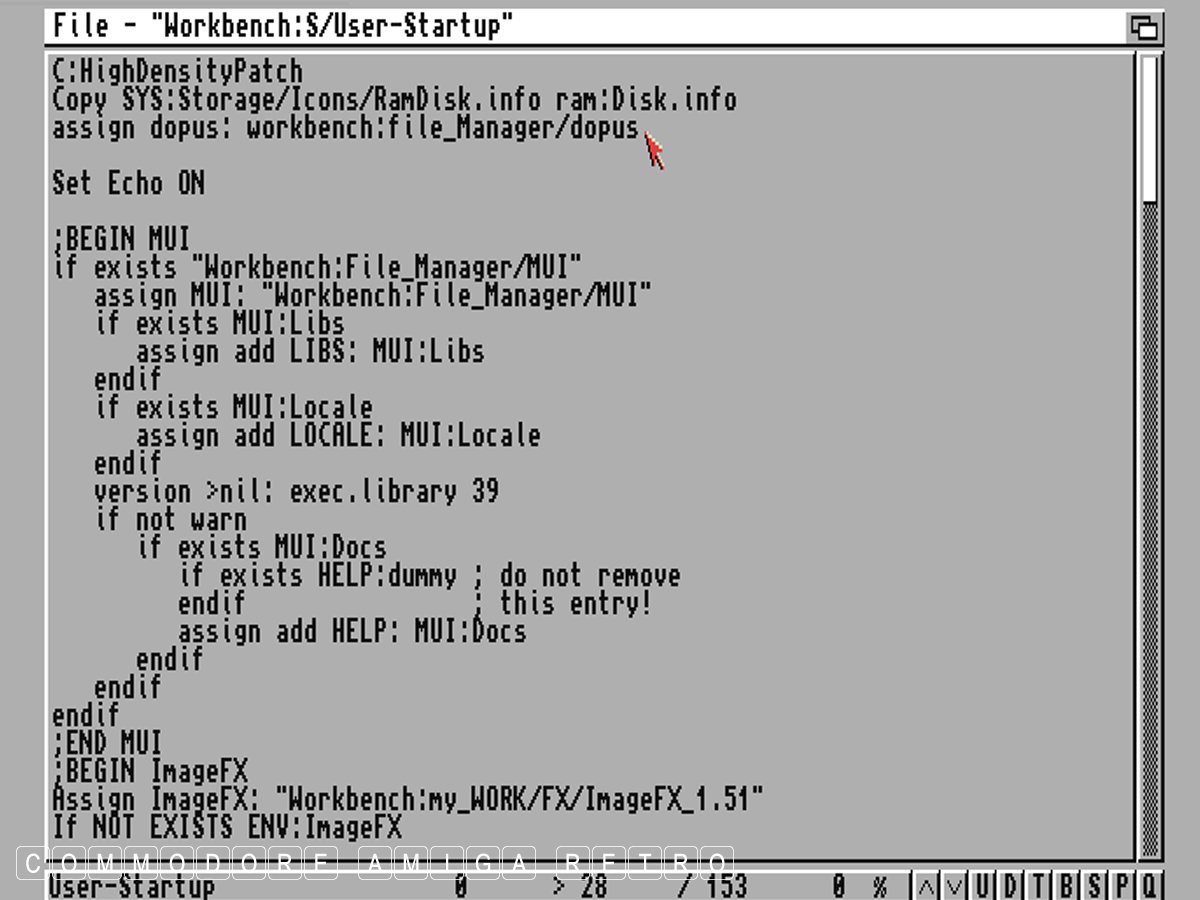
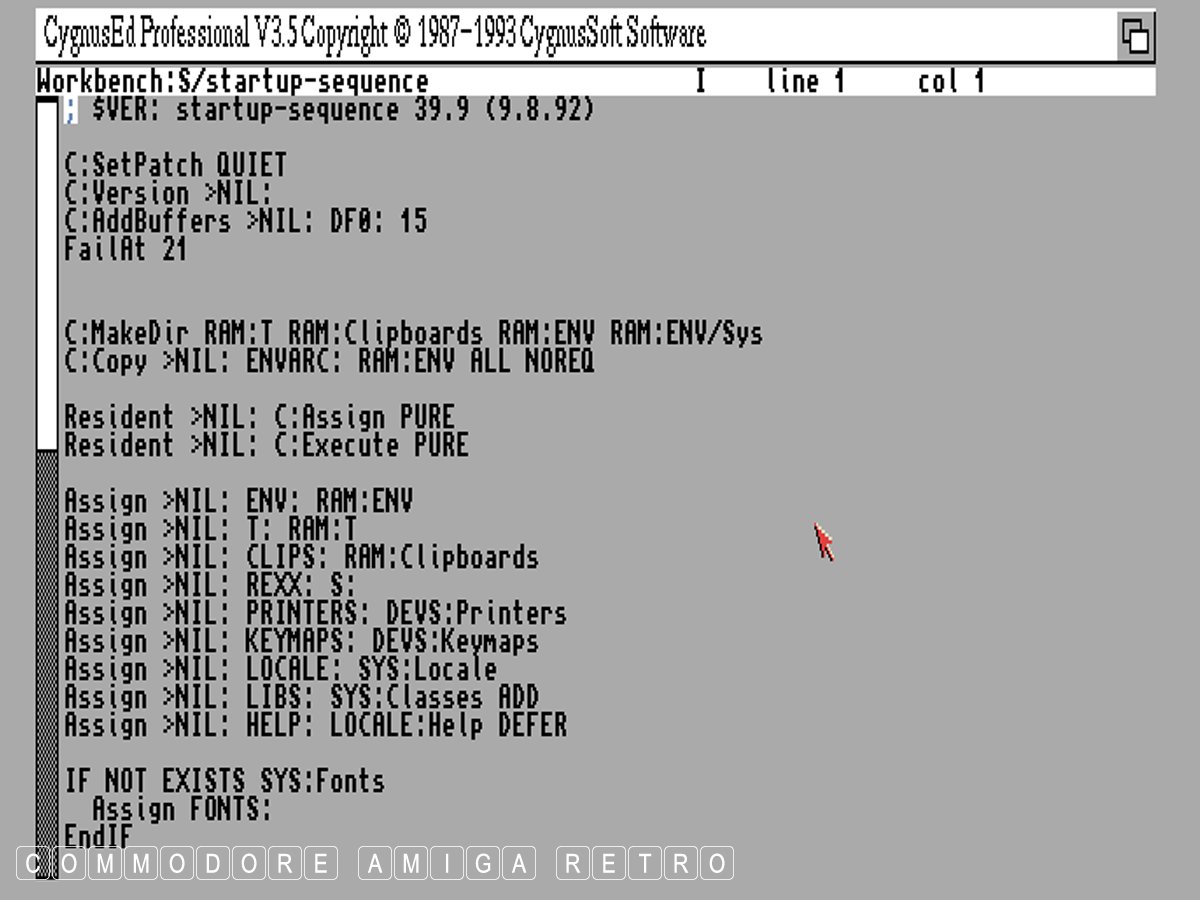
This is the contents of a startup-sequence.
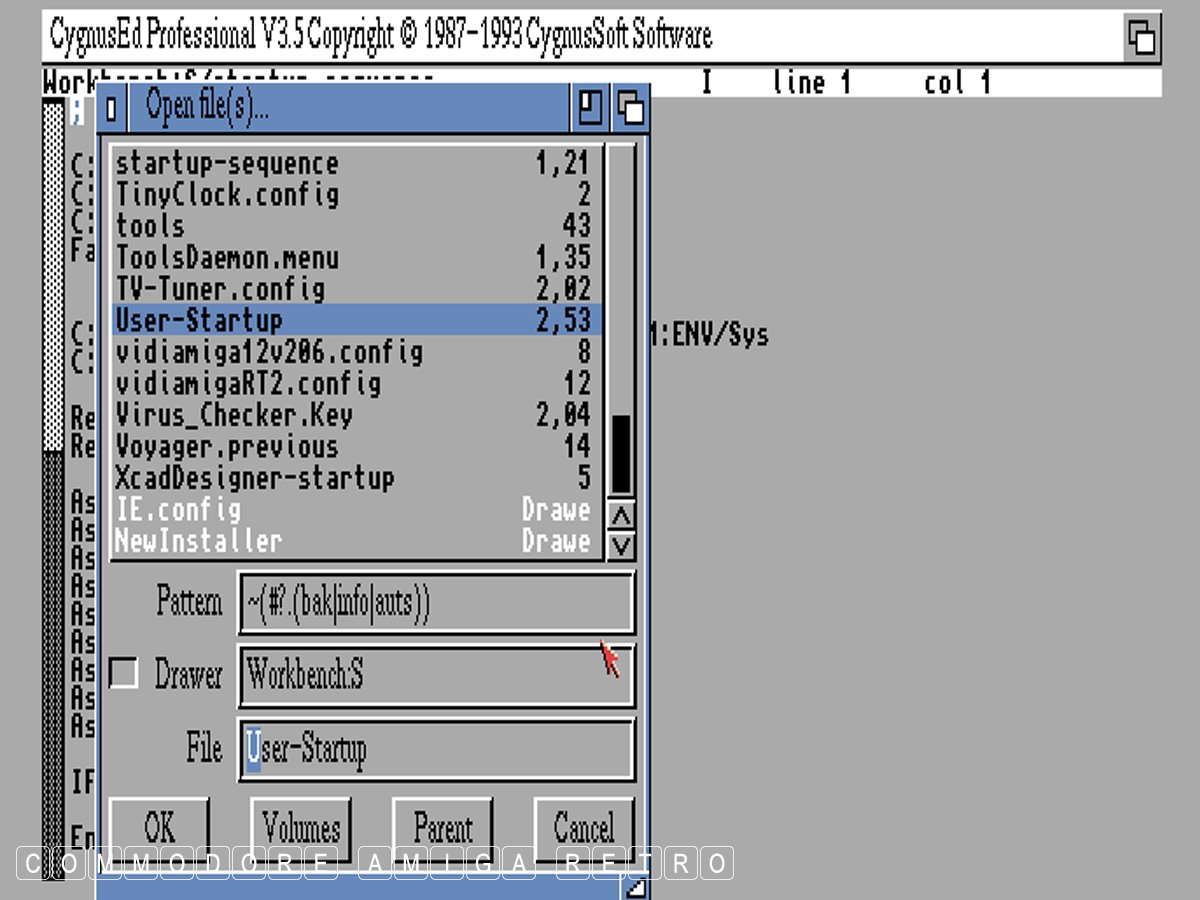
Let's open the user-startup in 'S'.
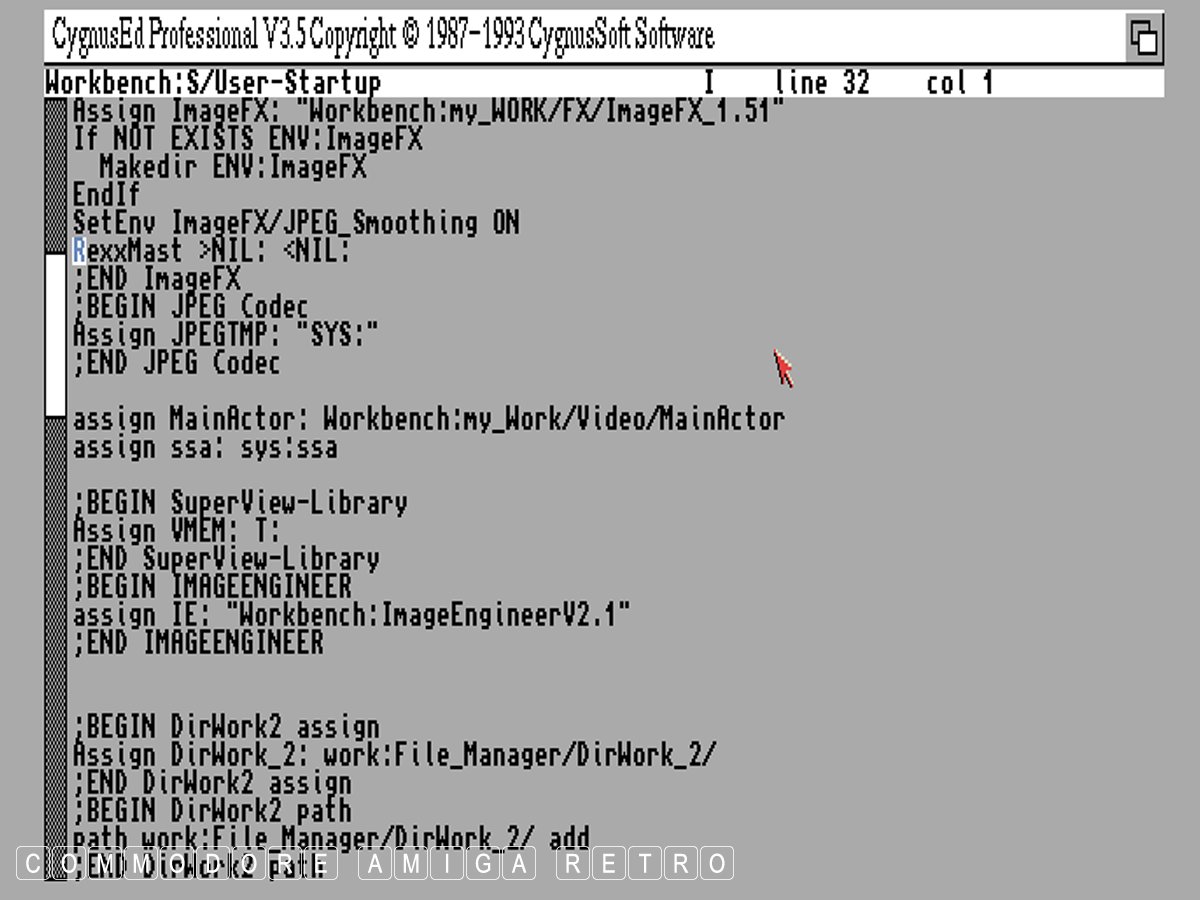
Software that you add will often write
Note the BEGIN statements to assigns.
This is a boot sequence that appears
It will also tell you if assigns fail.
So what is a good way to track those
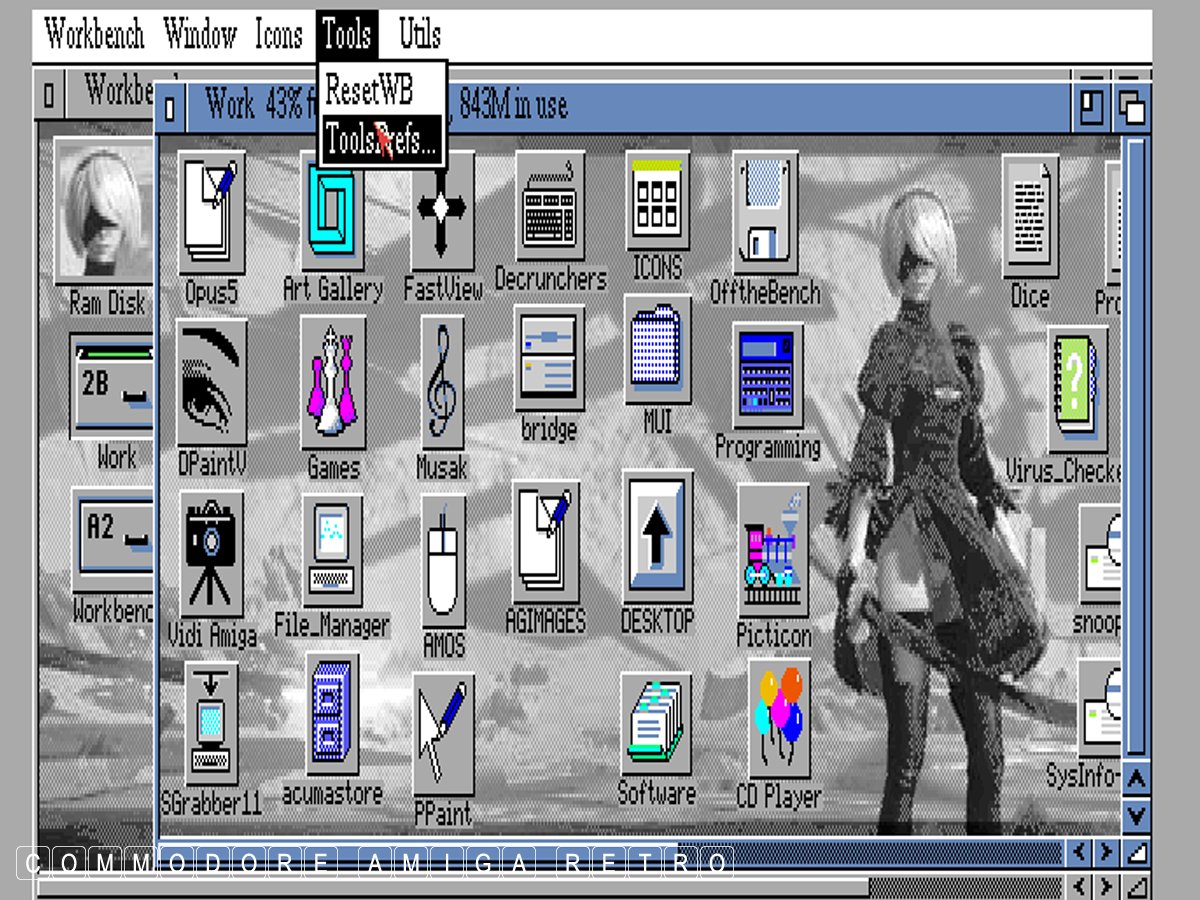
ToolsDaemon gives and additional
And this is the ToolsDaemon menu that
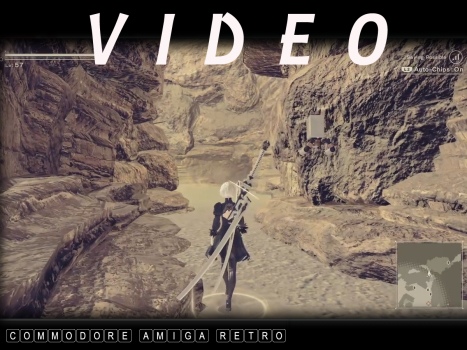
This is a Yorha 2B android that resides
Trouble is over hundreds of years the humans
That's what I meant when I said cute. The
I used ThumbsPlus to change the resolution to
You change the Workbench pattern when you add
Note also the RAM icon that I created using Iconian.
OK The server was down last night so I

ScuzzBlog: Diaries December 2023
Entry 07th December 2023: Post 1: Amiga Dopus and CED - For all your text needs.
Amiga Dopus and CED - For all your text needs.
Something I am known to repeat endlessly on these blogs when giving
advice to any new Amiga user is the need to obtain and install a
good file manager and text editor. Whilst Workbench is fine it is
limited in the way it handles files and therefore a 'two pane' file
manager is preferable. This utilises a left and right hand 'pane'
to easily move, transfer, copy and interrogate files. It permits
archiving and a thorough way to view all files in a drawer including
information on file type, size and even date stamp. The file manager
also serves to manage your disks and drives and maintain ready data
on available space.  You can view video and images plus 'read-me'
files without leaving the file manager. Best is that you can have the
file manager sitting in the background whilst you undertake tasks
using software and then move created files around to other drives.
This becomes most important when archiving.

In respect of text editing it will soon become apparent to any new
Amiga user that the power of the computer is its SHELL or CLI. This
involves the writing and editing of scripts and the use of Tool Types.
AmigaDOS is at the core of the operating system and although modern
systems do a lot to eradicate the use of the command line interface,
the Amiga OS relies on direction from programs and scripts.

In truth armed with a good file manager and text editor you can
almost avoid use of the Workbench as a user interface altogether.
A bold statement I know, but I rarely ever use Workbench. If you
also add ToolsDaemon to your Workbench menu you can call up all
your favourite programs from a single drop-down menu. The aim here
as with the implication of DOpus is to reduce dramatically the time
you spend clicking those annoying windows and icons.

The use of a good text editor also gives you the facility to create
your own journal style-sheets and format. There is no limit to what
the text on a script is capable of doing on an Amiga. You can even
create your own running version of Workbench if you want from your
very own self booting disk. Mostly it is the ease at which a text
document can be conveyed to AmigaGuide, HTML or even a cross over
text file to be read on a PC without needing to be modified to do so,
that brings most benefit from a text editor. I really cannot impress
on users enough the need to embrace the text editor as soon as is
possible and feed into its great benefits with use of a file manager.

The two I provide here today are the best of the best, and seriously
so easy to use once you get the hang of them.
Amiga Dopus and CED - For all your text needs.
the EAB Magazine Rack site which is also on my site
at the link below. Or obtain the official version
from the second link I give. Note that the magazine
cover disk will need to be extracted to a blank disk.
DOpus IV : From my website.
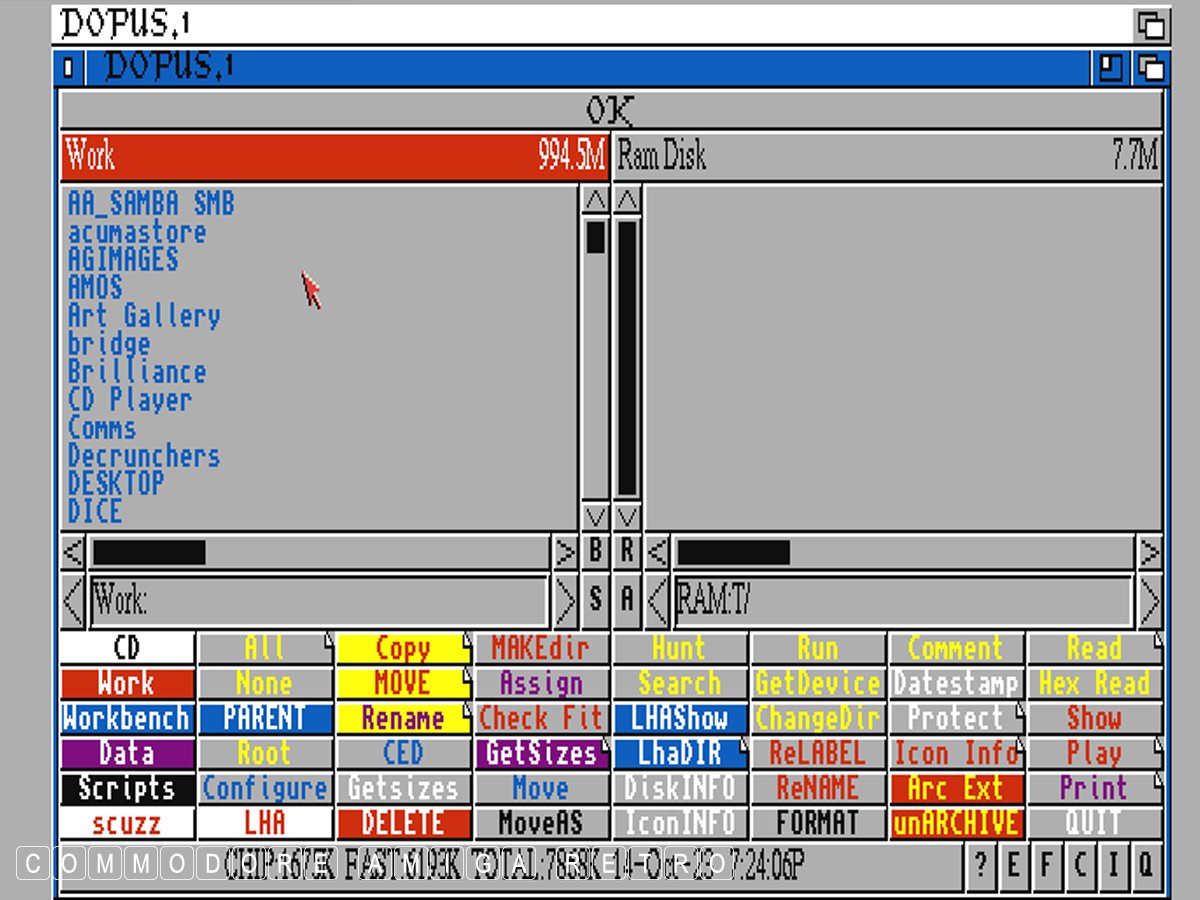
banks of buttons bottom left. Simply right click on
any of those buttons [ CD, Work, Workbench, Data
Scripts or scuzz ] and you will reveal the other banks
one at a time. These buttons represent each of the
target drawers or volumes on your Amiga.
to a location on your Amiga.
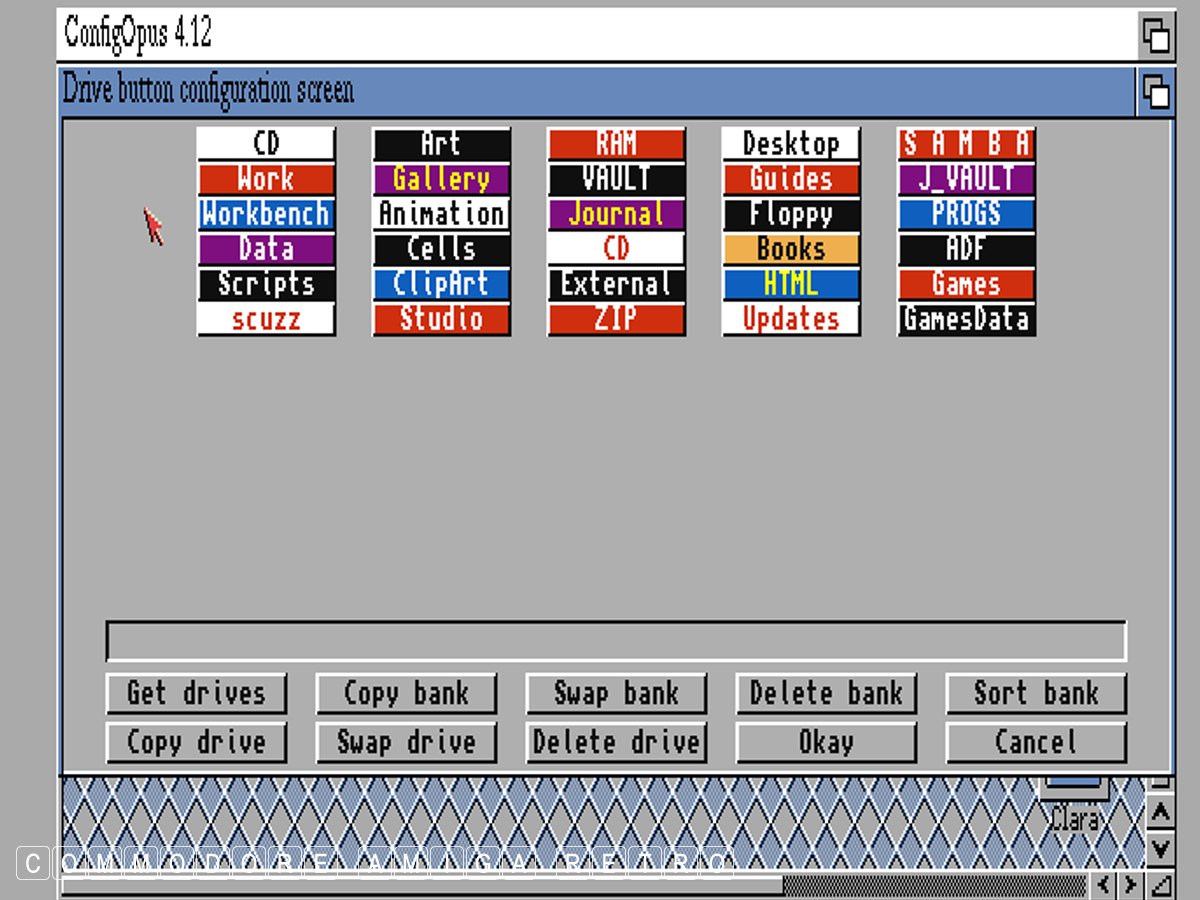
Only one shows from the main window
To scroll through them you right click
More on that in a while. 
VOLUME or DRIVE window showing the mounted
drives on the computer. This can be very useful
when checking to see what drives are mounted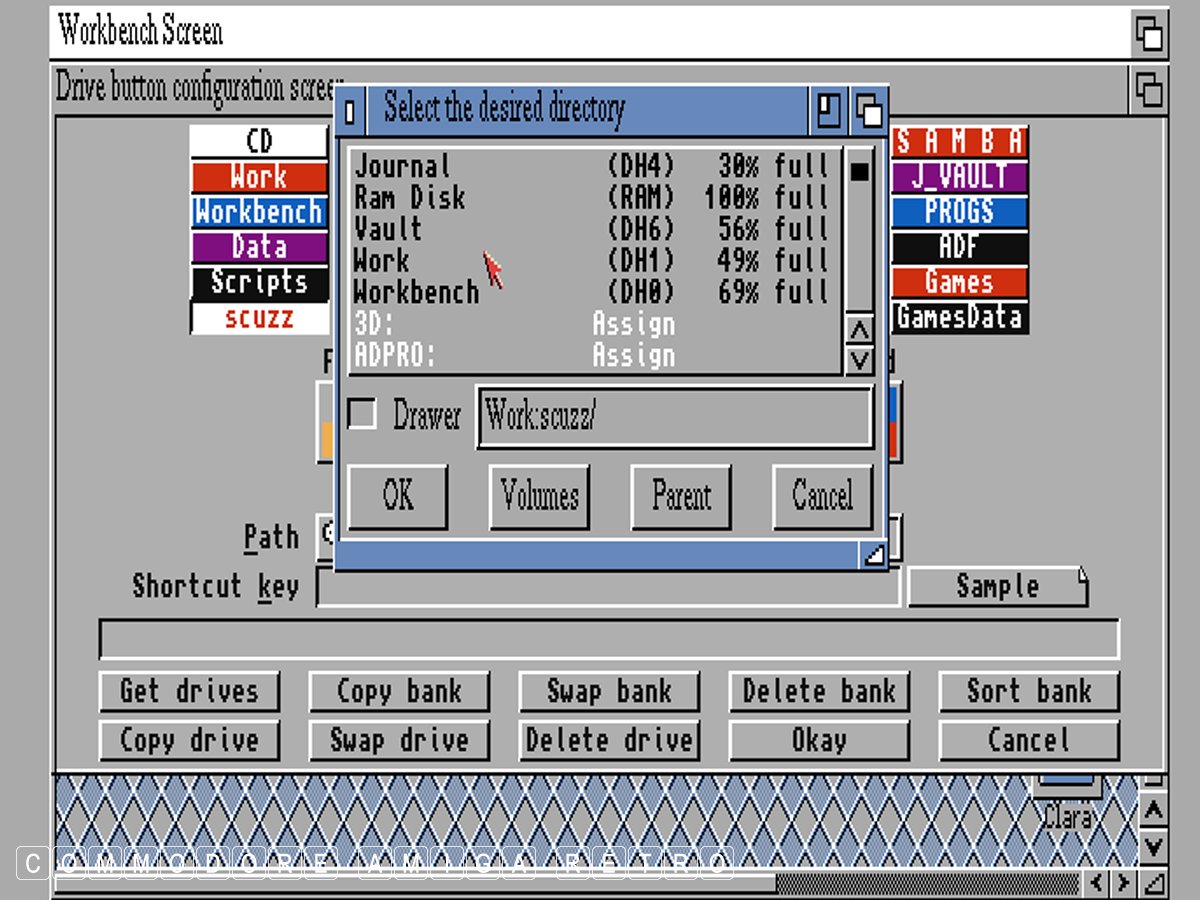
Work:scuzz/ path which is correct
into the listing. This then becomes the directory
for that button. The very upper area has a name
that you can edit to suit what ever you want.
The right hand colours are for the button colour
and the left the colour of the text to be used.
text for it to appear in the top box

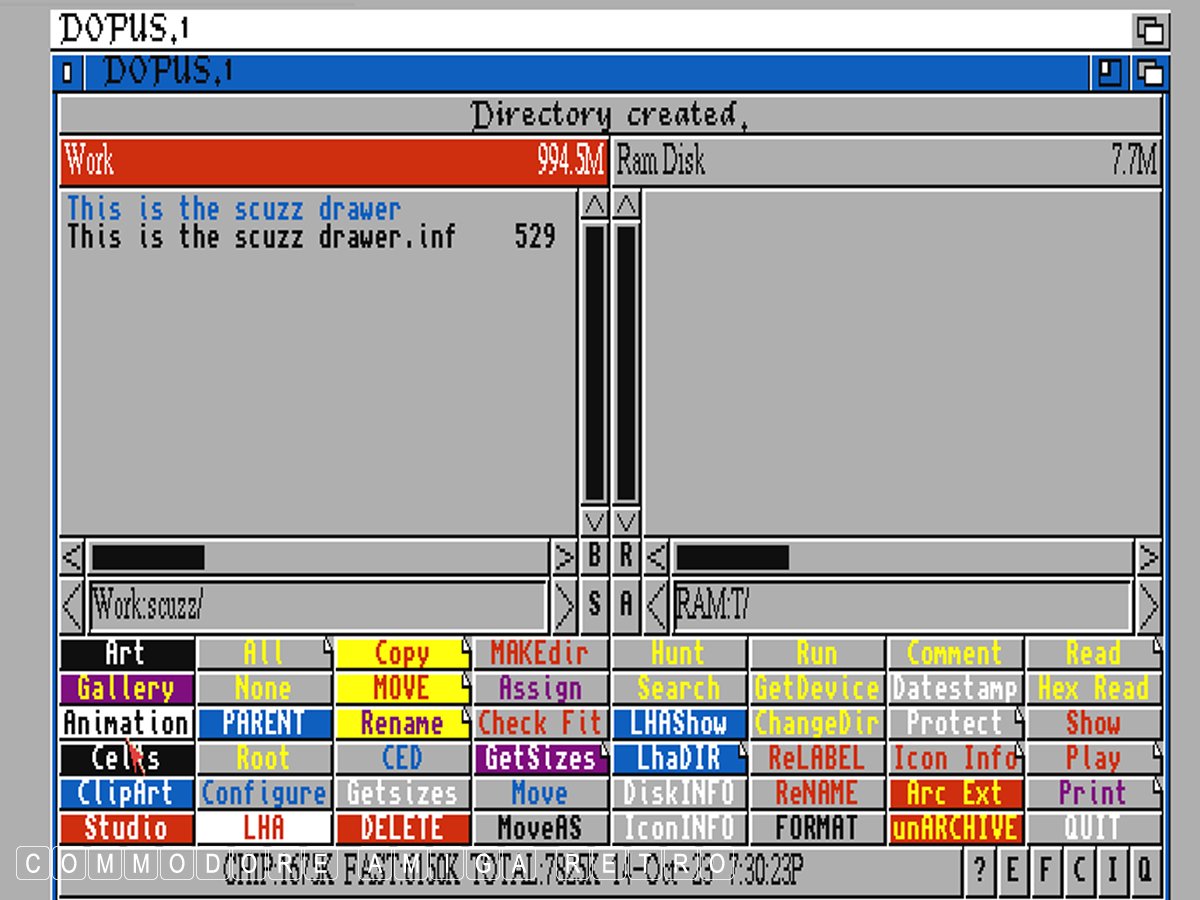
Now when I click the 'scuzz' button it opens that
directory or drawer in the pane selected. Either of
the left or right panes can be selected
right clicking any of the bottom left buttons
This will scroll through all five banks of drive
buttons until you find the one you want
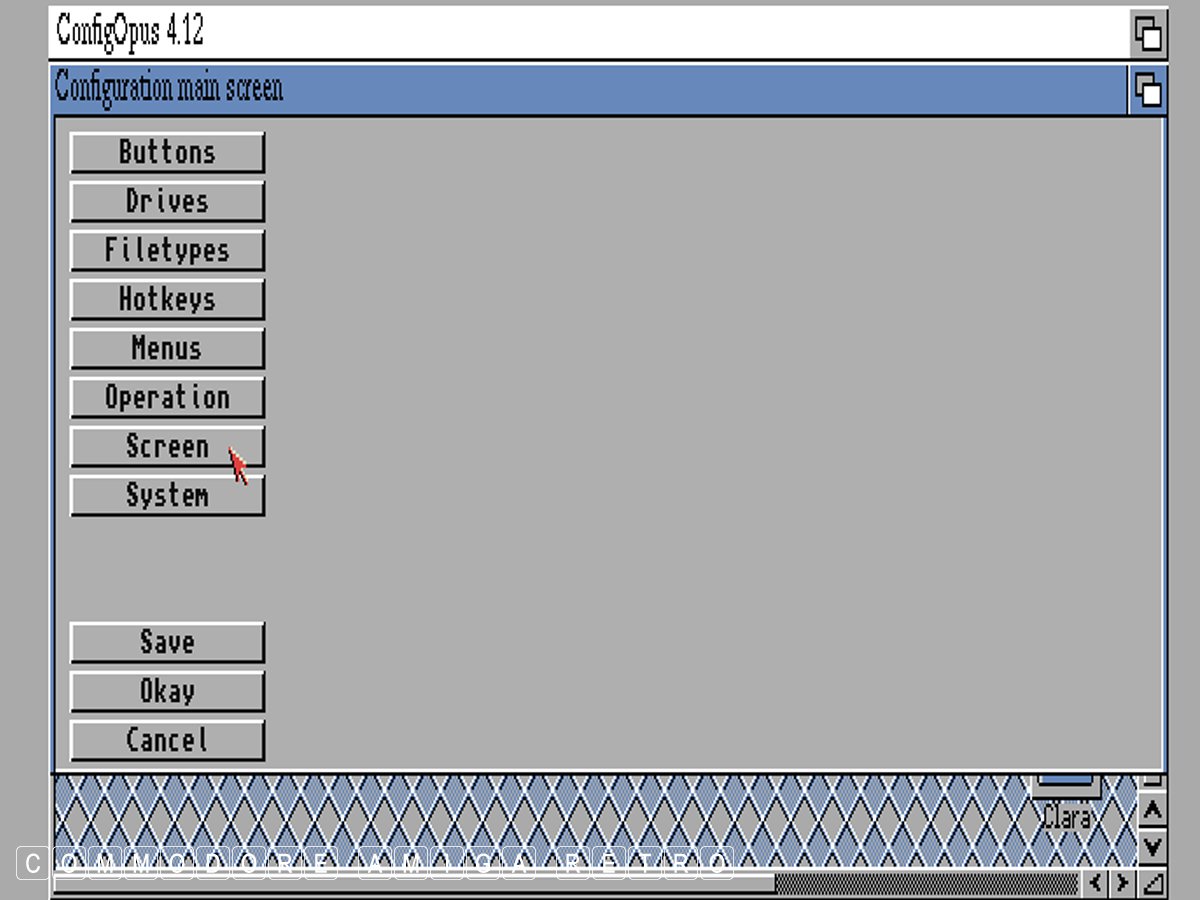
and select 'Screen' ..
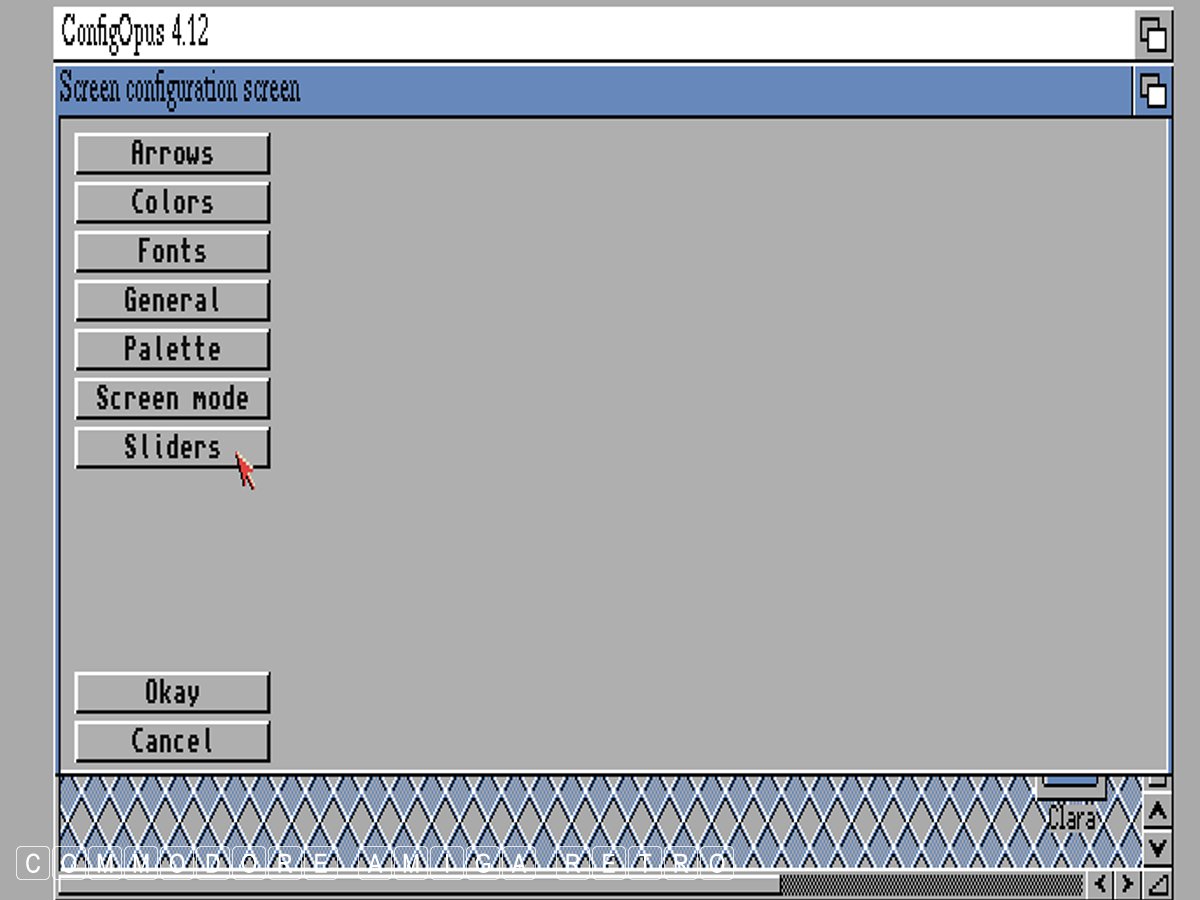
wish to access the banks as a scrolled list.
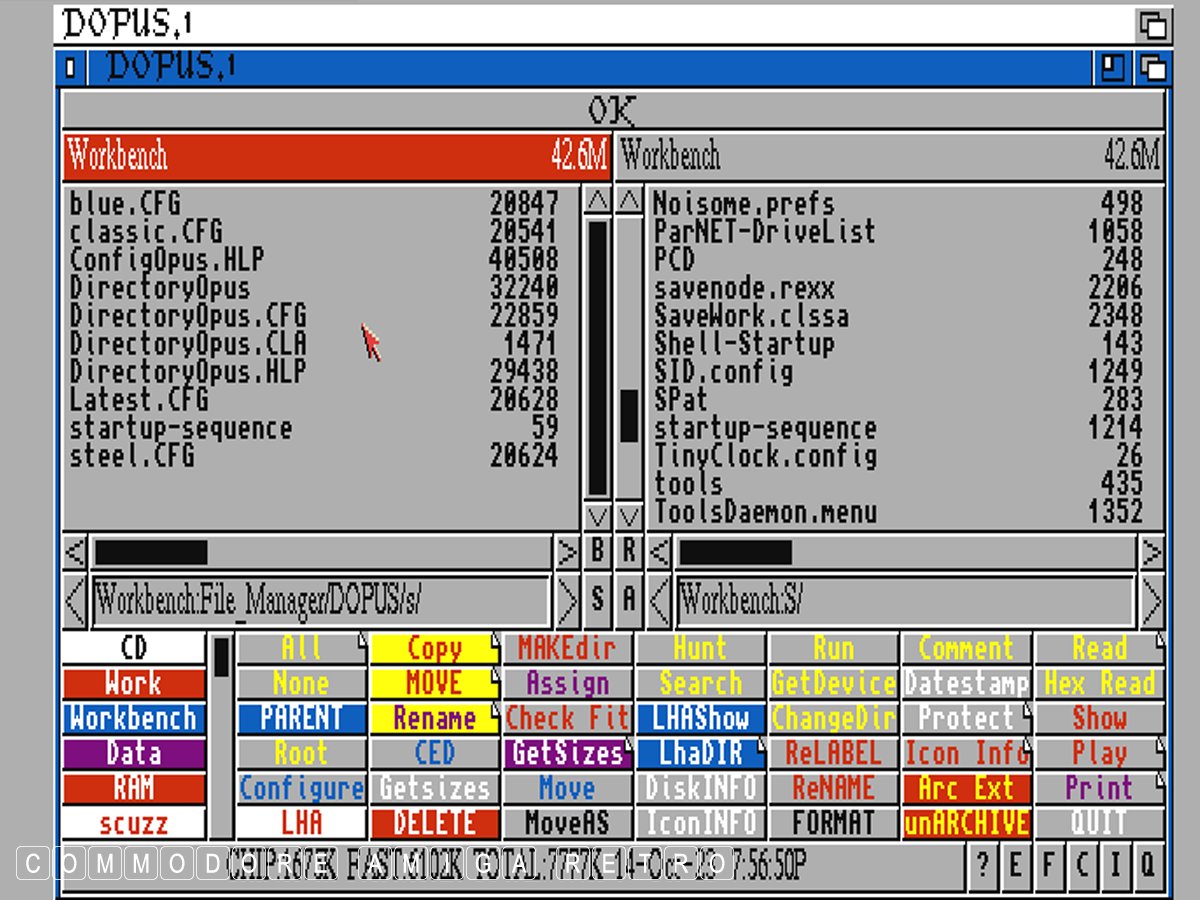
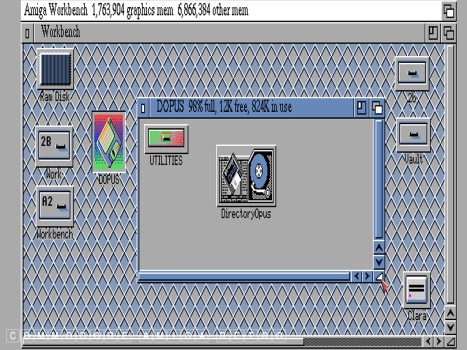
the DOPUS 'S' drawer. If you look you will see
other configs that I have acquired and downloaded
If you go on the Aminet site there are numerous
configs that you can try out. Be careful though
to save your original. You can load configs from
the main interface, but they will become the main
DOpus config if you choose to save as such.
Lets change 'Scripts' to RAM
or RAM disk
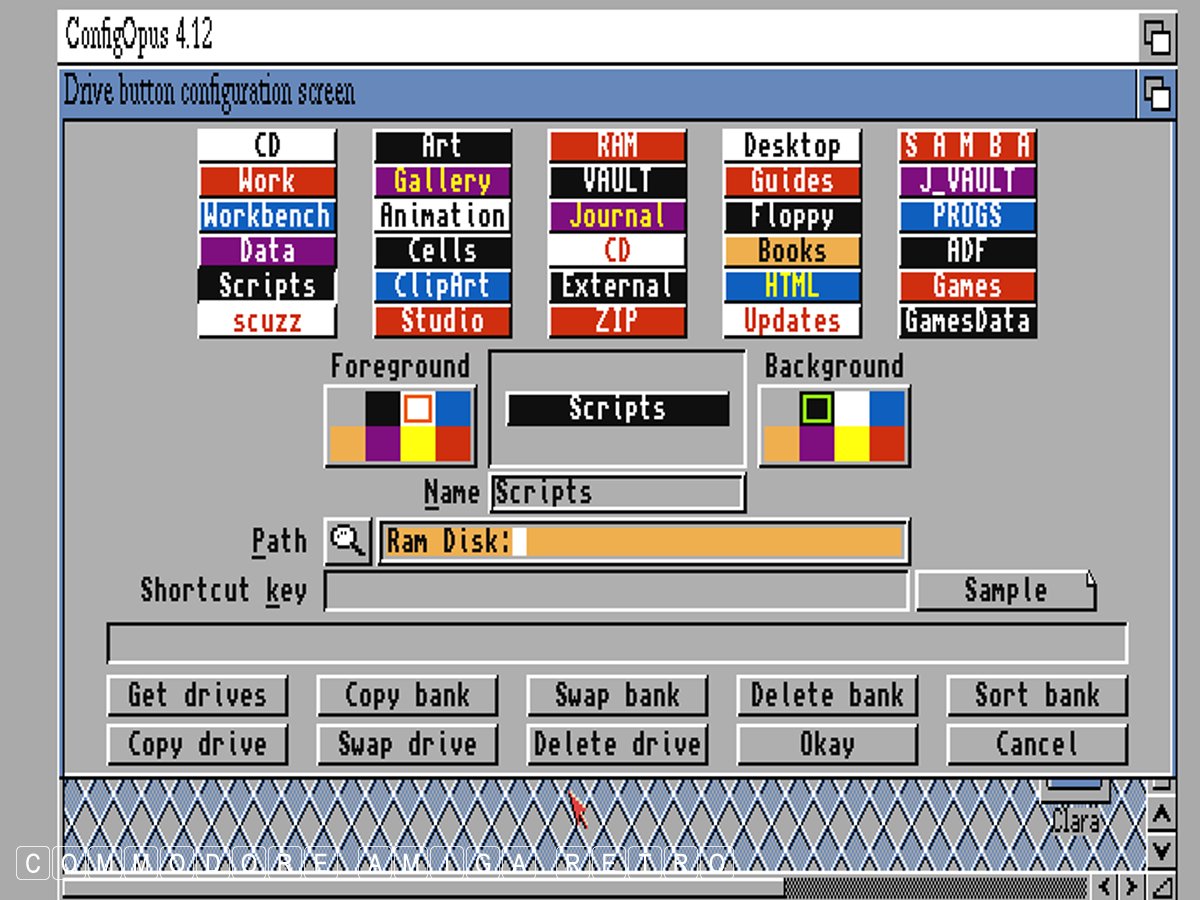
functions to find the exact directory you want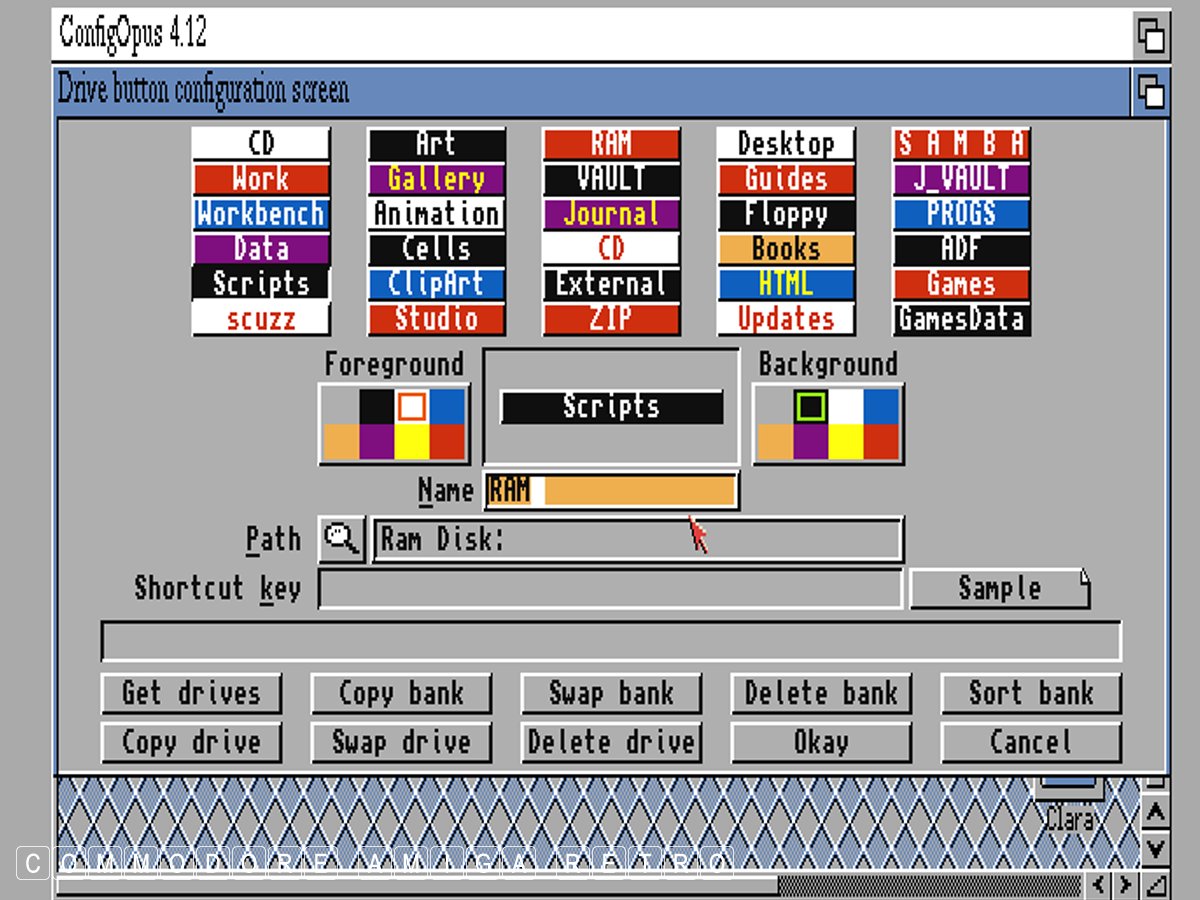
the colours and font text if you choose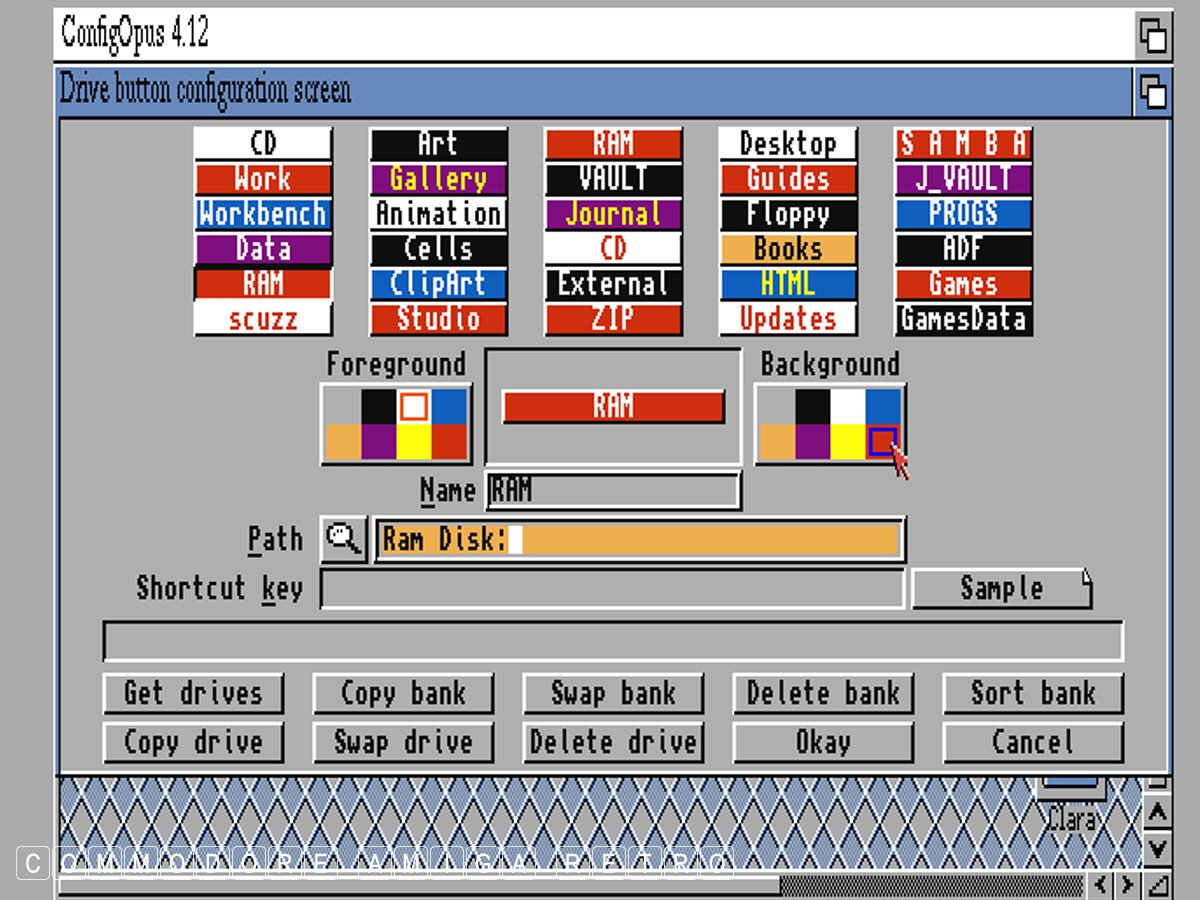
don't forget to hit return so it appears in
the top area. You can then change the colours etc
say access directory T and place in right pane
and copy, extract, etc into RAM say from files
you have in the left pane. This is useful if
you have LHA files in Work say and want to extract
into RAM before moving them or using them
that I can explain in another tutorial for archiving
purposes. Also note that buttons have a folded corner
This gives a single button two functions. The left click
activates one and the right click the one that is hidden
The hidden buttons can be viewed from the Configuration
menu under Buttons and is the second bank shown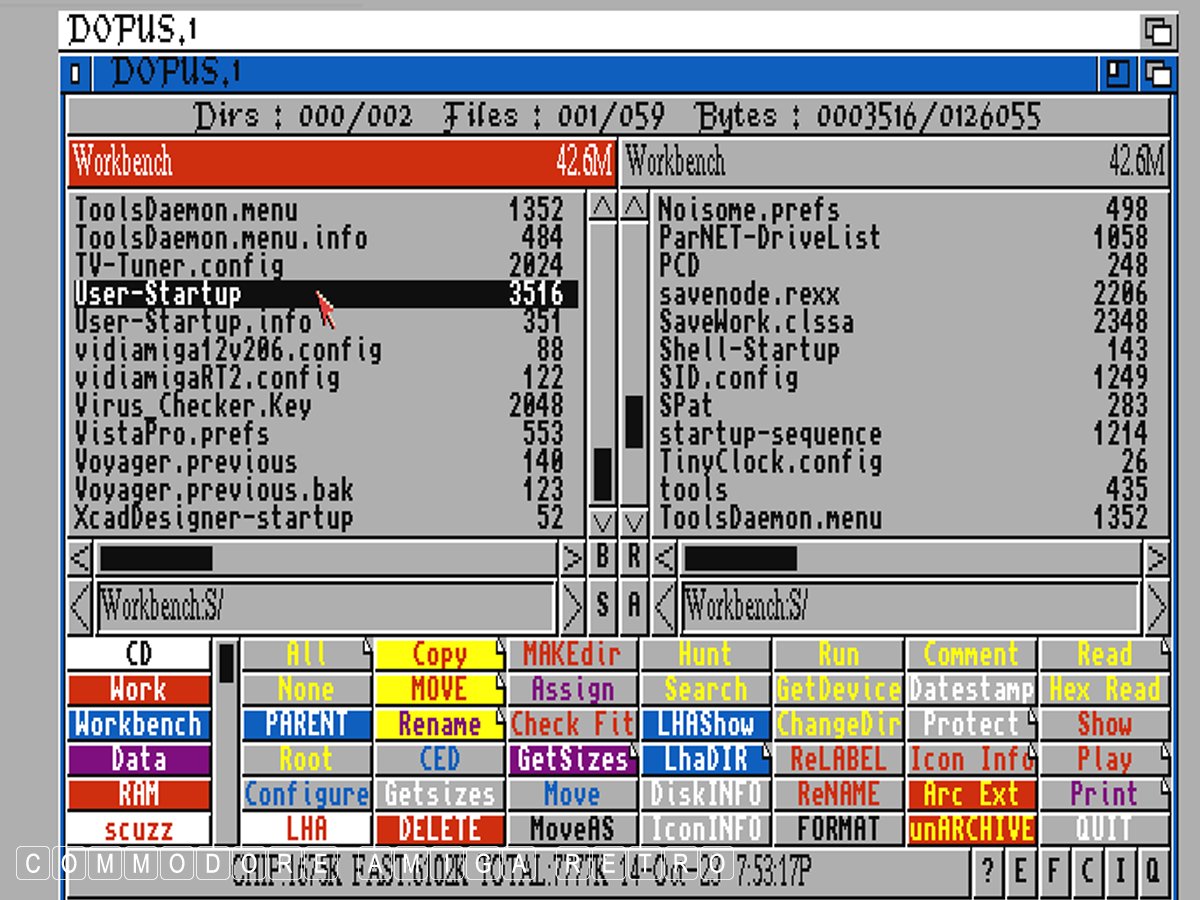
prompted for the floppy each time you use it, then
you need to create an ASSIGN in your user-startup
as I explained in a previous tutorial
Dopus near the top of the user-startup in s. Note
that the location will be wherever you have put the
copy of the Dopus files taken from the floppy disk.
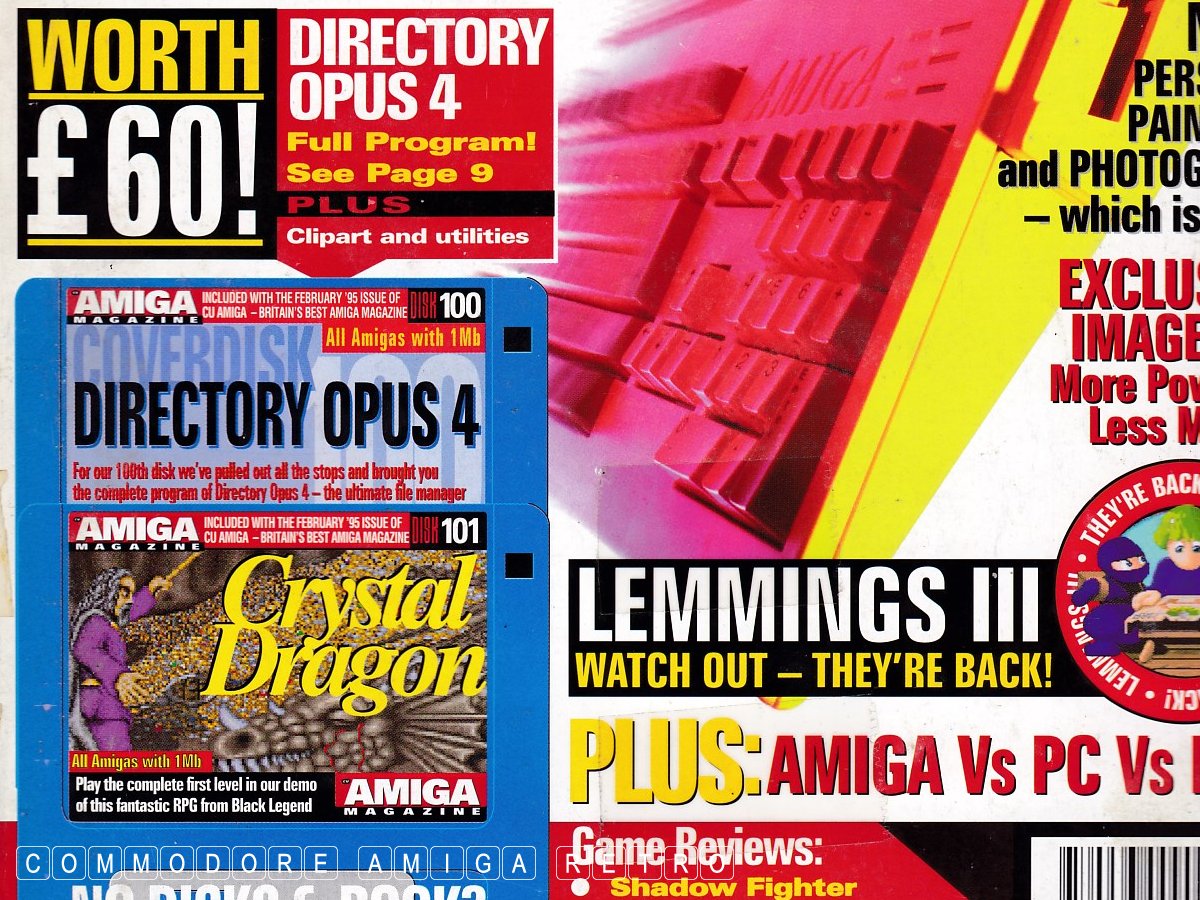
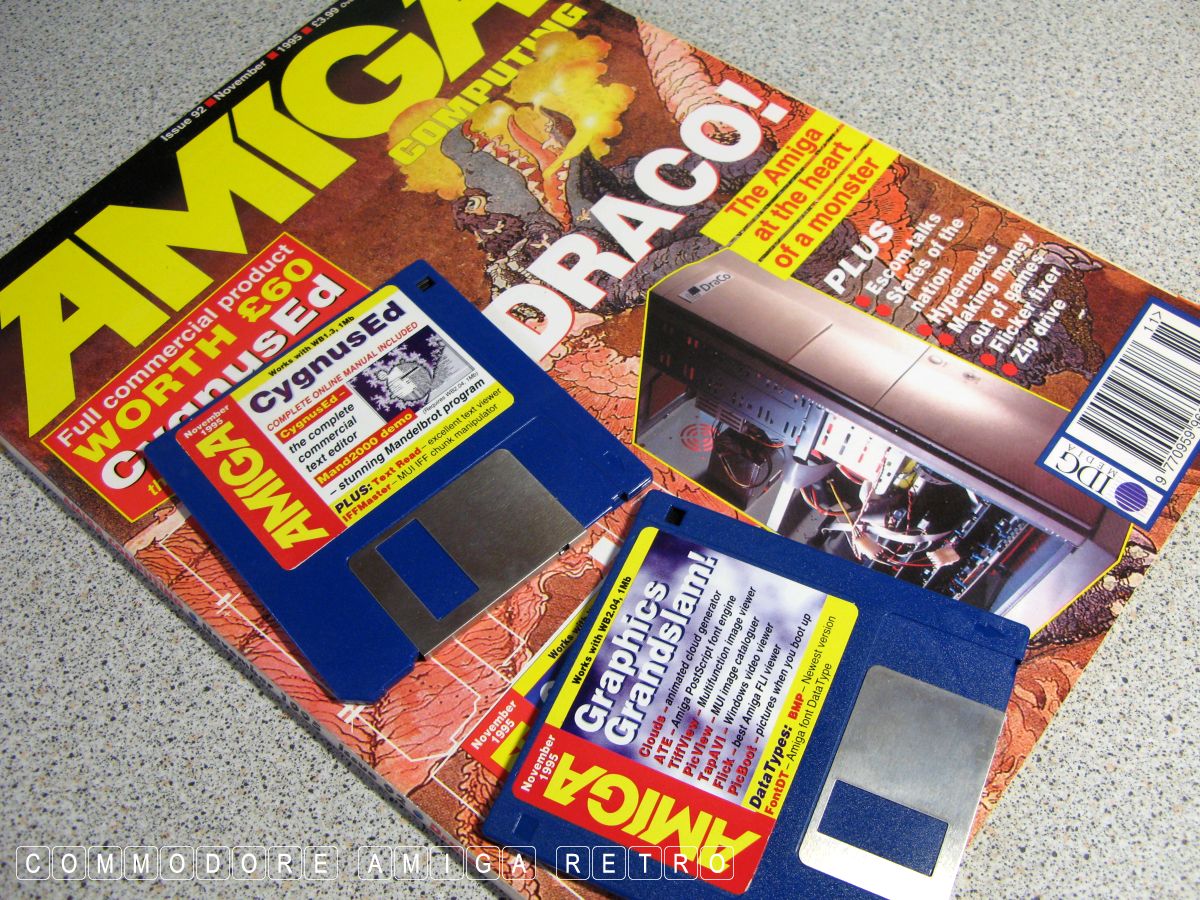
November 1995. The following months the magazine
provided tutorials. I have scanned these and will
stick them on a blog for tomorrowC E D CygnusEd
CED - CygnusEd Professional Release 2.
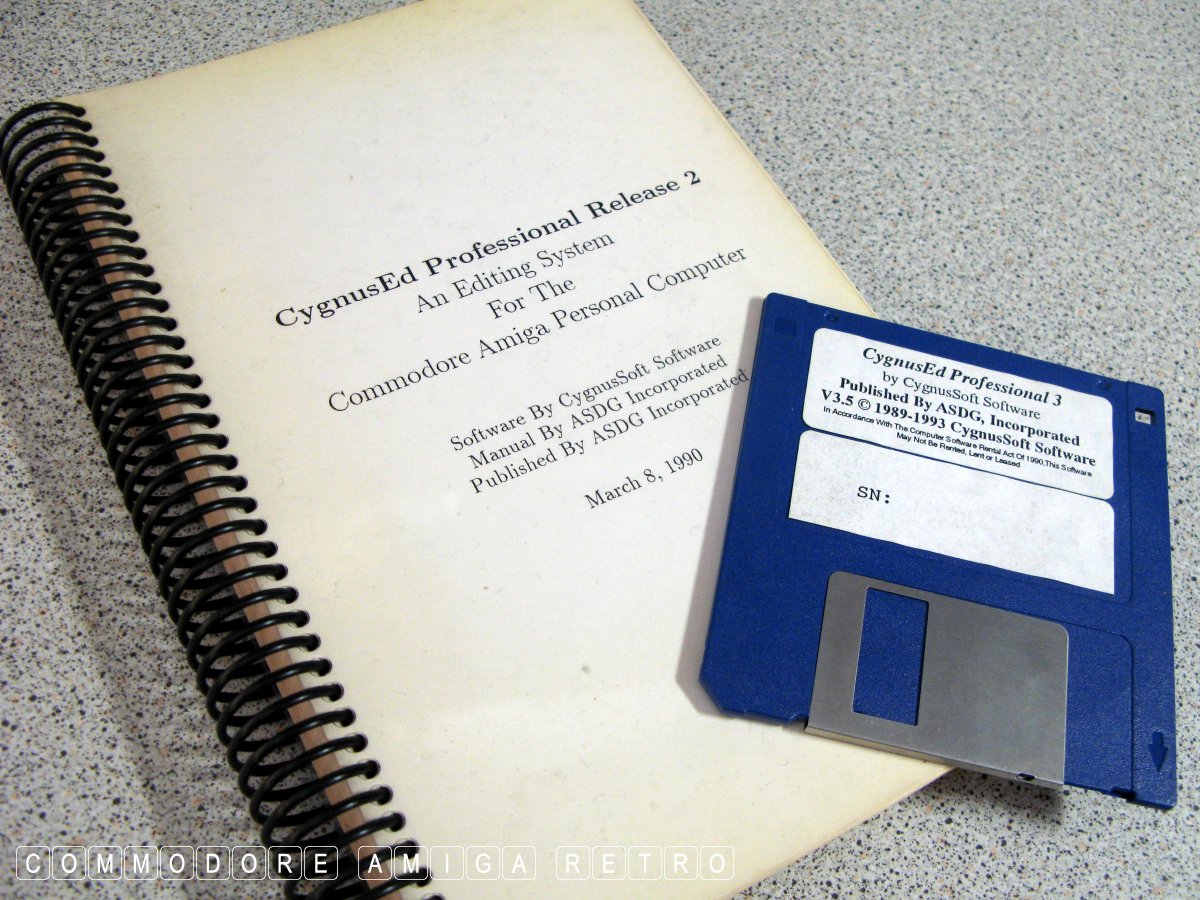


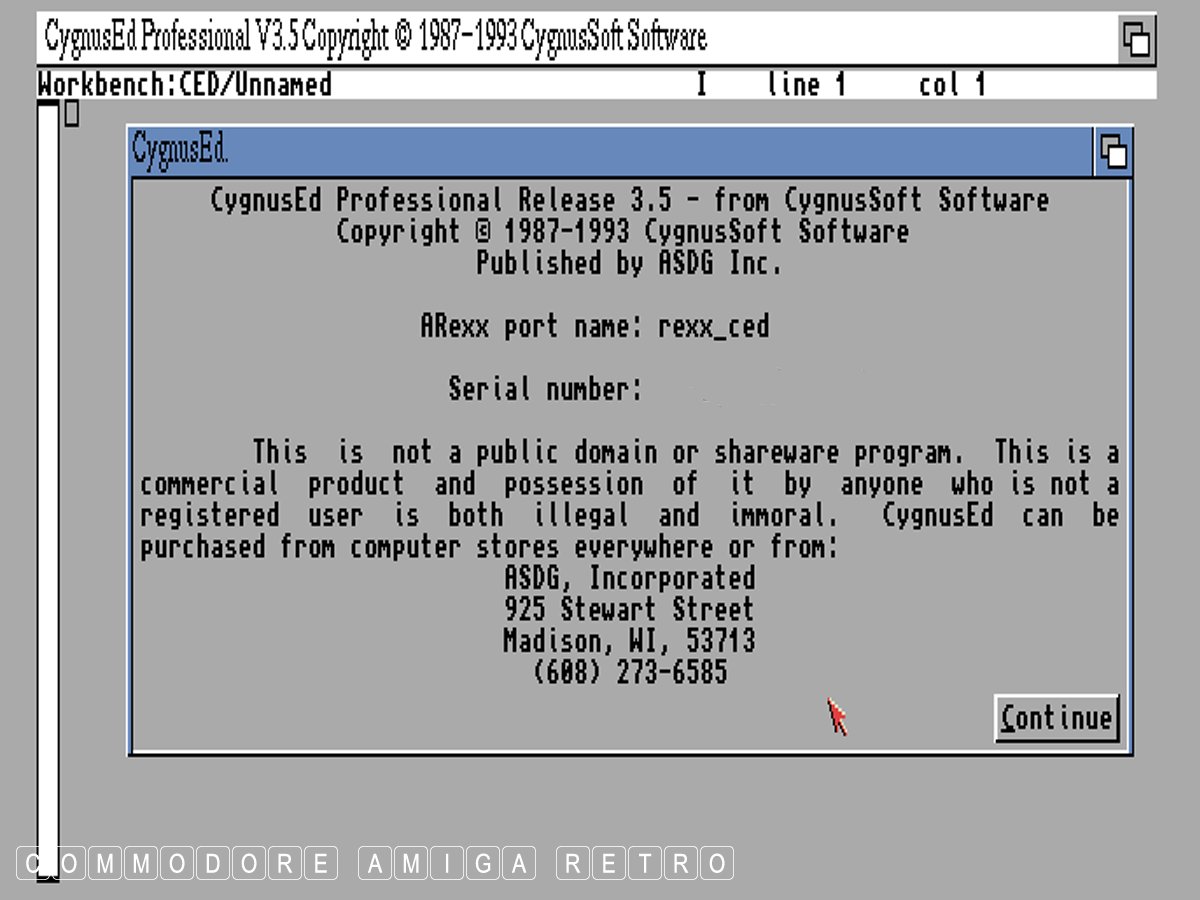
all you will ever need from a text editor.
enable the Amiga to handshake across
an Ethernet network. The script was
created and then given an icon.

the netpnet-handler as they need to be in
the locations specified. Very often the
script will advise just where other related
files need to be located. If you move the
location then you need to edit the script.
relate to the dependant files being in the
wrong location on the hard drive.
you to remove the semi-colon from the
drives that exist on your computer.
semi-colon removed. The editor was simply
used here to remove the semi-colon and save.
edited using the text editor.
You would need to ensure that the location path
is correct and you have the file in that drawer.
sharing protocol across a network.
browser HTML files and the like.
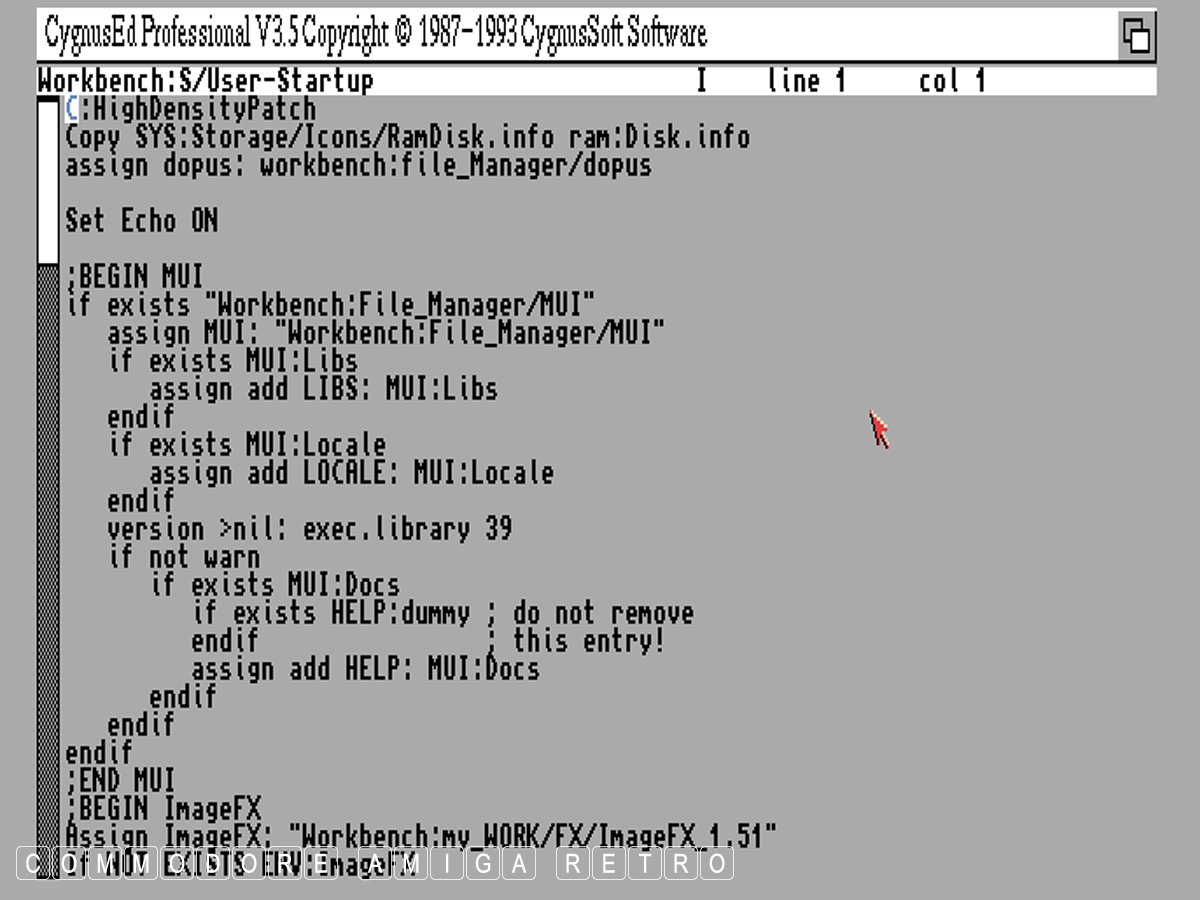
instruction to your user-startup. However
simple assign statements are generally
added by yourself.
It is good practice to add this but
not essential if you are lazy. The
assign gives the path of software on
your hard drive.

when you boot up the Amiga. Note the
line 'Set Echo ON' near the top of the
second image above this one. This
will print the boot sequence of your
user-startup script in the AmigaDOS
window of your Amiga when it boots.
paths of programs and software. Simple,
use a program called ToolsDaemon.
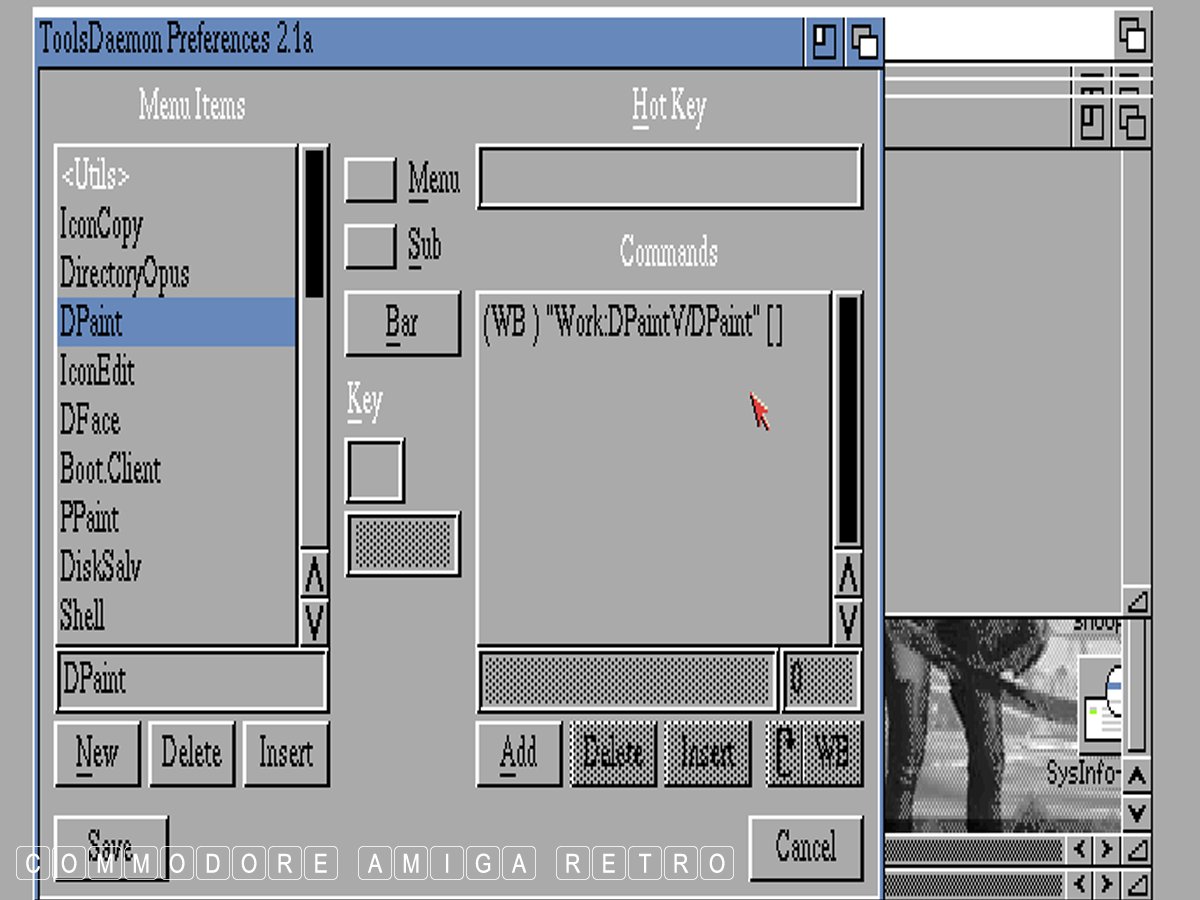
menu to your Workbench that lets you
drag and drop programs so that they
can be run from a drop-down. The benefit
is the software tells you the path.
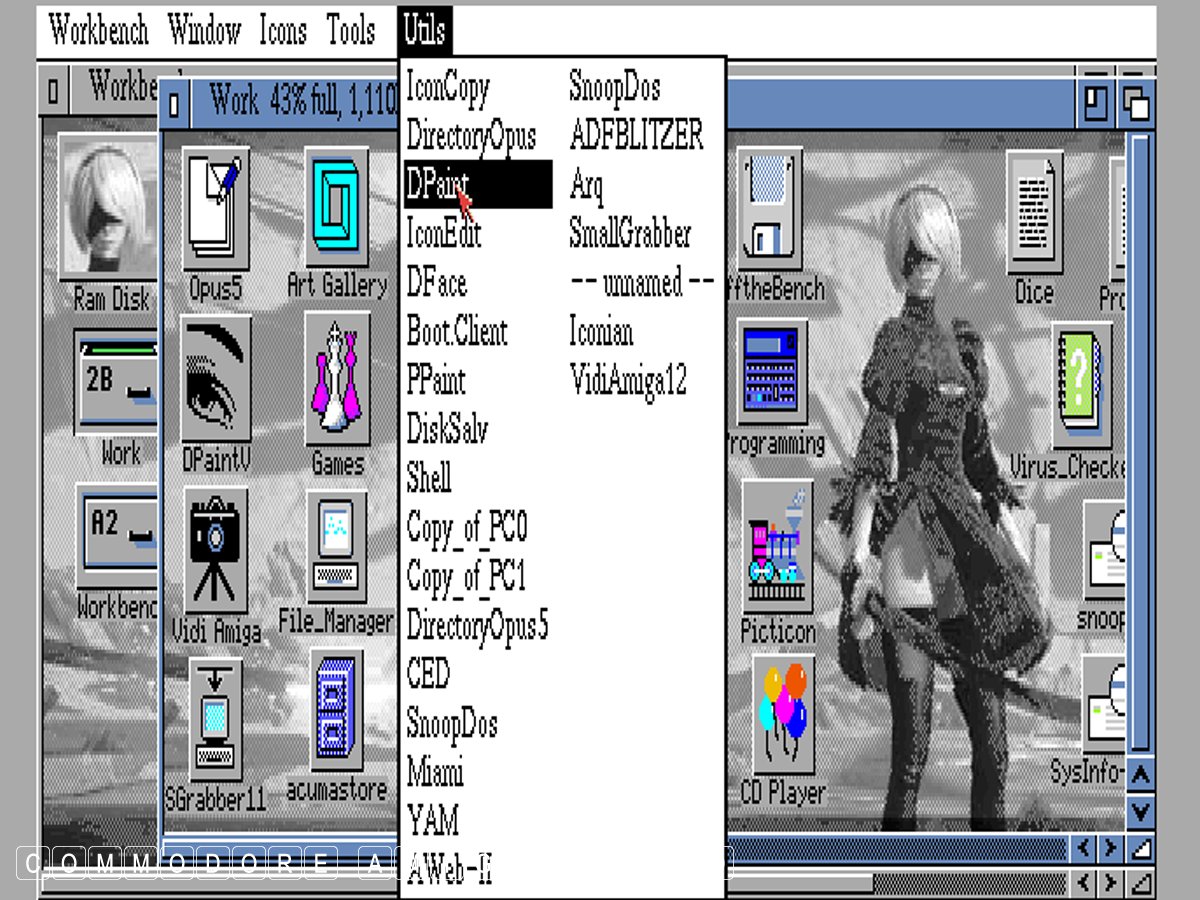
fires up all your programs from a single
menu. Cute or what. The menu that is.
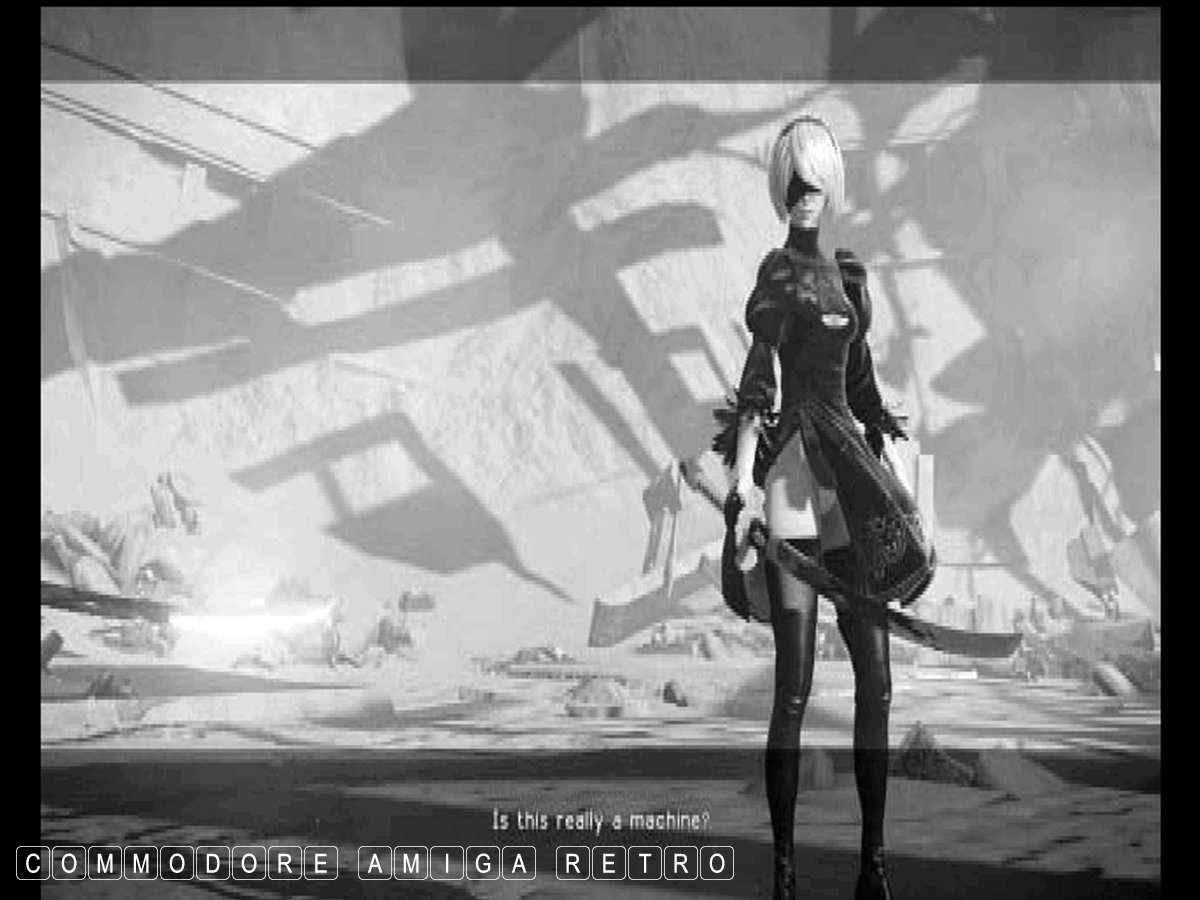
on the moon and fights for the glory of
mankind. What happens is that aliens attack
Earth and force humans to escape to the moon.
They build sophisticated androids to wage war
on the aliens to recover earth. So you play
an android and do the fighting.
finally die out and become extinct... BUT
nobody tells the androids. And they carry on
not knowing humans are dead. So a battle
and struggle between androids and aliens.
image is generated by DOpus using Fastview
which is far more detailed than the 256
colour backdrop image. The image was captured
using the PS4's own capture software and then
transferred using USB to the PC.
the Amiga resolution for Workbench and then
used PPaint to save the JPG as an ILBM so that
the Workbench could see it. I then changed the
Workbench prefs from pattern to picture to load
it in. I then did the same for the windows setting.
a sexy picture ... or not. On a stock Amiga this is
not advised as it uses a load of memory.
The RAM icon is called up by the startup-sequence
so you need to replace the stock icon with the one
that you have created. Use the text editor to see
where the icon resides and change using DOpus.
spent some quality time levelling 2B in
Nier Automata ... And Level 58. Whoo Hoo.
As you do !!

If you can only see this CONTENT window
then click the image above for the full site
Last updated 7th December 2023
Chandraise Kingdom
![]()
Keep the Faith
scuzzscink 2023