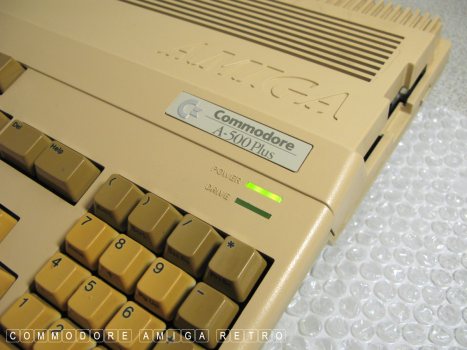
Amiga 500 Plus - Buyers Guide.

First... does she work?

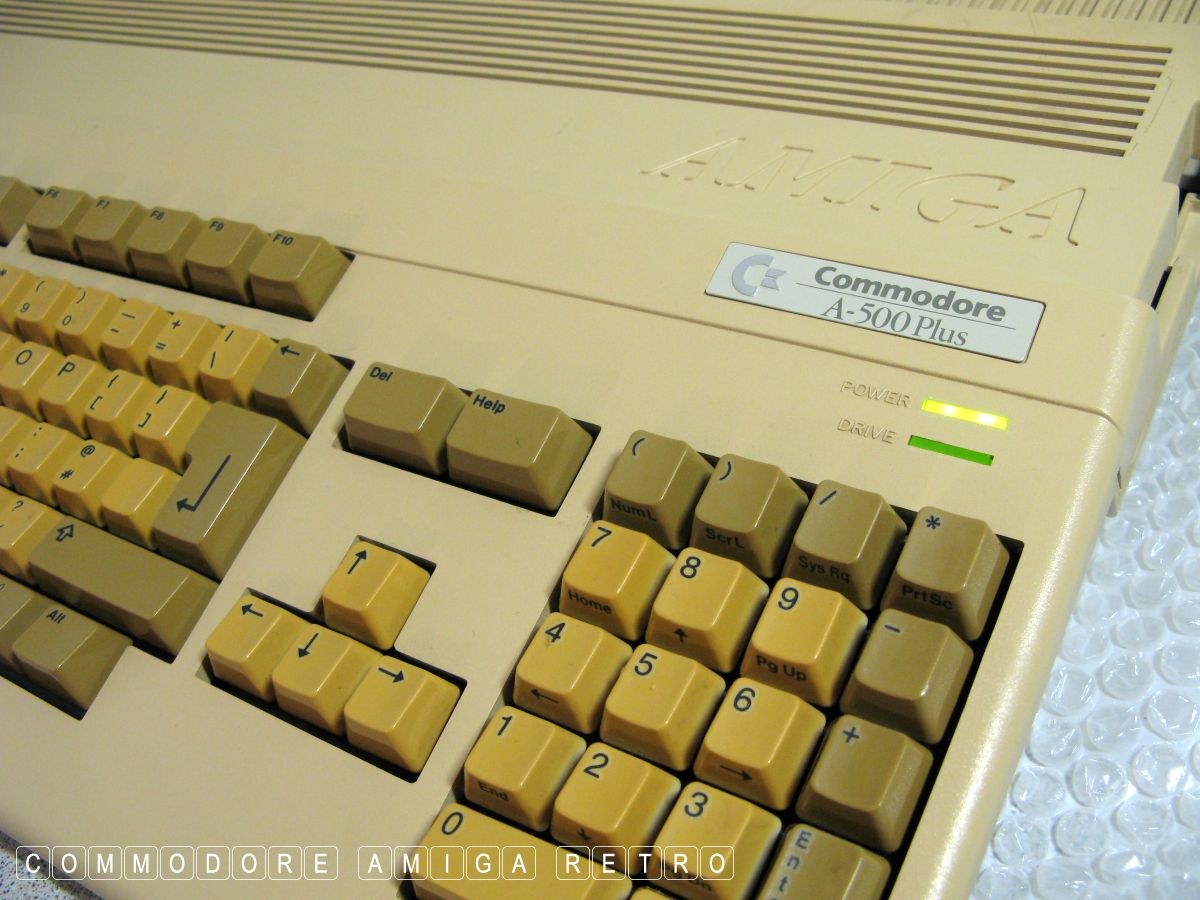
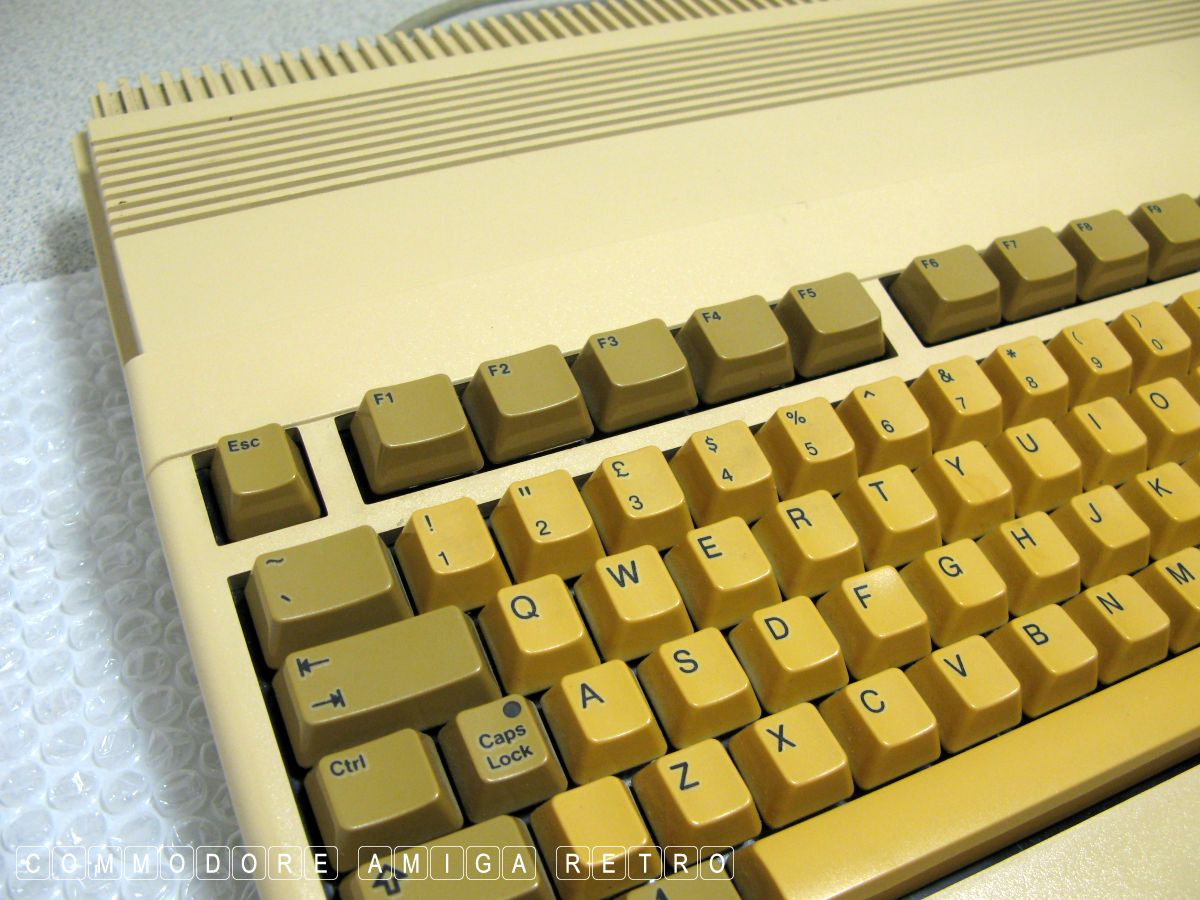
Are all the keys visible and correctly located.
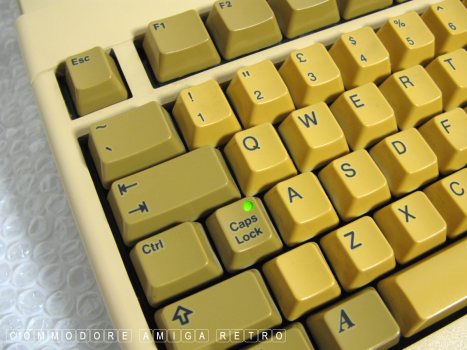
When booting does the caps light come
on all the time when you press it.
Does it flicker just once when booting.
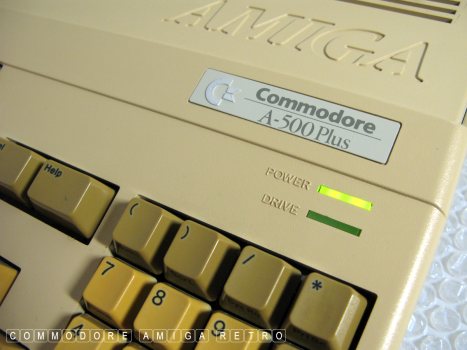
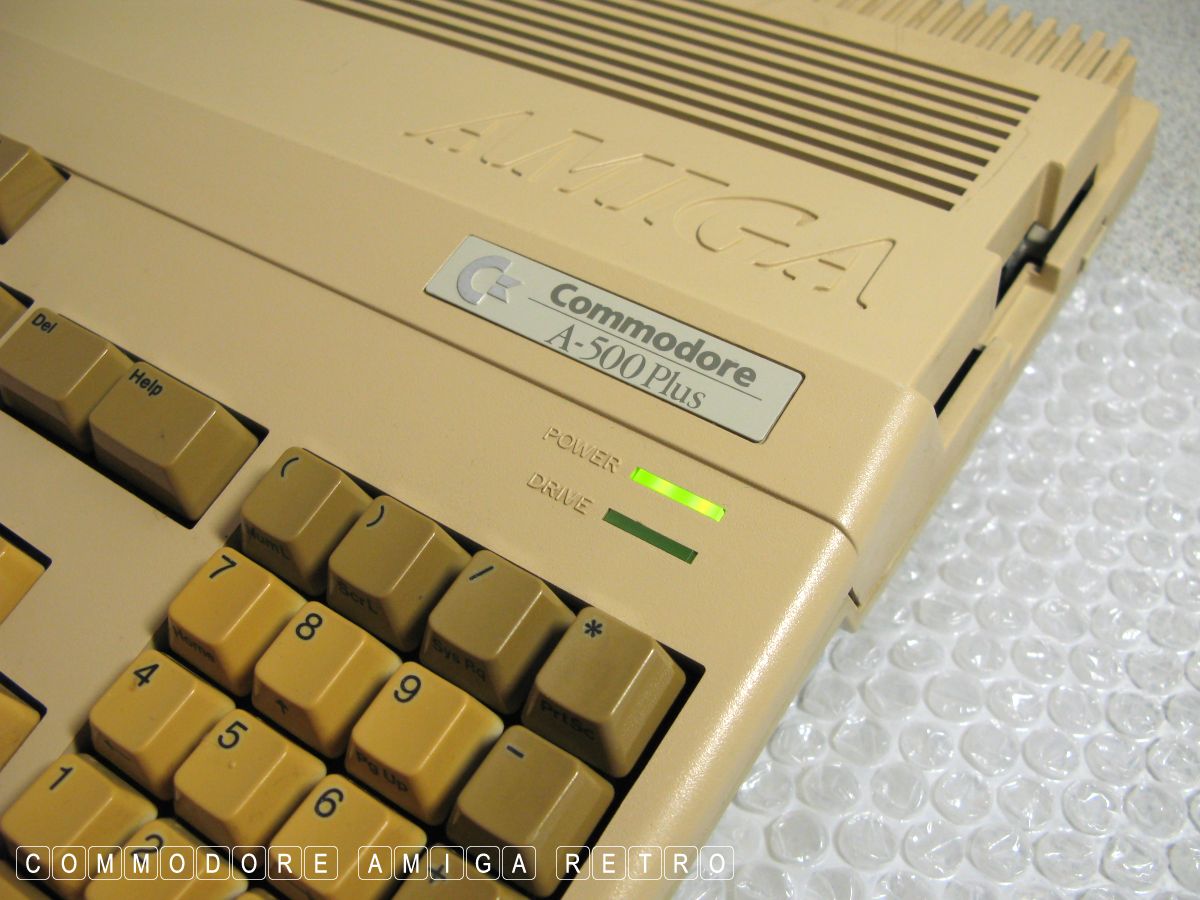
Is the power light a single continuous
glow whilst booting. No stopping, flickering
going off and coming back on again.
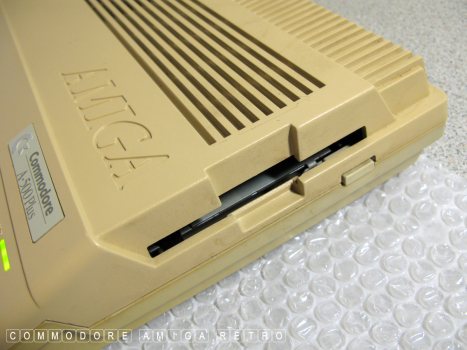
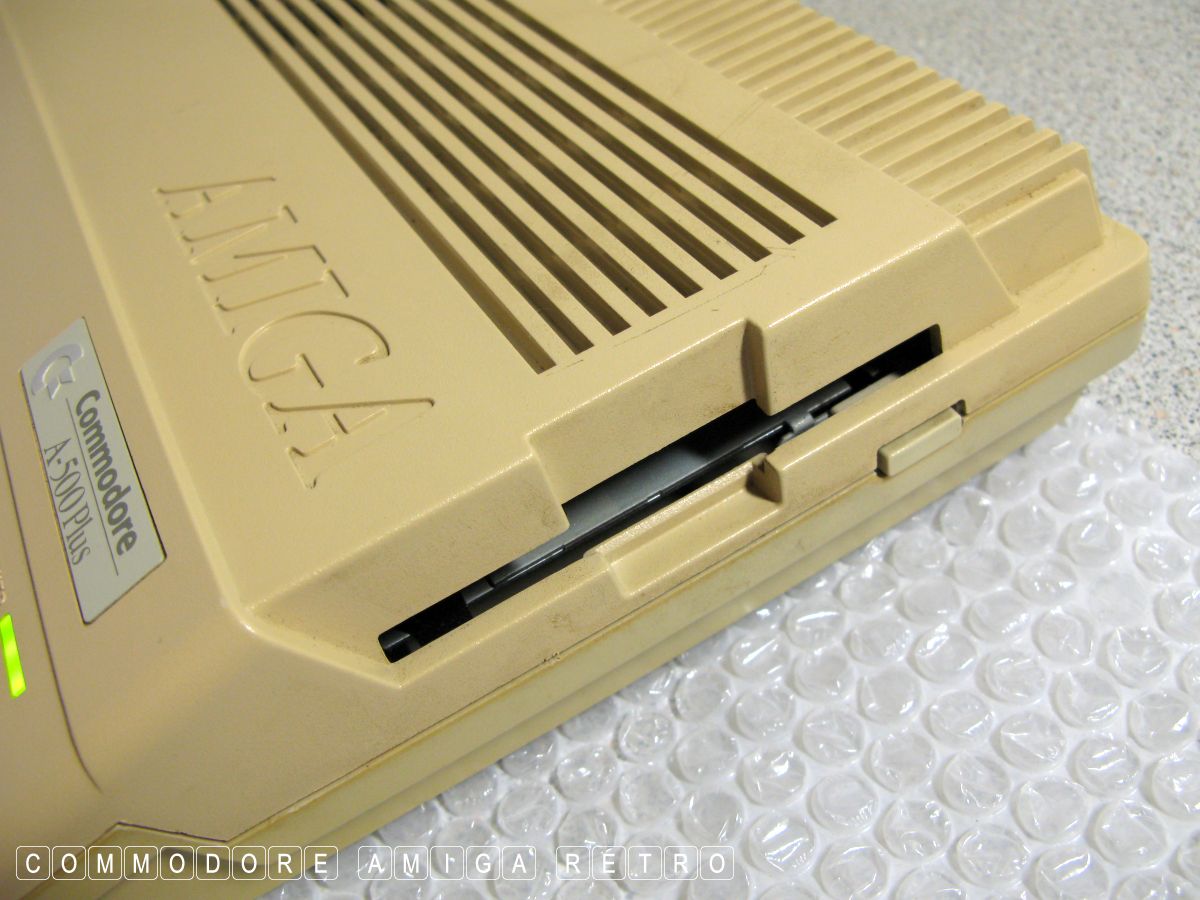
Is the floppy drive clicking gently
after boot and not stopping and starting
and trying to load a disk when empty.
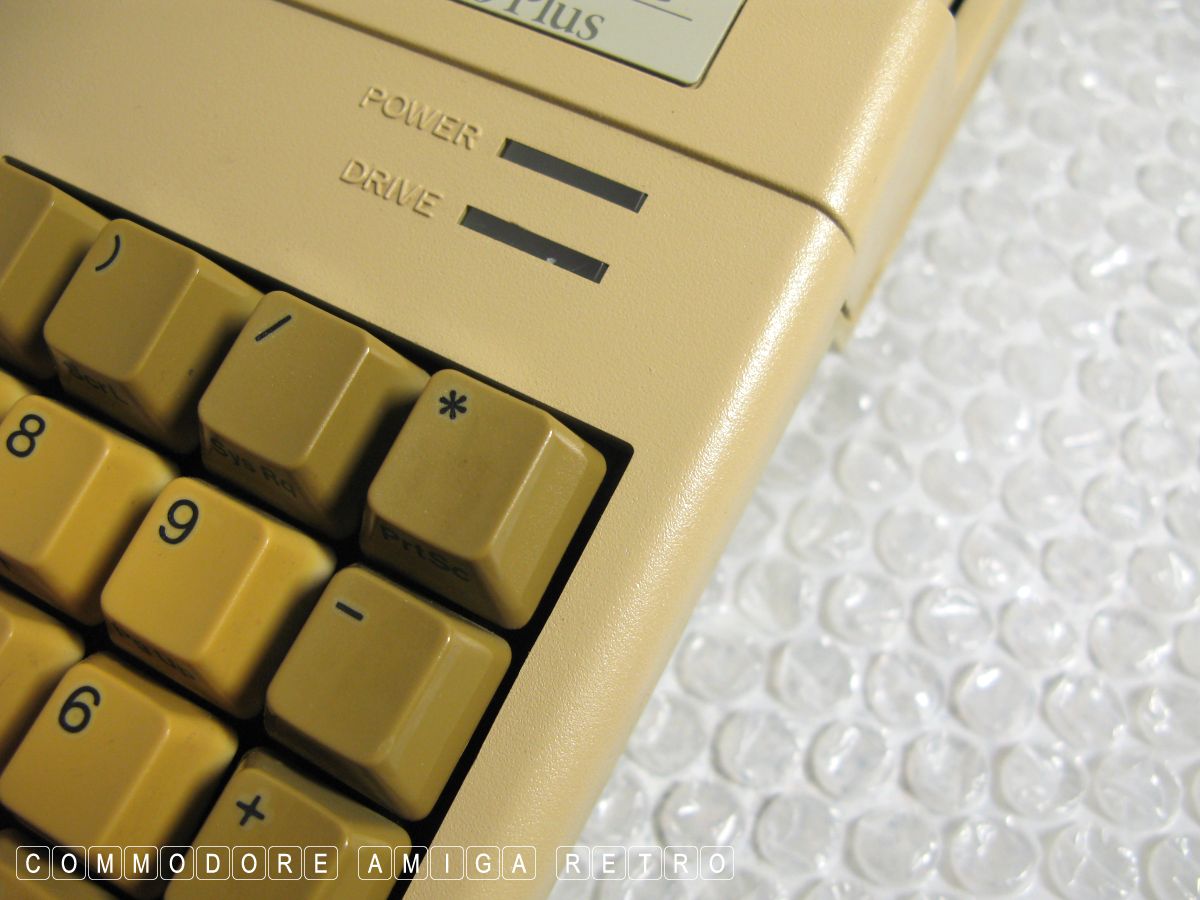
ALWAYS put bubble wrap down on the
bench before turning any facework such
as keys and fascia onto the work surface.
So many idiots on YouTube work direct off
the surface and as they move the unit
around unscrewing they scratch the keys.
Don't be a jerk..

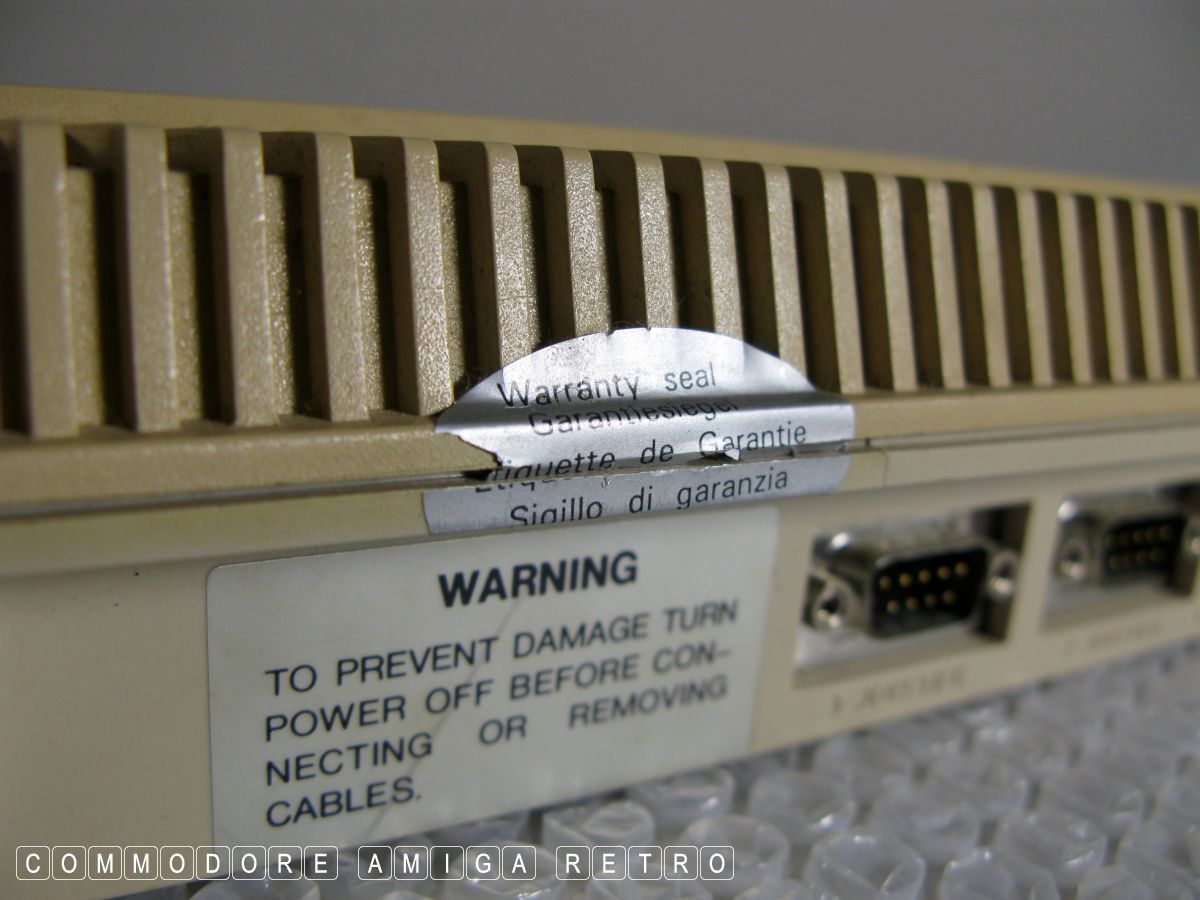
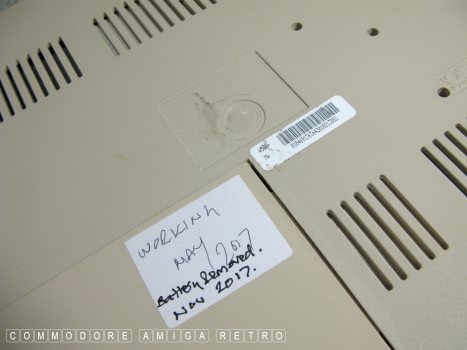
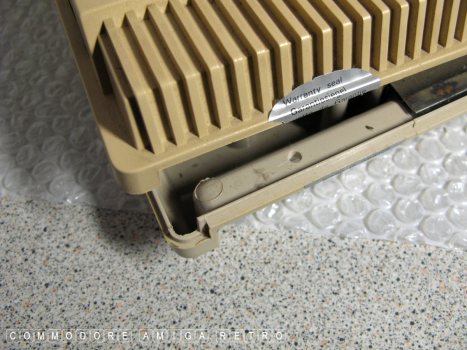
The warranty sticker intact on a 500
is a great sign. On a 500 Plus probably
means a neglected internal battery.

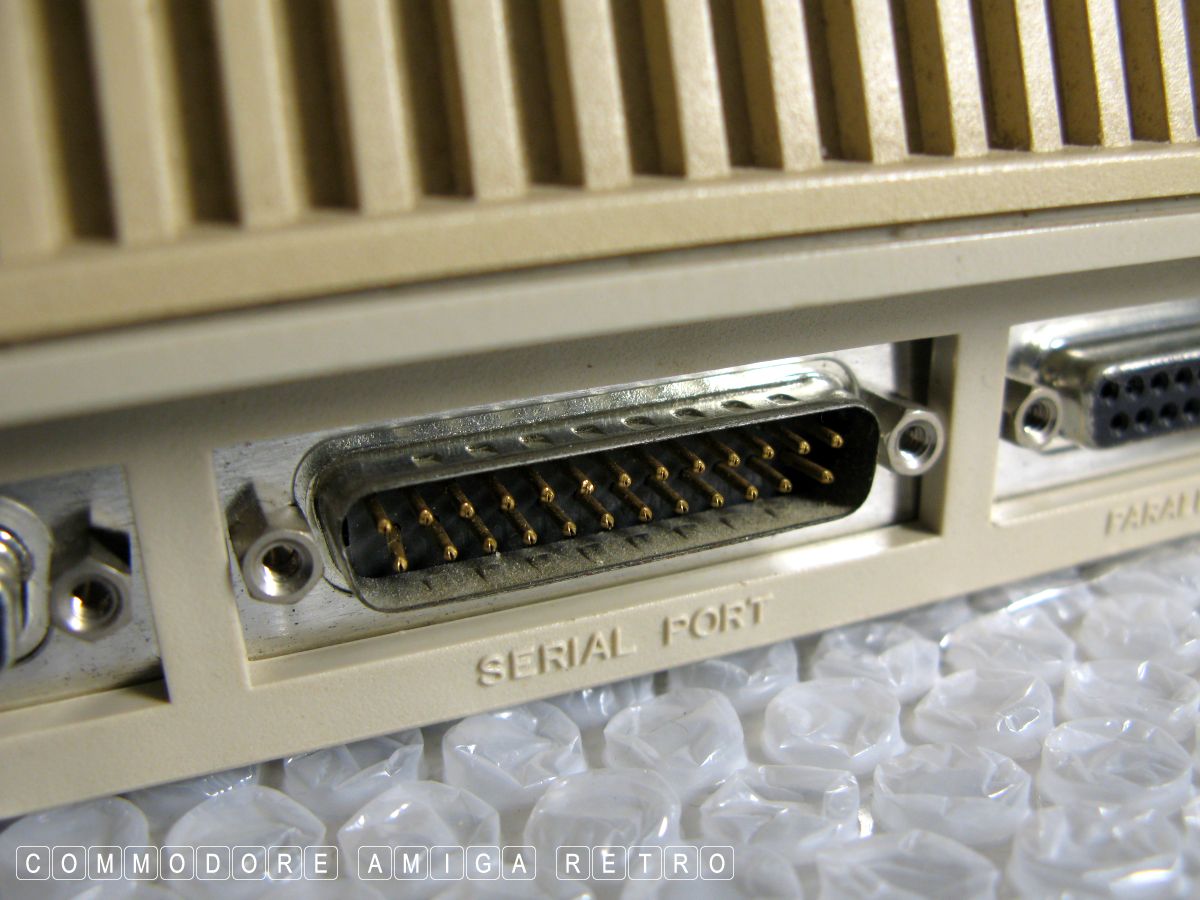
Pins to ports are so important. The Amiga
was used as a games machine and very often
shared the lounge TV. So the unplugging and
plugging in of joysticks and mice was pretty
common. This will break the pins. So count
them to make sure they are all there.
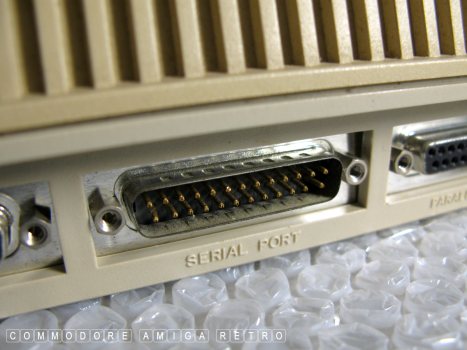
Same applies to the serial.
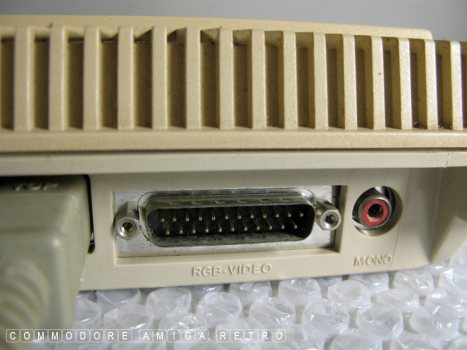
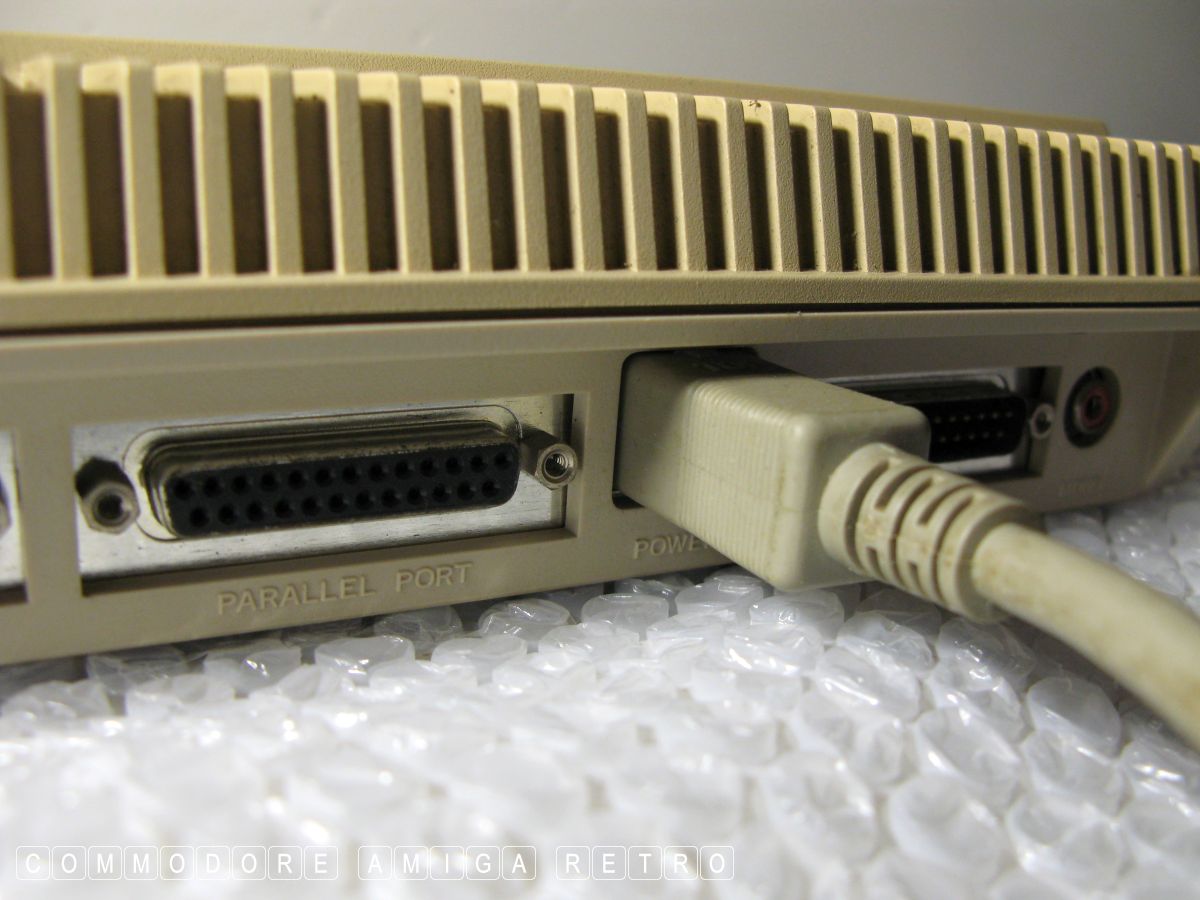
And the RGB port. Check the pins.

With a 500 and 500 Plus the PSU should
be a larger brick sized unit.
Switch PSU on without connecting to the
Amiga and if you hear a dull constant low
thump then the capacitors are on the way
out. Can be replaced.
Check to see you have the expansion port cover.
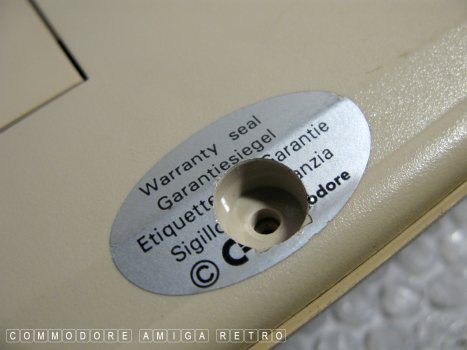
An unbroken seal on a Plus is bad news
as the battery will never have been removed.
Tip.. if you have an unbroken warranty
sticker on a 500 and the original box
then you have a mint in box. Don't ruin
it by breaking the seal. Sell the 500
as mint and buy a 1200 .
I have scuzz stickers on my trapdoor
giving status of machine. Stick stuff
on the trapdoor and not the case.
Sadly the actual serial number sticker
has been removed from this computer.
Check for cards and the like under
the trap door and watch out for hidden
batteries on the face not visible.
Commodores A501 was in a sealed box and
had a barrel battery inside.
Rubber feet can literally melt and go
very very sticky.
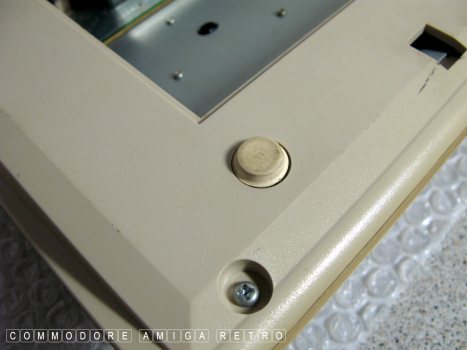
Check the screw types as they were
either Philips or Star type. Always
use the correct screwdriver.
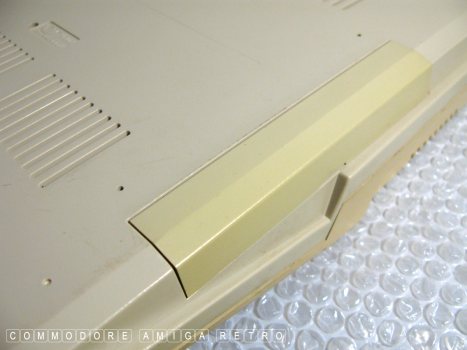
A different colour expansion cover will
probably tell you something about the
computers use in terms of a sidecar.

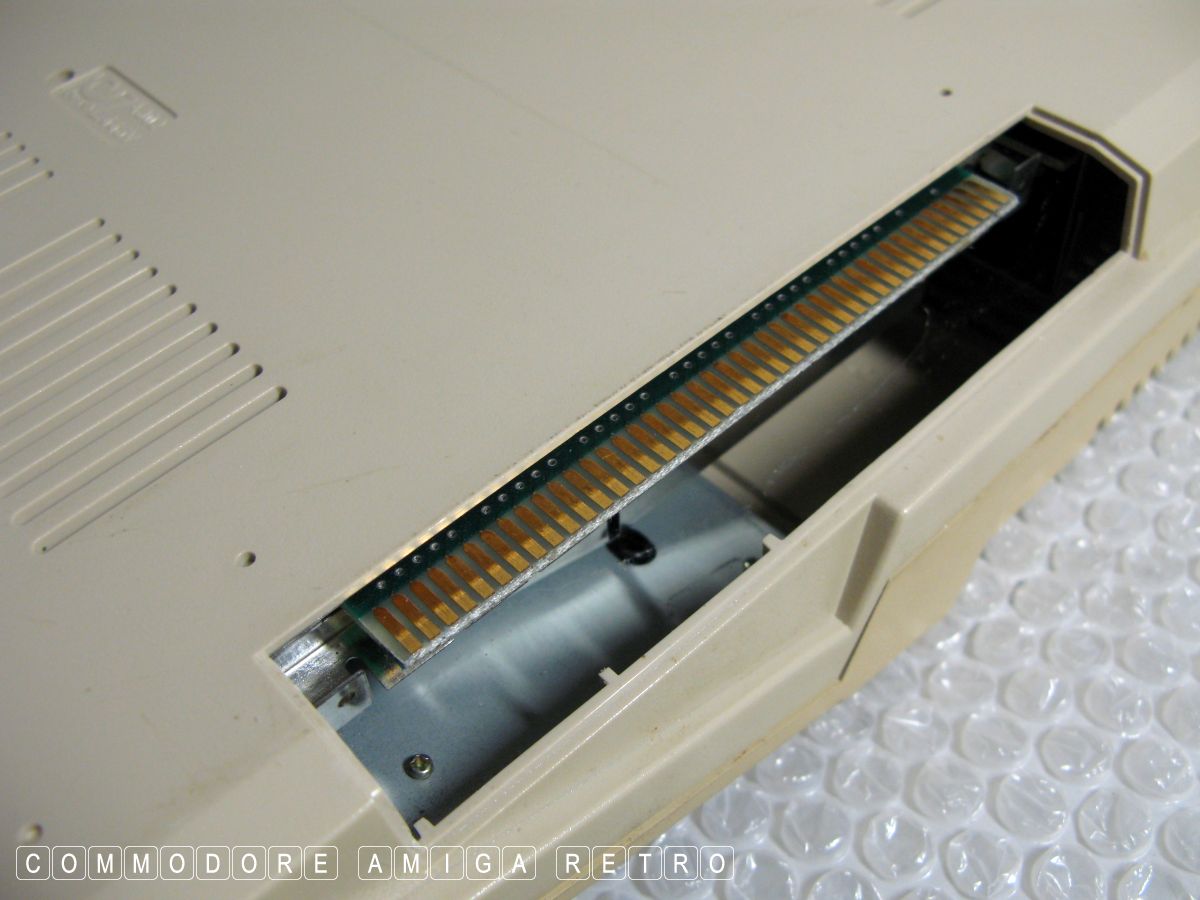
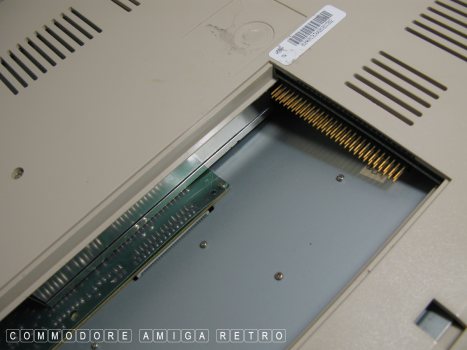
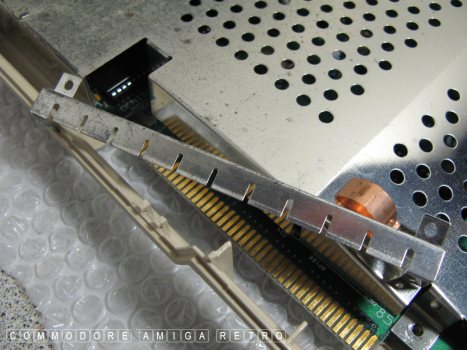
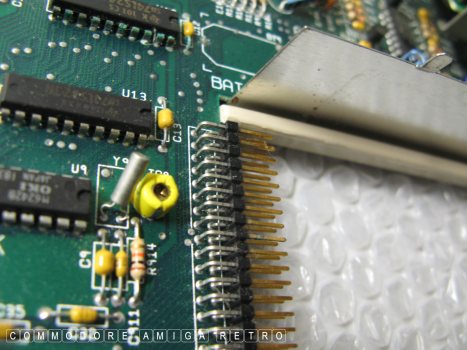
Check the expansion port for corrosion and damage.
There may sometimes be fitted a grey metal
clip to the port base. This is a grounding
clip for a GVP or A590. Store with care if
you do not intend using a sidecar, or send
it to me... please. Pretty please.

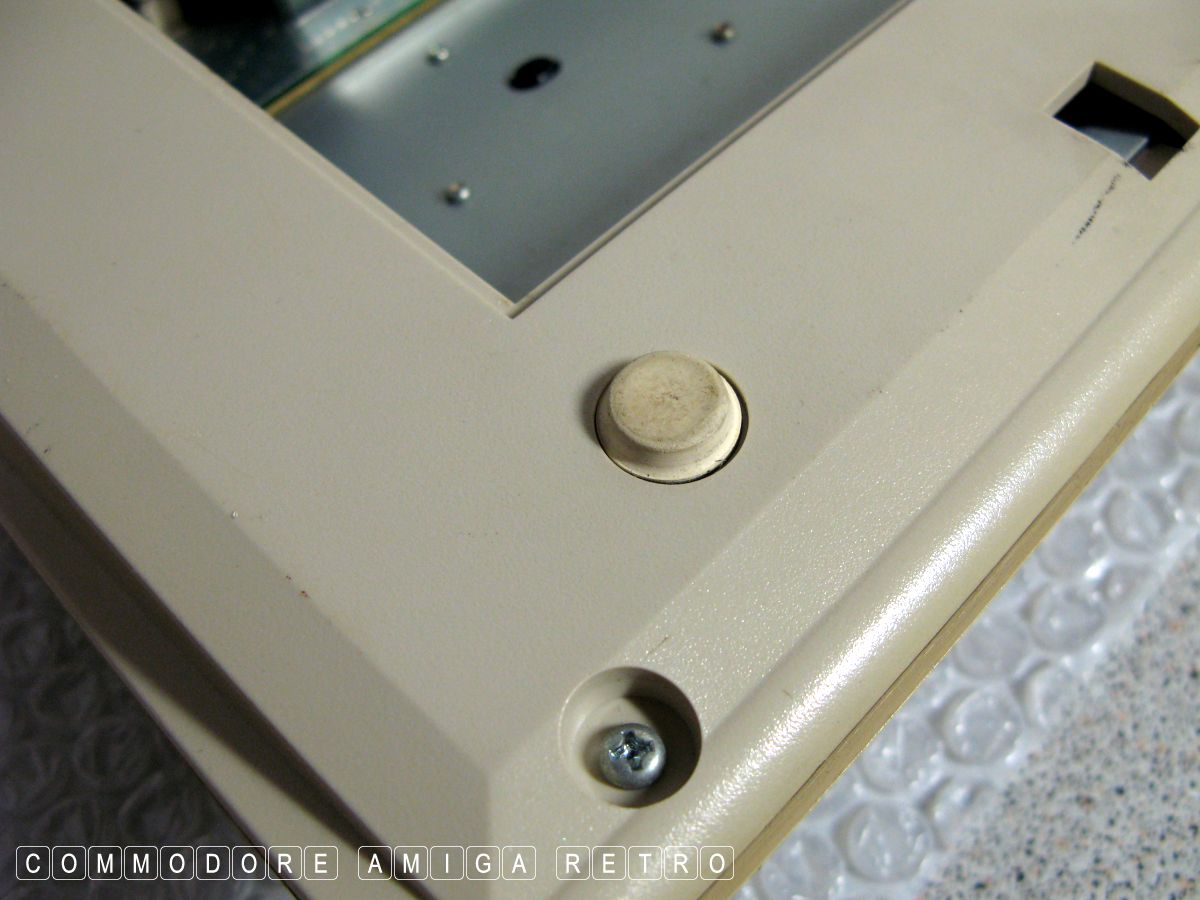
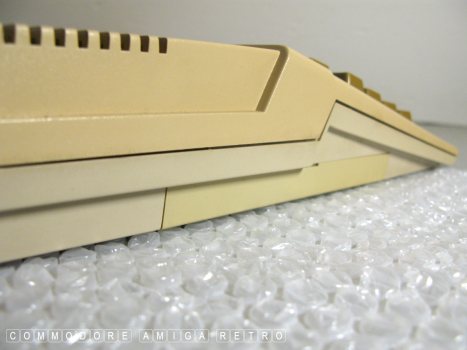
NEVER LIKE EVER open the case by lifting
from the front edge. Always open from the
back. If you lift from the front you are
likely to crack the case just to the right
of the asterix button. Trust me.
Always crack the case from the back edge.

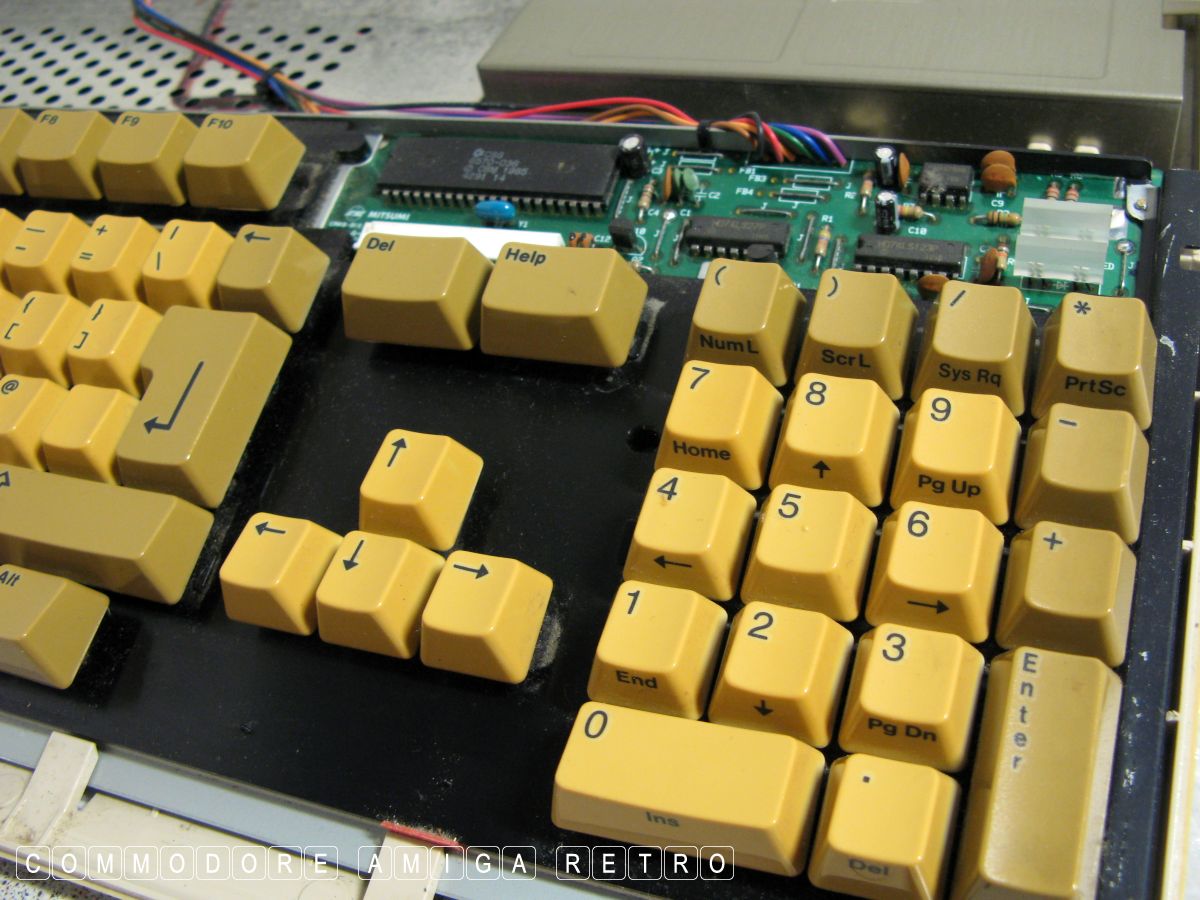
Check for excessive levels of dust
around keys when the cover is open.
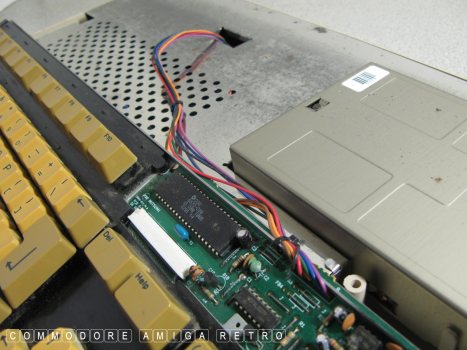
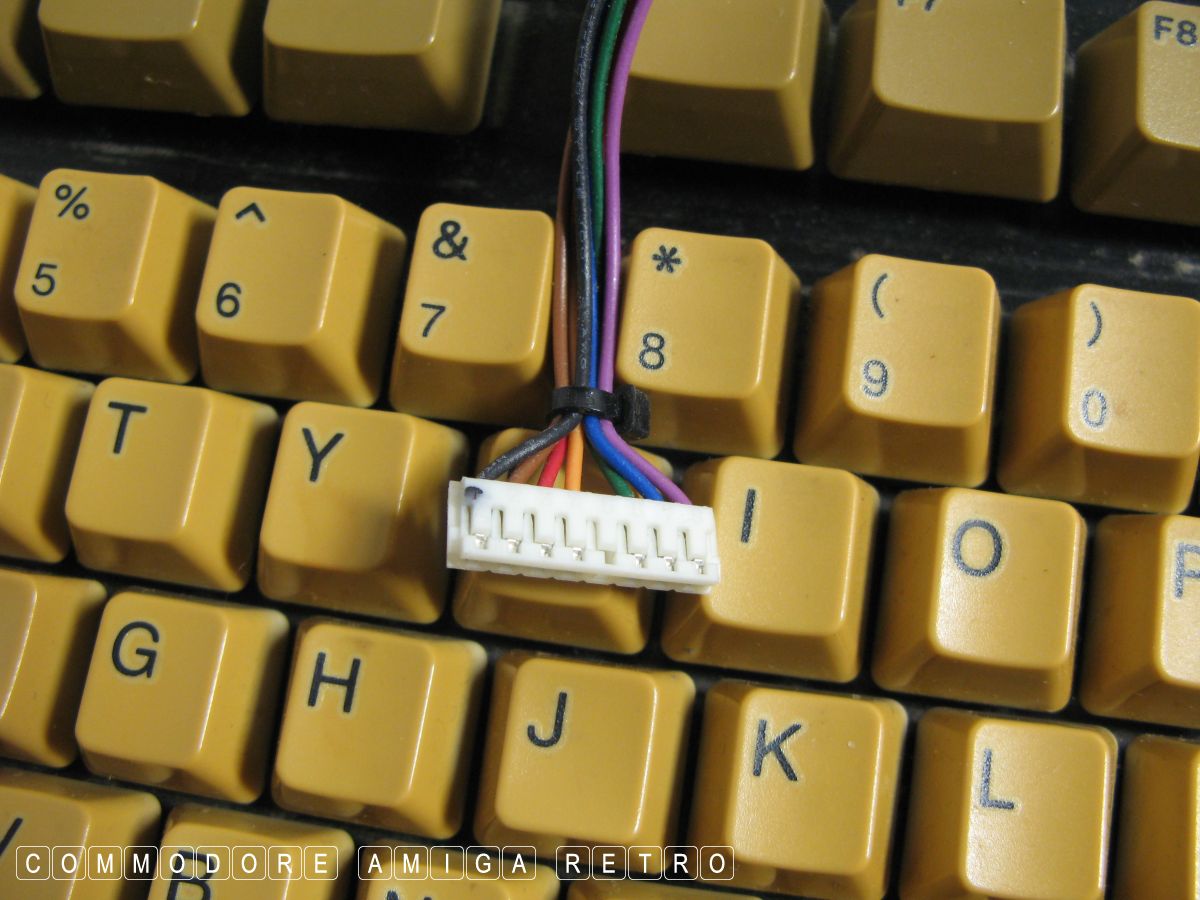
The connector from the keyboard can be
loose cables and or a ribbon. Check if
the ribbon tie to the PCB is in place.
If missing probably means the keyboard
has been taken apart.
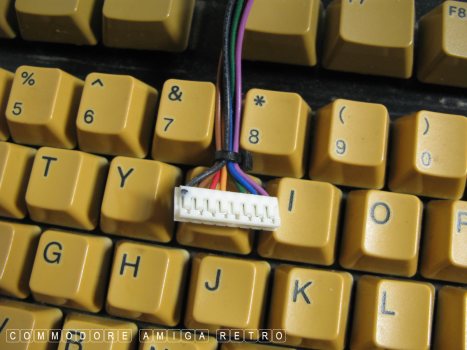
Check the wires are soundly connected and
all pins are on the motherboard. There is
one pin missing by the way.

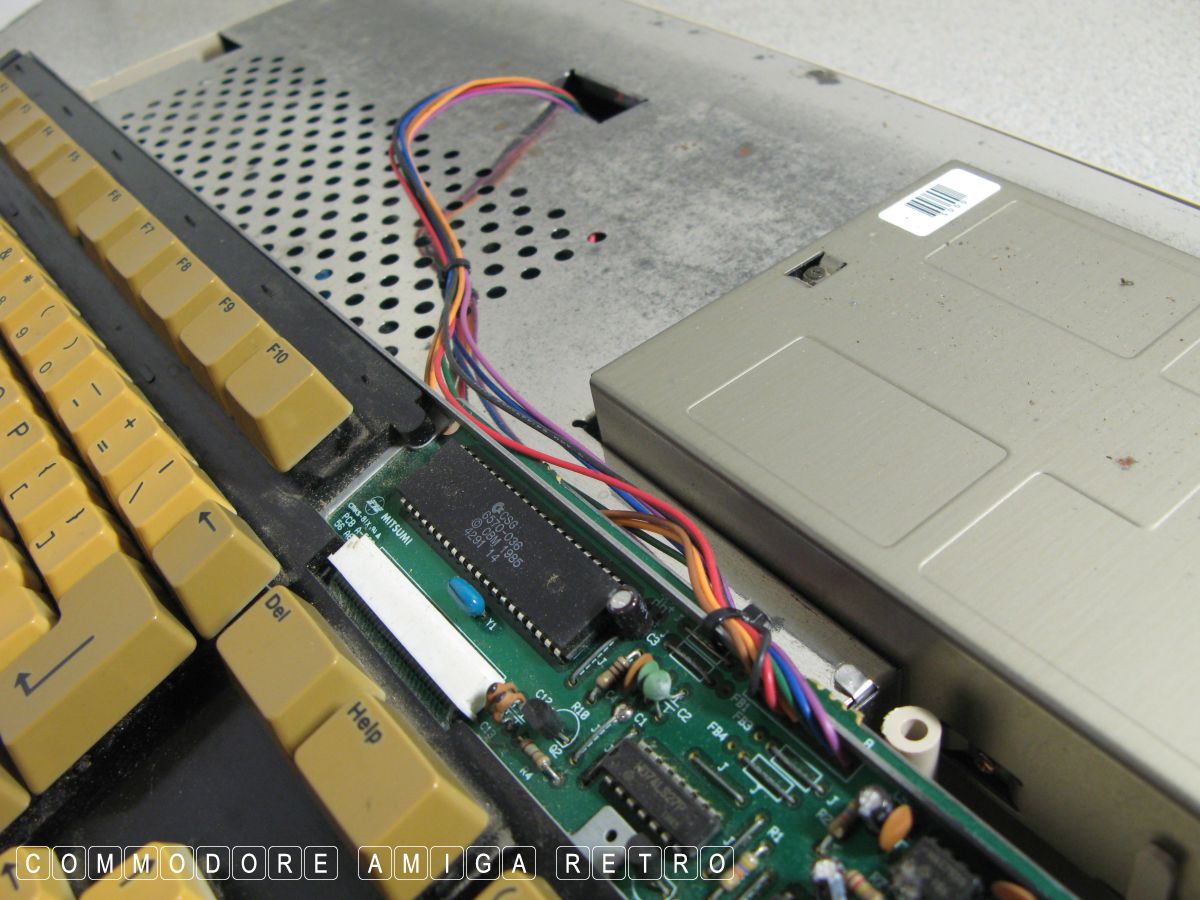
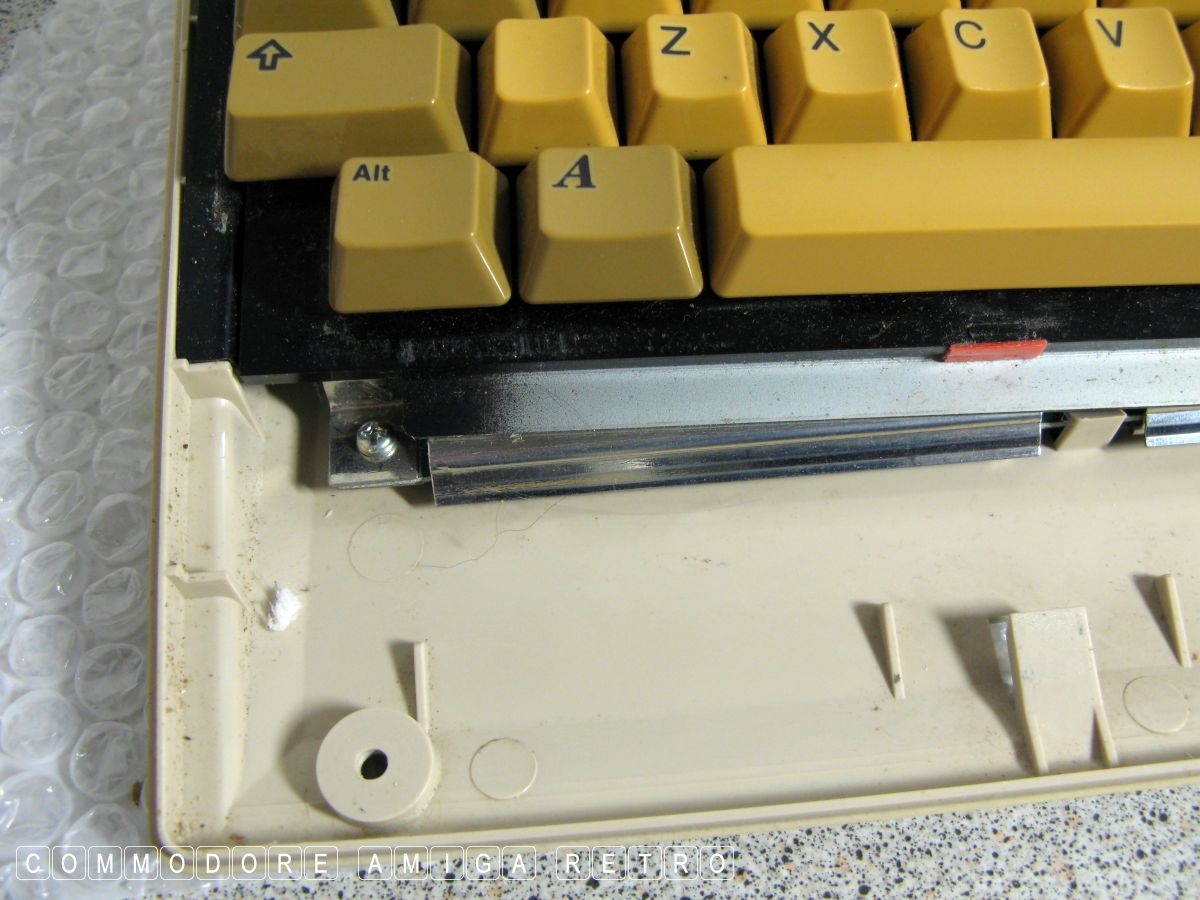
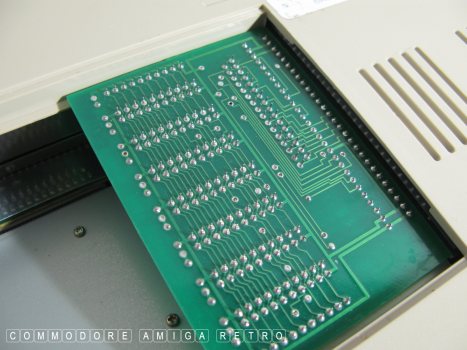
Slide out the keyboard from bottom slots.
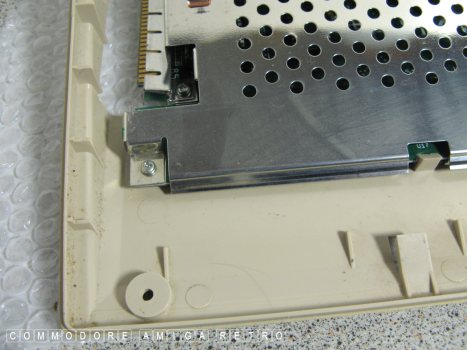
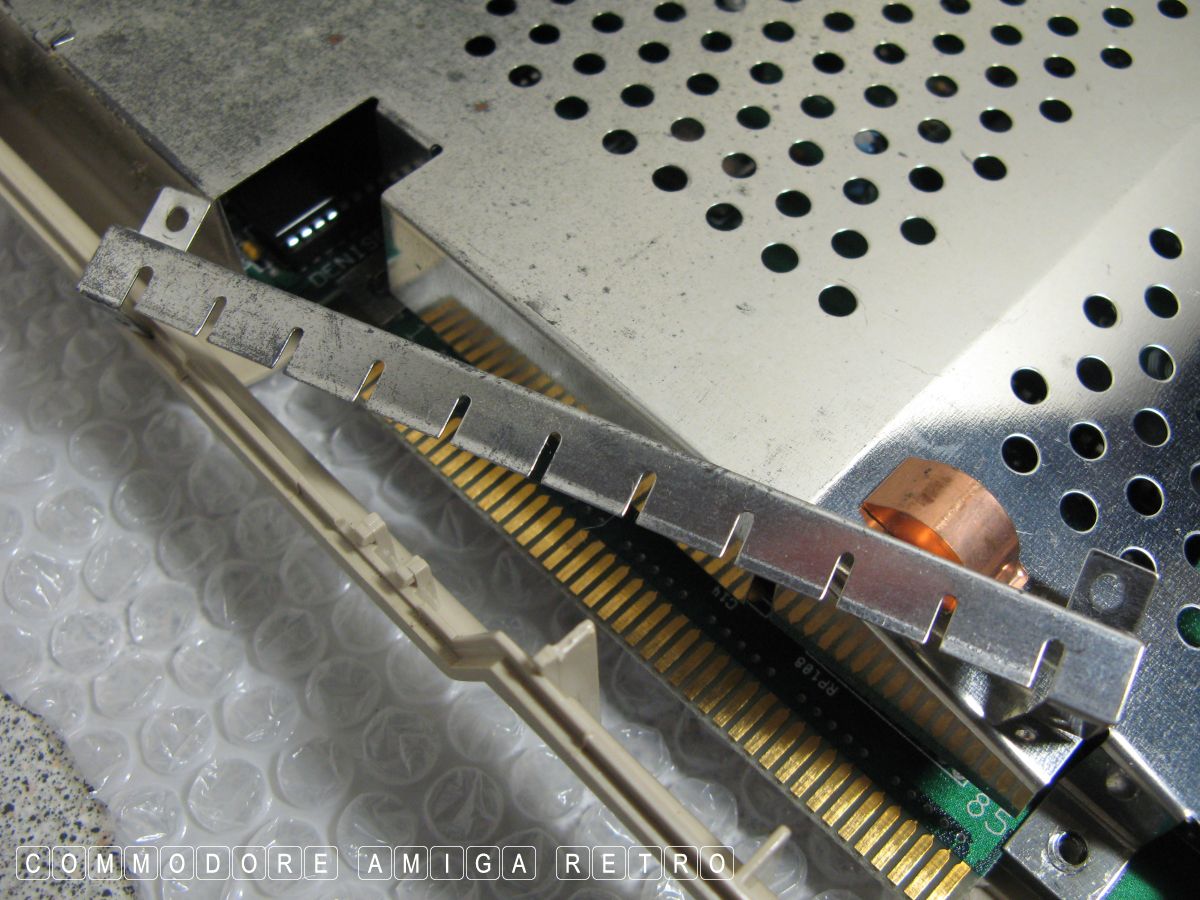
This will reveal the shielding.
Check for general levels of dust.

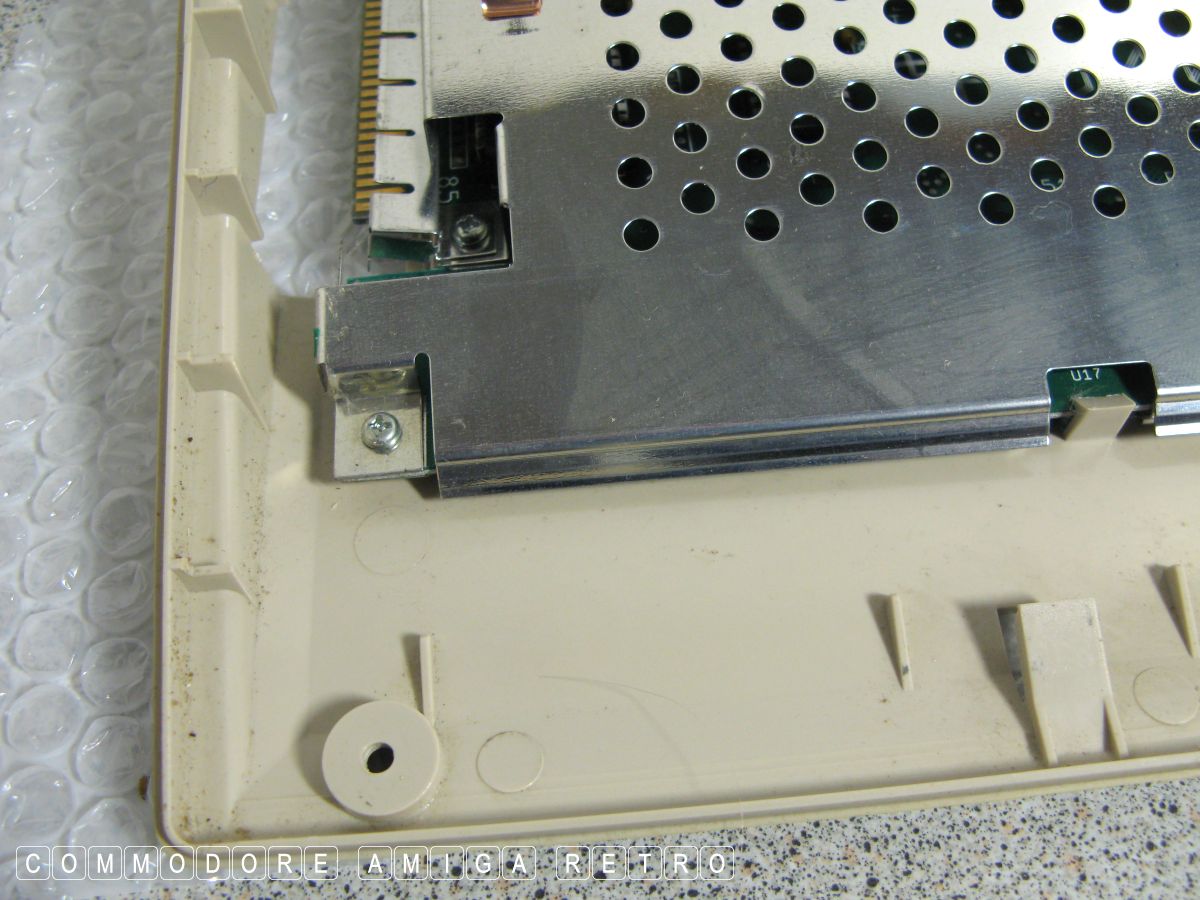
The shielding is held on by four screws..

.. and a series of metal tangs.
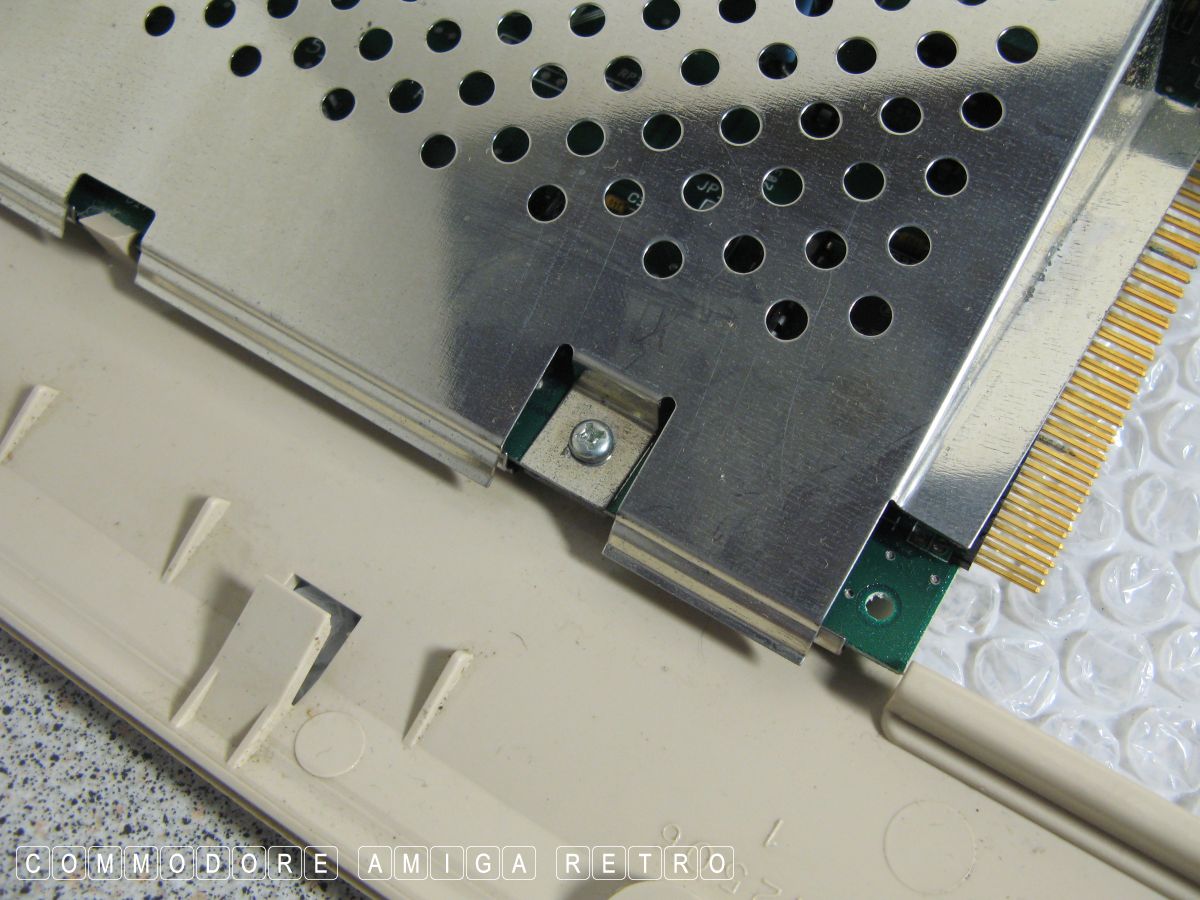
Gently fold up the metal tangs with a
flat headed screwdriver. If you cut
yourself on the shielding... then
welcome to the Amiga club.

We place screws for differing parts of
of the computer into plastic trays. WHY?
That way you know how many there were.
Watch out for this little beast. Store
safely and remove screws to dish.
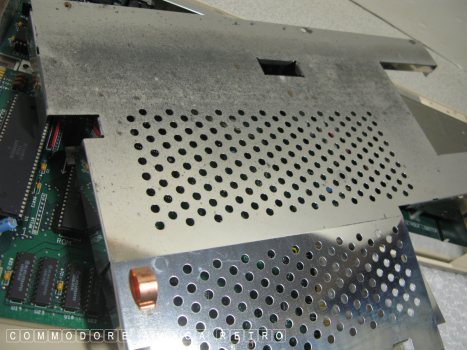
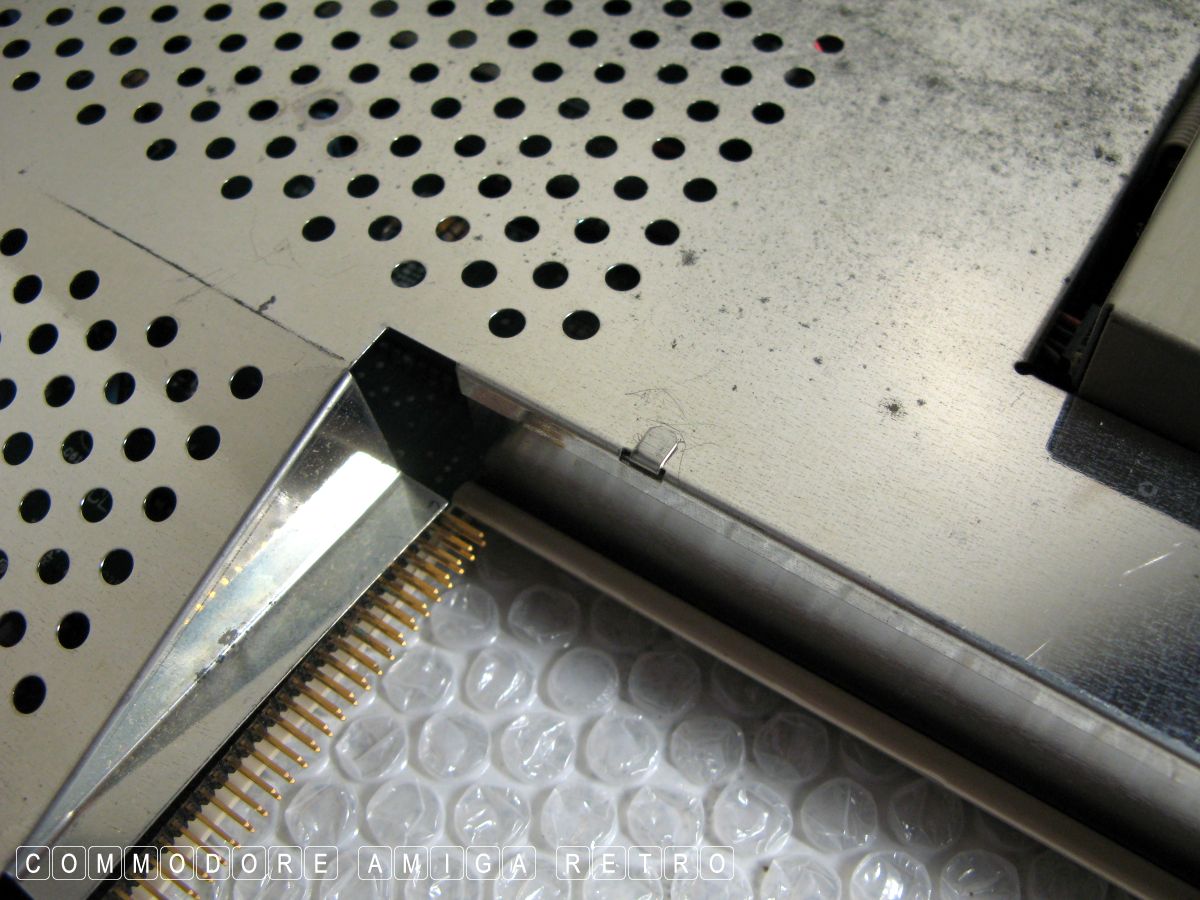
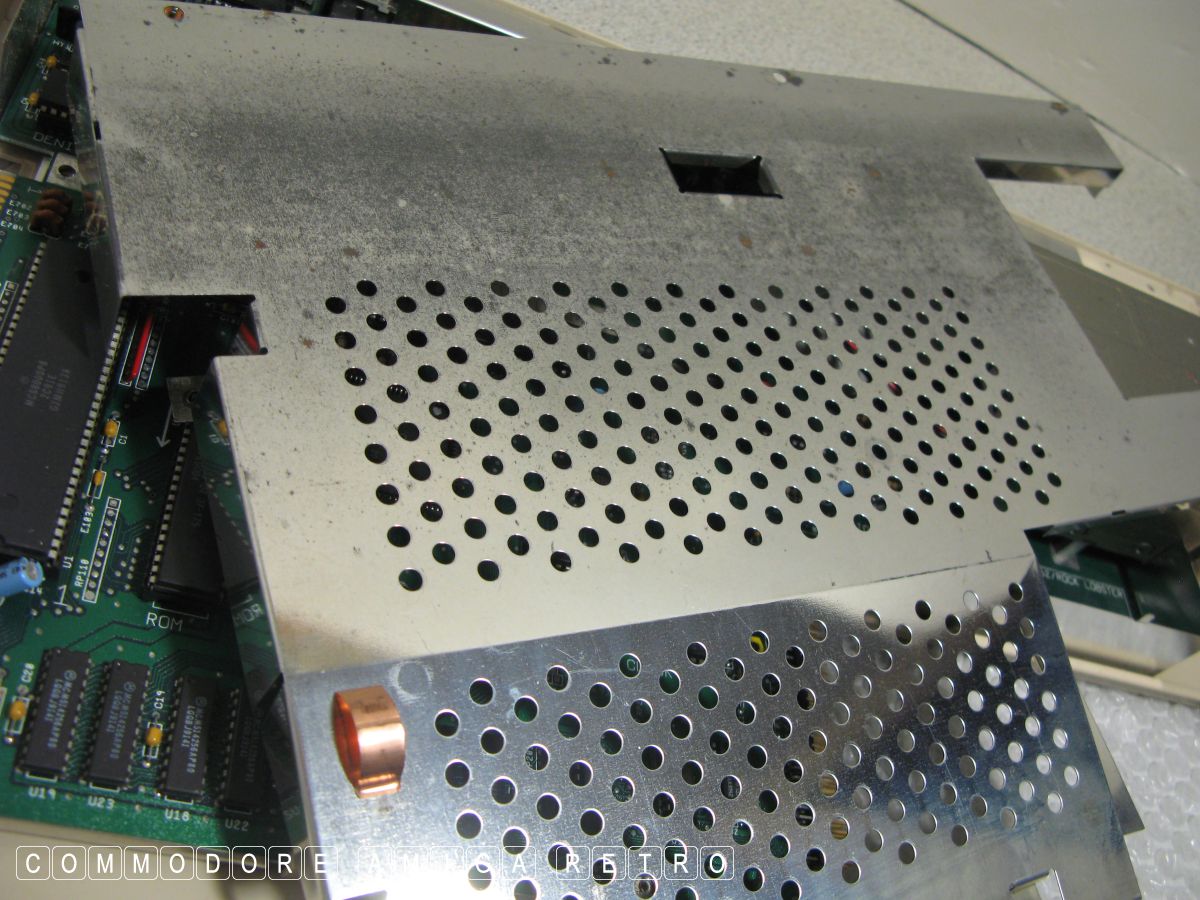
Gently, and I mean gently lift the shielding.
It may be stiff. Make sure you remember that
the fold over sections go outside the under
shield casing.
Check for rust and general discolouring.
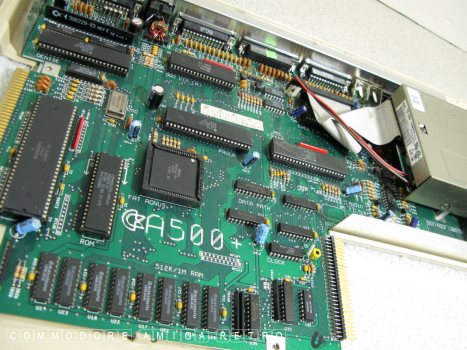
And there we have it the very wonderful
Amiga 500 Plus.
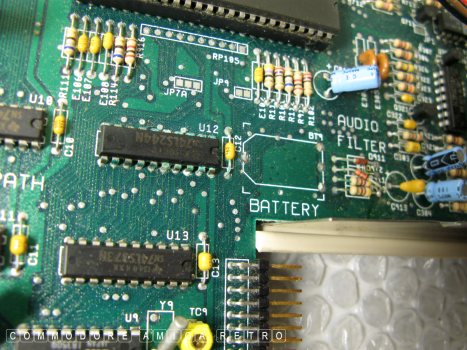
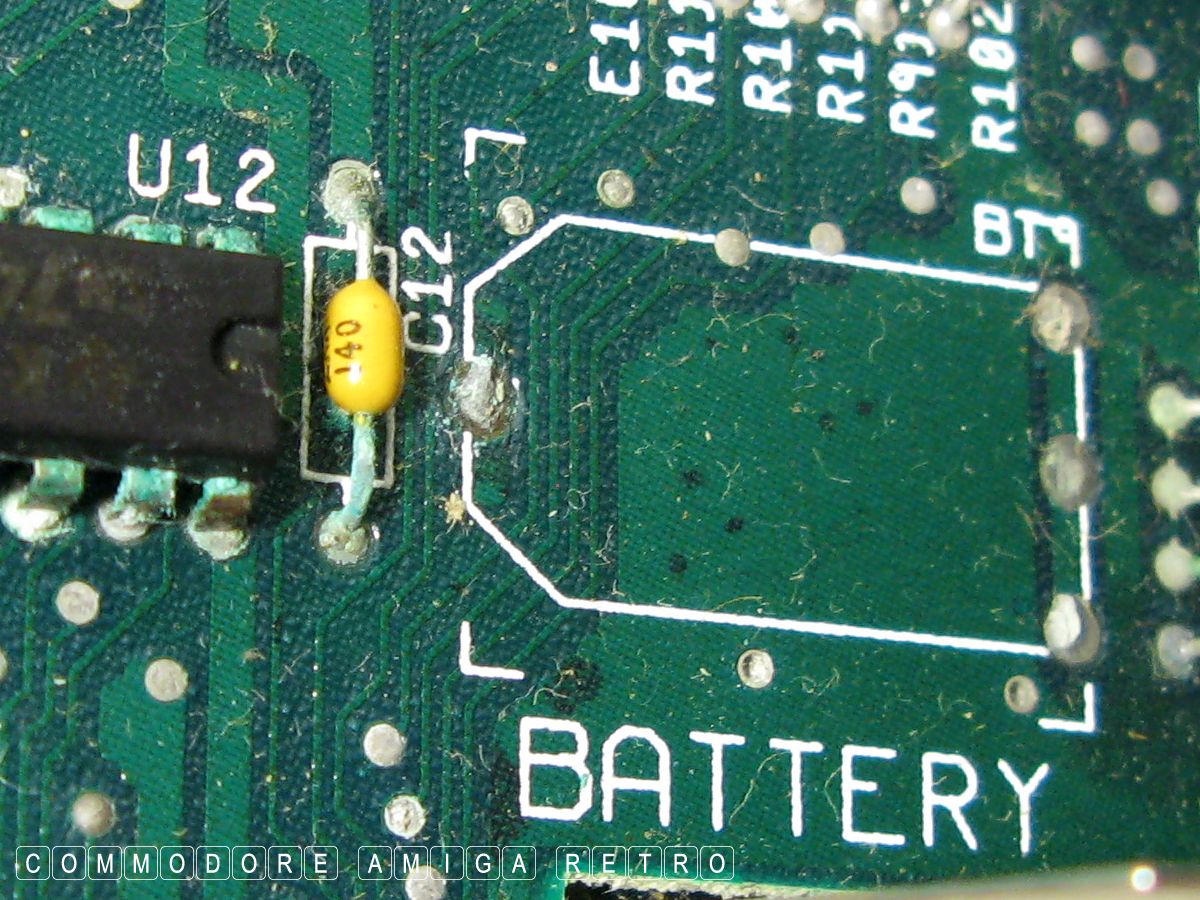
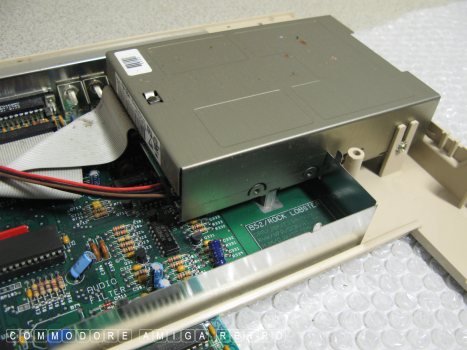
First port of call the battery area.
Hopefully it has been removed. There
are many guides on how to do this on
the web.
My way is not recommended by me but has
served me well.
01: Gently rock the battery back and forth
until it snaps off. I am careful not to
scratch the motherboard. When one support
snaps I place a piece of card under the battery.
And then break the neck on the other support.
02: I clean with diluted brown vinegar
Normally a 1 to 5 water ratio.
03: I then sprinkle 1 part baking soda to 5
parts water into a dish and the clean to
remove vinegar.
04: Then 1 part water to 1 part water [ duh ]
and gently clean the area. Do not stray beyond
the affected area. Remember there are holes
in that board. Dry clean and dry clean, again.
All with the use of cotton buds.
Then leave for a good while.
Revisit the board at regular intervals over
the coming months and years.
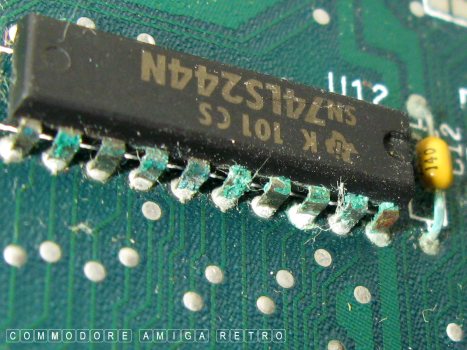
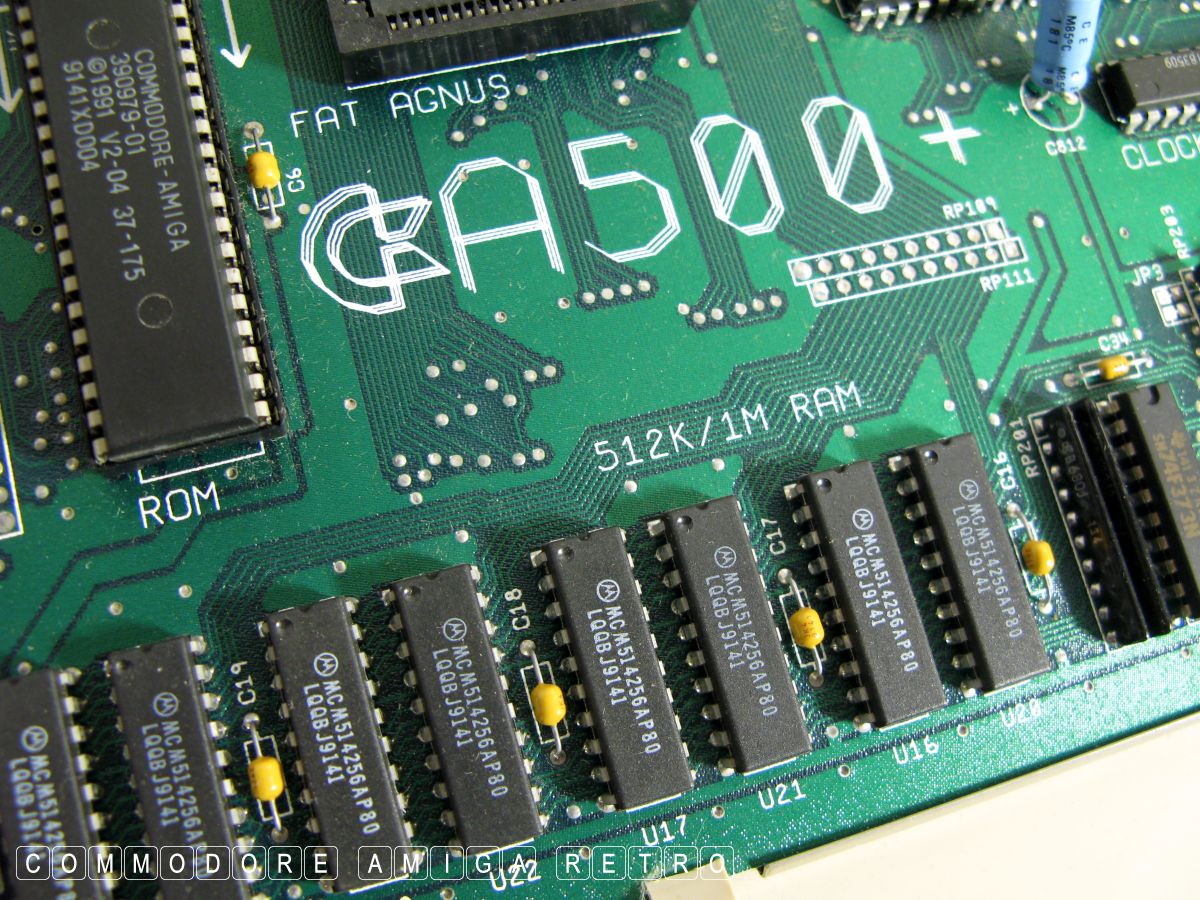
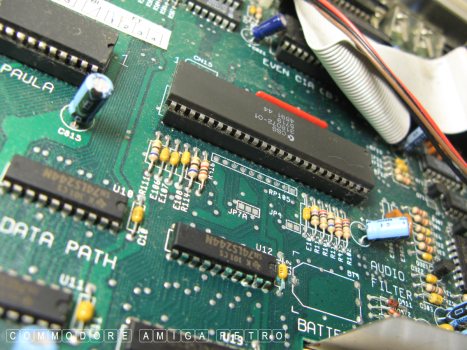
The battery tends to attack the legs of
U12 and C12. This can often resurface
even after the battery has been removed.
On the A2000 it attacks the CPU legs.

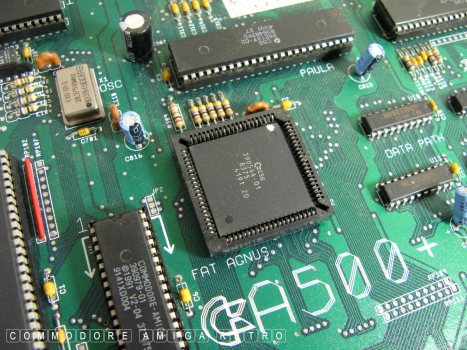
The battery corrosion can also travel all
the way to the Gary chip and the trap door
pins together with all the tracks on the way.
So check the trapdoor connector for corrosion.
And check the Gary chip for corrosion.
Whilst it is possible to replace the
Gary, the problem comes when the socket
itself has corroded. Can even spread to
the FAT AGNUS.
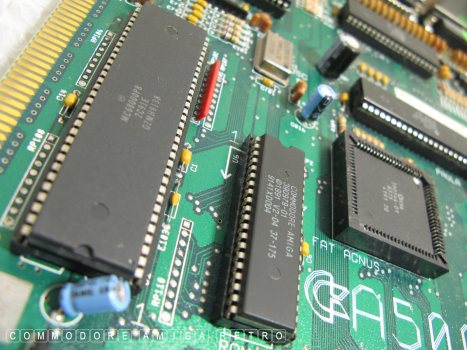
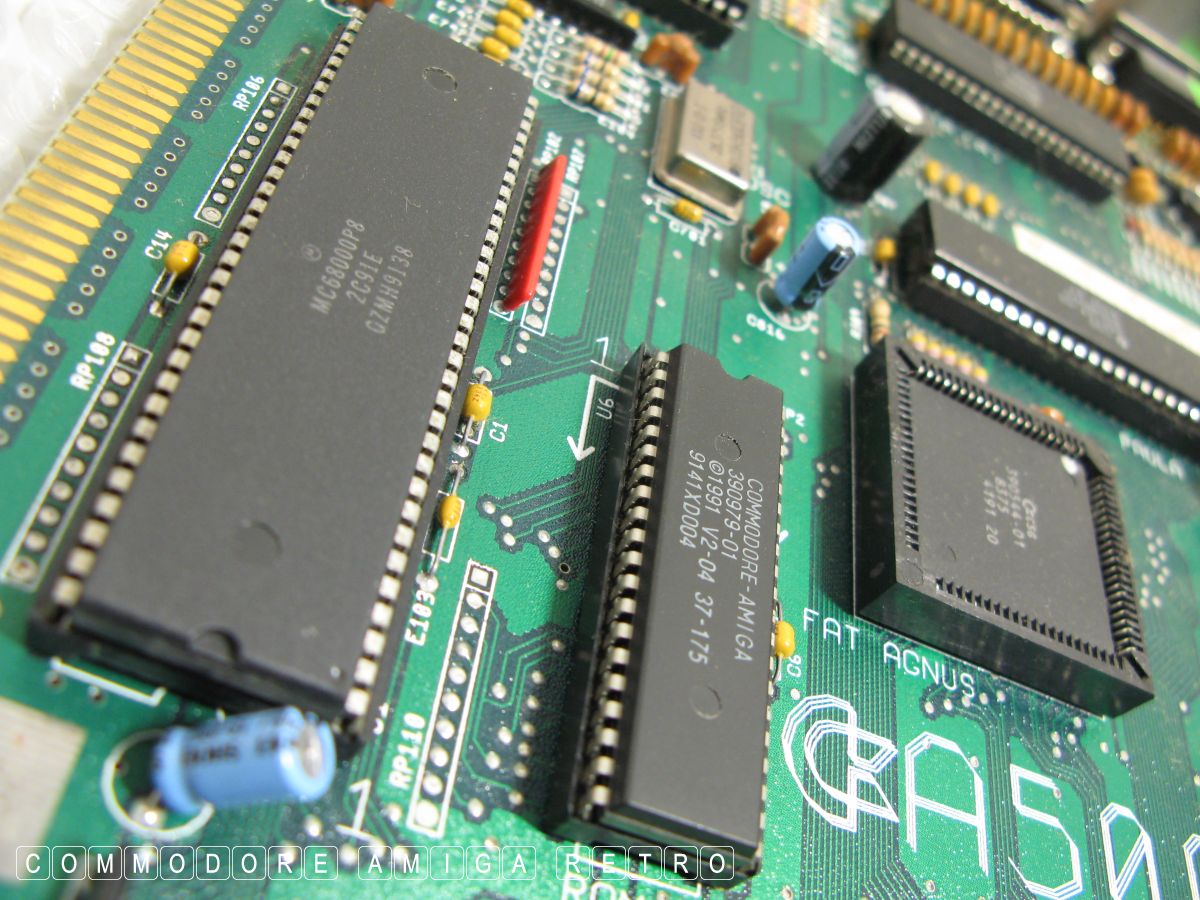
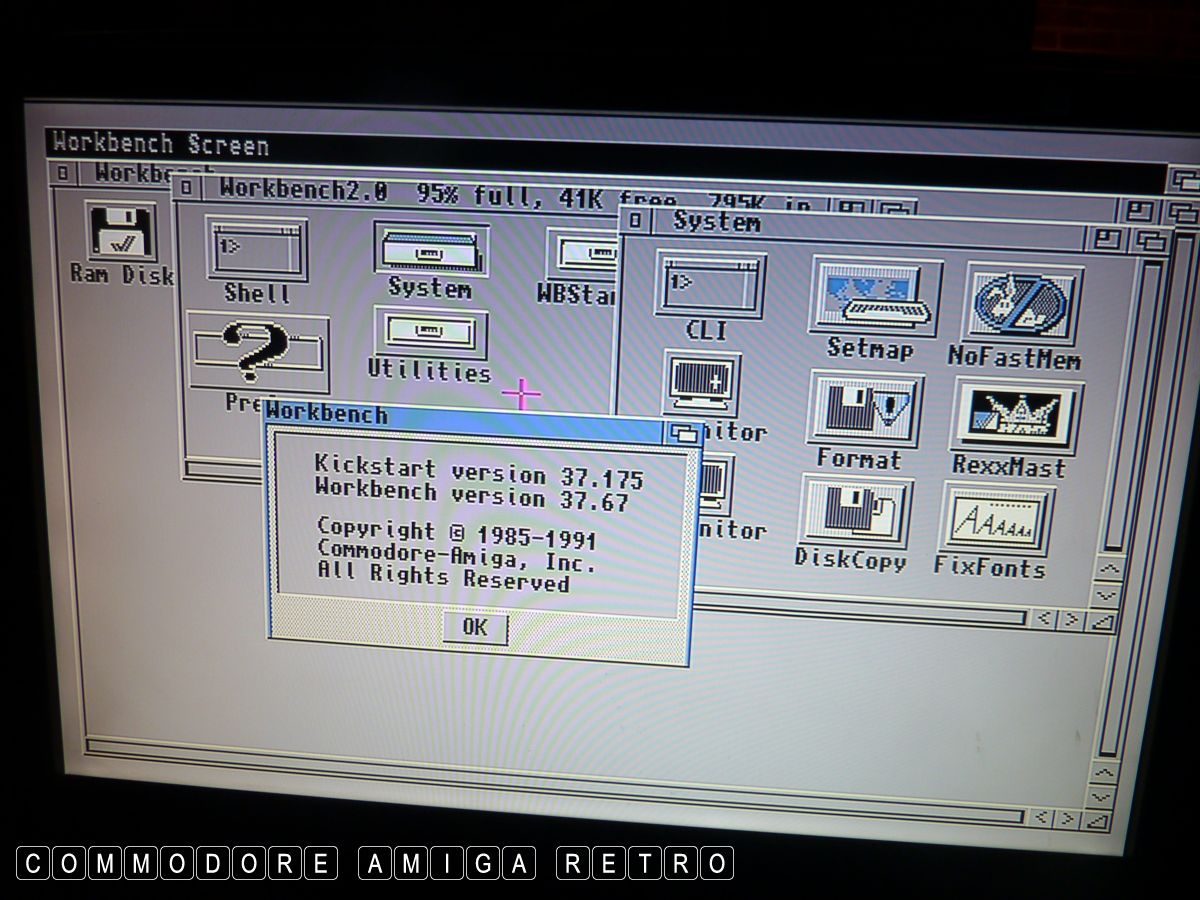
Check that the ROM is 2.04 or later
and is the right way round.
Check pins on the main processor.
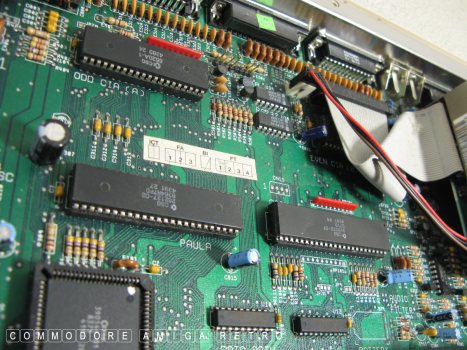
Note that all the main chips are socketed.
Check for green corrosion around the pins
to the Fat Agnus.

The A500 Plus has both the battery and 512K
RAM that once came with the A501 on the A500
fixed to the motherboard.
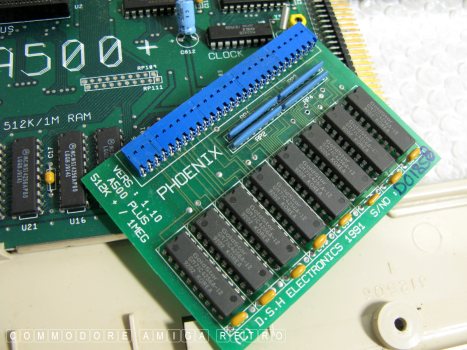
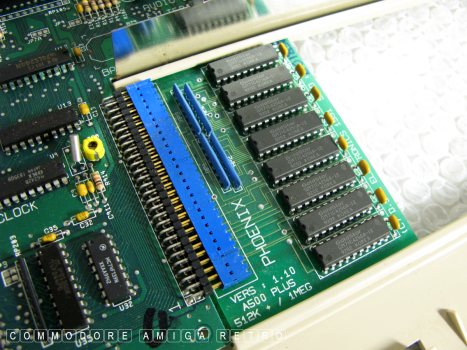
Time to try my Pheonix RAM expansion
I found the other day.
Without listening to and or using a floppy
drive it is impossible to say whether it
is working from a visual inspection.
They do go rusty when stored in damp garages.
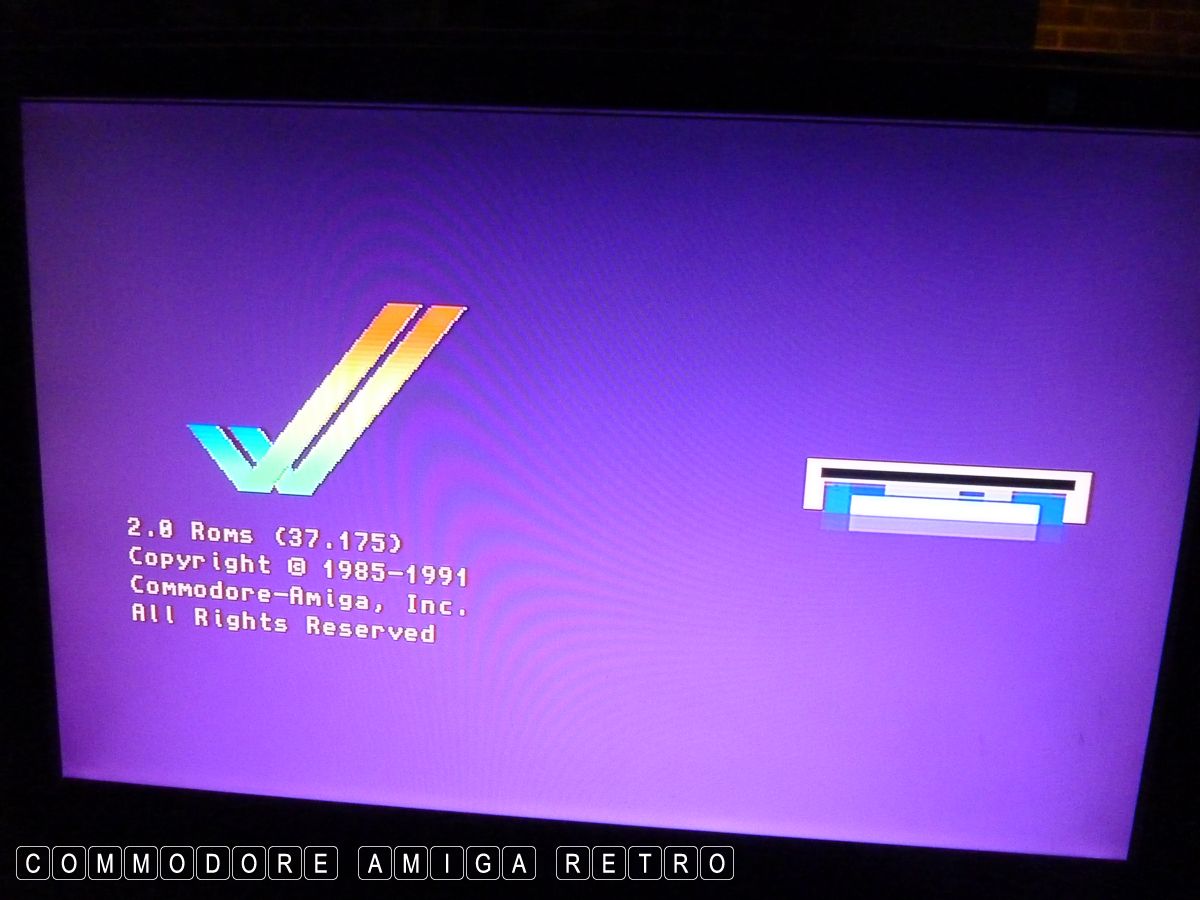
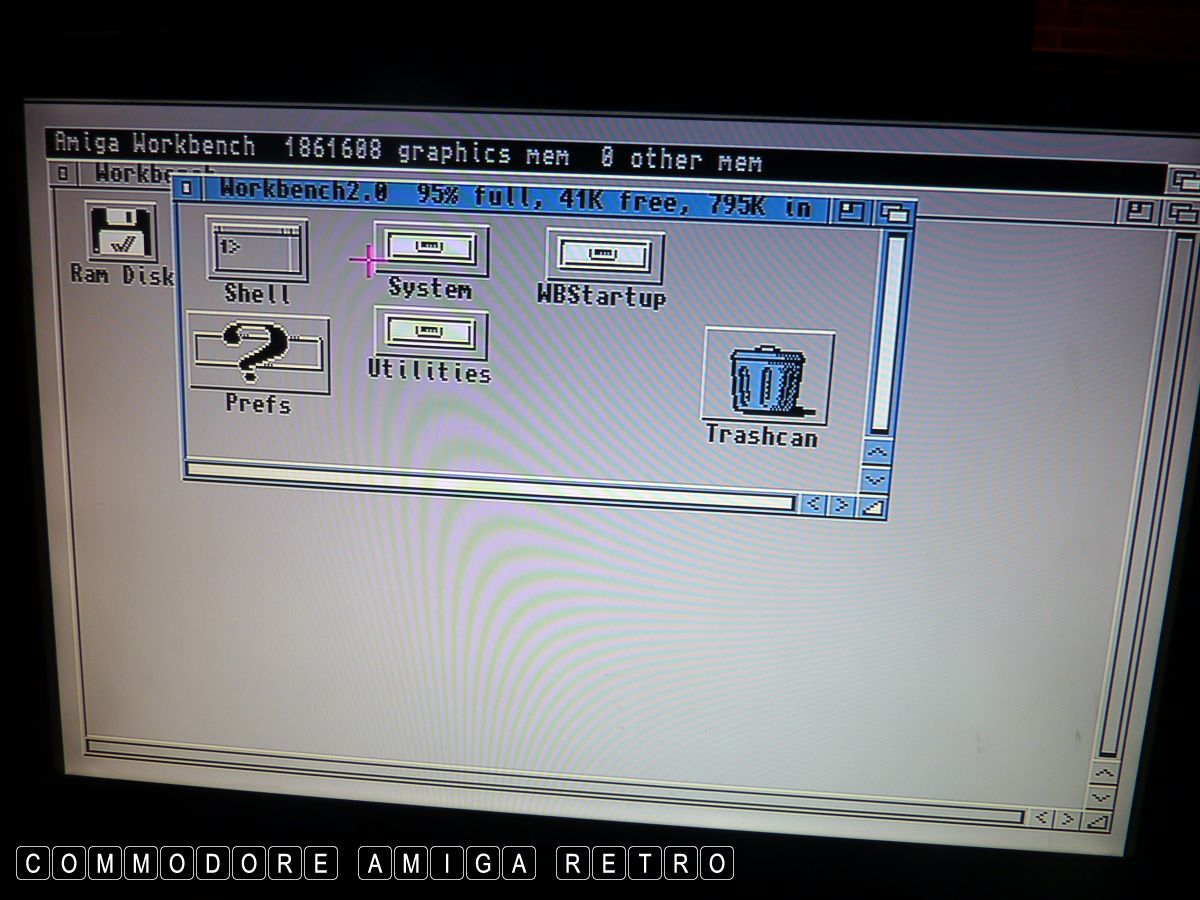
OK she is still working.
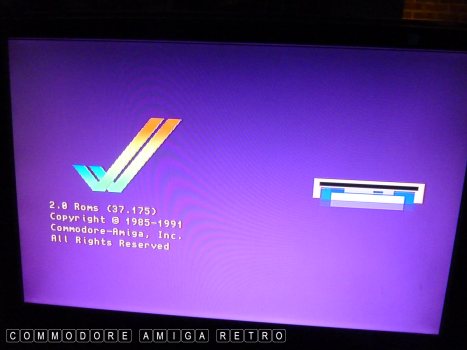
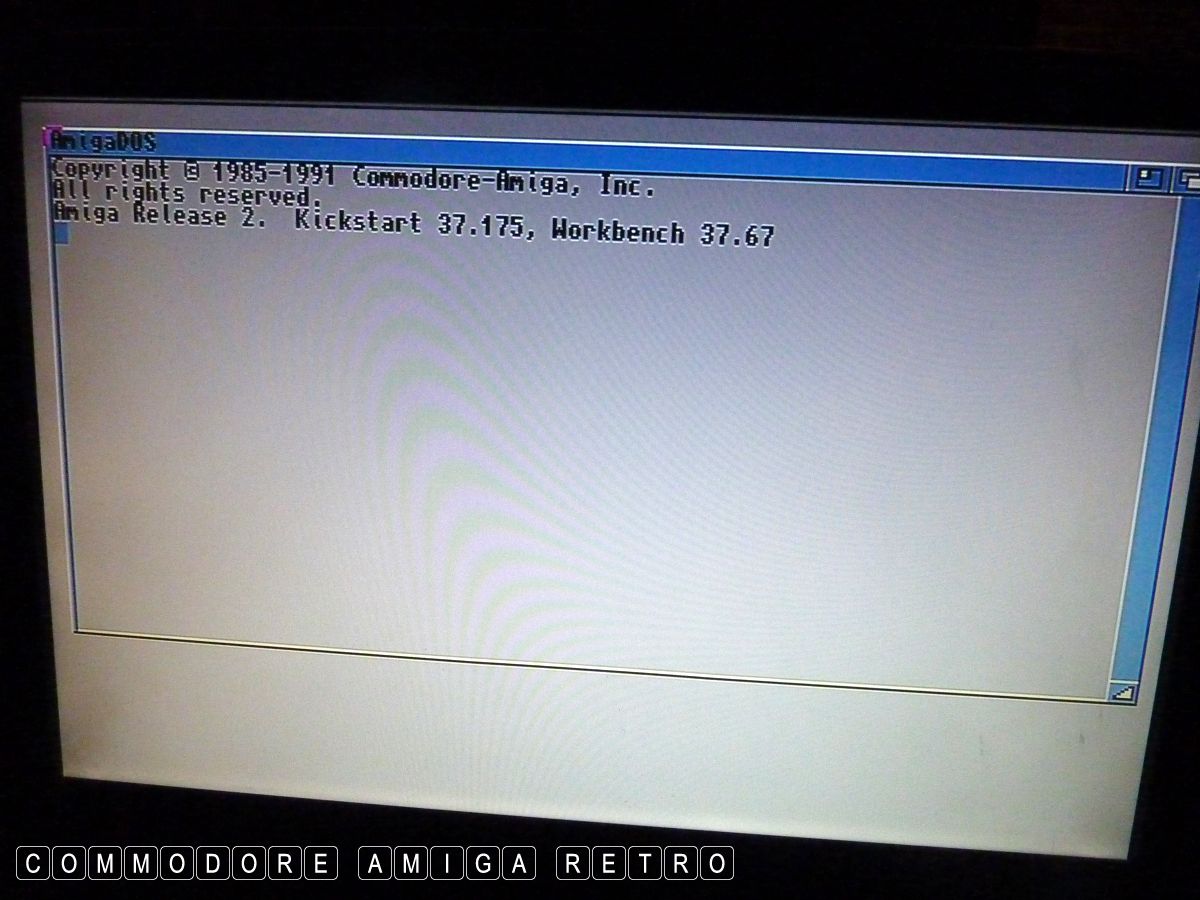
Note the 2.0 ROM.
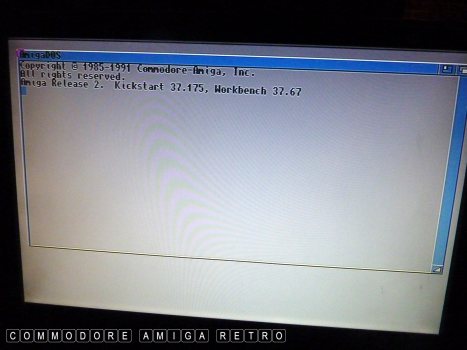
Boot sequence is a grey screen with 2.04.
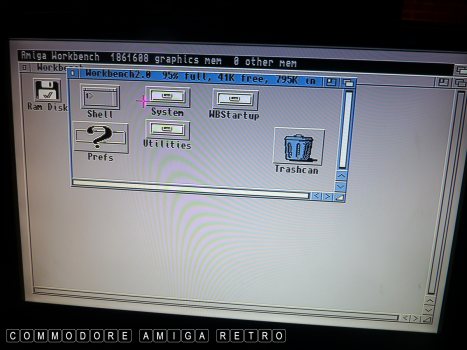

Icons move to the left side with 2.04.
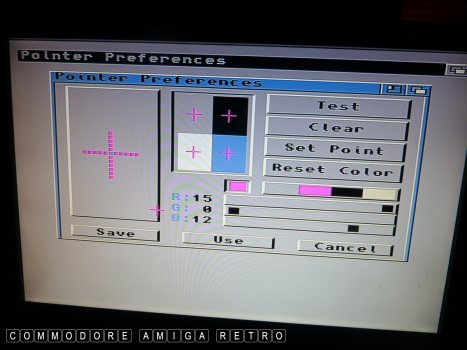
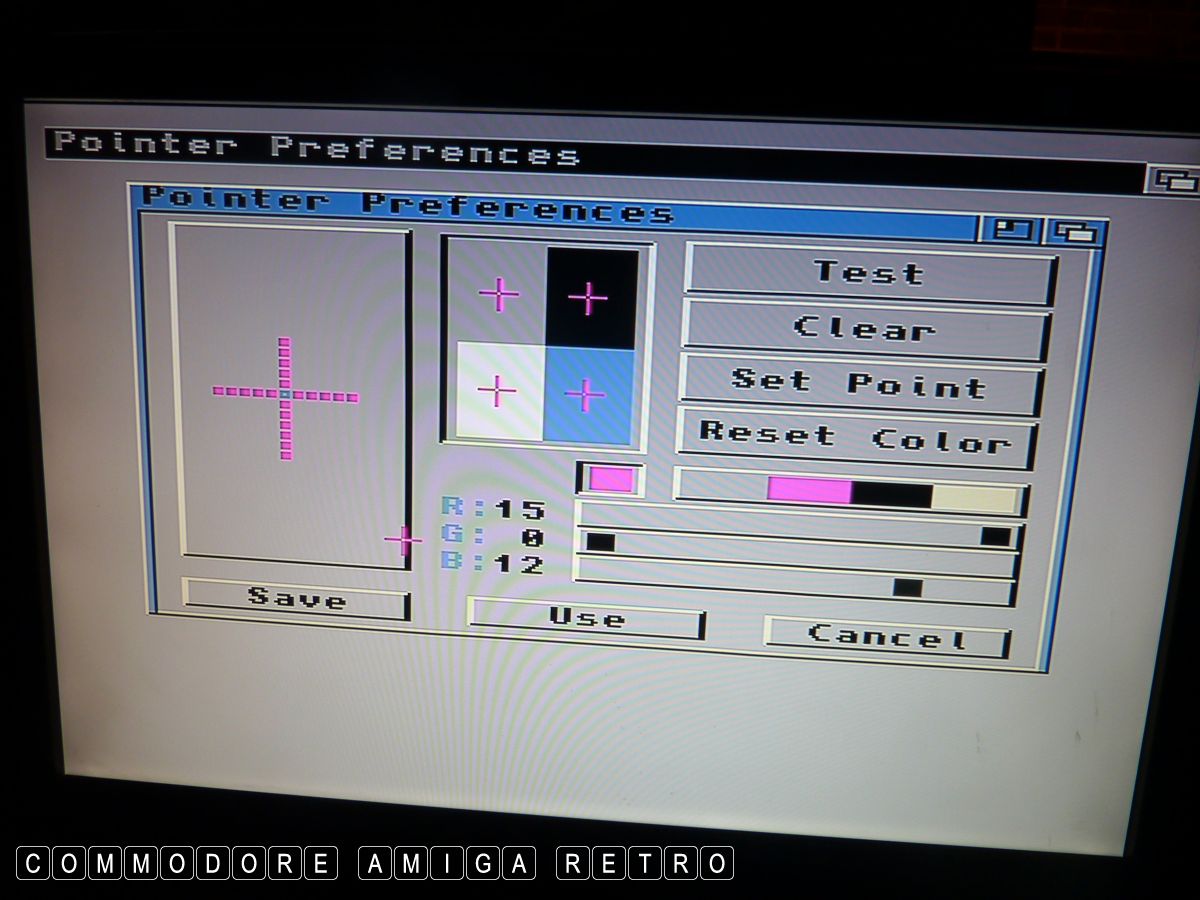
Someone redesigned the arrow key. Yuk.
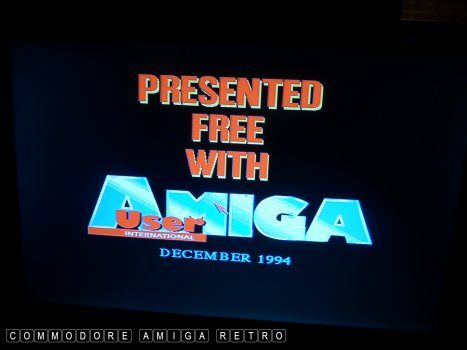
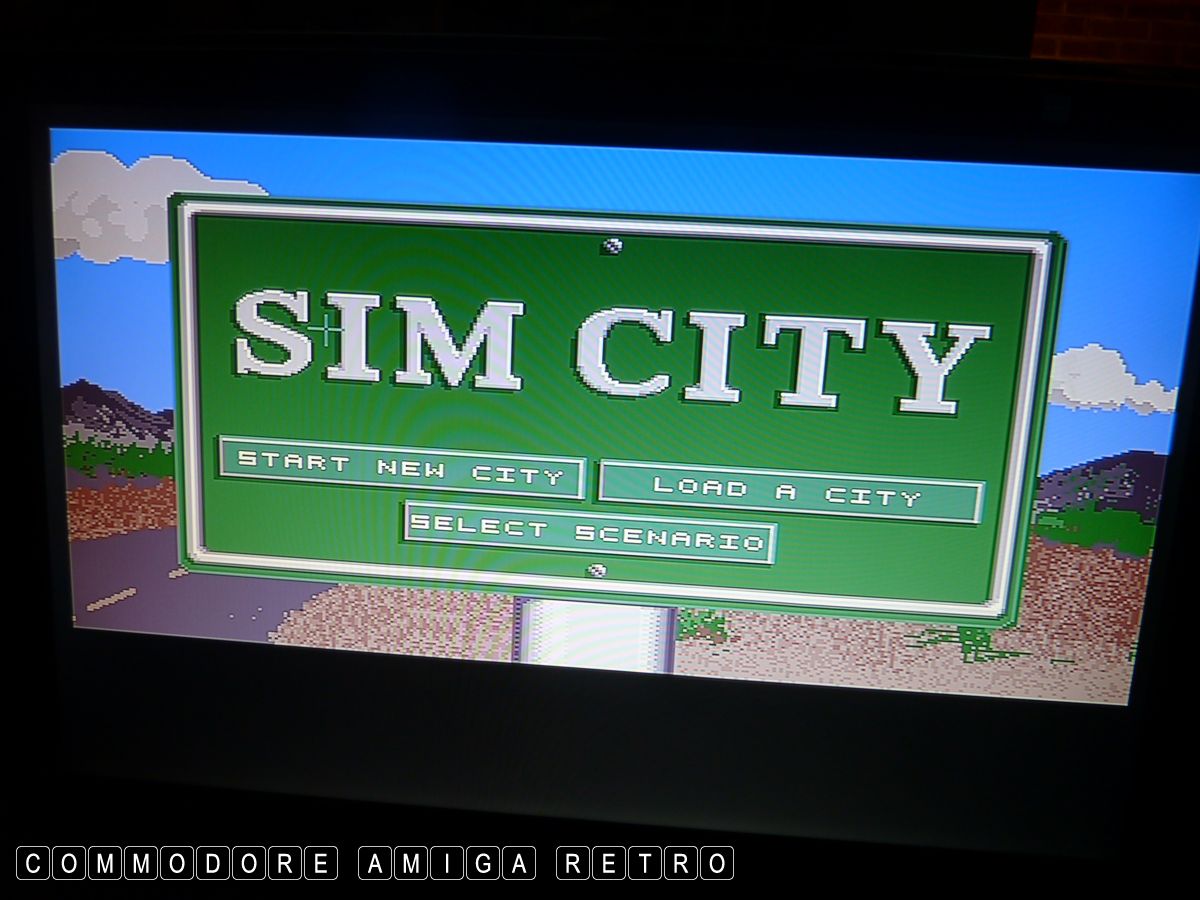
Battleships.

And SIM CITY.. like that wasn't obvious.
I like the Plus cus I use a lot of sidecars like the
A590 and its way easier to use the 2.04 ROM and
HDToolbox and prep and partition the drive, even
if you then copy over 1.3 to the Workbench. Trust
me when I say... 2.04 rocks.