Amiga 500 - Fixed the wrong keyboard.

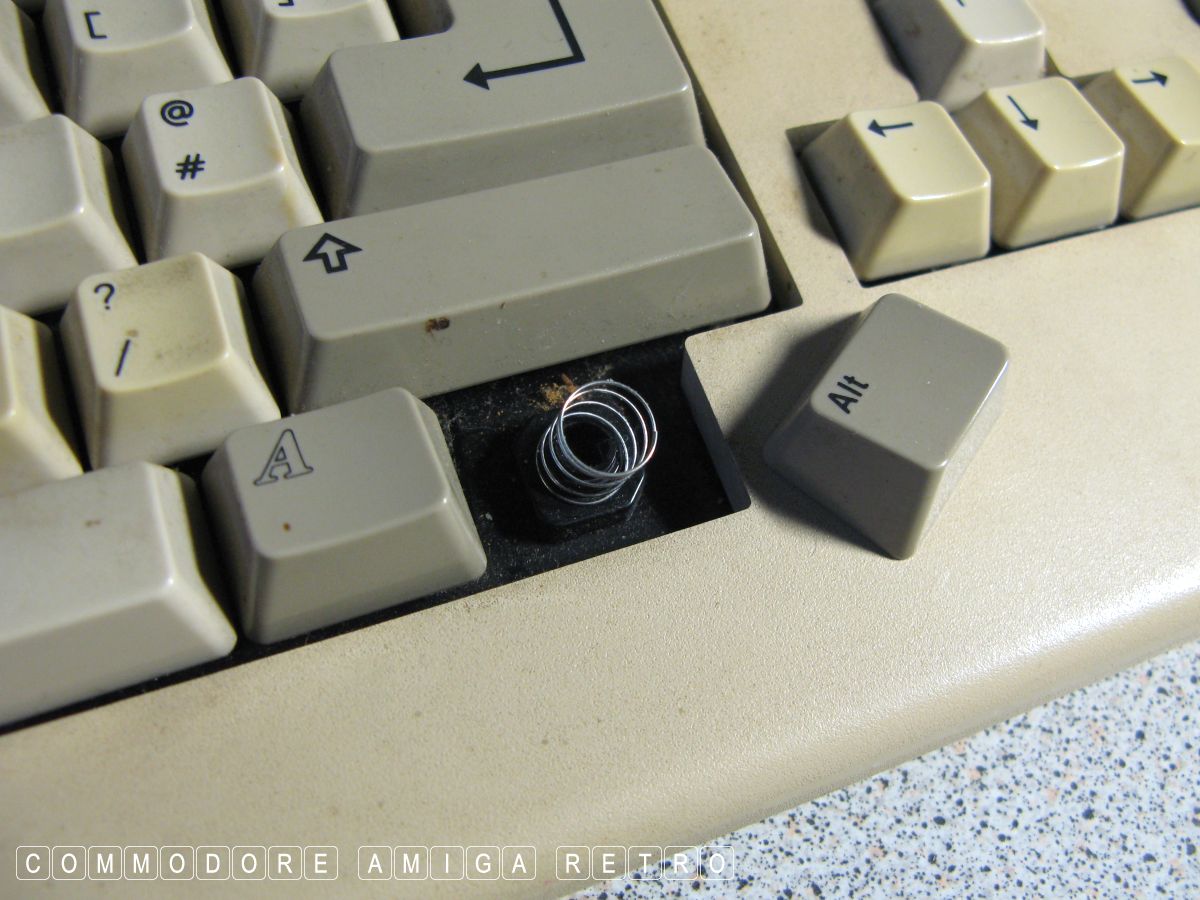
My sad little A500 with the busted pillar.
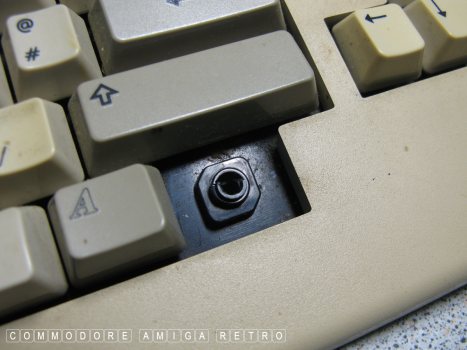
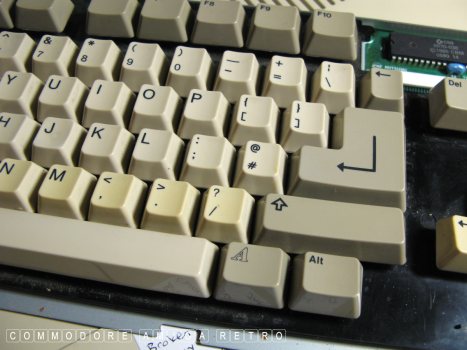
Not a bad shade of grey. Not that it bothers me.
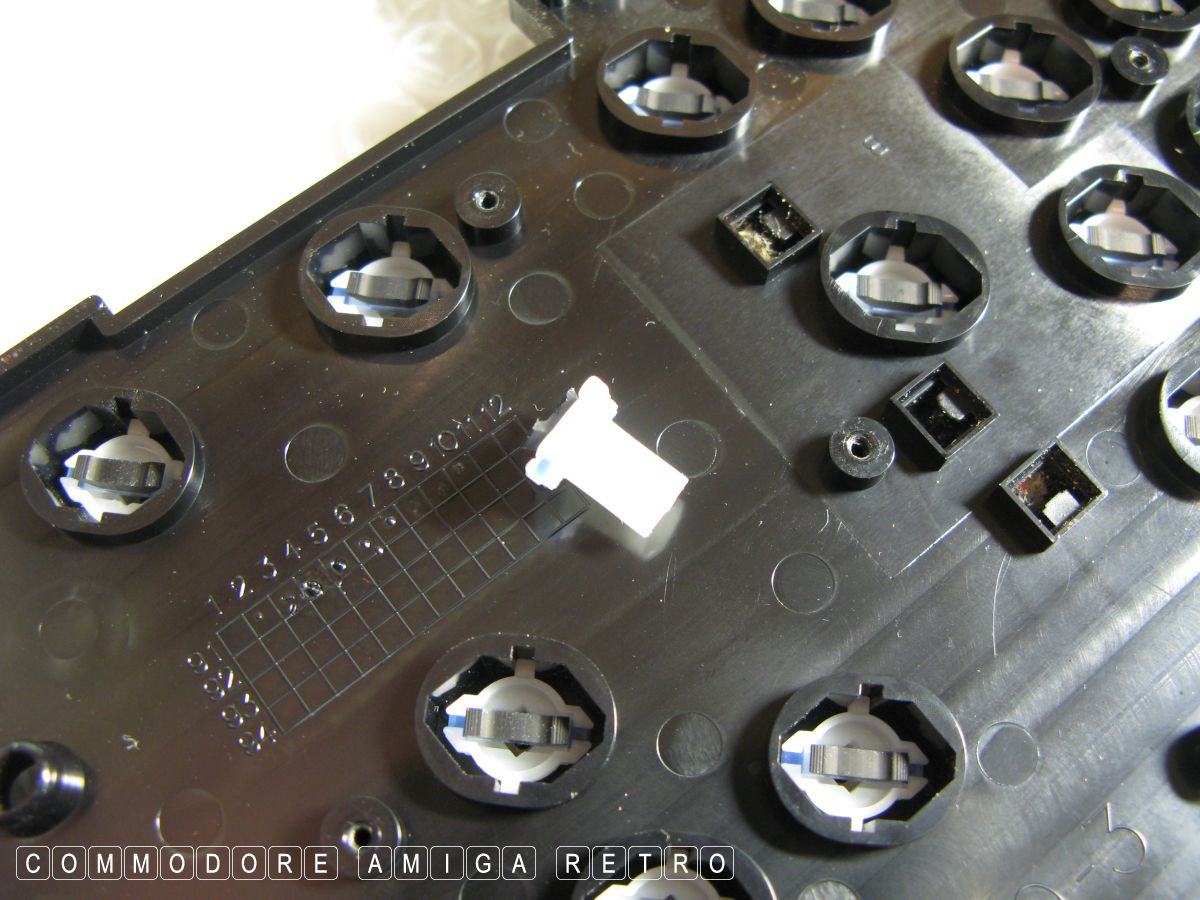
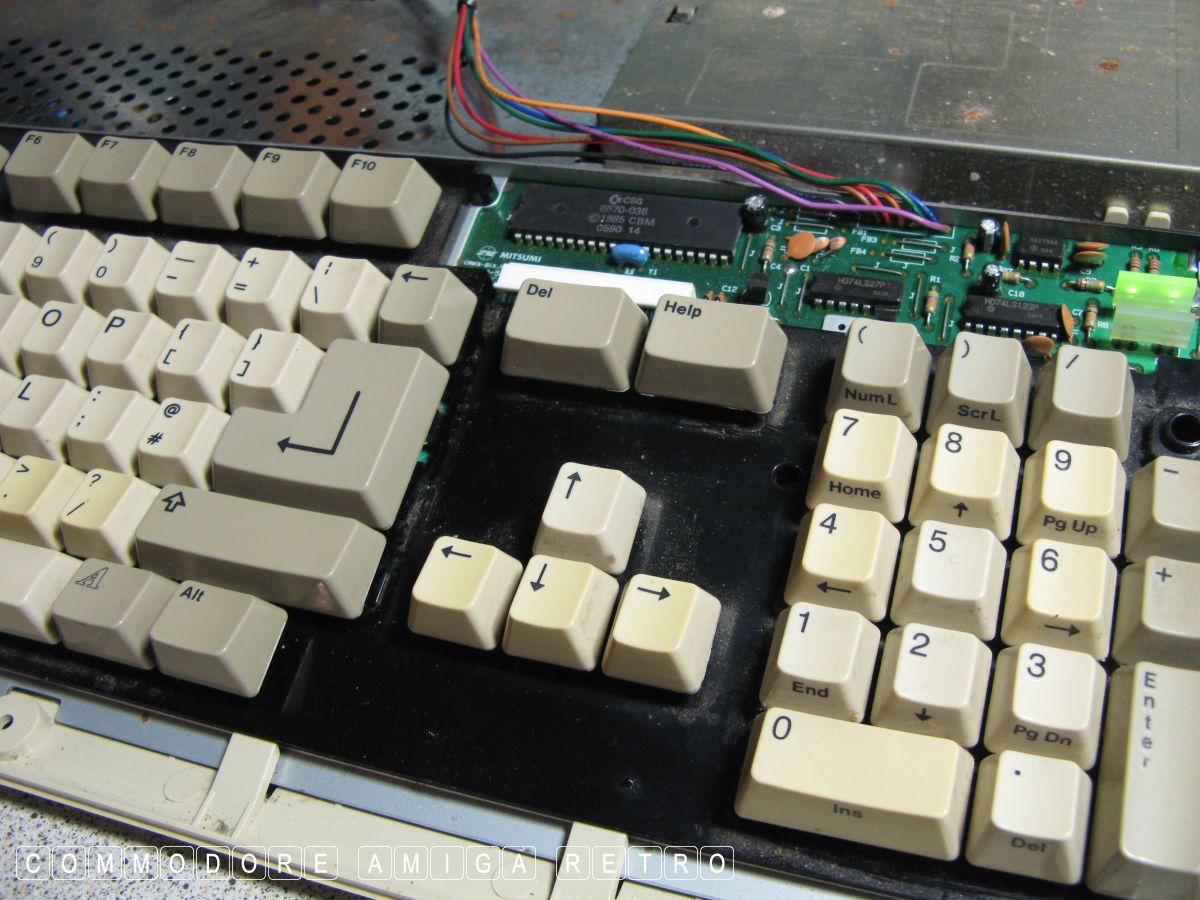
Half of the inner shaft/plunger is missing.
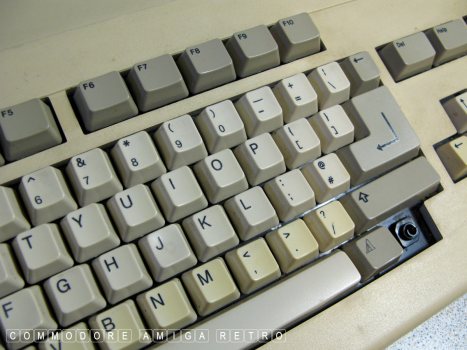
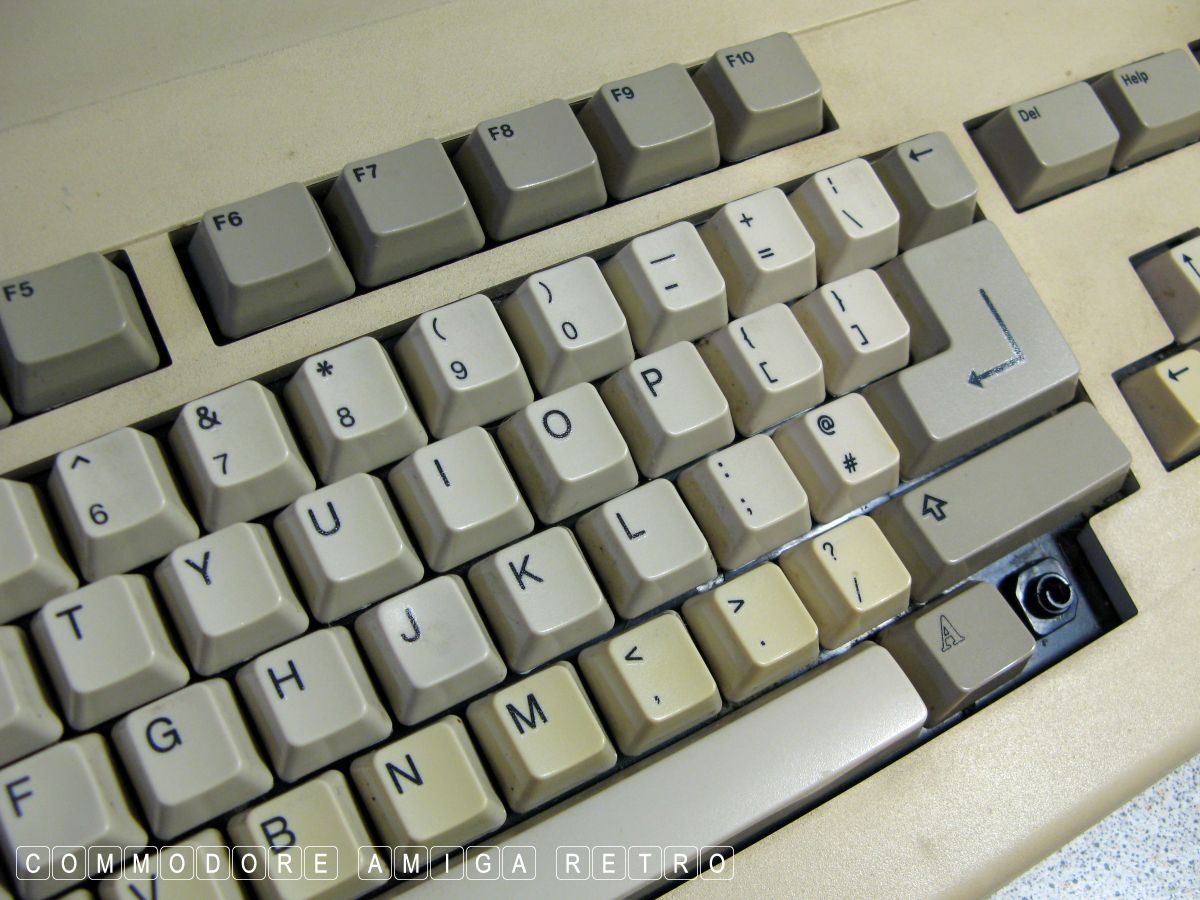
In addition the plus and right bracket
is not working, plus the CAPS key.
I found a piece of the shaft in the computer.

OK time to get jiggy with it.

I stuck in my thumb and pulled out this
old busted Amiga 500 keyboard. Trust me
it doesn't work at all. I've been taking
keys from it over the years.

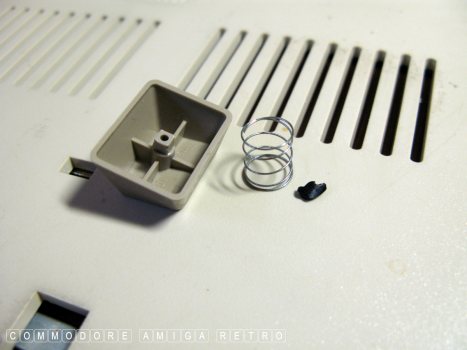
I decided to experiment on this keyboard
and salvage some of the plungers.
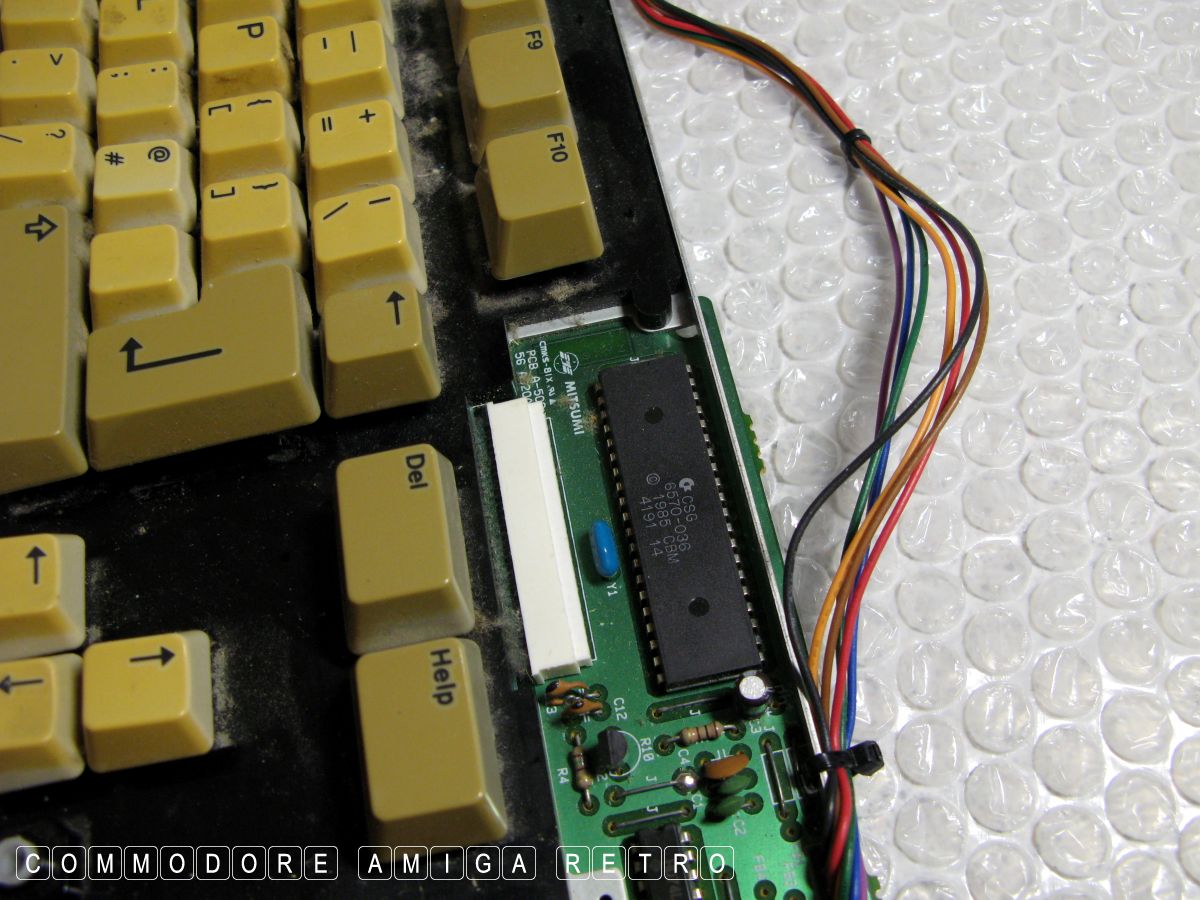
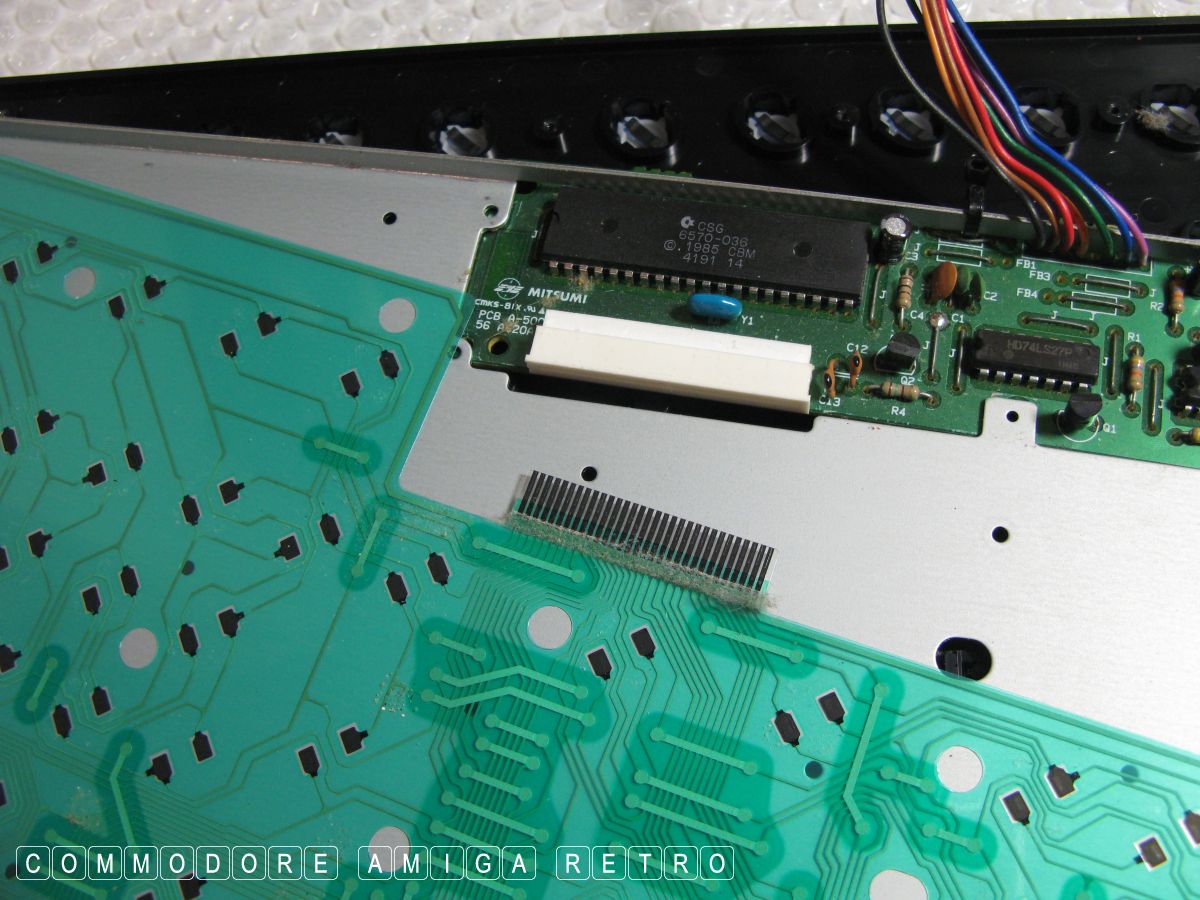
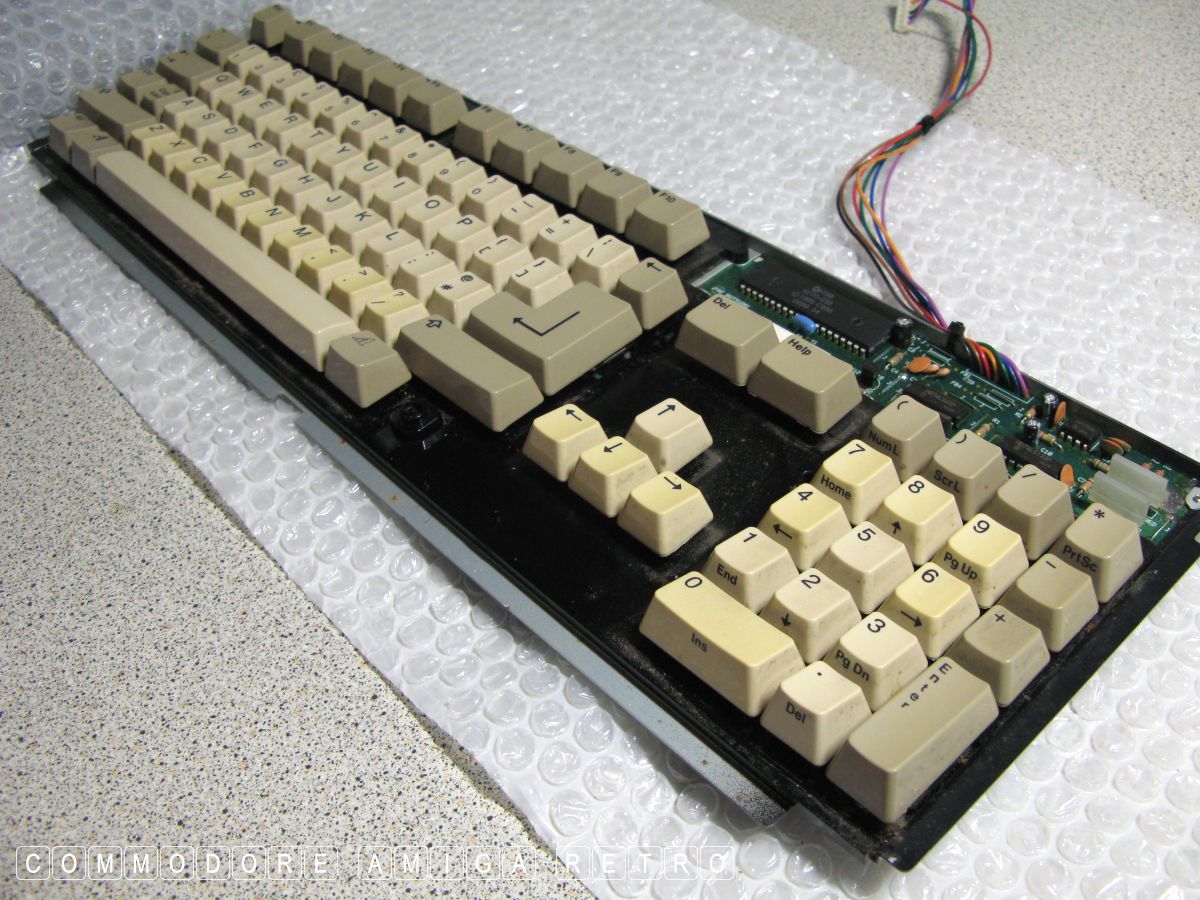
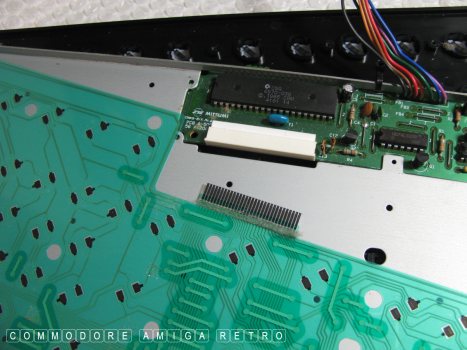
Note the white keyboard connector which
needs to be slid toward the keyboard to
free the keyboard connector.
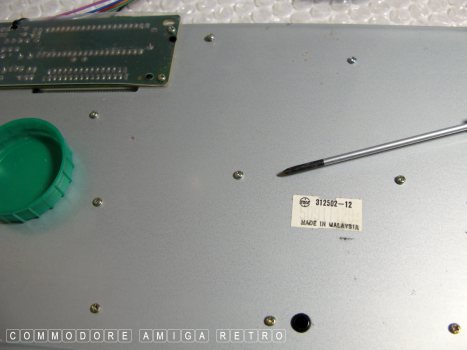
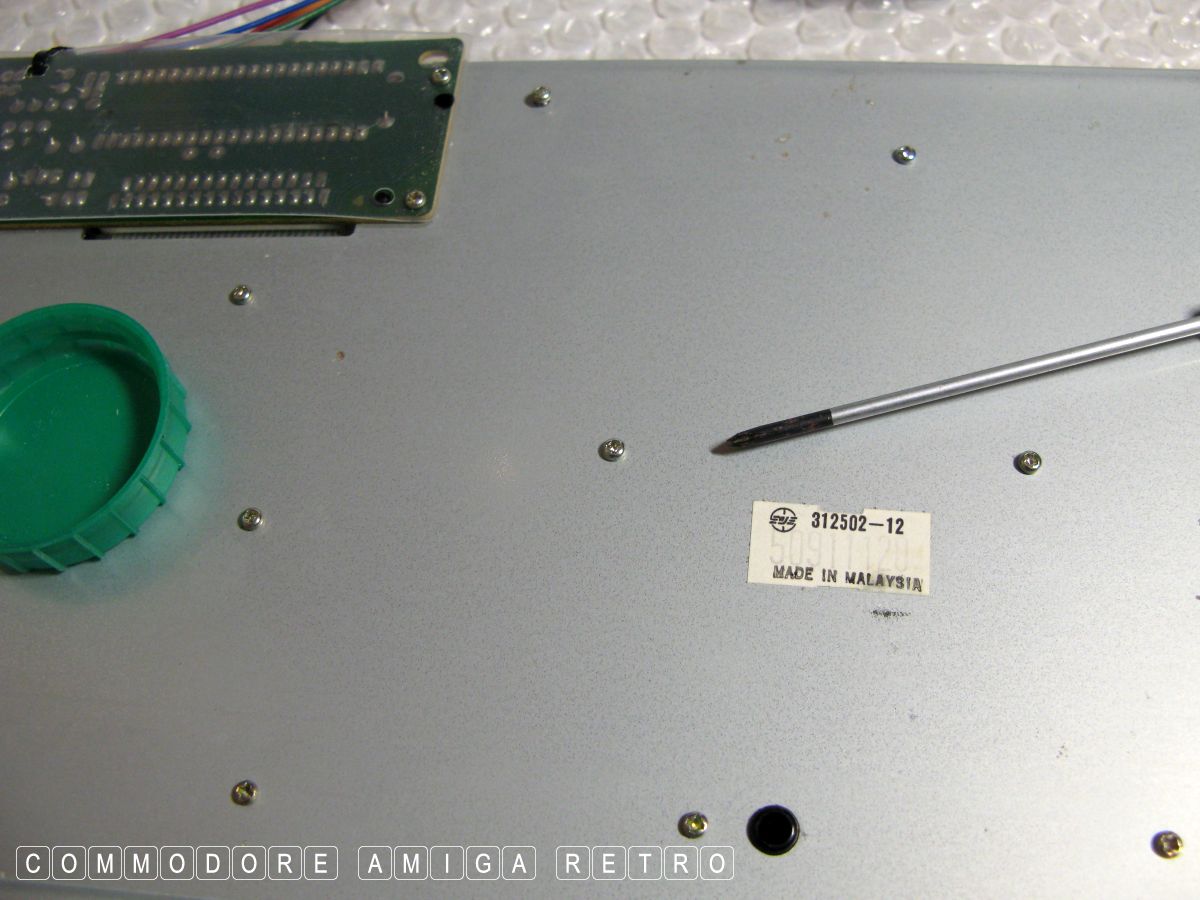
Each and every one of these many screws
needs to be removed.
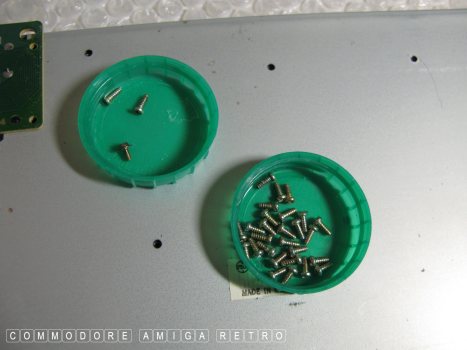
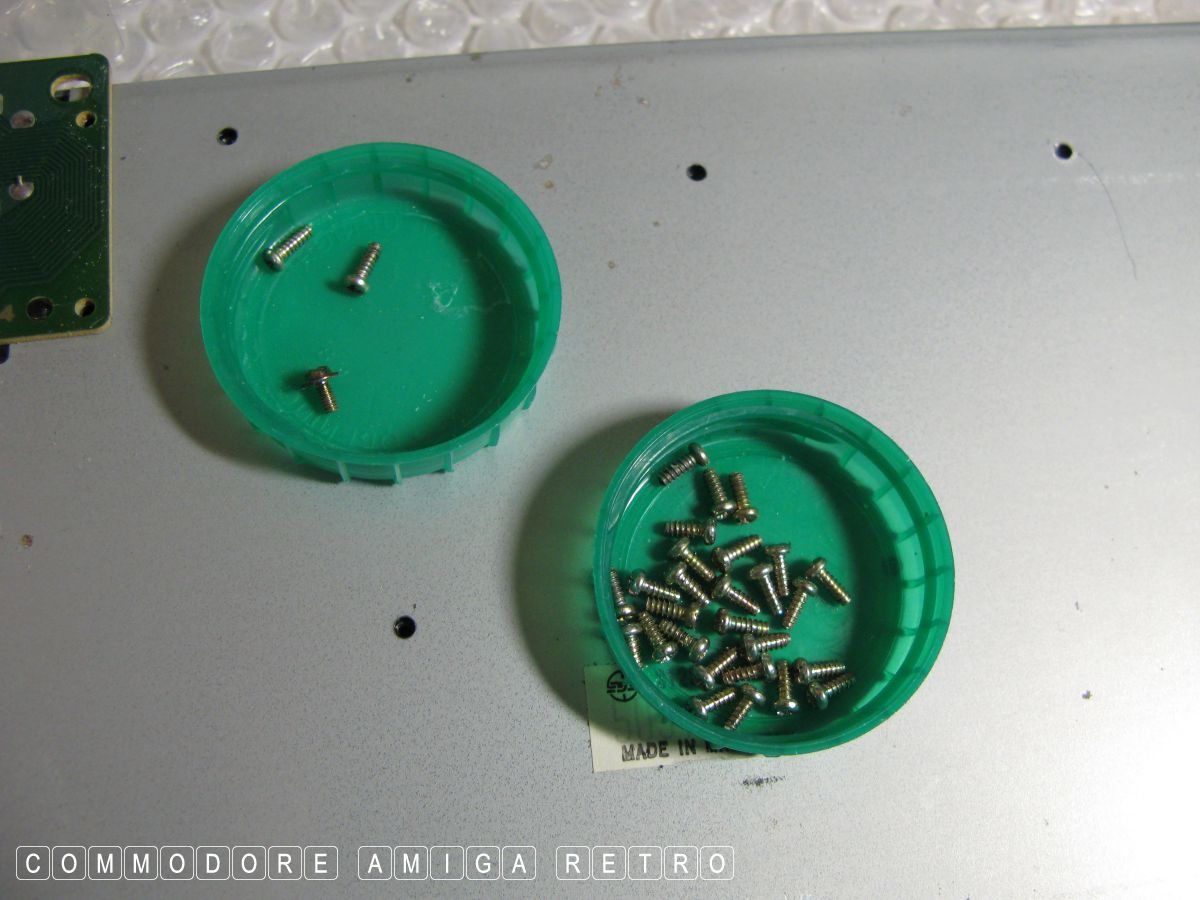
Place in a small dish. That way you know
just how many screws there were. Place the
PCB screws in a another dish.
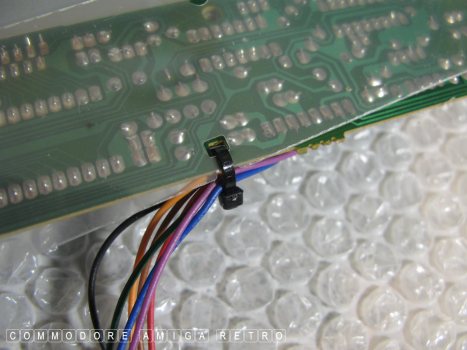
Cut the PCB restraining clip making sure
you do not cut the wires.
Slide the outer white connector part
toward the general keyboard.

Remove the outer metal casing to the keyboard.
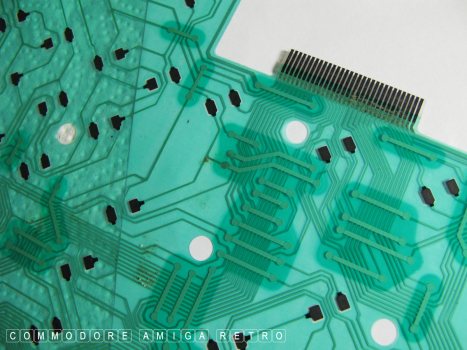
Very carefully slide the interface from
the membrane out of the white connector.
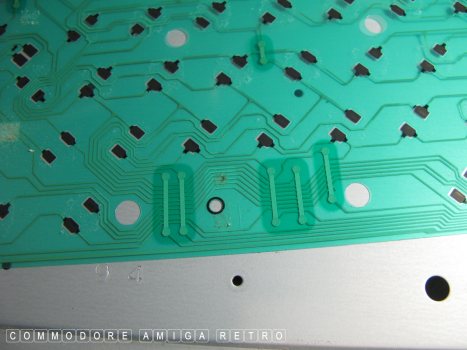
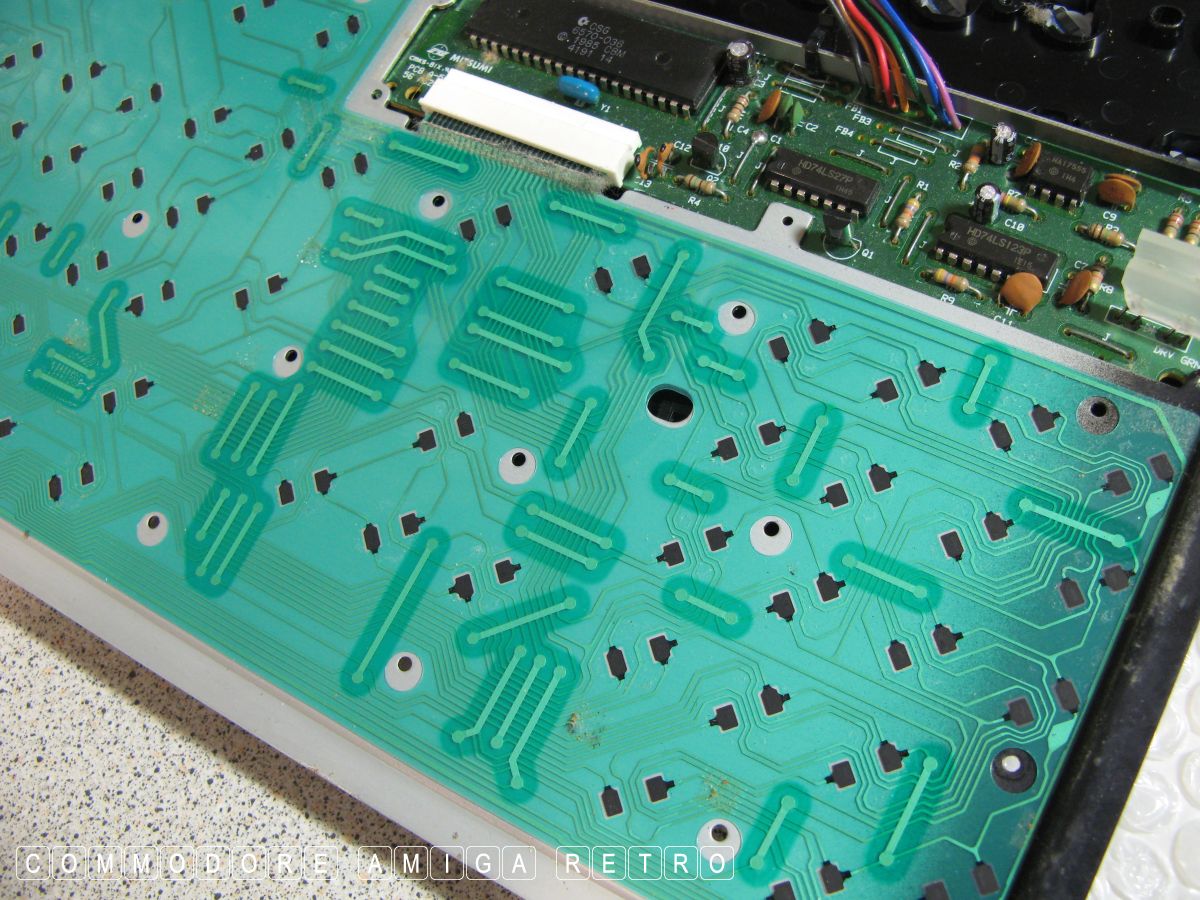
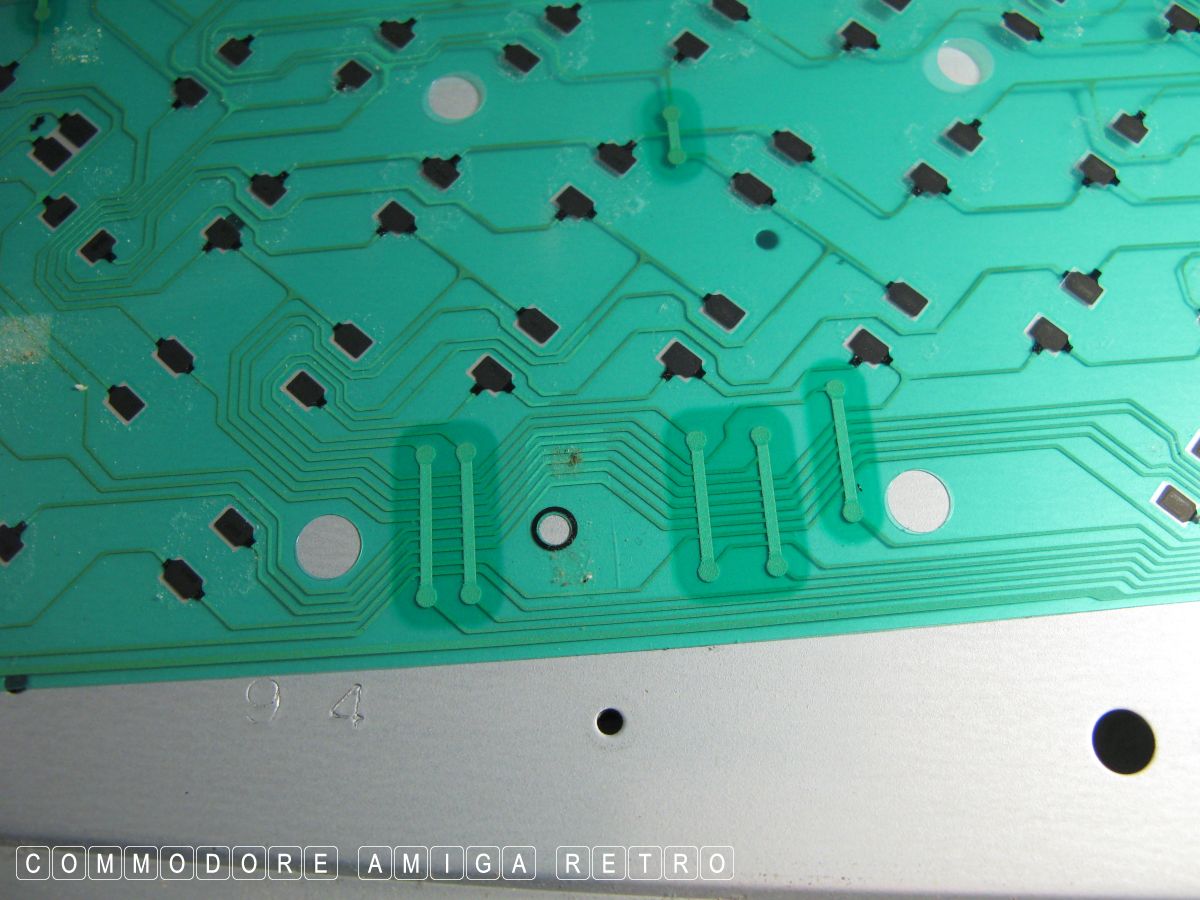
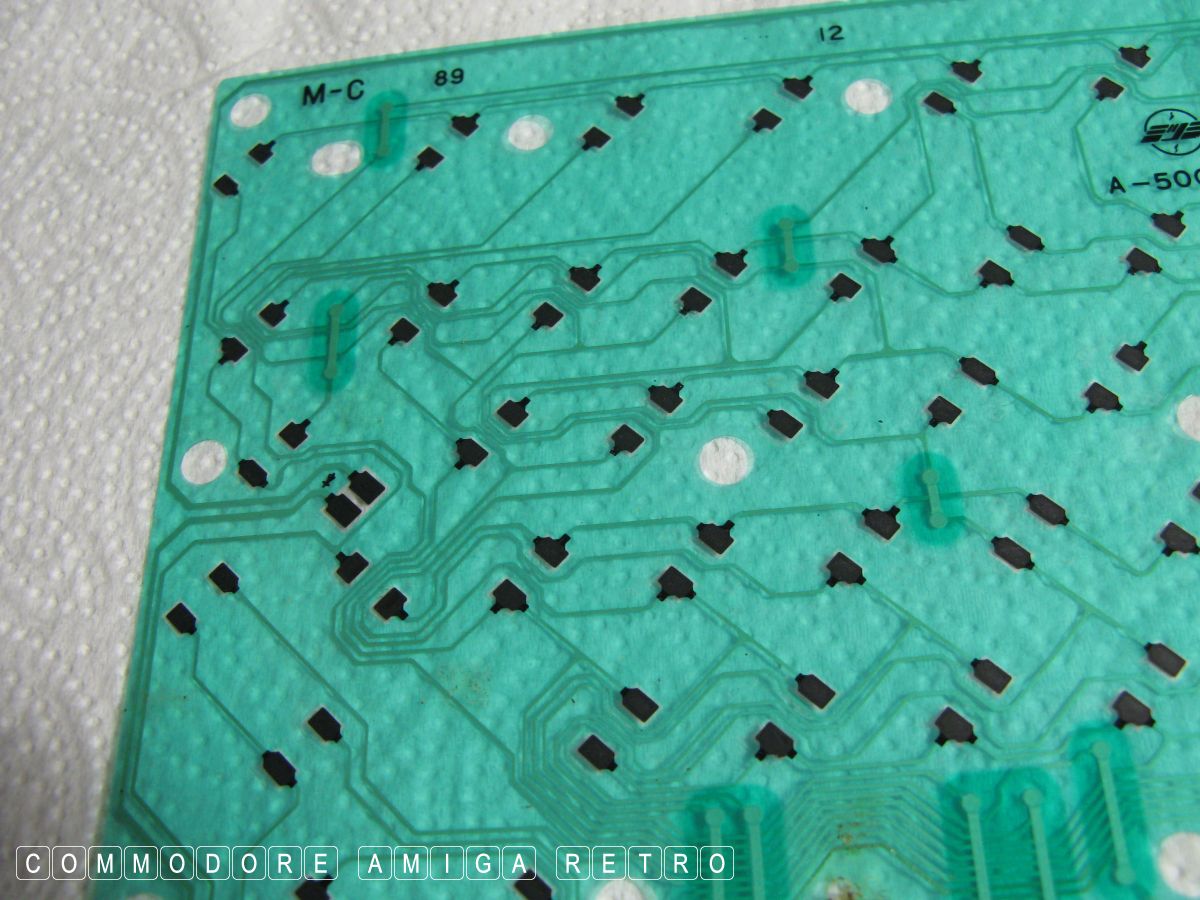
Check for damage and wipe the membrane
with a damp soft cloth using tepid diluted
soap and water. be very careful.
I use kitchen roll for all my cleaning.

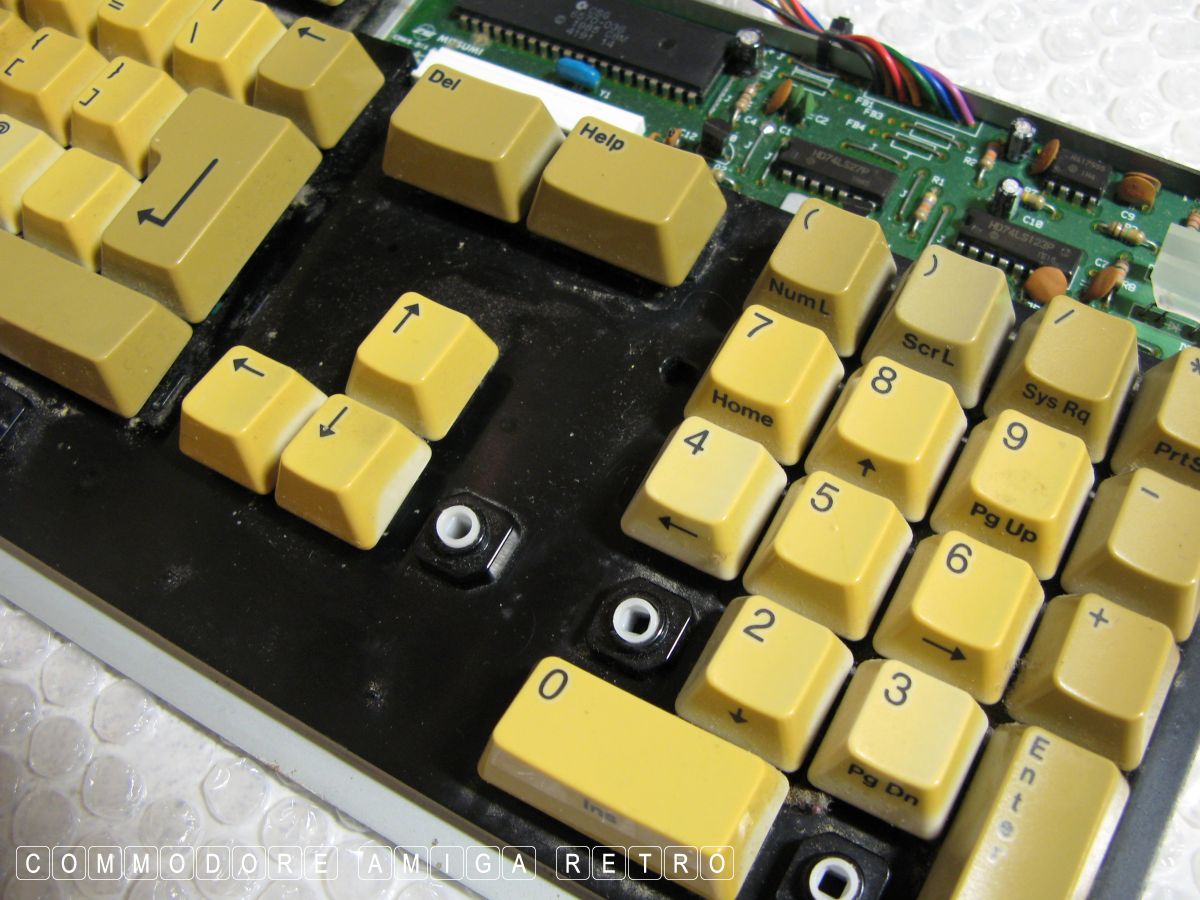
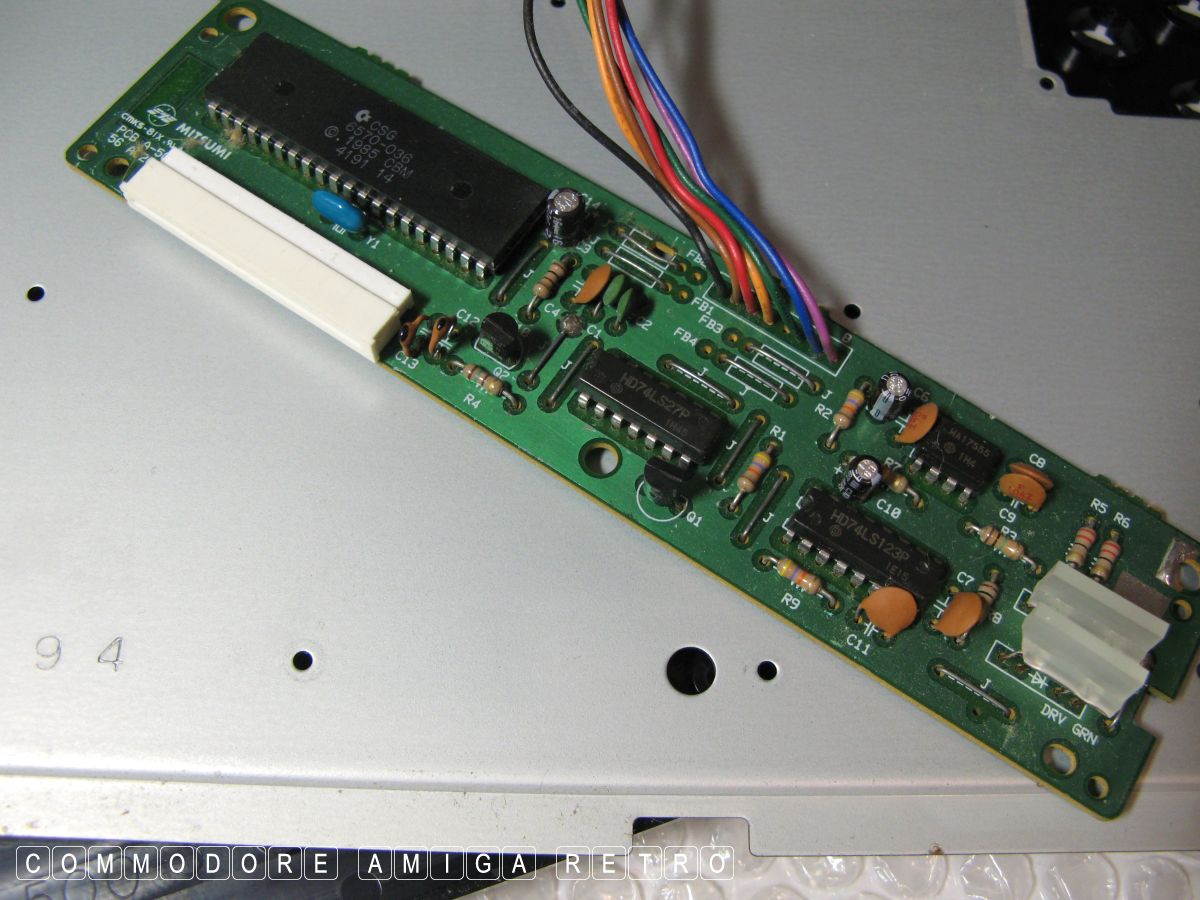
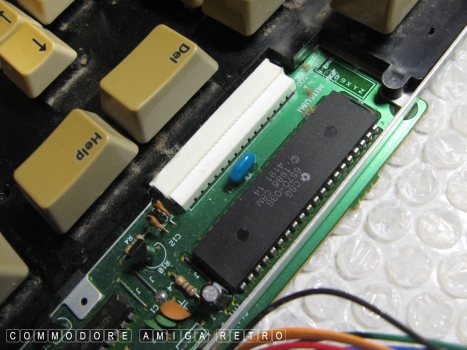
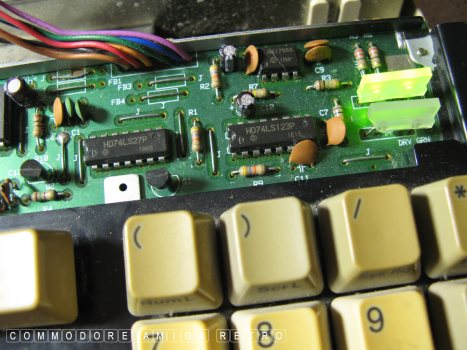
Check over the PCB.
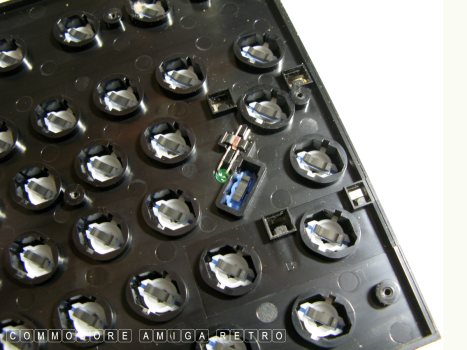
Be very careful not to damage the CAPS
lock LED. Leave plungers in place and
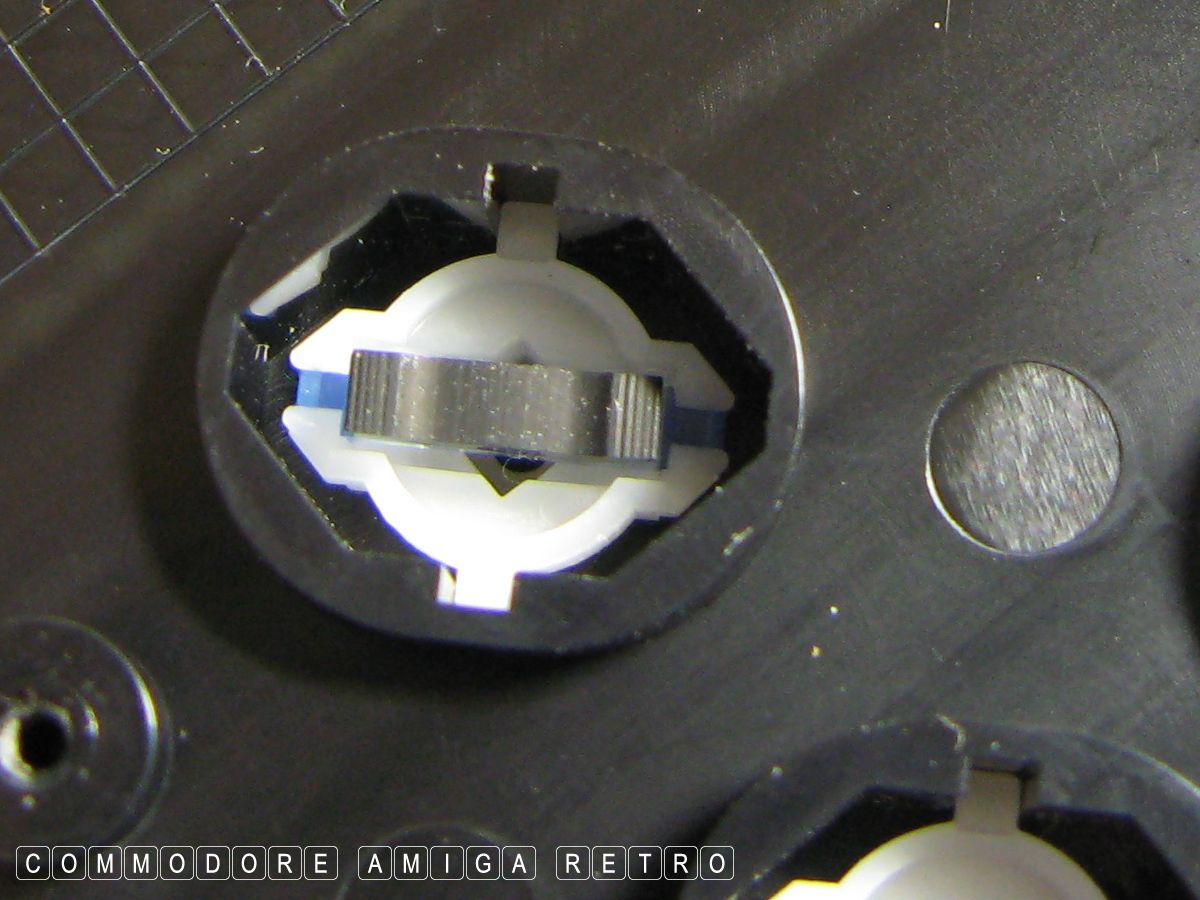
dry dust the surface. Salvage a plunger
if necessary, or move as I did.

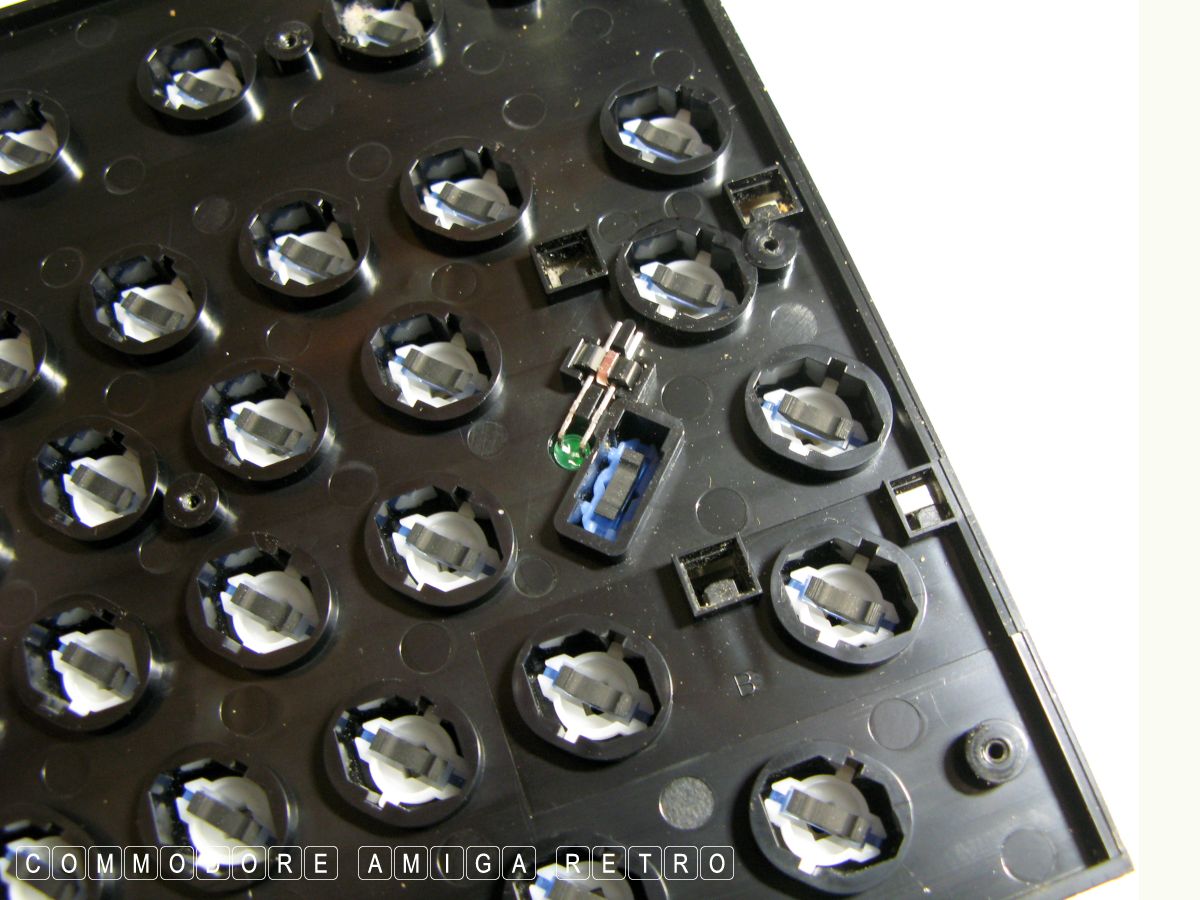
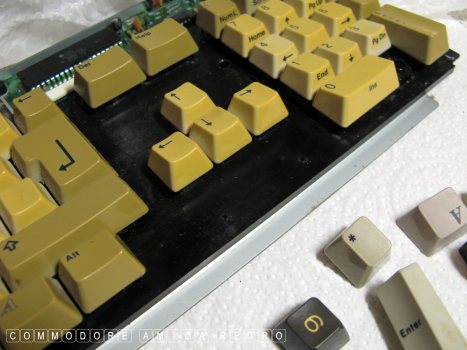
I moved a pillar from the NUMPAD given that
I don't use the thing. Note that if you
leave a pillar in without a key it will
always be in the depressed position.
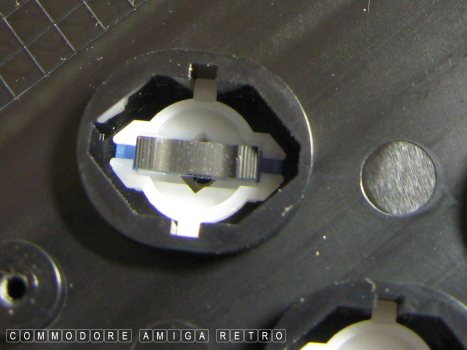
Best not to mess with the plungers/pillars.
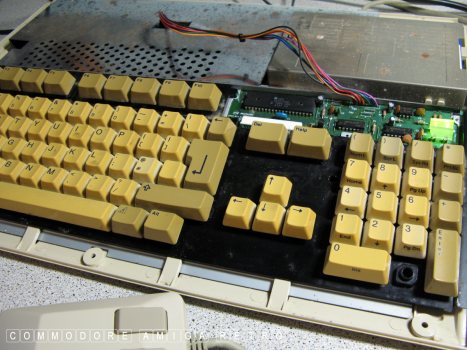
So I went on the hunt for old keys and
springs and managed to rebuild most of
the old keyboard. I left one key out to
the NUMPAD as I don't use it.

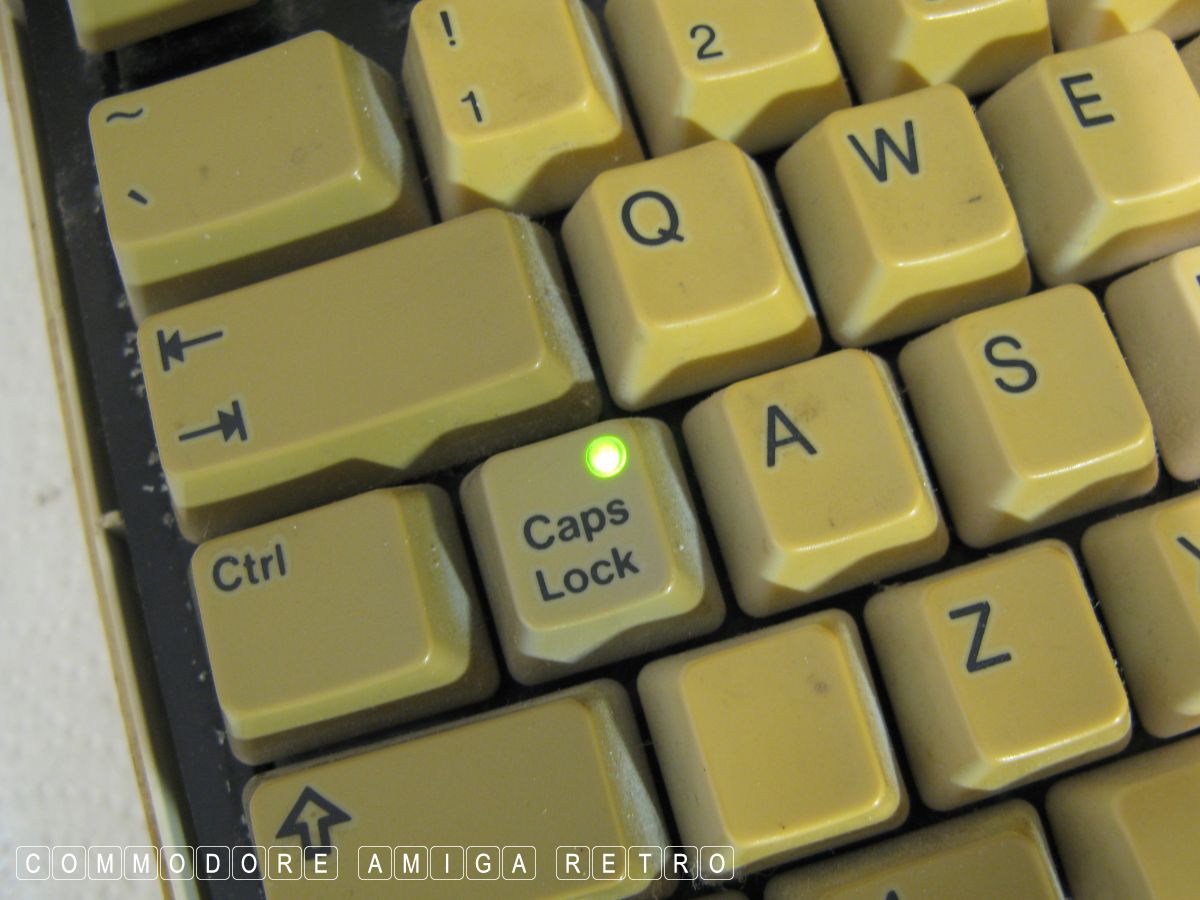
That's a good sign the CAPS light working.
And so too the power LED. Odd cus this
busted keyboard definitely wasn't working.

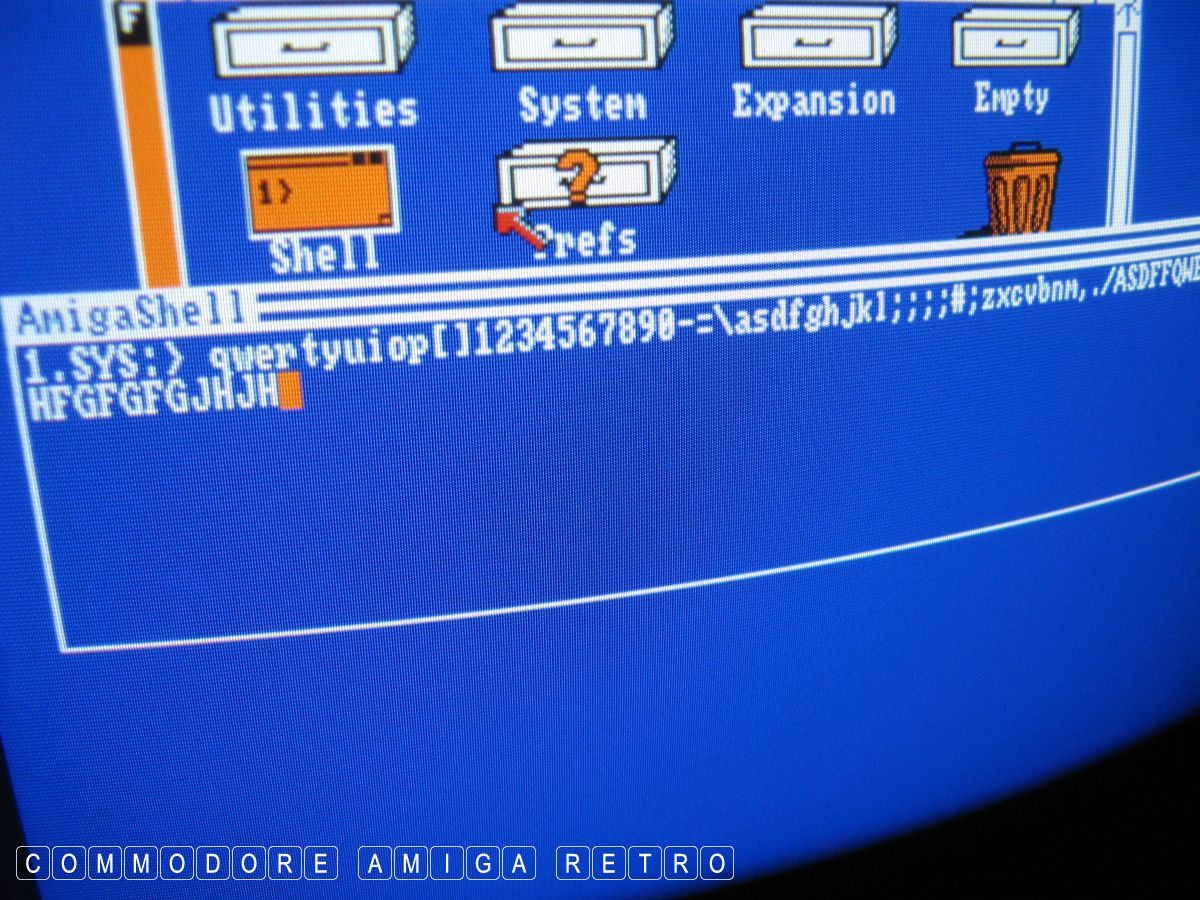
Well I never. The busted keyboard is working.
All the keys work. I just need another
plunger/shaft/pillar to complete the set.
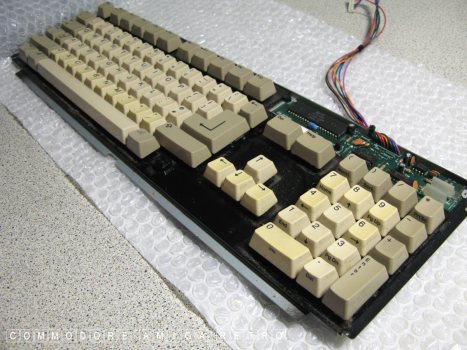
Time to repeat the process on the original
A500 keyboard that we started with.
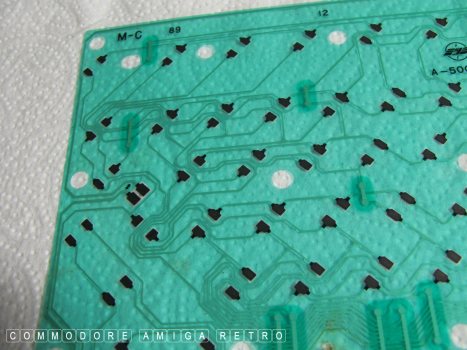
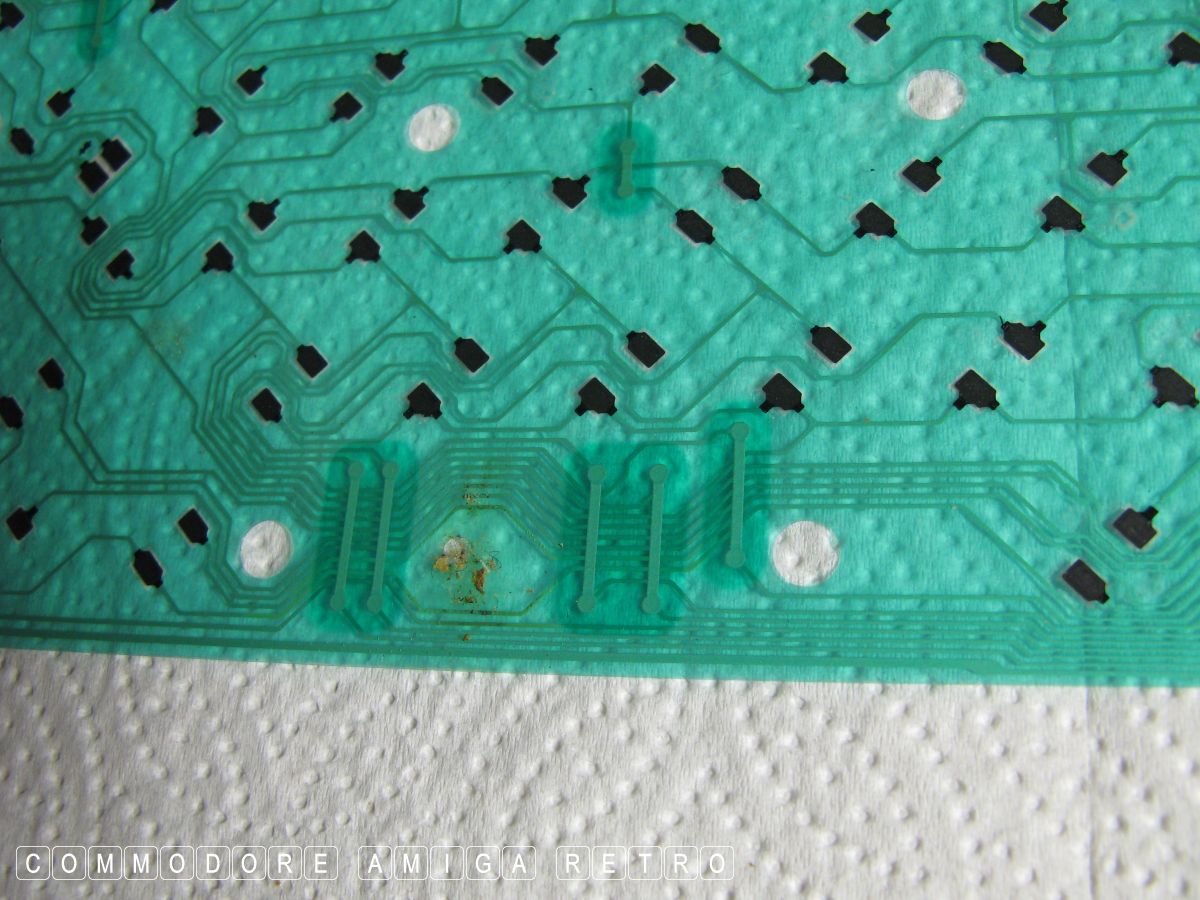
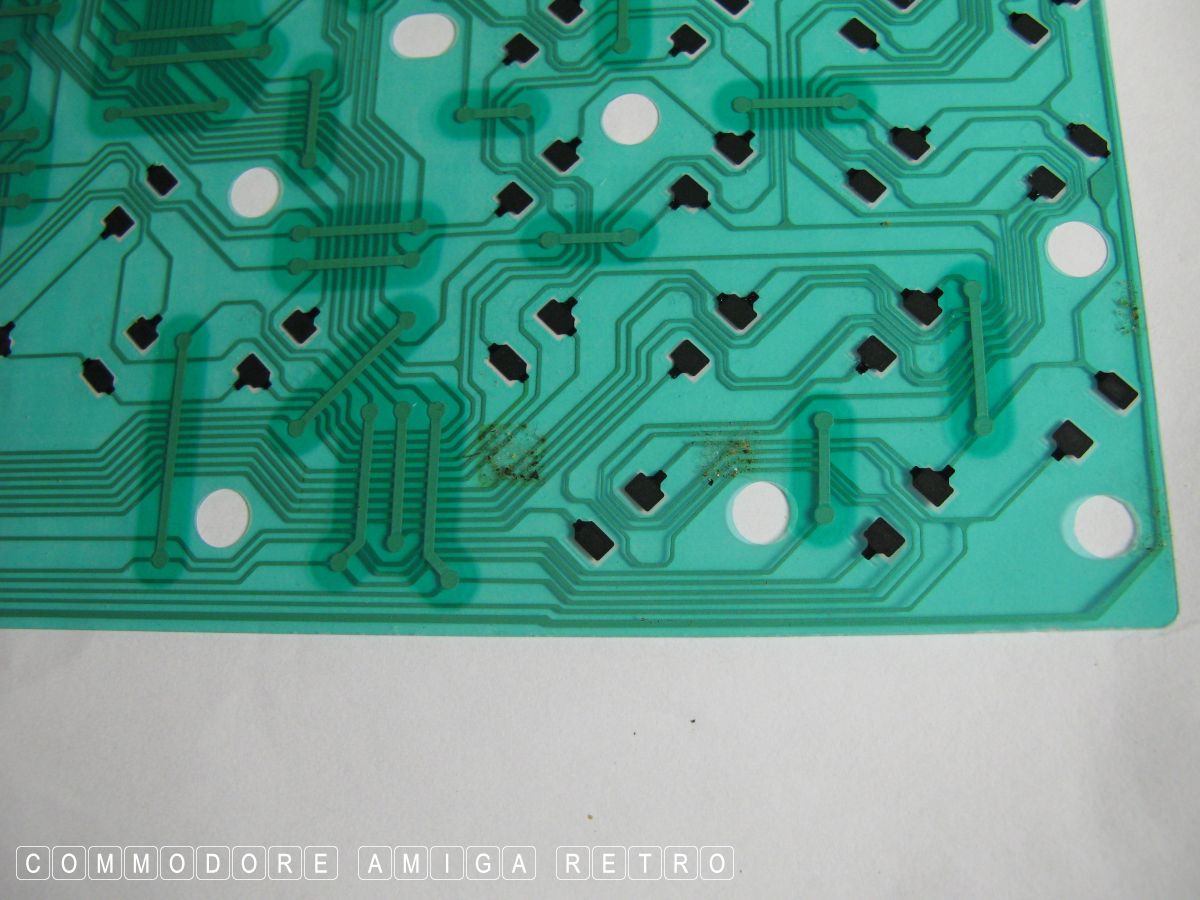
On this membrane there were a few dodgy
marks and the like.
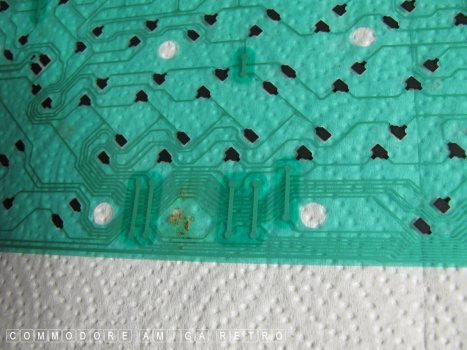
They didn't appear to be affecting the tracks.

So I gave the membrane a good clean.
And checked and cleaned the connector.
I moved the far right NUMPAD pillar
key to the ALT key as the ALT is more important.

SADLY... didn't work, so I need a new membrane.
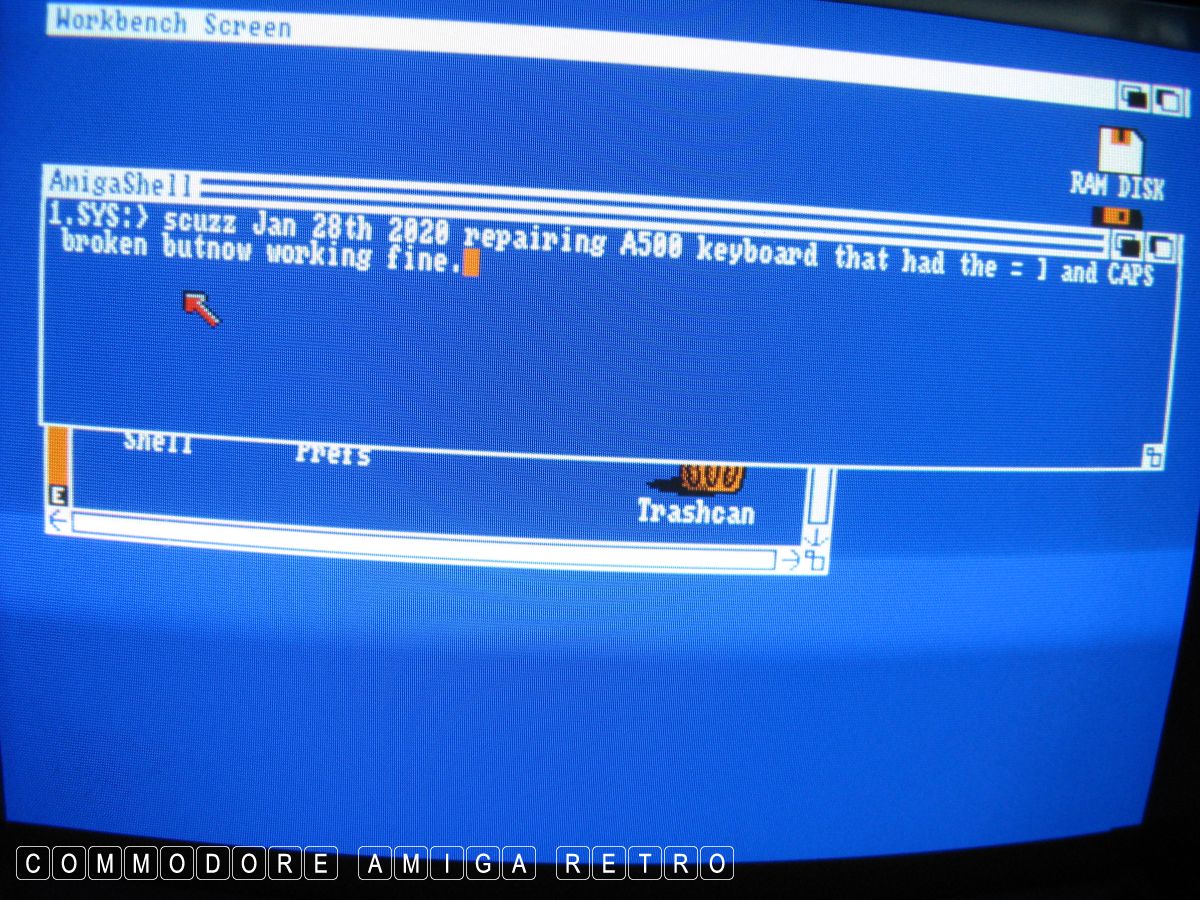
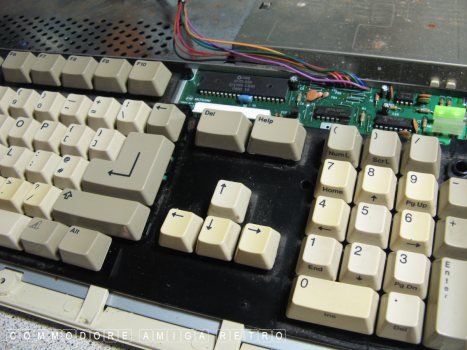
In the mean time I have put the busted repaired
keyboard in the 500 which works fine. Just wish
my typing was better. It was I that didn't place
the space between but and now. You will note that
spaces generally work in the text.

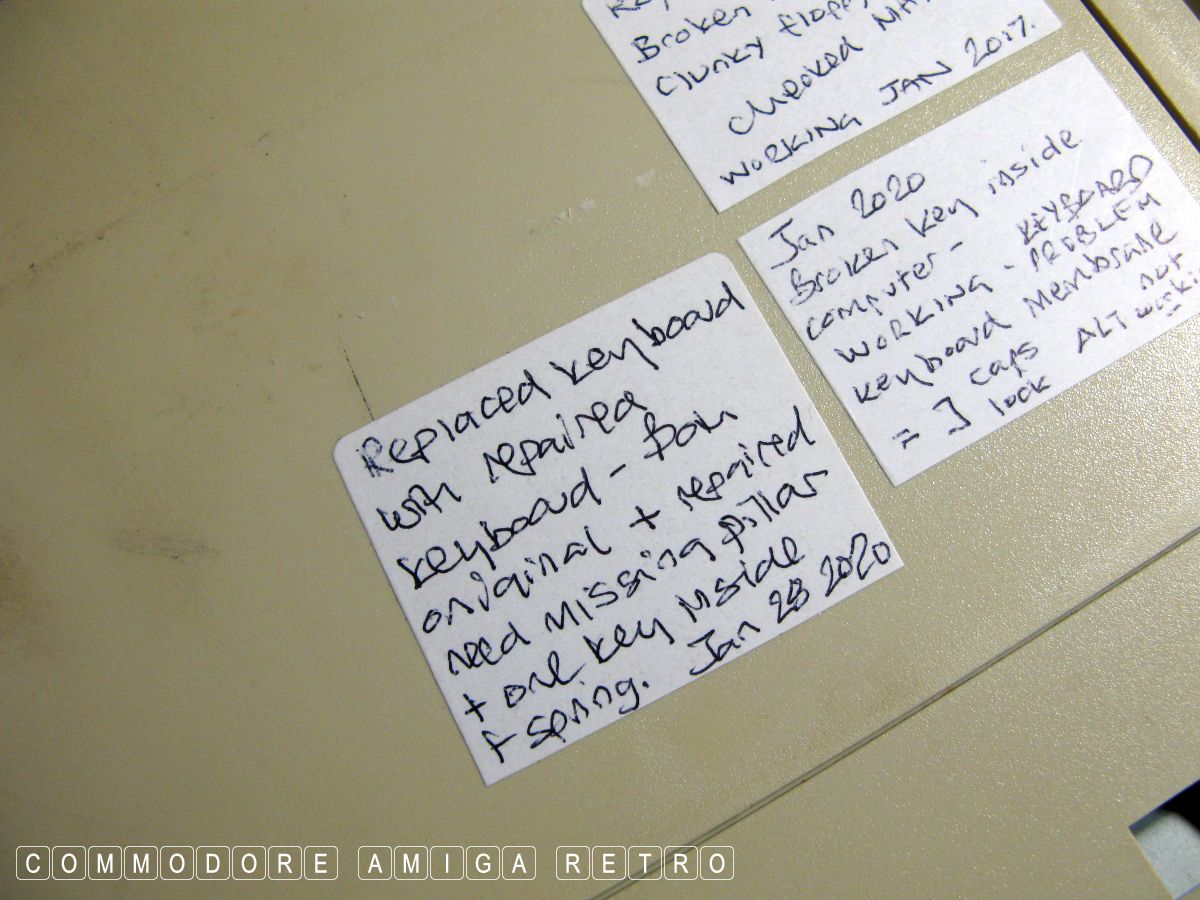
I updated the trap door sticker with a fresh note.
And placed the original keyboard in store
and will now source a new membrane. Sadly
when keyboards suffer key loss from both
ends of the keyboard it often is a failed
membrane. Can be caused by someone storing
a heavy object on the keyboard, like maybe
books. DON'T DO THAT. Please.

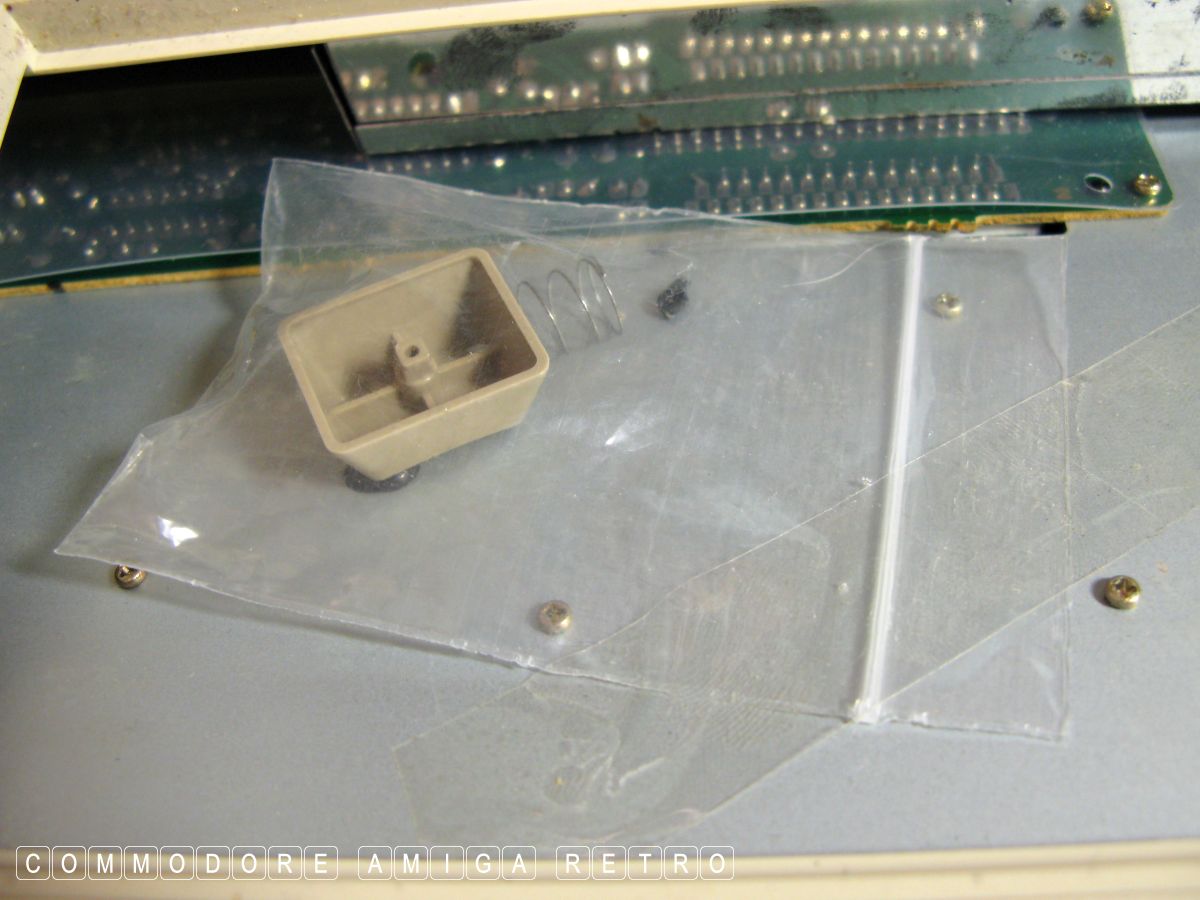
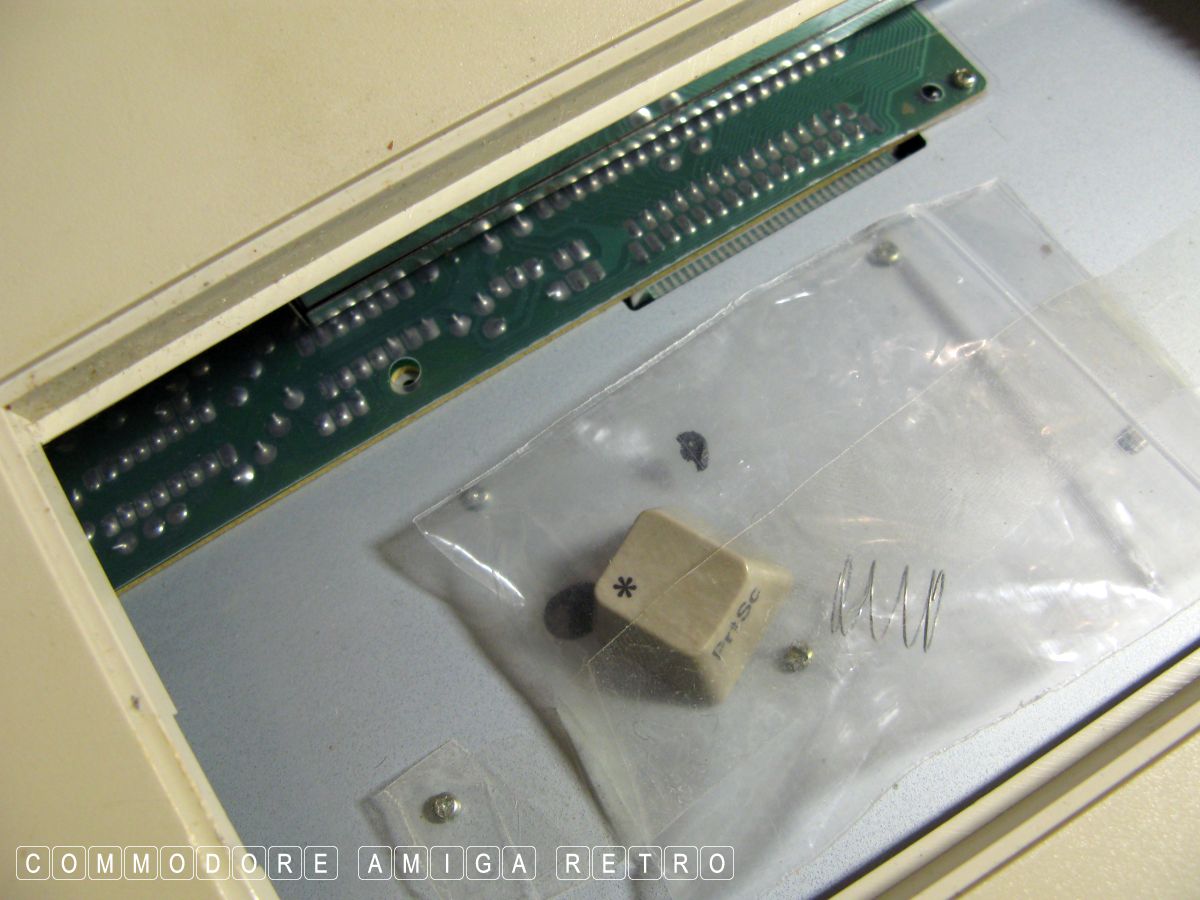
I then placed the key removed so I could use
its pillar into a bag with its spring until
I can dig out a suitable replacement.
Just a tip .. never throw anything away.
I told you I would fix the keyboard
Shame it was the wrong one. Ar hum !!
The scuzz comment
One last comment. Amiga 500s are for the
best part 30 years old. Over time the materials
that make up this beautiful machine go brittle.
Like the keys, plungers etc. Also pins on the
motherboard erode/corrode and become fragile.
Wire connectors can become loose and wire
connectors fail. Mostly though, solder joints
become aged and due to fatigue will fracture
and break.
Here is my 'if it aint broke' comment. SERIOUSLY
as your precious computer gets older it will
have only so much life left in all components.
As such you should limit the times you plug
in and pull out connectors. You should refrain
from placing stress on electrical components,
tracks and boards. If you don't need to extract
tightly clipped in place keys then refrain from
doing so. I see so many idiots on YouTube simply
throwing there keyboard onto hard surfaces
unprotected and then treating them as if they
were brand new. You don't need to extract all
the keys to clean them. And you certainly don't
need to ruin the protective outer intumescent
coating to make your computer look like it just
came off the production line.
These guys on YouTube are in it for the money,
so don't believe all they say. It is done for
effect cus otherwise they wouldn't have a bloody
video to show. If you really care about your
computer then think less is more. If she is
working and a 500 you actually don't even need
to open the case. Not so with a 500 Plus but
even here, just remove the battery... properly.
It really is up to you if you want your computer
recapped. Your shout. But reflect on the fact
that not ALL capacitors are broken and or need
replacing. The risk is what such a process may
do to your computer in replacing them.
Anyhoo... that was my two 'penneth' worth. Have fun.
If you do break anything and are going to chuck
just send it to me cus I can guarantee making
a 'gud'n out of a bad'n'. All contributions to the
collection are welcome.