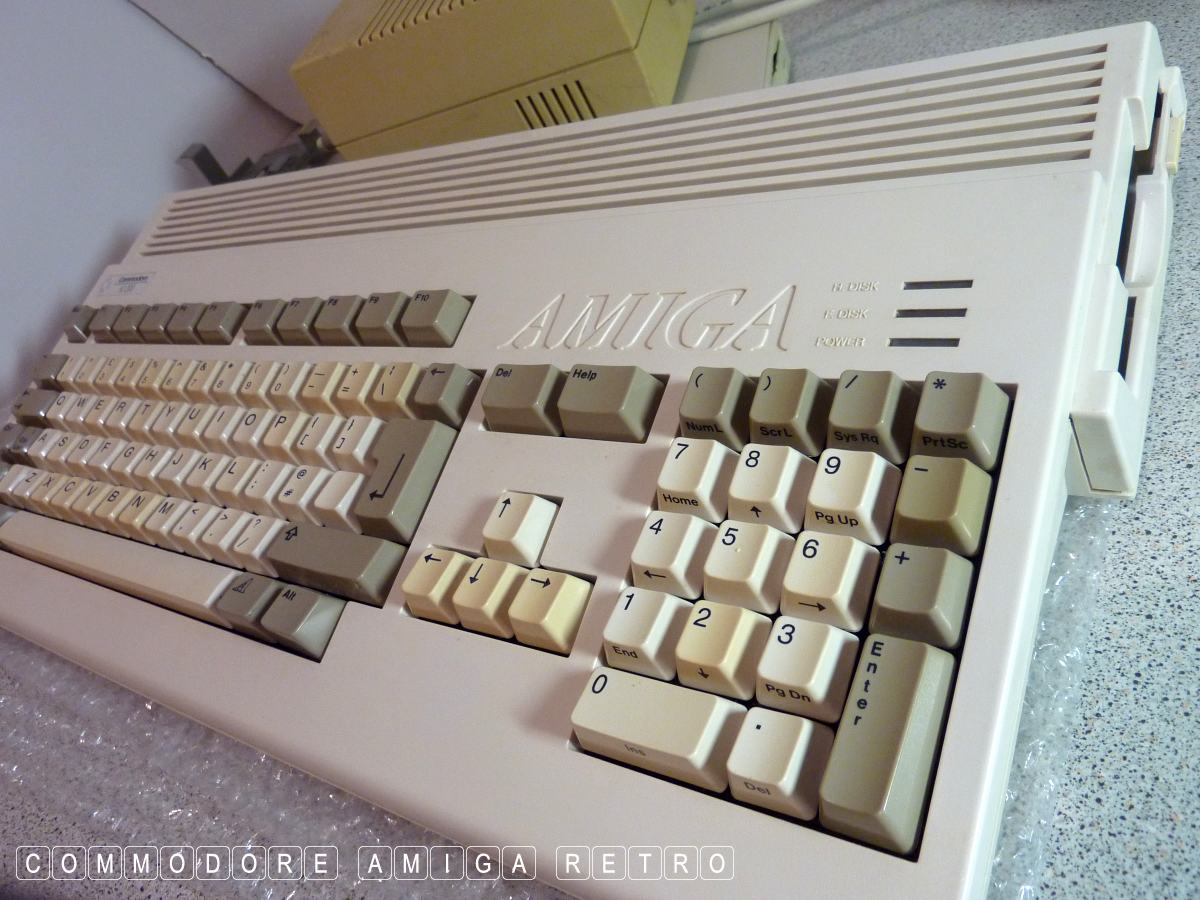
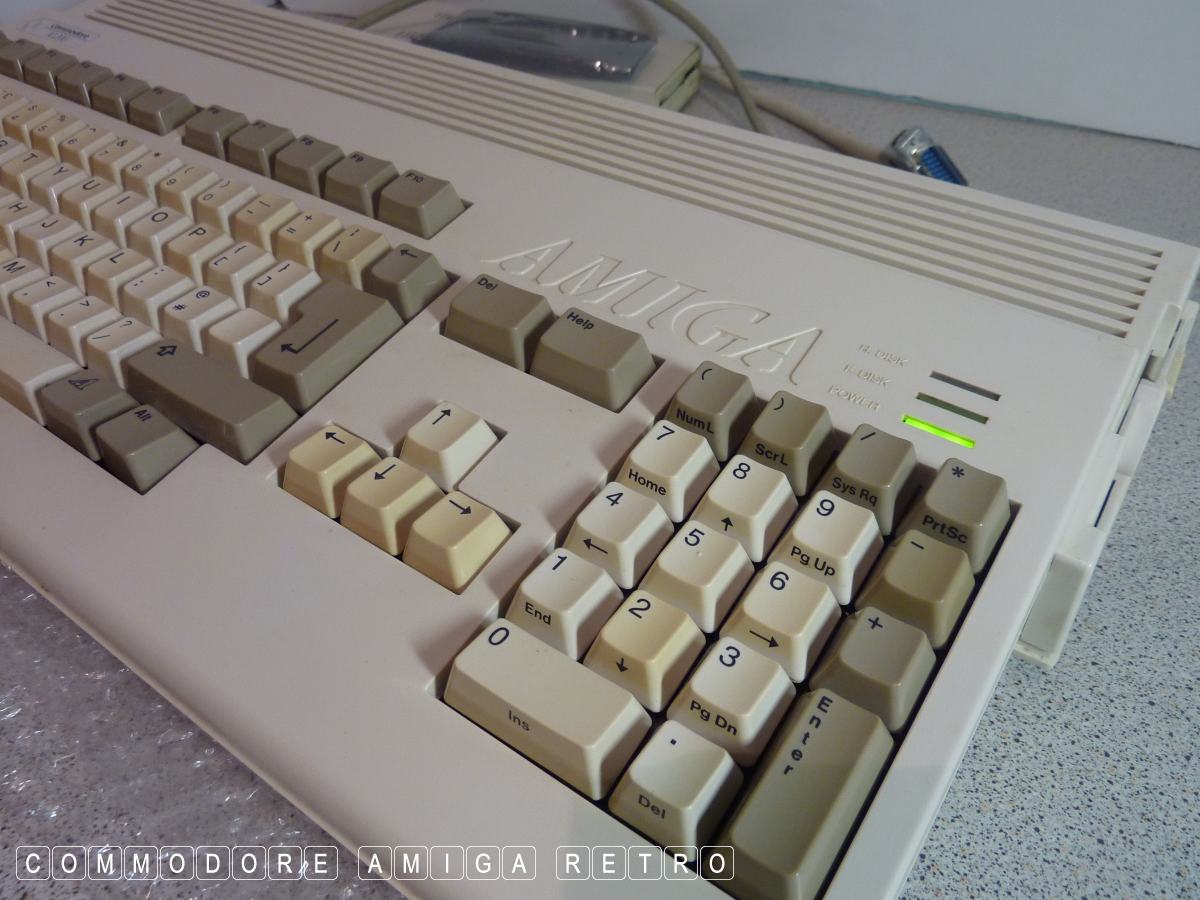
Amiga 1200 No 06 Bryoni
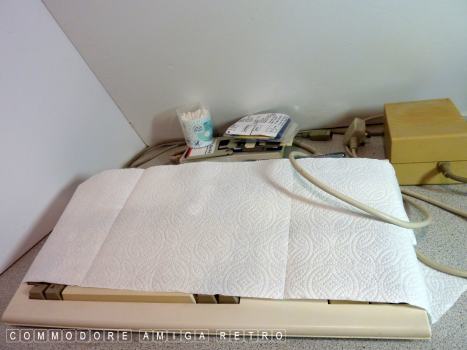
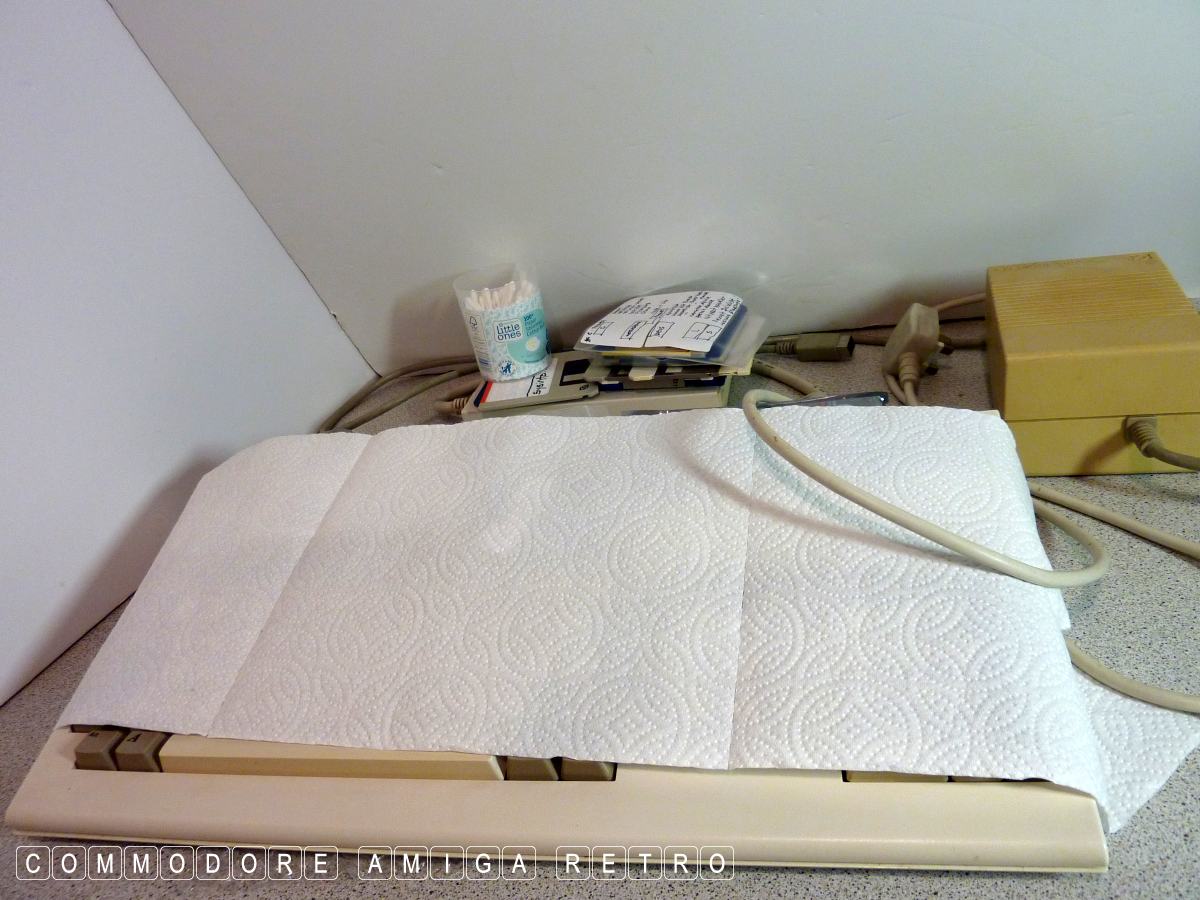
Got up early to avoid the burning heat
and headed off down to the Amiga hanger.
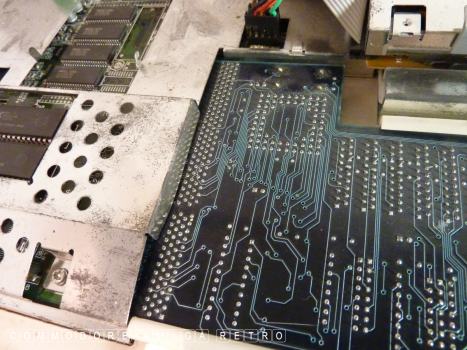
Dust covers off to reveal my freshly cleaned
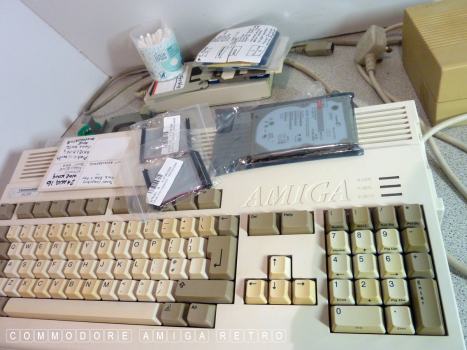
Amiga 1200 No 06 Bryoni and the newly acquired
2.5" hard drive and ribbon cables.
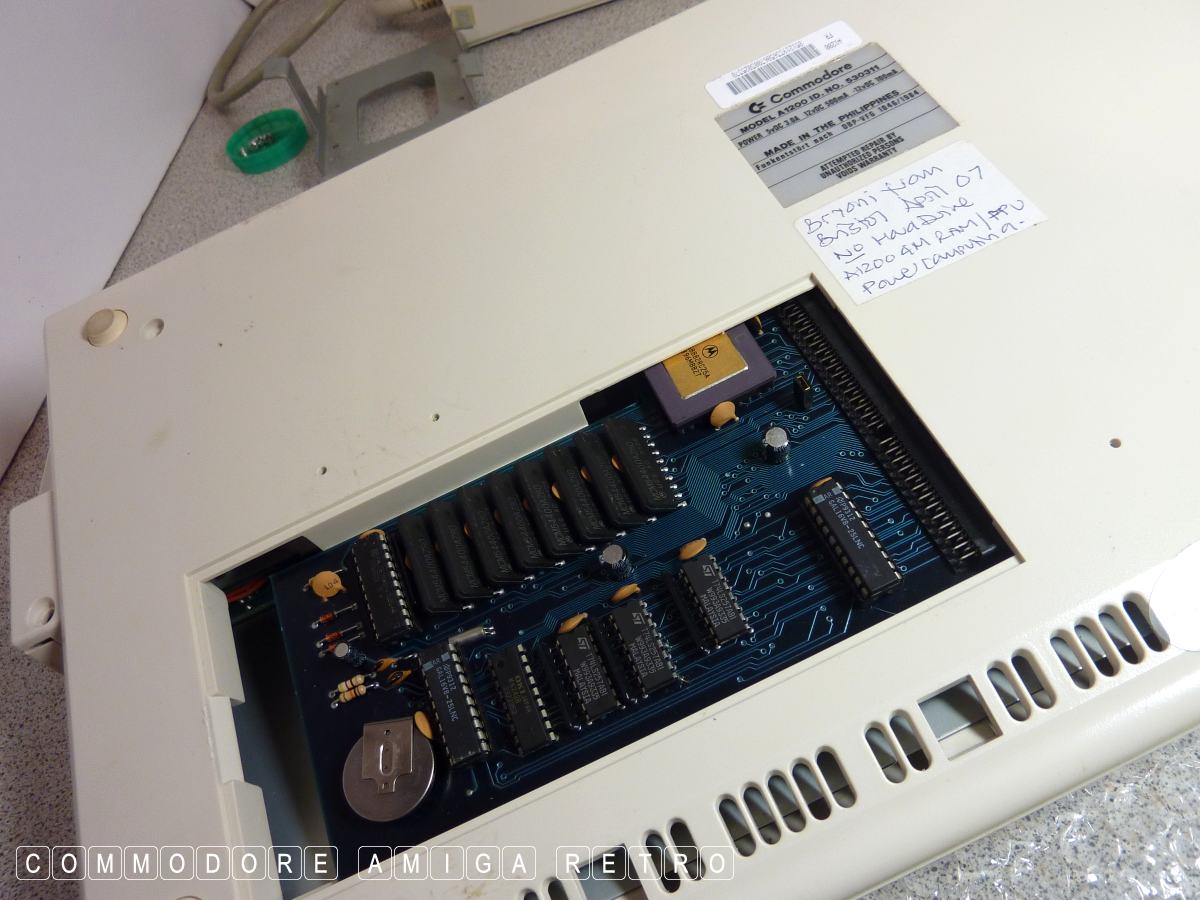
Exact same model that I used on TuMoon.
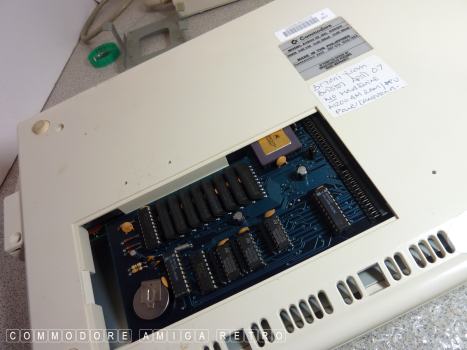
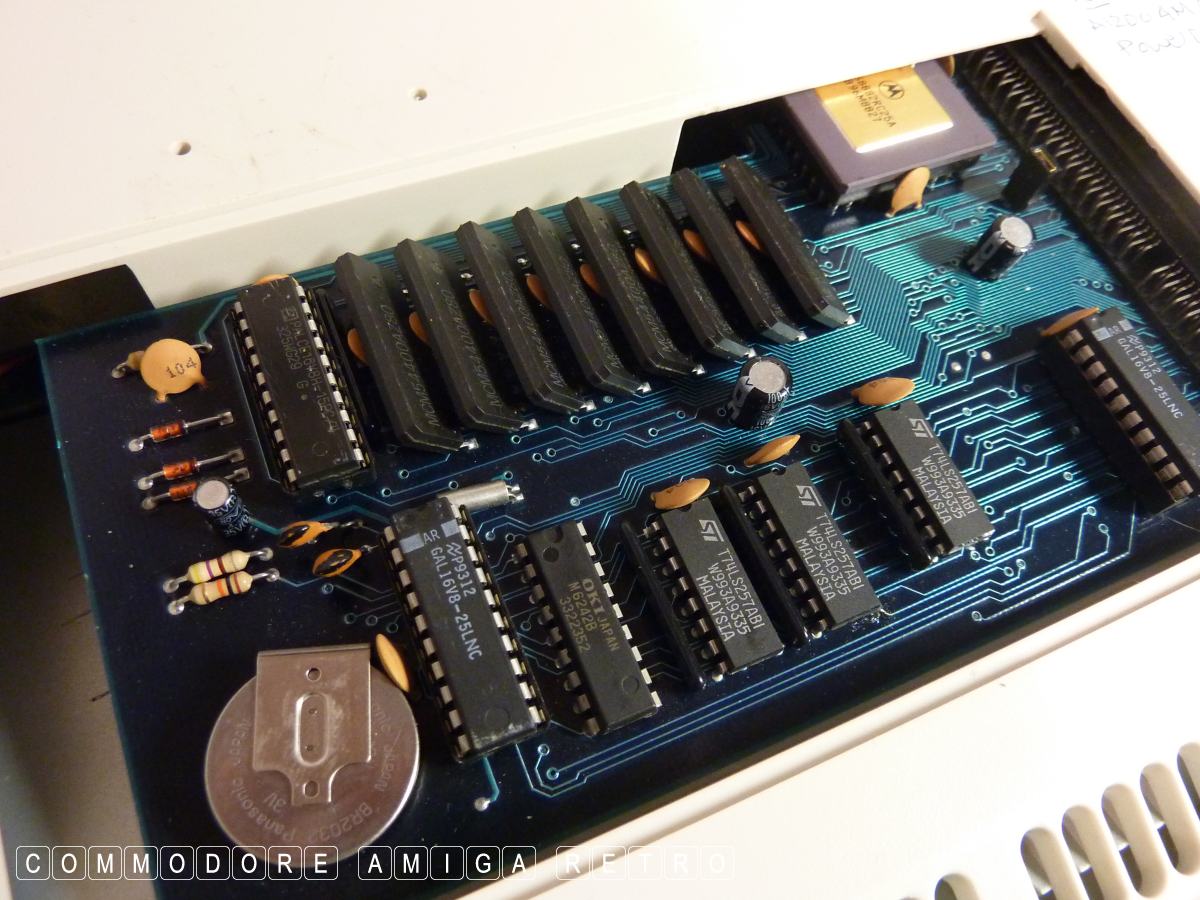
The quite rare Power Computing PC 525.
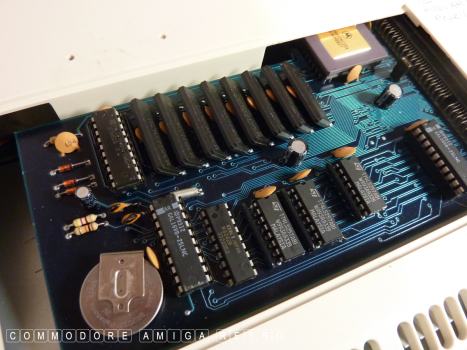
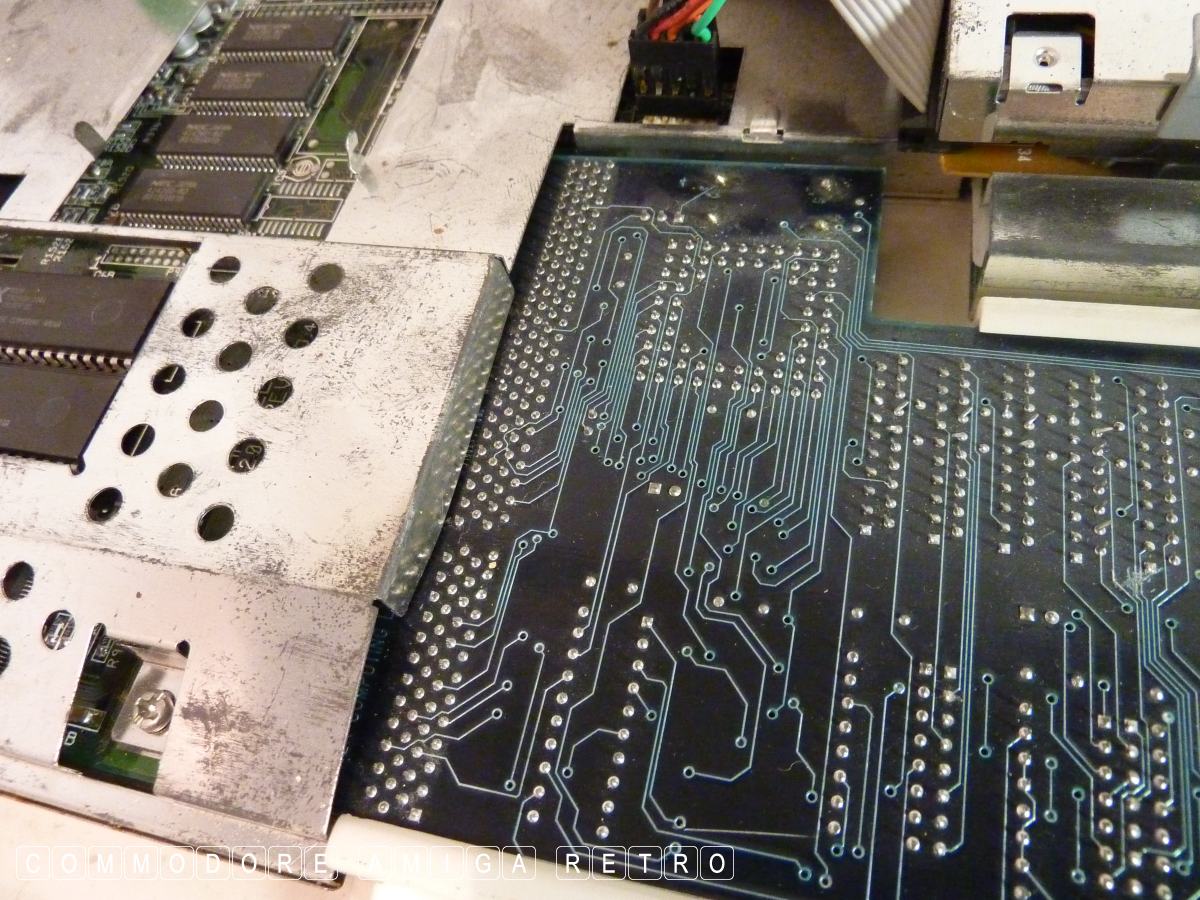
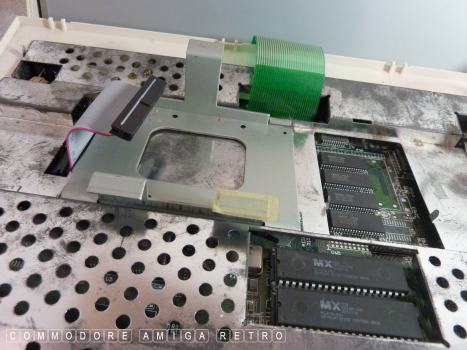
4MB RAM card with the FPU and Clock.


View on the card from the inside.
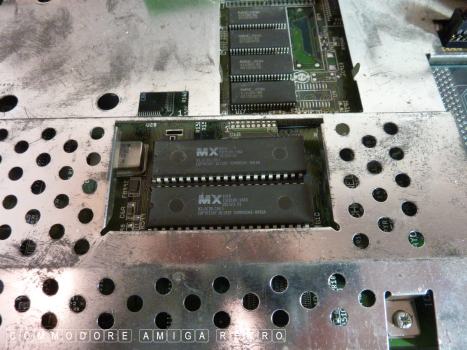
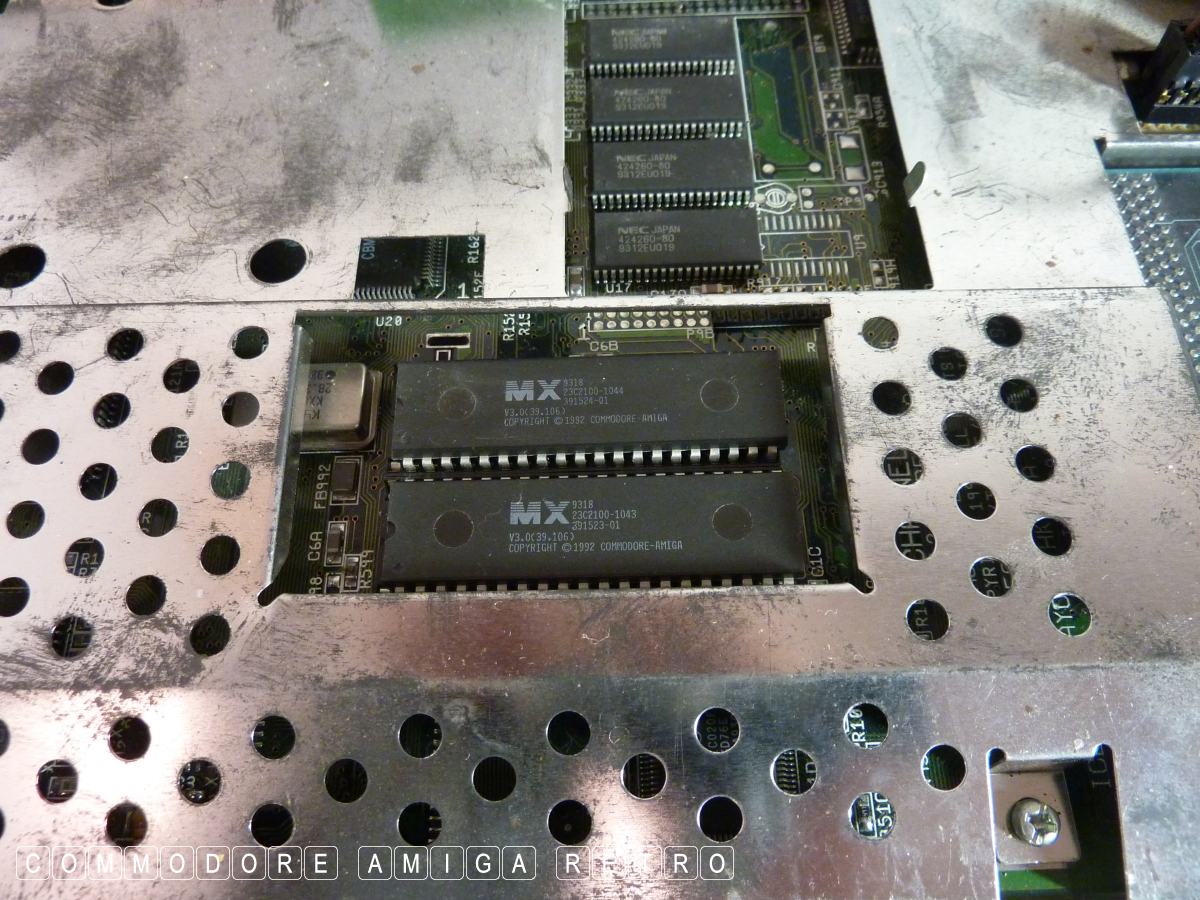
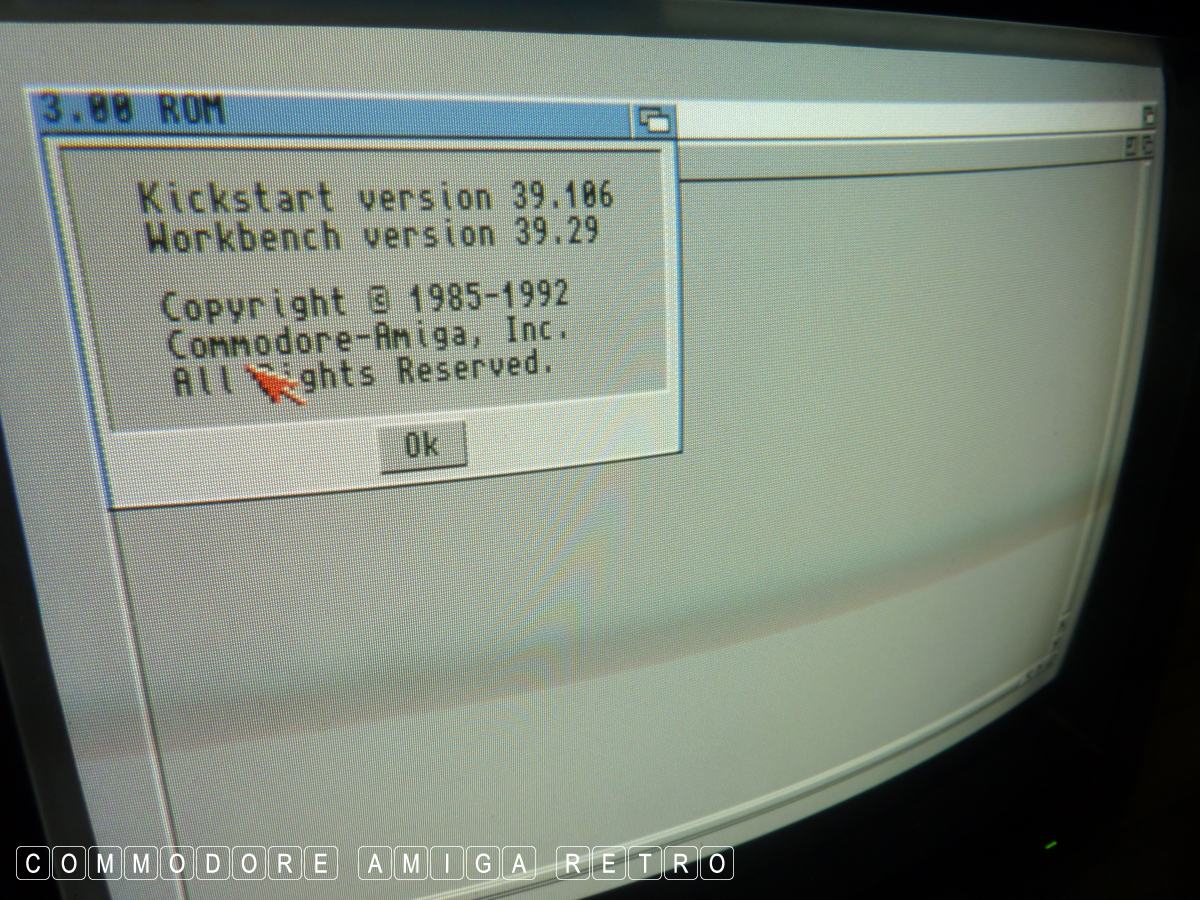
Original 3.0 ROMS

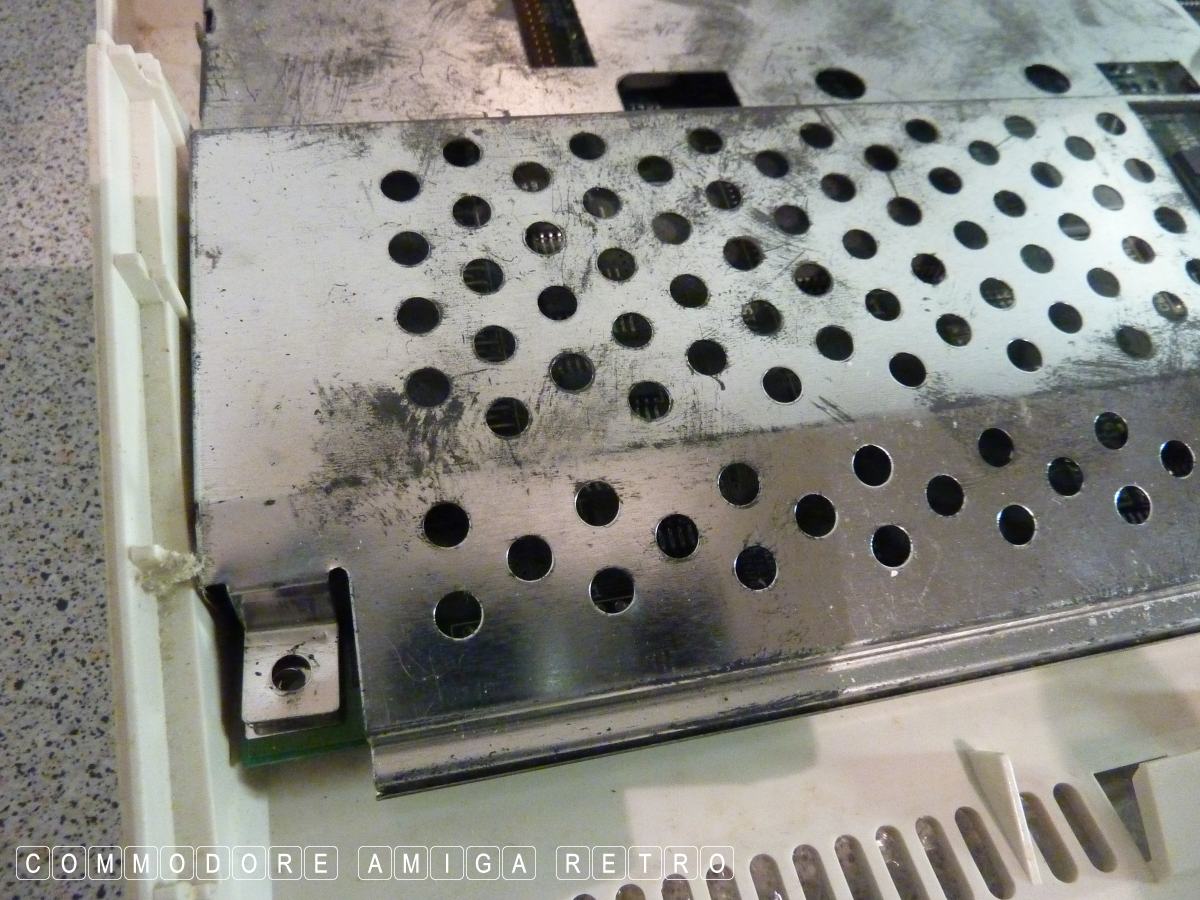
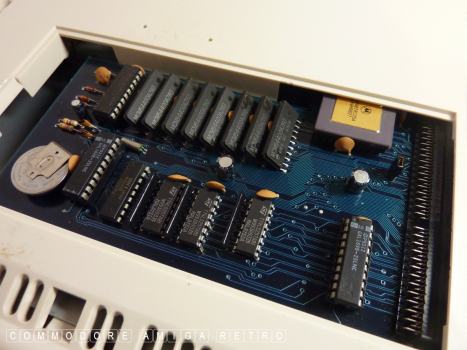
The shielding was touching the card.
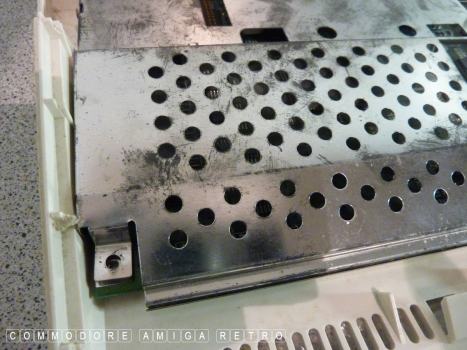
Also lifted the corner to ease any
shielding issues with the card.

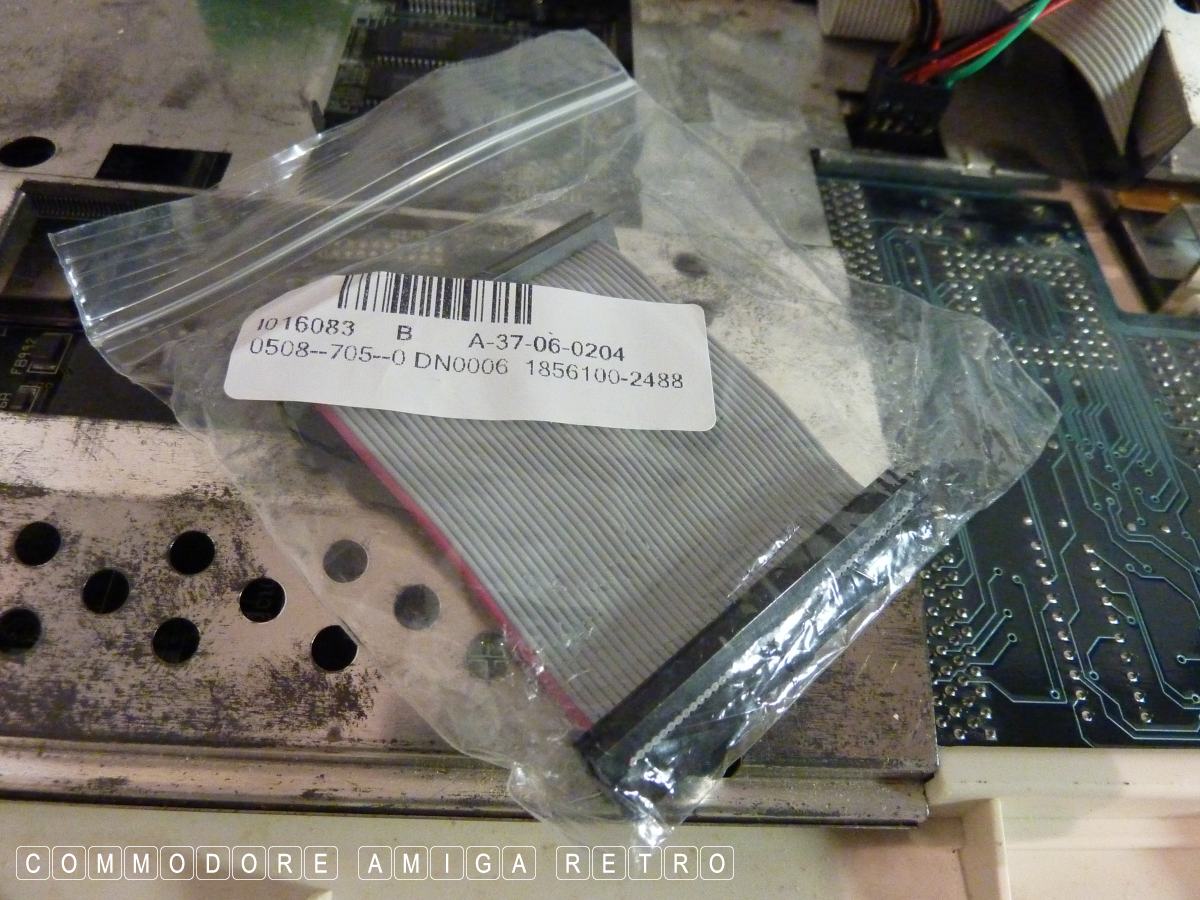
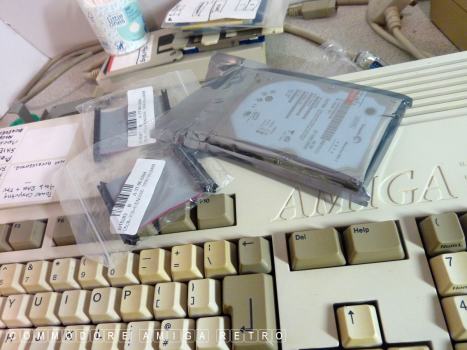
I acquired some quite small ribbons
as the ones I had were a little long.
This cradle was a little stiff.
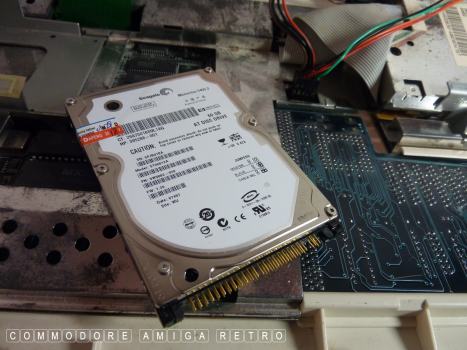
The 40GB Seagate laptop drive.
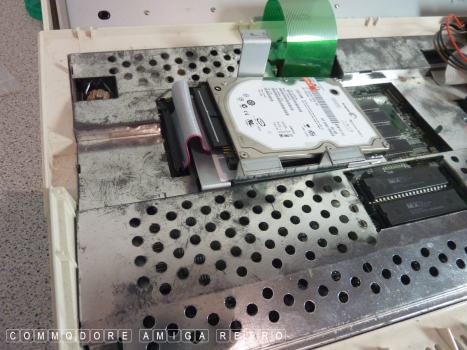
The cradle was causing a problem so
I swapped it out. Now seats better.

Camera alert. Pictures not the best. I will
need to experiment a little more or simply
get another camera. So sorry for that...
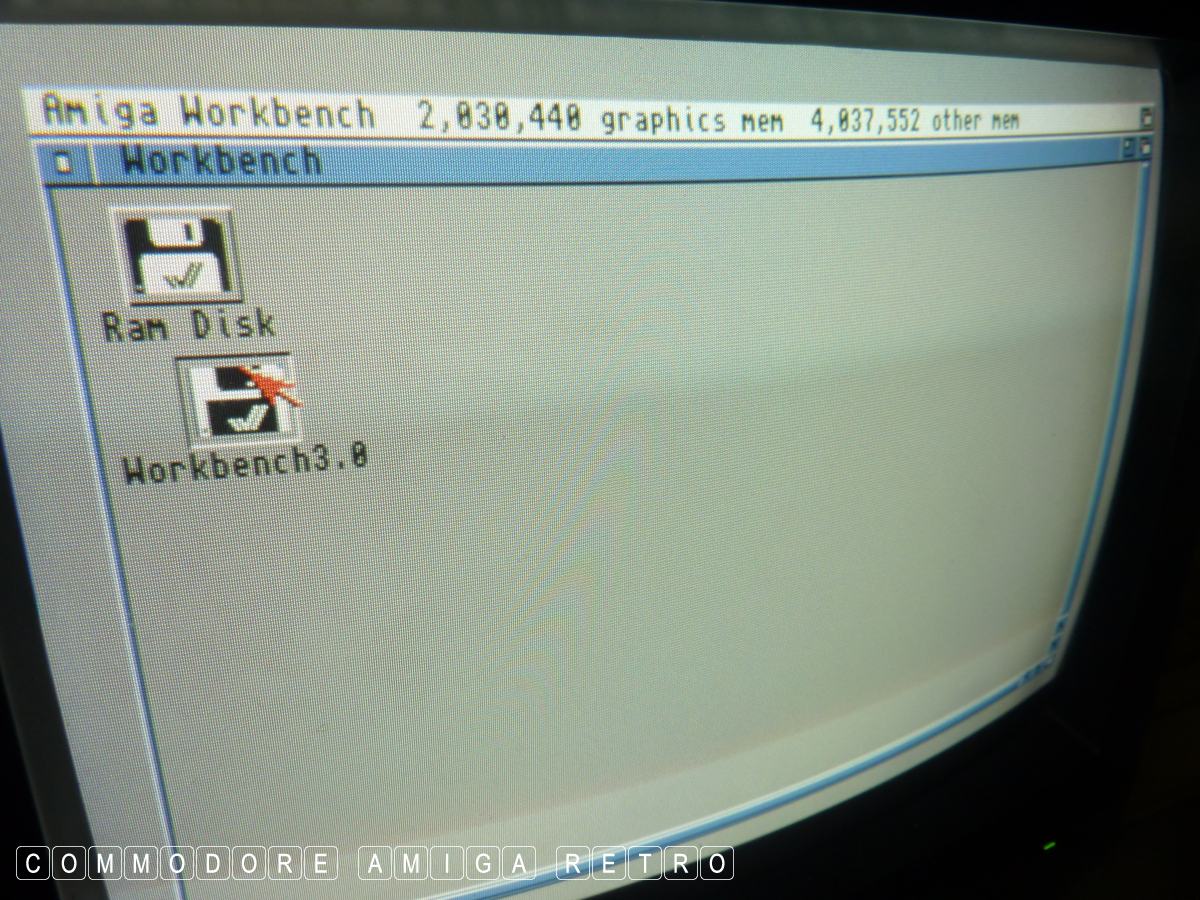
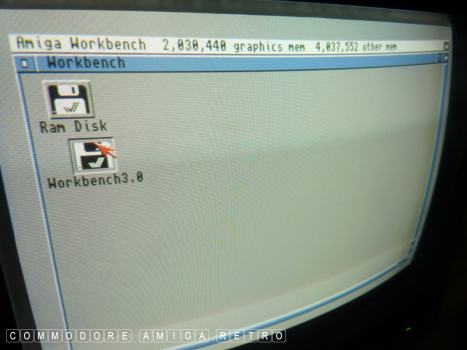
OK I boot on the floppy and no hard drive
visible, though the drive light did flicker.
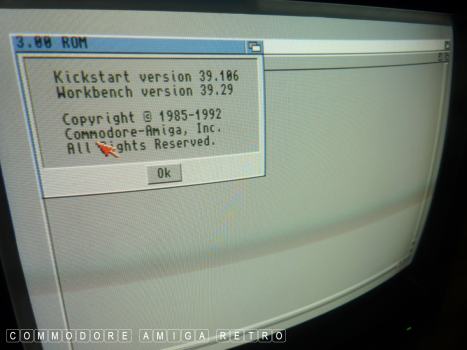
Just checking the ROM for the install
disks that I need to use. 3.0 ROM.

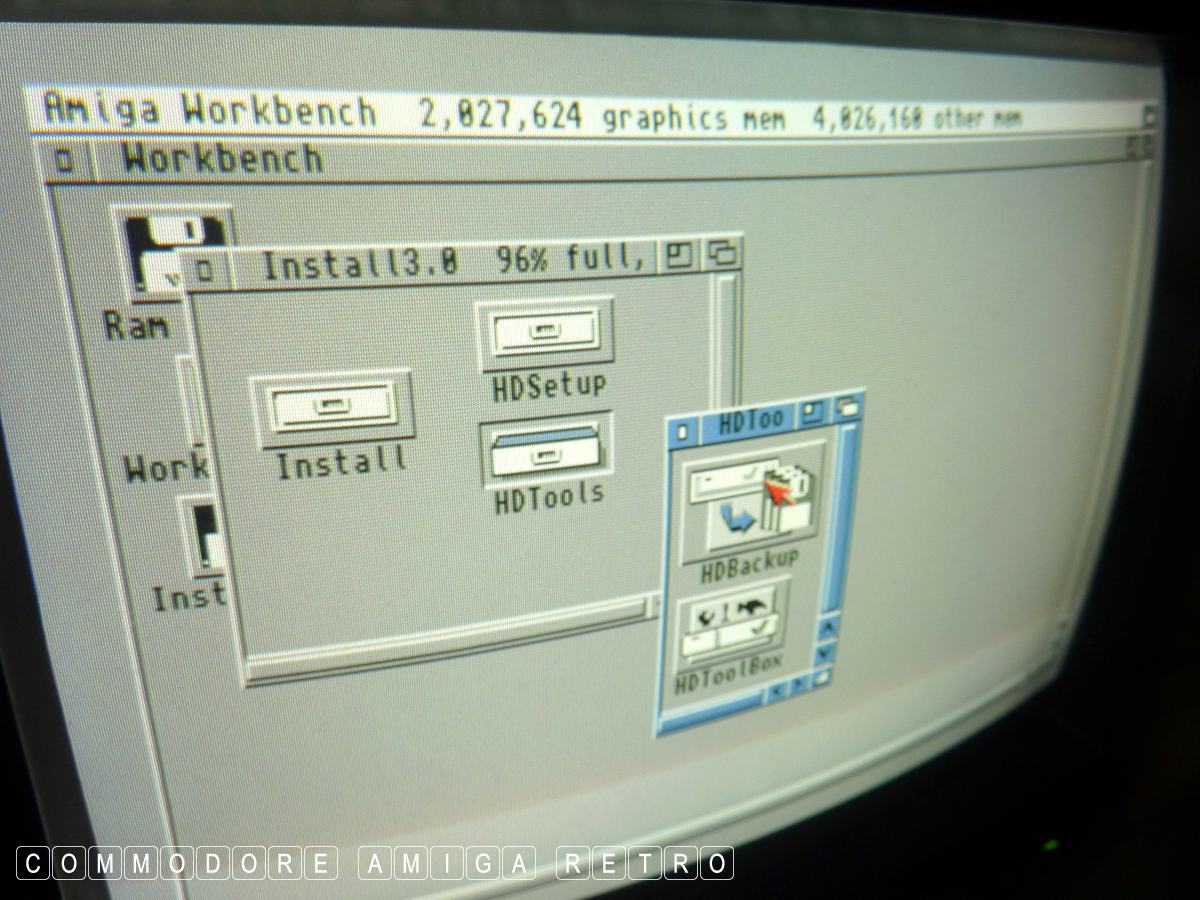
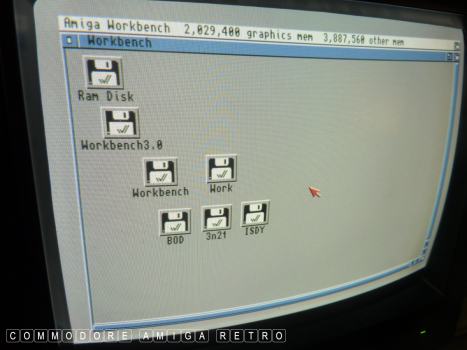
Whilst in Workbench I flipped in the
INSTALL disk to check the drive though
when actually partitioning the drive
I booted with the INSTALL disk.
You must use the INSTALL disk to partition
the drive as the Workbench disk does not
have the FastFileSystem on it.
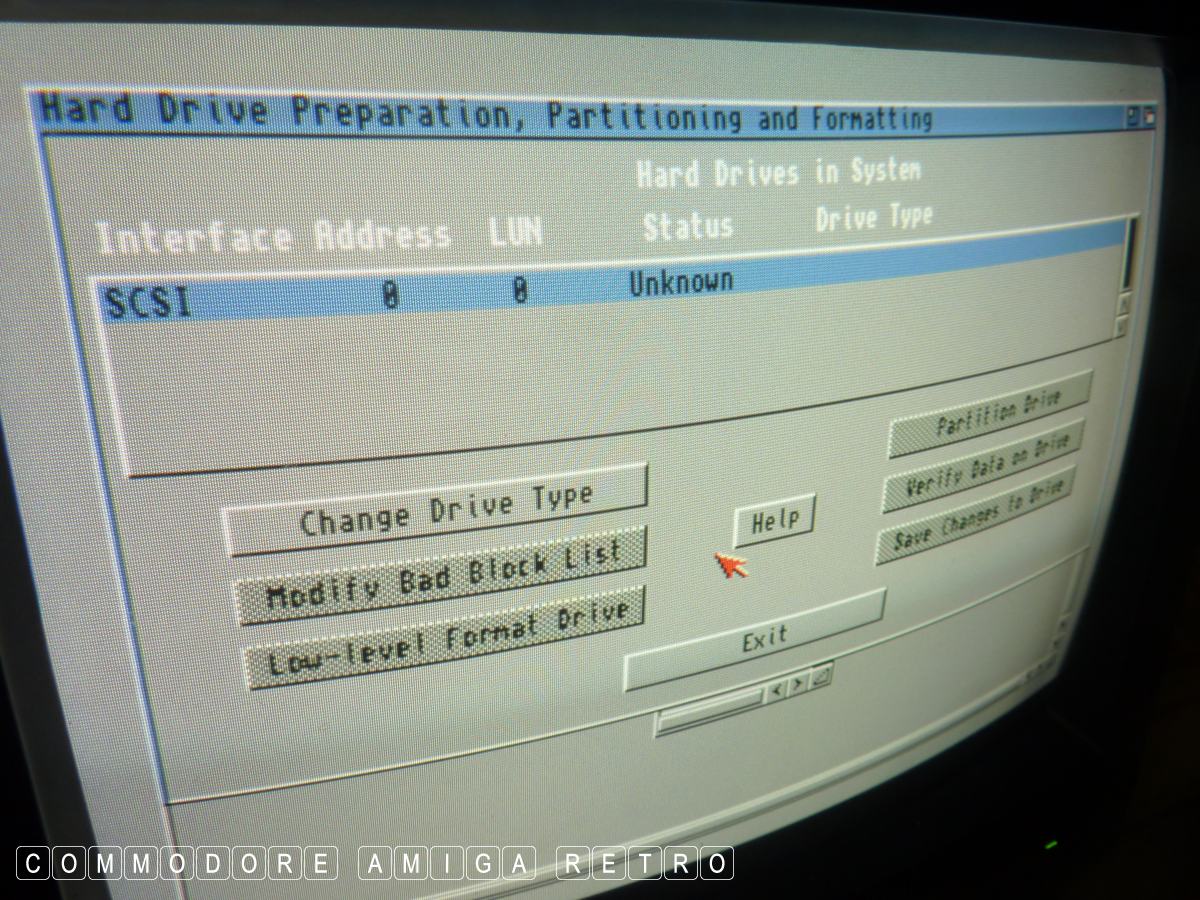
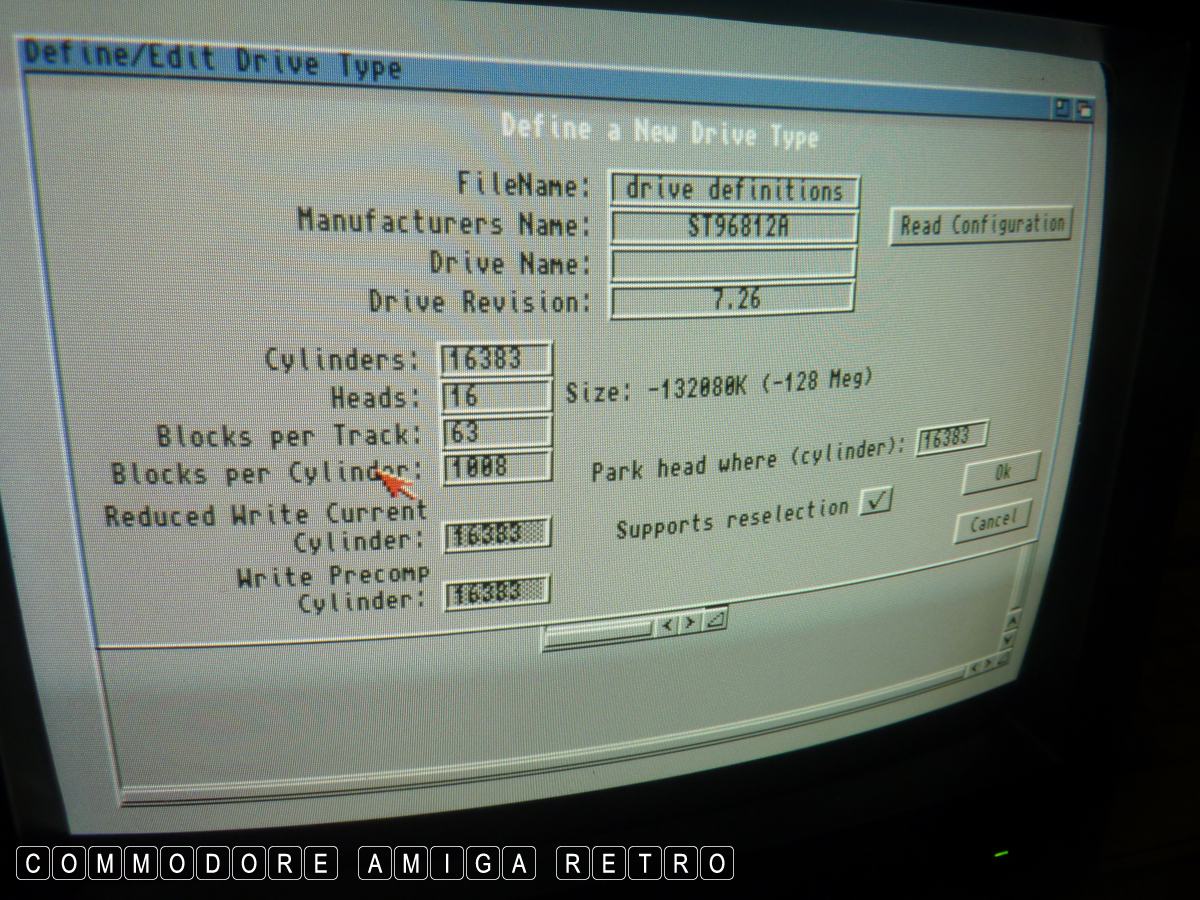
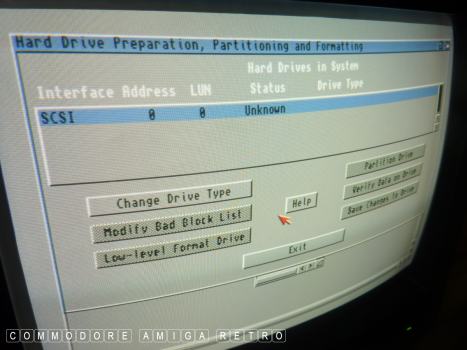
Opening the HDToolBox shows the drive as unknown.

Click the Change Drive Type and Define New.
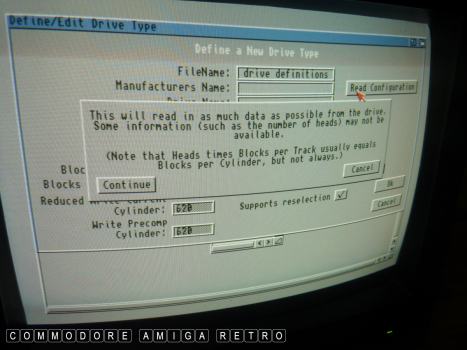
And then read the configuration.

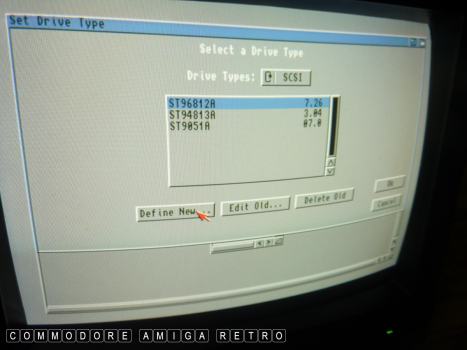
The drive needed is the one on the top
of the list. Each time I do this the
software saves to the disk. So those
others are from other sessions with
other hard drives.

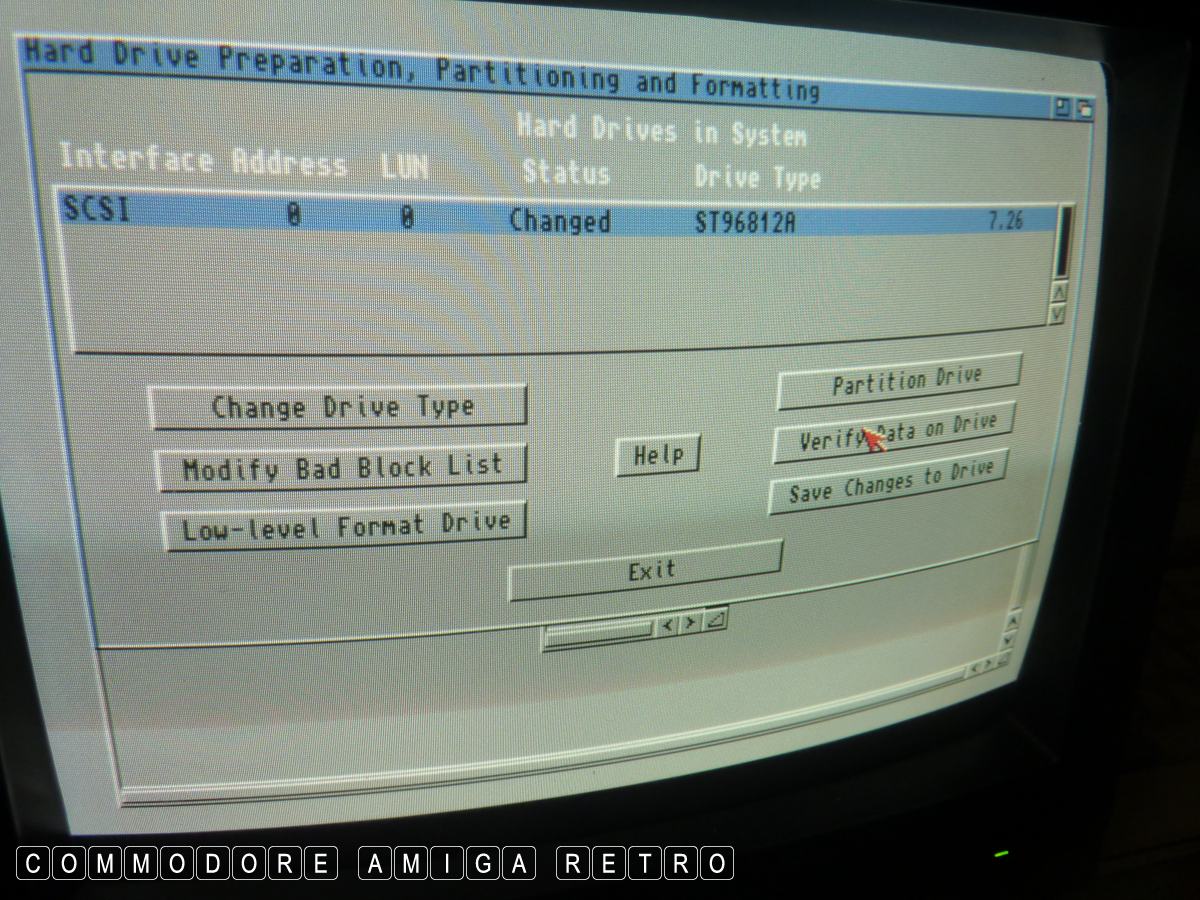
OK we now have the drive listed.

Time to partition the disk. I do not format
from here. And NEVER Low Level Format.. Ever.
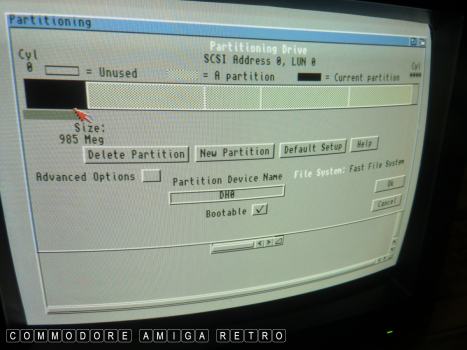
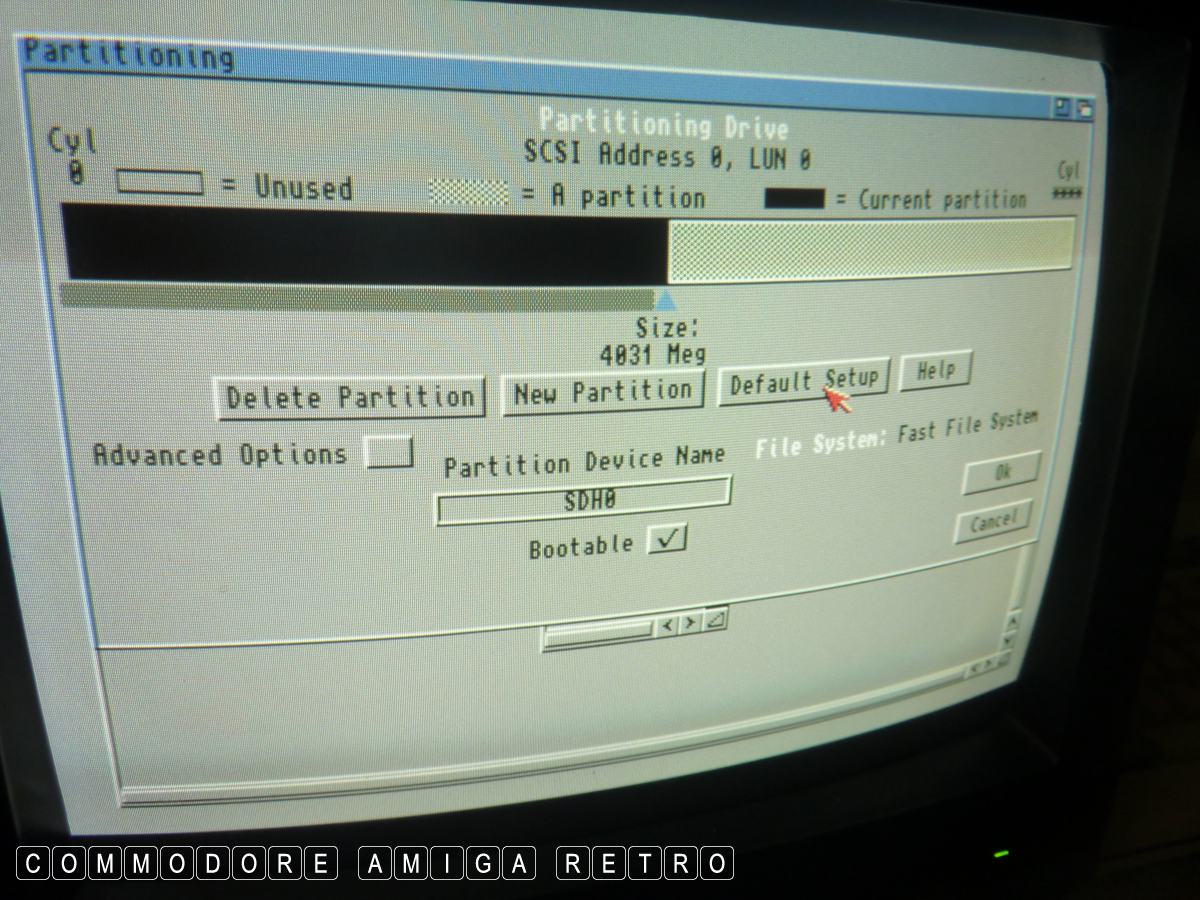
Simply move the slider to a partition size
that suits your needs. Start with DH0: and
make that bootable. It really is the only
partition that needs to be bootable.
Click in the rectangle of you partition
and click New Partition. It may say that
its not empty. Just do it again until you get
a white shaded box. Change the name of the
volume to DH0. I tend to keep the Workbench or
DH0: which is bootable to under 1 GB. This is
where the system install will put the OS.
Name your other Volumes sequentially DH1: DH2 etc.
Next click in the adjacent area which will go
black and slide to a convenient size and then
do the same but no need to make bootable. Other
partitions I make 2GB max.
The OS only can handle 4GB drives so a 40GB will
make so sense to it. To fool the computer I just
leave a very small blank area at the end to stop
drive looping round. Works for me.
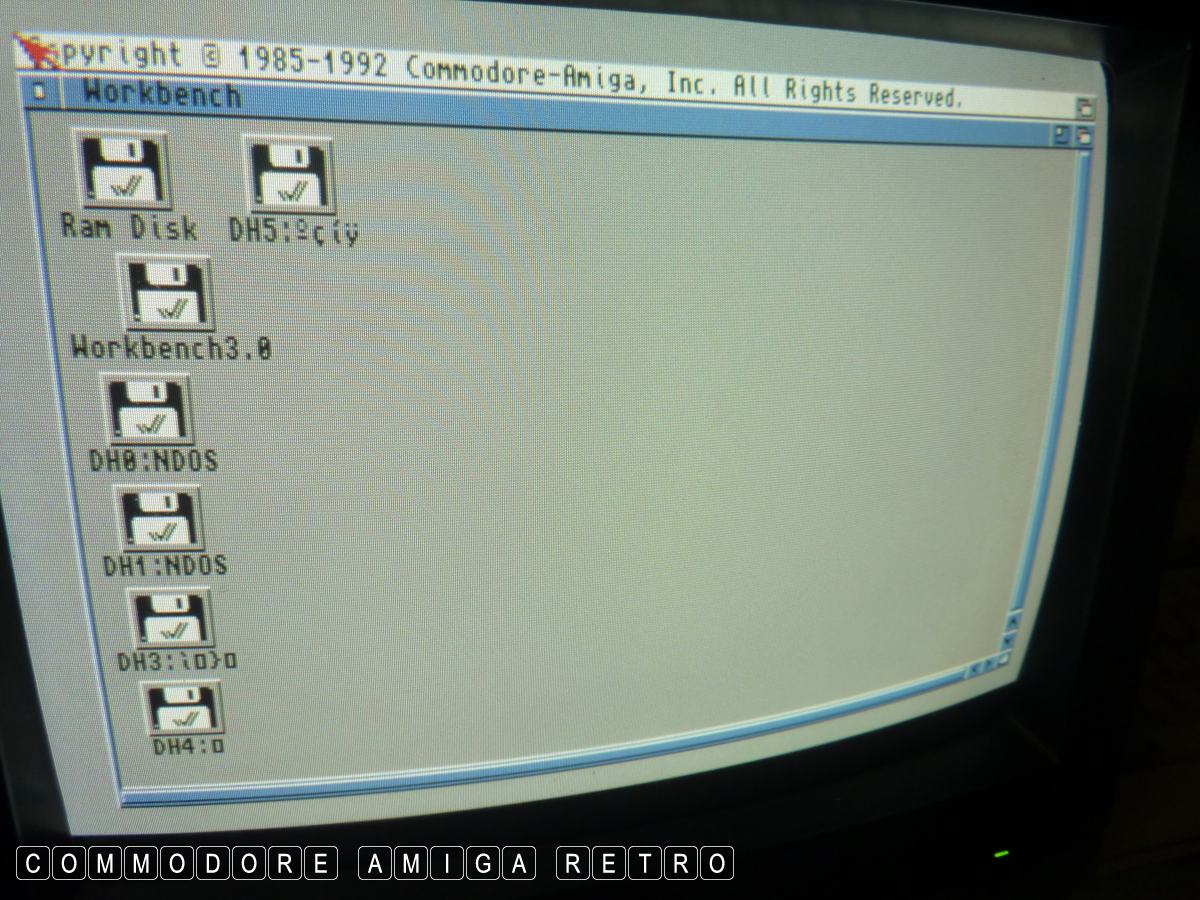
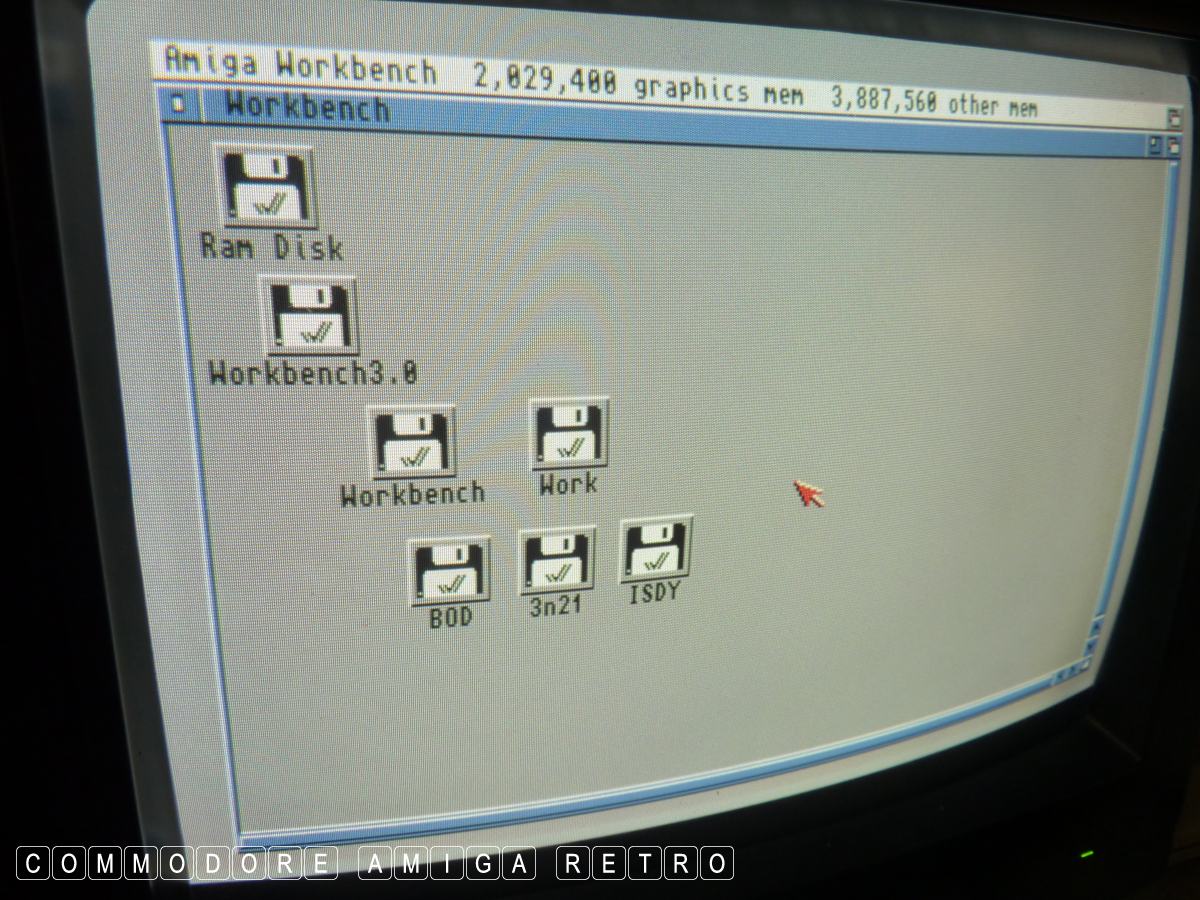
OK and save changes and reboot with the Workbench disk.
There is no OS on the system hard drive as yet
but you should now see the volumes or partitions.
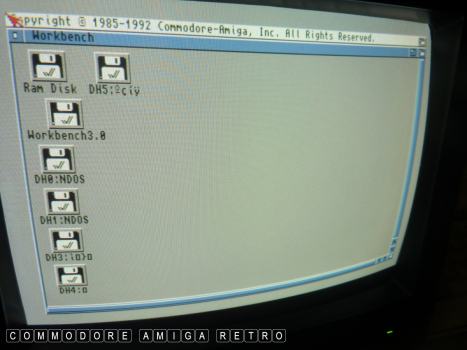
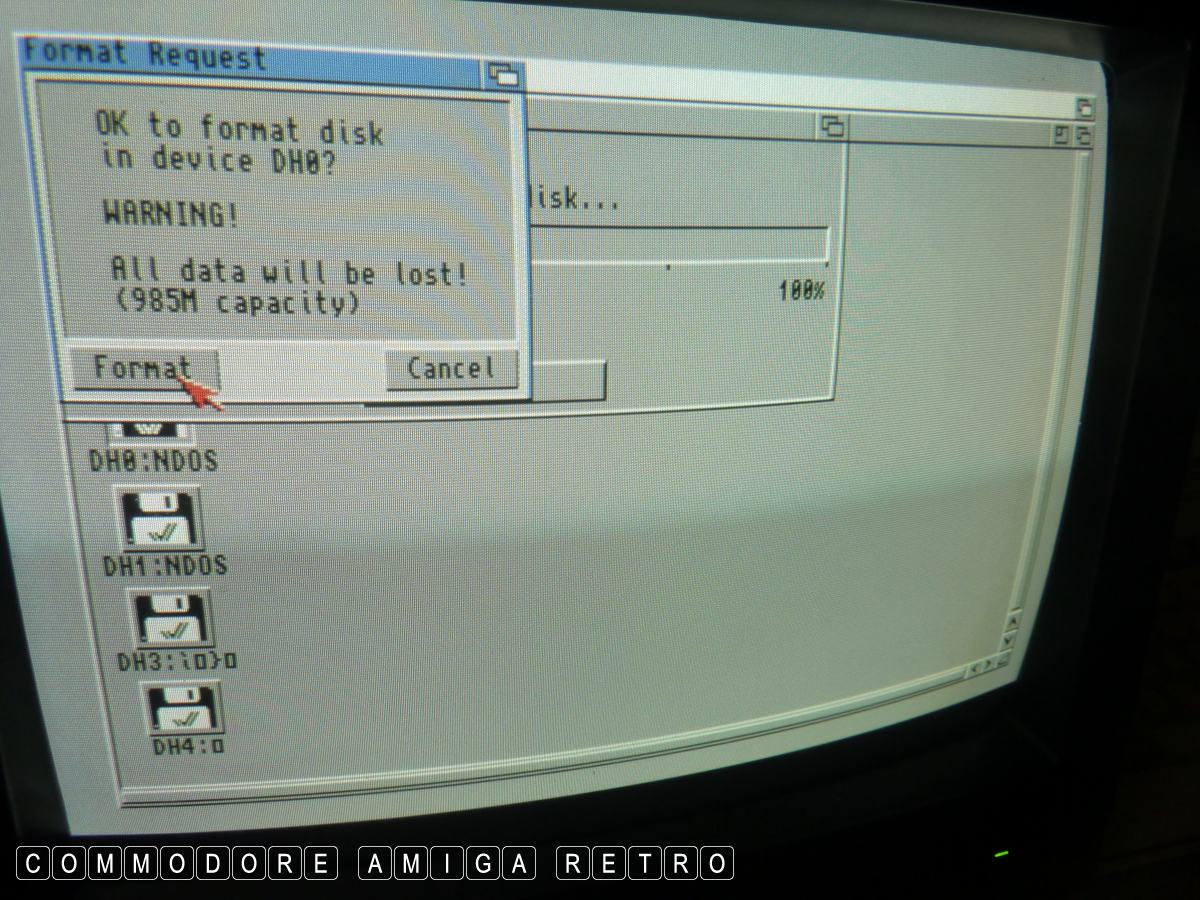
Format each drive from the drop down
menu and maybe avoid putting in the trashcan.
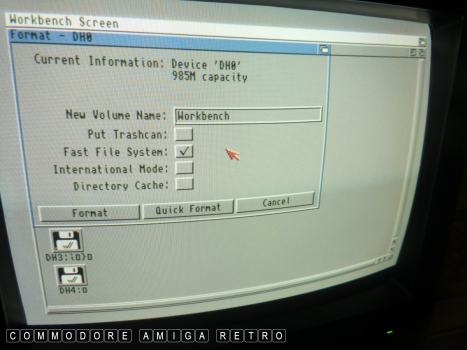
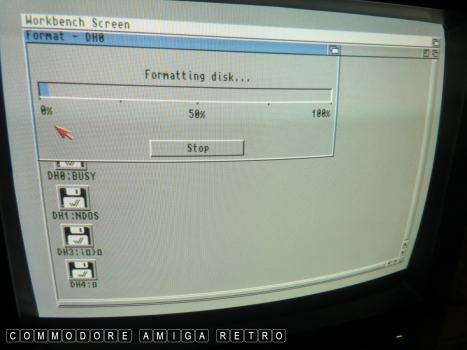
This could take an hour or so.. be patient.

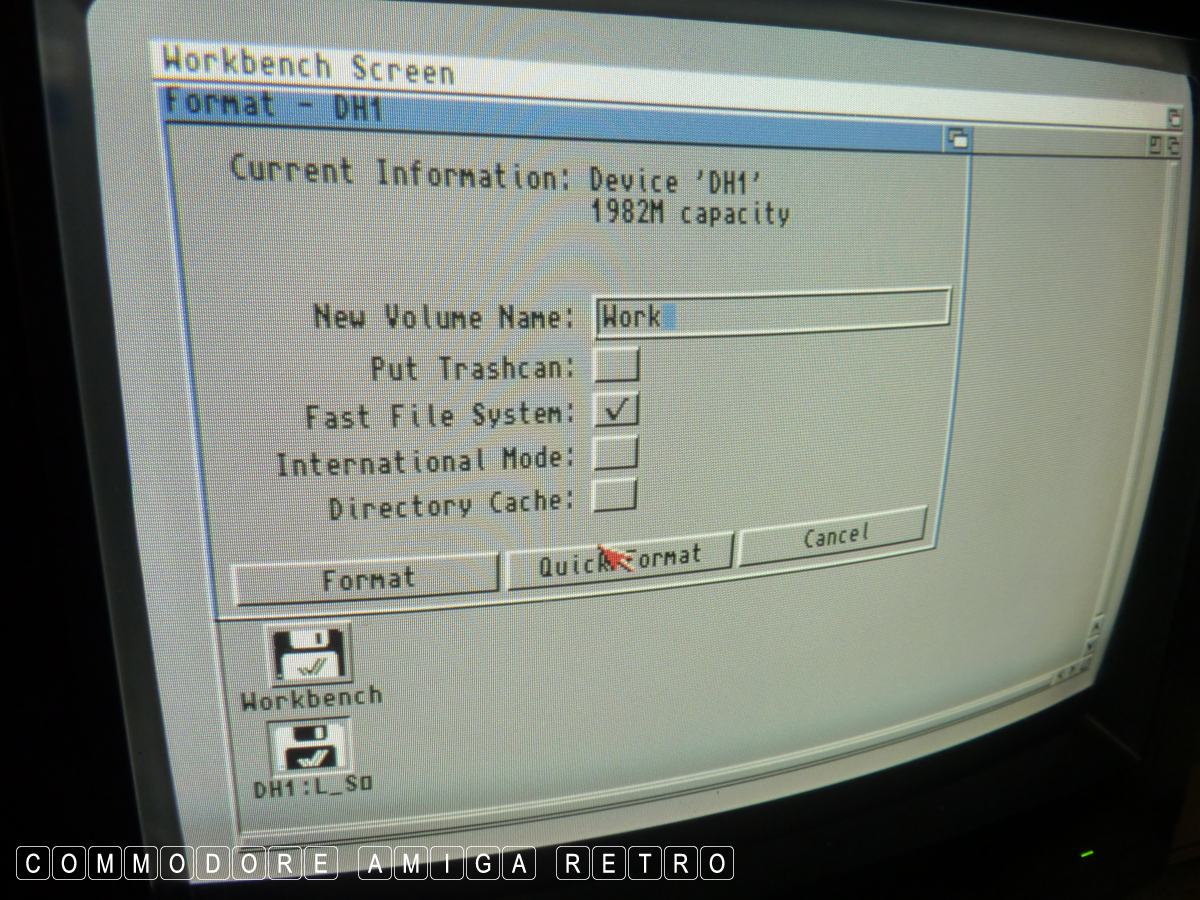
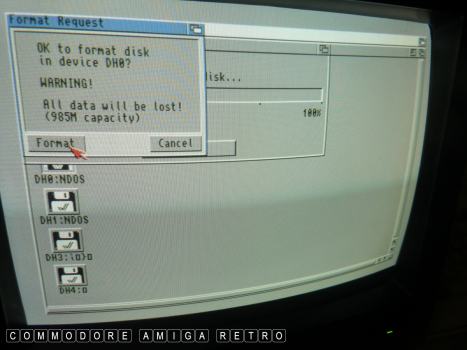
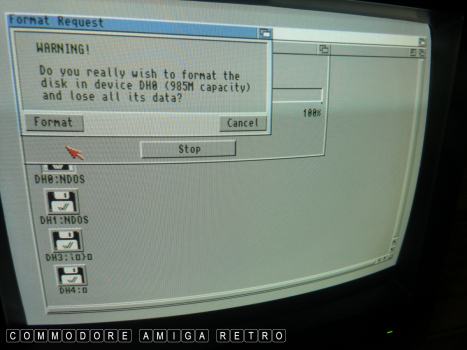
It is very likely that in rebooting
after a format you can still lose the
drives. What I do is simply do a
Quick Format.. and that does the trick.
Read On