Creating your own Workbench disk.
Recently I responded to a post on the forums
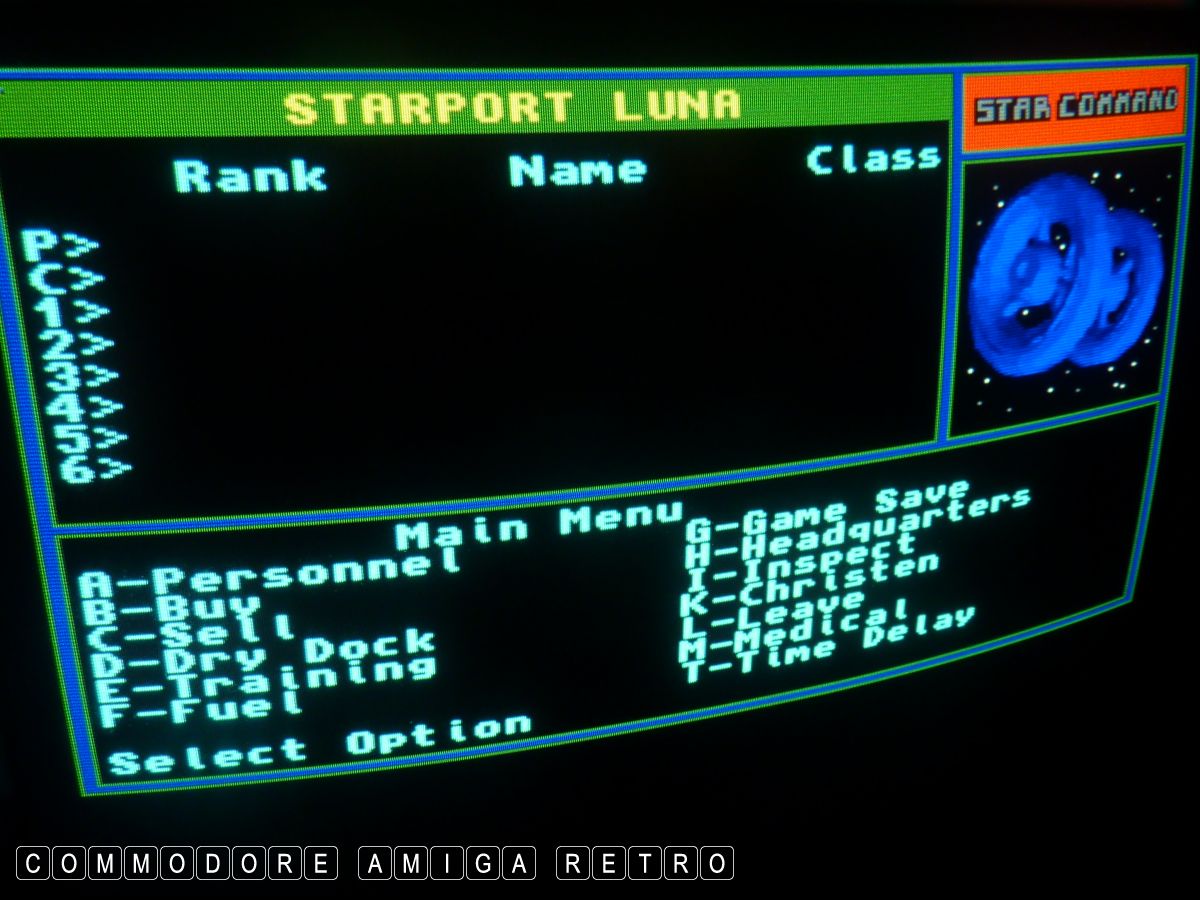
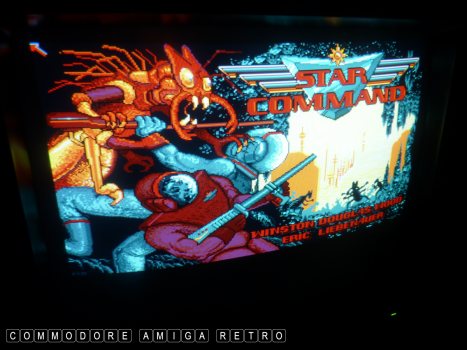
from a guy that had no disks other than two
disks of Star Command. The game however did
hold a few key files.
Never simply delete a disk. There may be very
useful commands and tools on the disk.
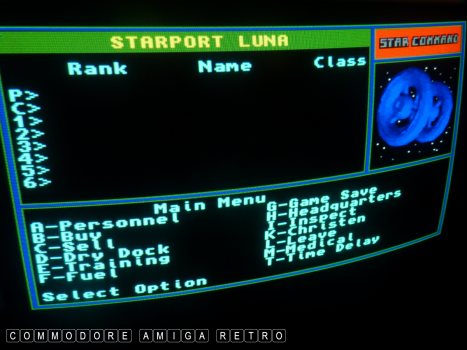
You can learn a lot from studying a disks
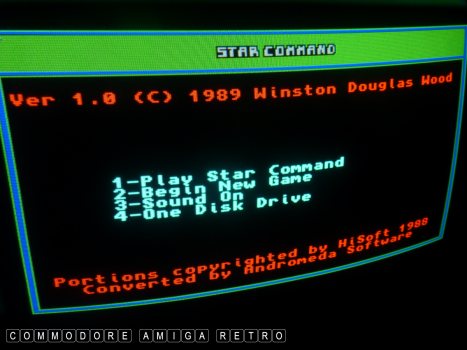
contents. This game was written in BASIC.
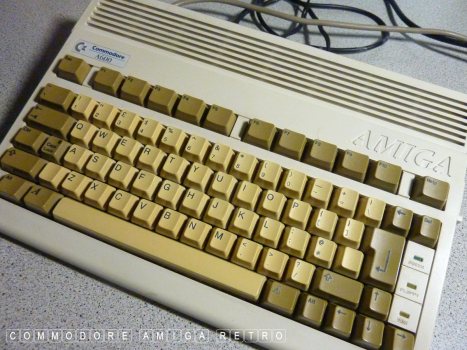
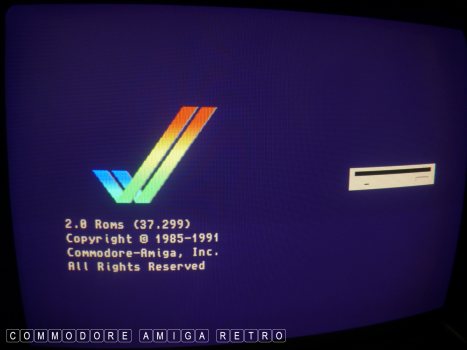
I am using an A600 today. This runs WB2.05.
It is similar to the 500Plus with a grey screen.
I used this so I can drag and drop. If using
an A500 with a blue screen the difference is
that you type all your commands into the CLI.
It makes little difference in terms of executing
a copy command. Without [Copy] in [c] the command
will not work. And so we need to find a [Copy]
tool from a drawer on a disk.
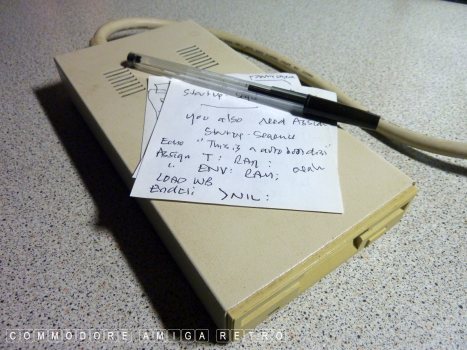
Make notes on your processes and make sure
you have typed the command lines and wording
correctly. Spaces and colons do matter.
An external floppy drive is a nice to have
though not essential.
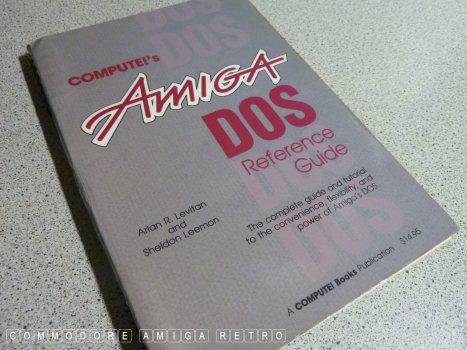
Having access to the AmigaDOS commands is useful.

Over the years the Workbench has changed
but the fundamentals remain.

You will need a disk that boots into its
own version of Workbench. The boot process
on the computer does three things.
01: Checks the bootblock or bootsector. This
basically tells the Amiga that the disk is
a disk that it can understand.
02: A command [startup-sequence] which sets
the disk up in basic terms so it can be used.
03: Disk contents in drawers of like tools.
So when you boot an Amiga disk it should begin
booting into the disk and starting a process.
Like a game or a program. A form of Workbench
has a header with drop down menus, a Workbench
area with clickable disks and information about
memory and the version of Workbench-Kickstart.
You can pause the [Boot] with a CTRL-D and then
have the 1> command that awaits an input. Think of
the Workbench as a nicety, saving you having to
input all those commands.
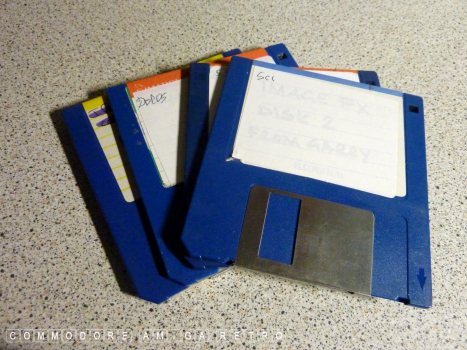
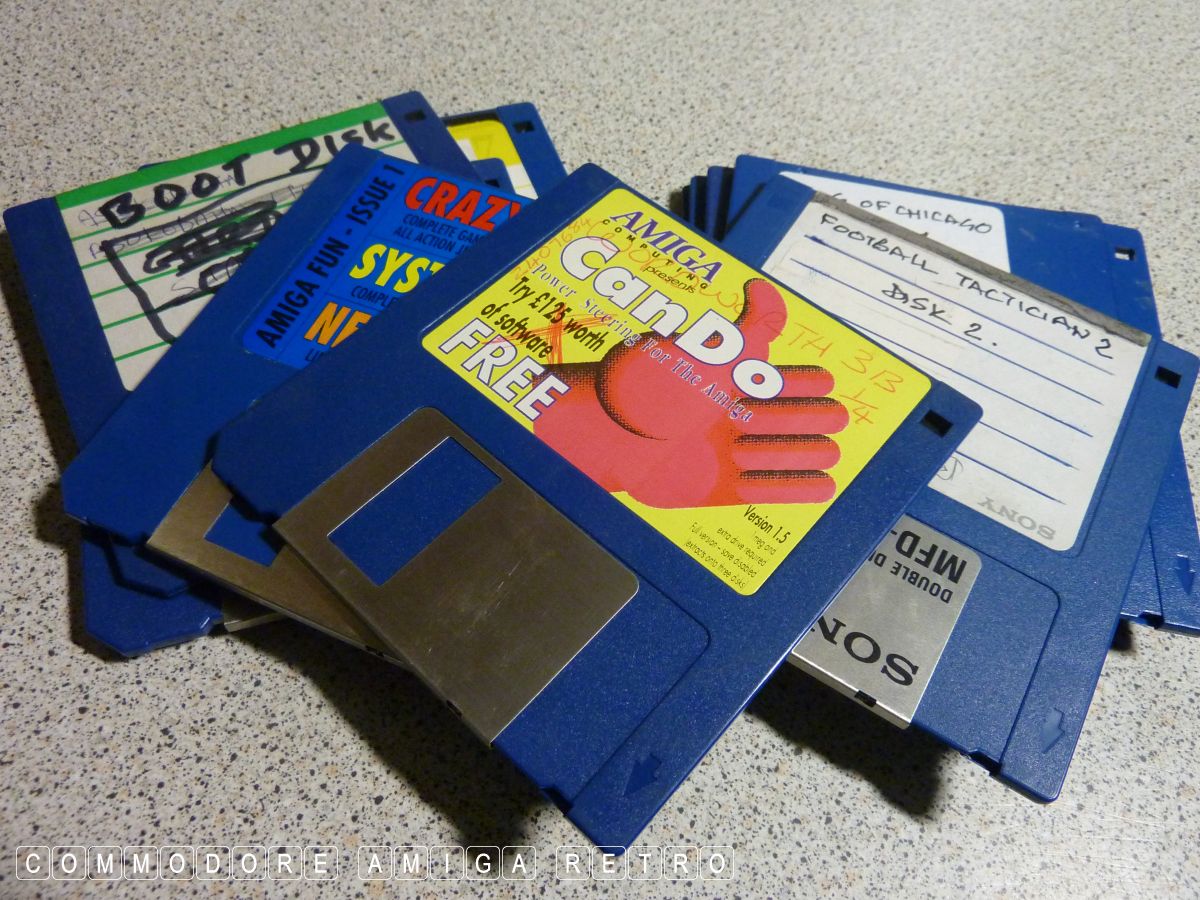
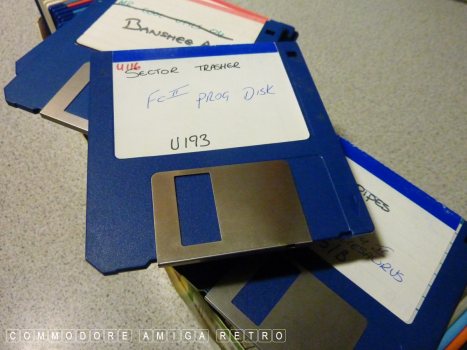
Needed are some blank and sacrificial disks.
The first two disks here are copies of the
game Star Command. Which we will interrogate.
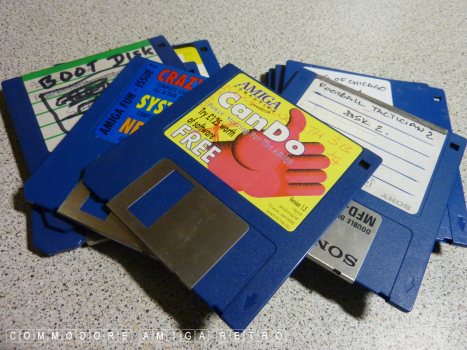
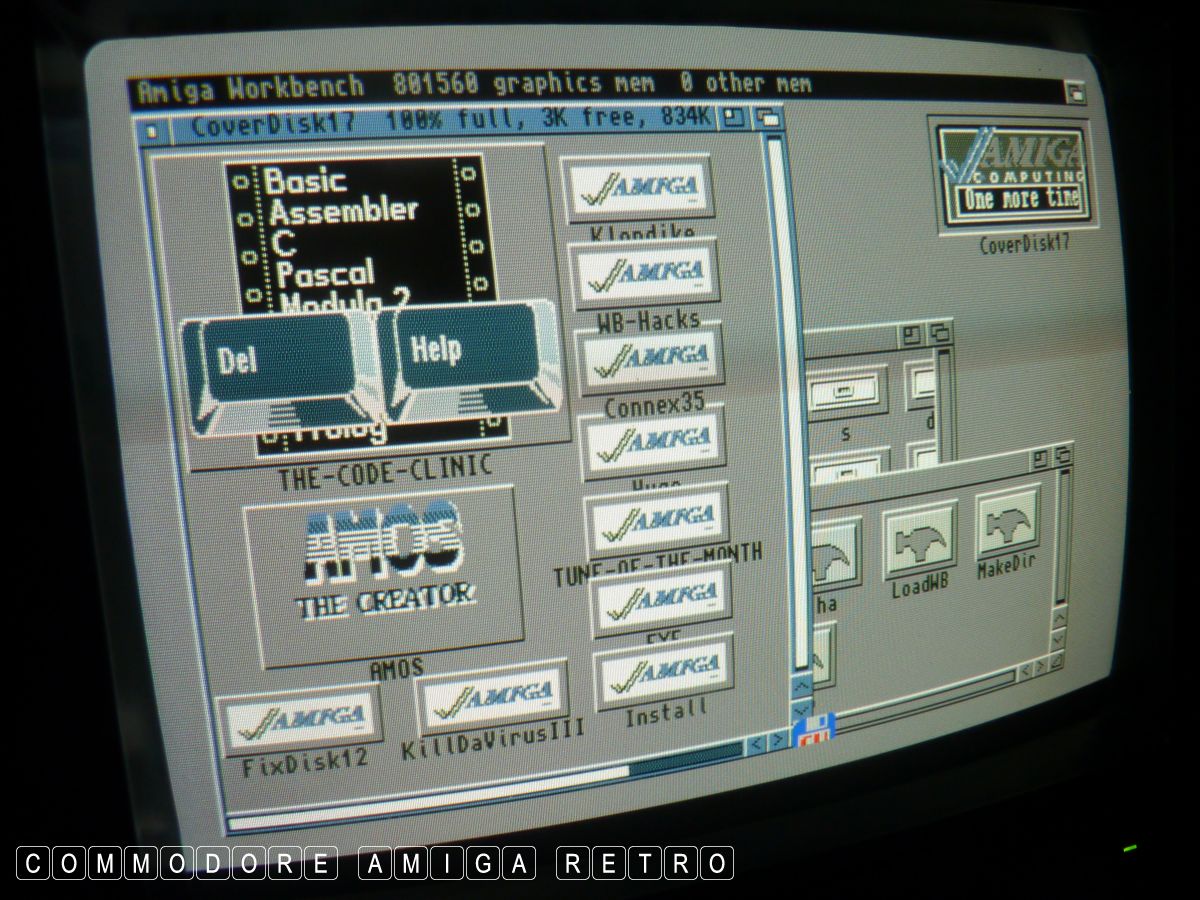
Get a fistful of old crappy floppy disks.
Any will do. We will find treasure here.
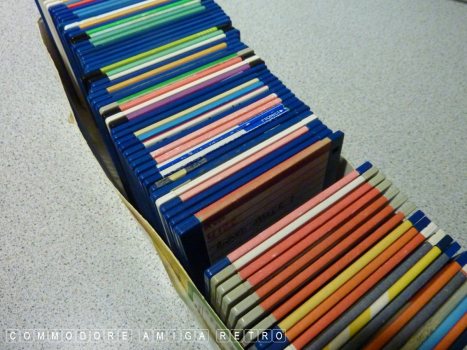
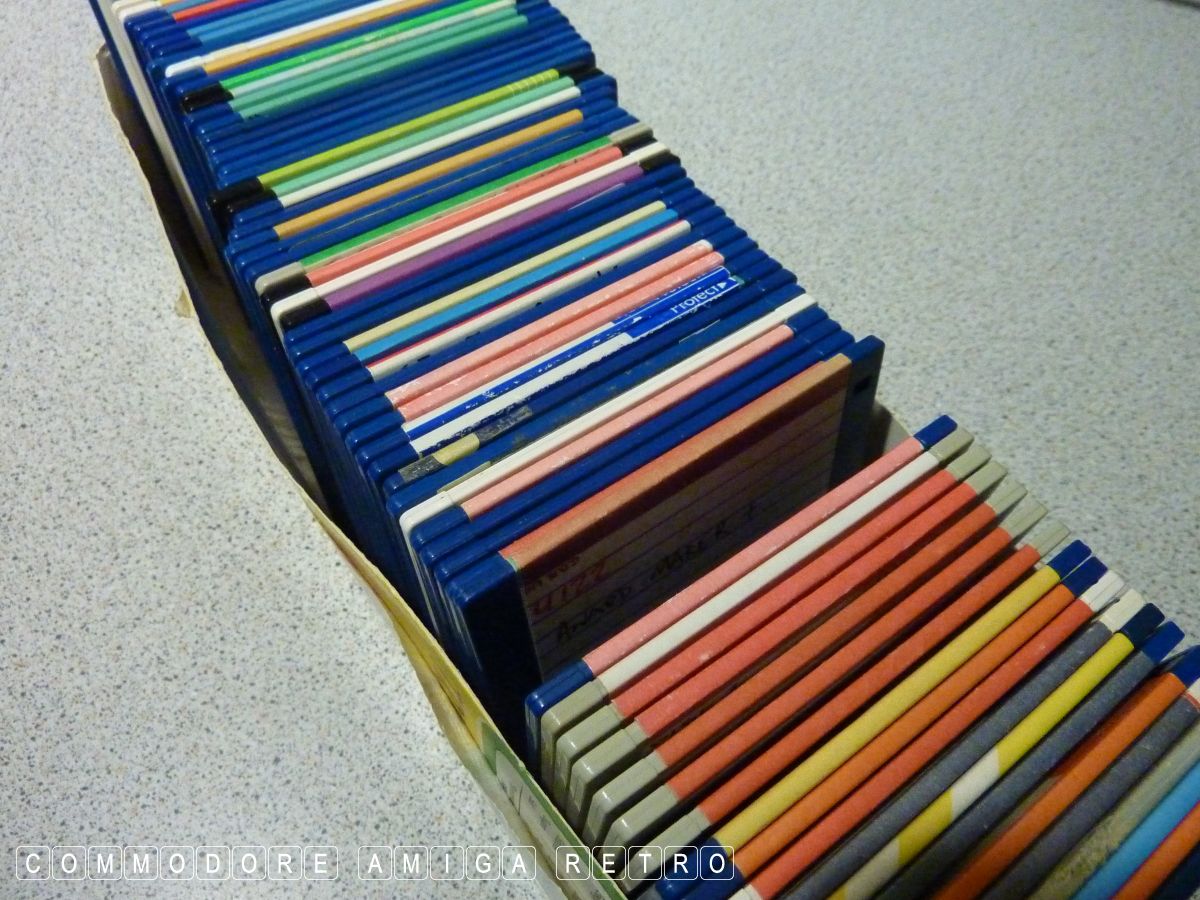
Better, get someone's old disk collection.
Check for Workbench residue.
You will be surprised what you find on disks.
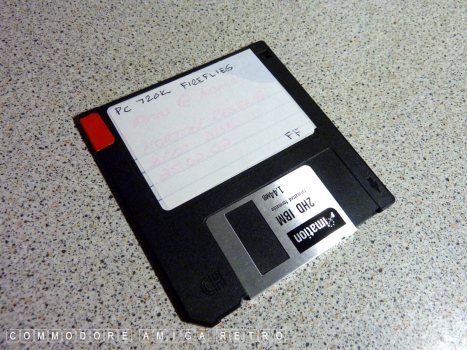
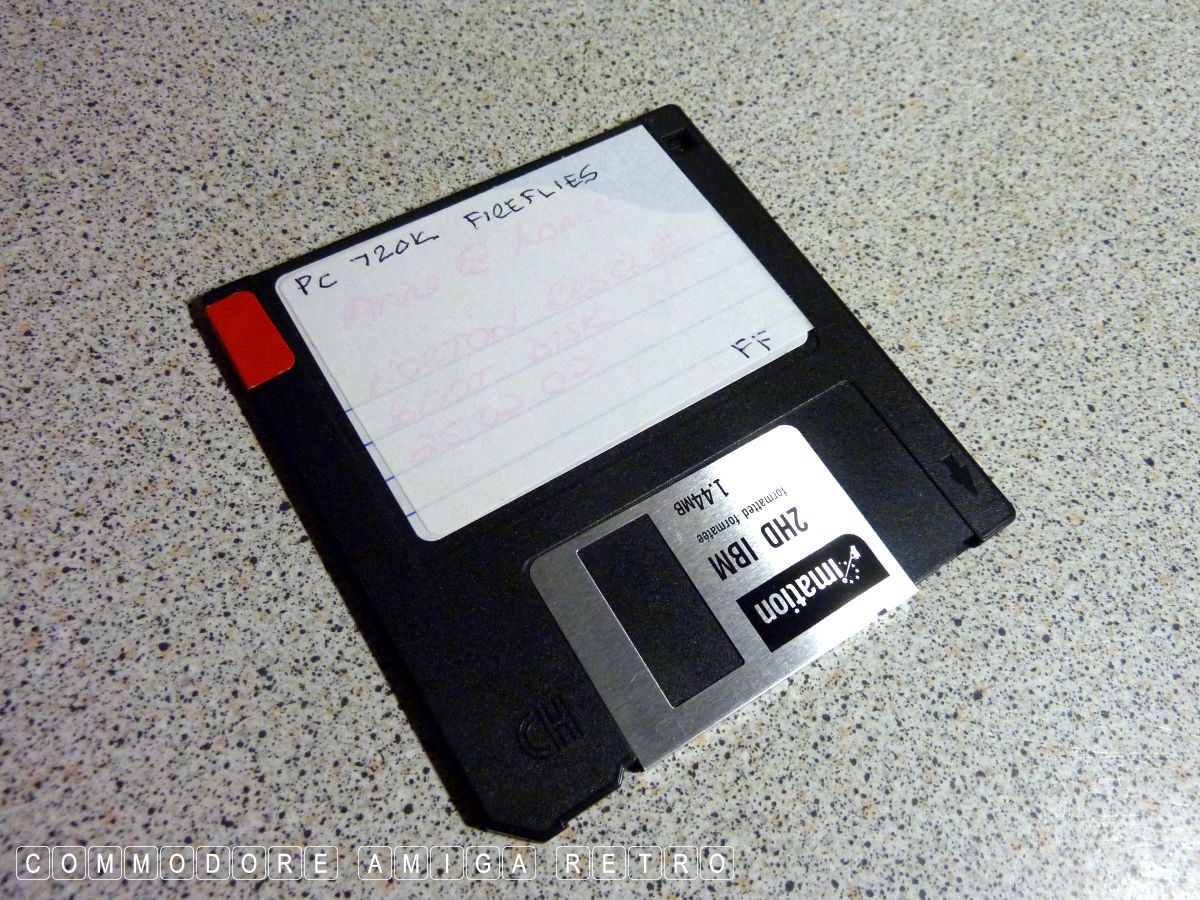
You can also use old PC HD disks with the
hole covered. These can be formatted on
a PC form Windows98 backwards as the OS
allows you to format 720K disks.
We are ready to start. The computer has no
hard drive which is deliberate.
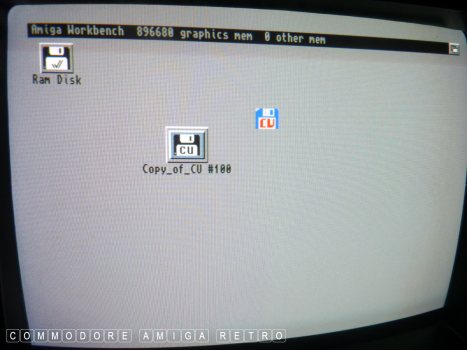
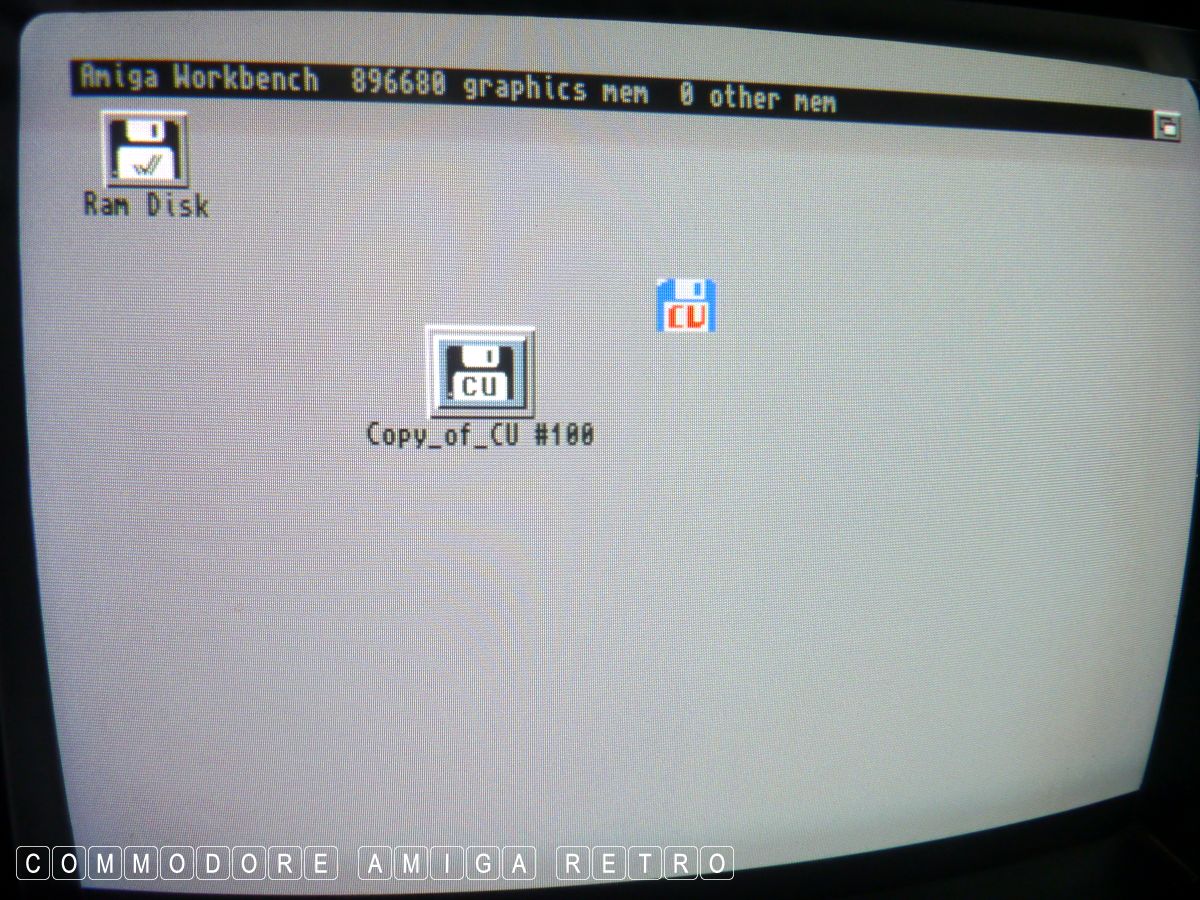
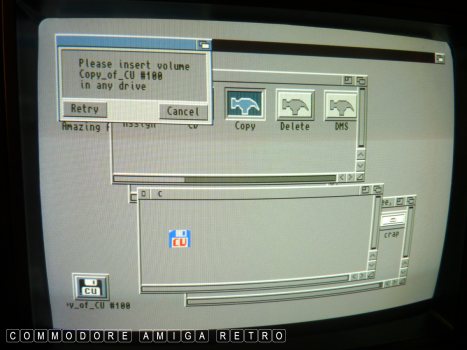
I shove in CU Amiga disk 100 and it boots.
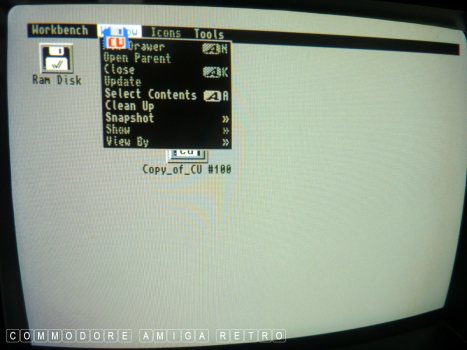
You will be able to access the drop-down
menus but without the commands in [c]
they will do nothing.

We are Workbench -1. Which is kinda bonkers.
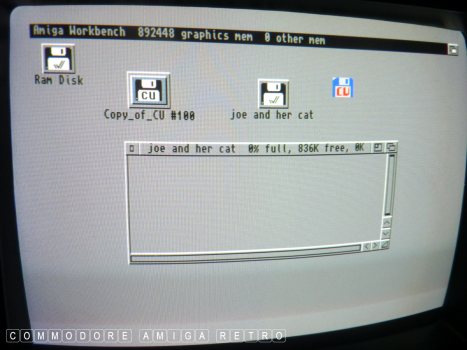
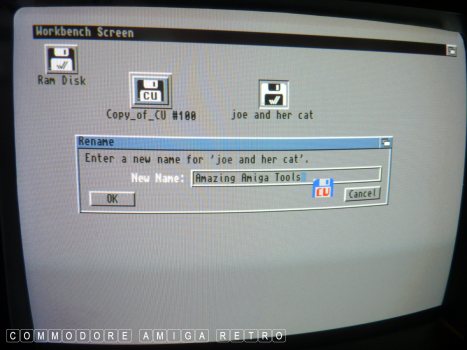
Find an old empty disk and rename it.
Choose something easy to identify. There
will soon to be loads of windows open.
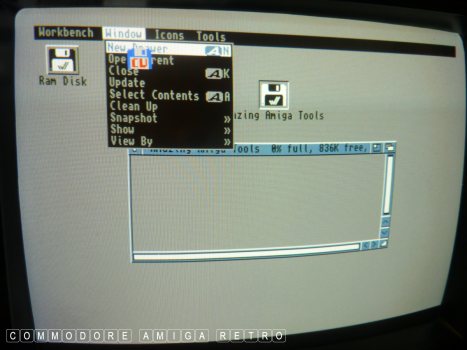
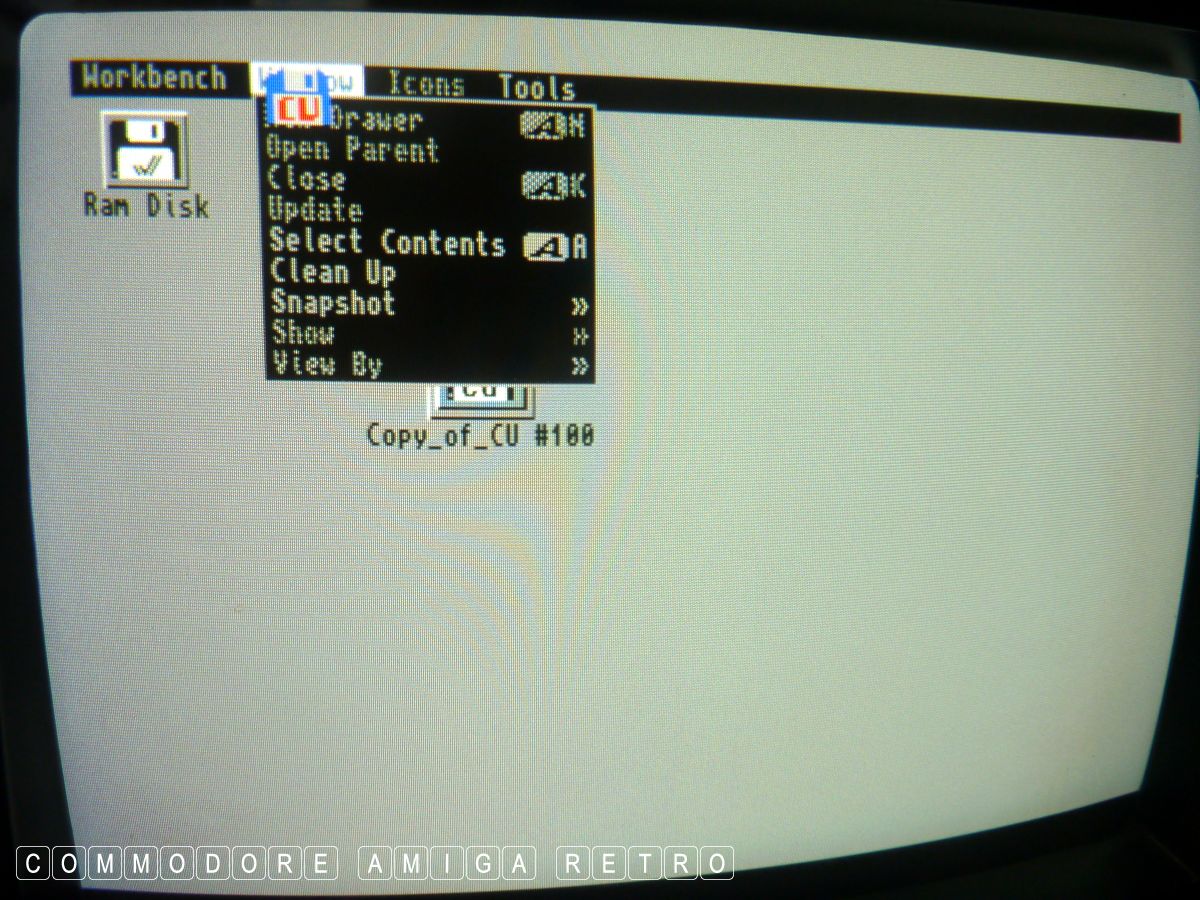
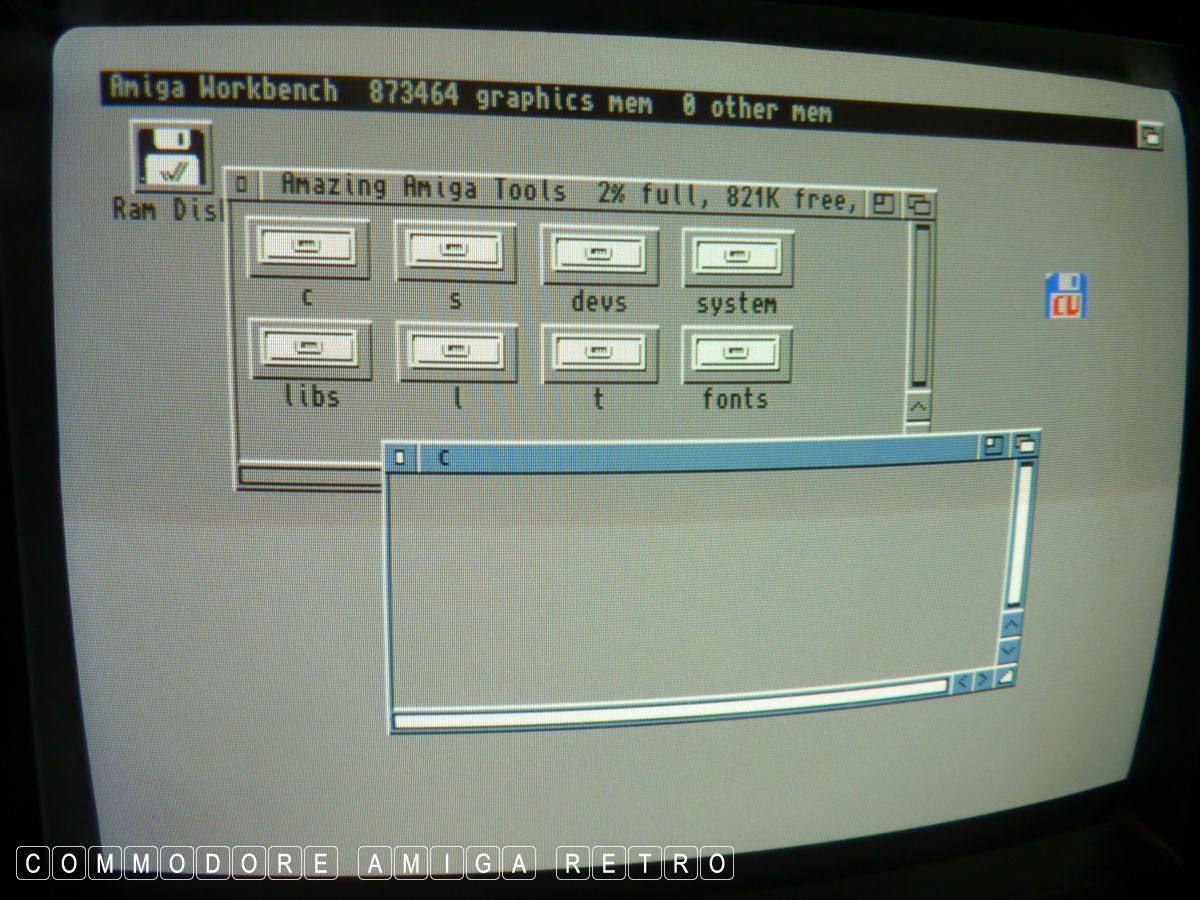
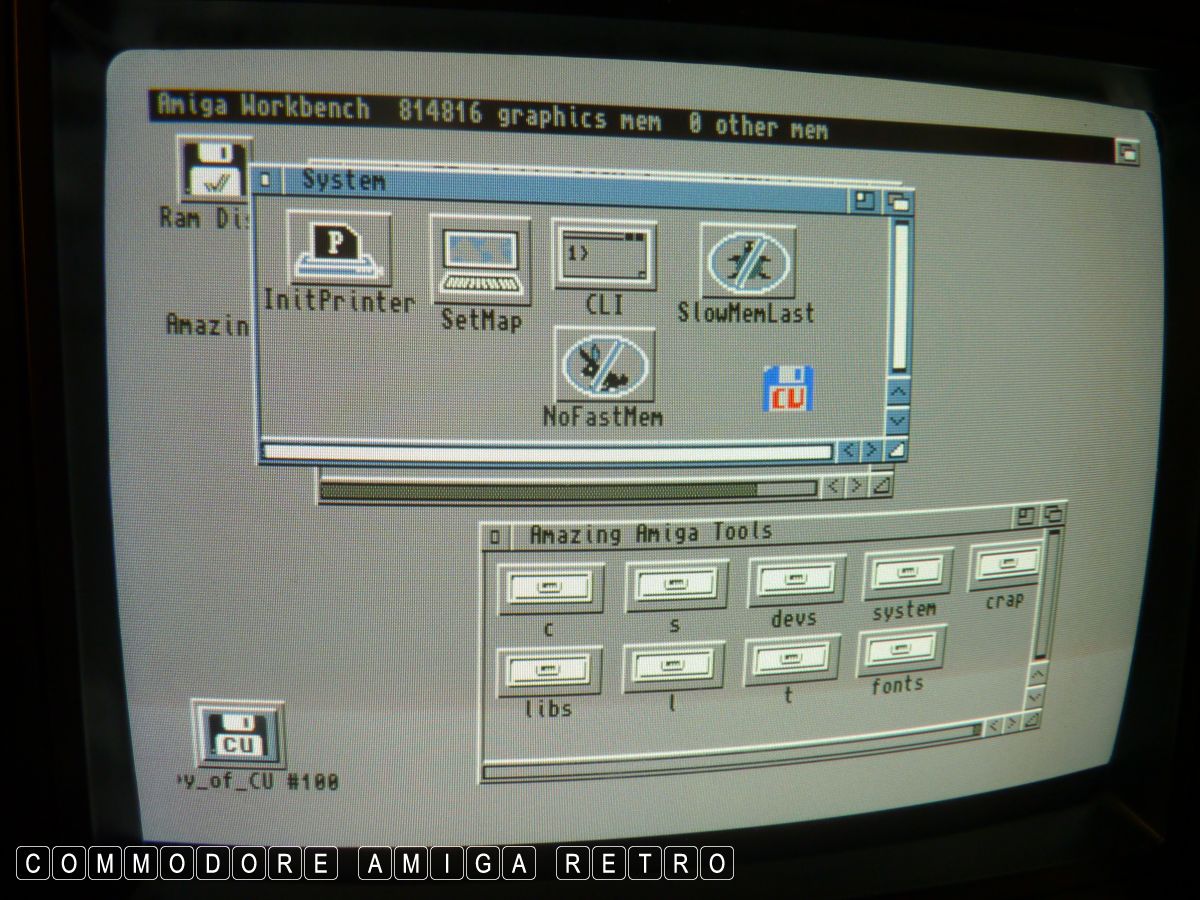
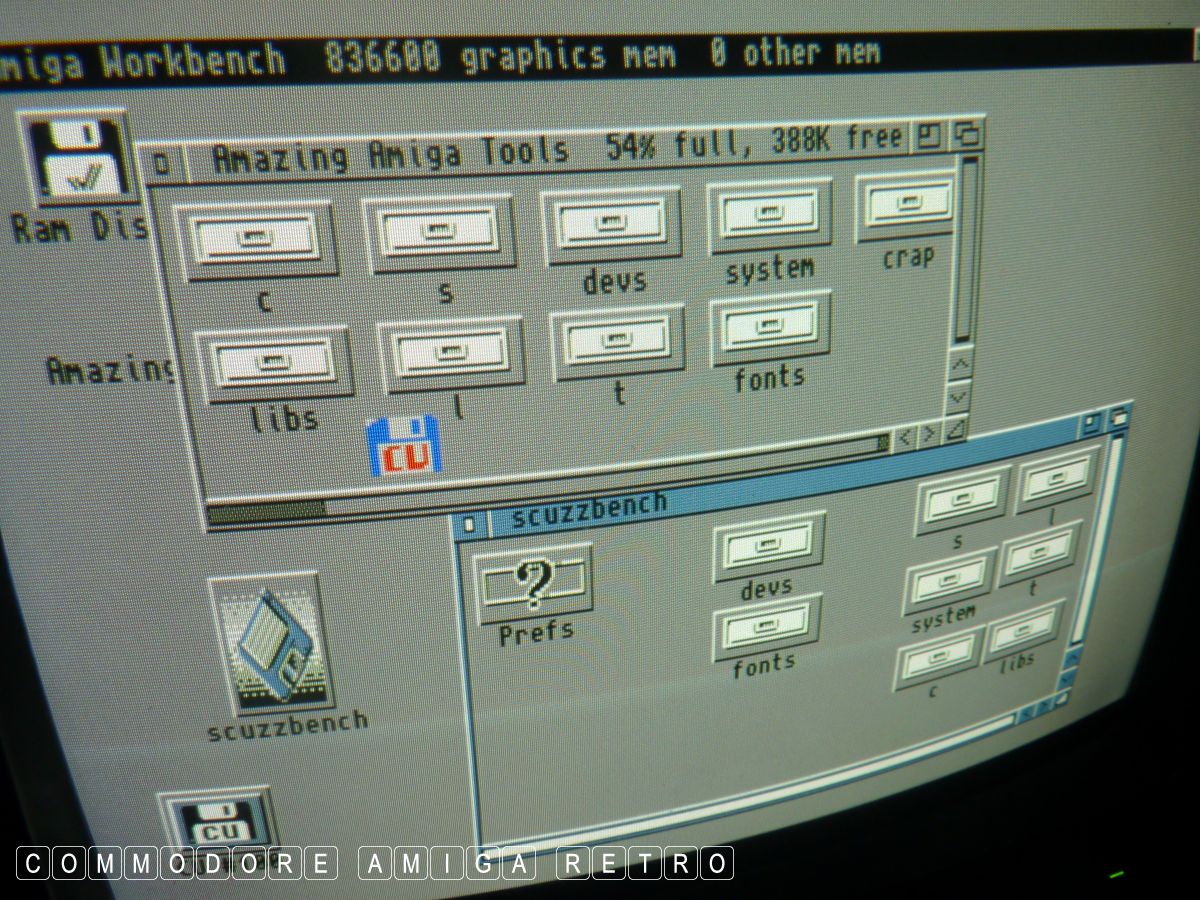
The menu does allow you create new drawers
so create this base set of drawers:
[c] [libs] [s] [l] [devs] [t] [system] [fonts]

Click open the drawers.
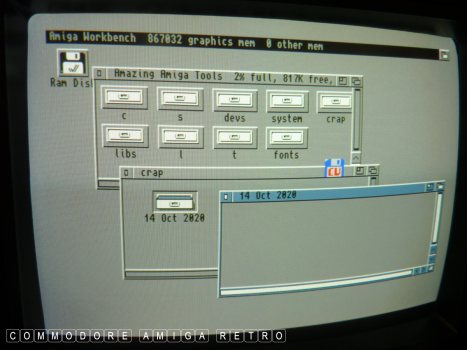
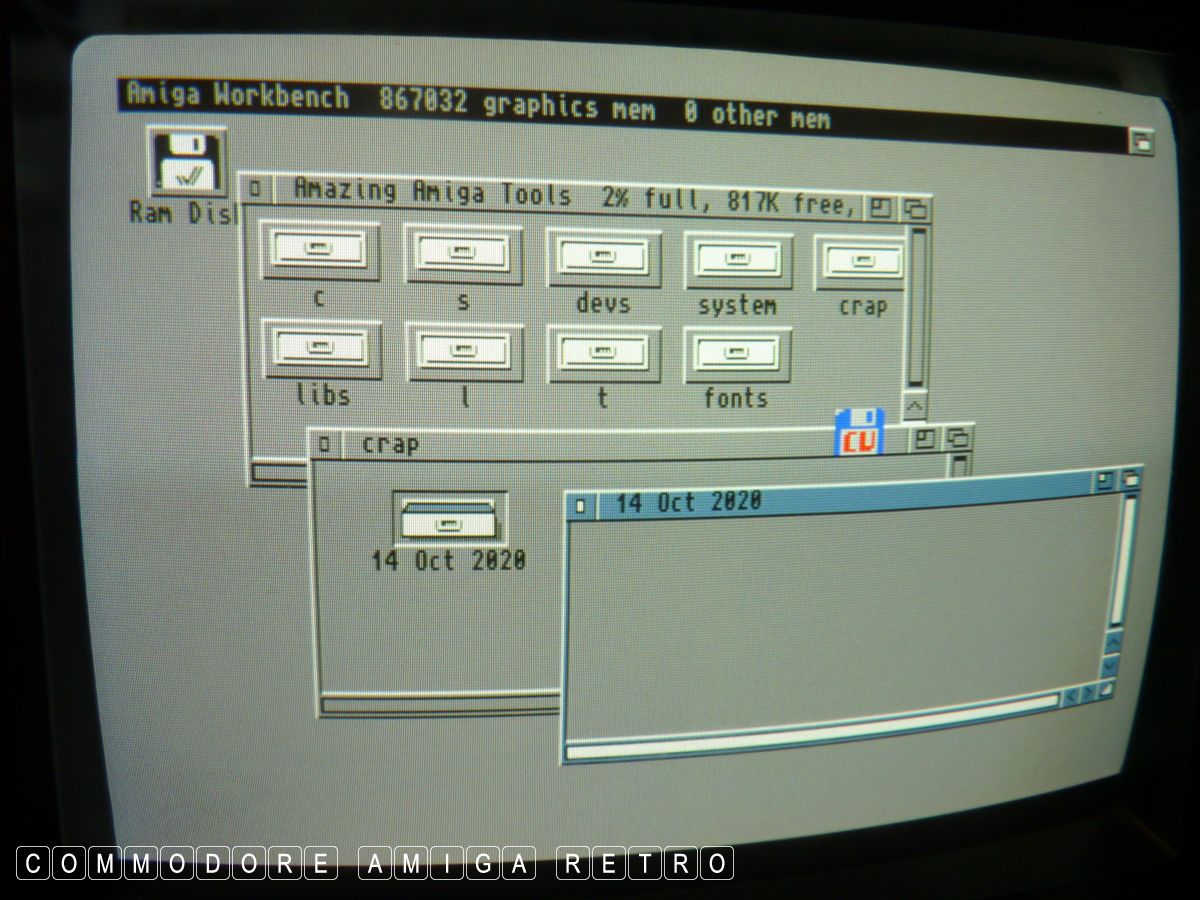
Create a drawer to check. Leave a footprint.

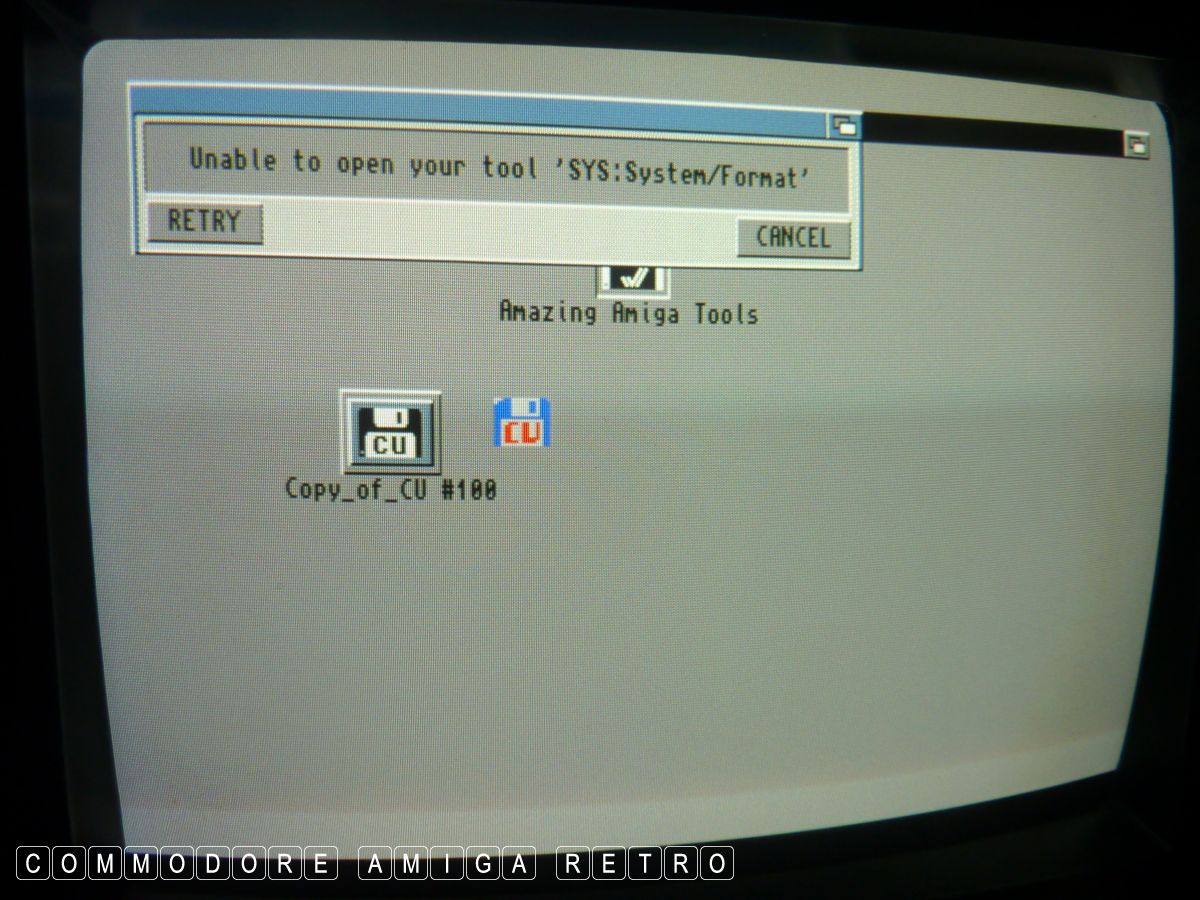
You cannot FORMAT without the [Format]
command tool in the [system] drawer.
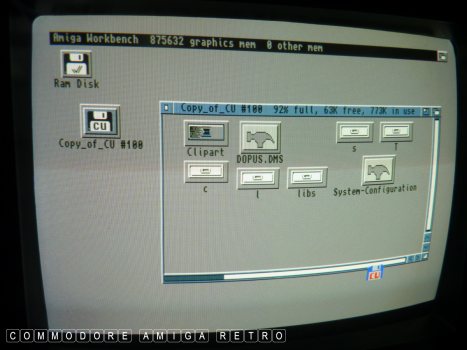
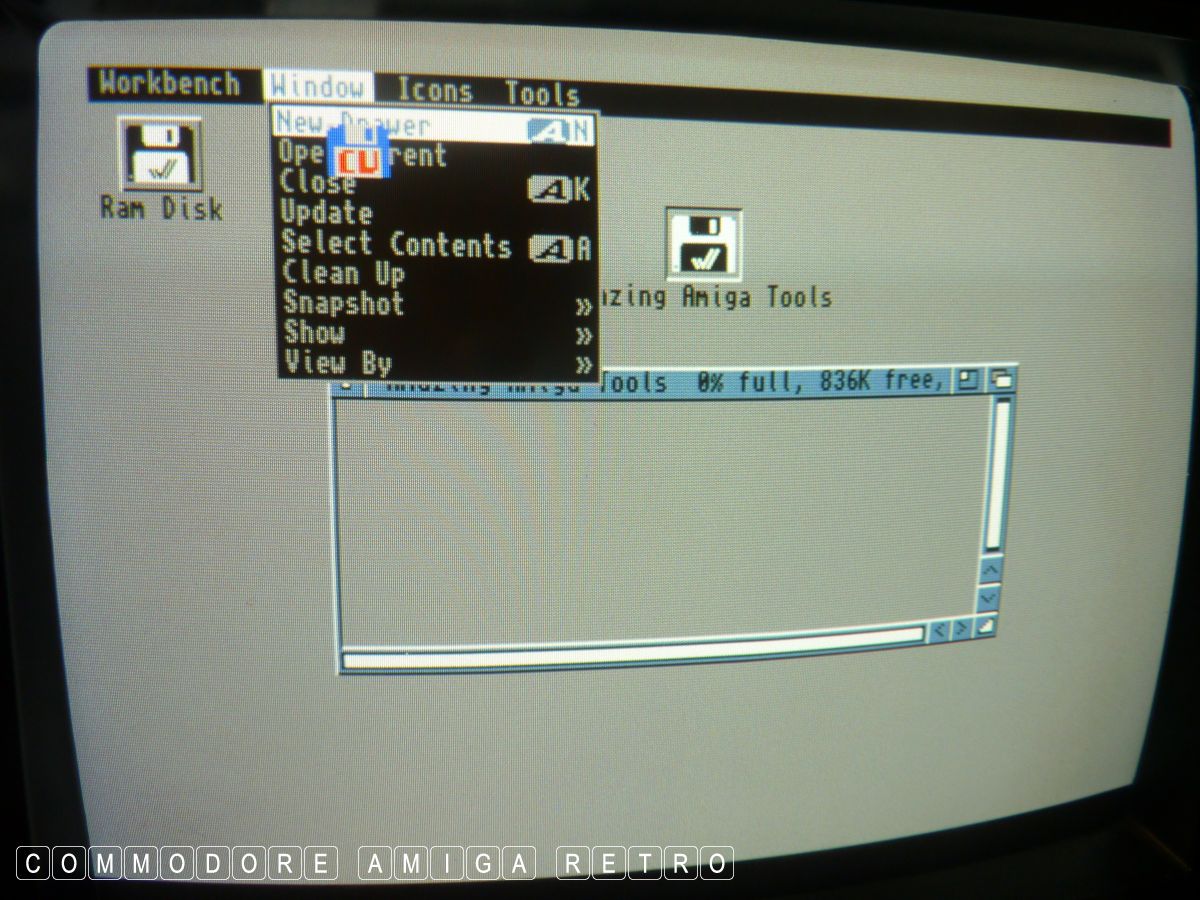
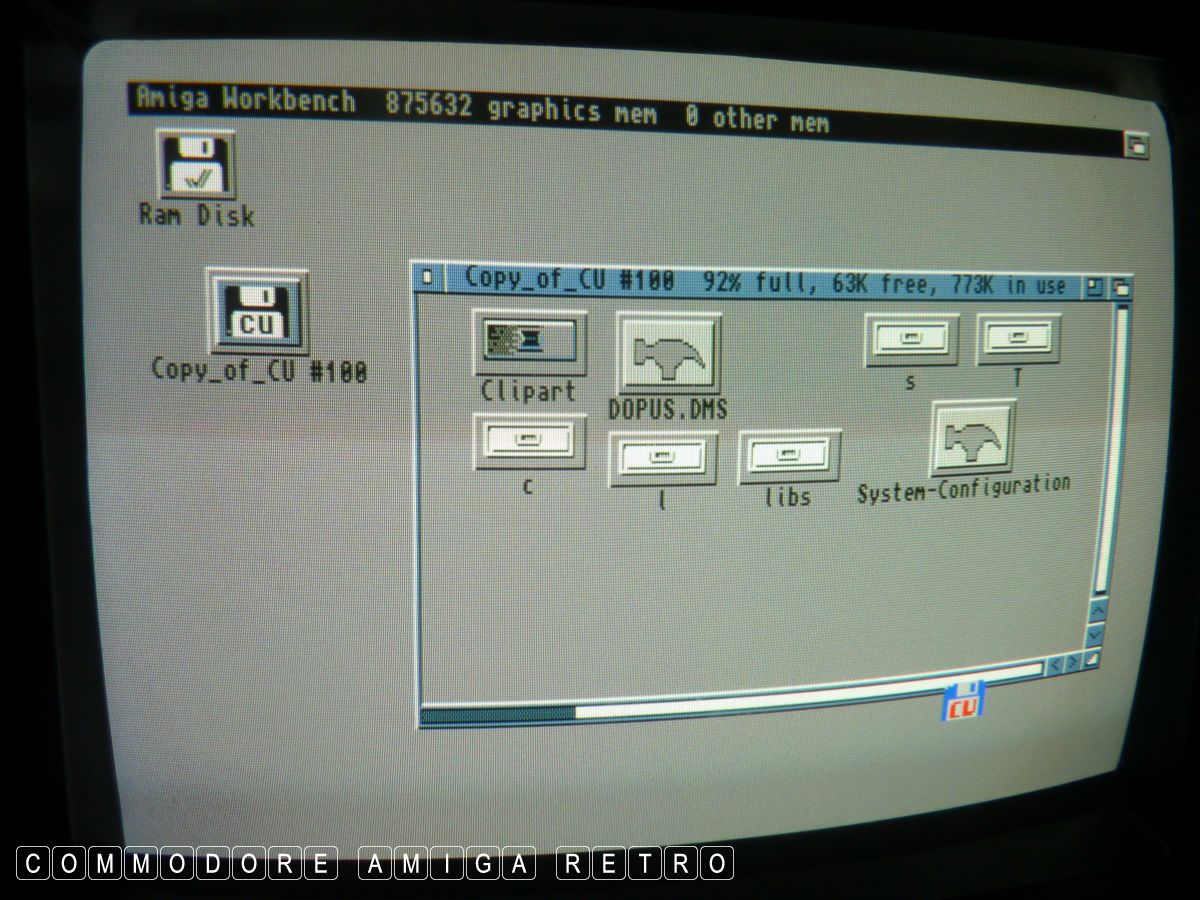
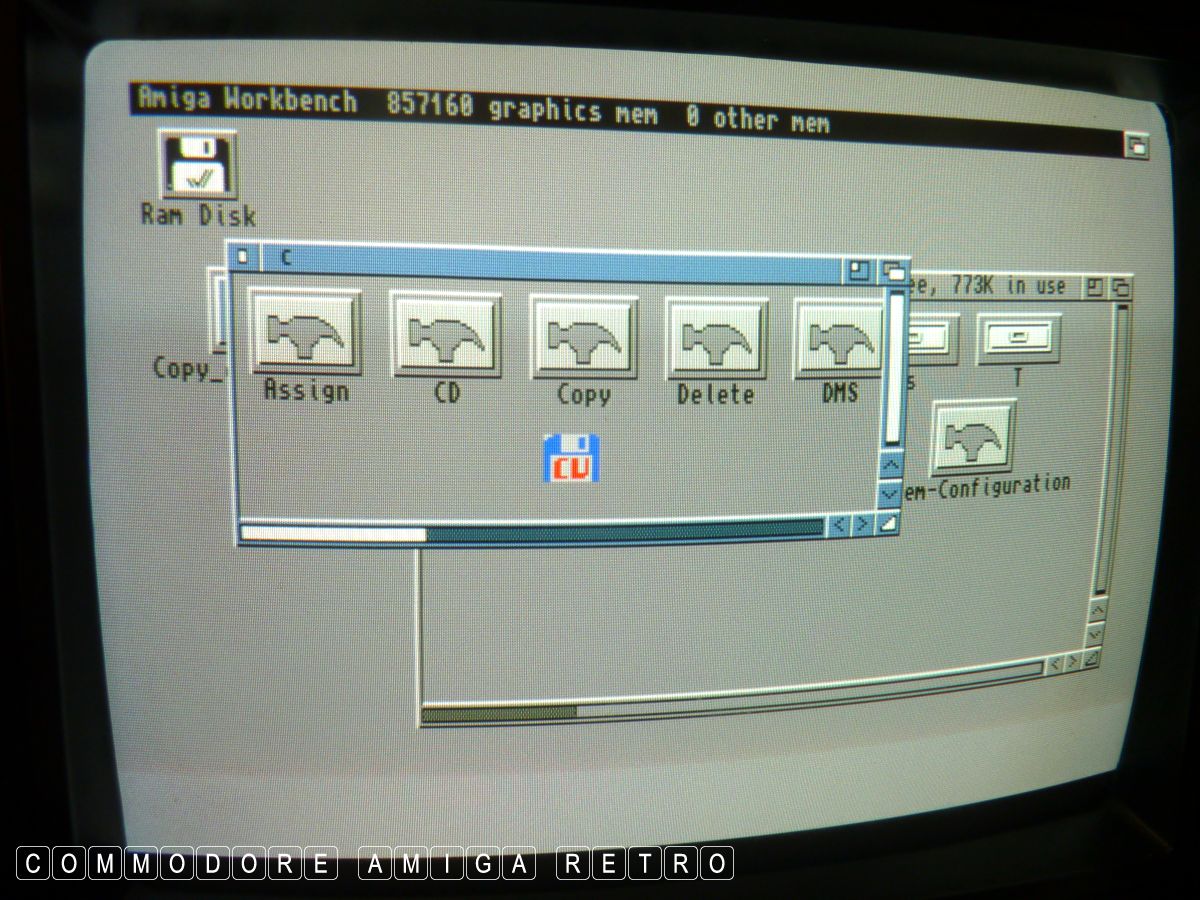
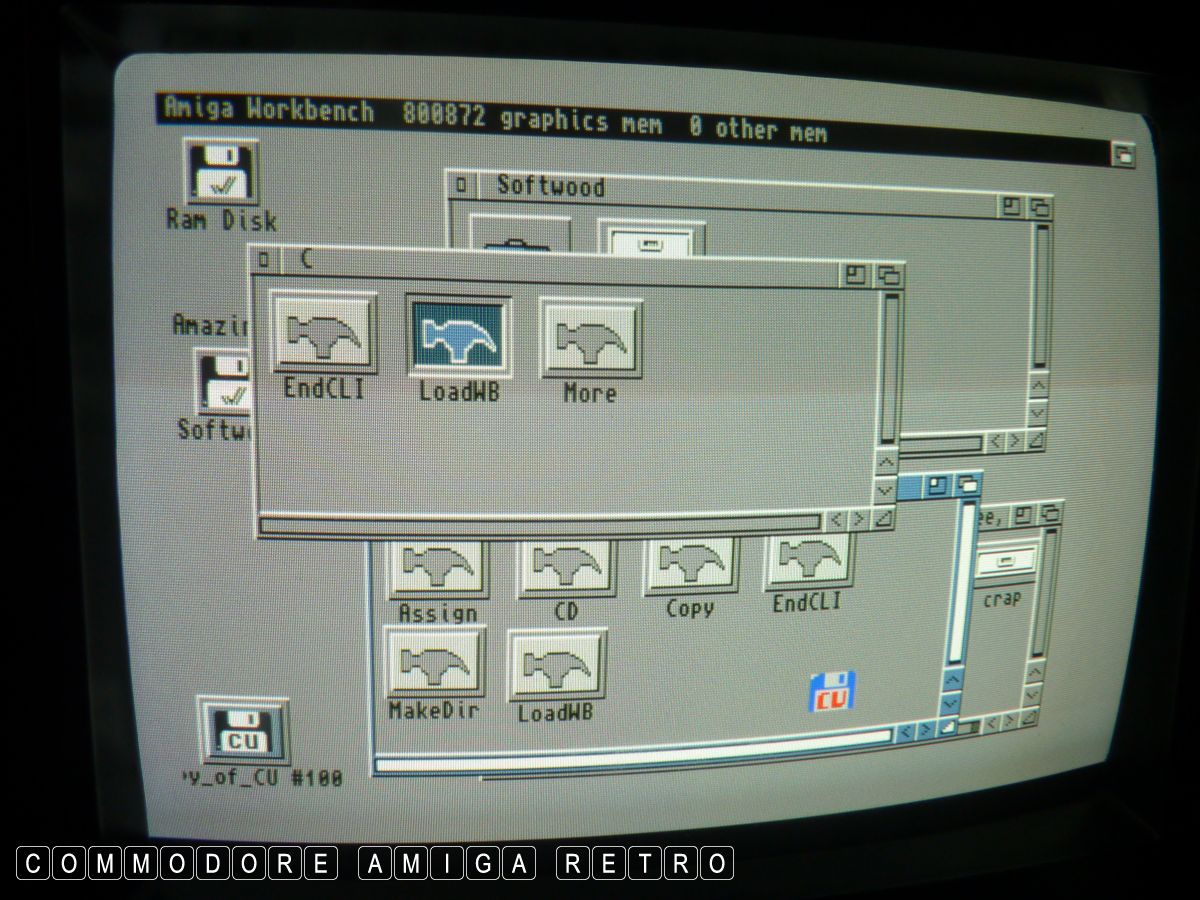
We can start our treasure hunt by looking
on the CU #100 disk.

Simply drag and drop the needed [TOOLS] into
the respective drawer on your disk. Note
that you have limited space so start by collecting
the ones I listed in the opening section.
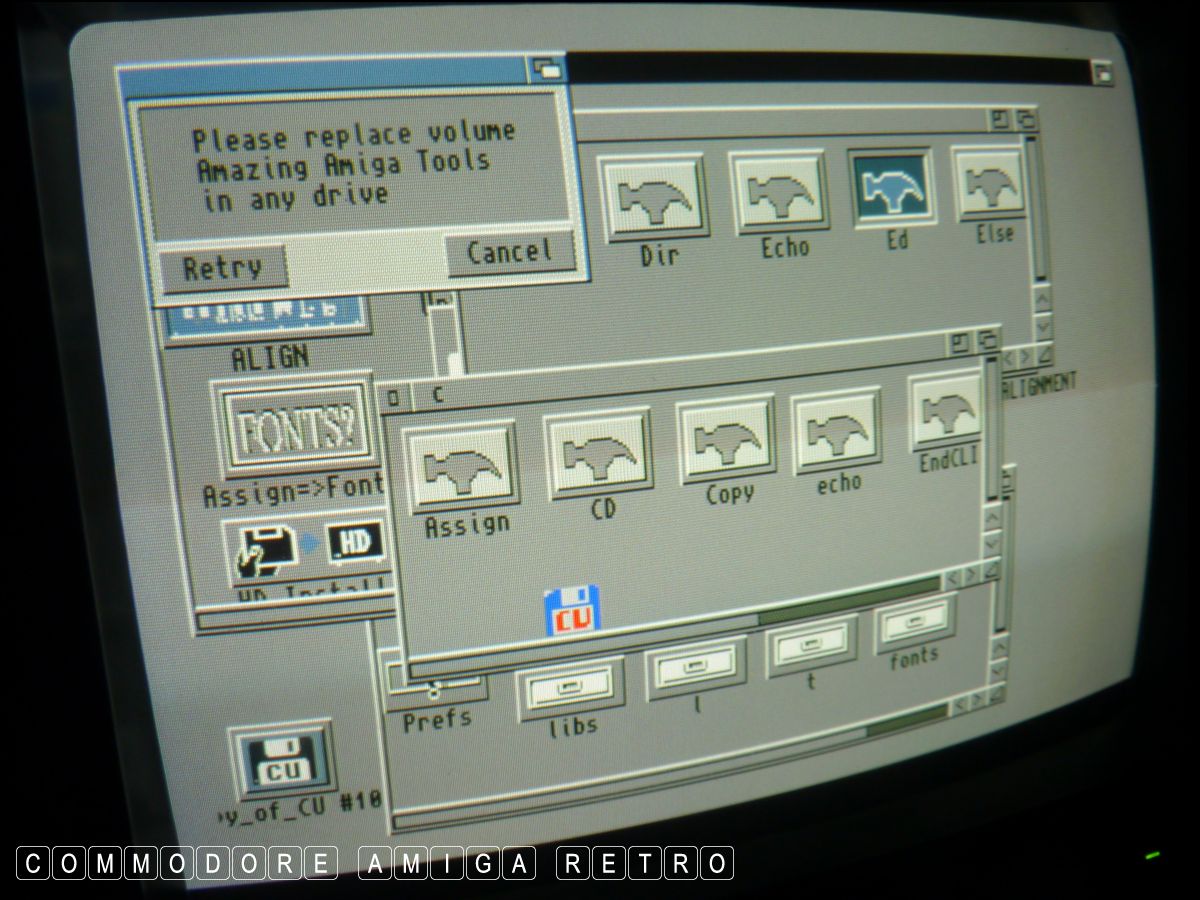
This will involve disk swapping without
the external drive connected.

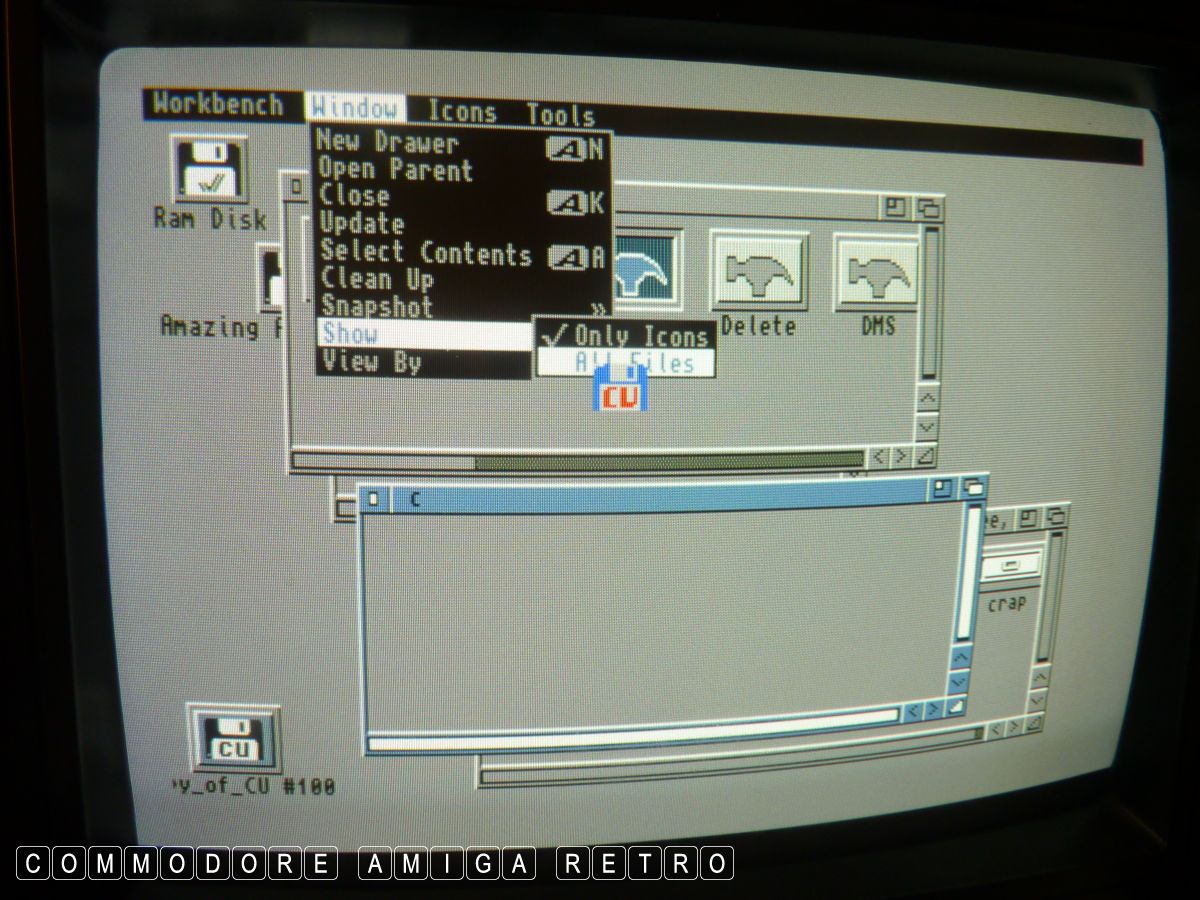
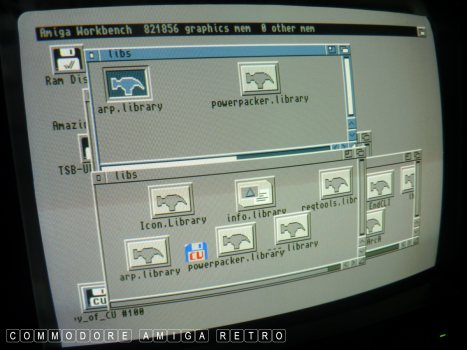
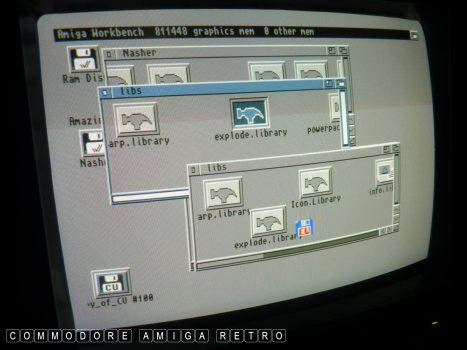
Remember to [Show] [ All Files] to see the full
contents of any of the drawers.
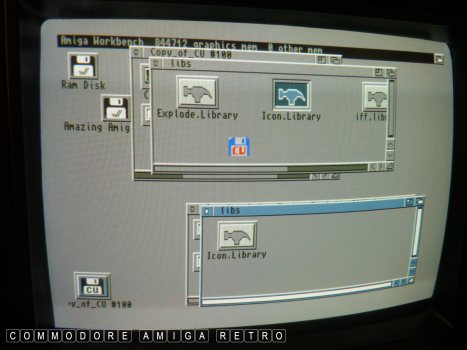
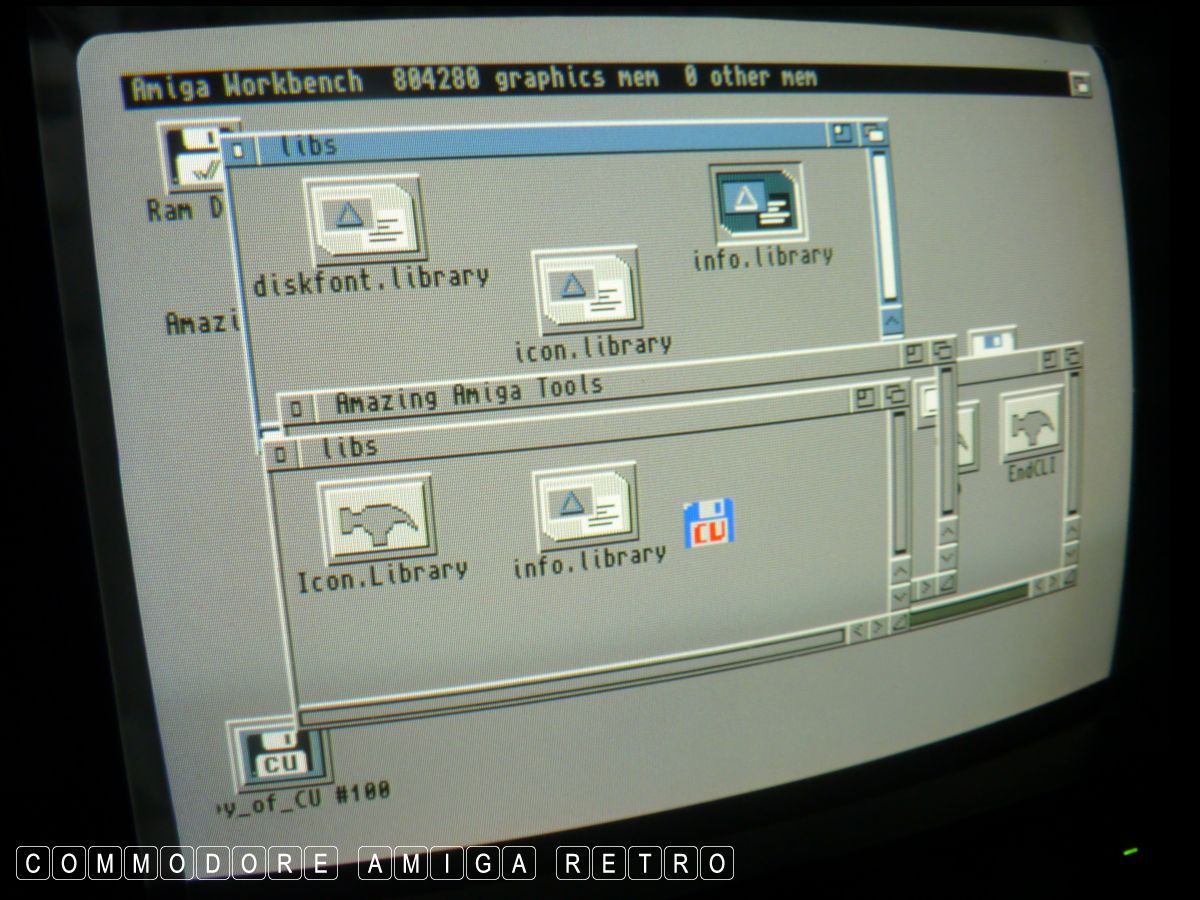
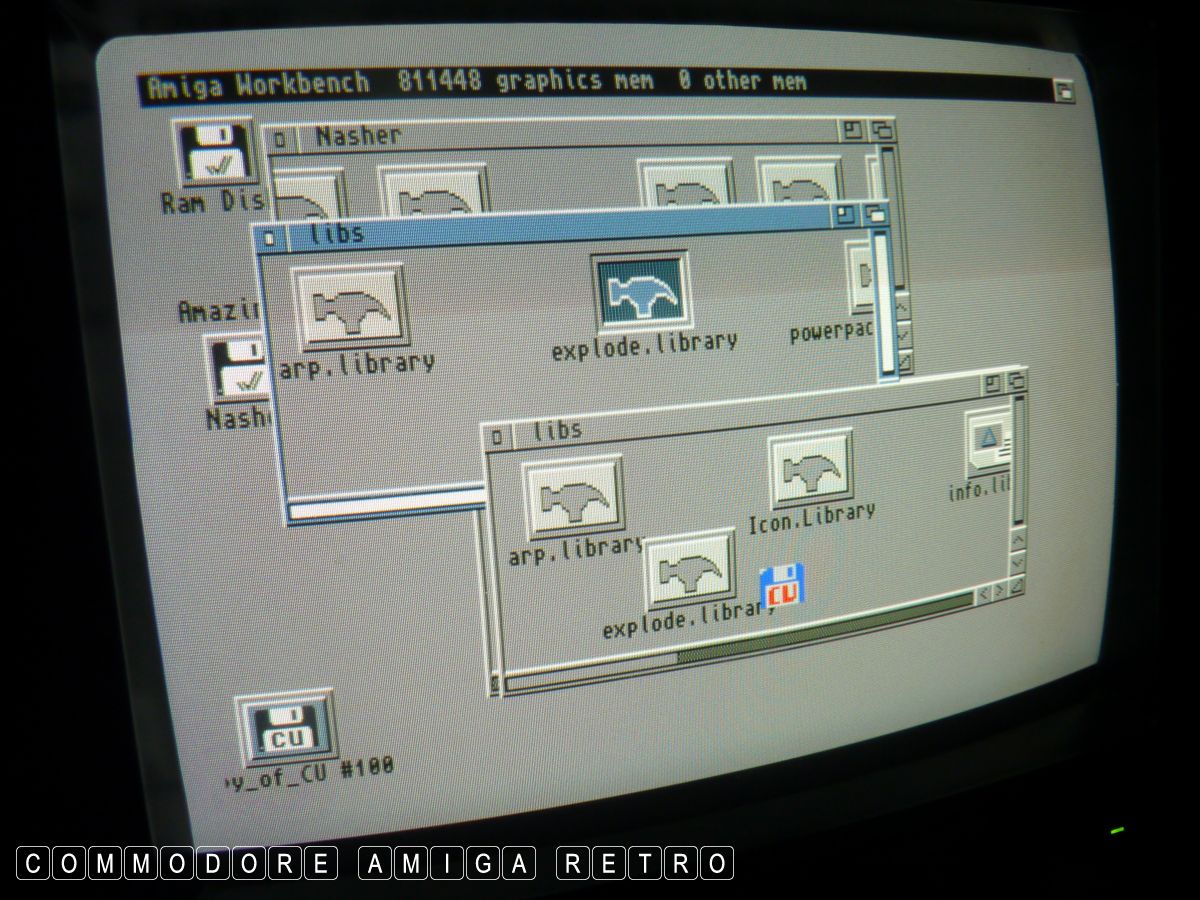
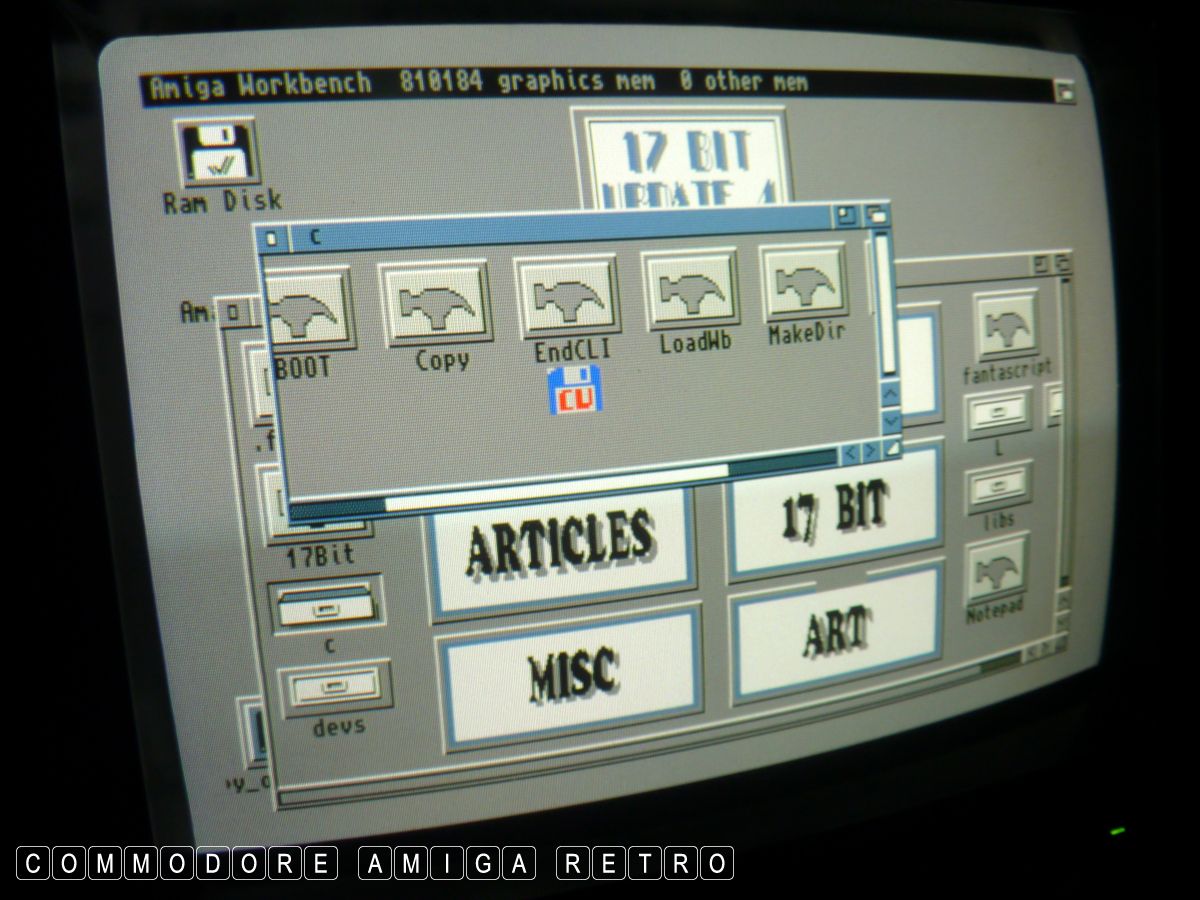
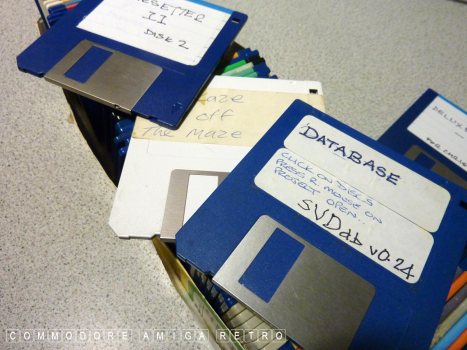
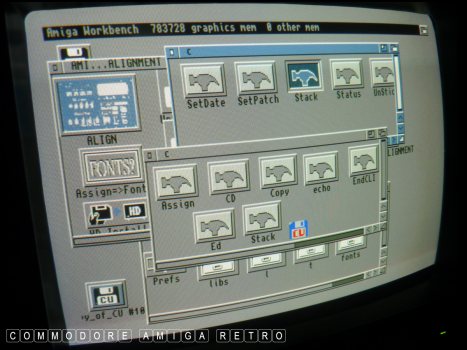
Sift through the disk debris and locate
[c] tools and [libs] libraries [system] tools.
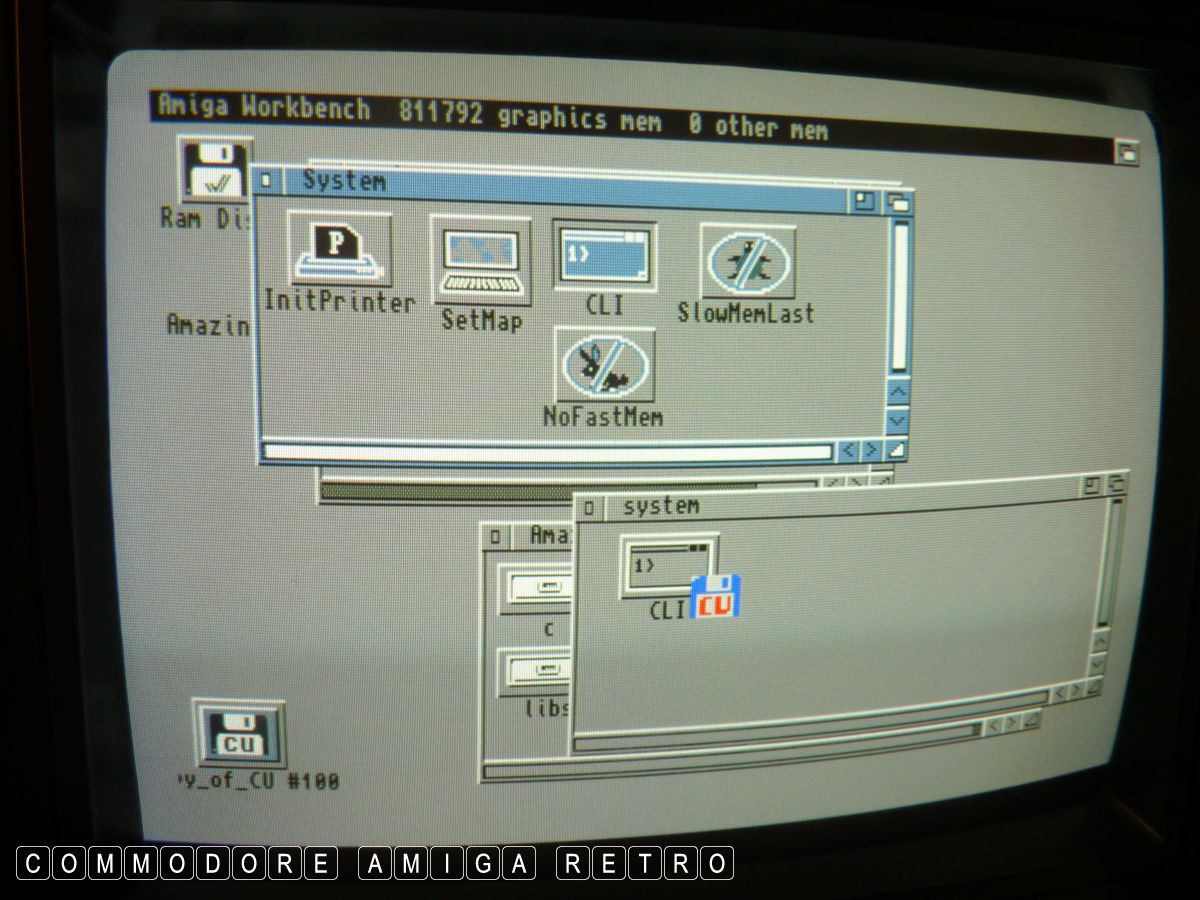
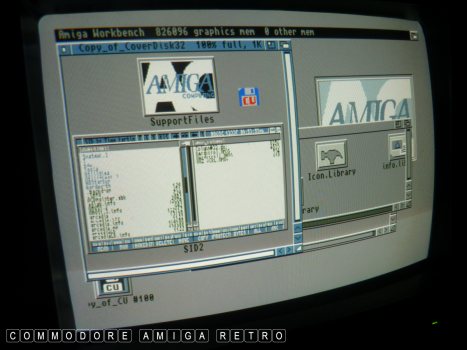
Search for buried treasure amongst the disks.

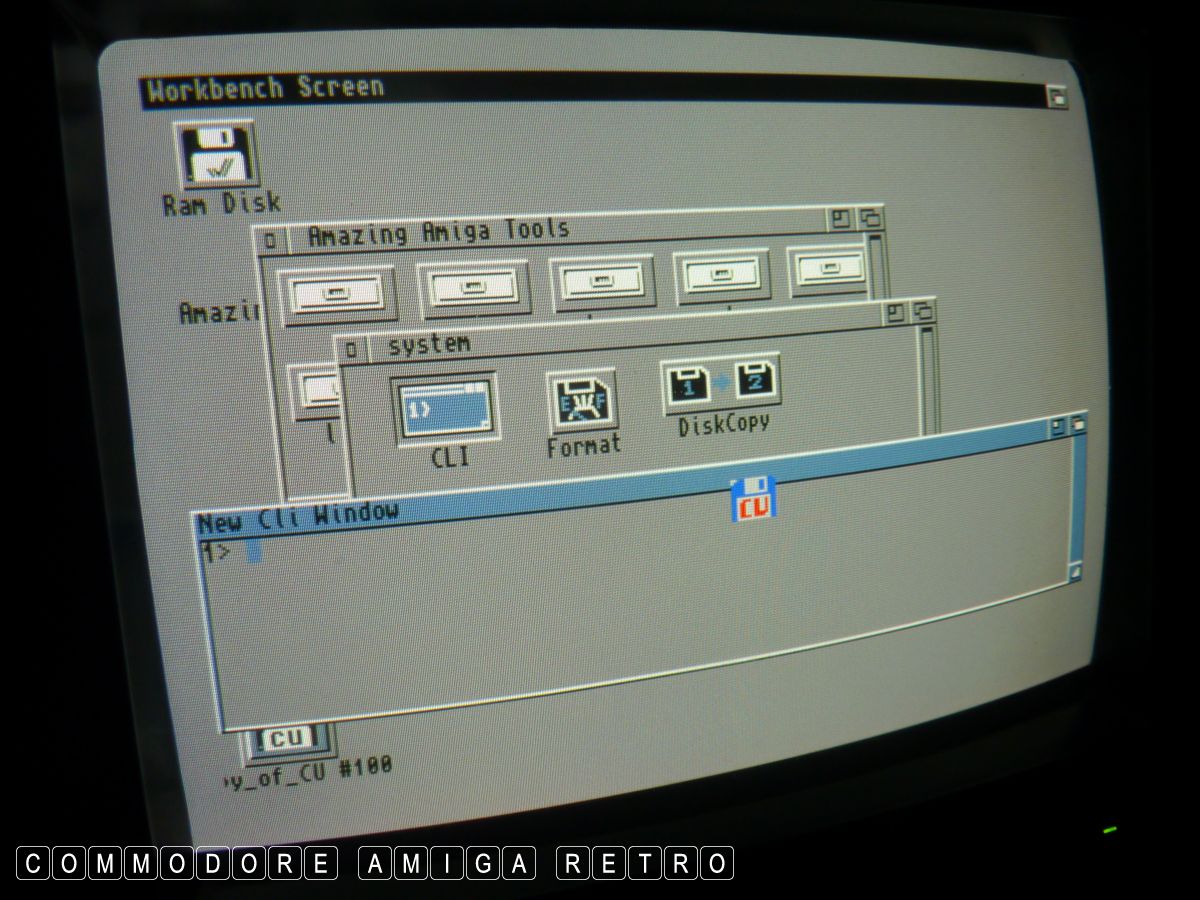
We have struck gold... There is the CLI{shell}
So go ahead and drag that to [system].
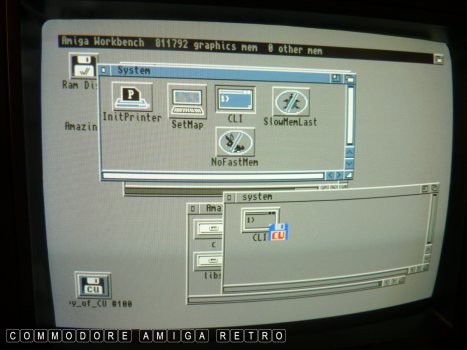
Cool !!!
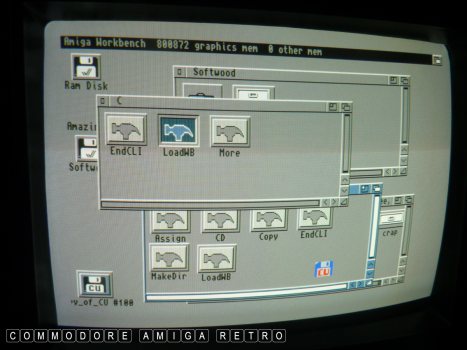
Continue going through disks finding
tools and copying them over. You may
hit a roadblock with version numbers
and some will not work. But you aint
got anything to lose. Just go searching
again and find another one when this
happens.
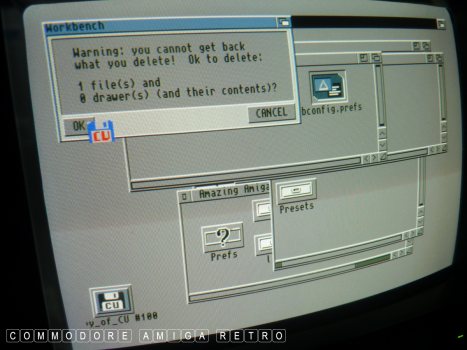
I found a [Prefs] icon drawer so I copied
the whole drawer and just deleted the contents
as I didn't need the Prefs now. Just the icon.

OK dig thro disks until you have the
base set I specified.
Cus I know what I may need in the future
I copied a few others as I went. Best
to focus on the main list and just
ignore these others for now.
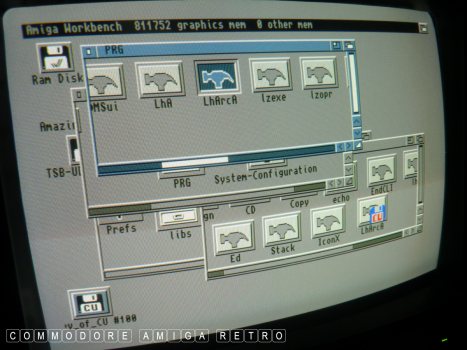
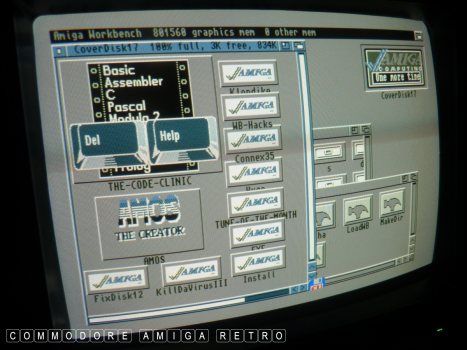
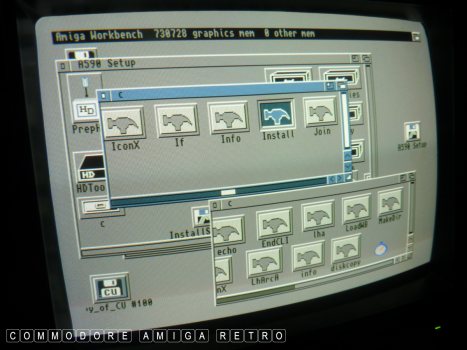
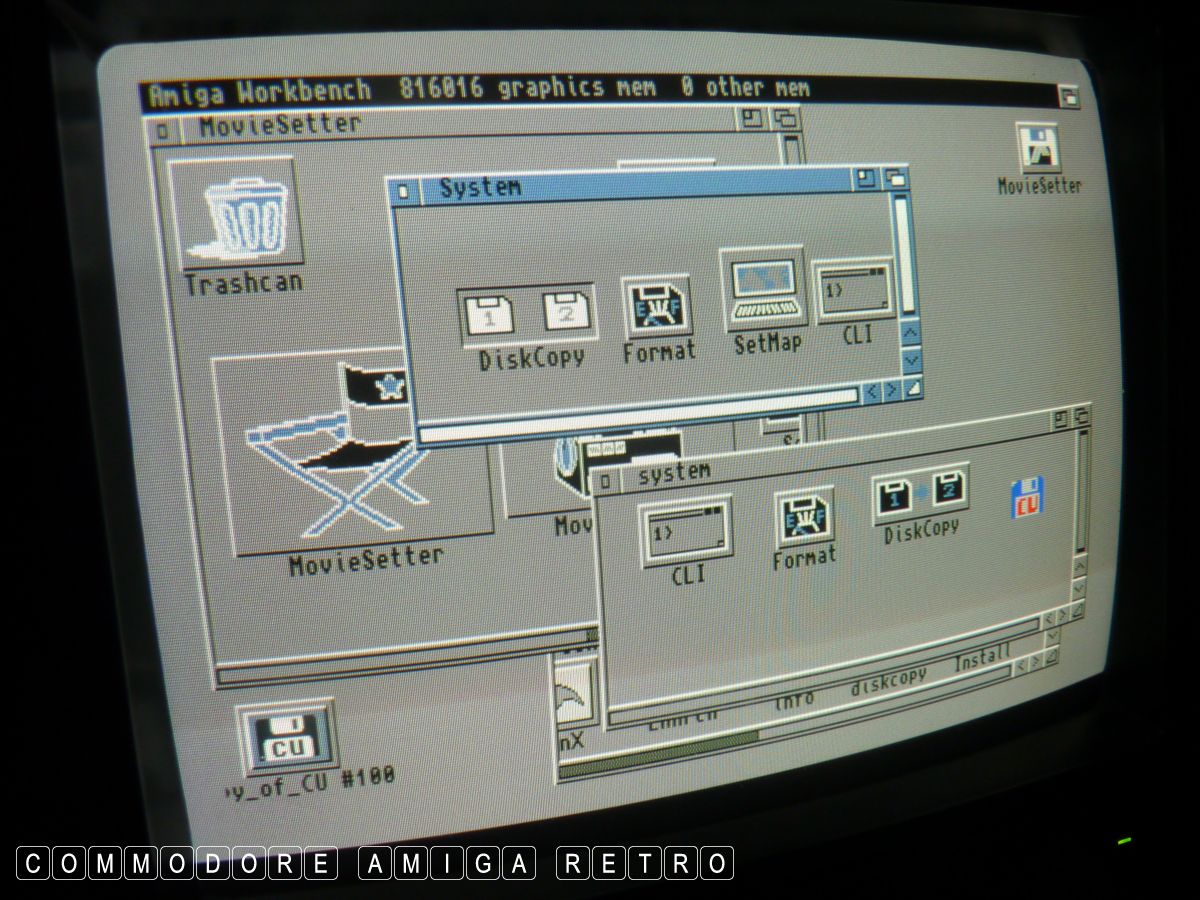
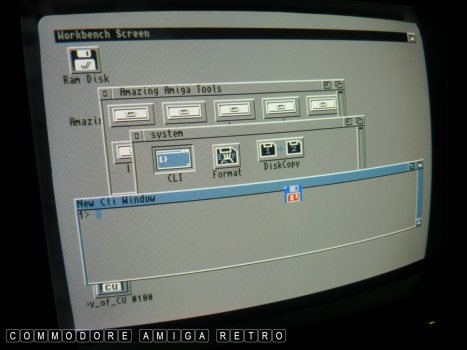
More gold... [Install] incredibly important.
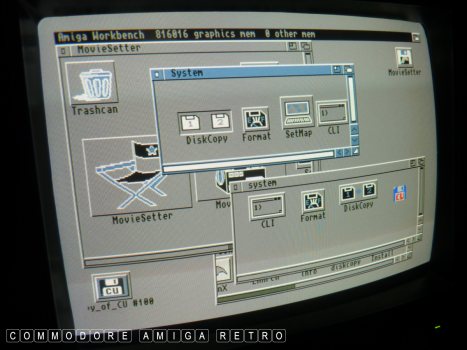
MovieSetter gave me [DiskCopy] and [Format]
These go in the [system] drawer.
Useful de-crunchers. Ignore for now.

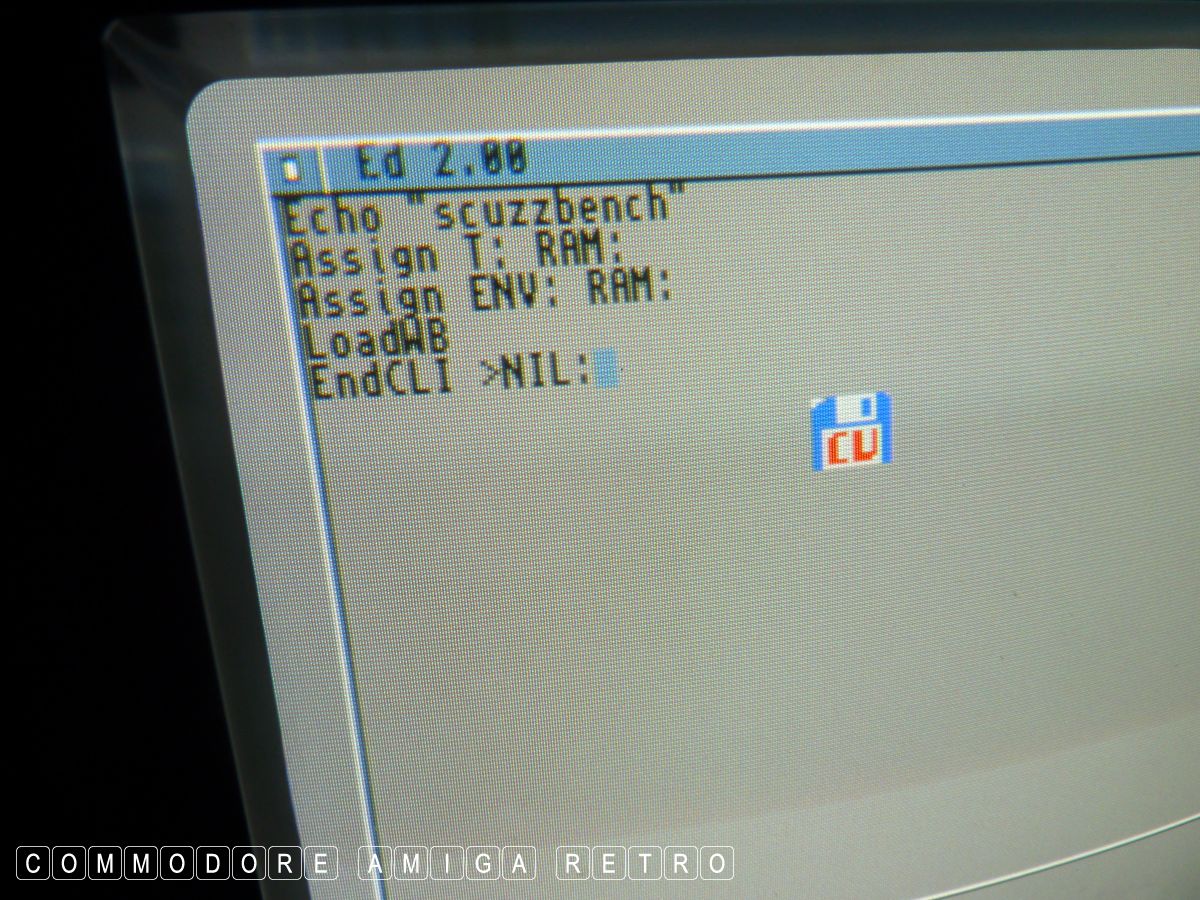
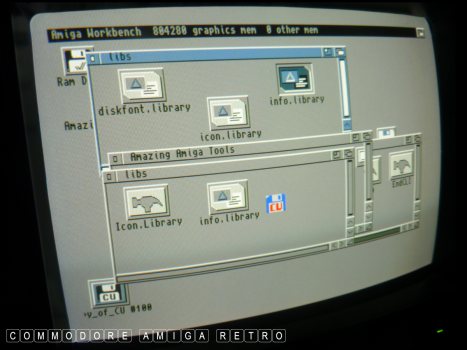
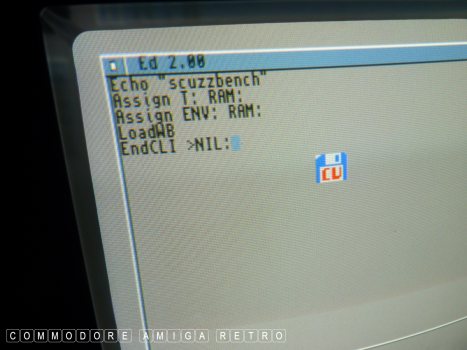
Having gathered all our tools it is
time to create our [startup-sequence]
I had a problem with versions and
had to hunt around for differing
libraries. The only clues are file
sizes. I won't go into that now.
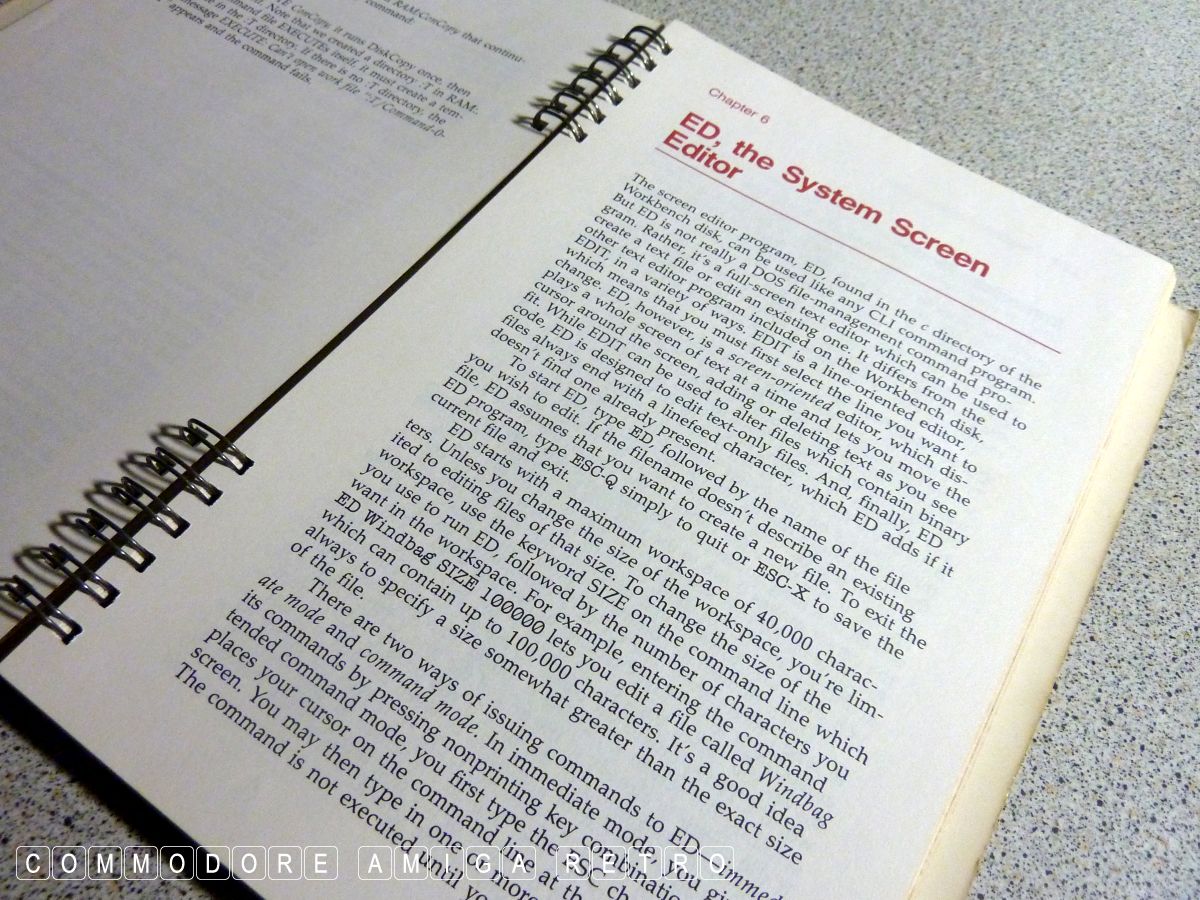
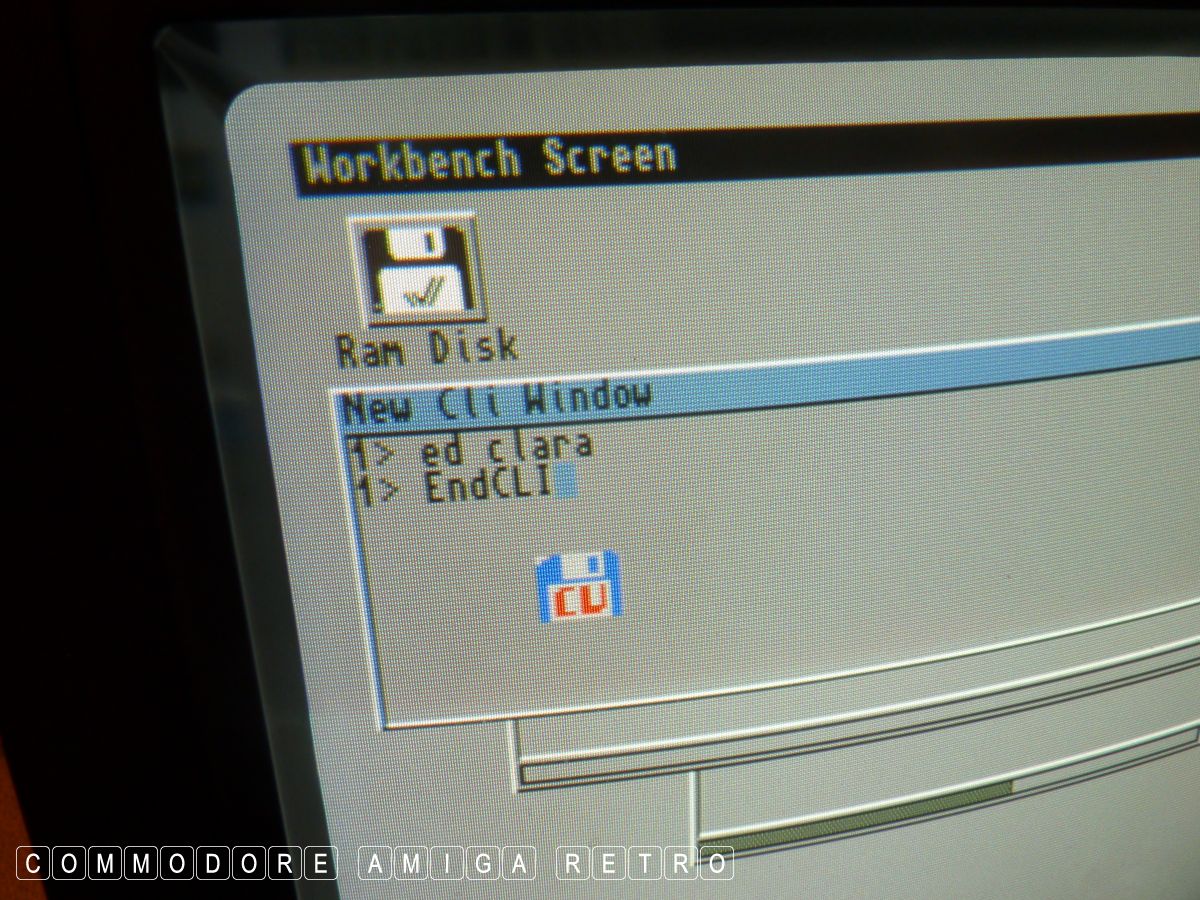
We click the [CLI]{shell} and type ED smellypants
This opens ED.
I got it wrong first time.
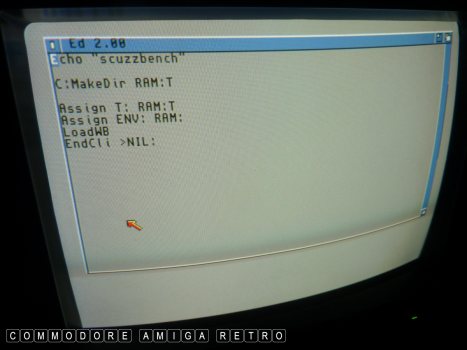
I needed to make a T: directory in RAM:

I actually opened ED with ed clara
and you close with [EndCLI]
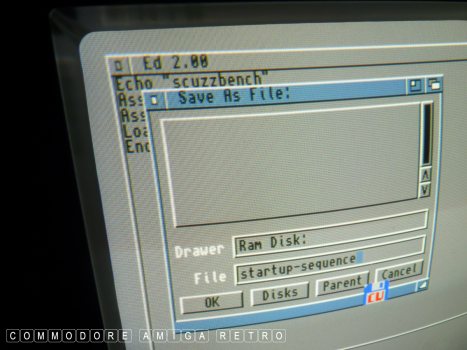
Save the file as [startup-sequence] and
save it to RAM: for now.
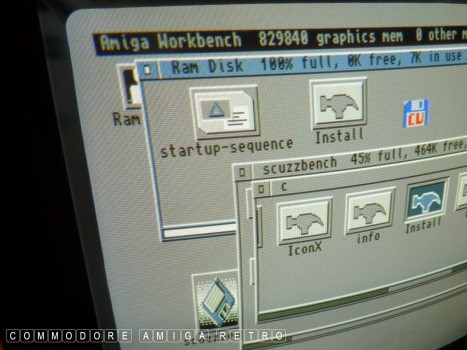
Next copy [Install] to RAM:
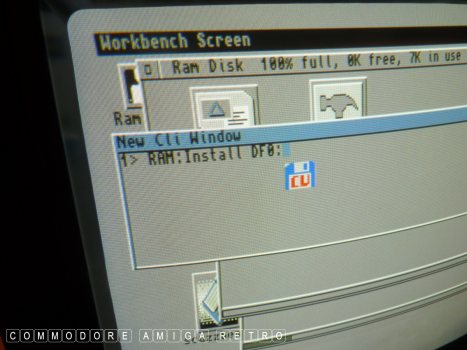
Then find your squeaky clean empty disk
to put in the drive. Fireup the [CLI] first
before disk swapping and type..
RAM:Install DF0:
This writes a boot sector to your disk

Then simply copy all your salvaged
tools in their respective drawers
to your fresh disk. Remember to copy
the [startup-sequence] in RAM to the
[s] drawer on the new disk also.
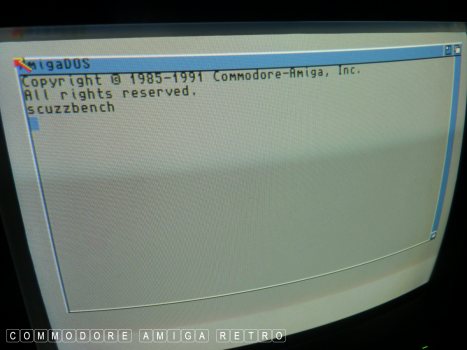
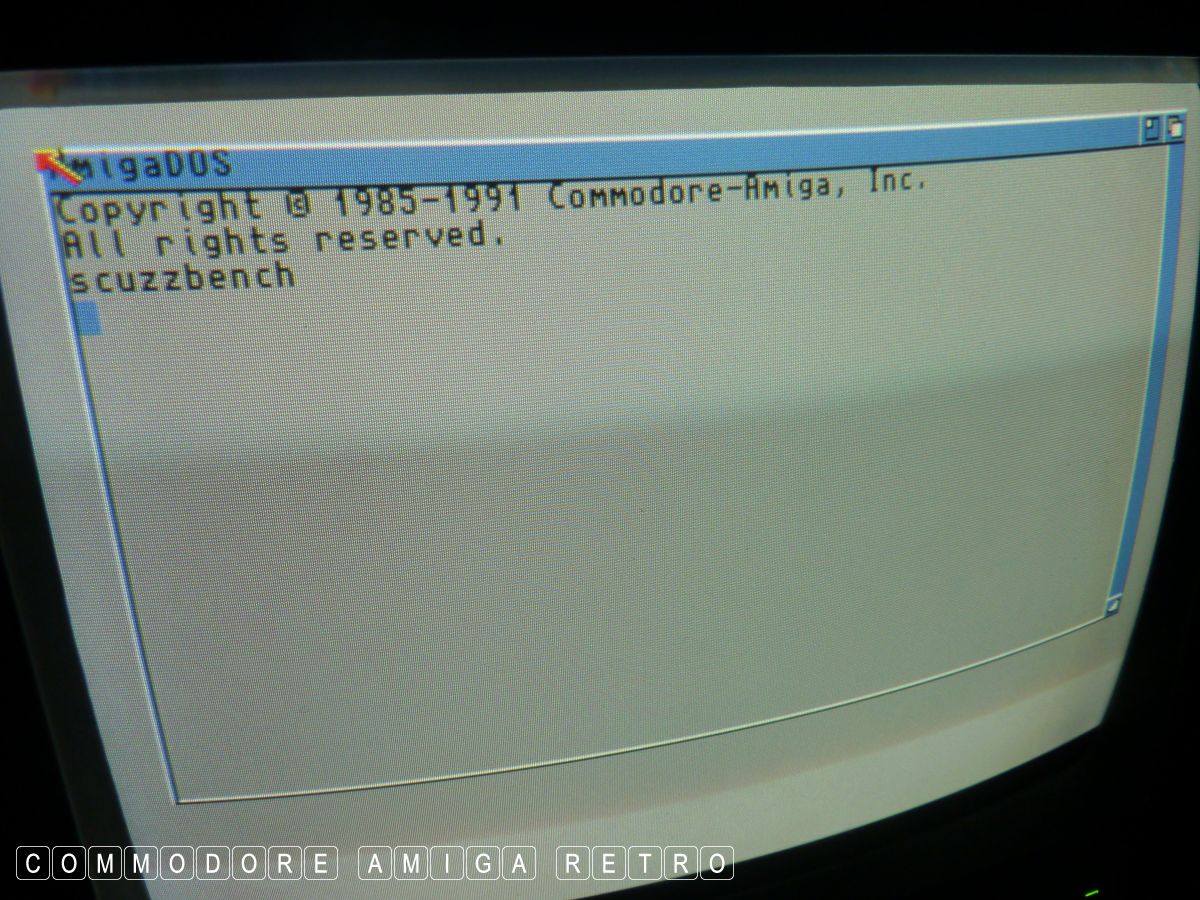
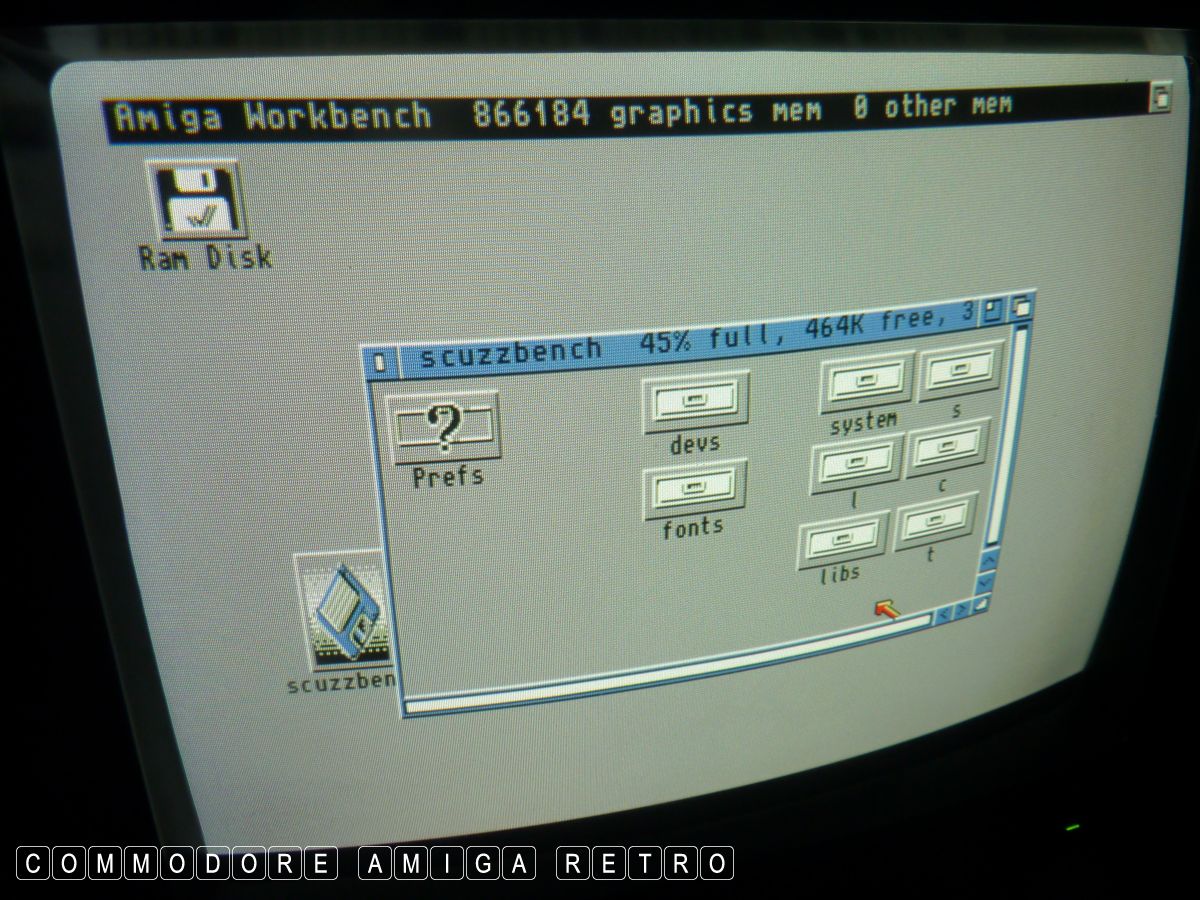
You can now boot your new disk

And that will open in 'scuzzbench'.. which
is what I labelled my very own Workbench.
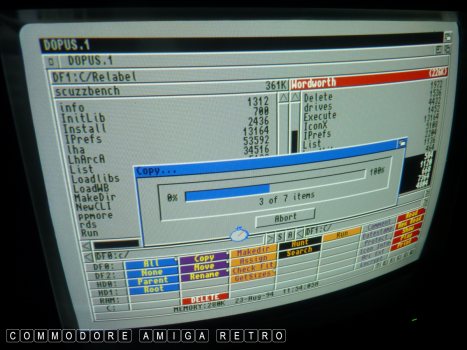
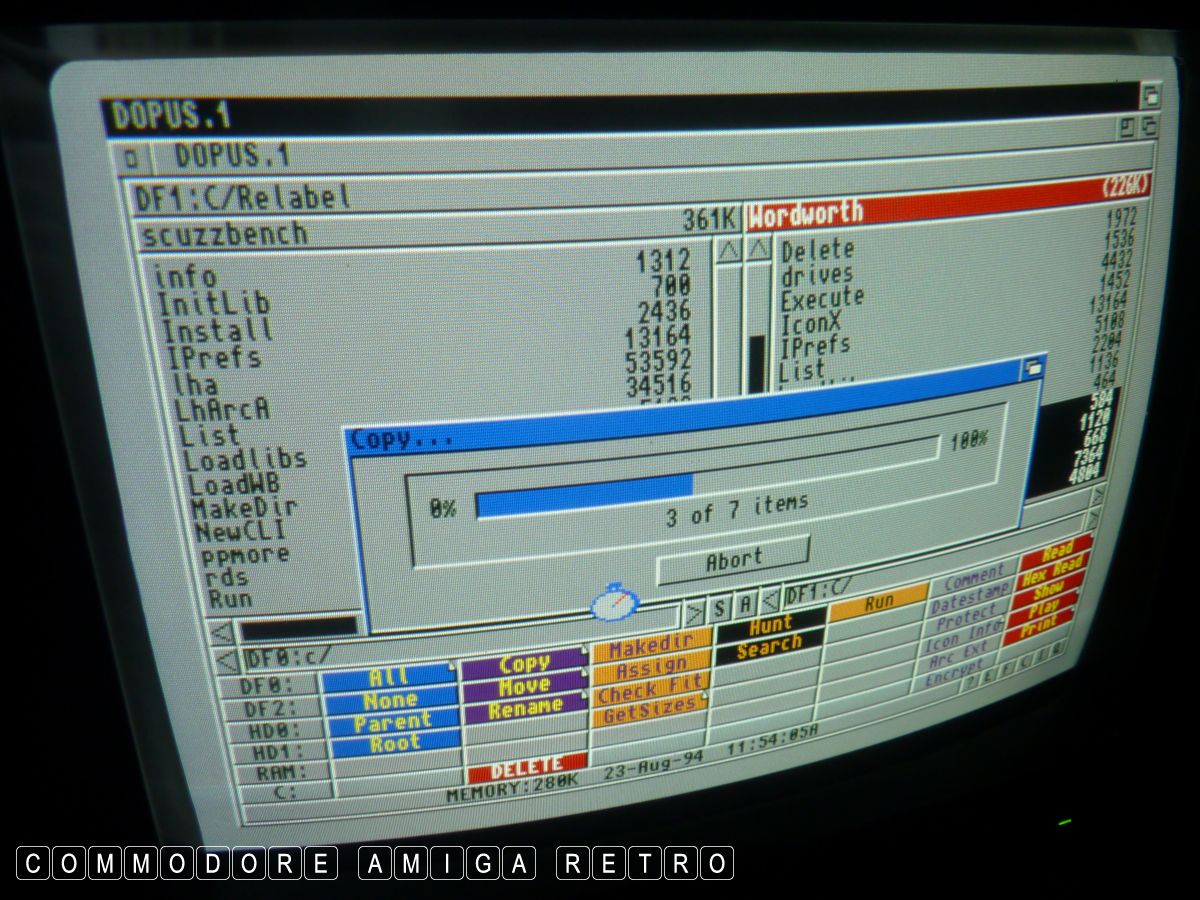
You can actually now use the DOpus disk
and start filling in the available disk
space with more files from the disks.

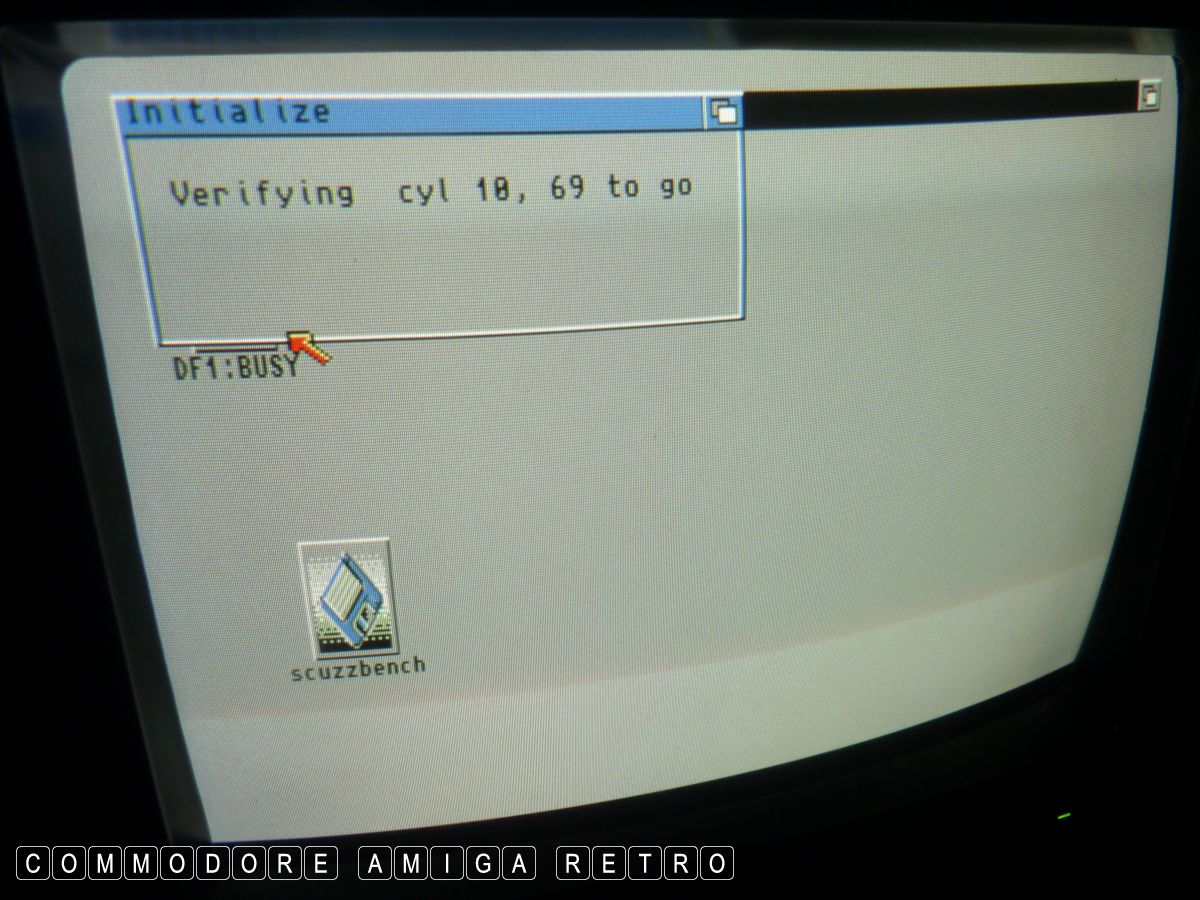
You are now able to [Format] disks.
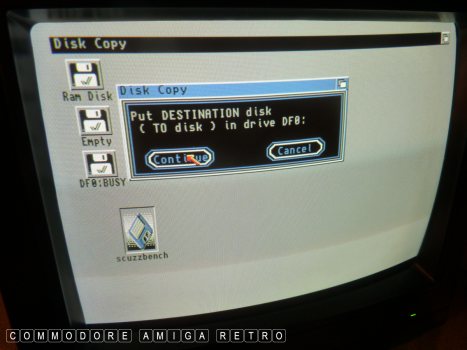
And [Copy] disks.
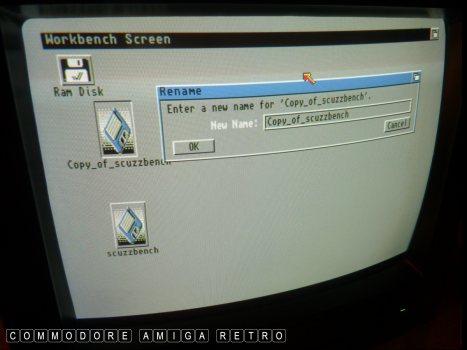
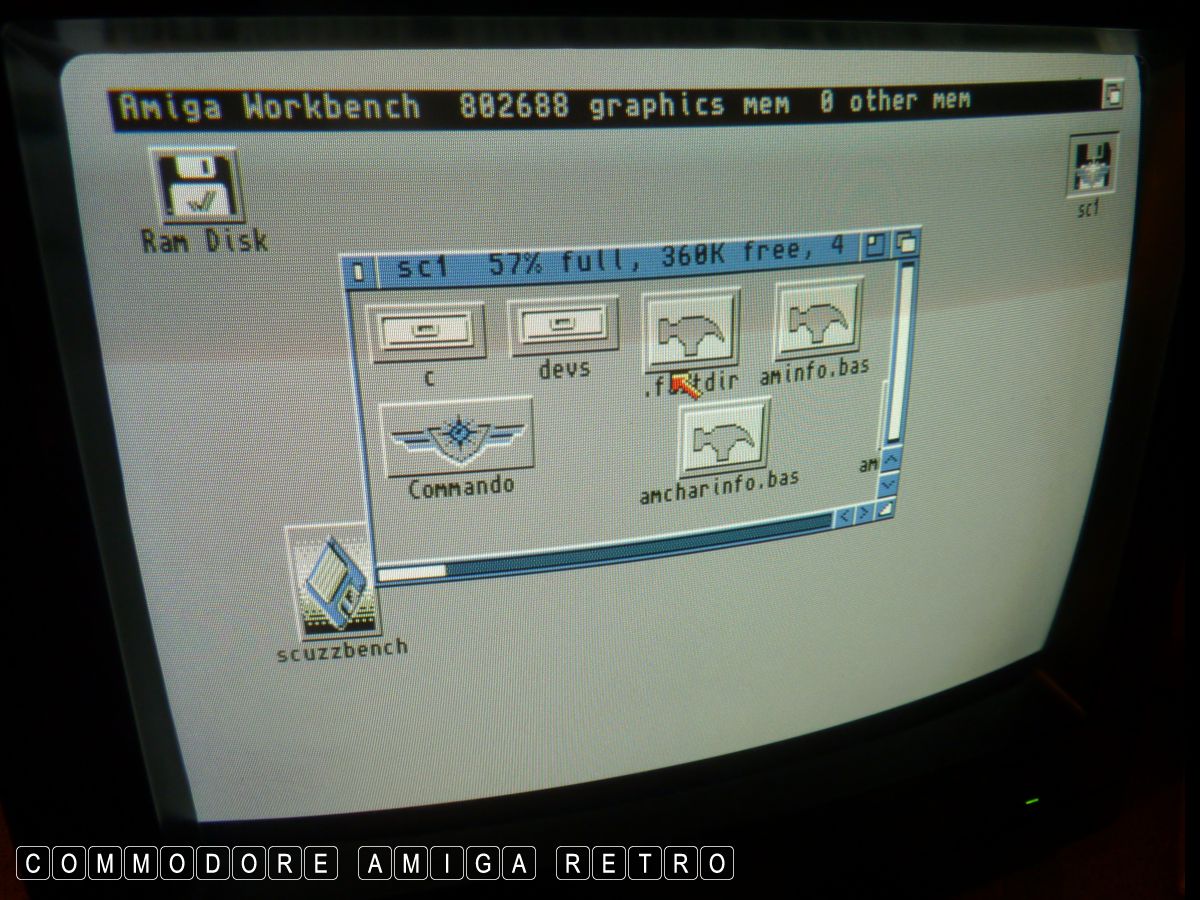
Make a copy of your crude 'scuzzbench'

And take a look at that game disk now
and its contents....
Or just play the game.
The 'scuzzbench' has limited use but
it will help you get started. Obviously
better to obtain a real Workbench disk.
But in doing this you learn how the
Amiga works and lets you customise your
own operating system. Something you just
can't do on a computer these days.
Have fun. Took me all day that. Phew.