
You can either obtain the CU Amiga cover disk from
DOpus IV : From my website.
Or obtain from this link to the official release.
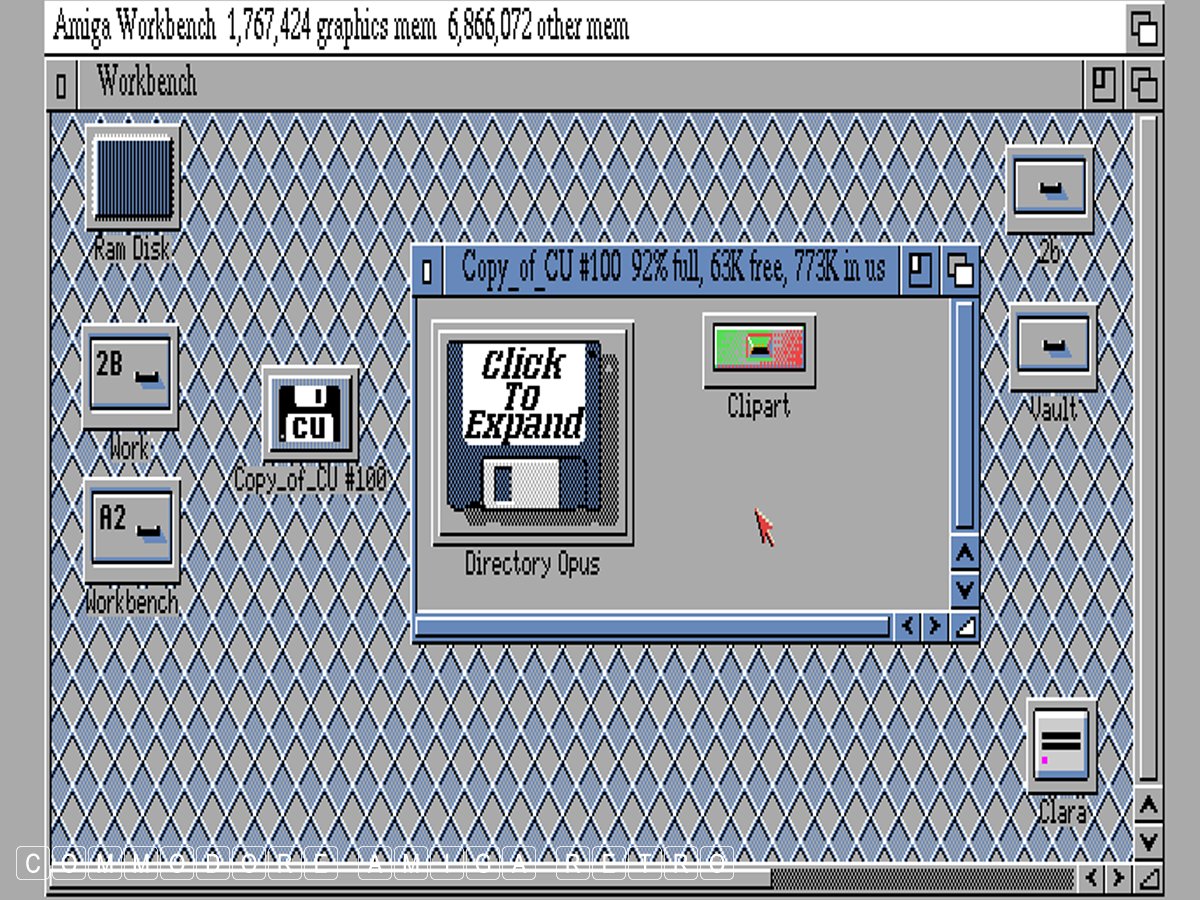
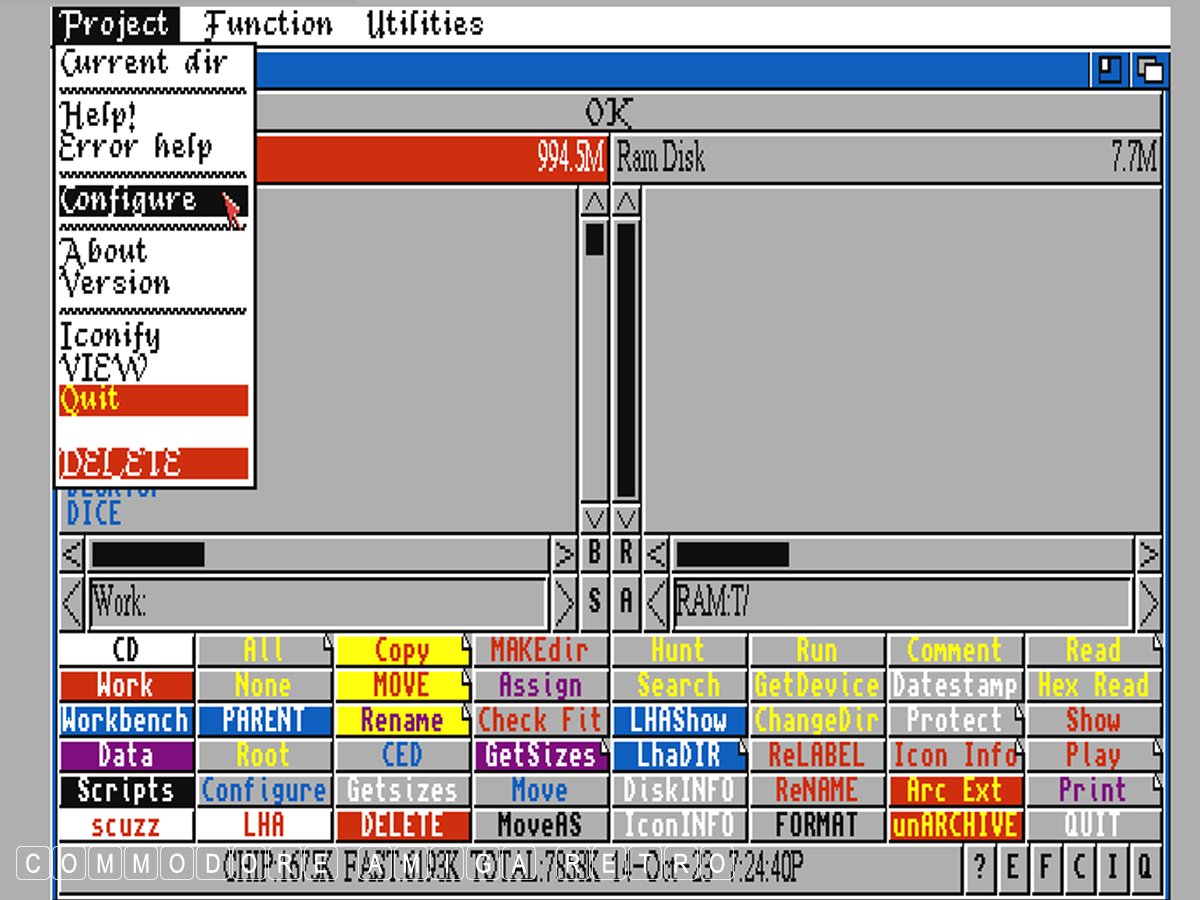
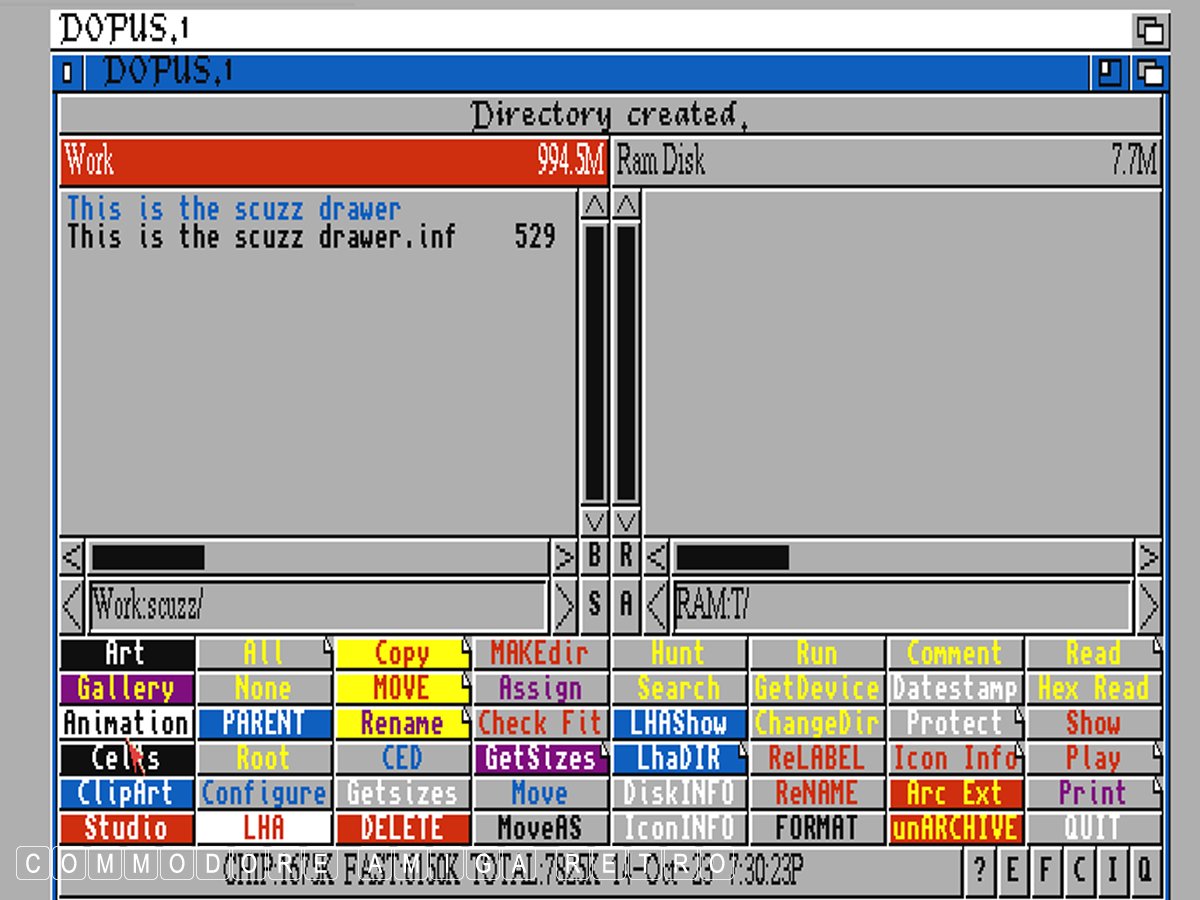
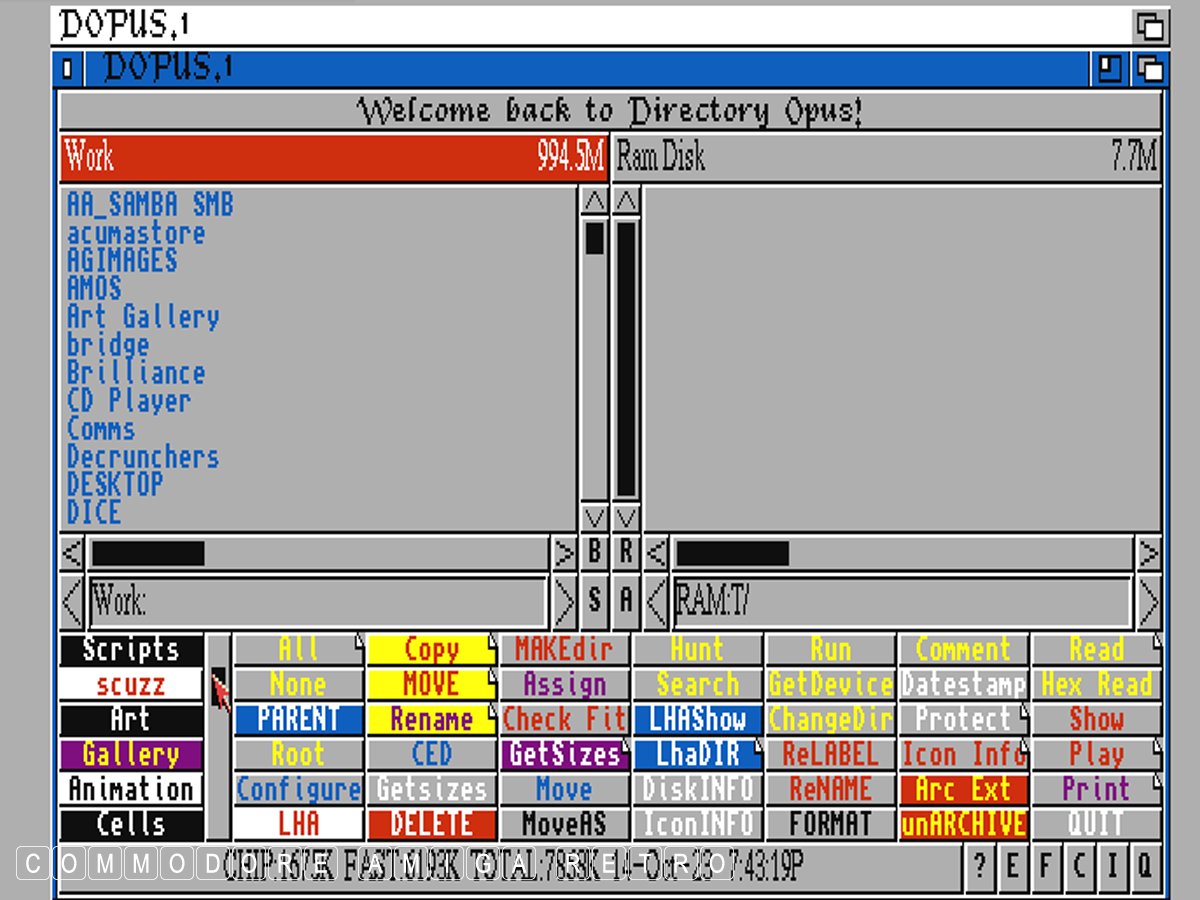
DOpus 4 with the drives bottom left There are five
Today I show how we configure a button/drive to link
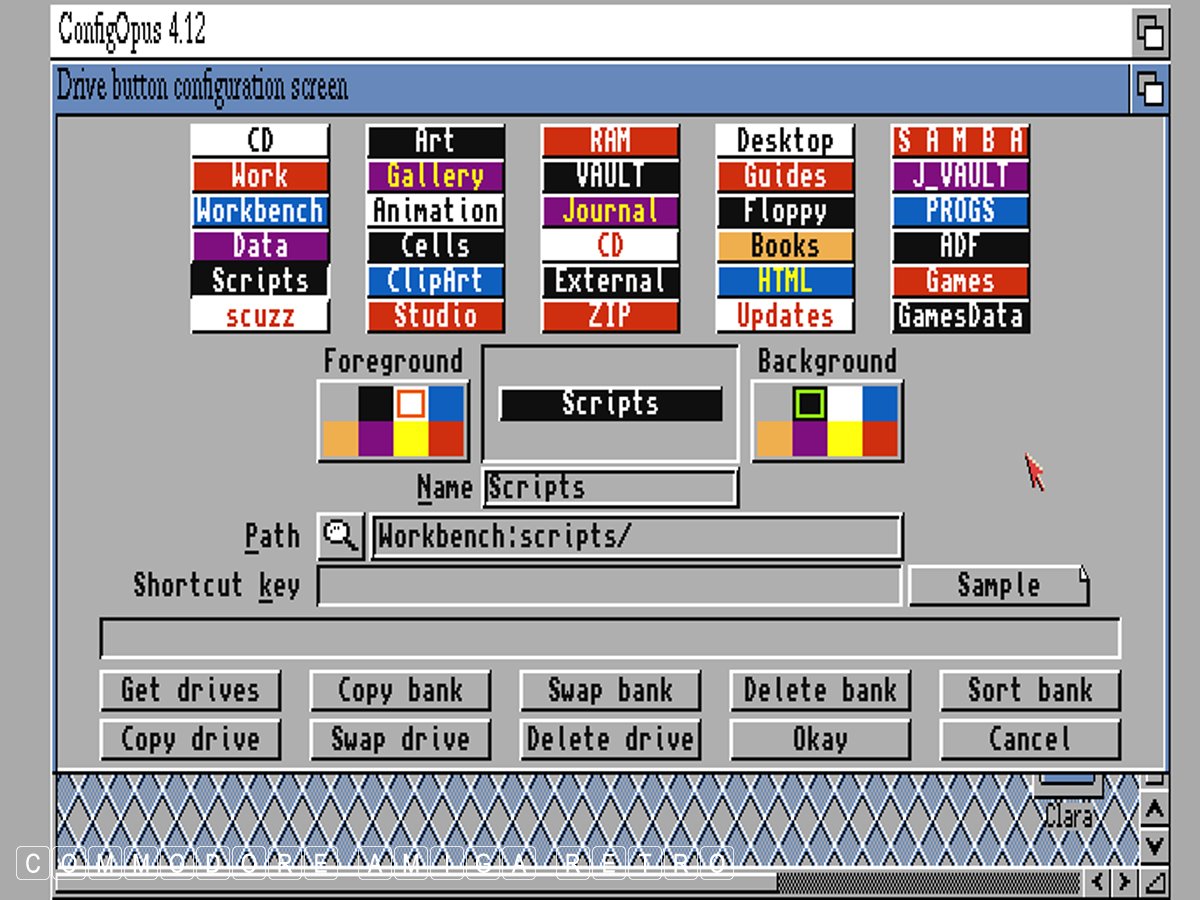
From the menu click the 'Configure' selection
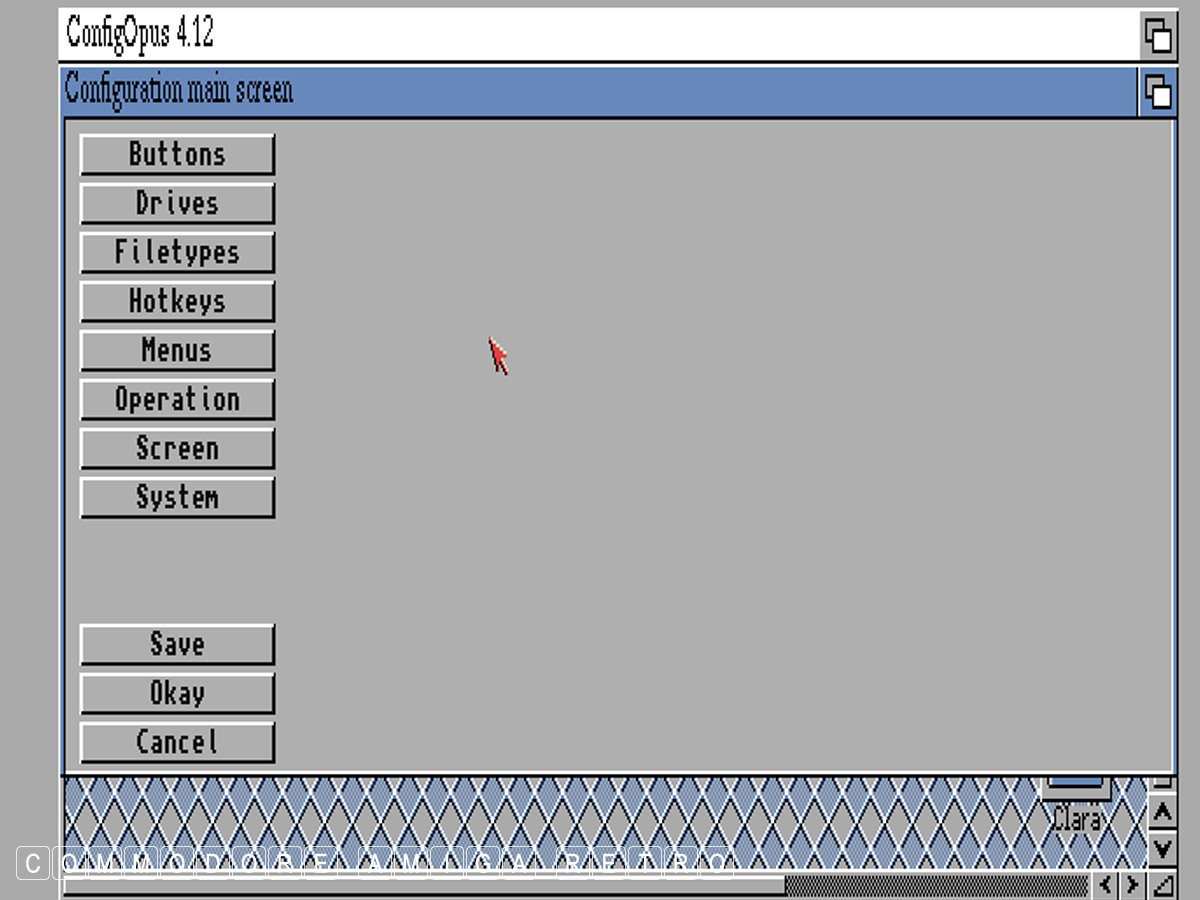
Next select Drives
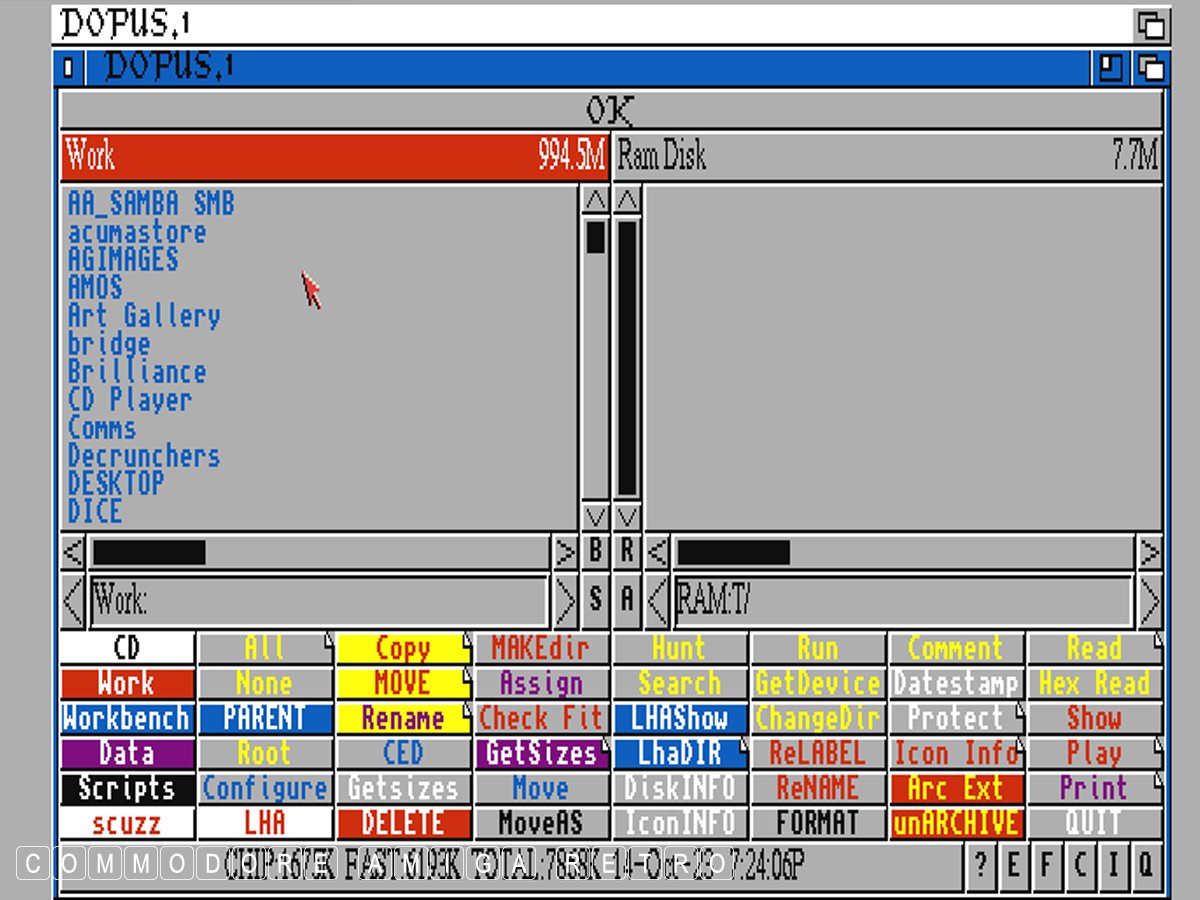
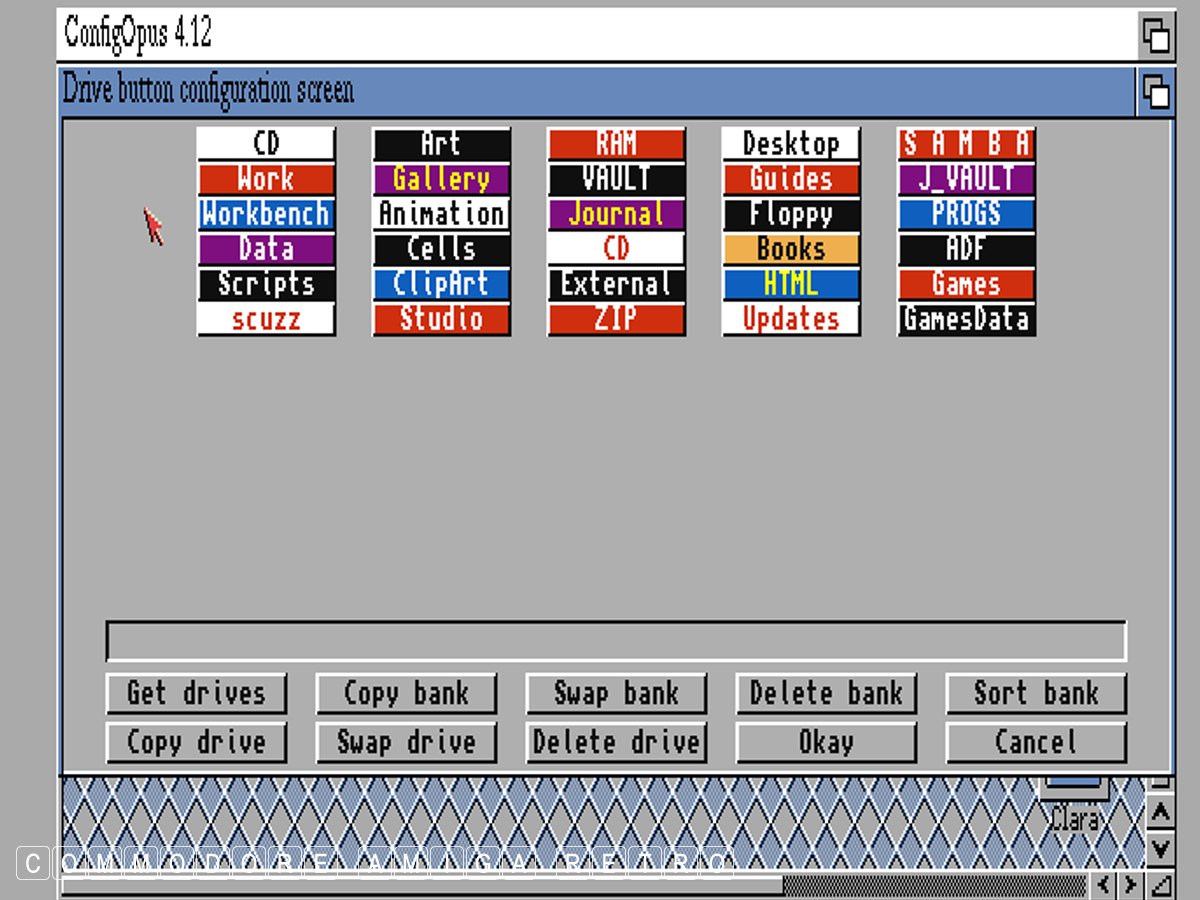
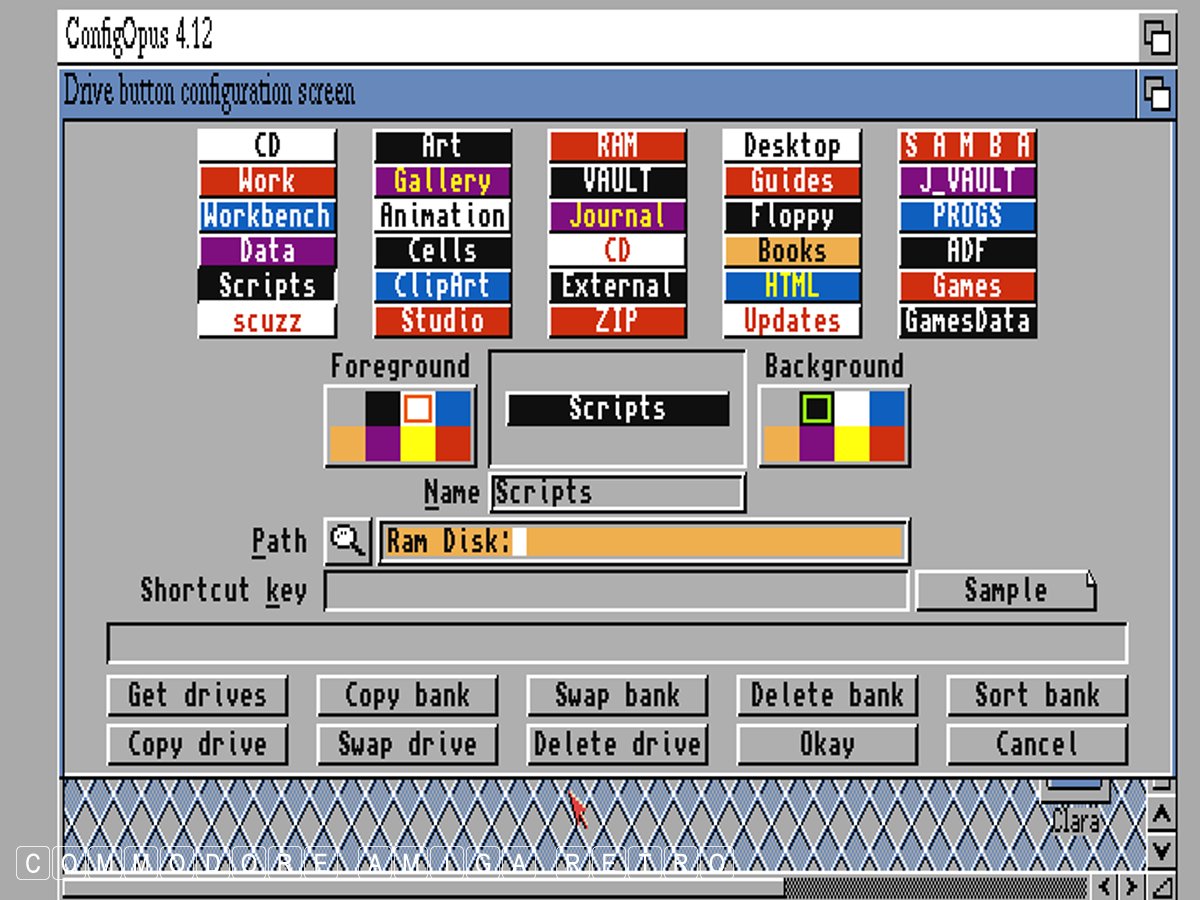
These are your bank of five drives
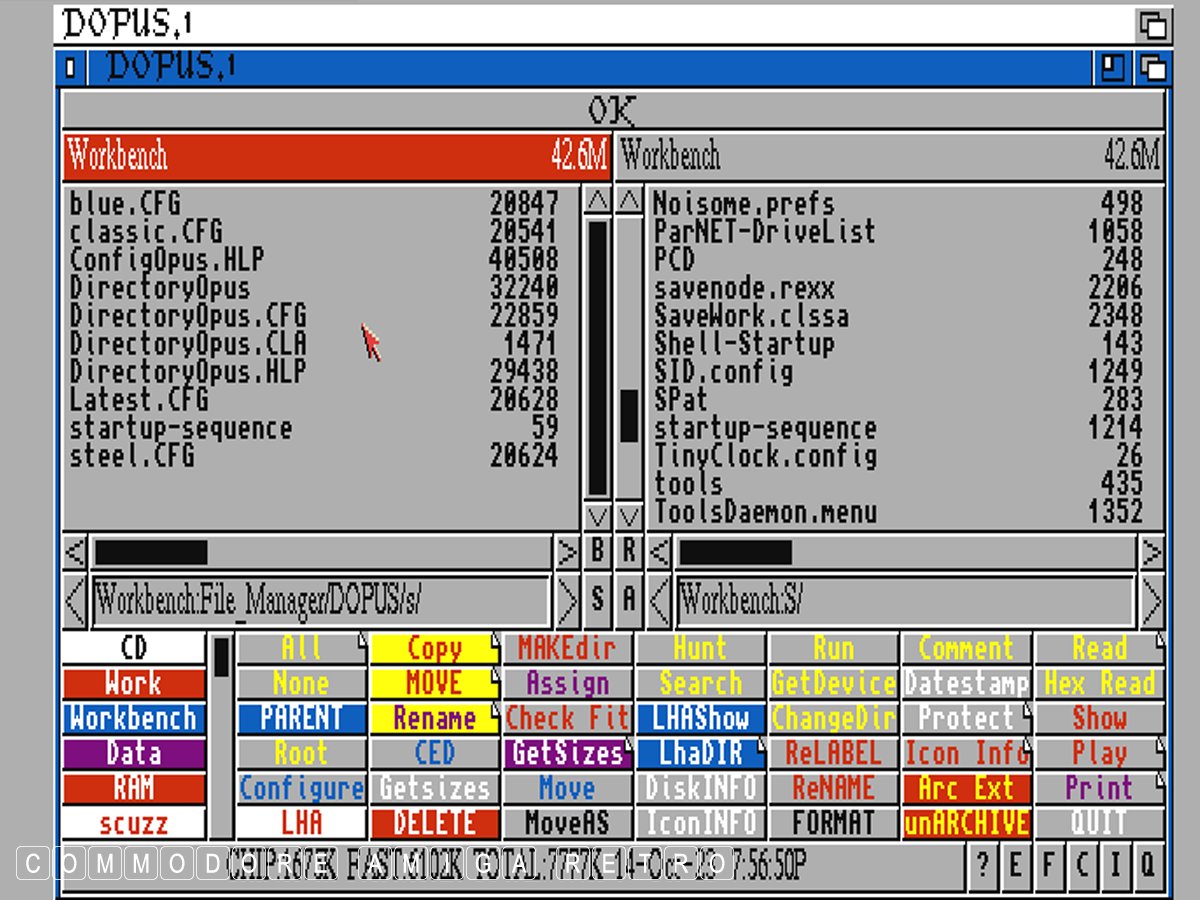
I will now check the 'scuzz' drive
Clicking 'scuzz' opens this next window
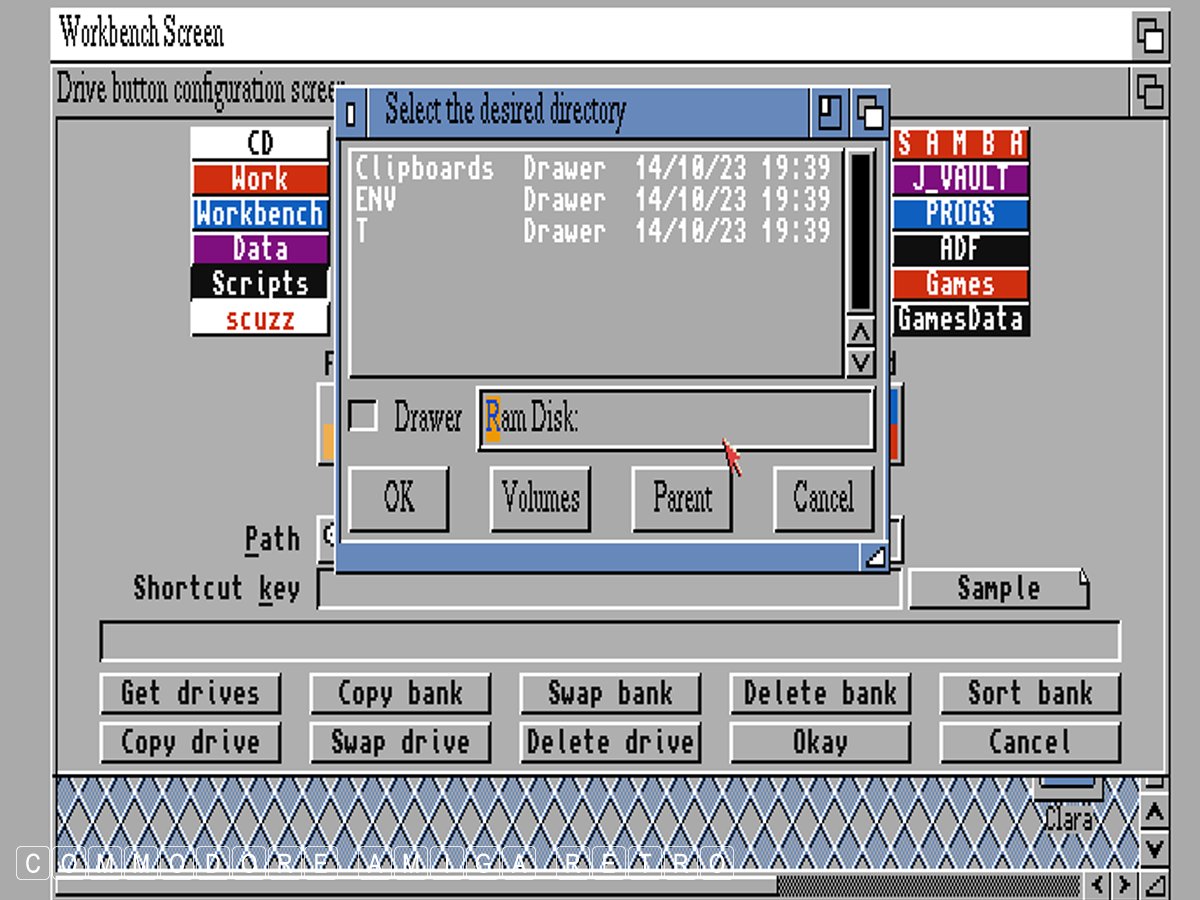
Clicking the magnifying glass opens the
I Click Work and then find scuzz and click that
Clicking Work and then scuzz gives us the
The search tool will place the directory path
You must press 'RETURN' when you have edited the
I close the previous window and save if I am happy
The Drive selection list is obtained by
Or you can go to the Configuration menu again
And then 'Sliders' ..
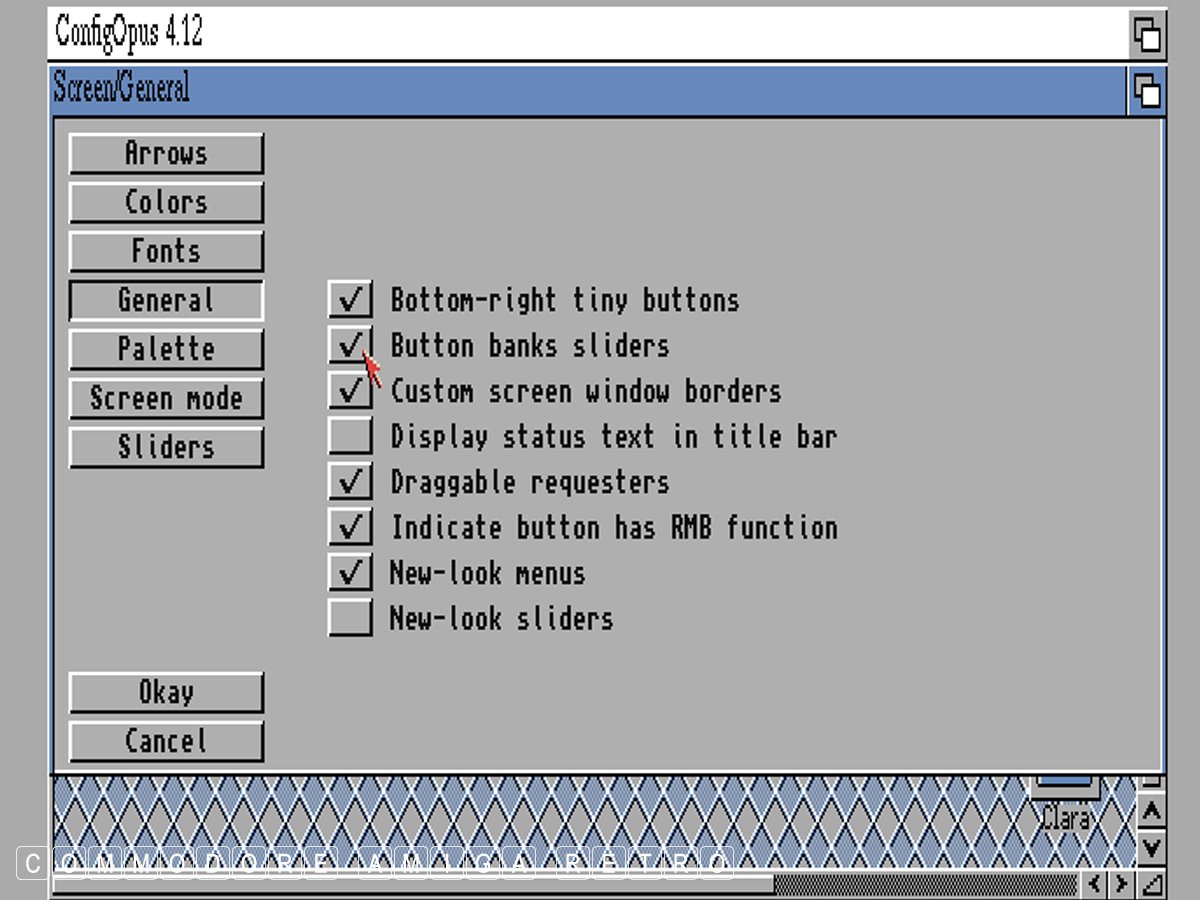
And select the 'Button banks slider' if you
Now you have a slider to scroll through Drives
Note that the config files for DOPus are in Let's see if you have understood what I did
I click the button called 'Scripts' [ Colour white on black ].
We click the magnifying glass to find RAM
Don't forget to make sure you use the search
Next edit the words to say RAM and edit
When you have edited the wording for the button
So with the button now set for RAM you can
You will see buttons for Arc Ext, unaARChive and LHA
If you have copied your DOpus disk and are being
You will need to add an assign statement as shown for
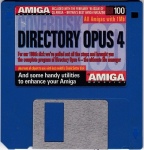
DOpus 4 was released on CU Amiga cover disk 100

ScuzzBlog: Diaries October 2023
Entry 14th October 2023: Post 1: Directory Opus - Configuring buttons.
Directory Opus - Configuring buttons.
I have some new scans of the CU Amiga Directory Opus guide and
as a prelude I thought I would feature my early blog regarding the
configuring of buttons. At the time I did not have the benefit of
the emulator to snapshot screens showing the process. Today I have
created fresh new images to go with the tutorial and have also
updated the blog slightly.

Hope this makes sense.
Directory Opus - Configuring buttons.
the EAB Magazine Rack site which is also on my site
at the link below. Or obtain the official version
from the second link I give. Note that the magazine
cover disk will need to be extracted to a blank disk.
banks of buttons bottom left. Simply right click on
any of those buttons [ CD, Work, Workbench, Data
Scripts or scuzz ] and you will reveal the other banks
one at a time. These buttons represent each of the
target drawers or volumes on your Amiga.
to a location on your Amiga.
Only one shows from the main window
To scroll through them you right click
More on that in a while. 
VOLUME or DRIVE window showing the mounted
drives on the computer. This can be very useful
when checking to see what drives are mounted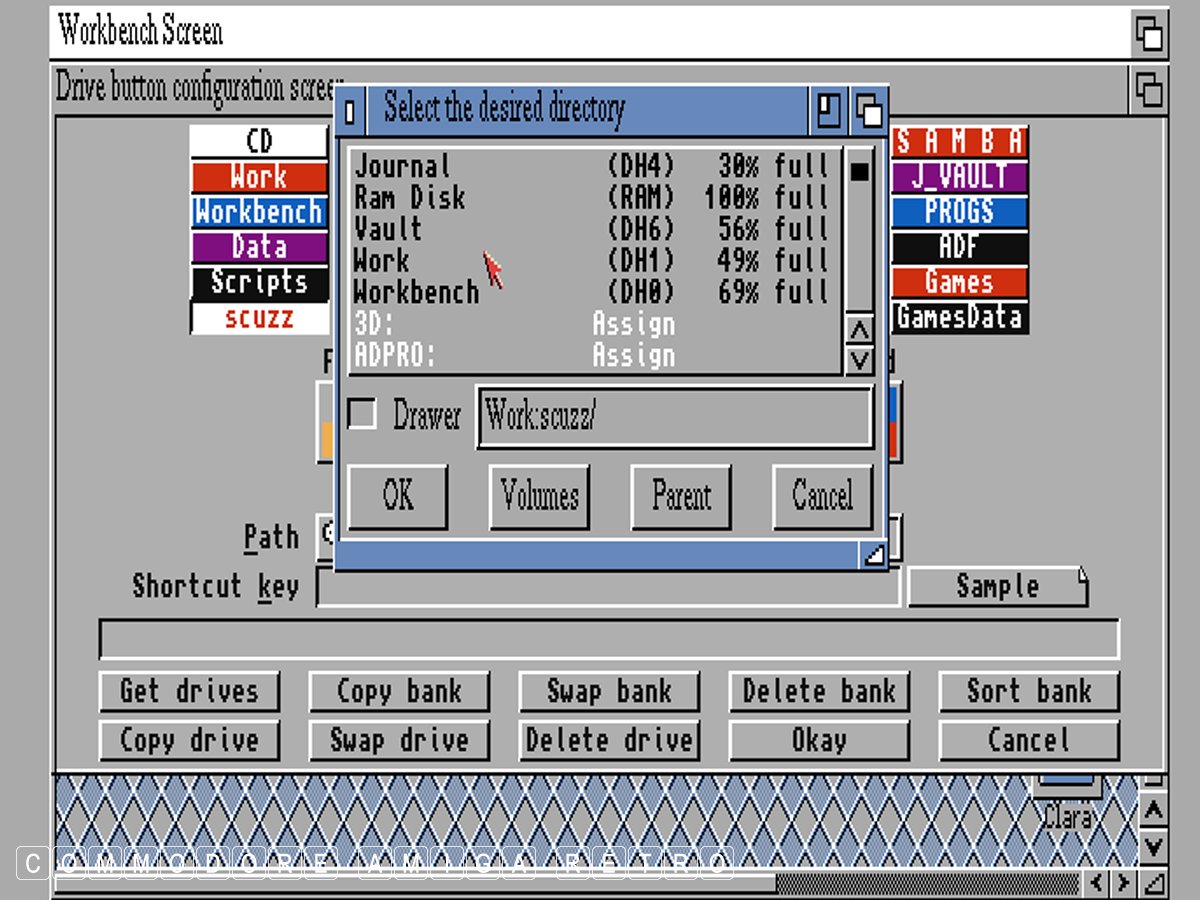
Work:scuzz/ path which is correct
into the listing. This then becomes the directory
for that button. The very upper area has a name
that you can edit to suit what ever you want.
The right hand colours are for the button colour
and the left the colour of the text to be used.
text for it to appear in the top box

Now when I click the 'scuzz' button it opens that
directory or drawer in the pane selected. Either of
the left or right panes can be selected
right clicking any of the bottom left buttons
This will scroll through all five banks of drive
buttons until you find the one you want
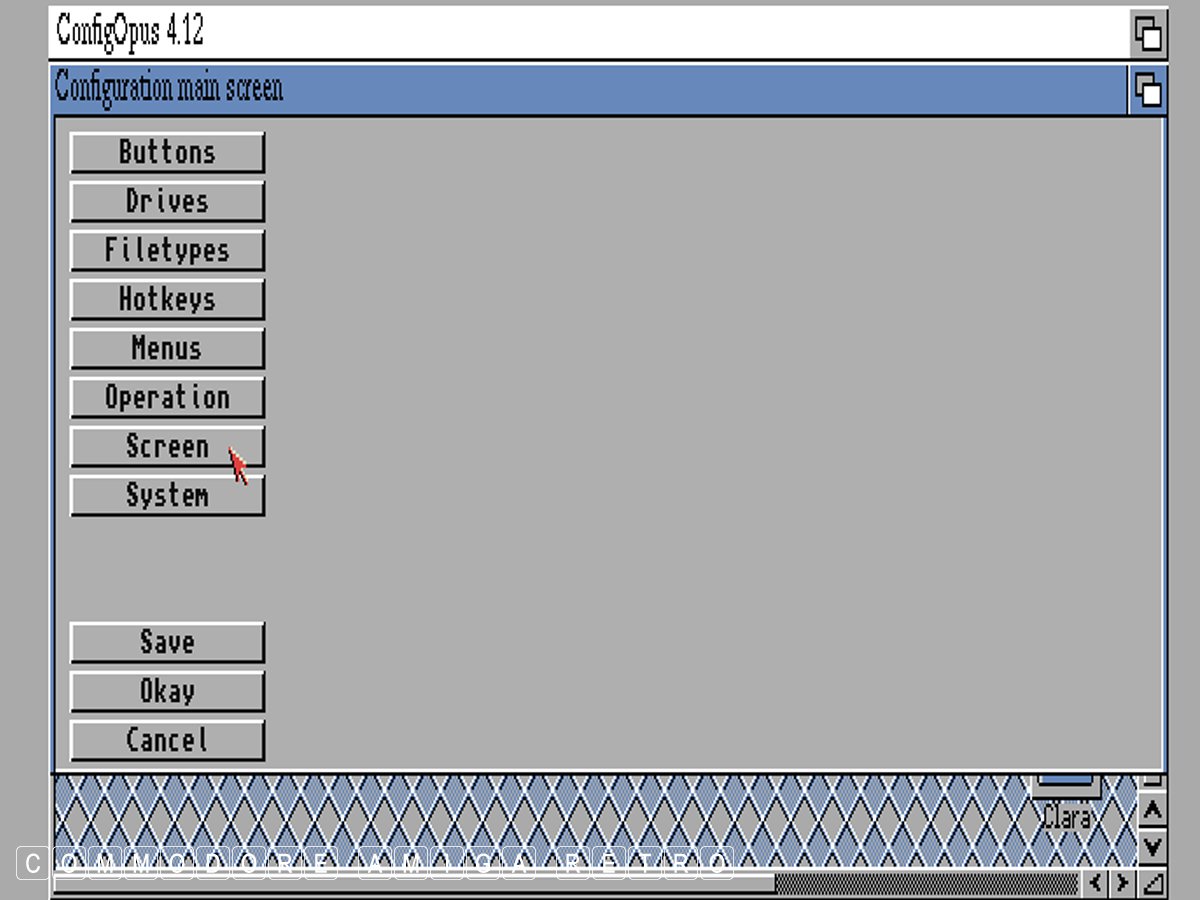
and select 'Screen' ..
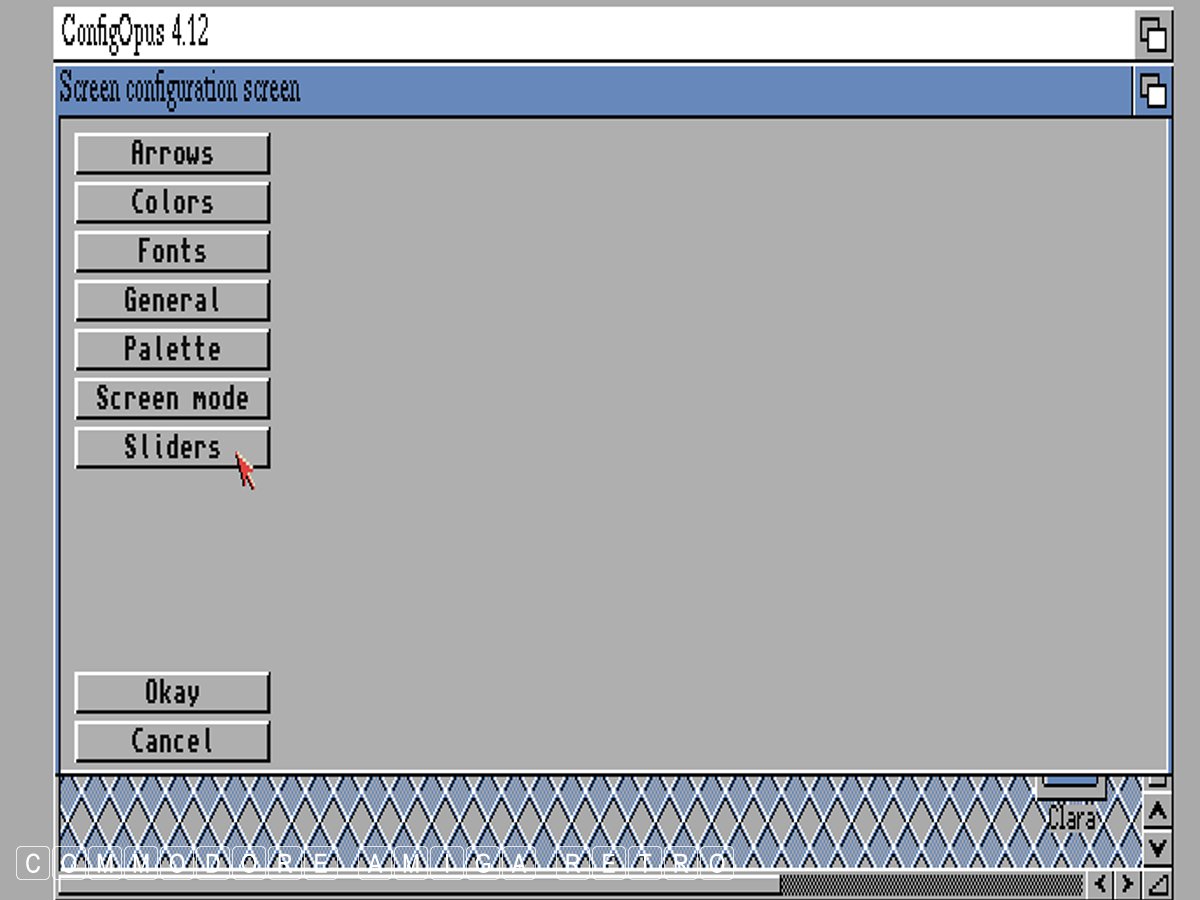
wish to access the banks as a scrolled list.
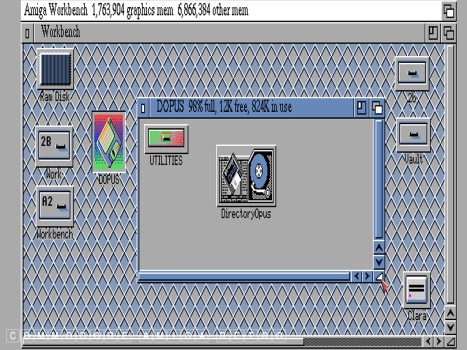
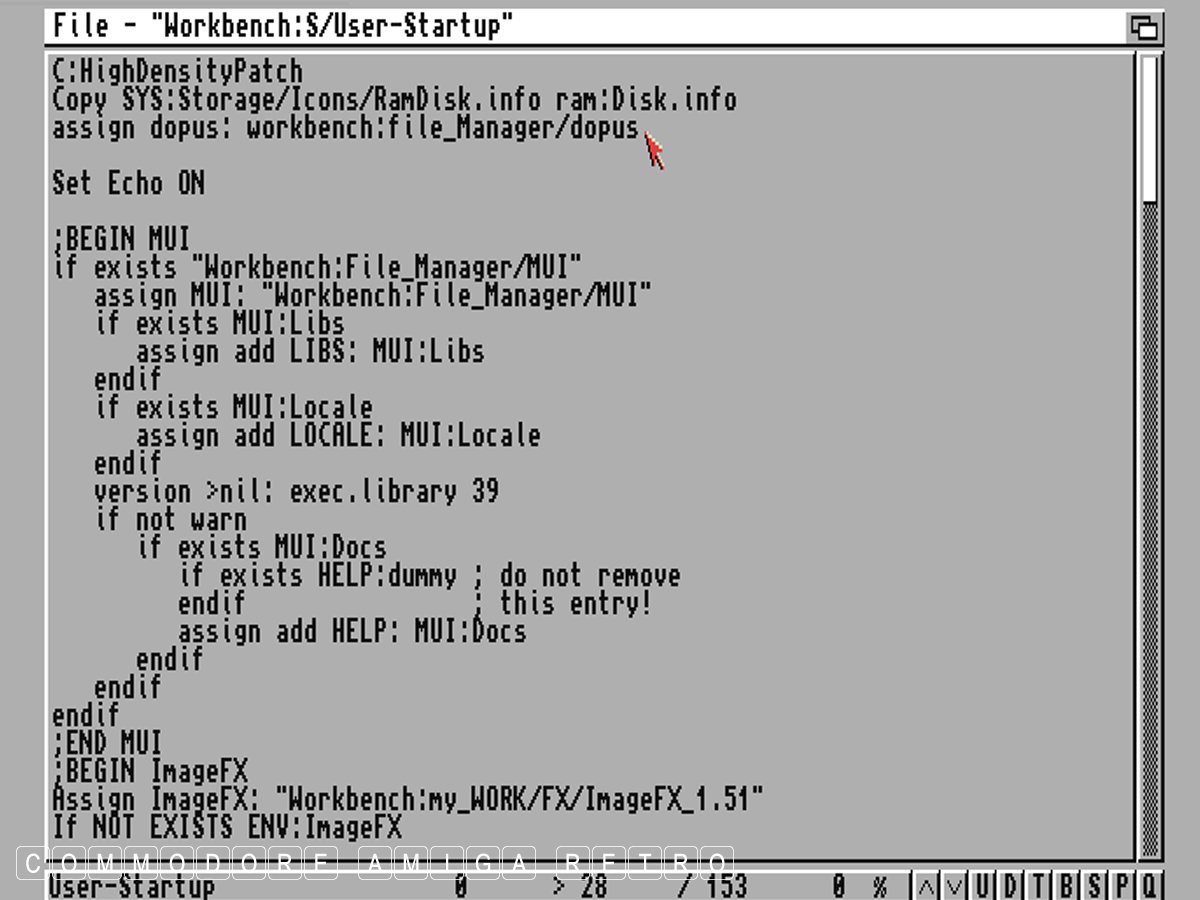
the DOPUS 'S' drawer. If you look you will see
other configs that I have acquired and downloaded
If you go on the Aminet site there are numerous
configs that you can try out. Be careful though
to save your original. You can load configs from
the main interface, but they will become the main
DOpus config if you choose to save as such.
Lets change 'Scripts' to RAM
or RAM disk
functions to find the exact directory you want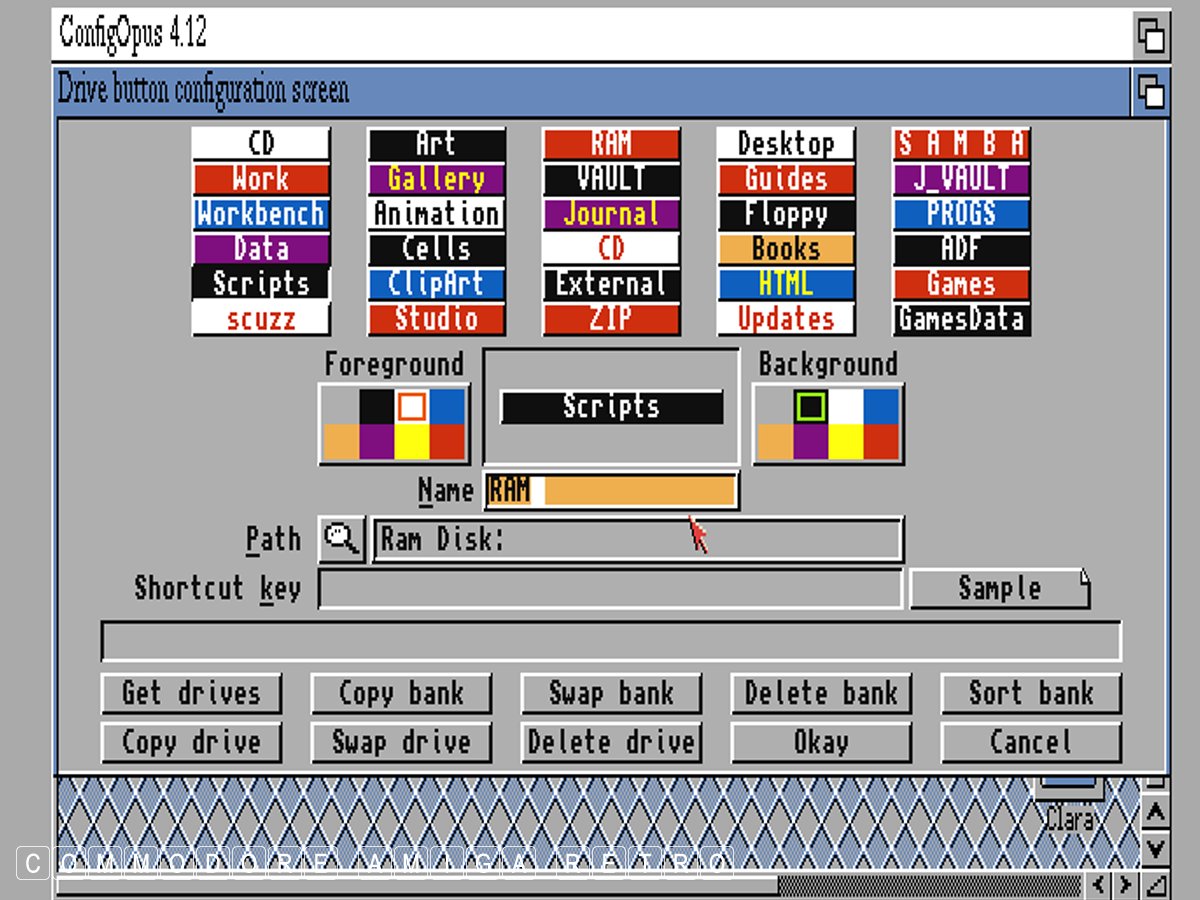
the colours and font text if you choose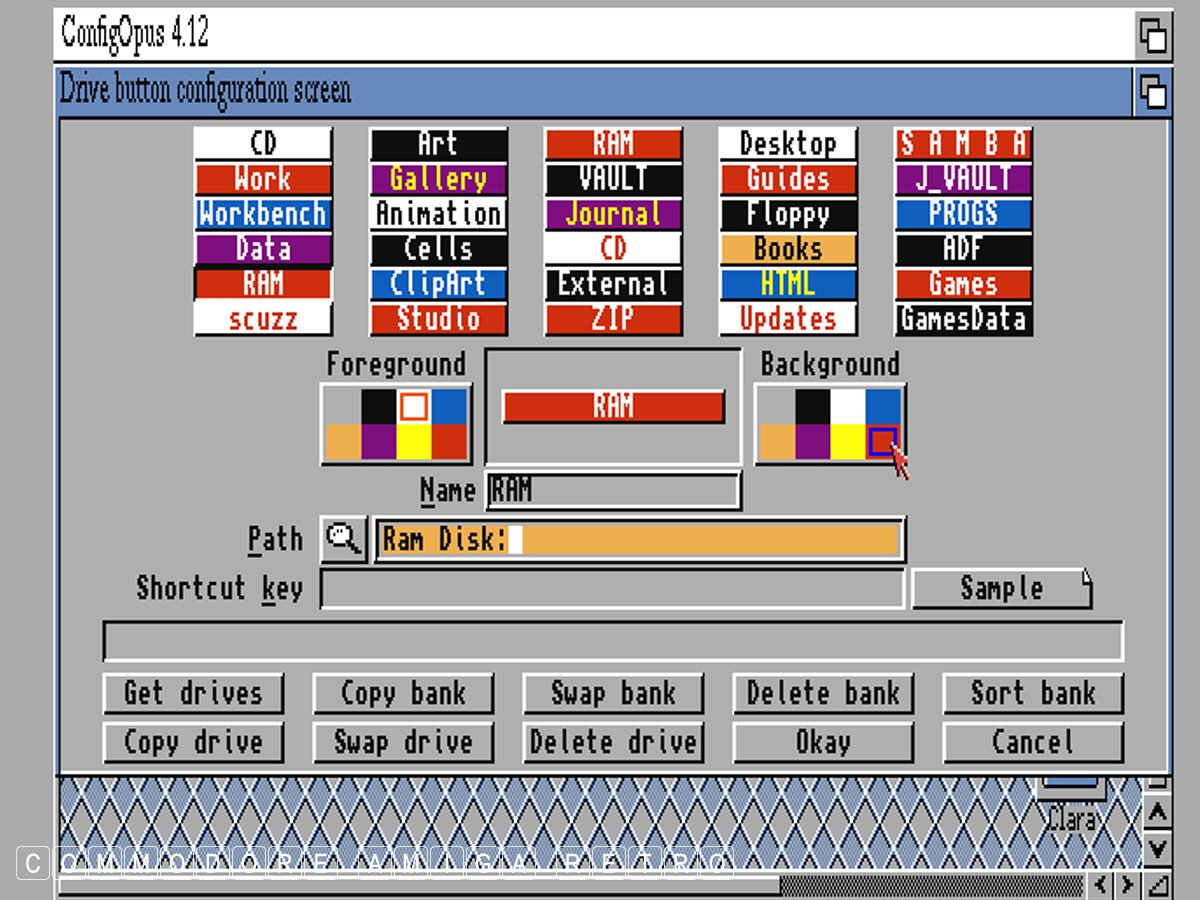
don't forget to hit return so it appears in
the top area. You can then change the colours etc
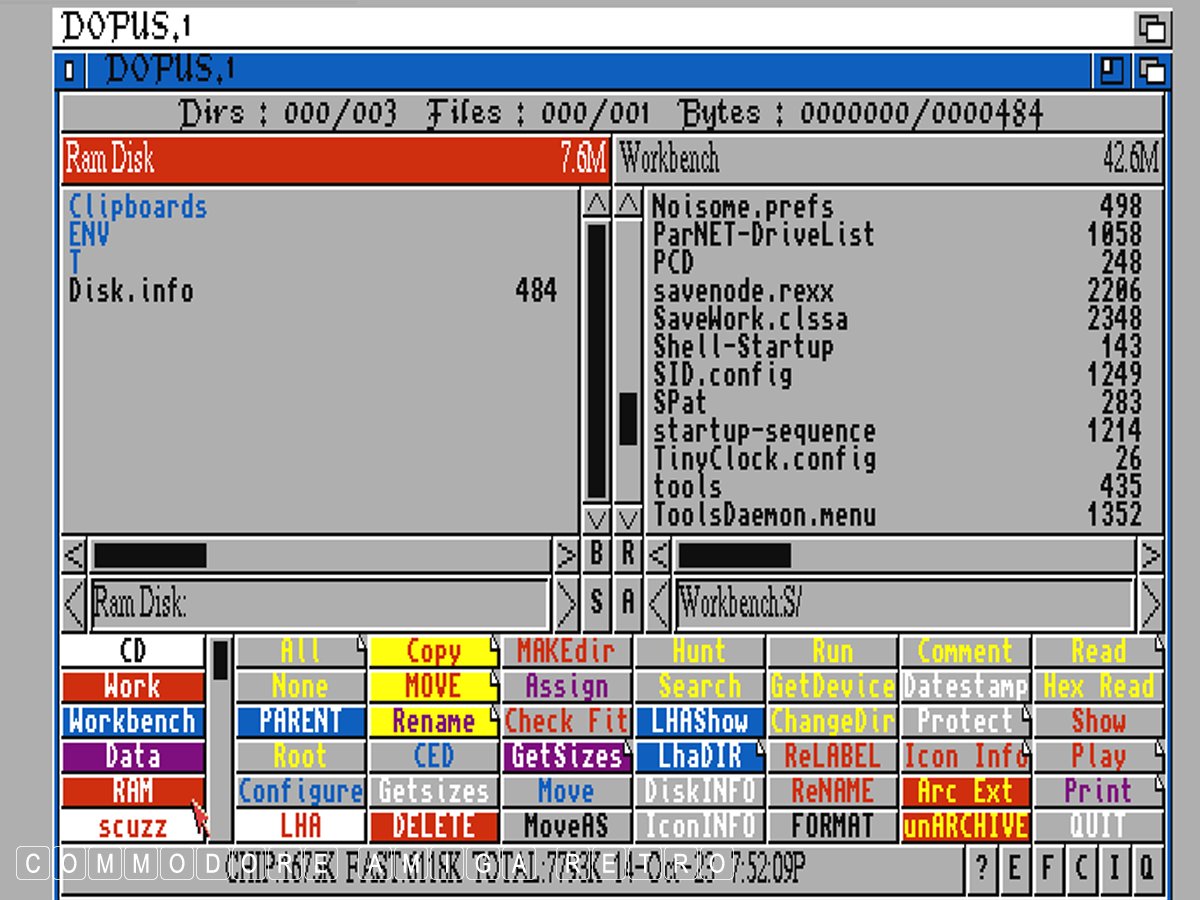
say access directory T and place in right pane
and copy, extract, etc into RAM say from files
you have in the left pane. This is useful if
you have LHA files in Work say and want to extract
into RAM before moving them or using them
that I can explain in another tutorial for archiving
purposes. Also note that buttons have a folded corner
This gives a single button two functions. The left click
activates one and the right click the one that is hidden
The hidden buttons can be viewed from the Configuration
menu under Buttons and is the second bank shown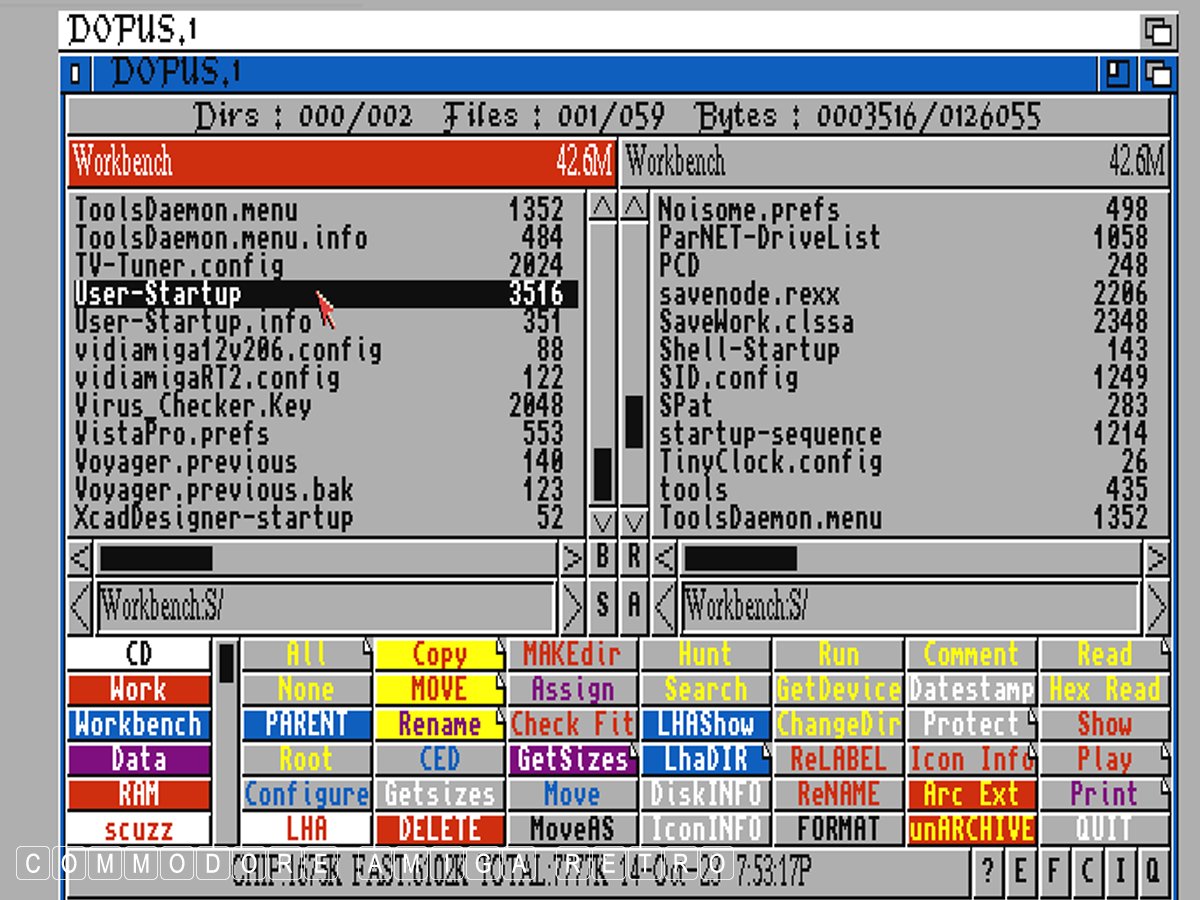
prompted for the floppy each time you use it, then
you need to create an ASSIGN in your user-startup
as I explained in a previous tutorial
Dopus near the top of the user-startup in s. Note
that the location will be wherever you have put the
copy of the Dopus files taken from the floppy disk.
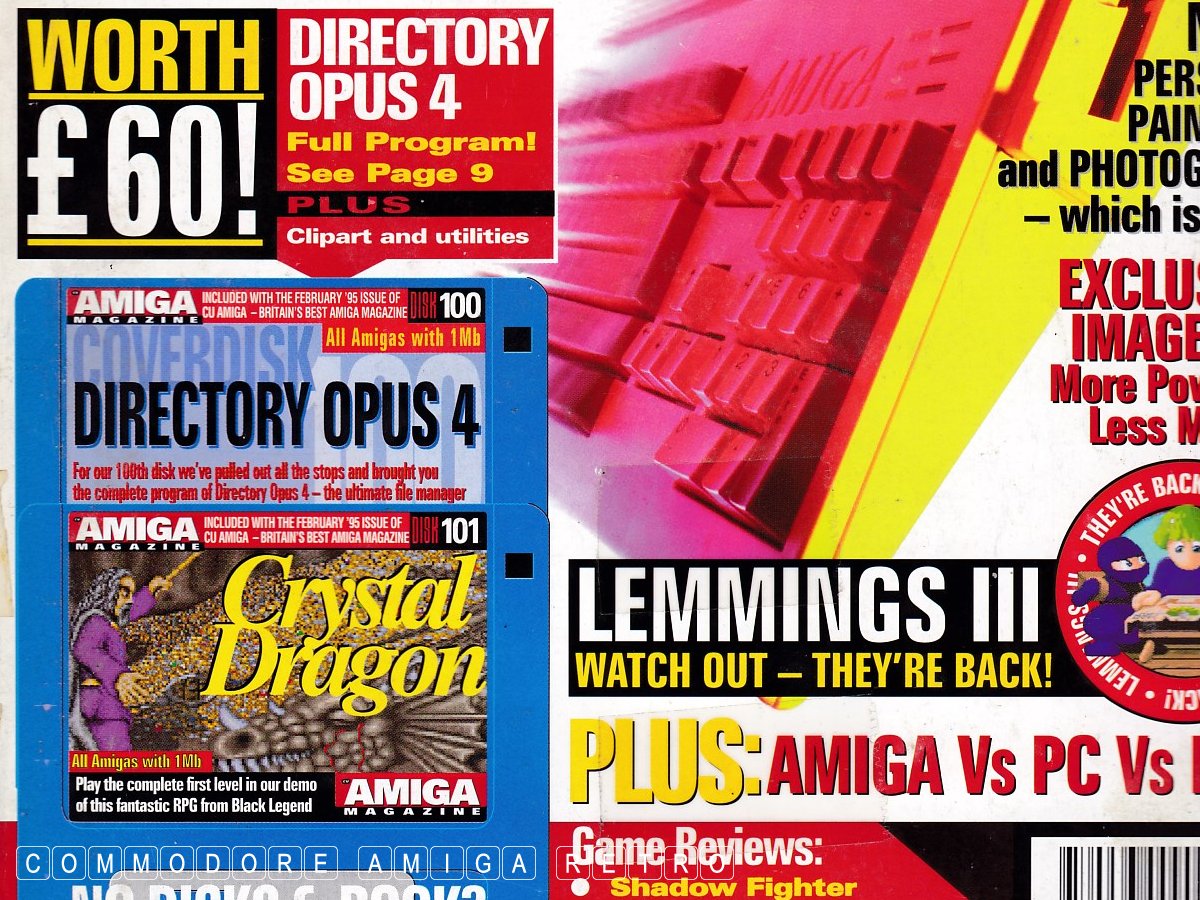
November 1995. The following months the magazine
provided tutorials. I have scanned these and will
stick them on a blog for tomorrow
If you can only see this CONTENT window
then click the image above for the full site
Last updated 14th October 2023
Chandraise Kingdom
![]()
Keep the Faith
scuzzscink 2023