Amiga 4000D - Inside Out
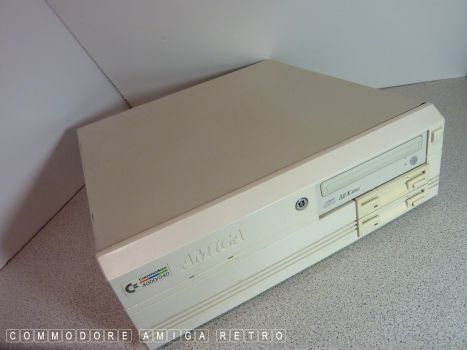
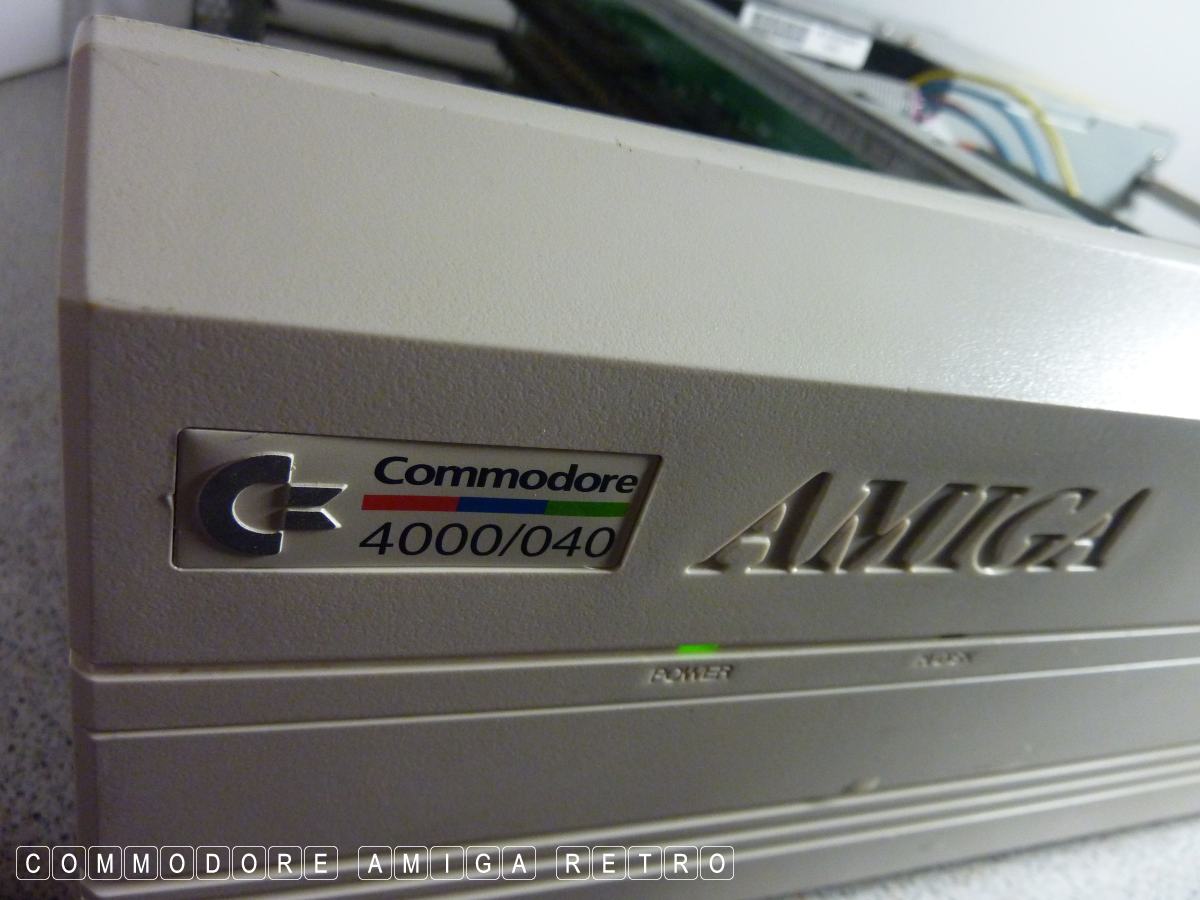
Amiga 4000/040.
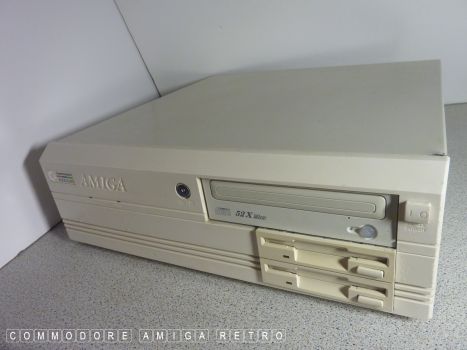
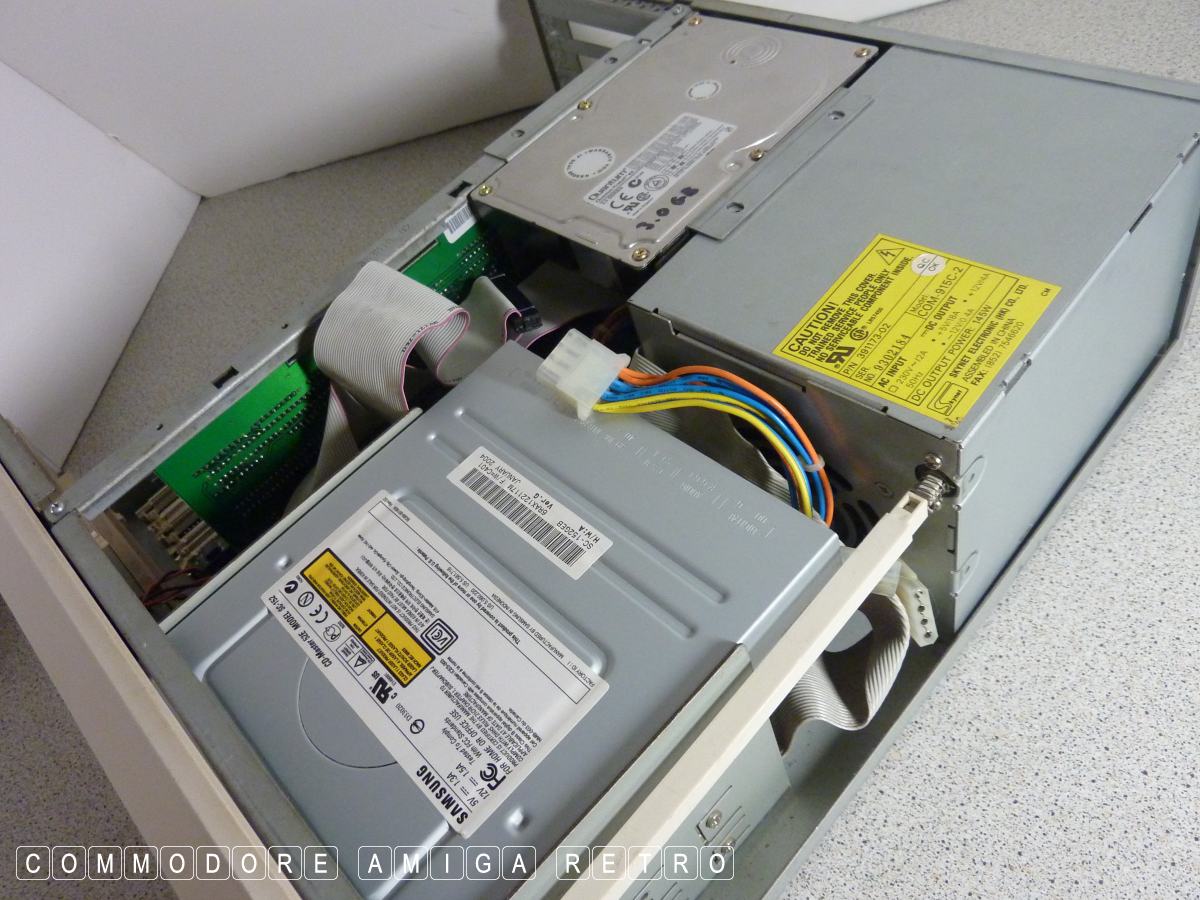
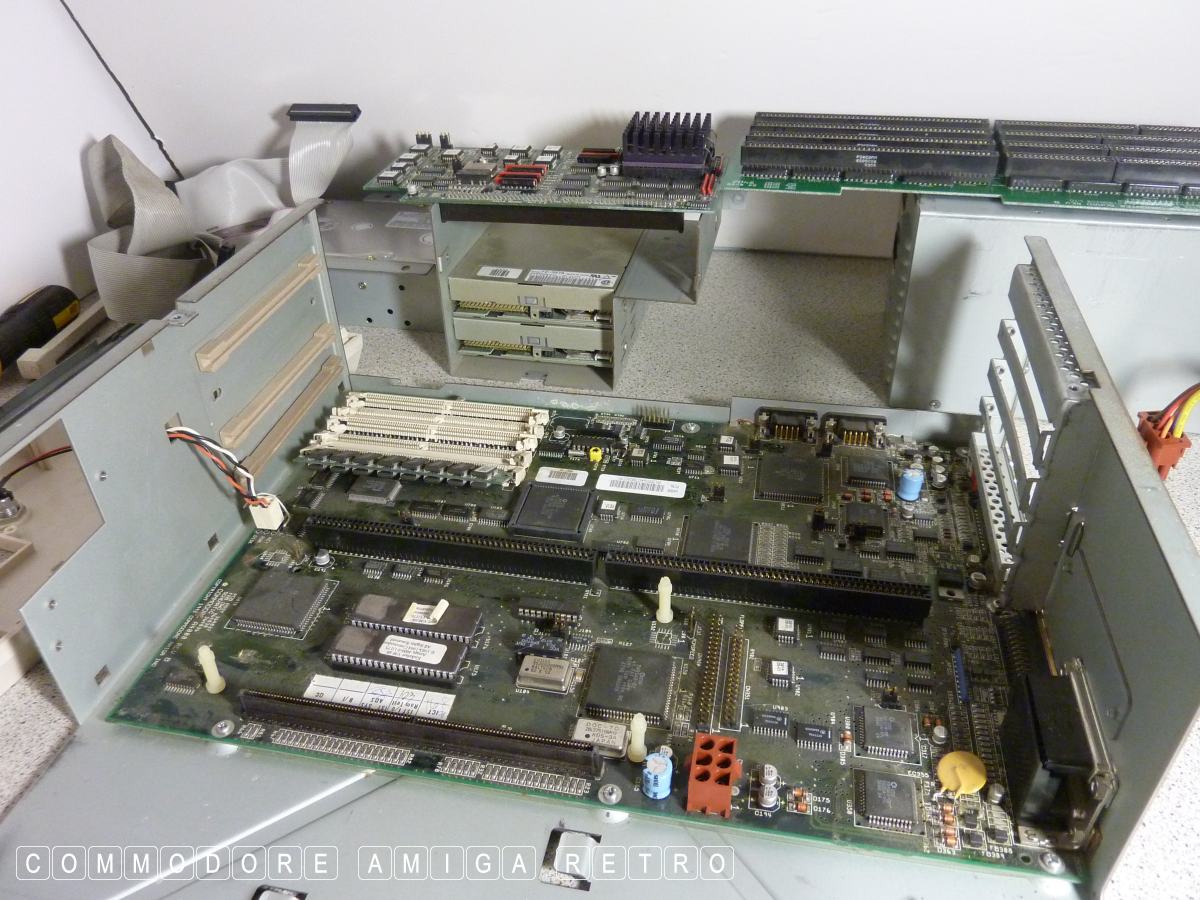
Very clean machine with twin floppies
and the CD ROM drive.

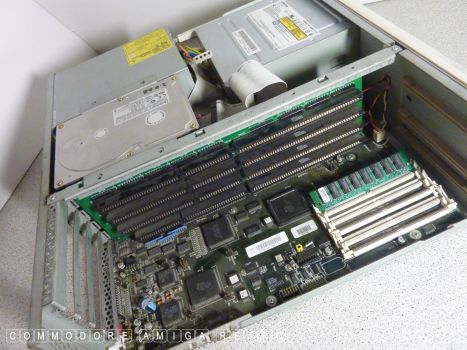
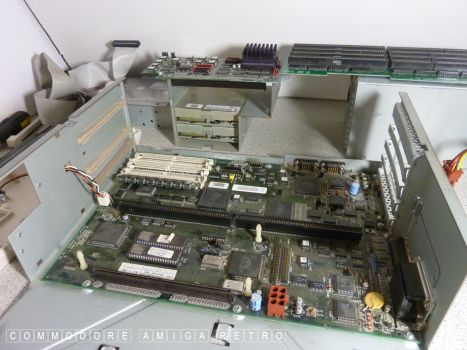
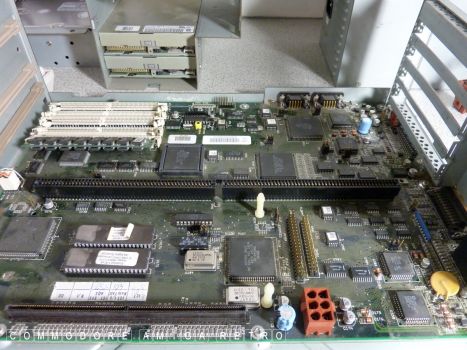
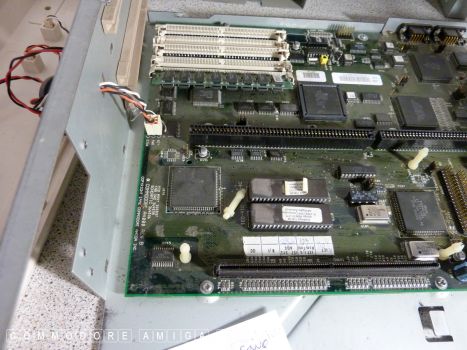
All the internal cards have been removed.
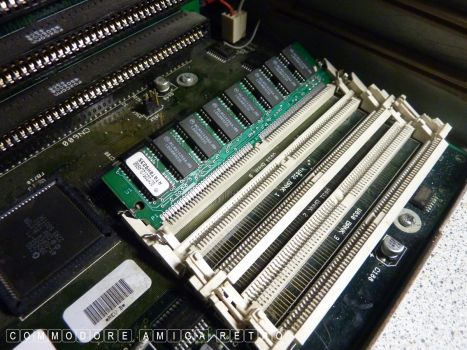
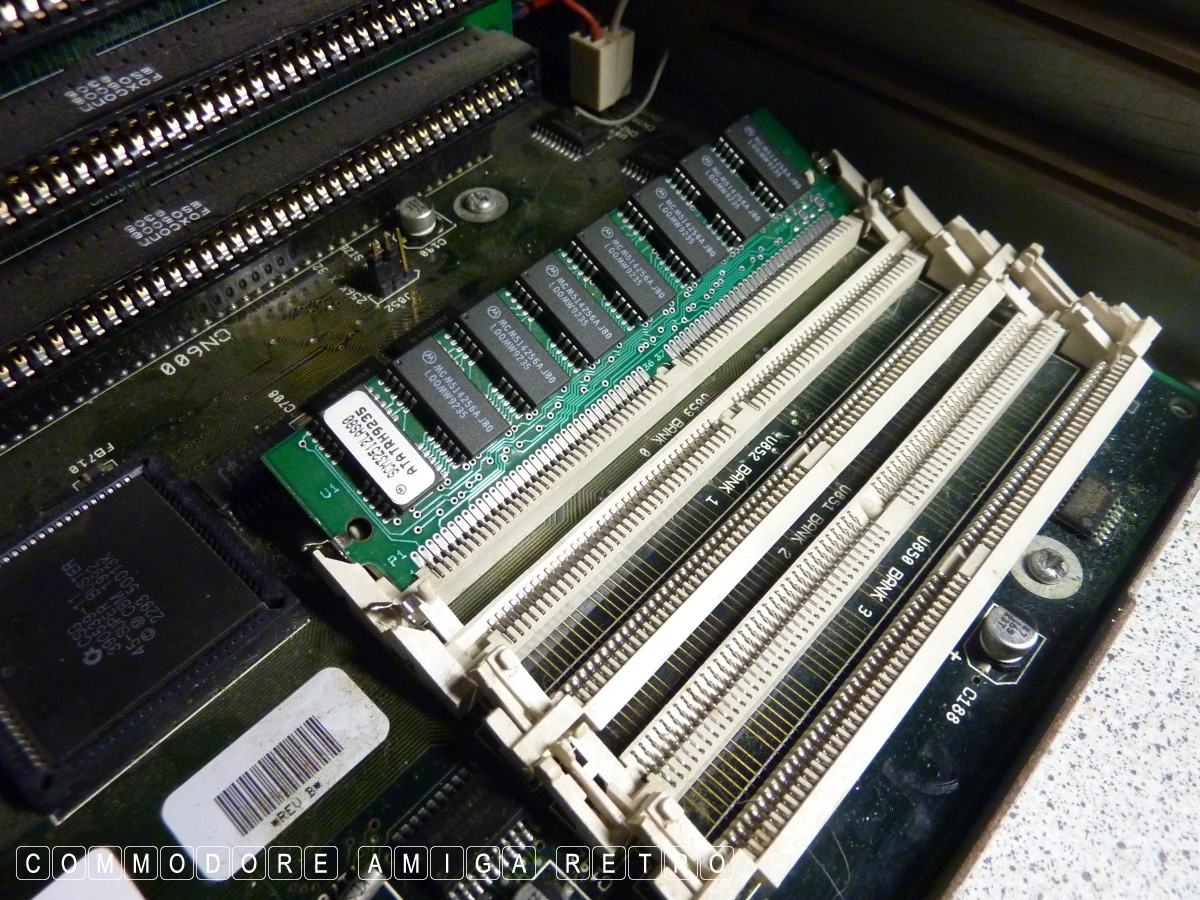
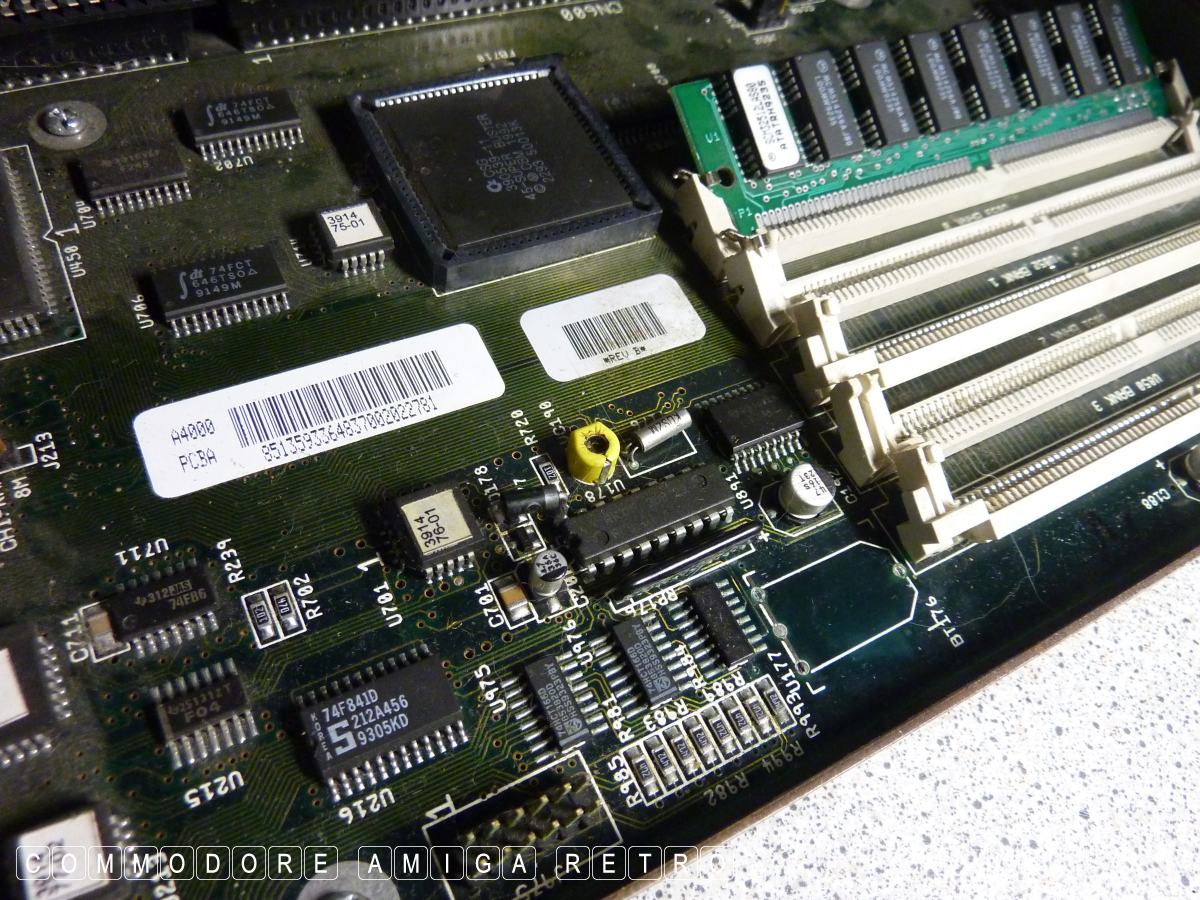
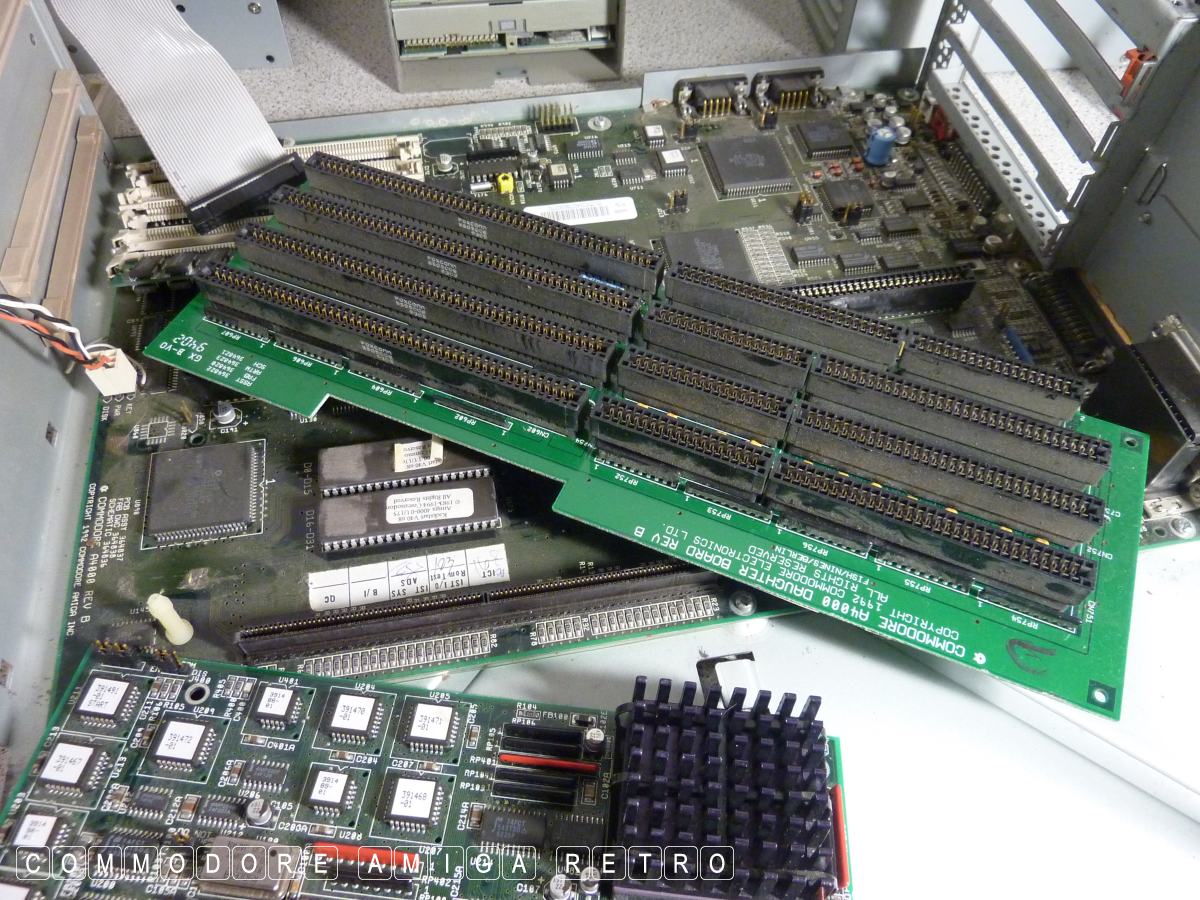
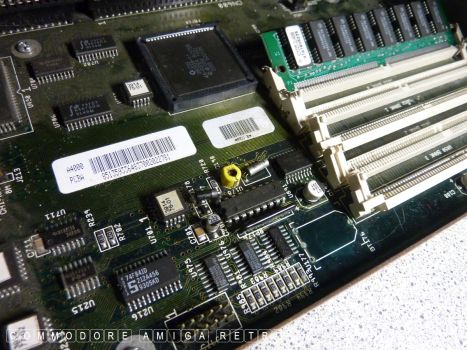
The SIMMS are shot sadly.
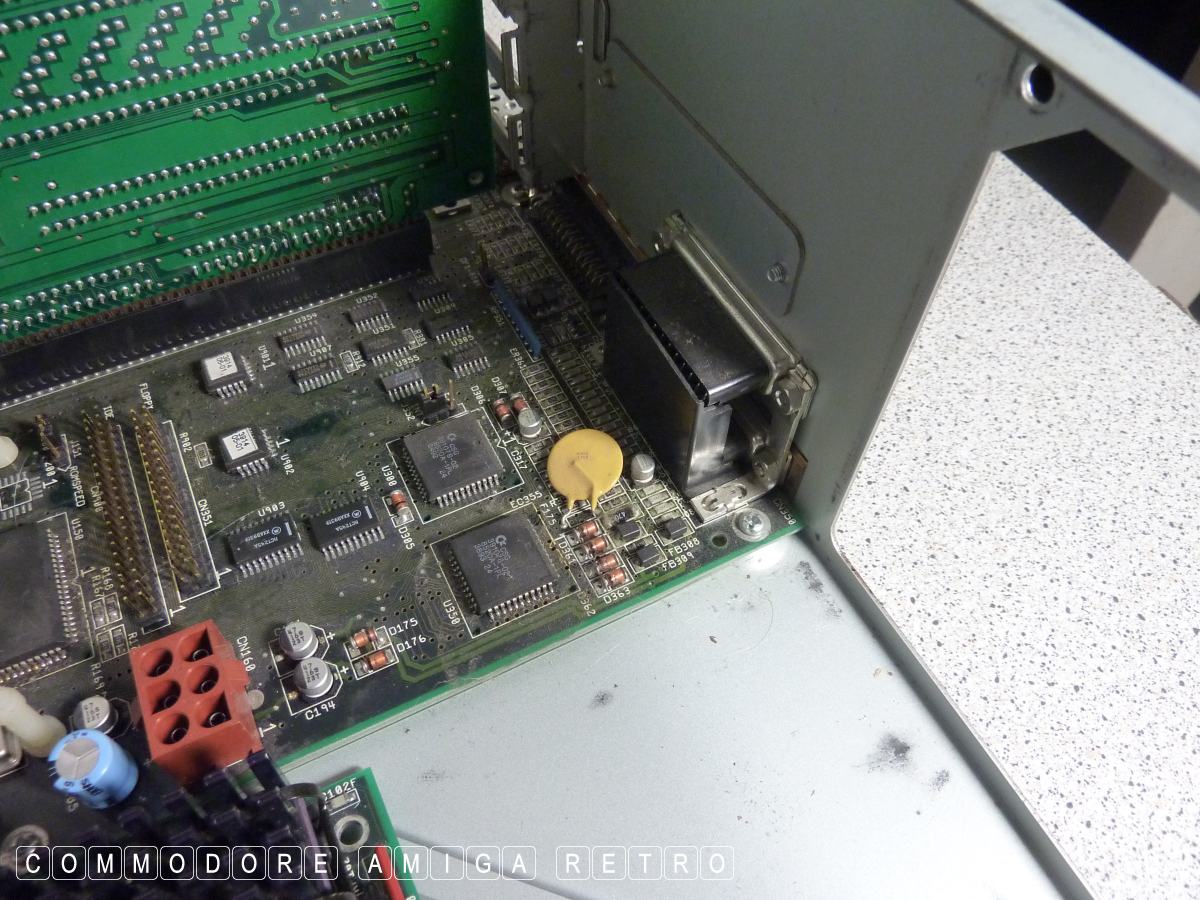
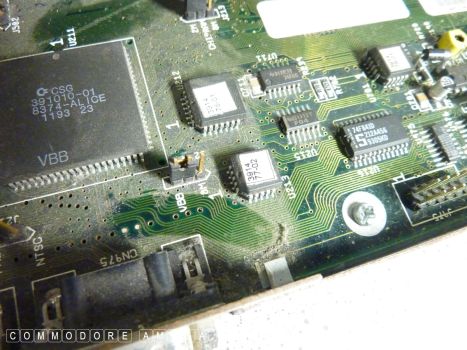
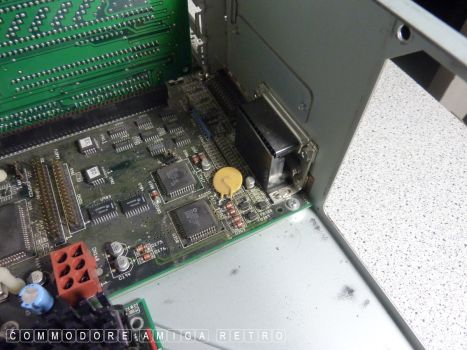
No battery damage. The machine
had been fitted with a brand new
barrel battery that I removed.

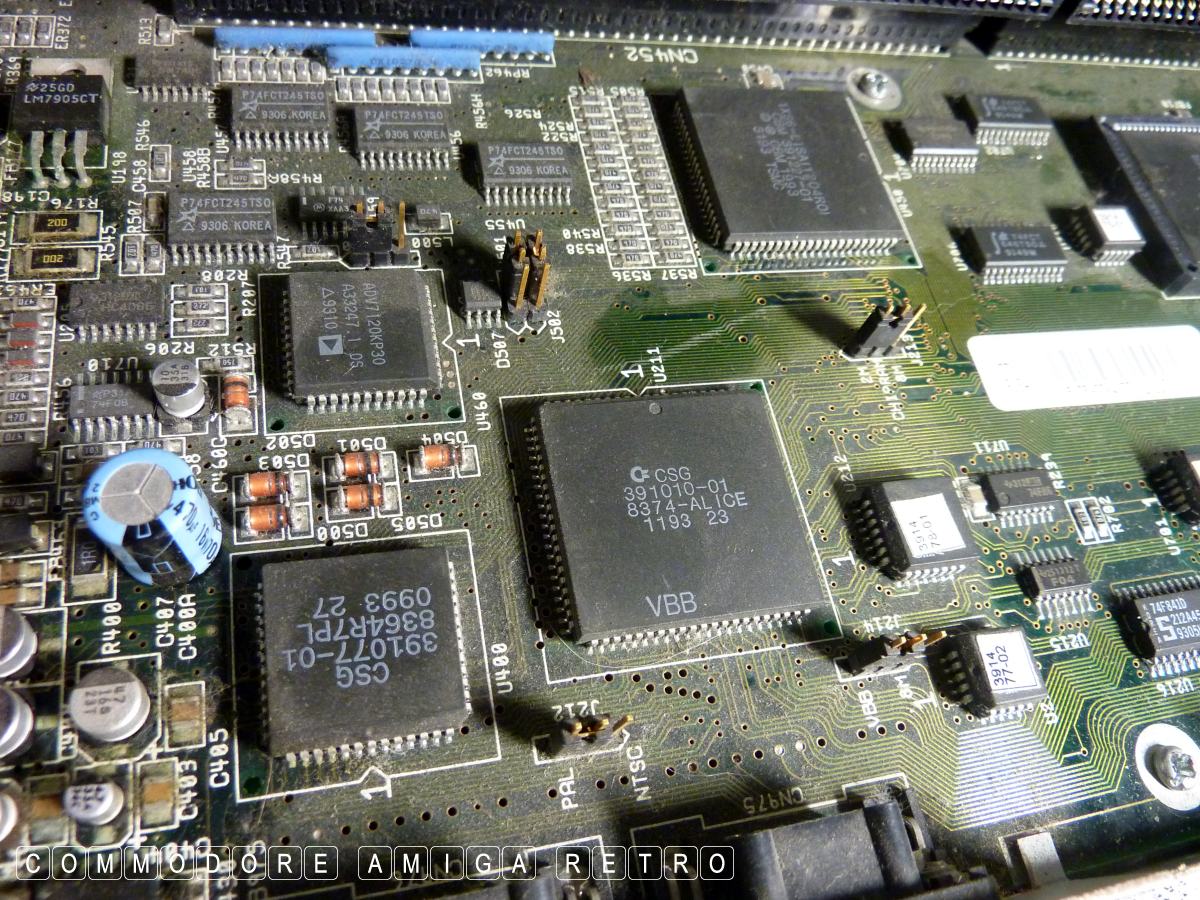
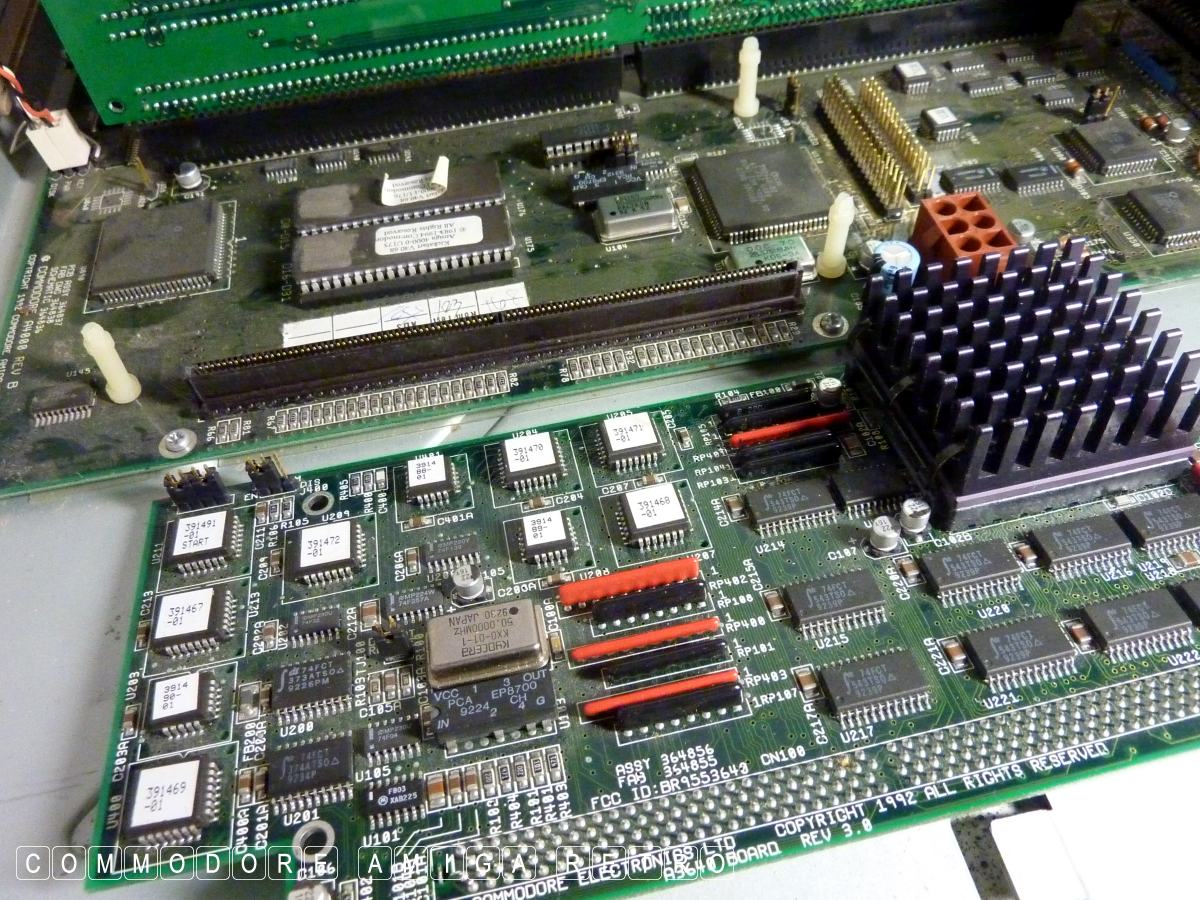
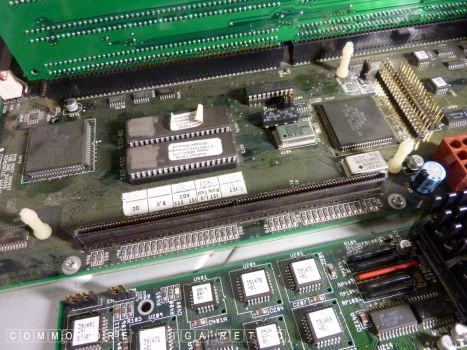
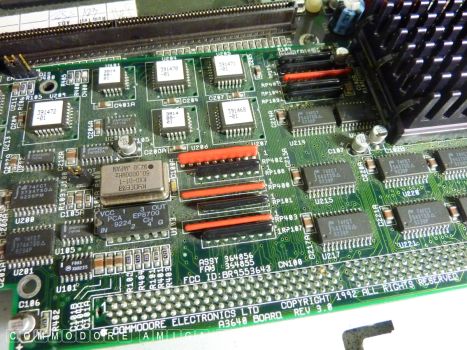
Buster 11.

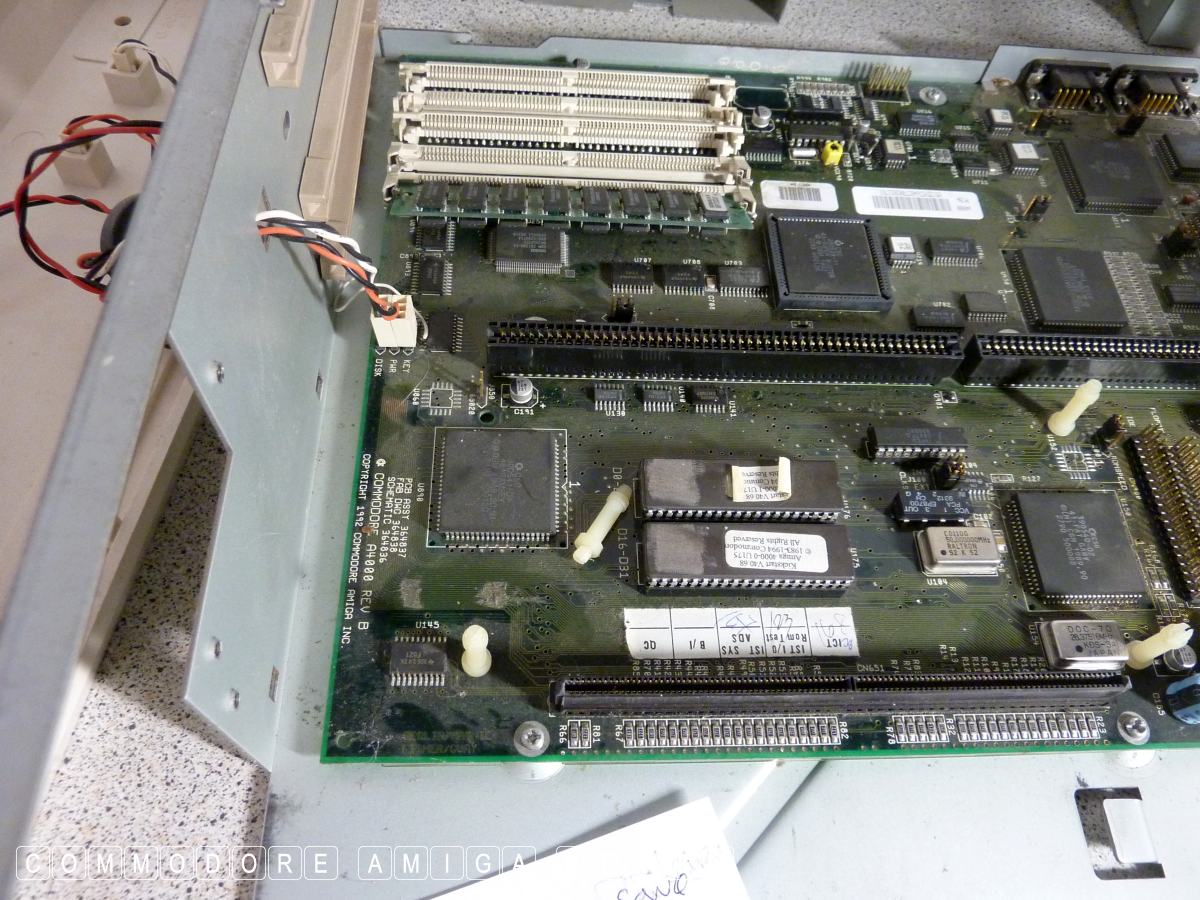
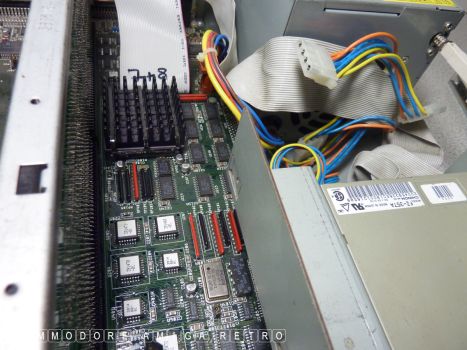
Dusty interior.
Very dusty.

Powers up. Nothing on the screen.
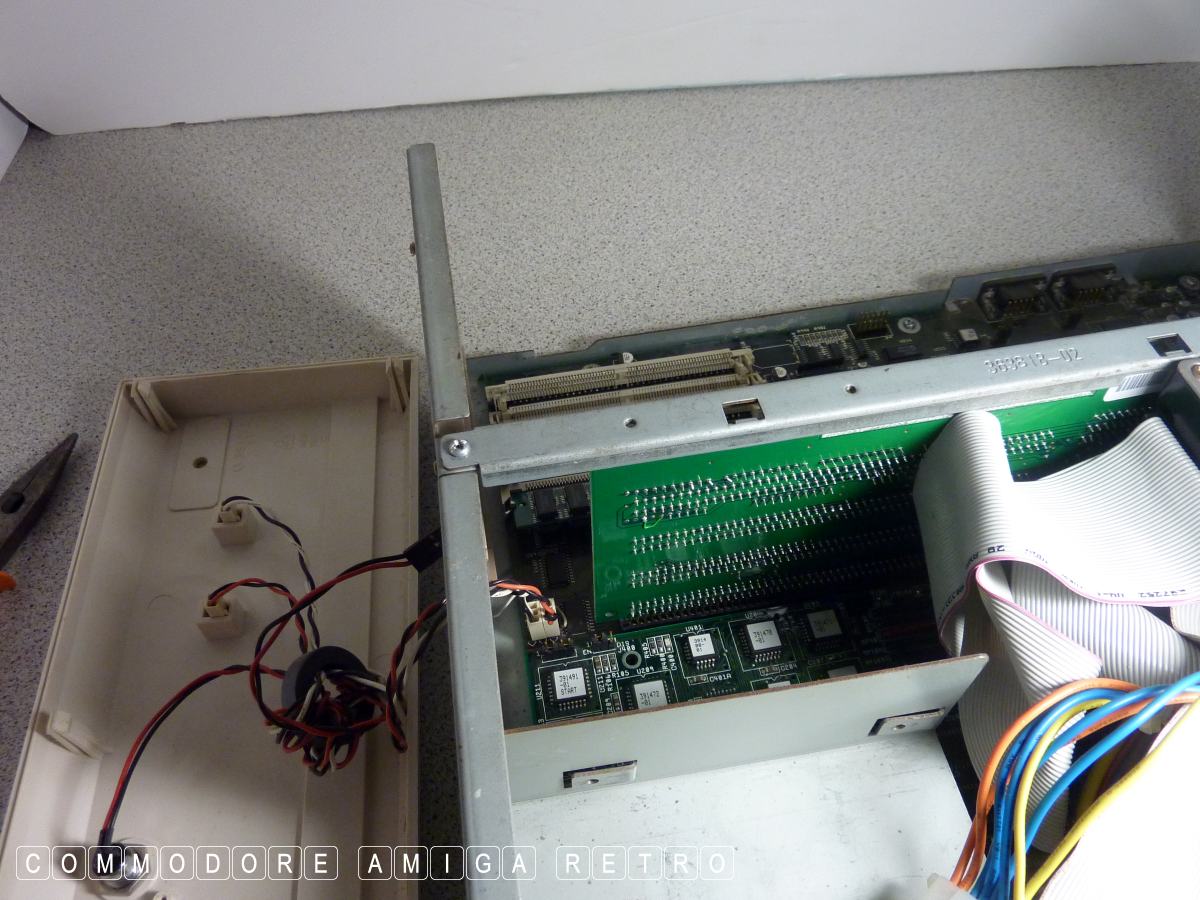
OK first I remove the front fascia.
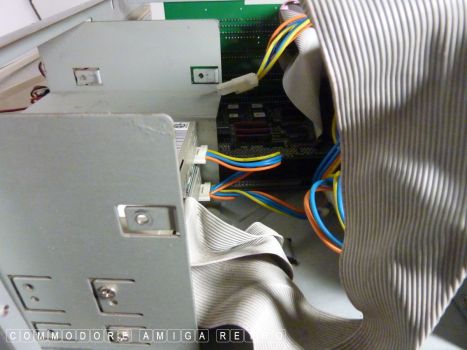
I remove the CD and unscrew the main
bracket holding the floppy drives.
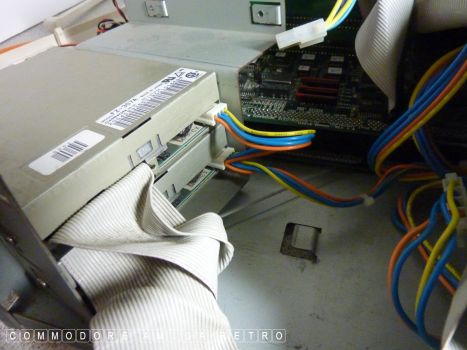
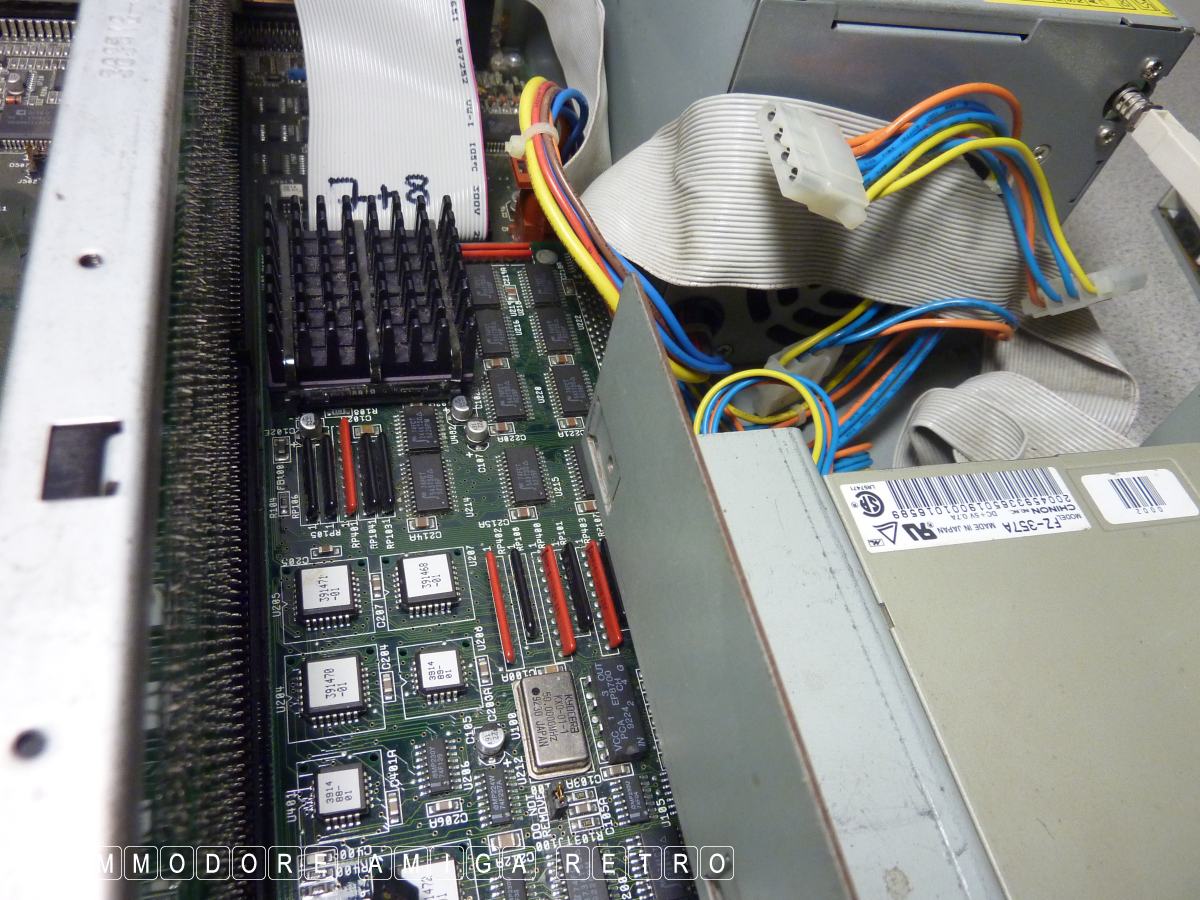
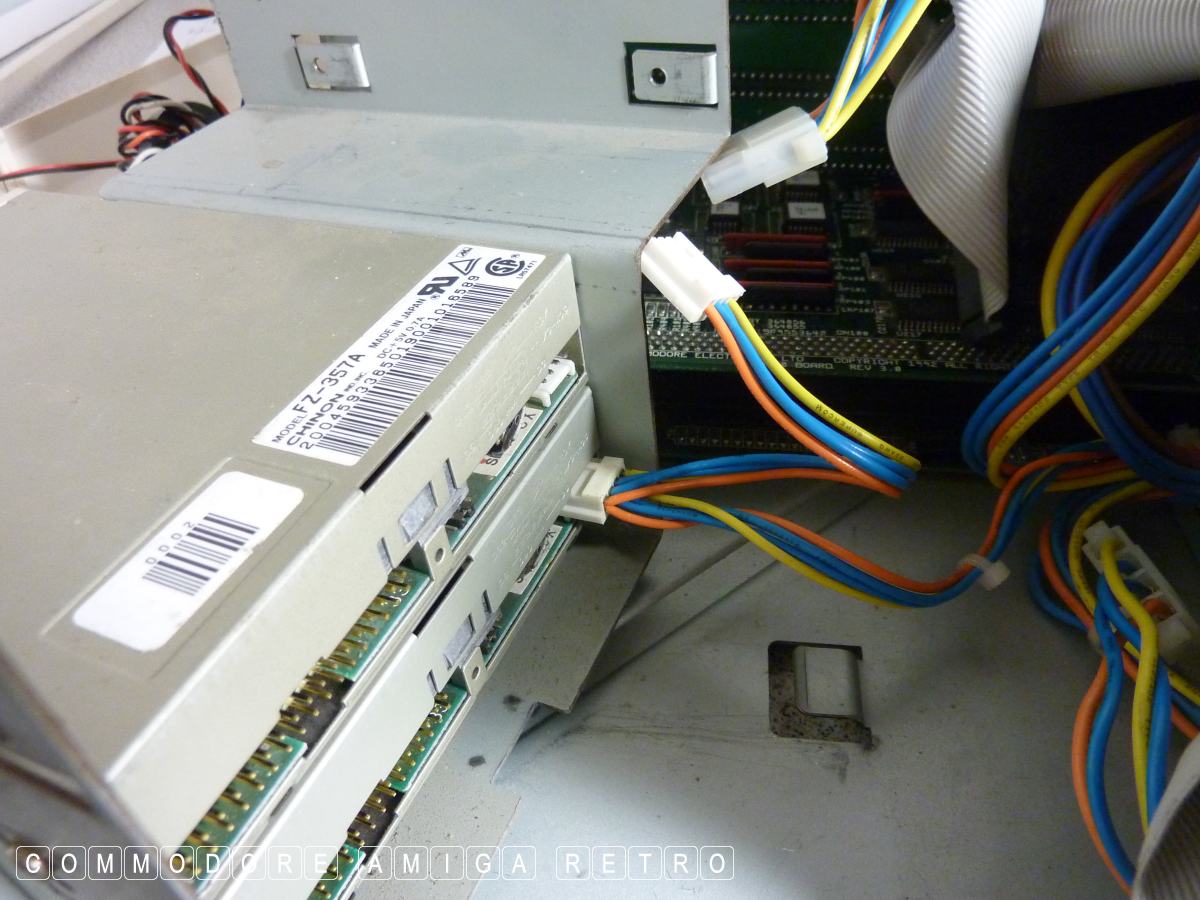
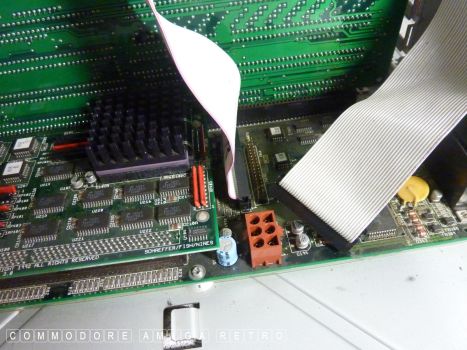
I record the power and ribbon arrangement.
And then pull the connectors. The
whole unit then slides out.
Pull the power. It only goes one way.
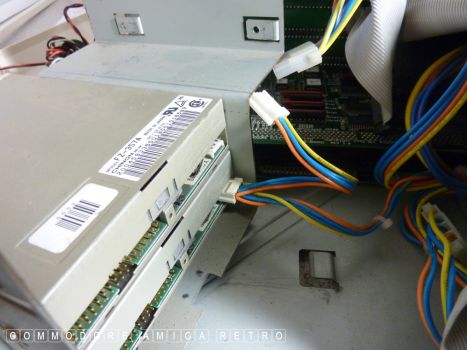
Make a note of the ribbon arrangement
and then pull them from the motherboard.
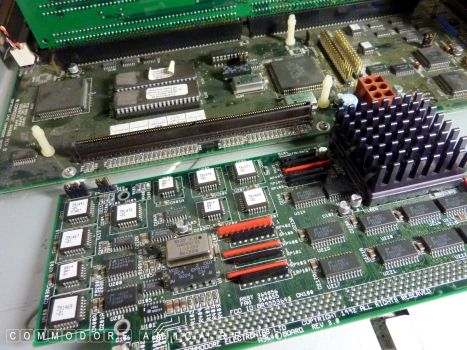
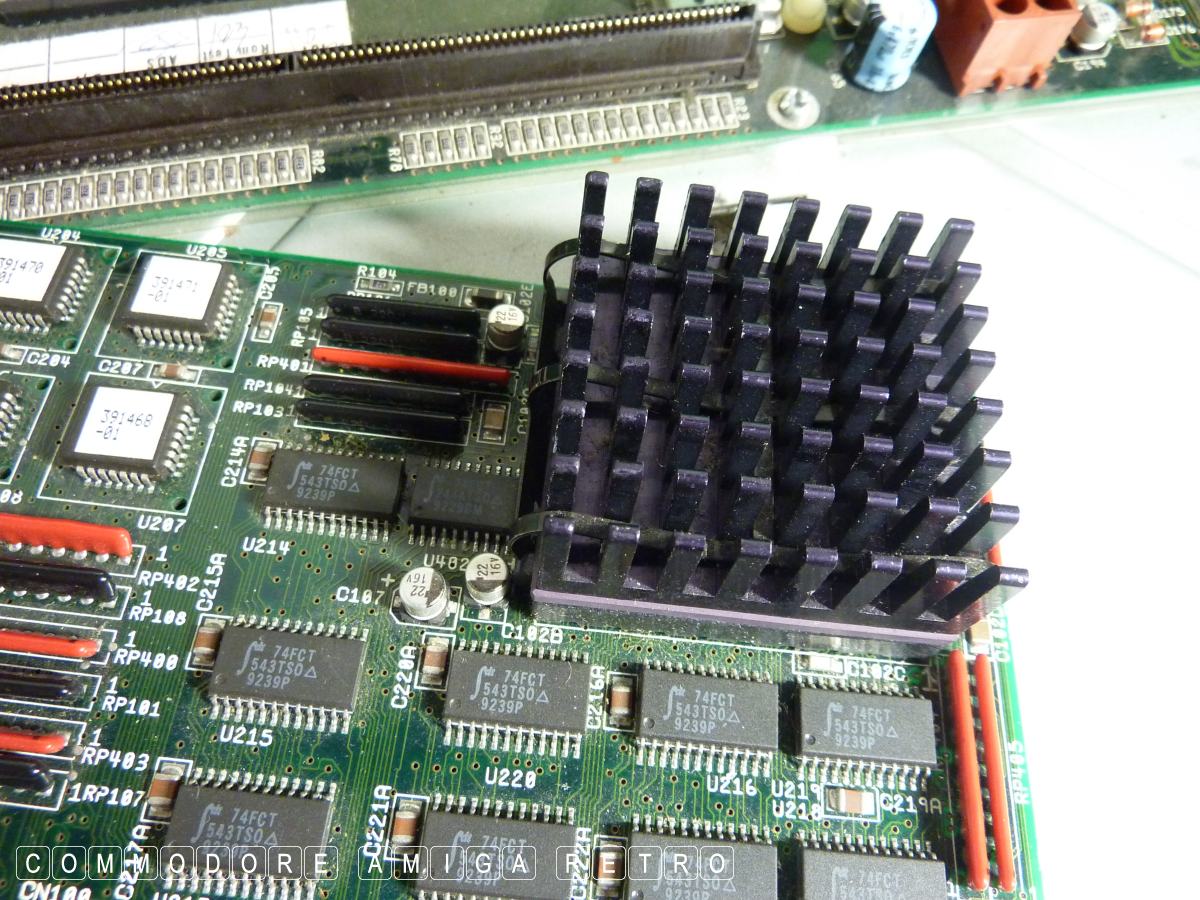
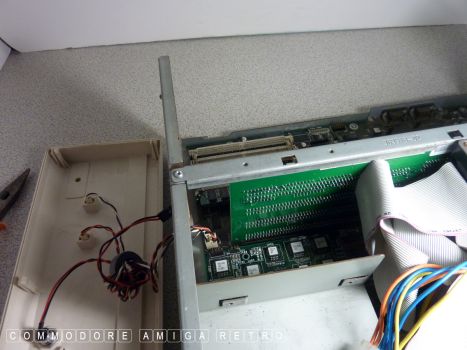
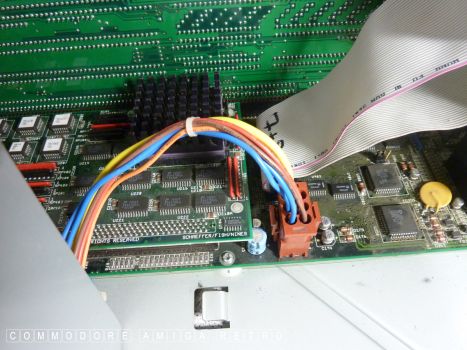
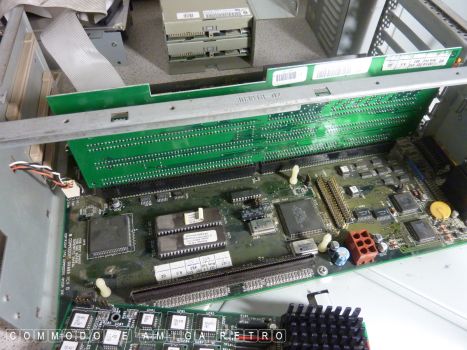
Carefully lift the CPU board .
Leave the support legs in place.
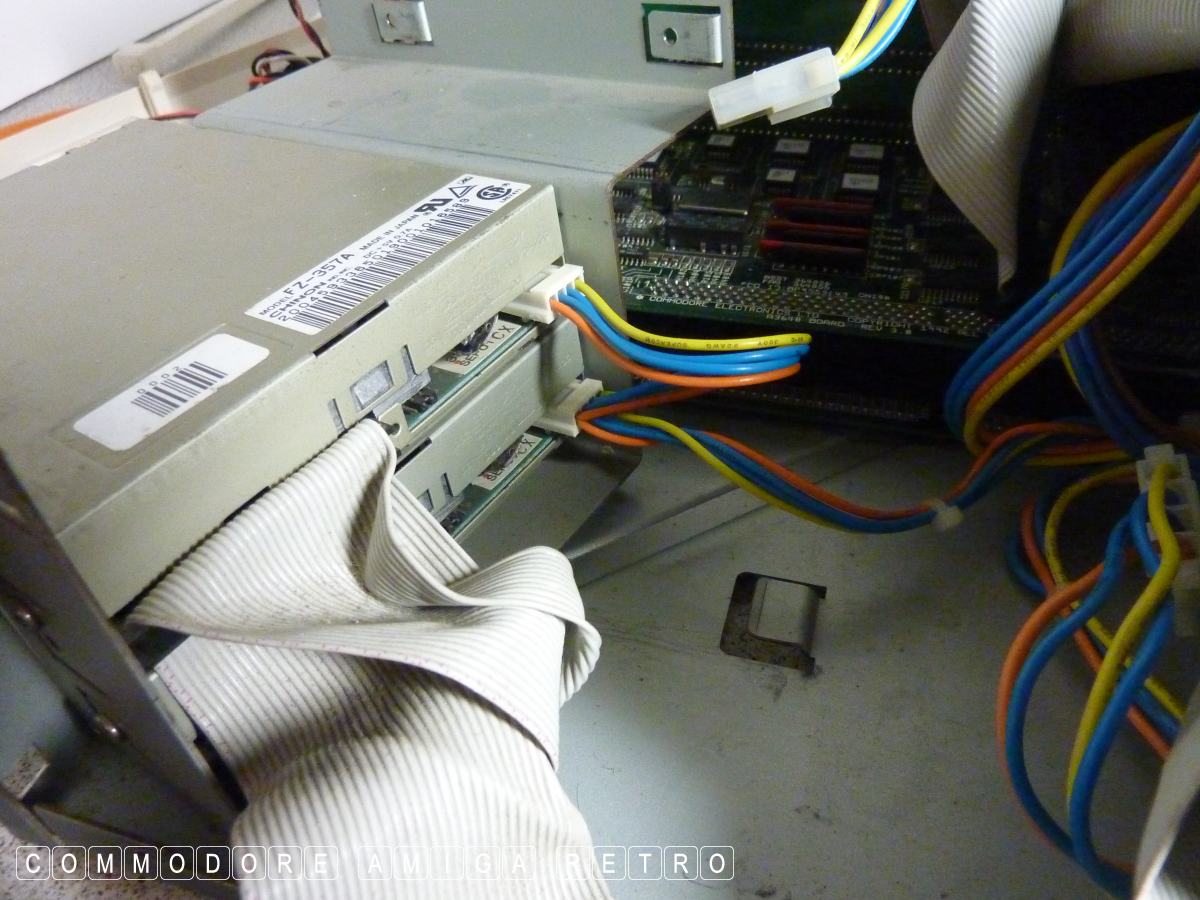
I had already pulled the PSU.
Unscrew the top bracket holding the
main riser daughter board.
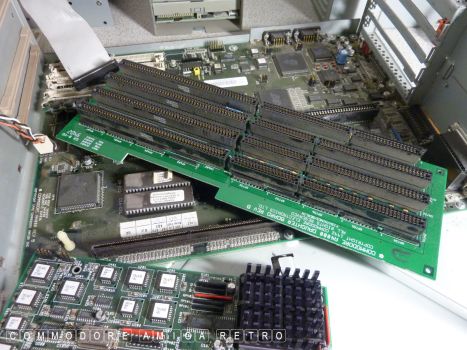
And pull the daughter board.
I assemble the removed components
to the rear of the computer.
At this point I could remove the main board
by unscrewing the rear ports but don't.
I found the lost support leg that had been
rattling around inside.
I've been here before quite a few times
and had no luck so I simply put her back
together again and back into store. I will
dig out another PSU one of these days and
maybe fit that and see if it helps. I doubt it.
Sad but hey... Nothing lasts for ever.