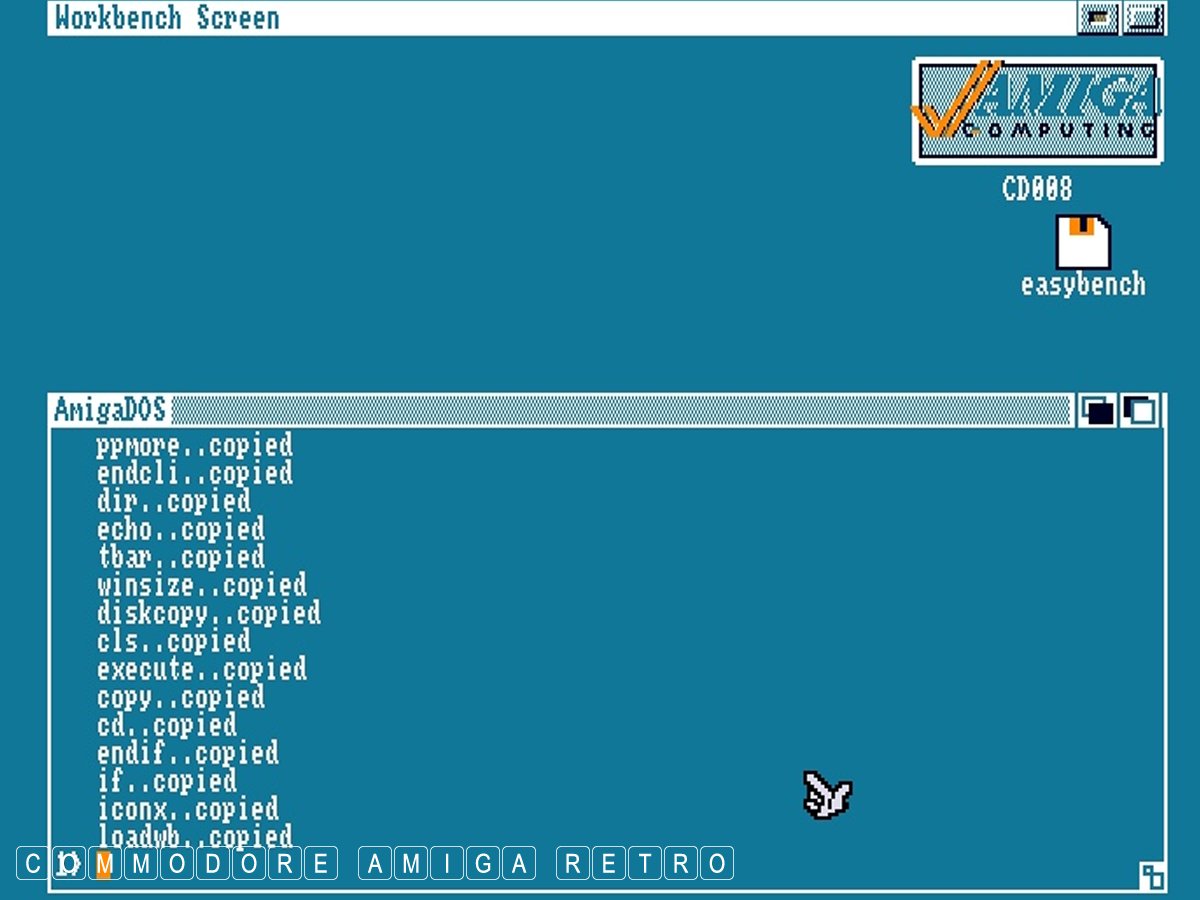
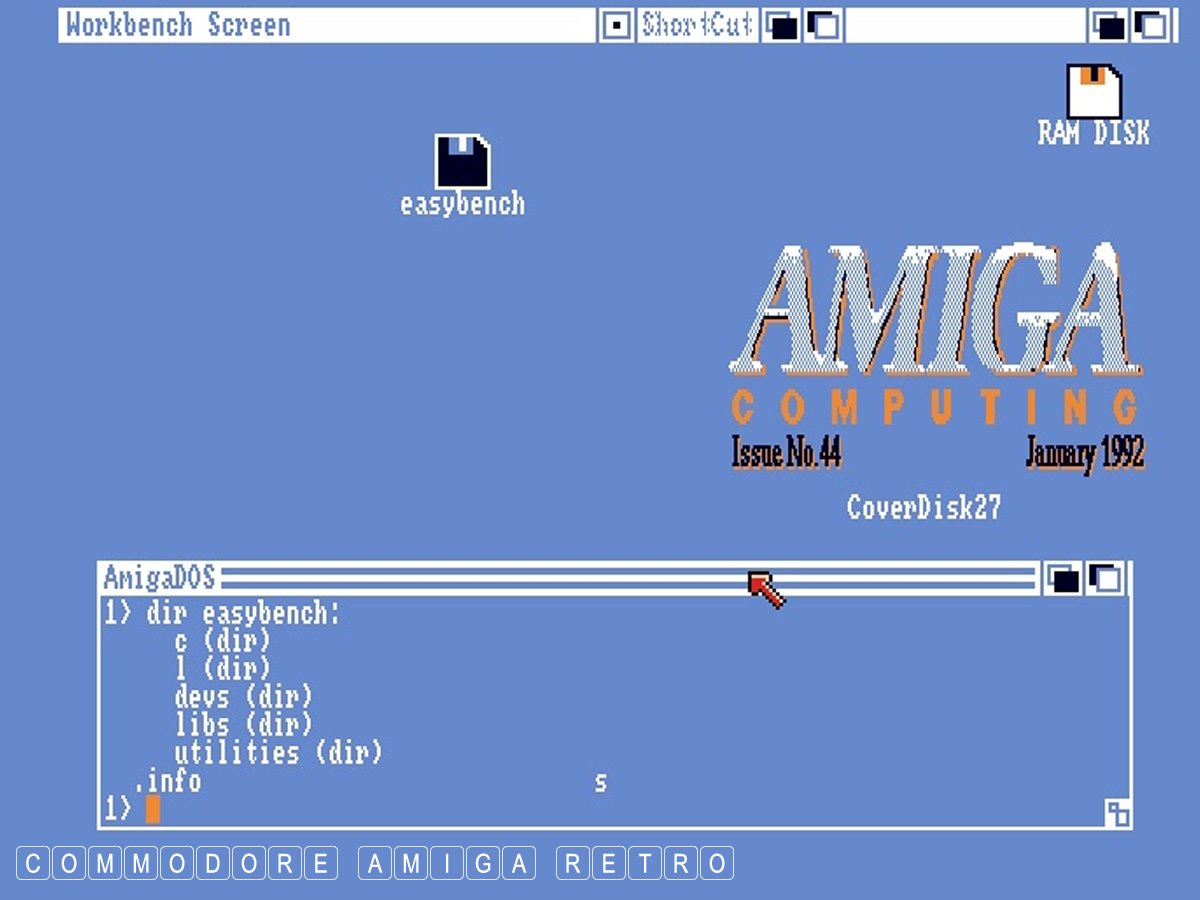
Amiga 1.3 - Creating your own WB disks.


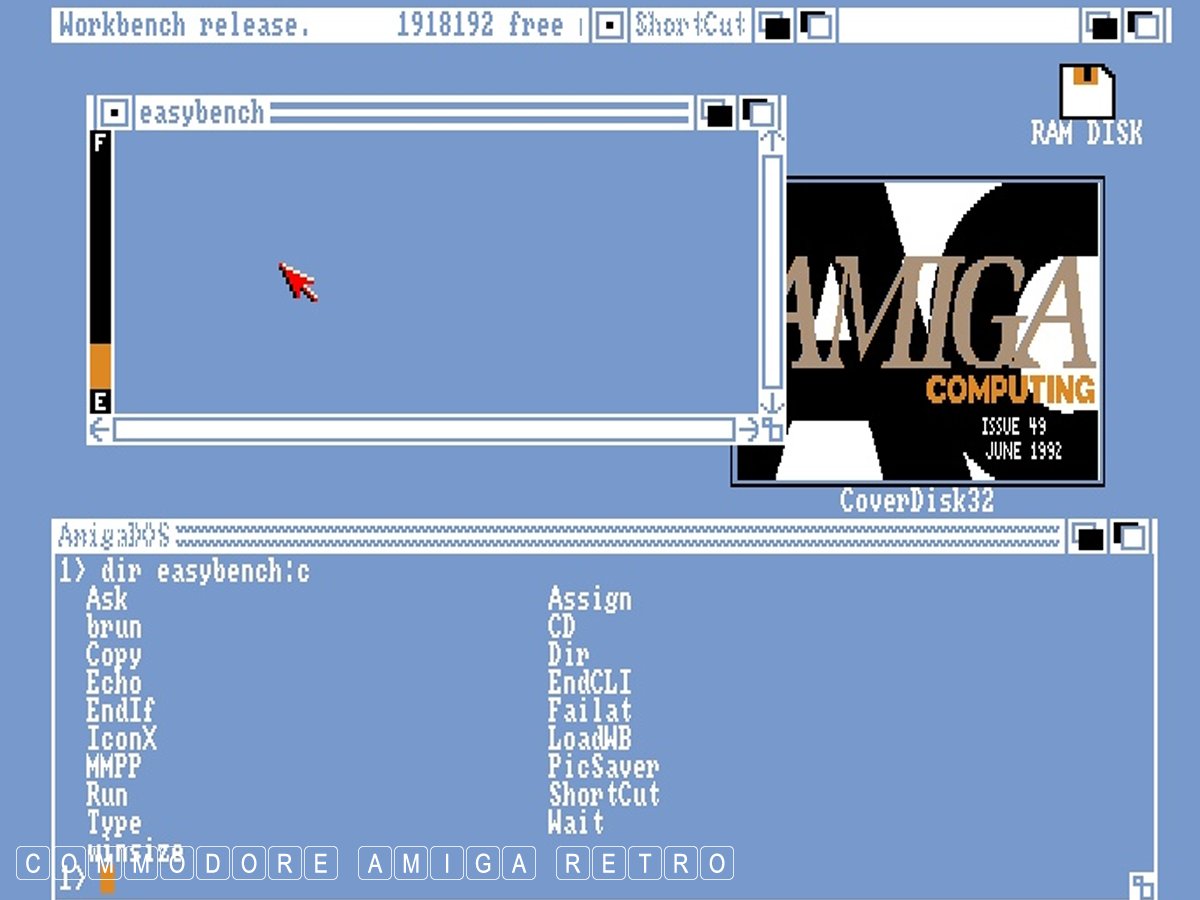
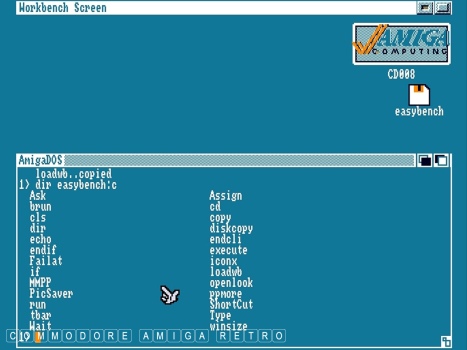
One of the problems with WB1.3 is
the lack of icons showing installed files.
These are the files I copied from the cover
disk to the 'easybench' disk.

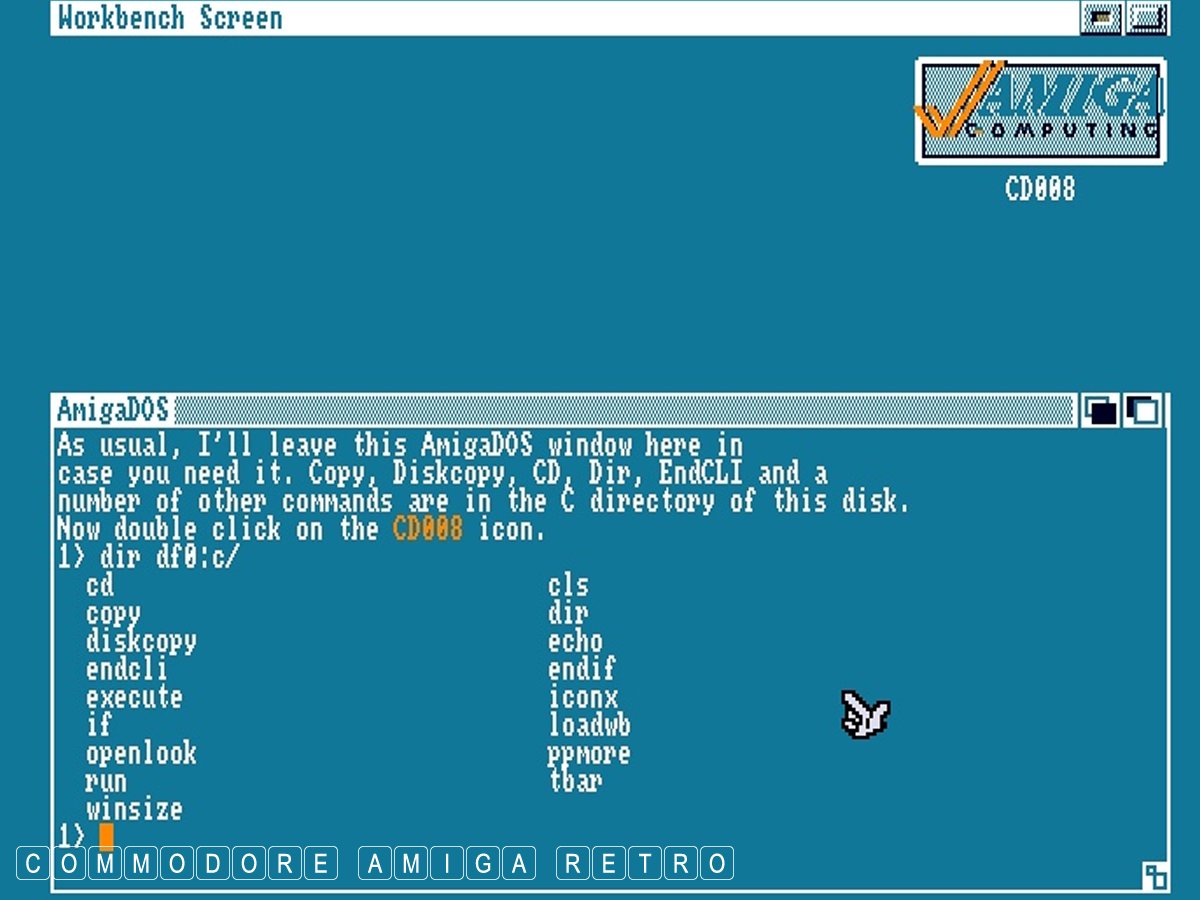
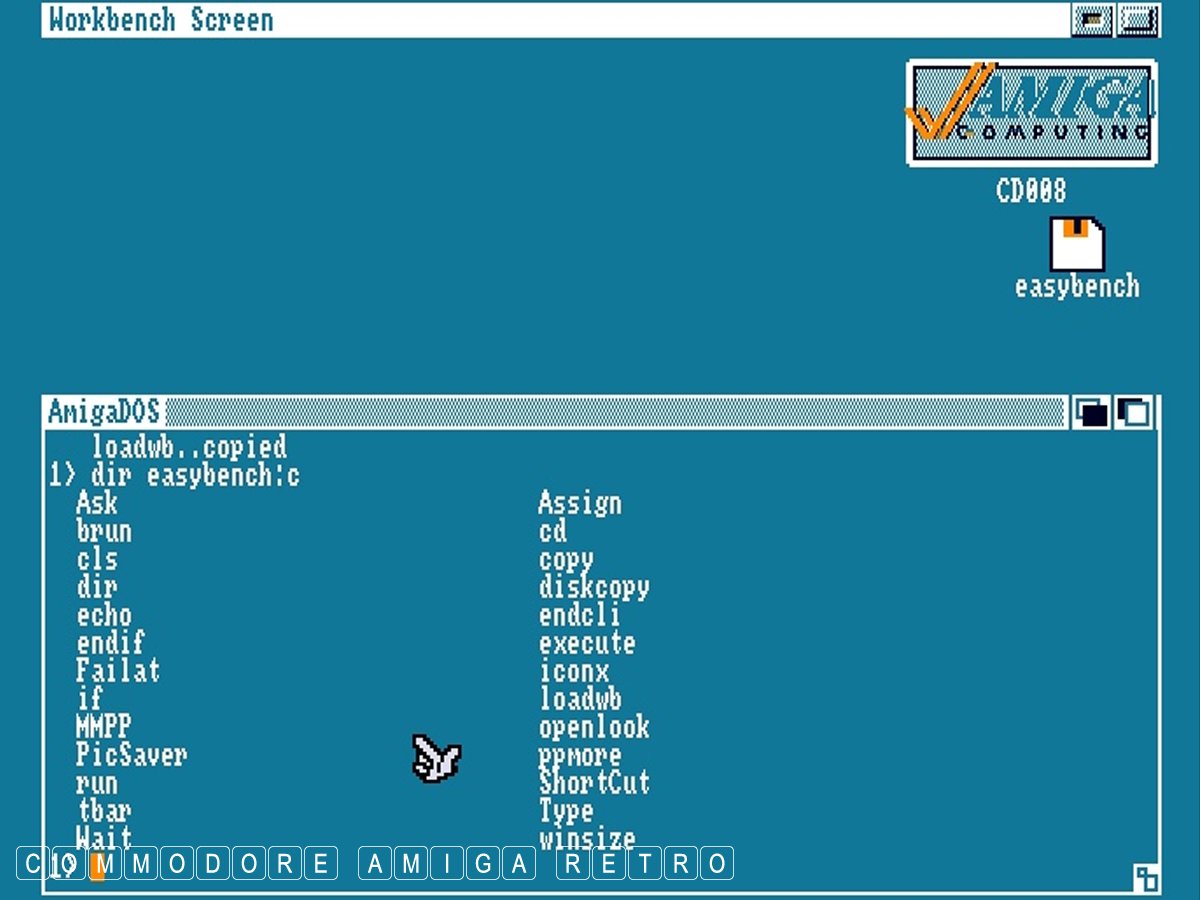
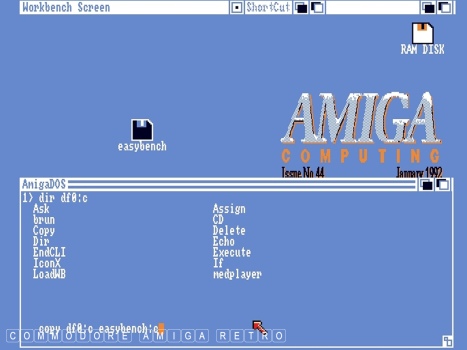
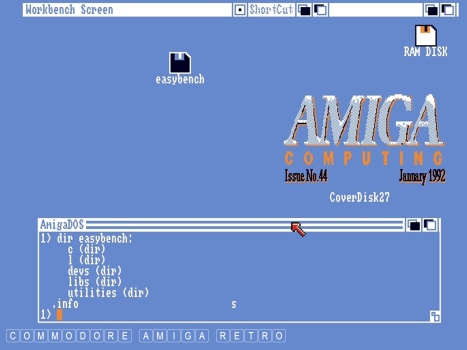
OK onto disk number 2 and this is a directory
of the C drawer.
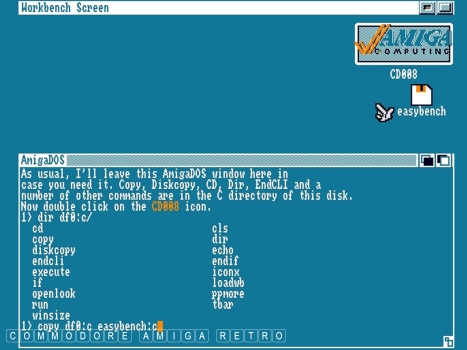
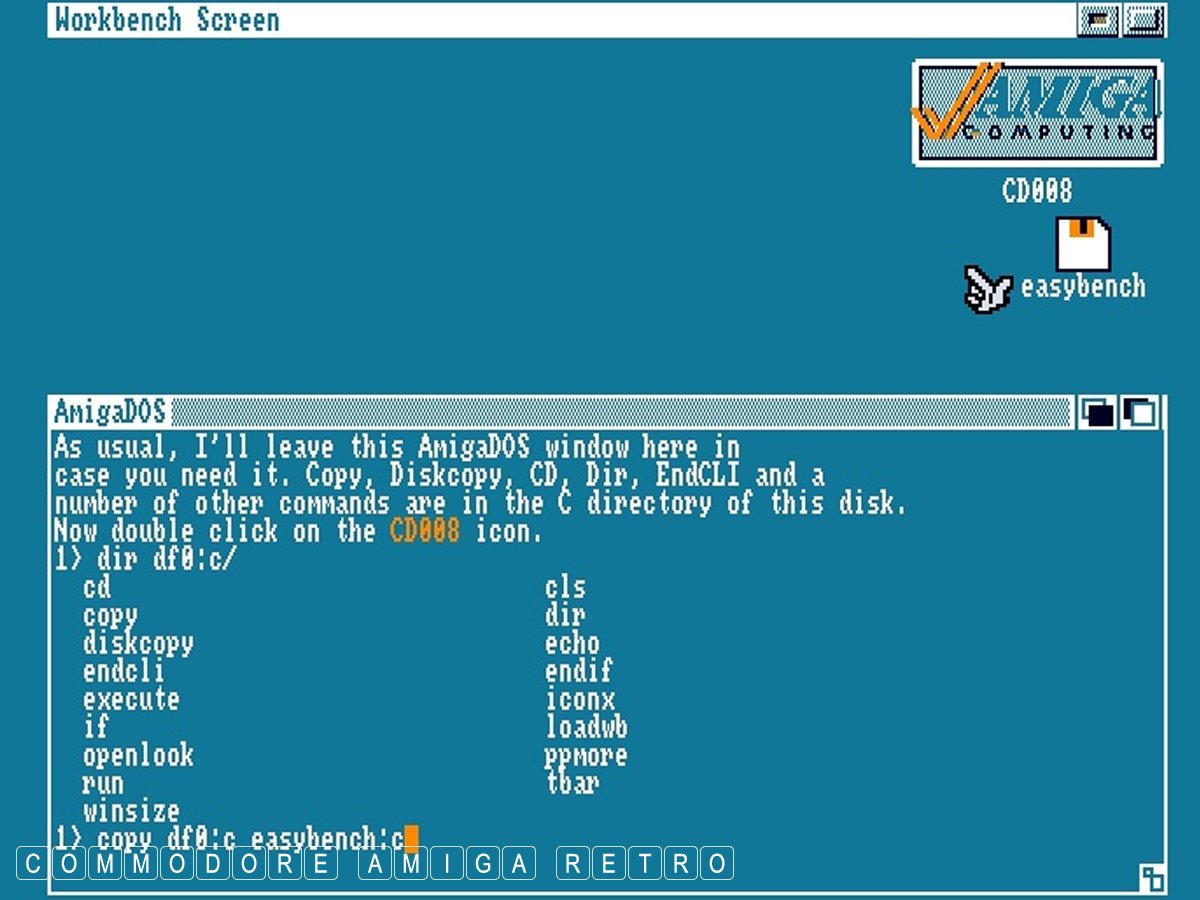
Having listed it I simply copy the contents
to the drawer on my disk.
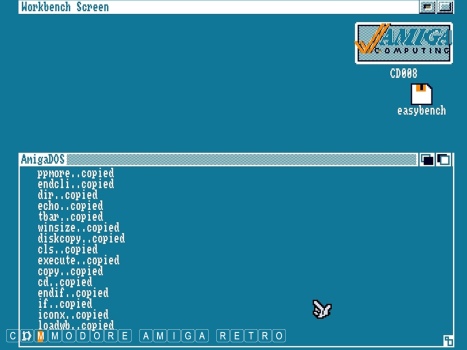
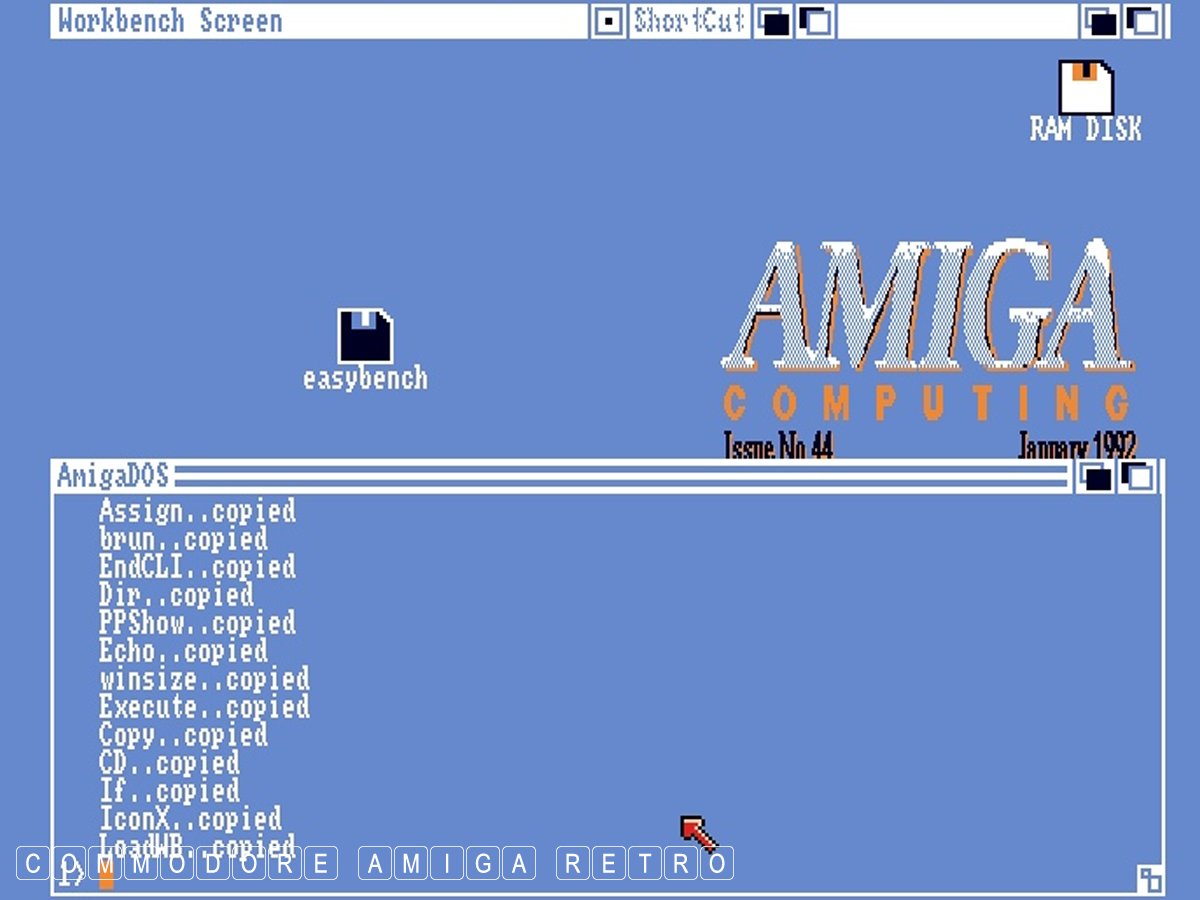
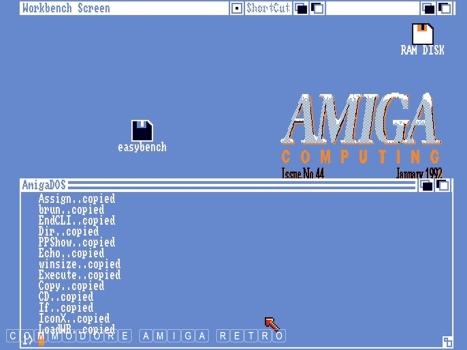
The files are copied and add to the ones
you already have.
And now the directory has grown in size.
Next disk and contents of the C directory.
Same process of copying.
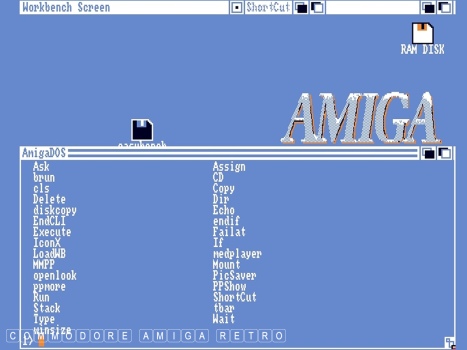
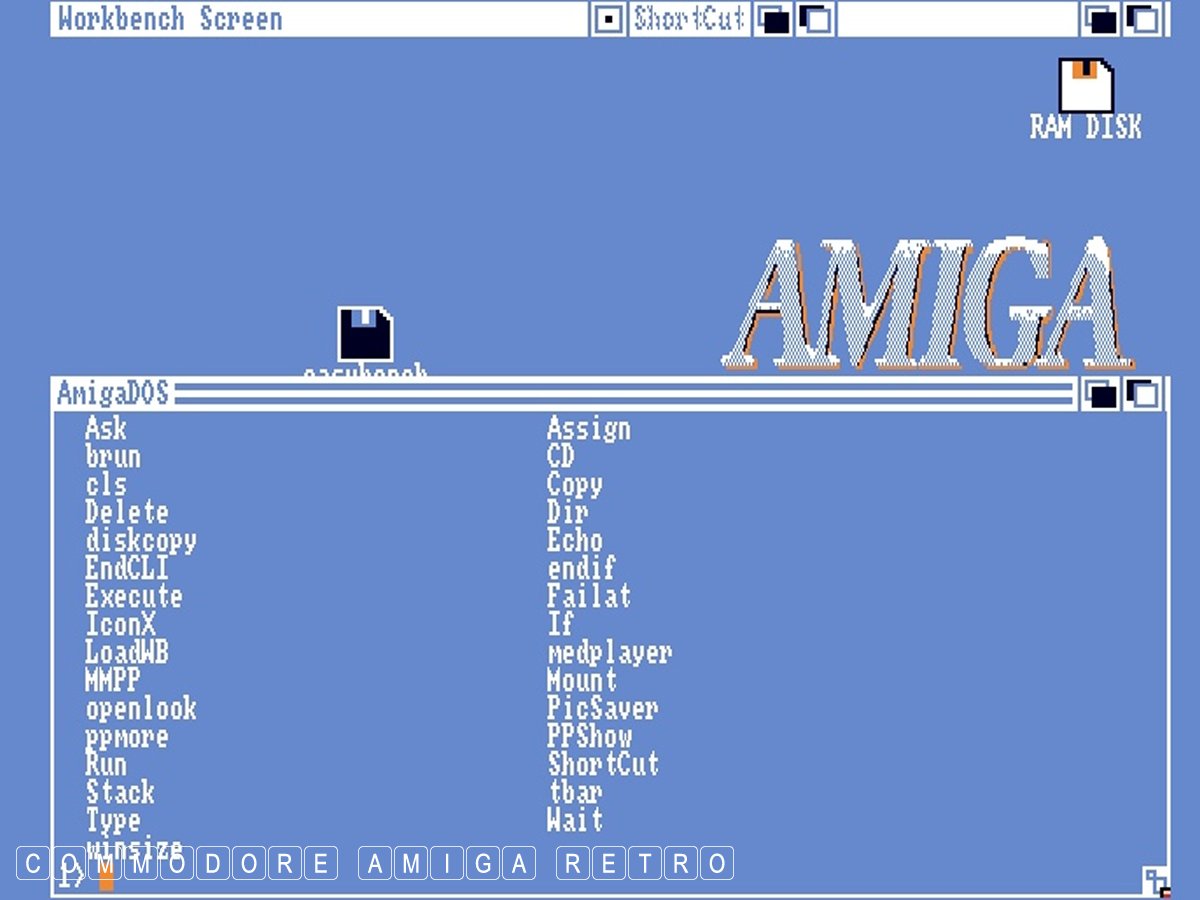
And now the C directory grows accordingly.
Later I will list the most important files
that you need for Workbench.
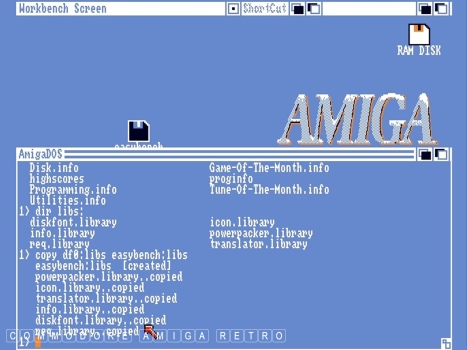
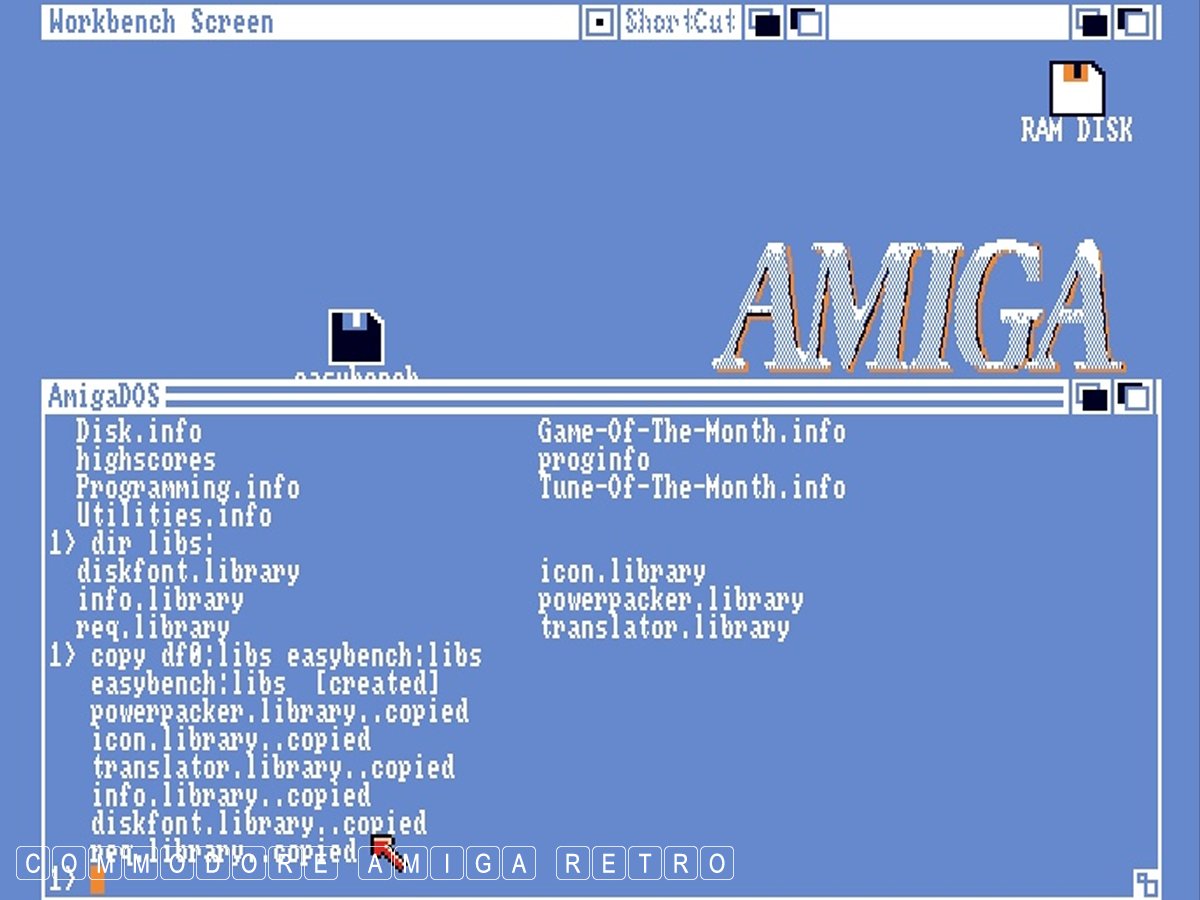
Next up I copy libs.

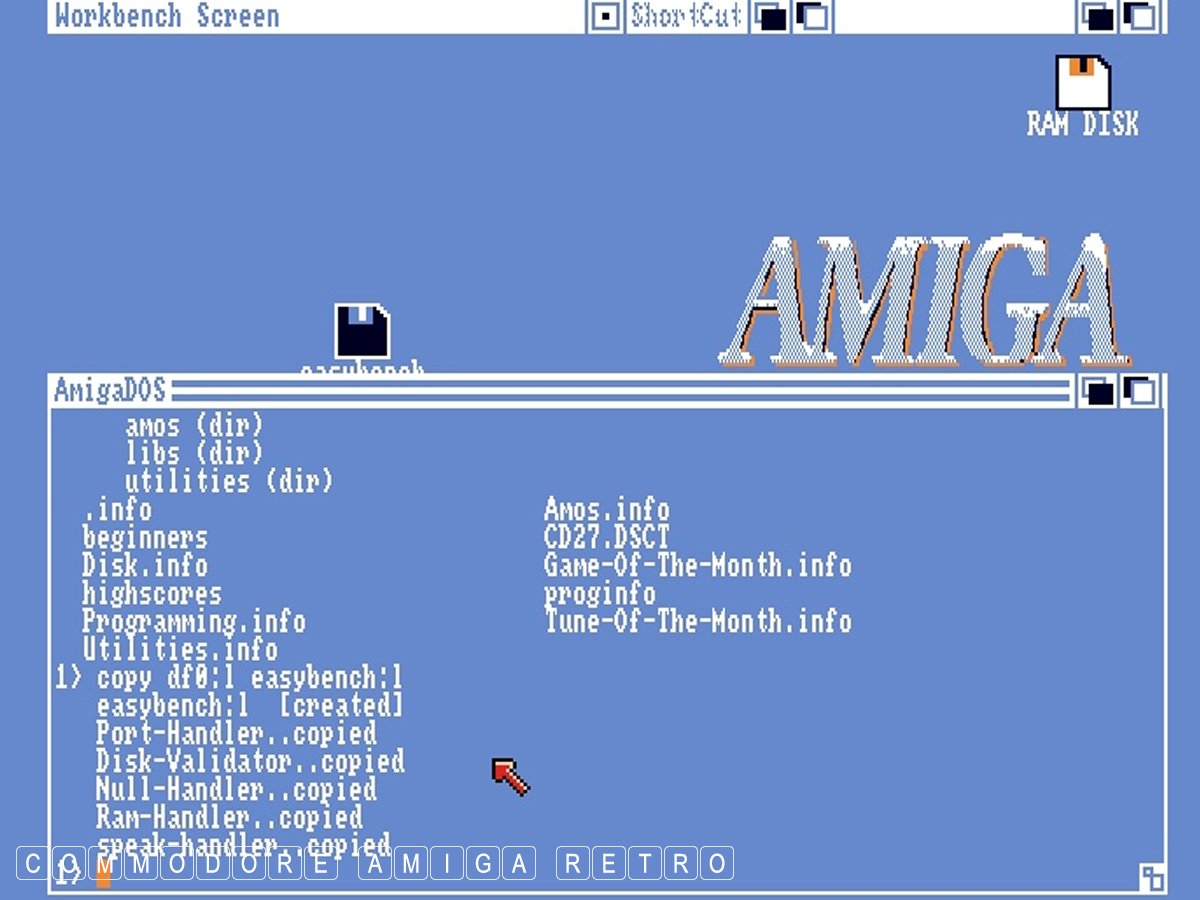
Next up I copy l.

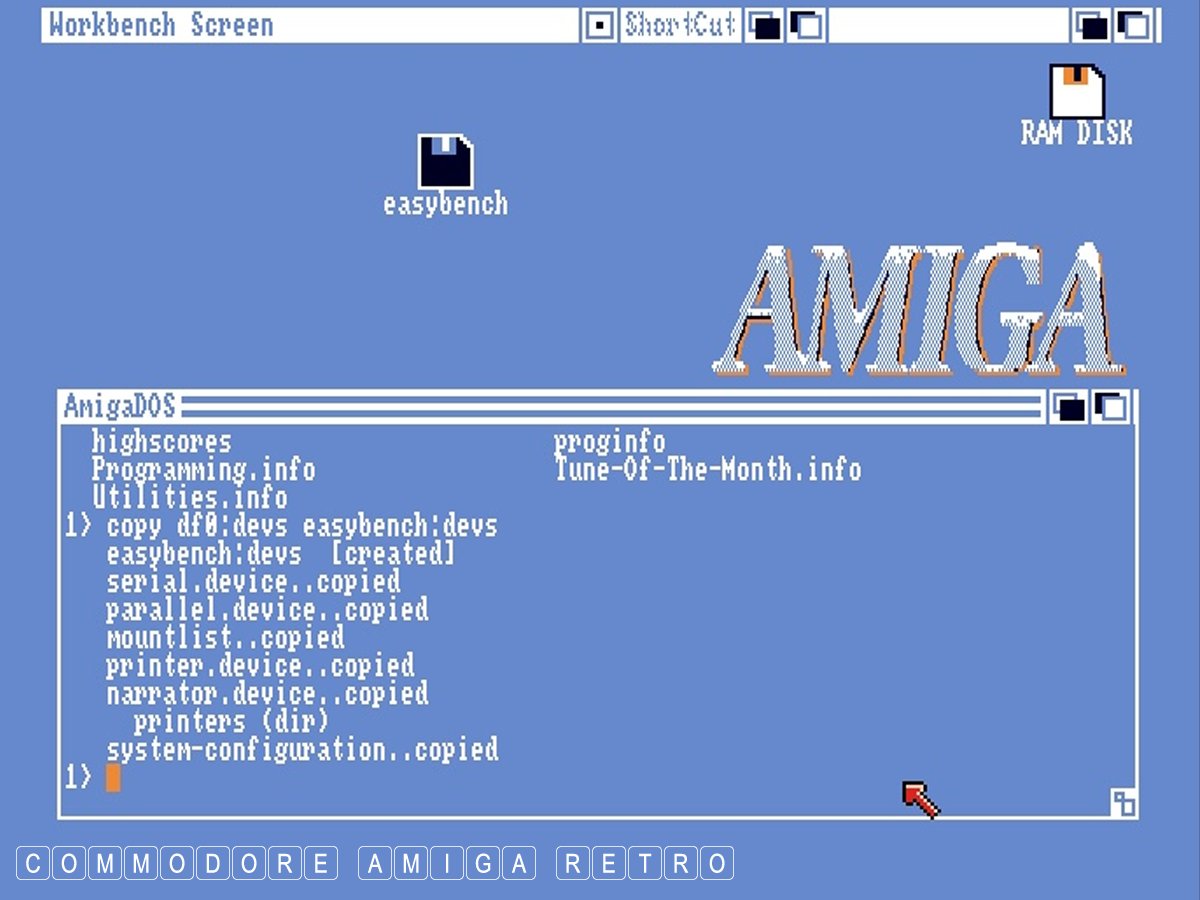
Next up I copy devs.
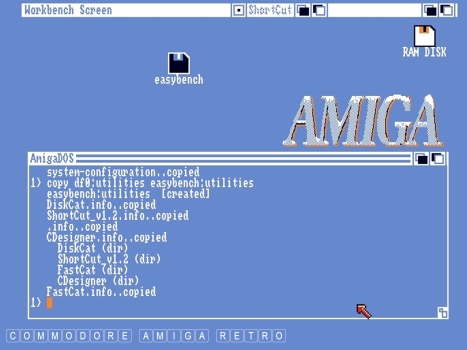
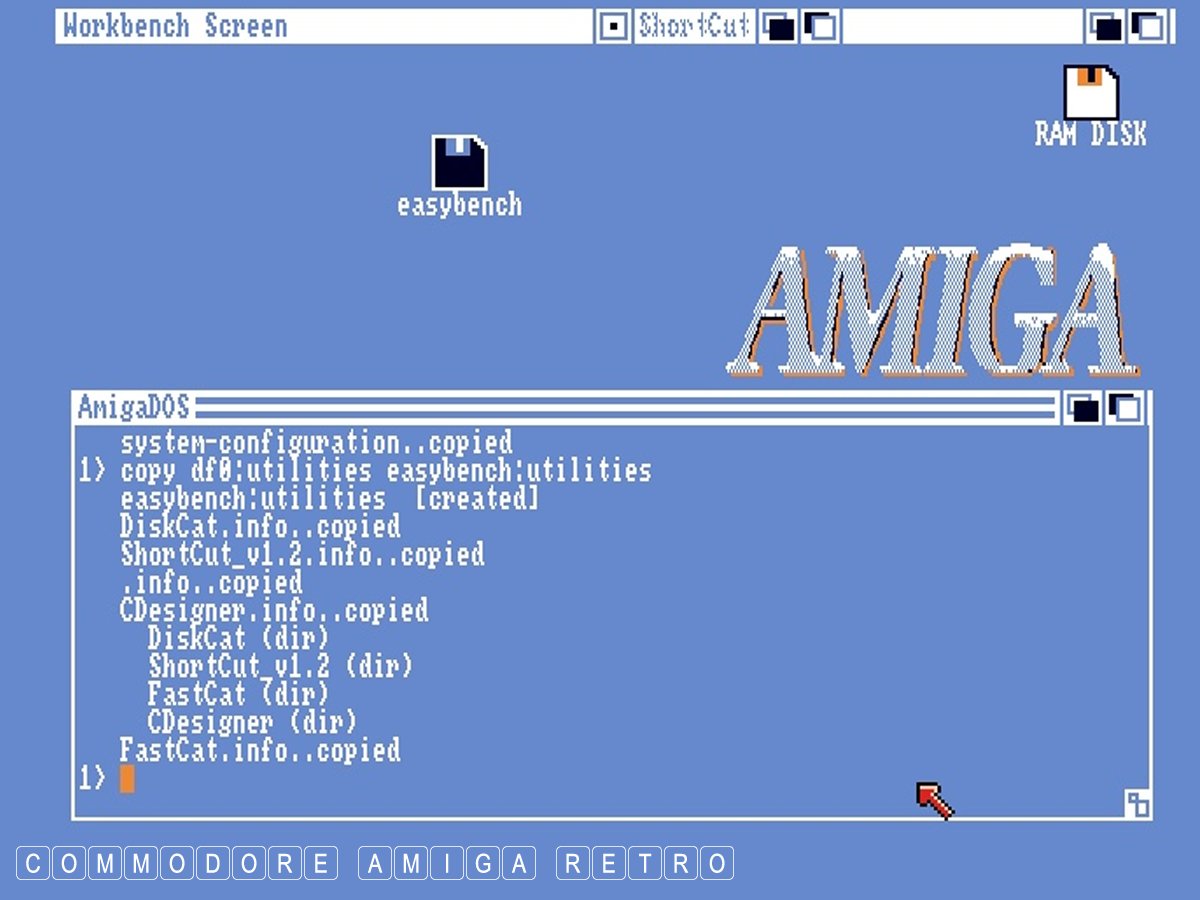
Next up throw in a few utilities.
In each instance you can add as many
files as you like in terms of contents.
from various disks.
It matters not what you include in the
respective directories as long as they
originate from the same directory names.
More on that in a later blog.