Amiga 1.3 - Creating WB disks - Day 2.

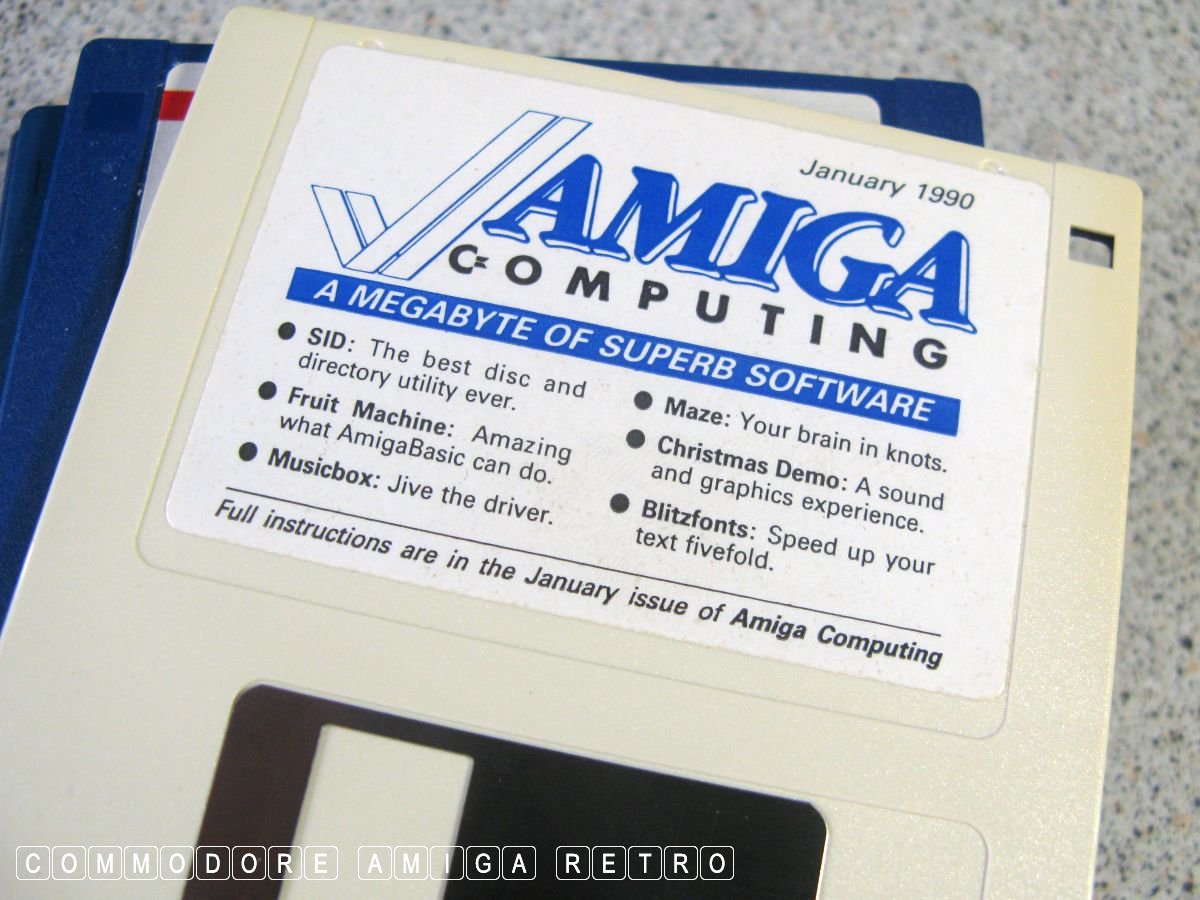
Amiga Computing cover disk 006 does give
the SID file manager, CLI/Shell in the WB
and fancy RAM disk, but I chose to go commando.
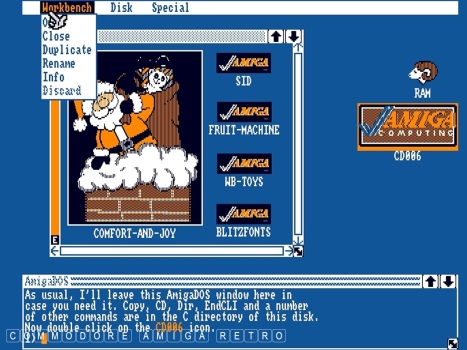
The layout on the AC software uses 'Newlook'
which resides in the C directory if you decide
to use the magazine layout.

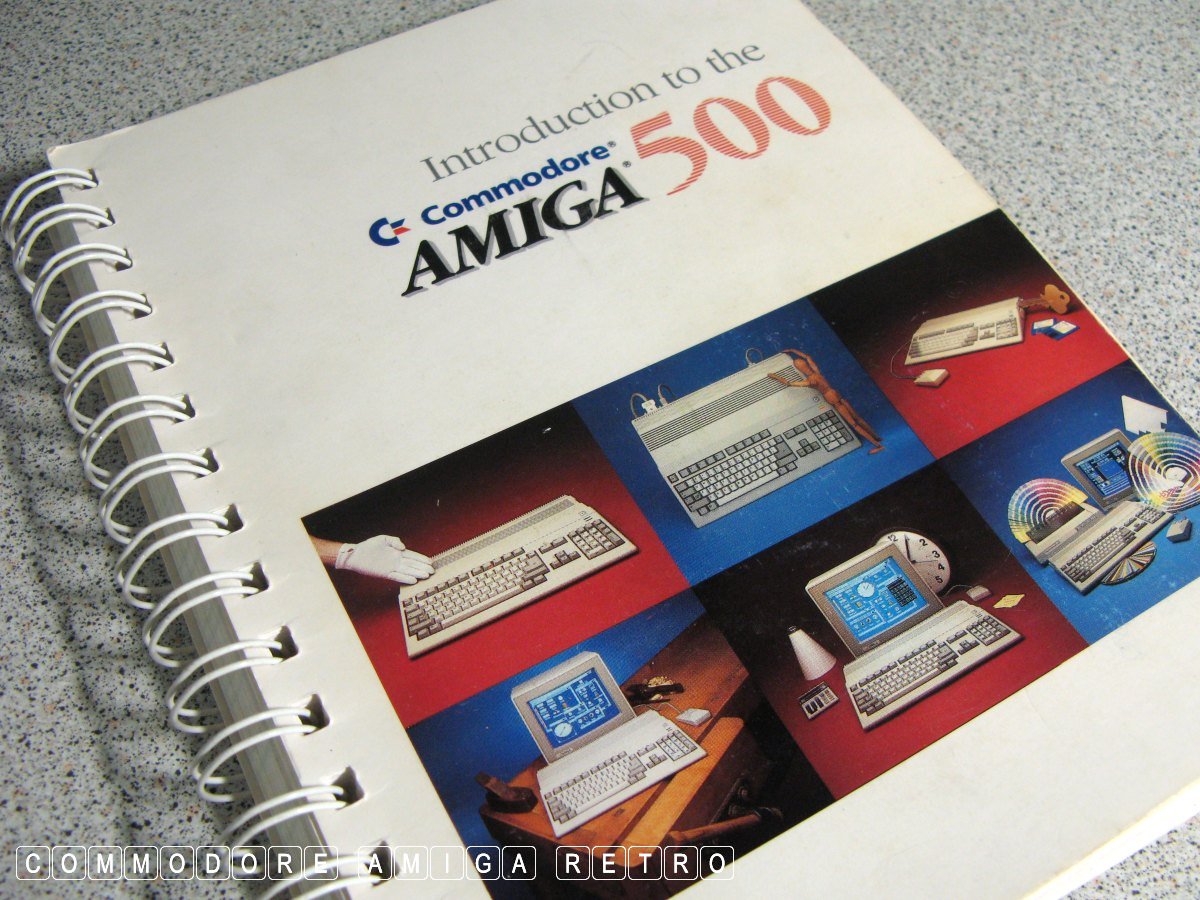
I found the Amiga 500 manual invaluable for
all those pesky ED commands for the text editor.
I make no apologies for copying files from the
WB disk. I just didn't have the time to collect
and ADF numerous copy disks for the emulator.
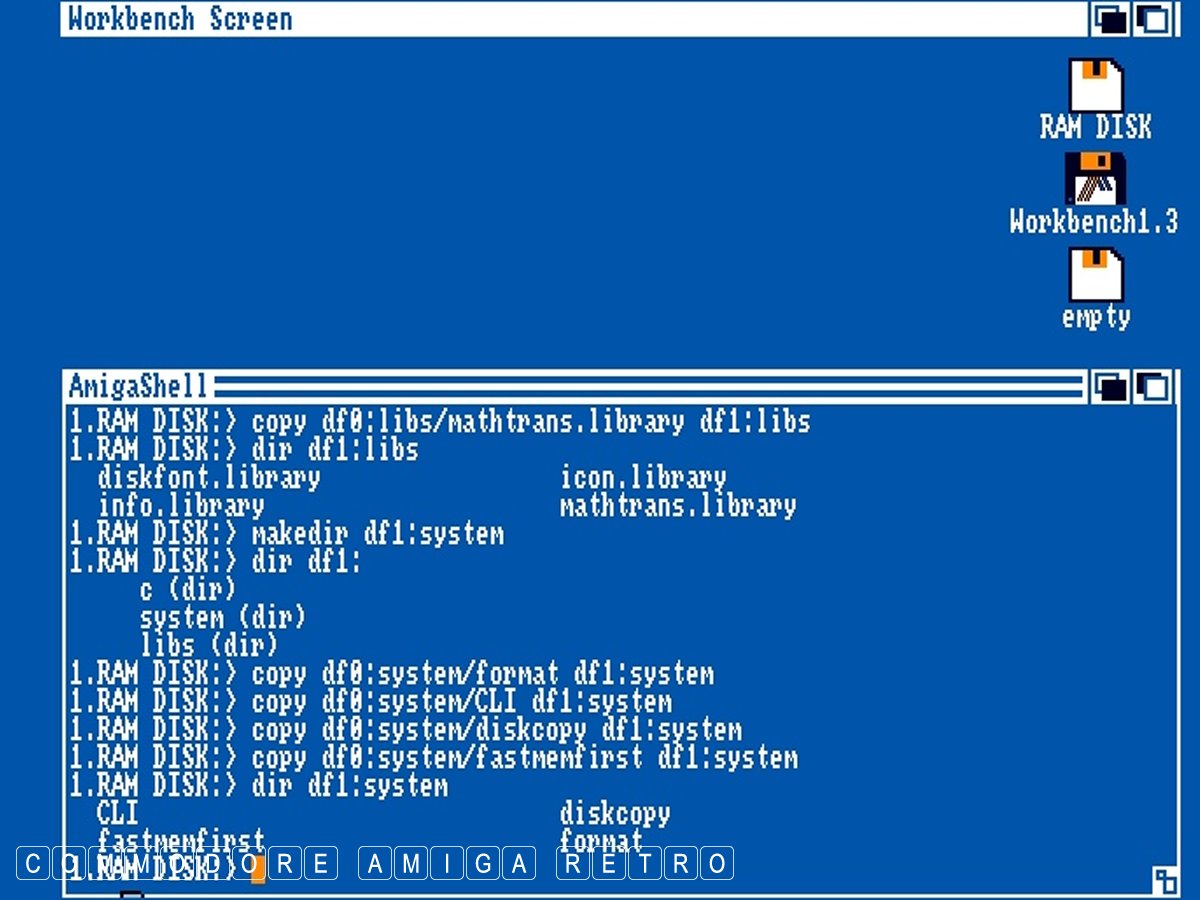
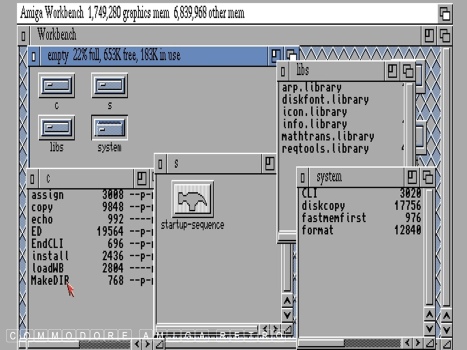
What I show here are the basic files needed for
a self booting disk suited for a workbench disk.
Those shown are the Tools required from the C drawer.

These are the libraries that you need. Above I
show the 'C' directory.

Next we have the 'System' files.
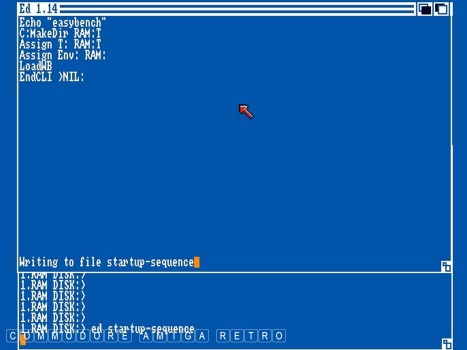
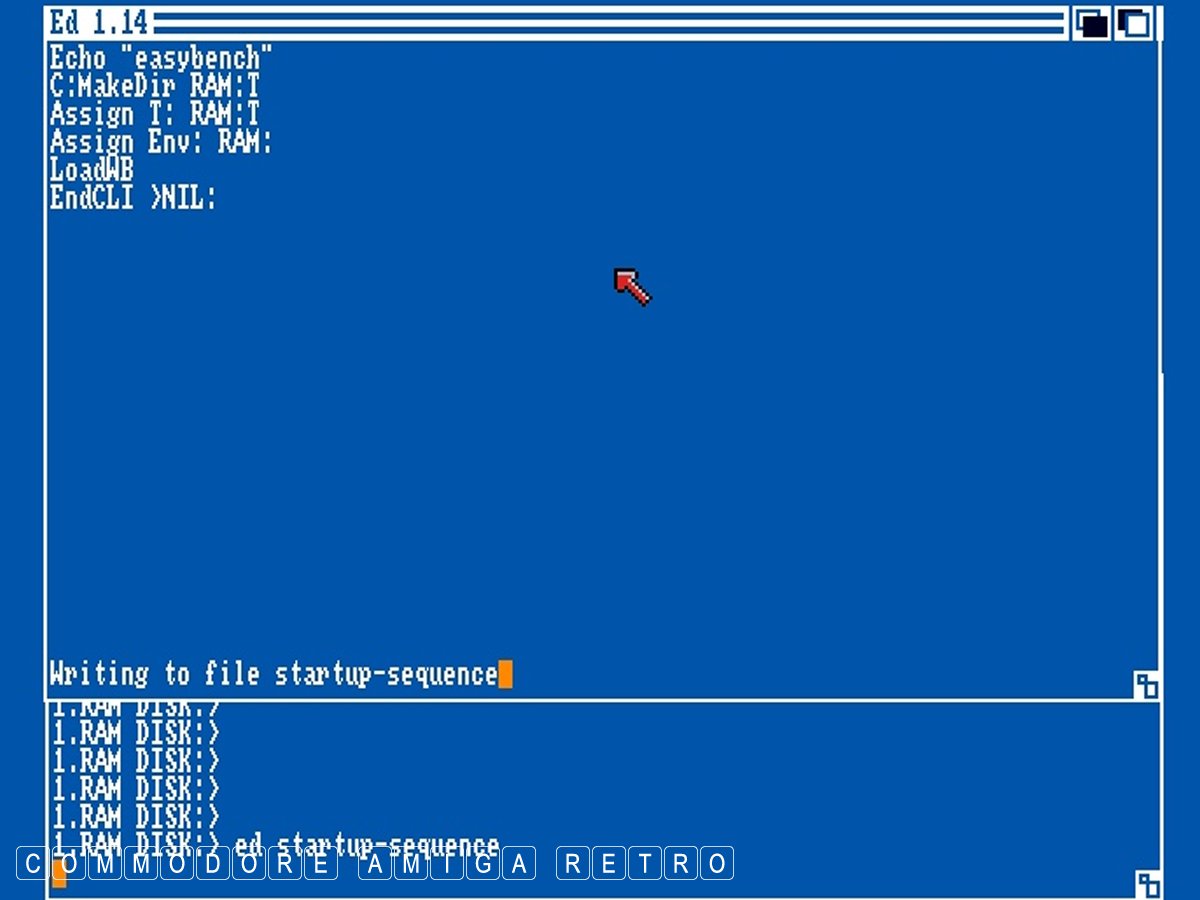
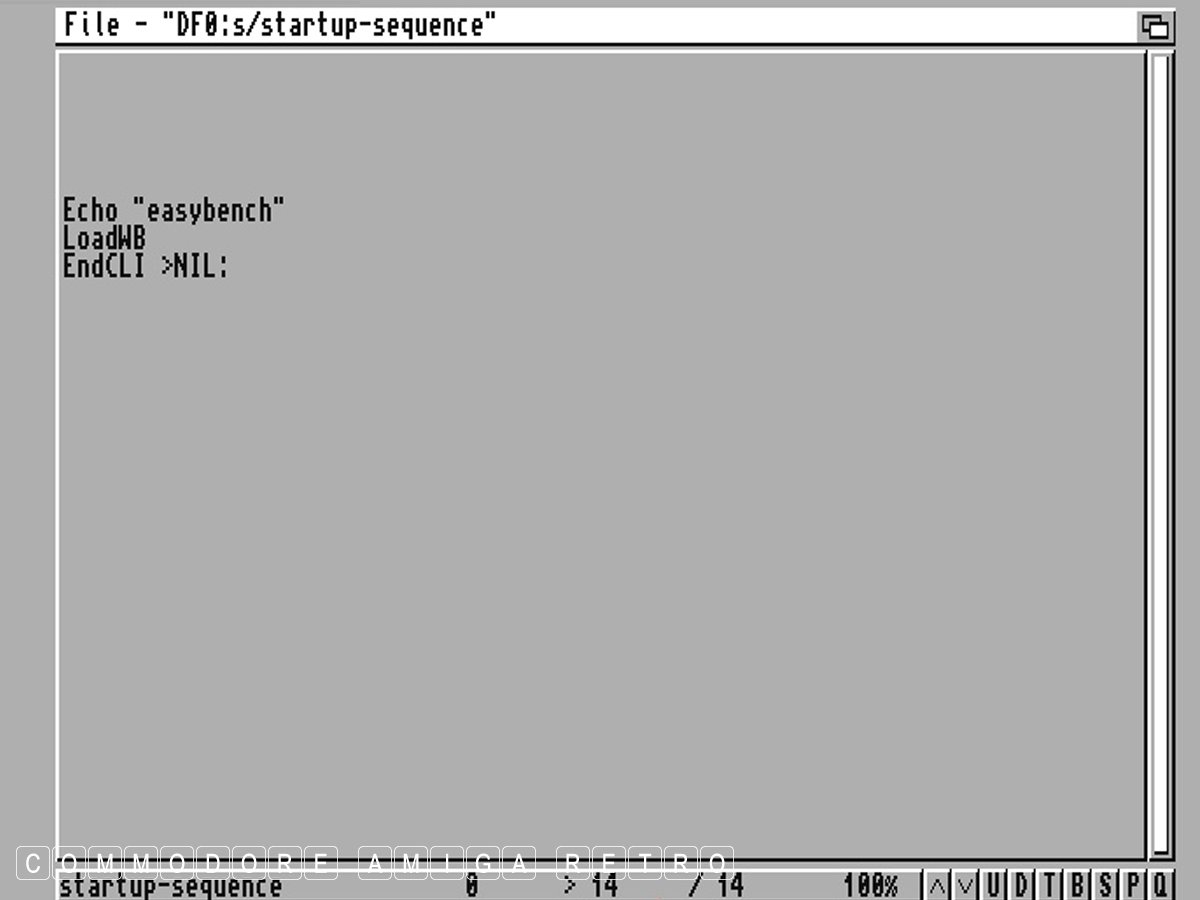
My first attempt at the startup-sequence which
failed to create a RAM disk. More on that in
the next blog.
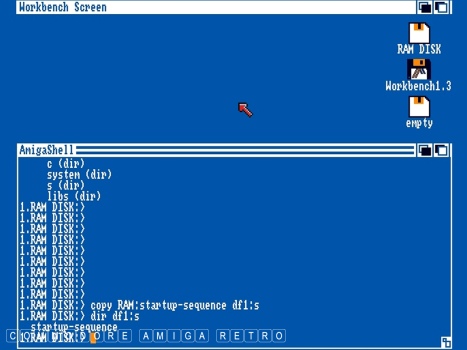
I copy the startup-squence to the 's' drawer.
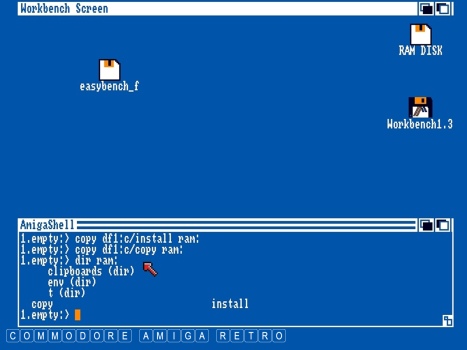
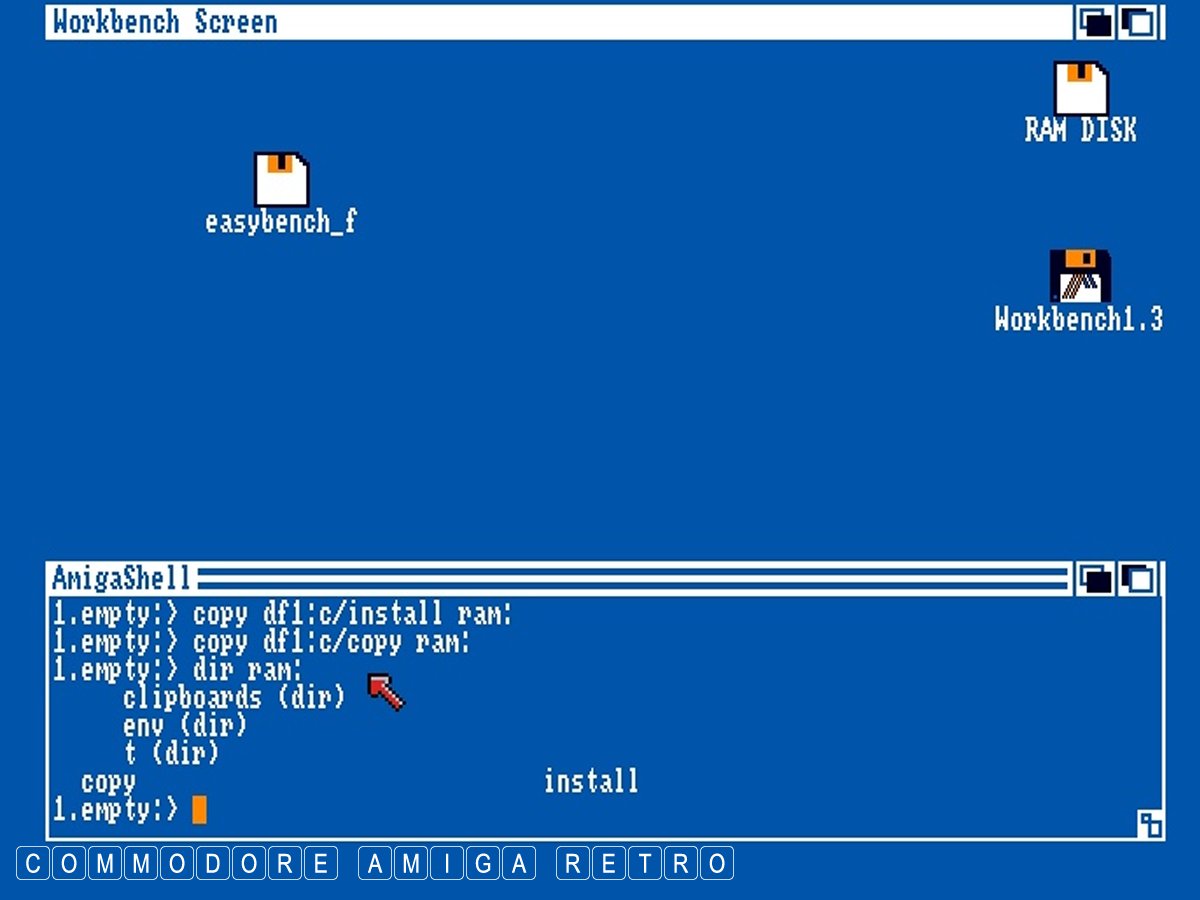
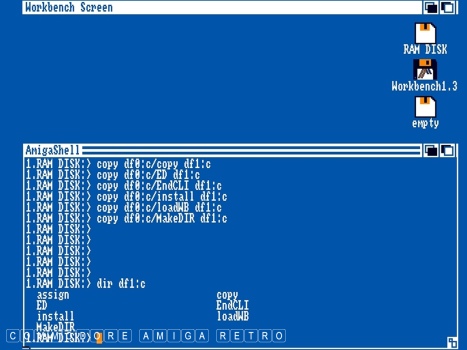
Time to prep the disk I intend using as bootable.

It is necessary to copy a number of commands to
RAM for use when the Workbench disk is removed
the most significant being the 'Install' file.
These include CD, dir, copy and install.
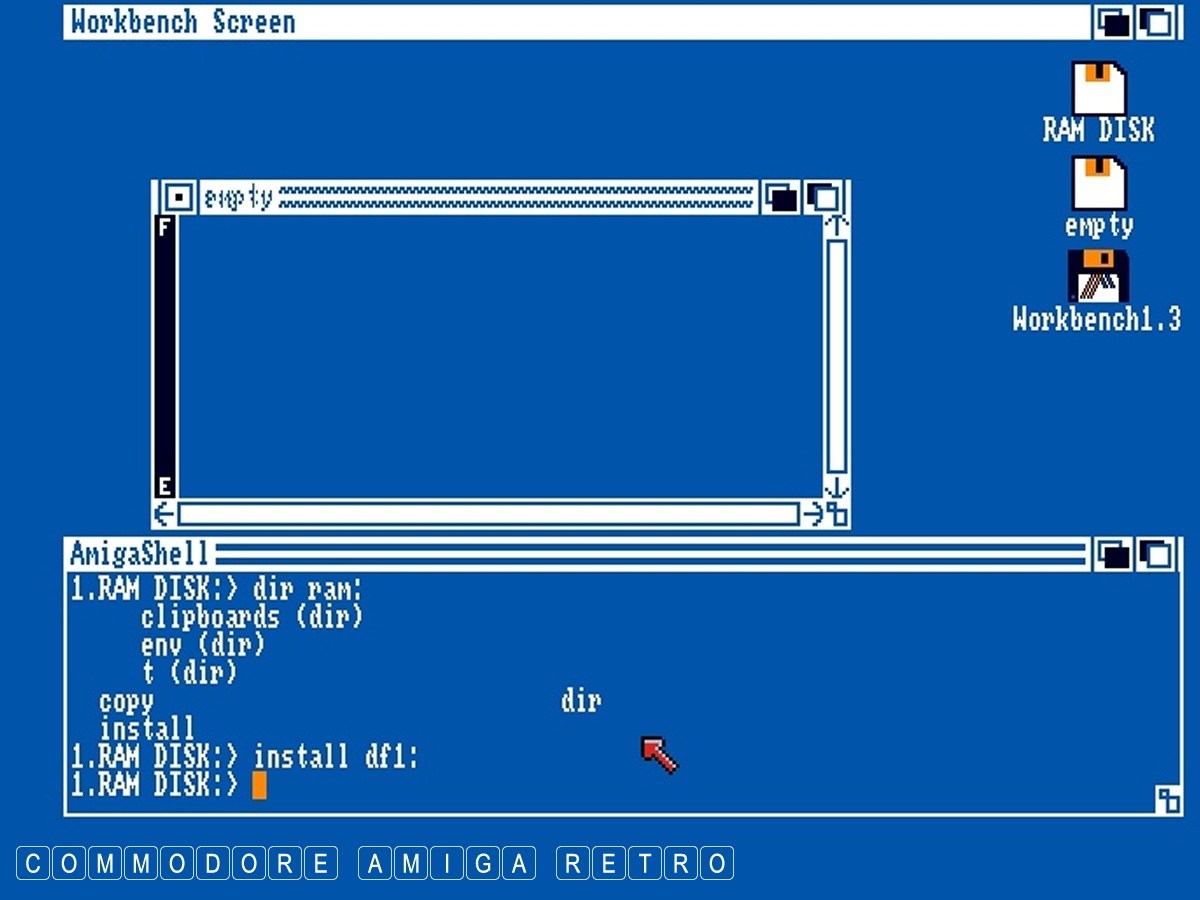
With the Workbench disk removed I enter the 'install'
command to the drive with my fresh bootable disk.
I then copy over the four directories from the
disk where I salvaged the necessary files earlier.

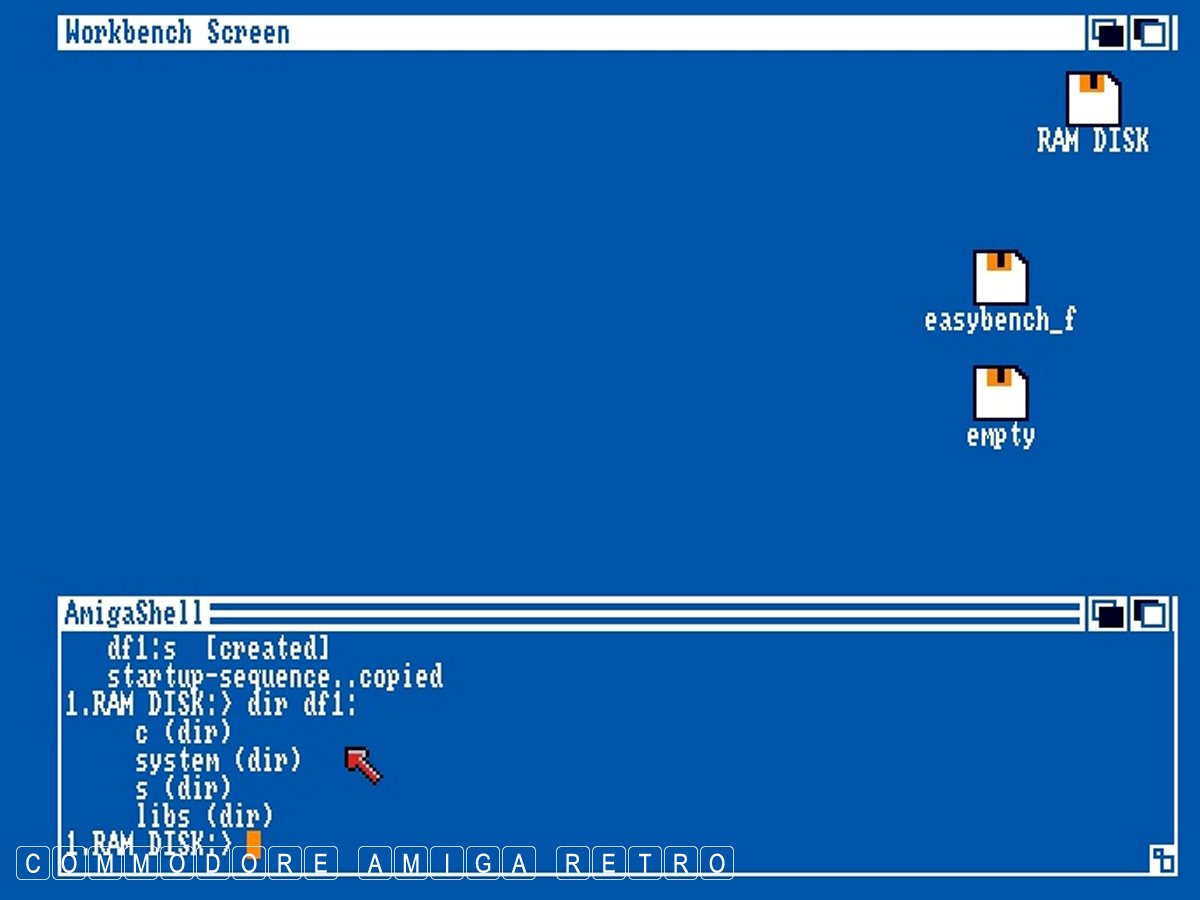
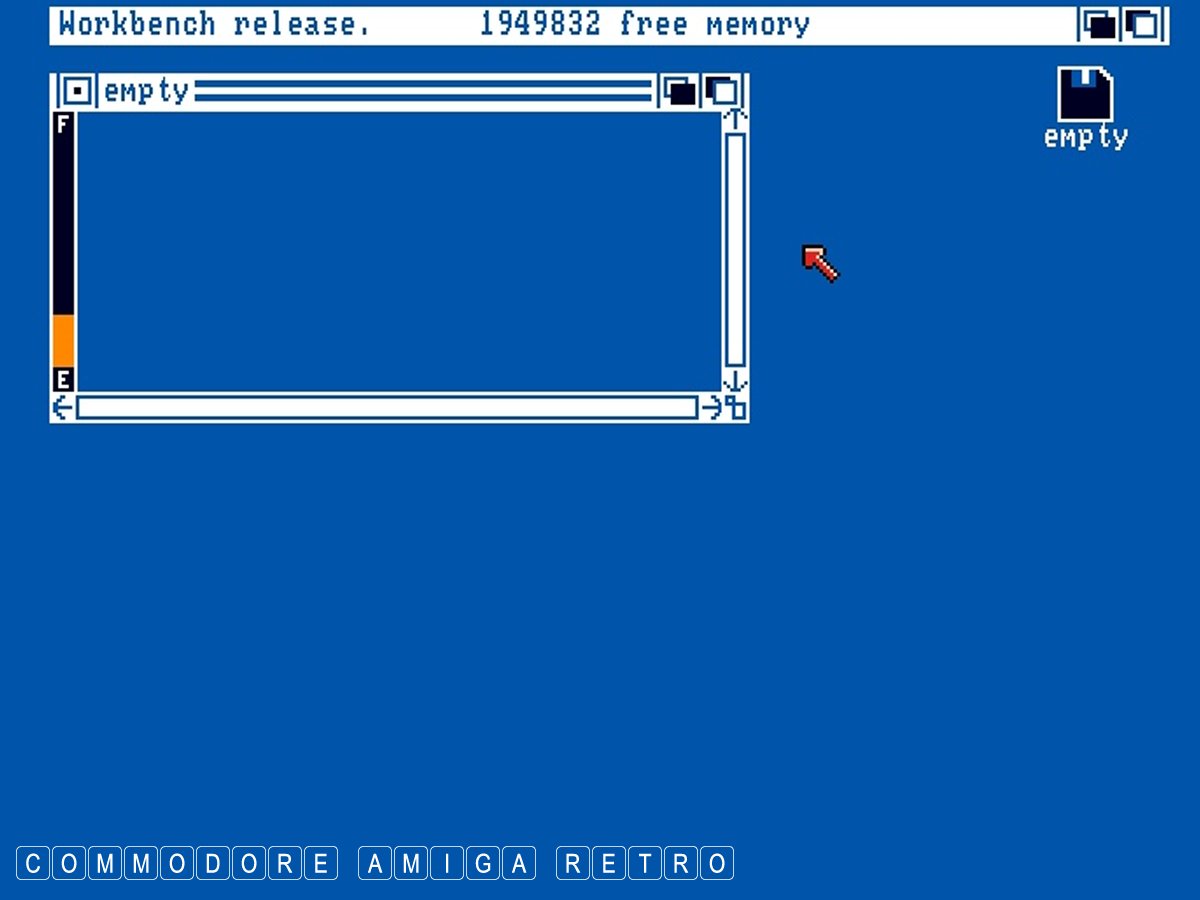
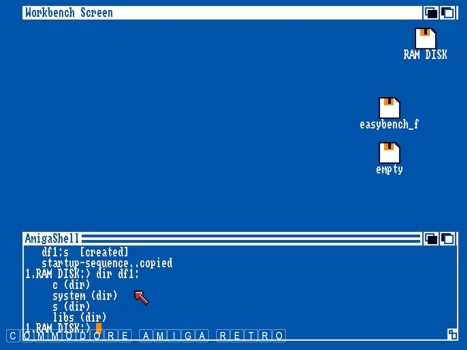
Well that worked. I booted the disk I created and
although not having directories visible worked
perfectly.
I use Workbench 3.0 to view the contents of
the four directories on my new self booting disk.

This is my stripped down startup-sequence which I
need to adapt to provide a RAM disk. I also need to
sort out directory icons, and a suitable insert on
the Workbench of a CLI/Shell.
Once of I have updated the disk I can then add
features like file manager and text editor. More
on that in the next blog.