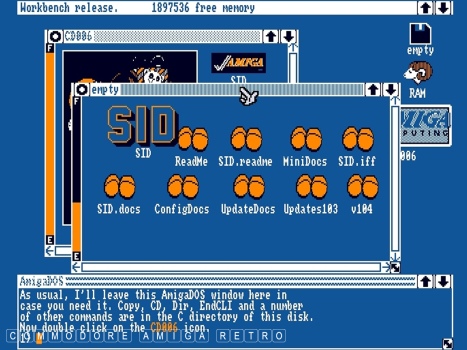
Amiga 1.3 - Creating WB disks - Day 4.
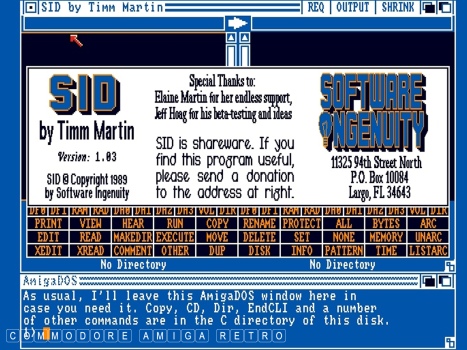
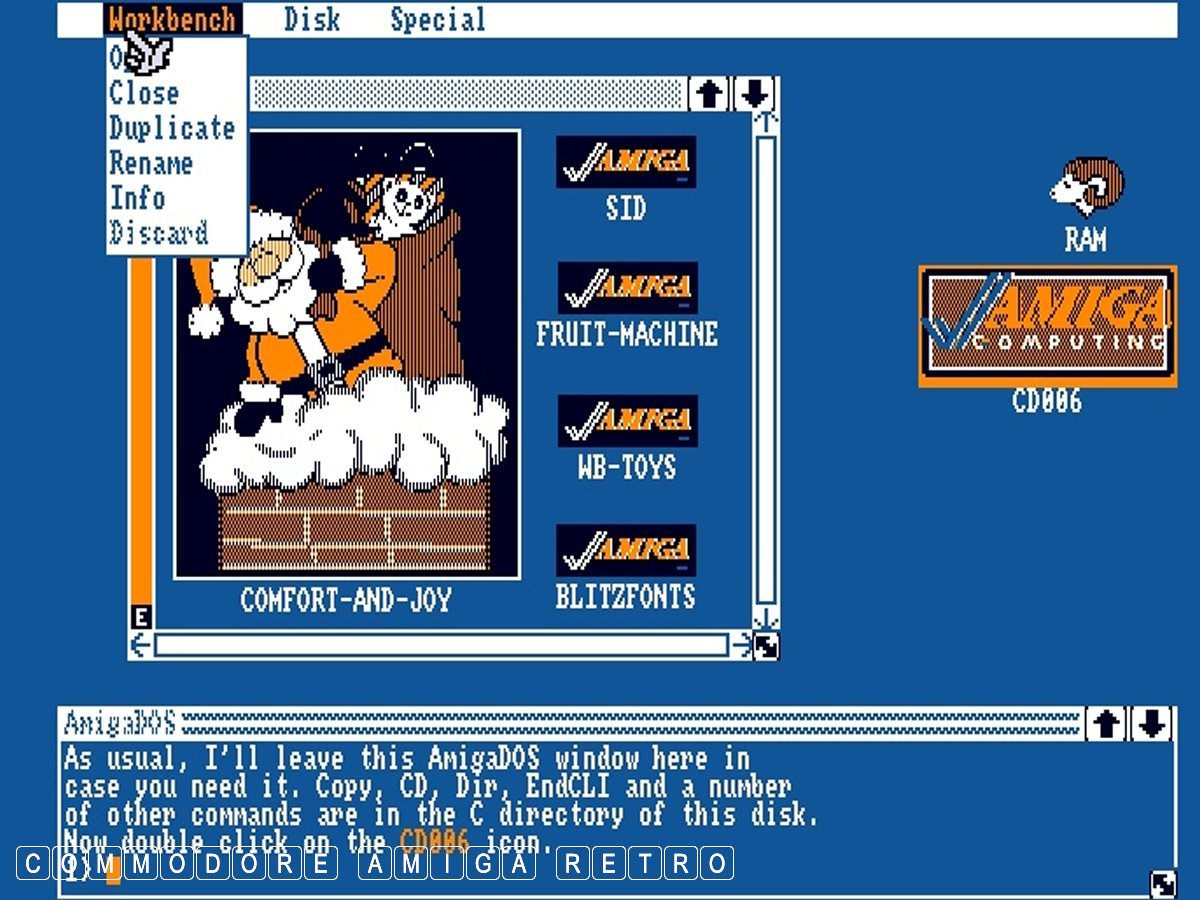
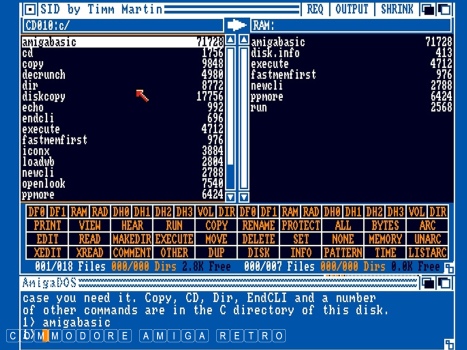
First to the file manager and SID by Timm Martin.
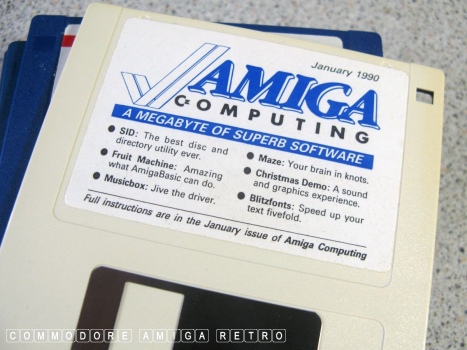
This was included as part of Amiga Computing
disk number 6 for January 1990.
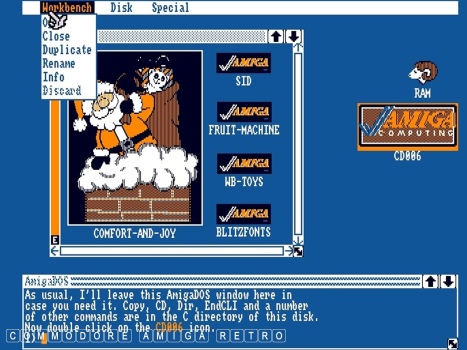
The file extracts to a blank disk.
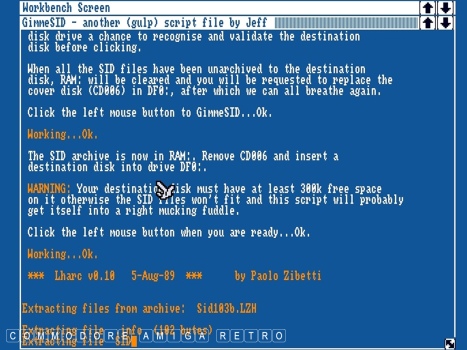
First up though the file is copied to RAM.
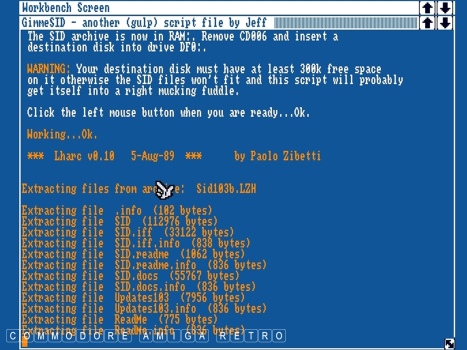
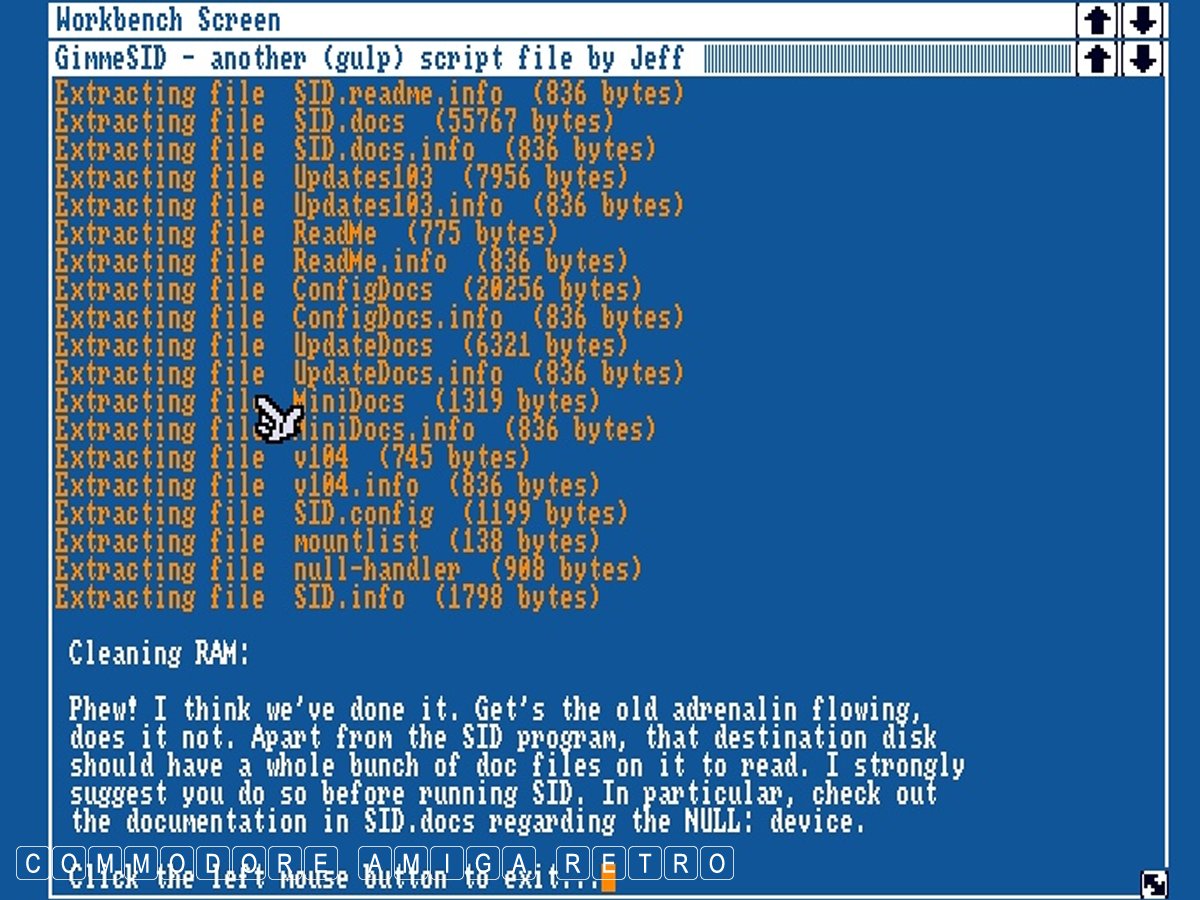
And then is extracted.
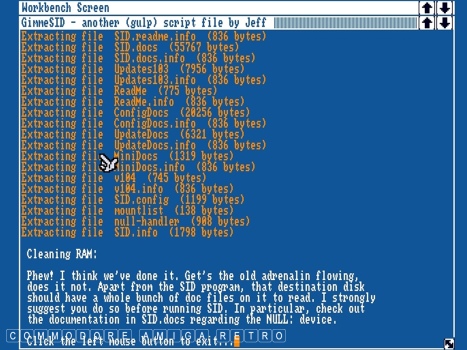
It was at this point that I decided I would
eventually retain a copy on its own disk.

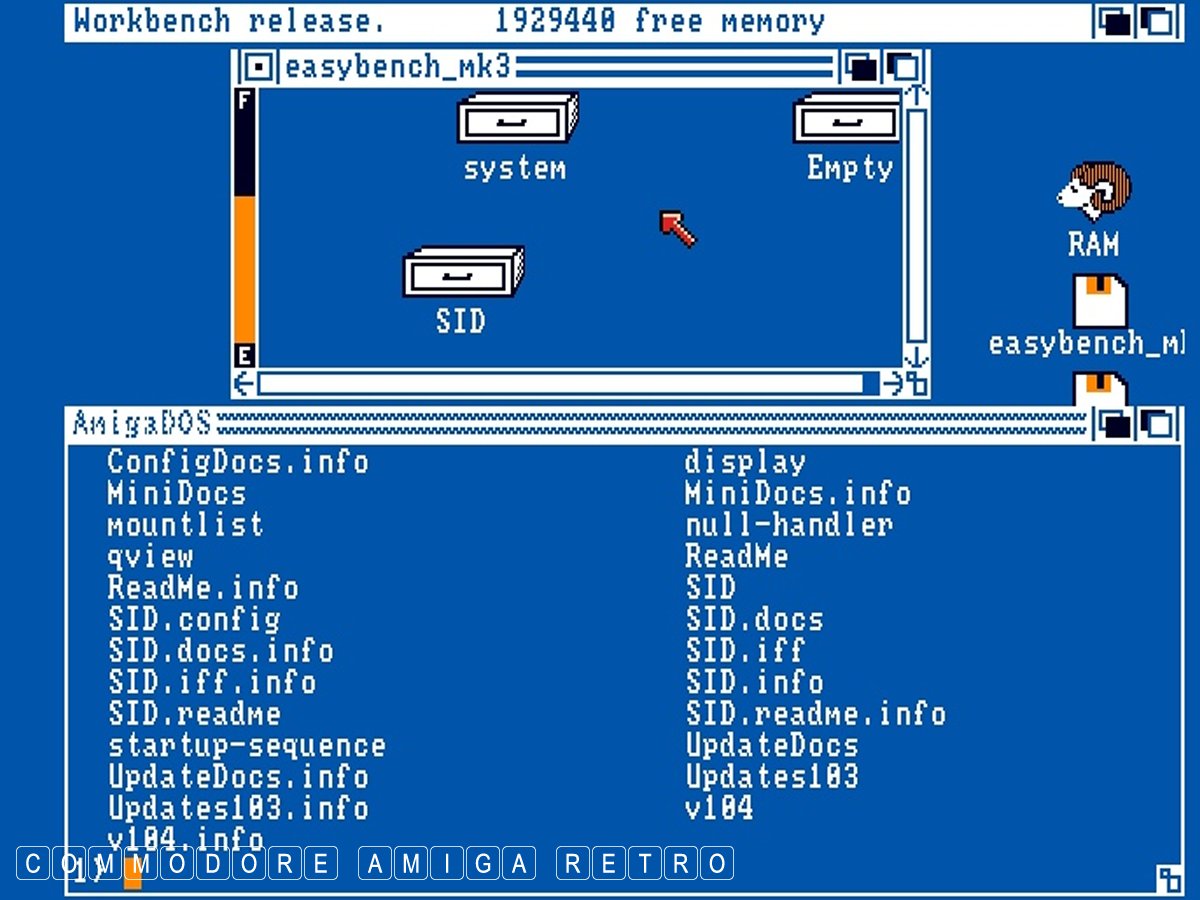
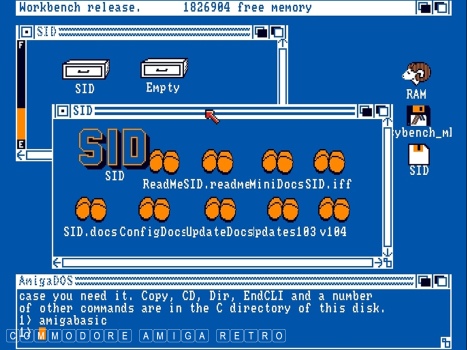
For now to make life easier I simply copied
SID to my Workbench disk.

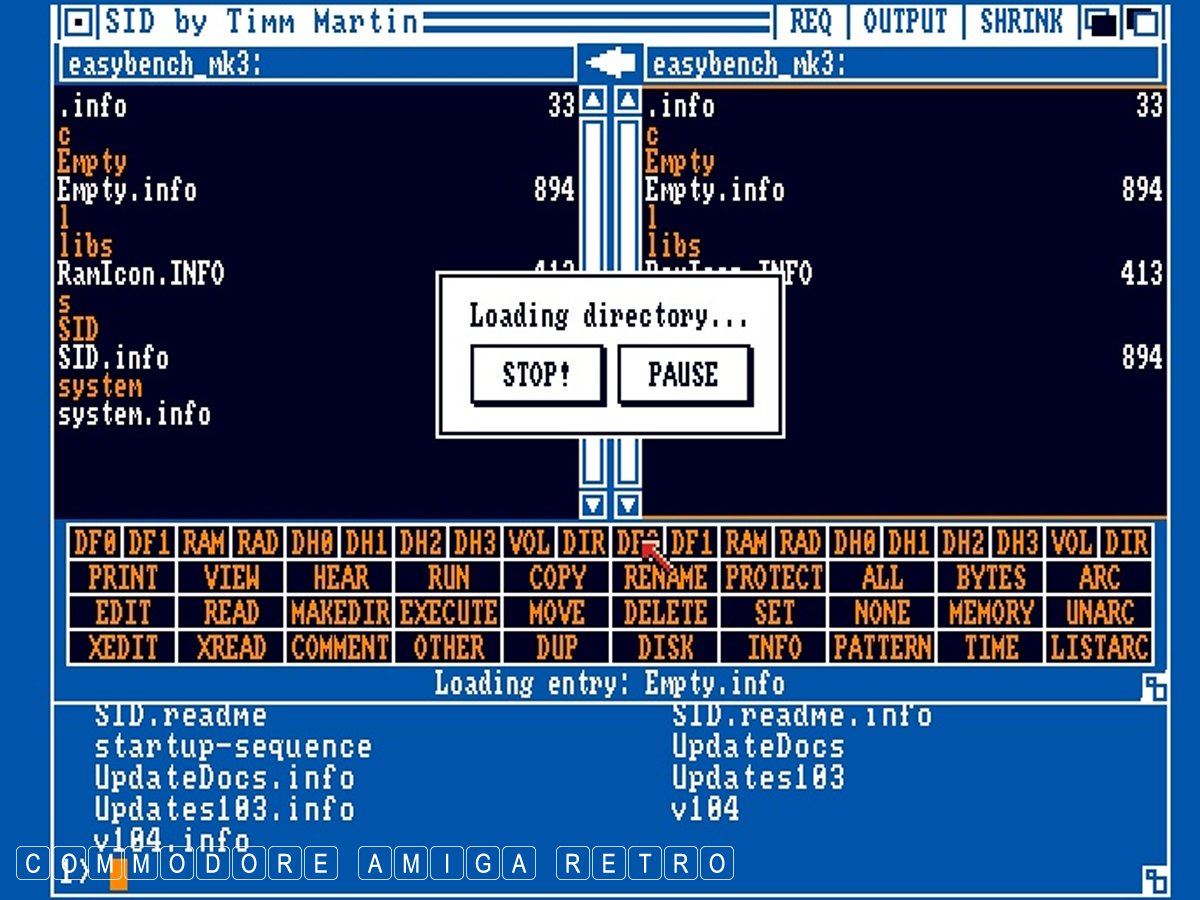
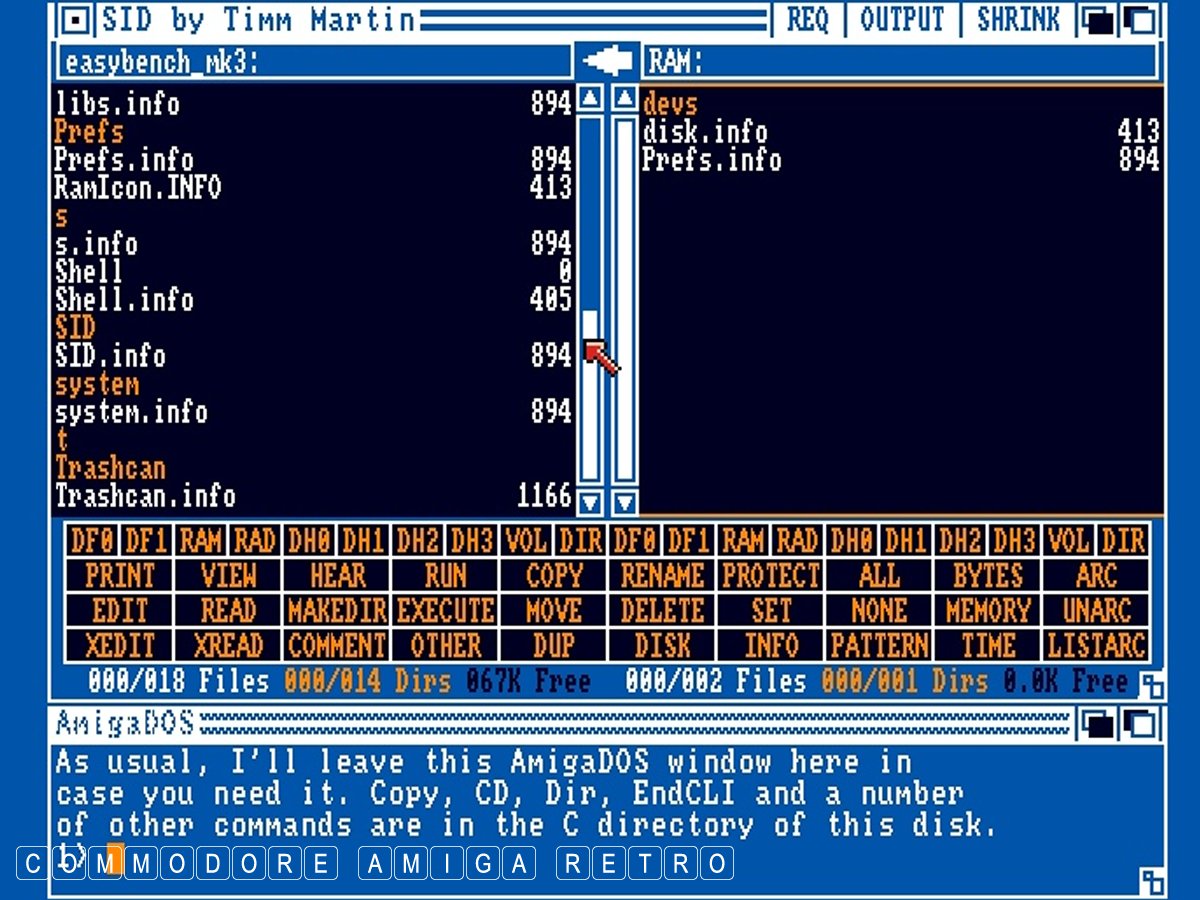
The file manager has duplicate commands on
the left pane as on the right pane.
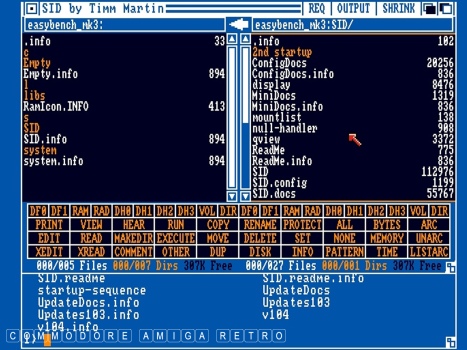
The panes can be swapped out to suit what ever
drives you have on your machine. This includes RAM.
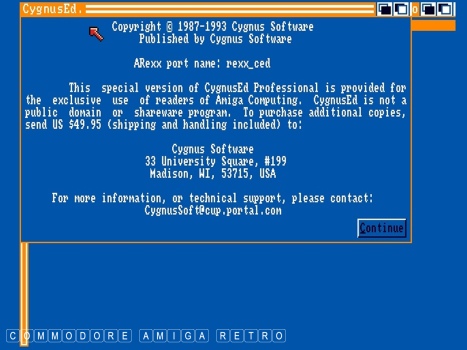
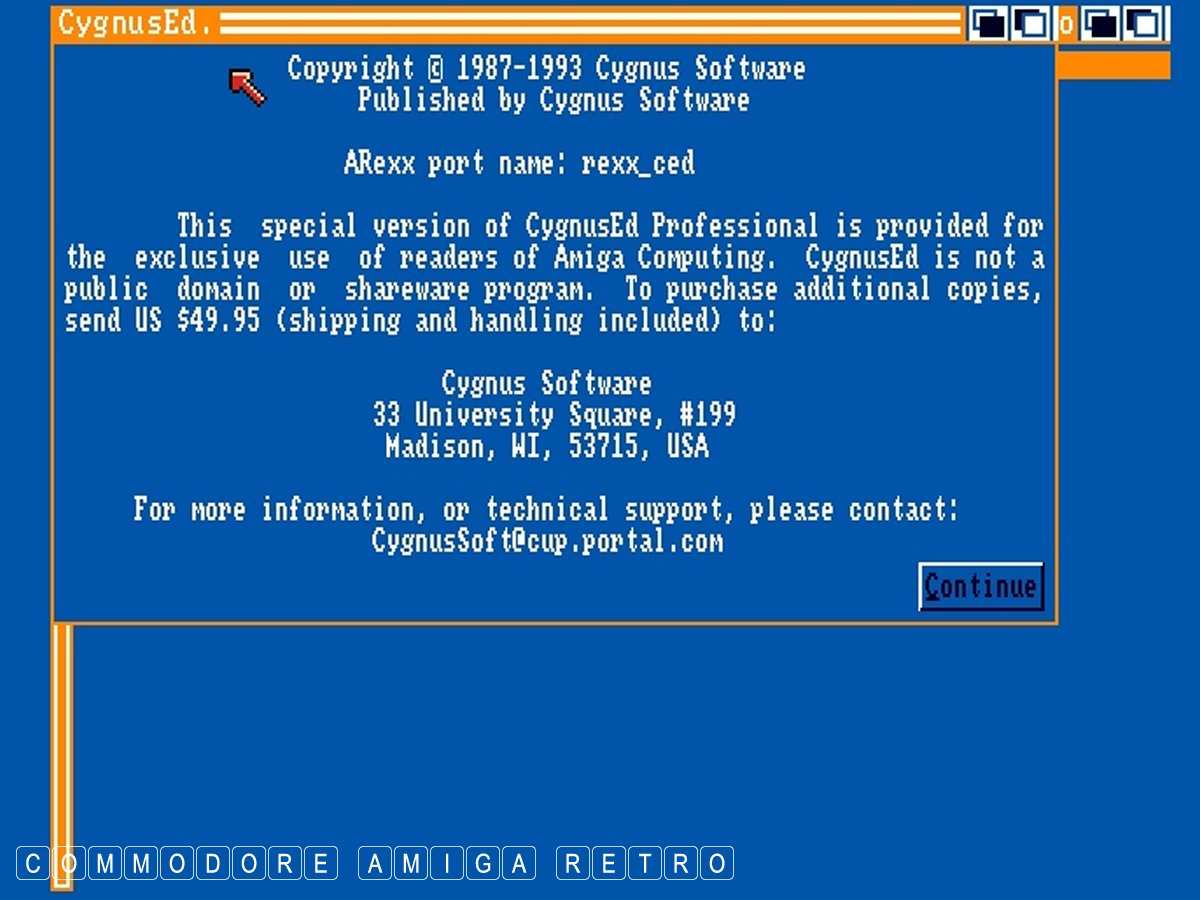
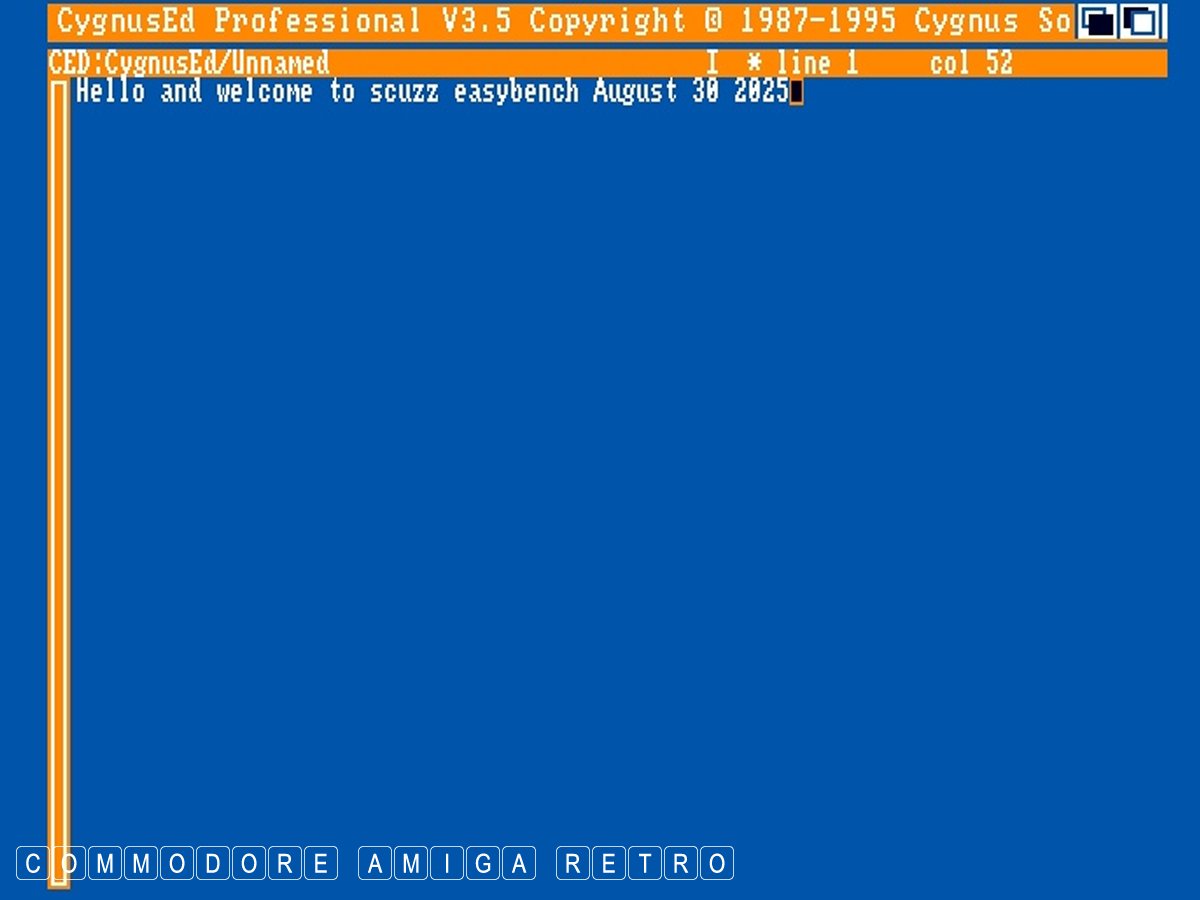
Next we move to the Text Editor and the quite
wonderful CED.

CED cam on Amiga Computing November 95
and is part of my Useful Tools set that
you can download from the blog. Just go
into the index and do a search on the page
for disk frenzy or useful tools.

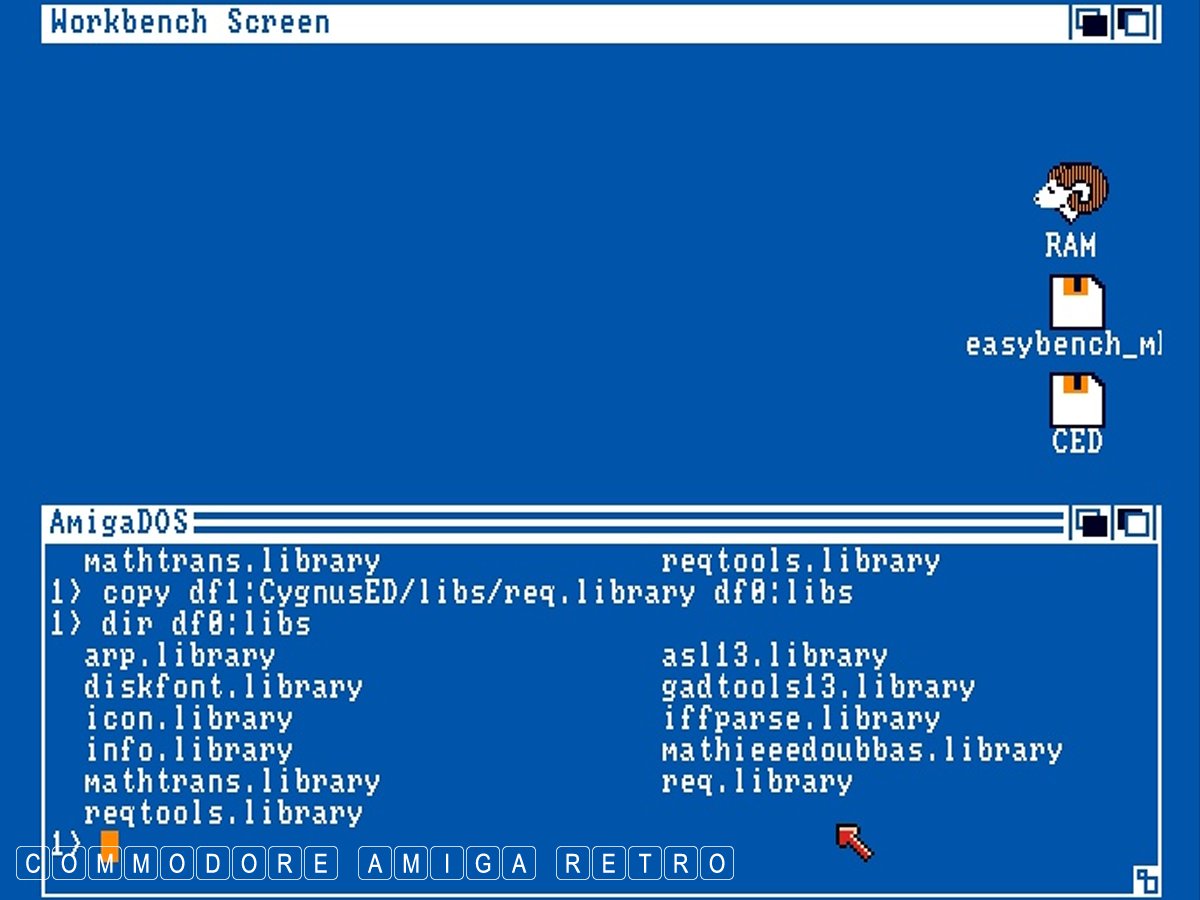
I copied the software to its own disk.
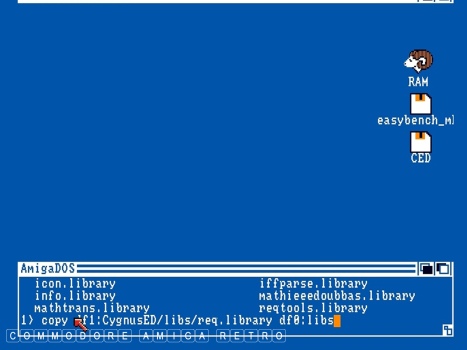
It was necessary to copy its libraries
from the disk to the libs drawer on the
Workbench disk.

Worked fine and with a menu driven editor
is far easier to use than ED.


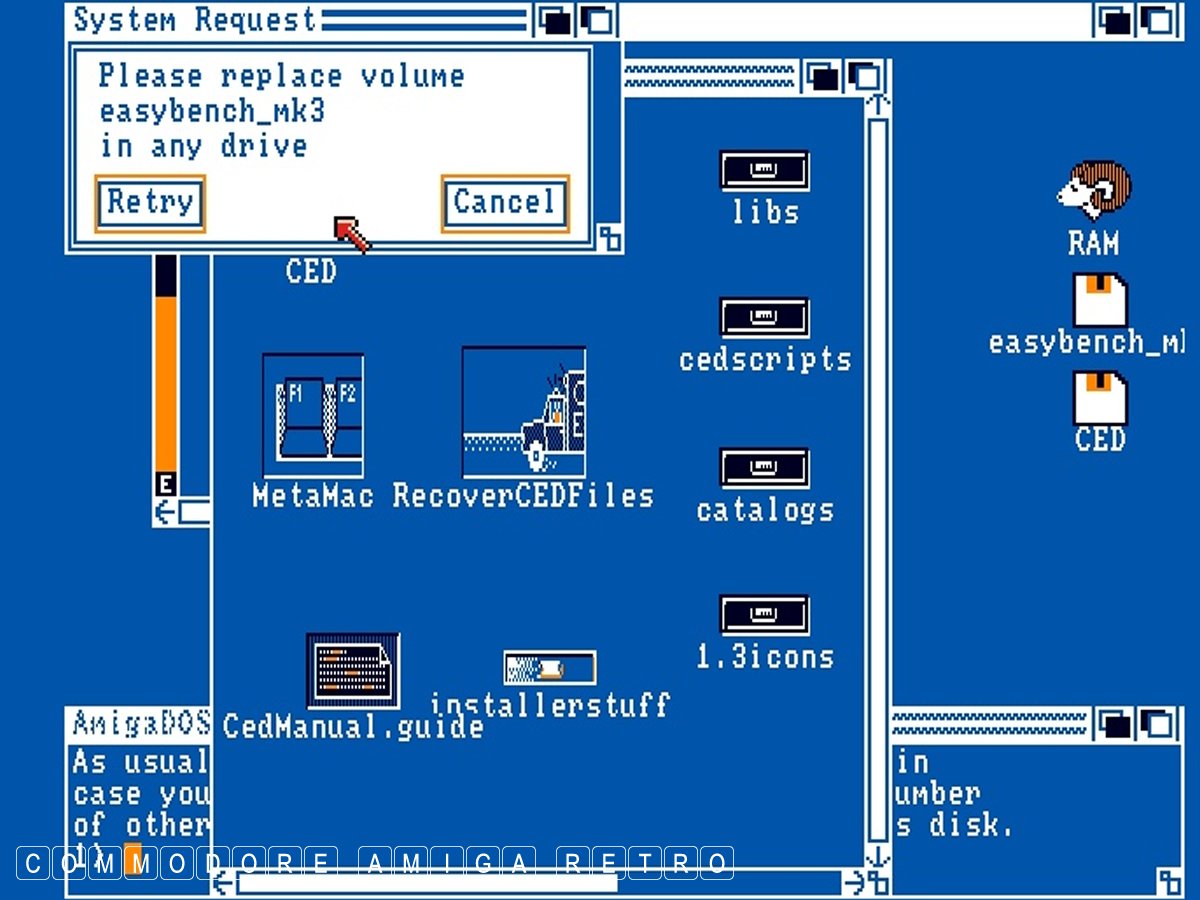
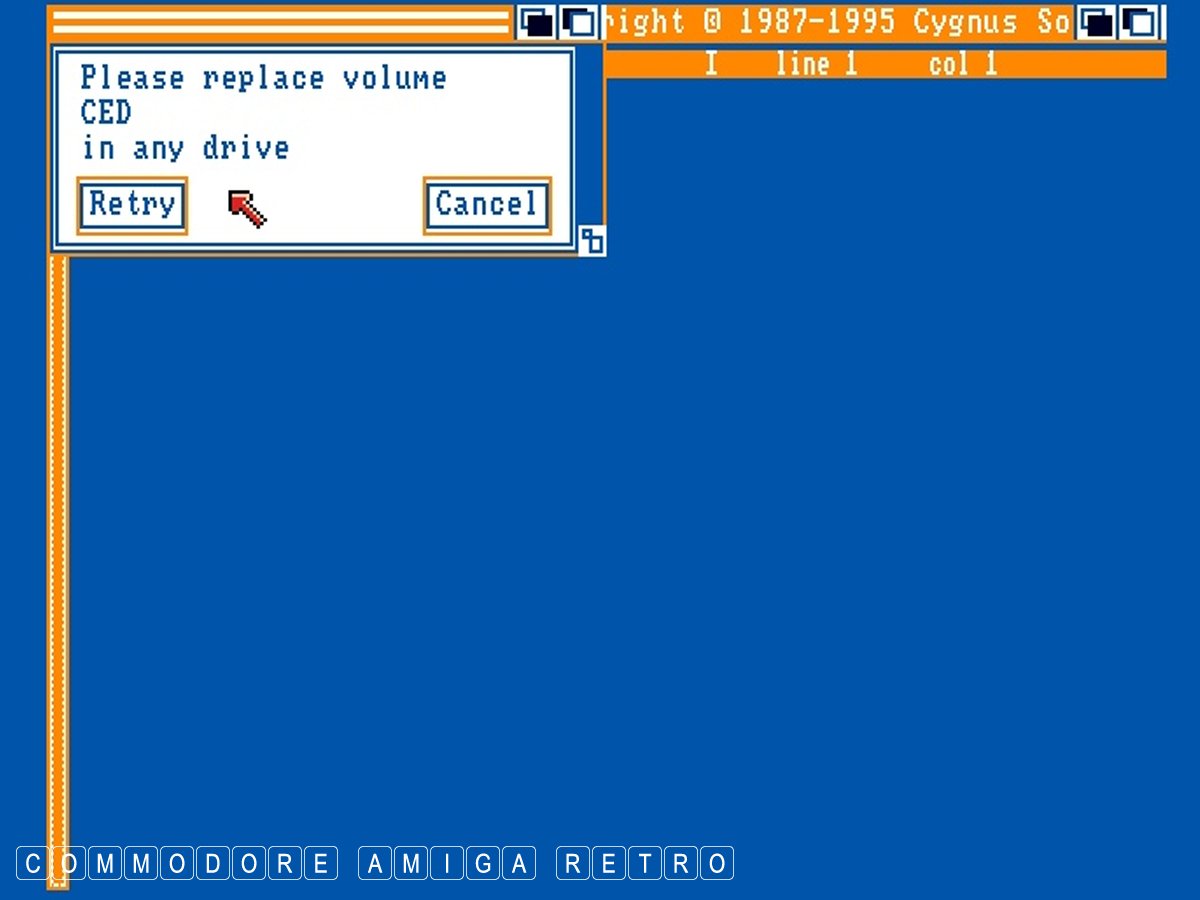
On a one disk system you have to swap disks
with the Workbench disk to activate.


CED has way more functionality being a menu
driven application.

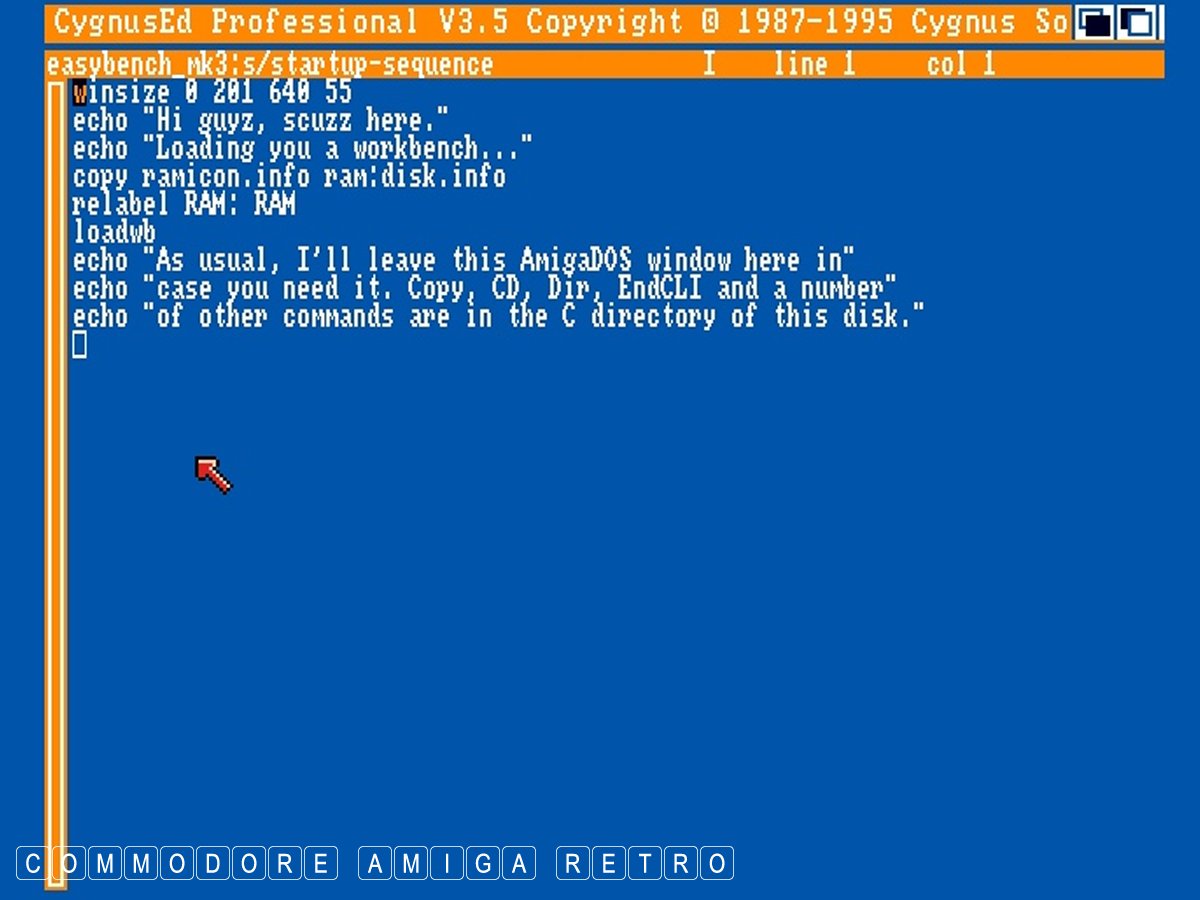
Makes editing the 'startup-sequence' much easier.

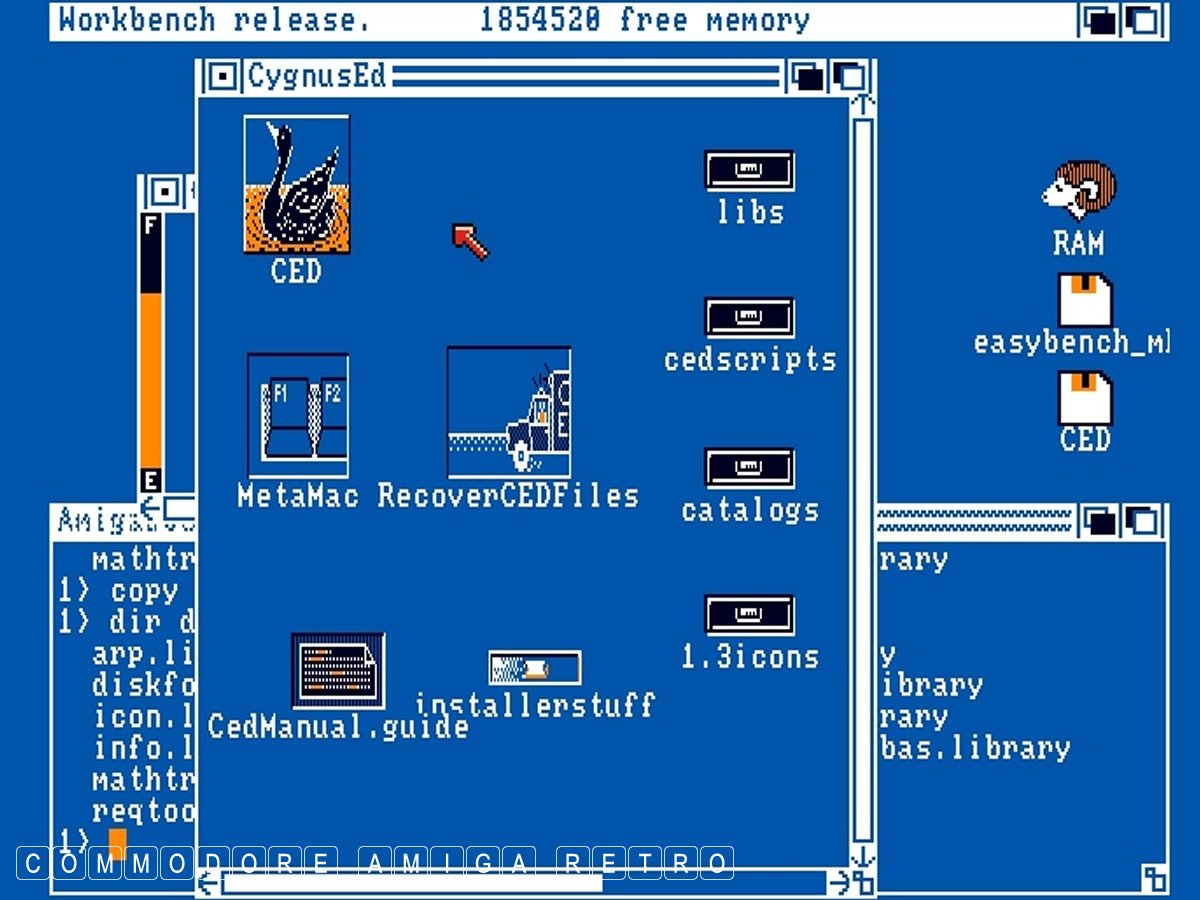
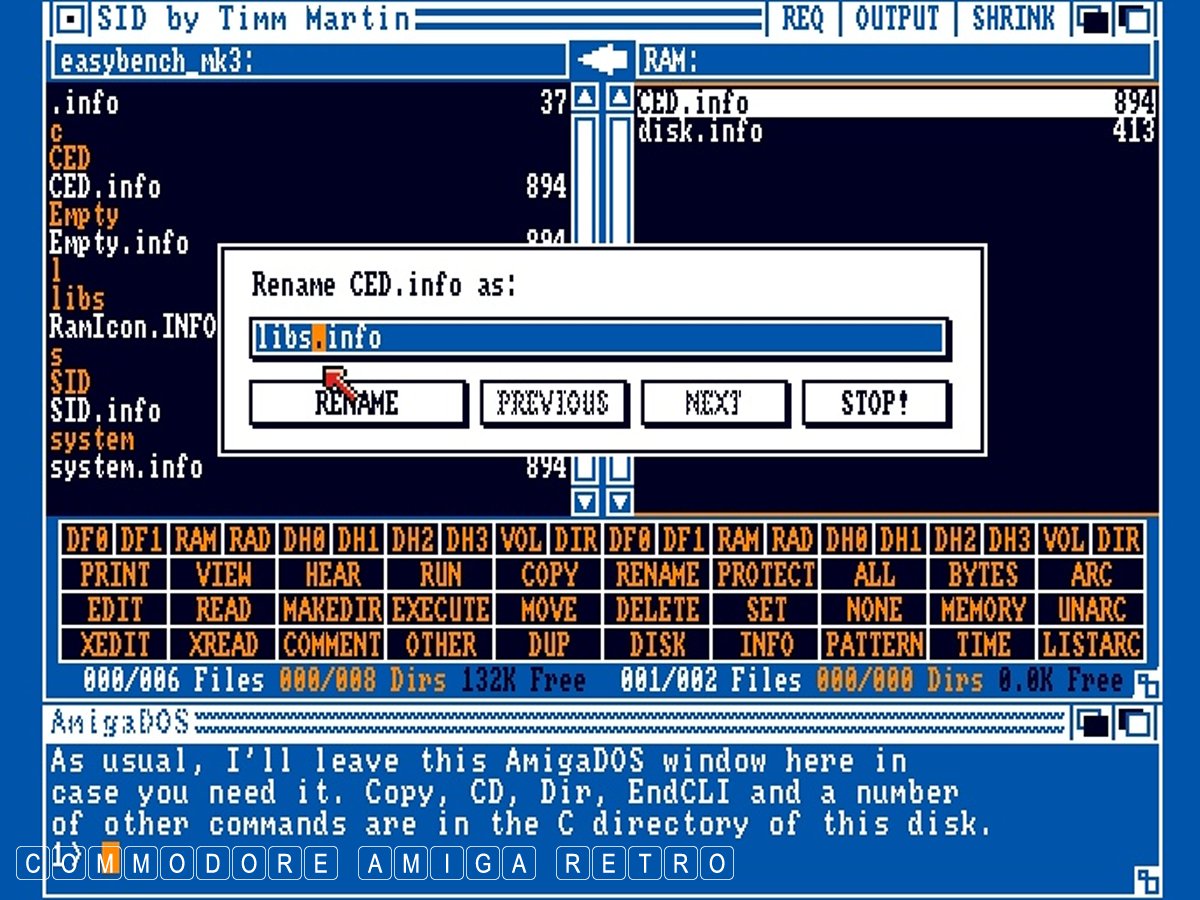
Next up, how to show hidden drawers.
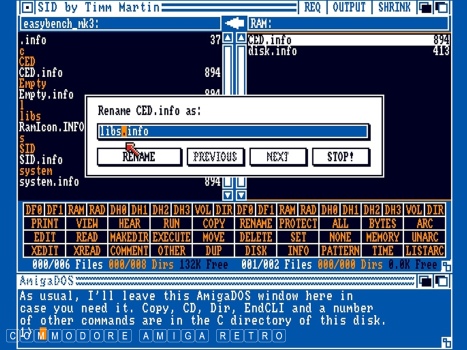
You simply copy any drawer info file to RAM
and then rename to a drawer info file that
is not included on the left pane. Here I
copied CED.info and renamed it to libs.info.
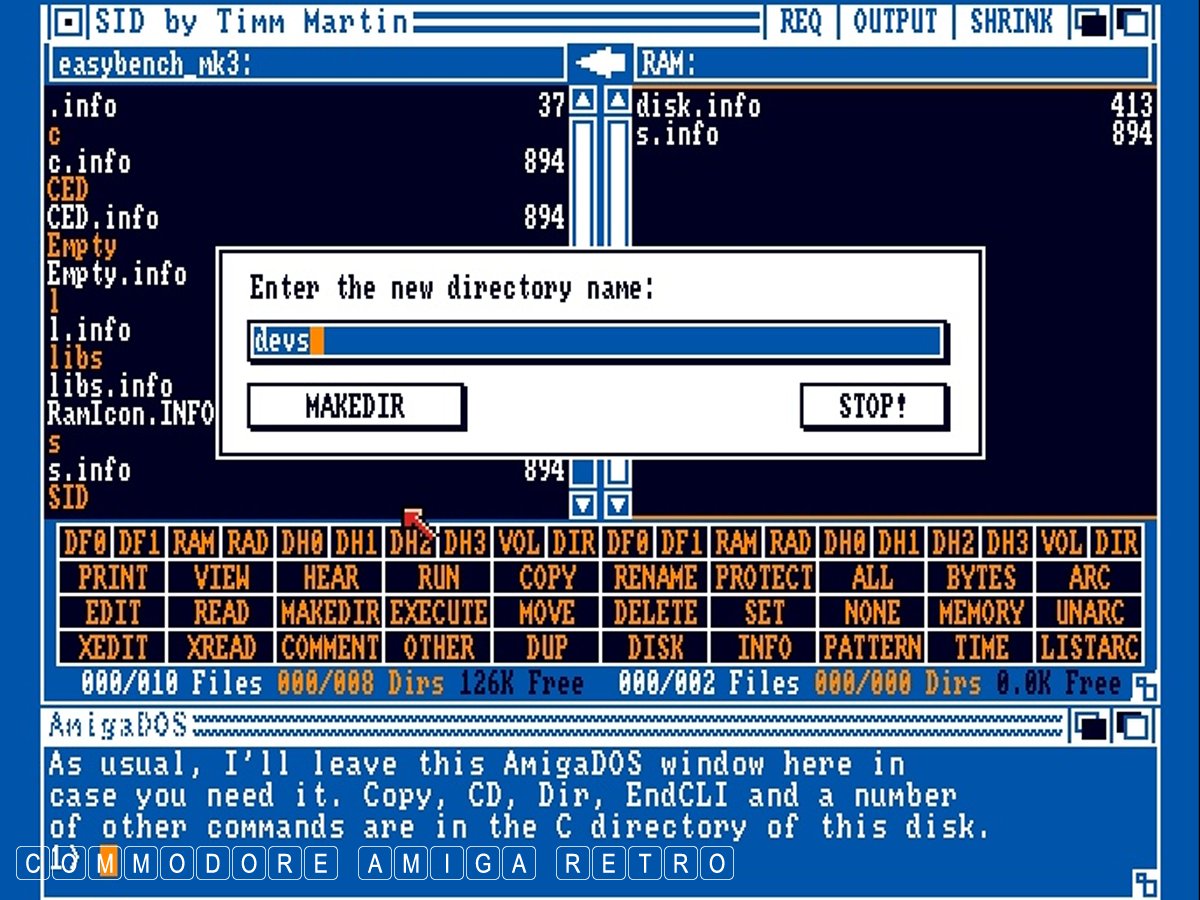
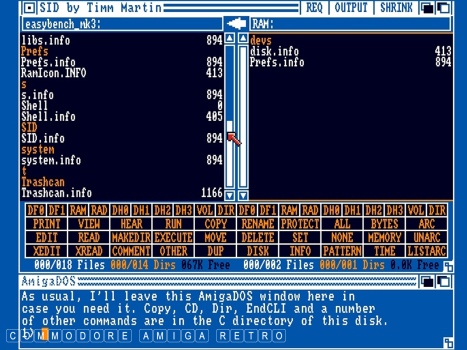
I then copy libs.info to the left pane so it
becomes associated with the libs drawer.
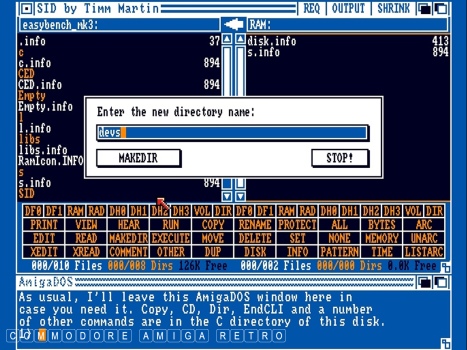
SID also allows you create new directories.
Just copy over and create an info file.
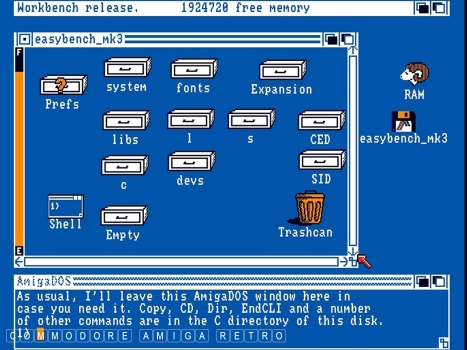
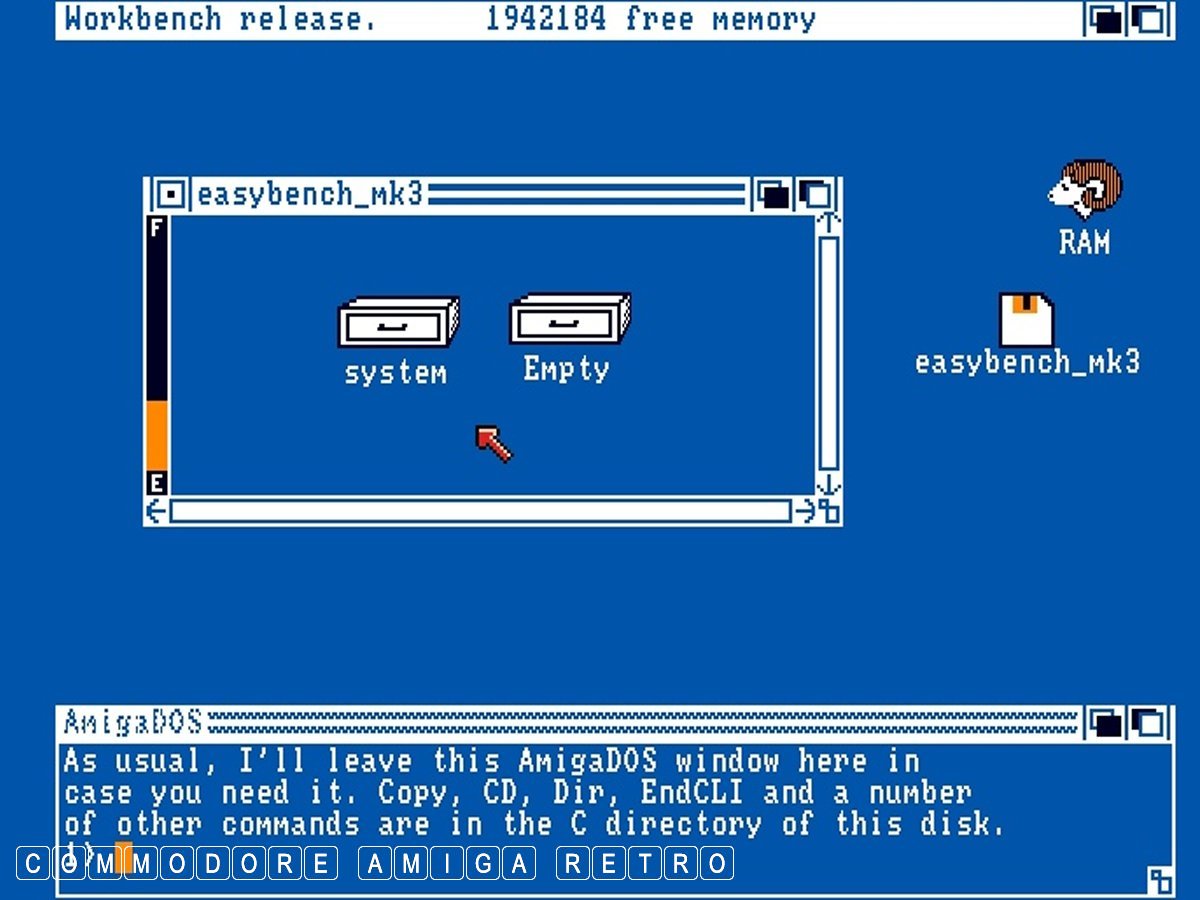
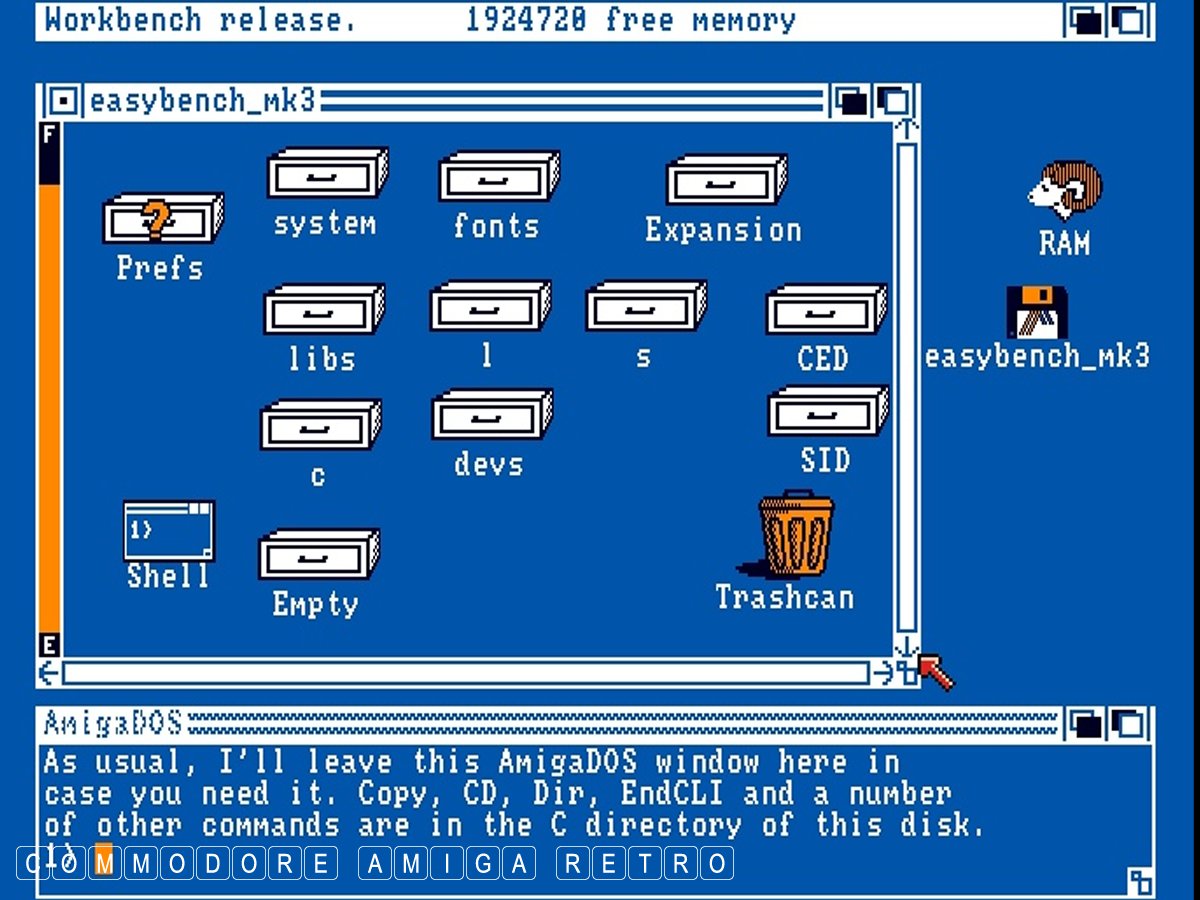
And like magic all the drawers are visible.

Along with their contents.

So its time to raid all those old Amiga
disks and salvage files for your new drawers.
Amiga Computing cover disk 10 has AmigaBASIC.
It was at this point I decided to eject SID
to its own disk to make way for more space.
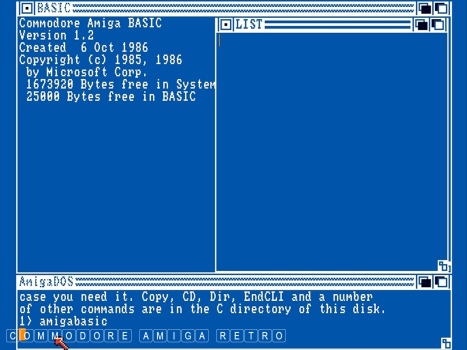
And now I have a functioning AmigaBASIC which
I activate by simply typing its name in the SHELL
window at the bottom of the screen.
Anyhoo that concludes this little exercise. I'm
sure by now you know what you have to do. The
point being that there is really no excuse to
not using your Amiga 500 just cus you don't have
a Workbench disk. There is always a way on the Amiga.