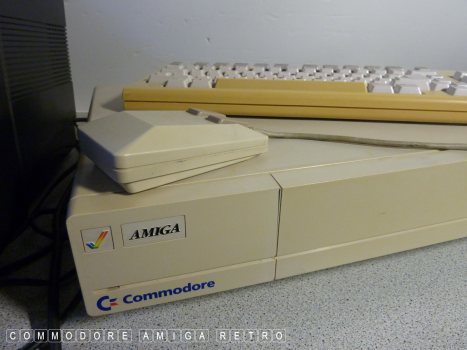
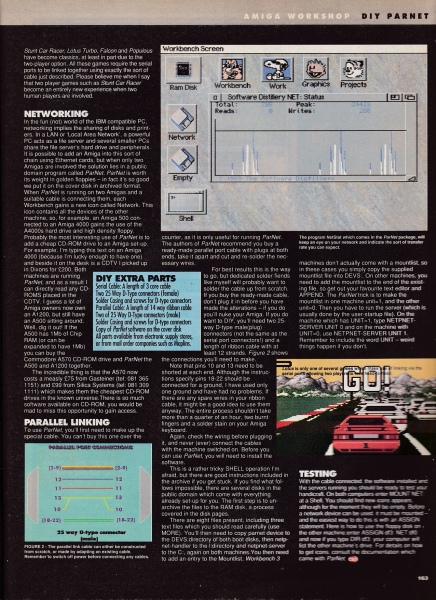
Amiga 1000 - How to Network.
I could have used any number of Amigas but
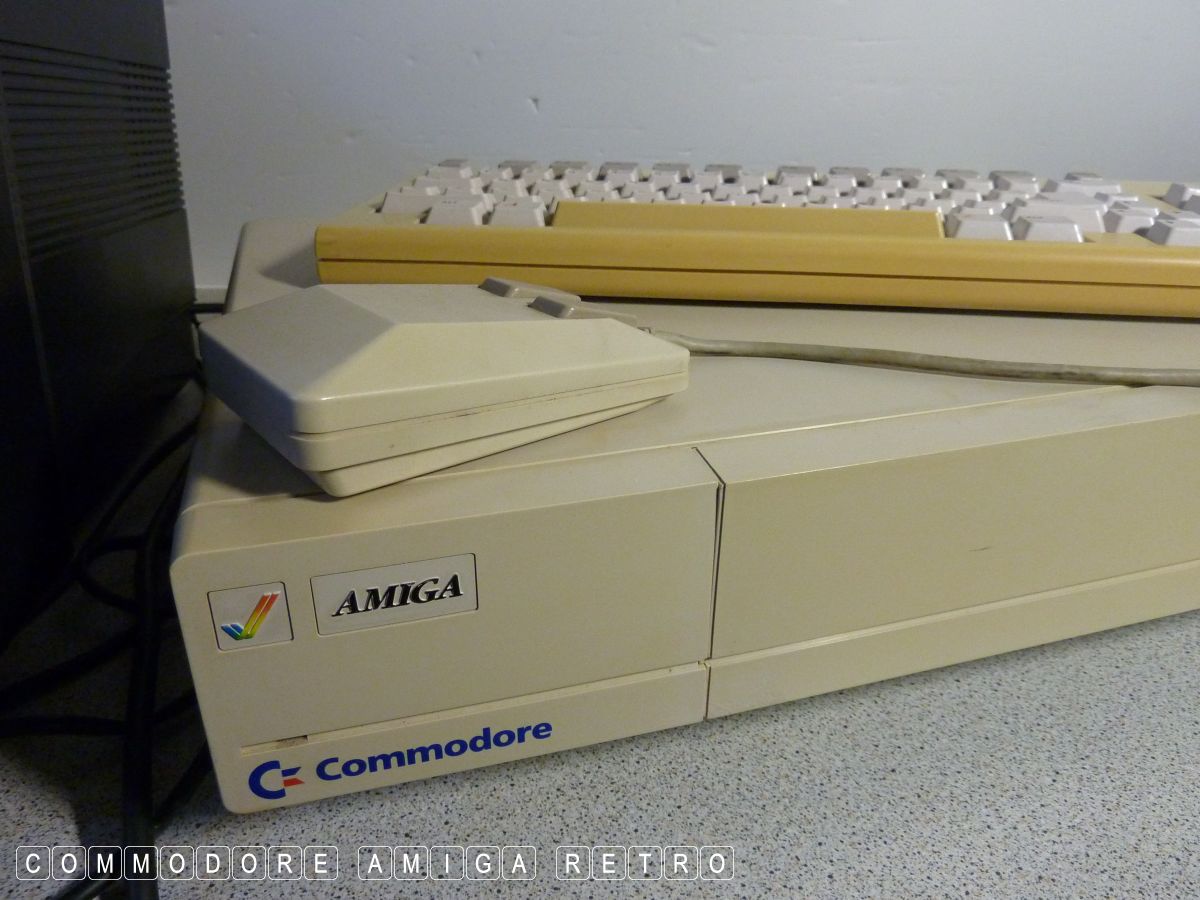
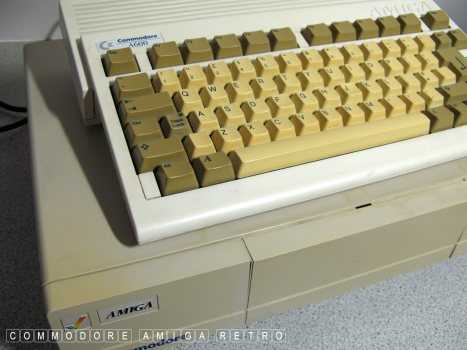
the Amiga 600 is small and sits nicely on
top of the Amiga 1000.

I have my Parnet disks with the software and
all the various files and DriveLists on disks
sat around computers that I use this on. It is
rare for me not to have Parnet on any machine
with a hard drive. Essential for backing up.
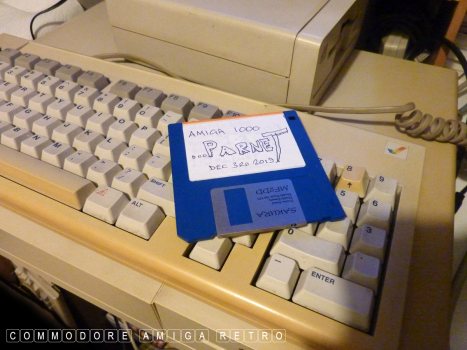
Next I created a special Amiga Workbench 1.3
disk specifically to boot on the Amiga 1000
complete with Parnet software. To do this I
needed to copy the Workbench 1.3 disk using
the Amiga 1000 and then and only then use
the disk on an A1200 with DOpus to copy the
files over. Using an A1200 to copy the original
disk will not work on the Amiga 1000.
To copy the Parnet files across I needed to first
create some space on the Workbench 1.3 disk. I did
this by deleting some Utilities and files like SAY
and some of the fonts from the fonts directory.
This is the Amiga 600 computer which I need to
prep to run Parnet. It already has Parnet on
so I just checked to make sure all was OK.

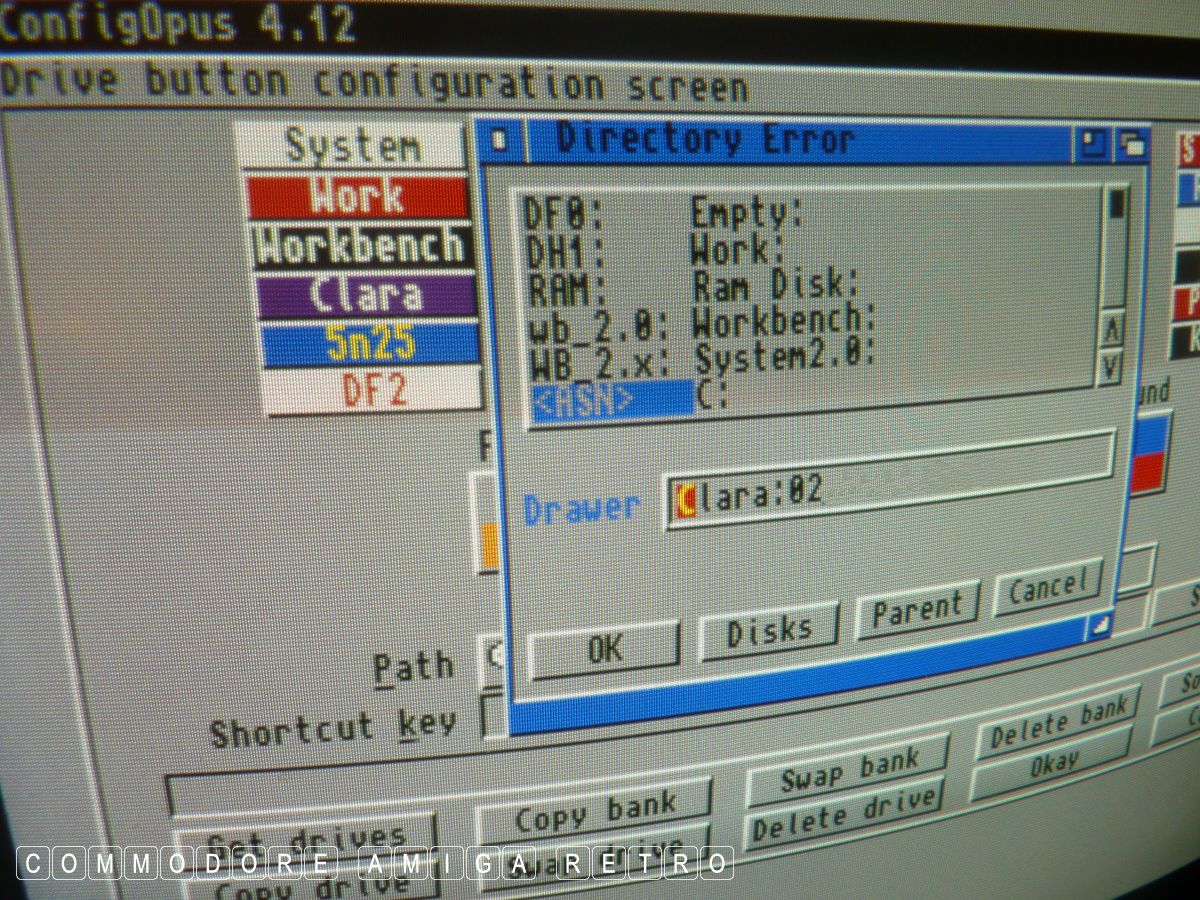
The way Parnet allows the other networked
computer to see drives on the machine is to edit
the drive list specifically for Parnet to enable
the drives on the computer. To establish what drive
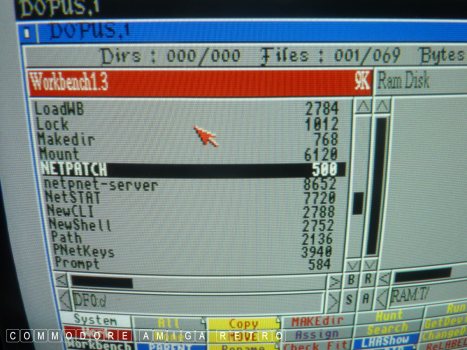
letters are present. I generally use DOpus to check
the mounted drives. This A600 is crazy bonkers with
two installations of the System drive. I have never
changed it as the hard drive is a little sensitive
and I don't want to send it into a spin.
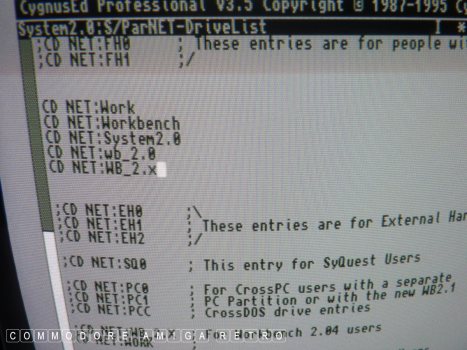
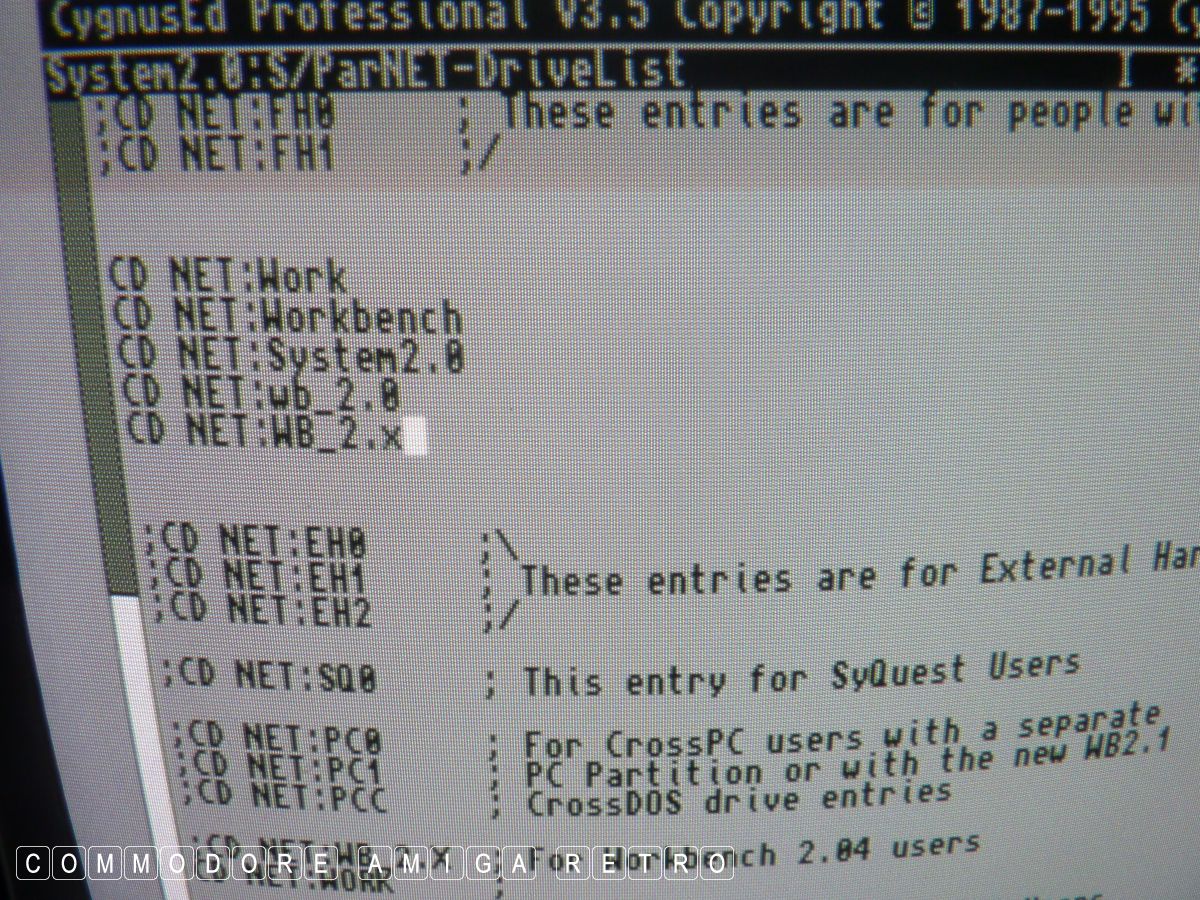
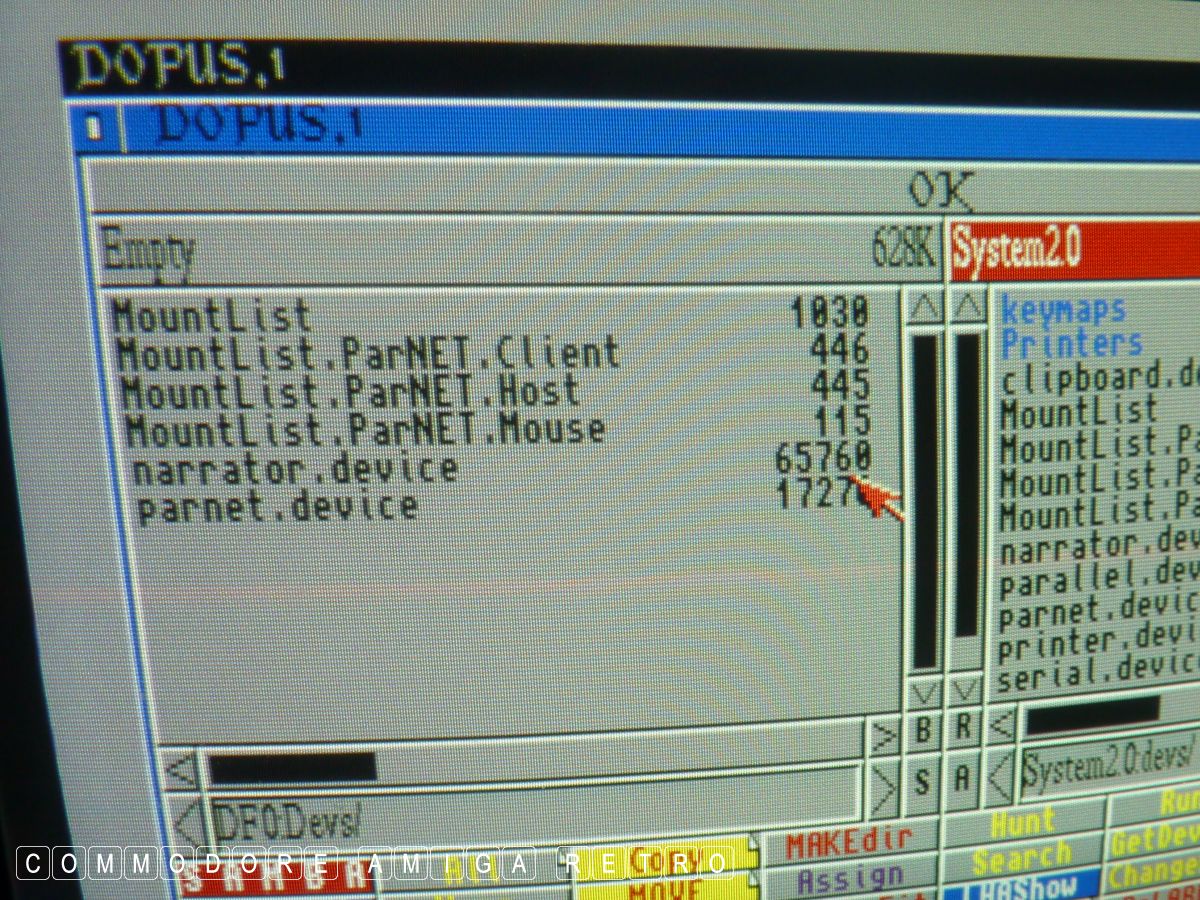
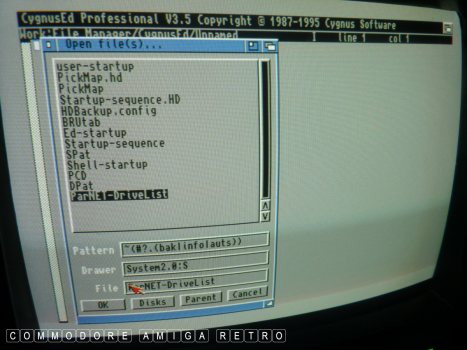
Using a text editor I open the 'Parnet-DriveList'
and un-comment and edit drives that I want to make
visible on the Network. This means deleting the
semi-colon and the note following a line. Plus
maybe adding a few lines for specific drives unique
to the computer. Don't forget to remove the semi-
colon at the beginning of the line also.
I did the same with the drive list on the A1000
floppy drive enabling DF1: and DF0: as there is
no hard drive.
Remember that all that I show here also applies
to the Amiga 1000 Parnet floppy disk.
Time to copy files from my Parnet disk to the
respective drawers on the A600 and A1000 floppy
disk.
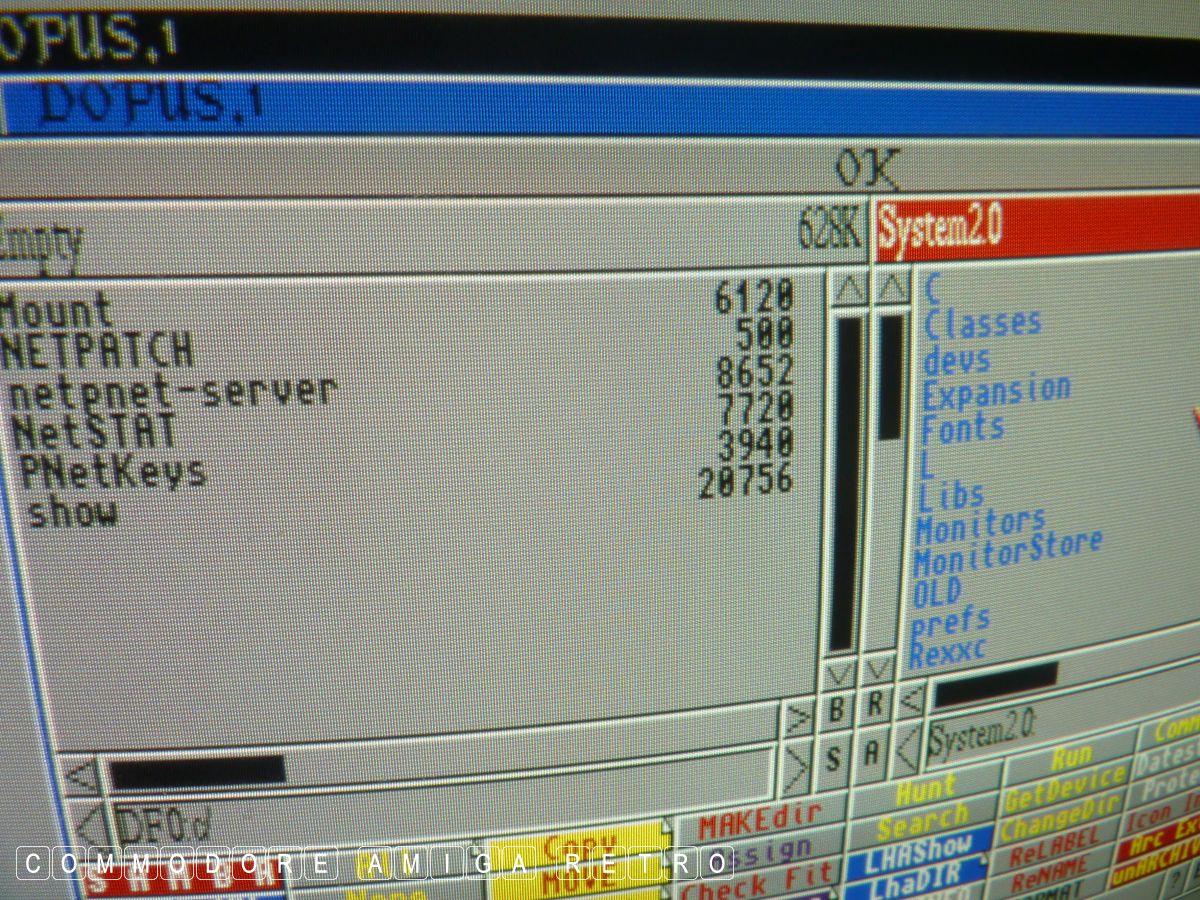
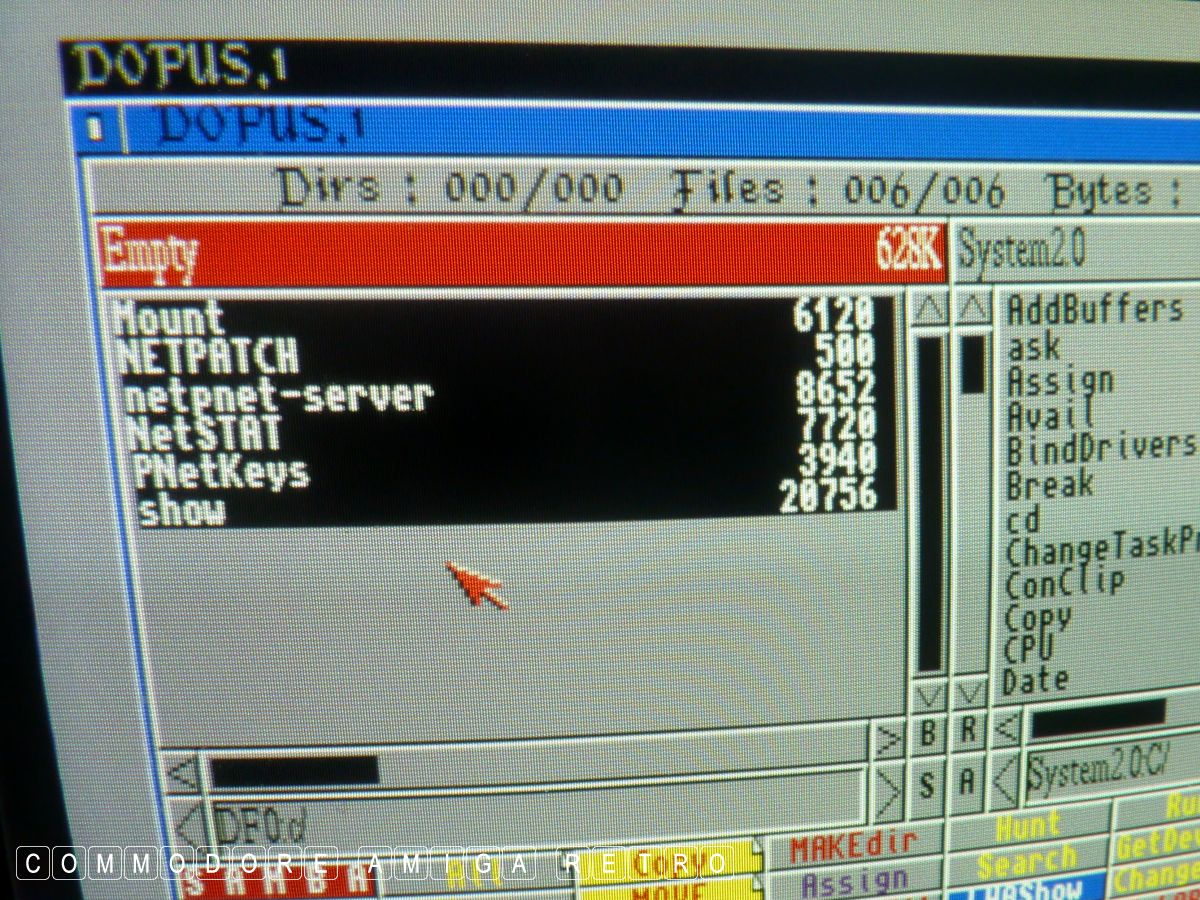
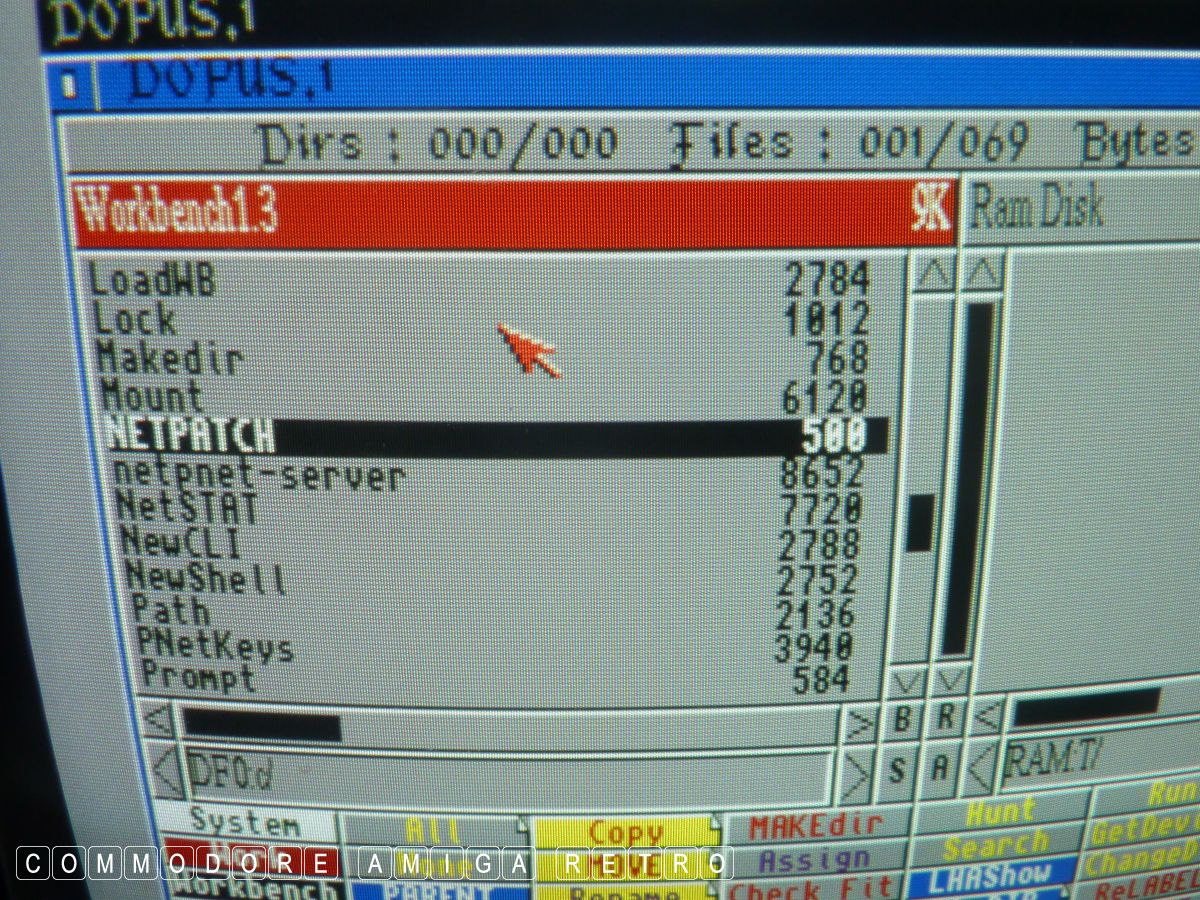
The first files are needed in the 'C' drawer.
The TOOLS 'Show' and 'Mount' should already be there
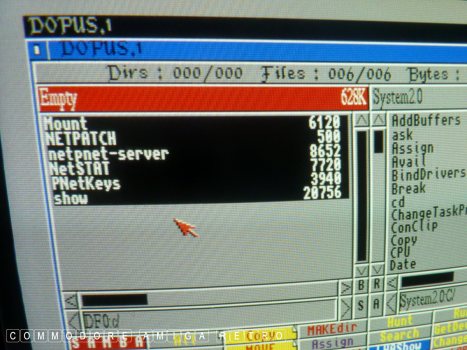
So copy these files to the ' C ' drawer.
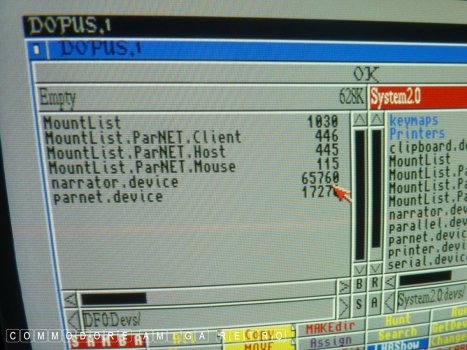
Next copy these files to the DEVS drawer. Note
that 'narrator.device' is optional if not present.
You do not need to copy MountList. In fact if
any files already exist then you are wise NOT
to over-write them.
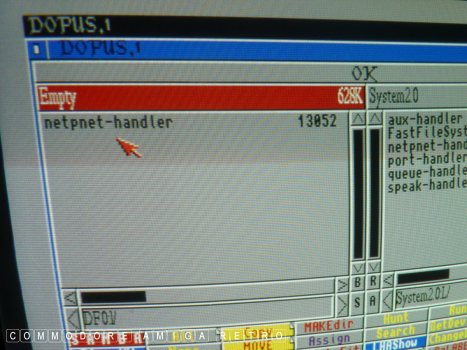
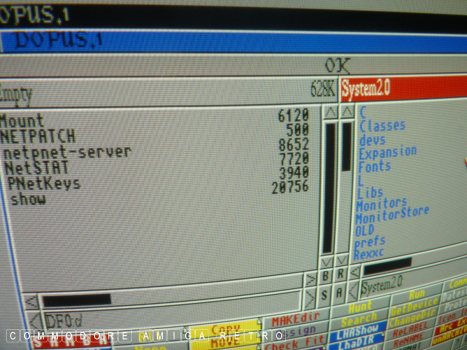
Next we copy the 'netpnet-handler' to the 'L' drawer.
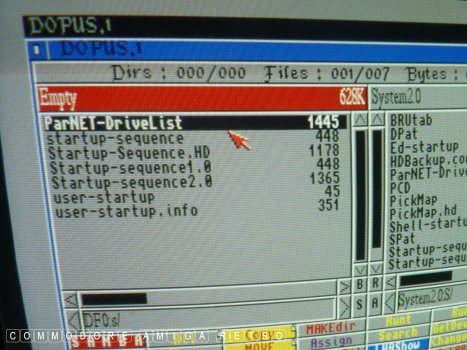
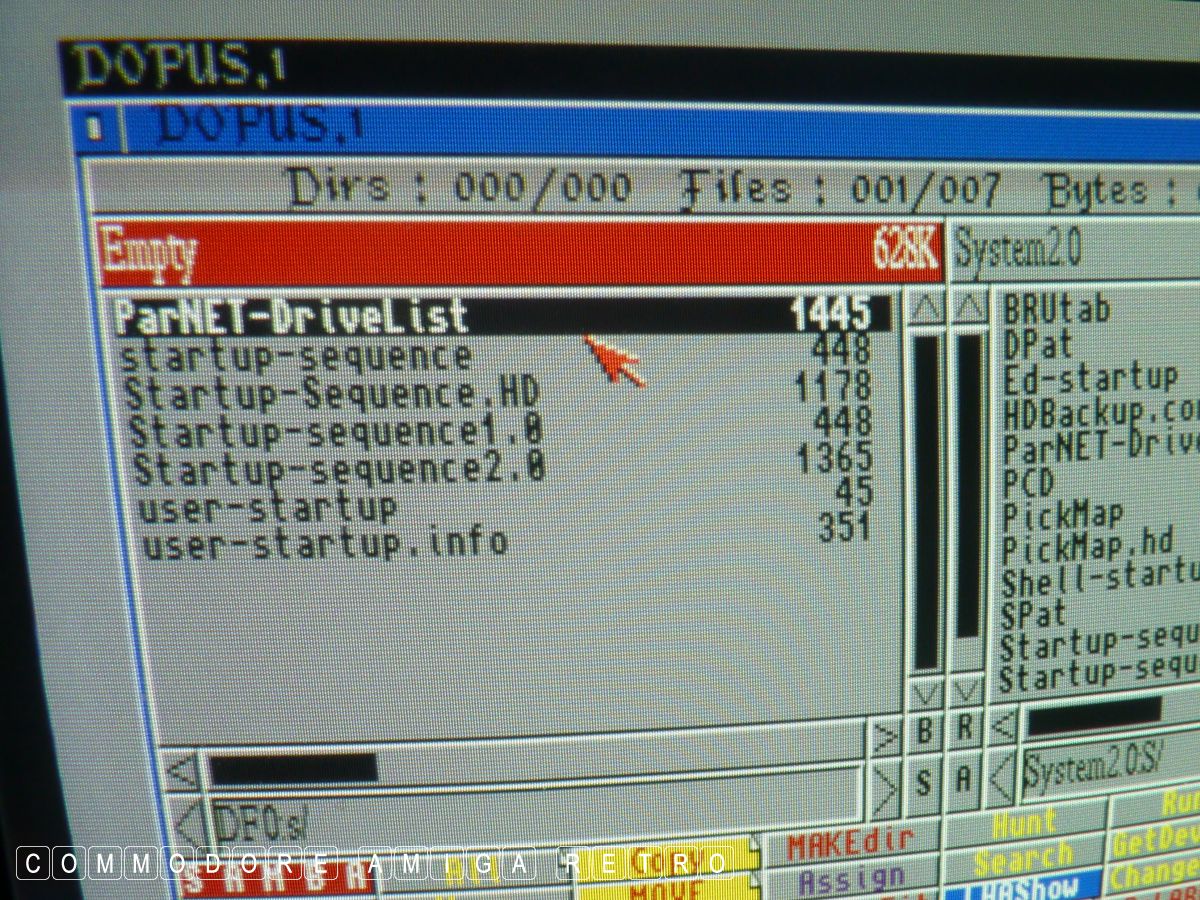
ONLY COPY 'Parnet-DriveList' to the 'S' drawer.
This is the 'DriveList' that needs to be edited.
The other Mount Lists are there for my reference.

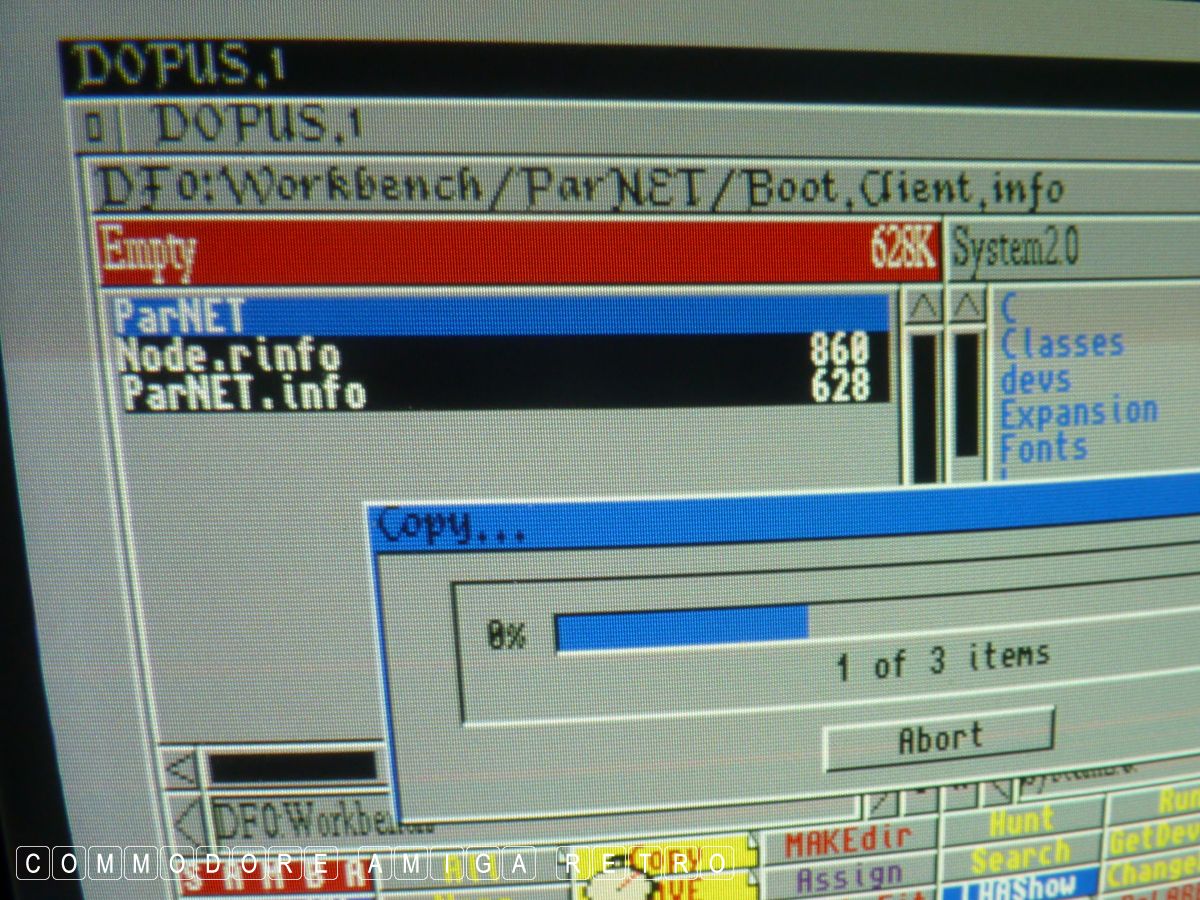
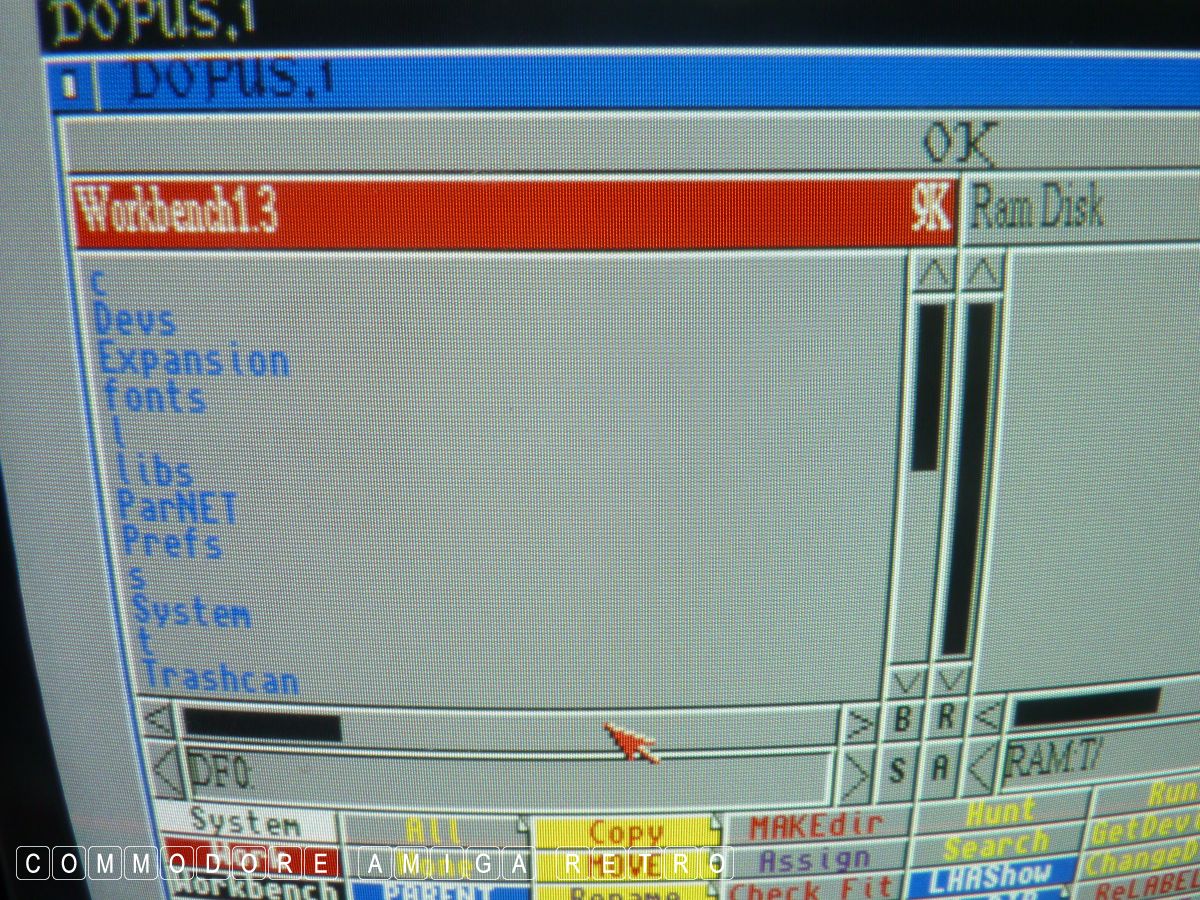
And finally copy the 'PARNET' software to the 'WB'
disk in the primary drawer and also copy the
very very very very very important 'Node.r.info'
The file 'Node.r.info' needs to be in the main
drive folder of every drive on your computer.
Without it the drives will not be visible.
Like I say copy the same files to the Workbench 1.3
disk and delete unnecessary files to make space for
the software. I just got rid of some Printer files
from Utilities, the'SAY' software and a couple of
fonts from the fonts drawer.
Edit the 'Parnet-DriveList' on the floppy disk to
identify DF0: and DF1: to be visible by removing
the semi colon from before and after the entry and
removing the comment to the right hand side.

I had 9K left when I was finished.

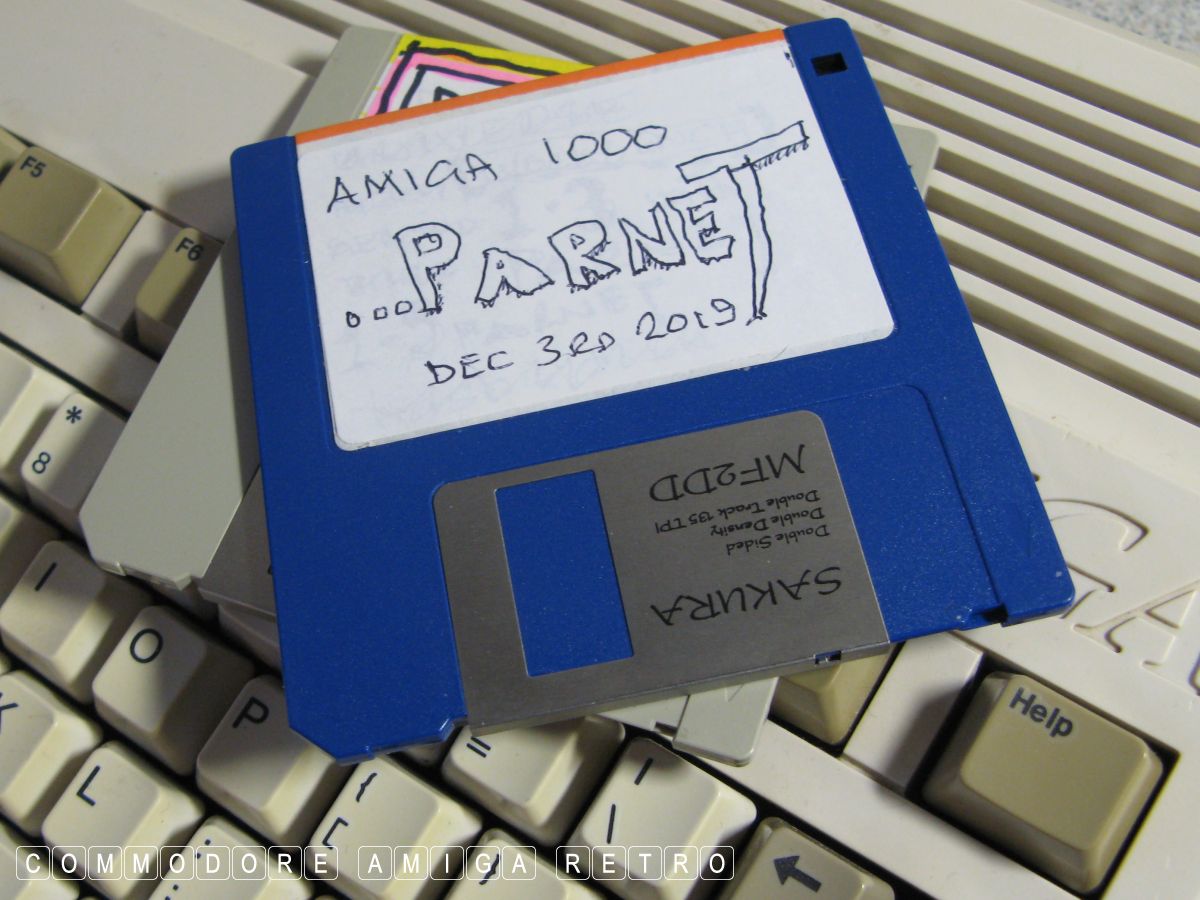
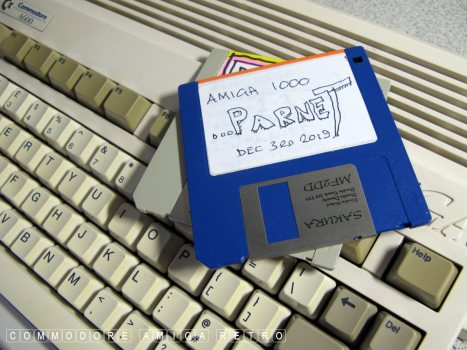
Label and keep the Parnet disk safe.

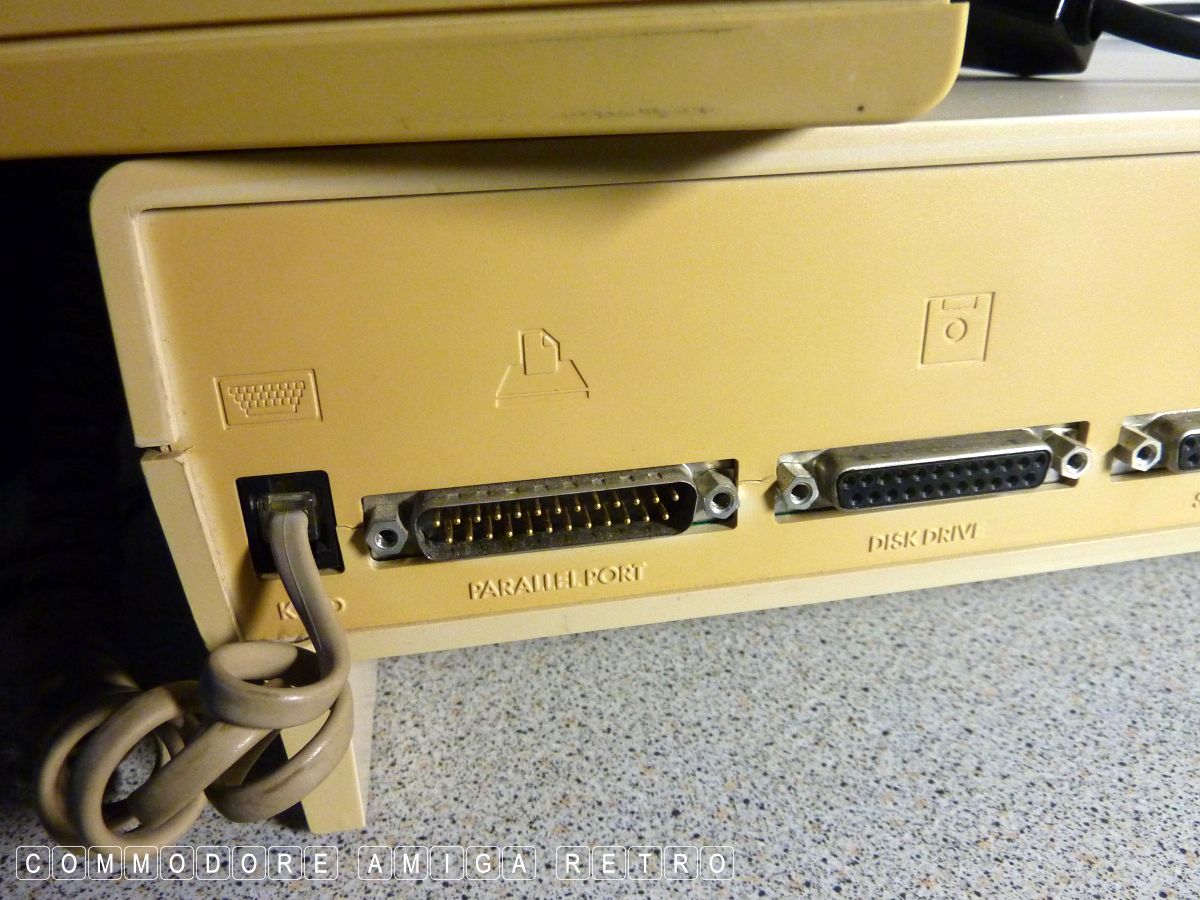
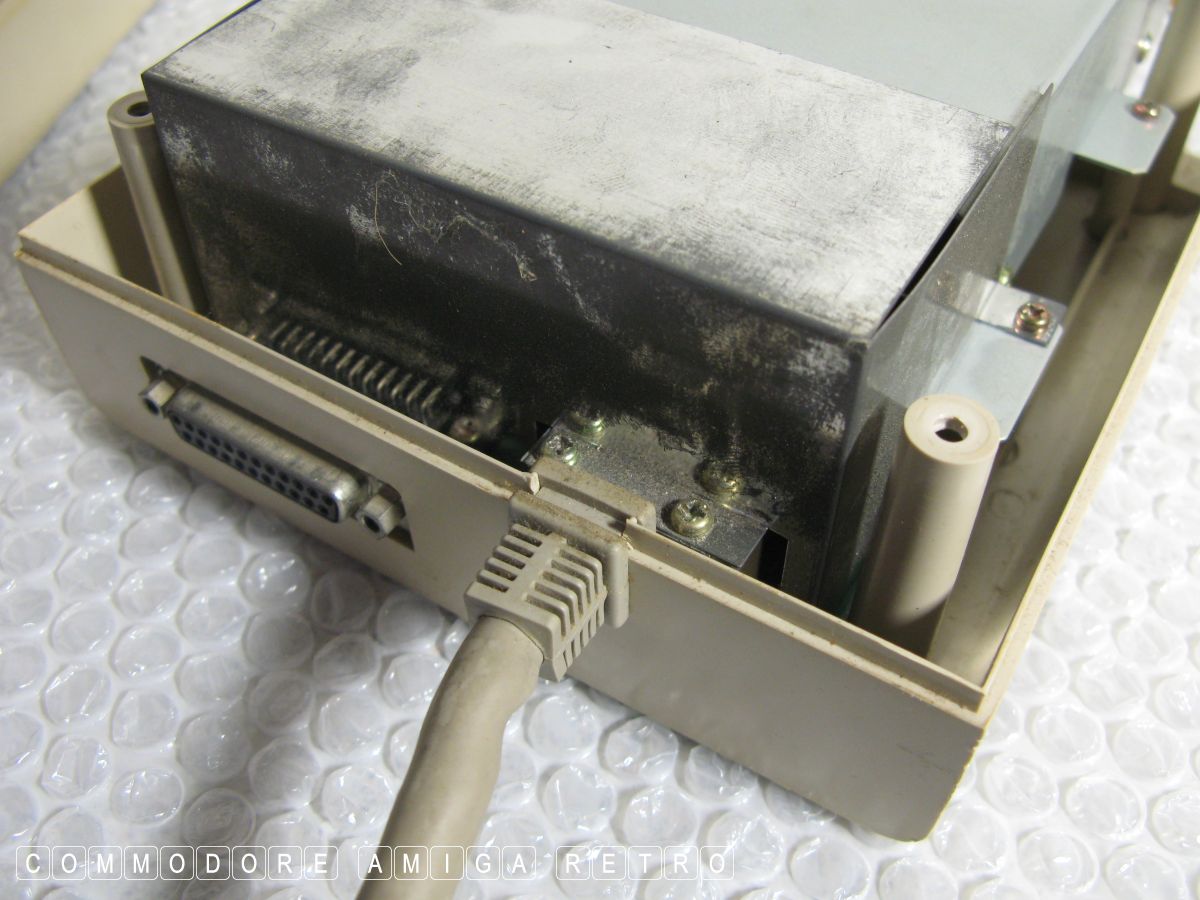
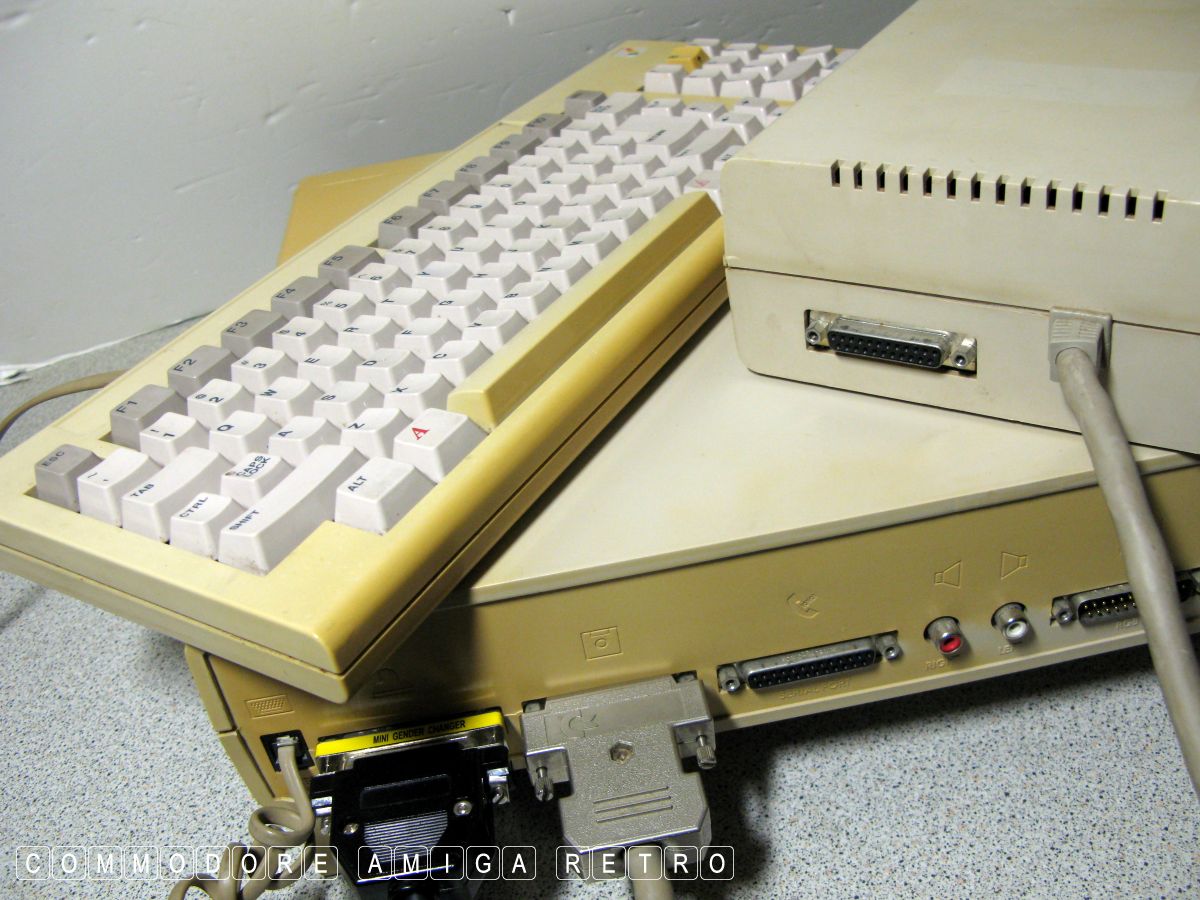
This is a Parnet cable. There are guides on the
net on how to make one. The one here and the
software uses the Parallel port. I include also
a serial connector wiring diagram below. Like I
say I always use the Parallel Port.

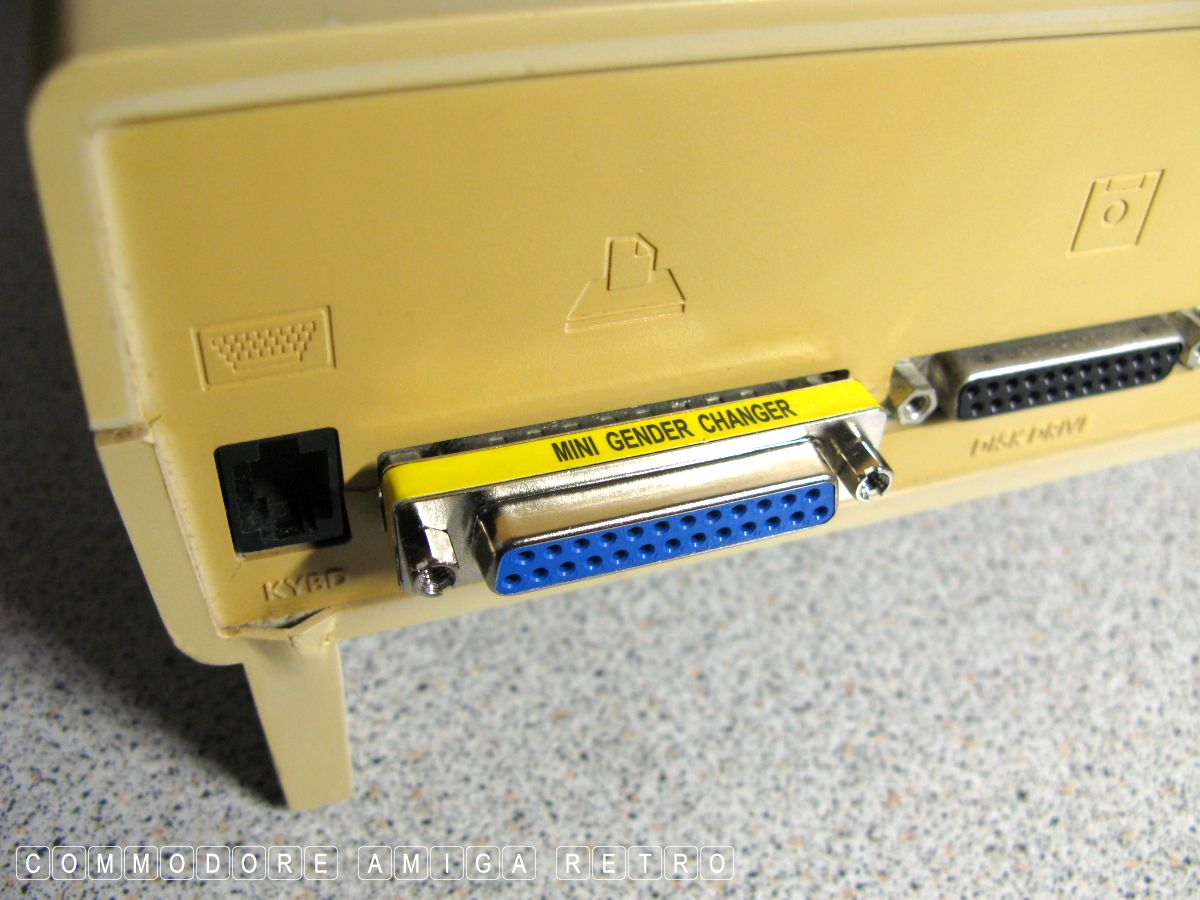
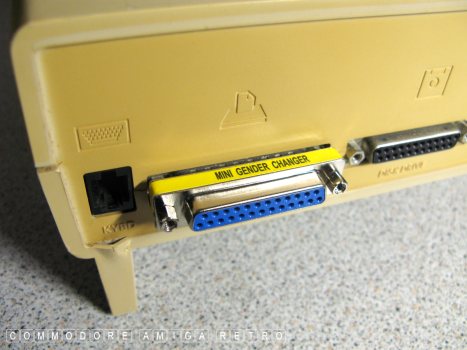
This is where I hit my first snag as the A1000
has a male Parallel Port connector and not the
normal female as with other Amigas. So I hopped
onto Ebay and bought a gender changer for a
couple of quid and had to wait two days.
Now waiting.
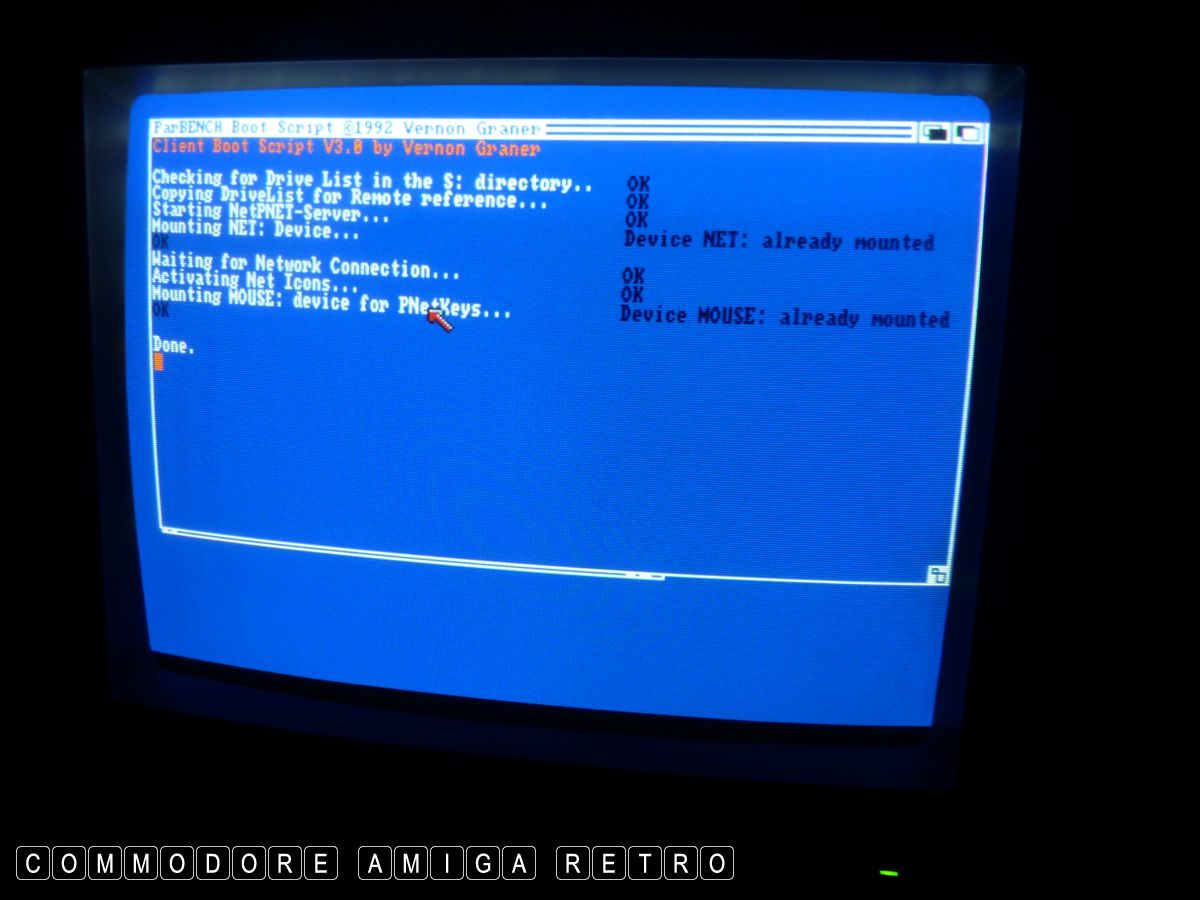
I did check that my modified disk worked

Simply halted at awaiting the Network Connection.
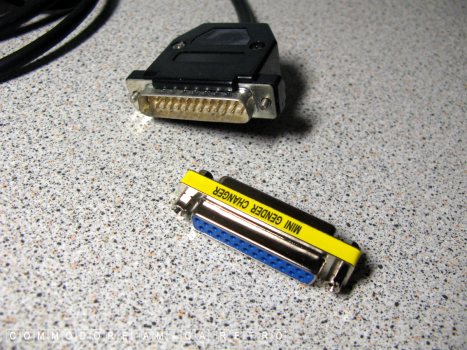
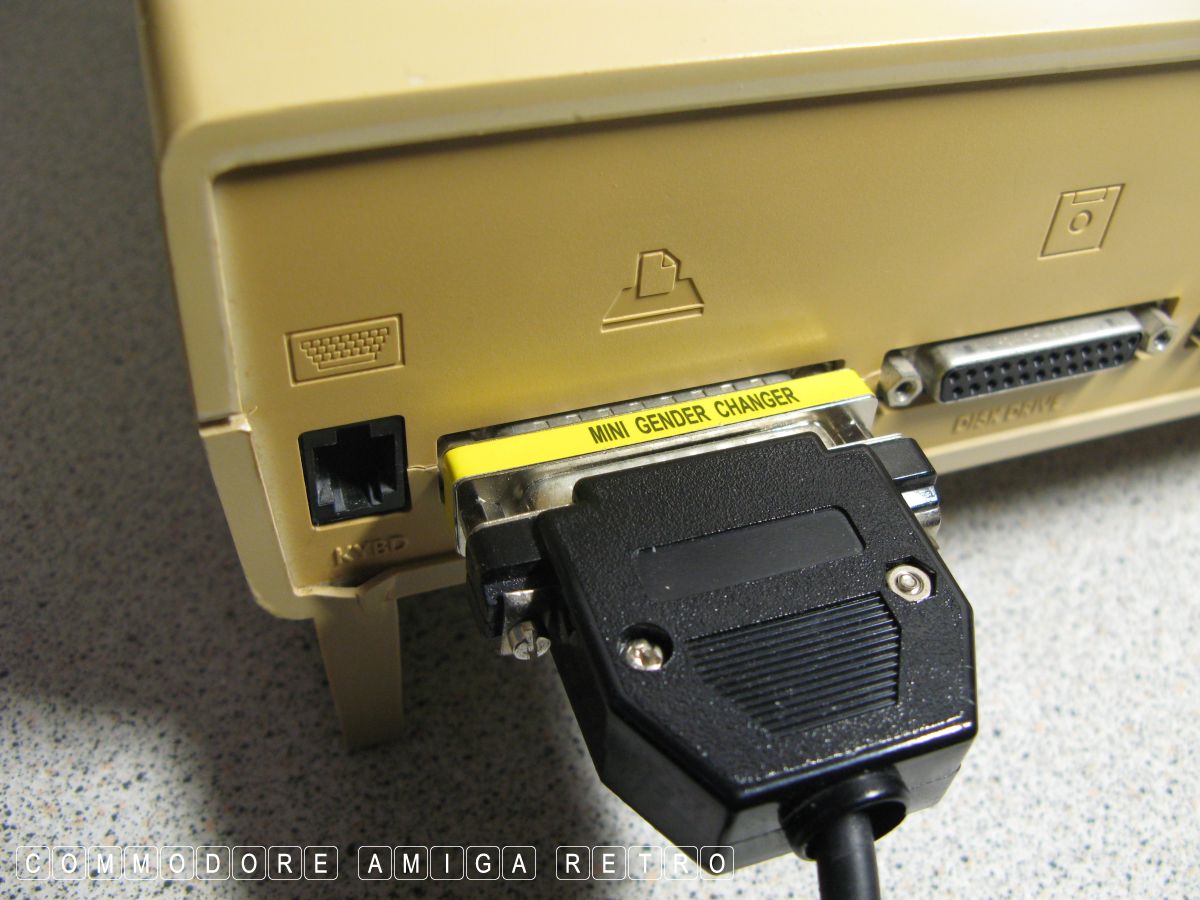
OK the Gender Changer arrived.
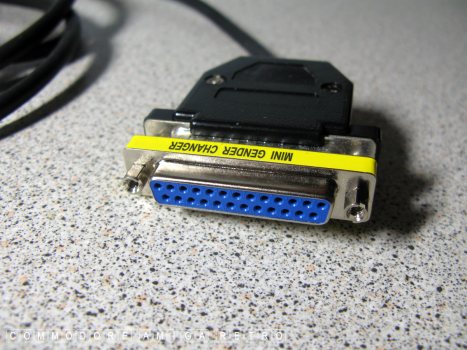

Plugs direct into the male making it a female.
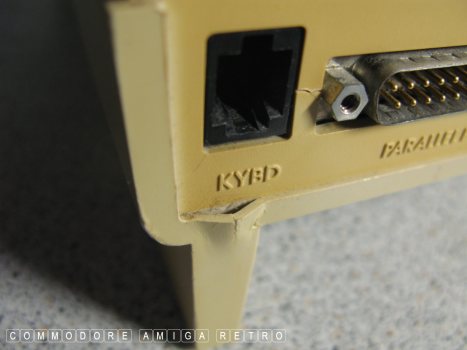
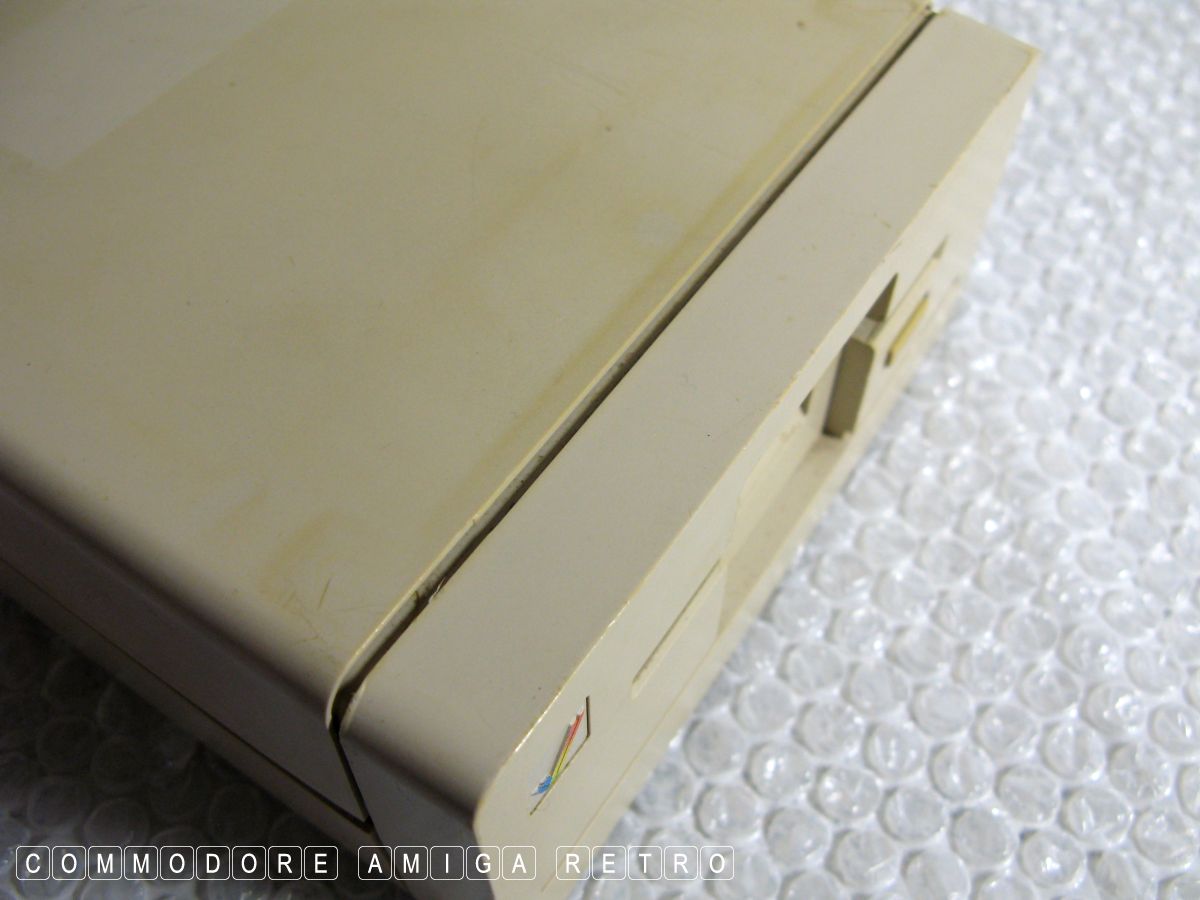
Noted a bit of damage to my very tired A1000.

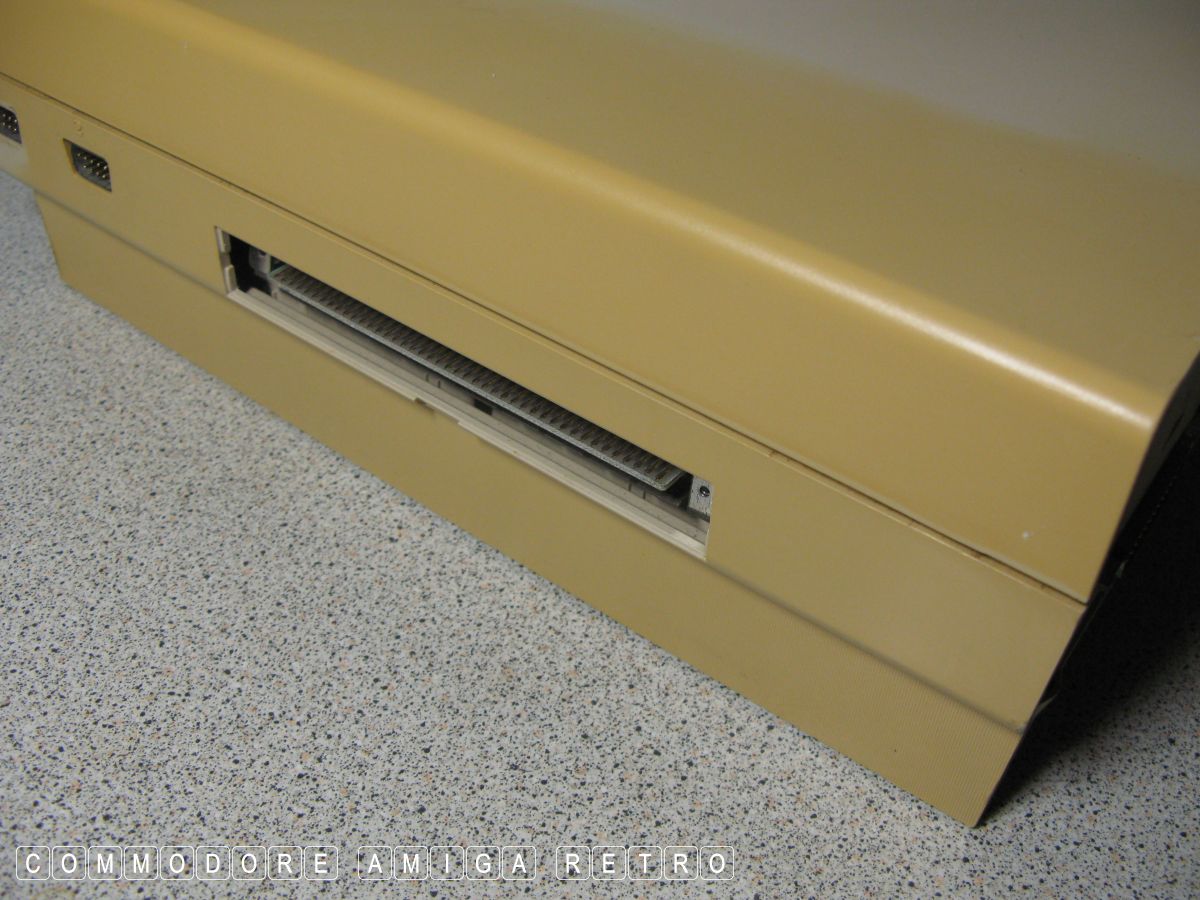
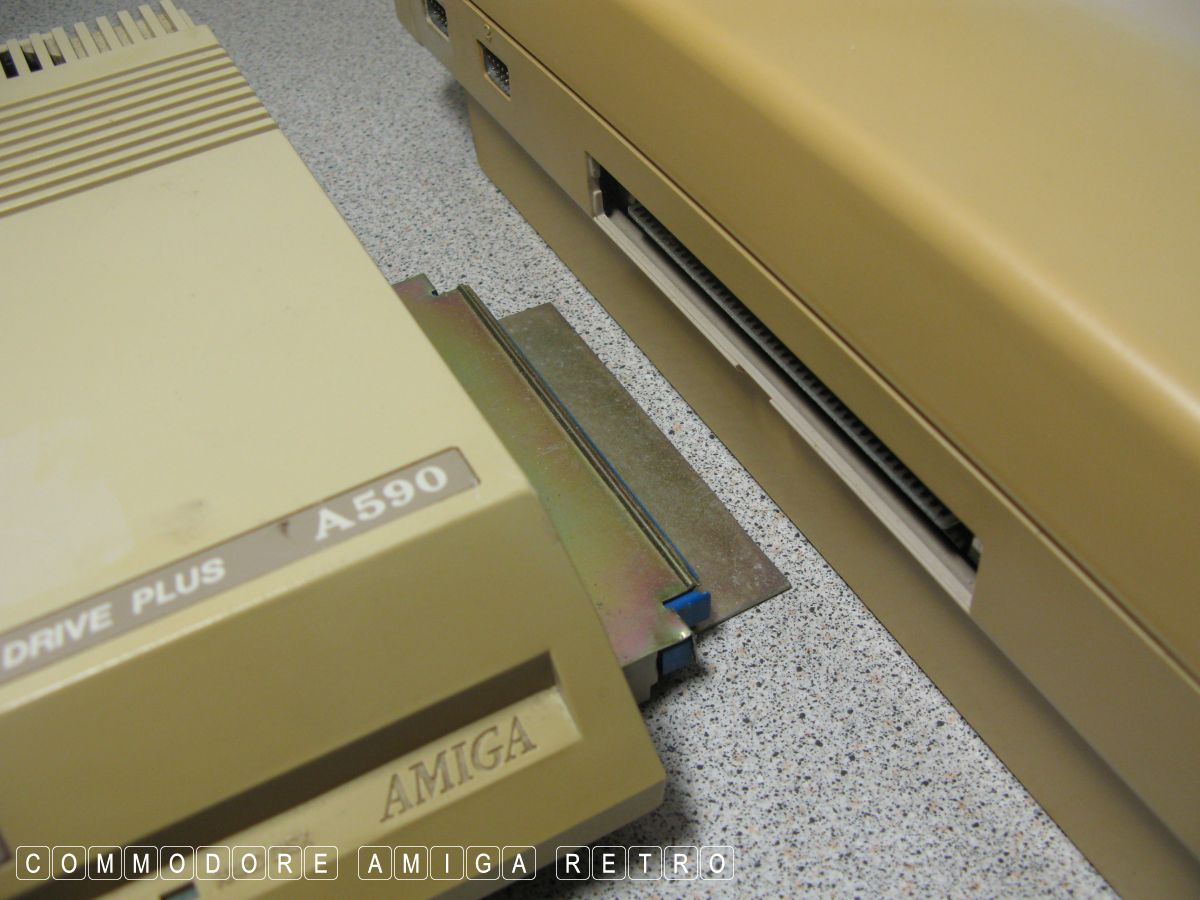
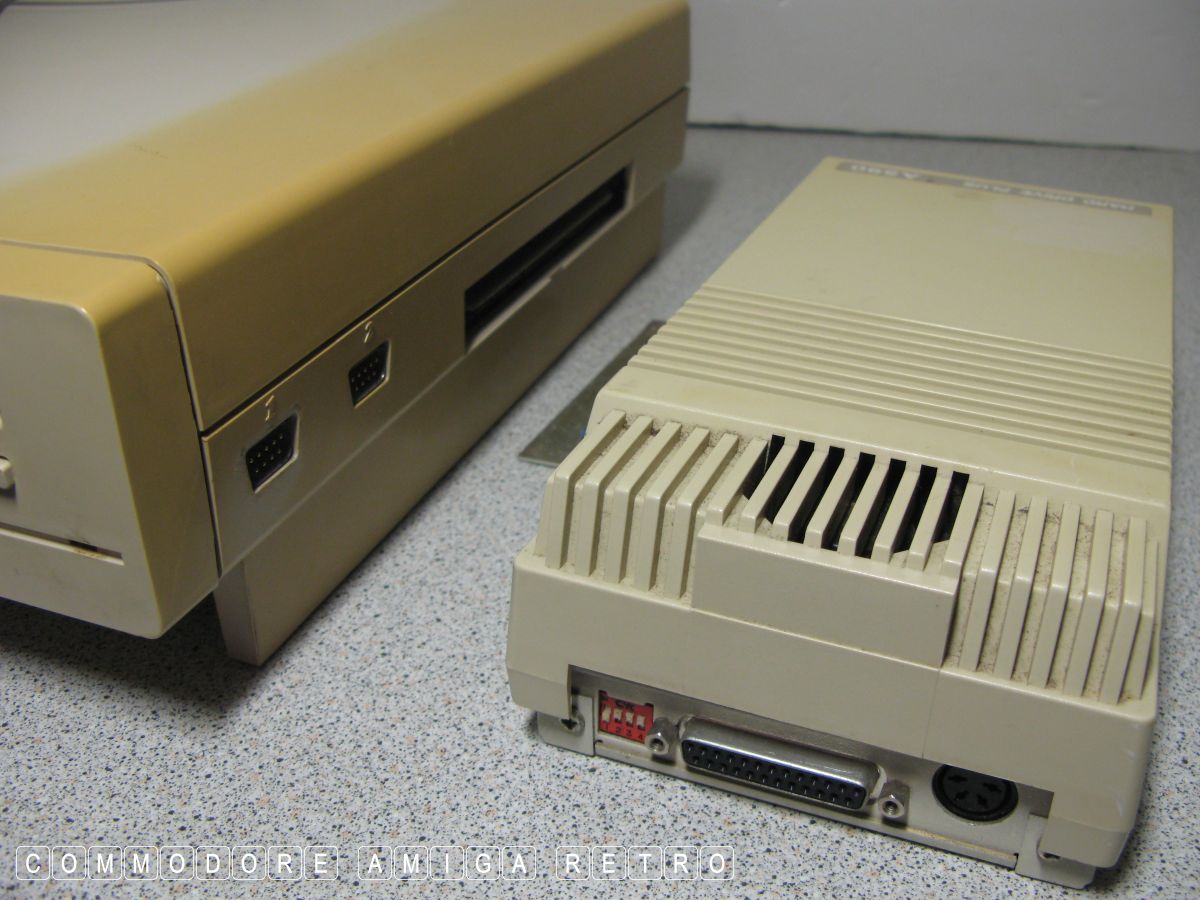
The expansion slot on the A1000 is on the
other side to the standard Amiga 500.

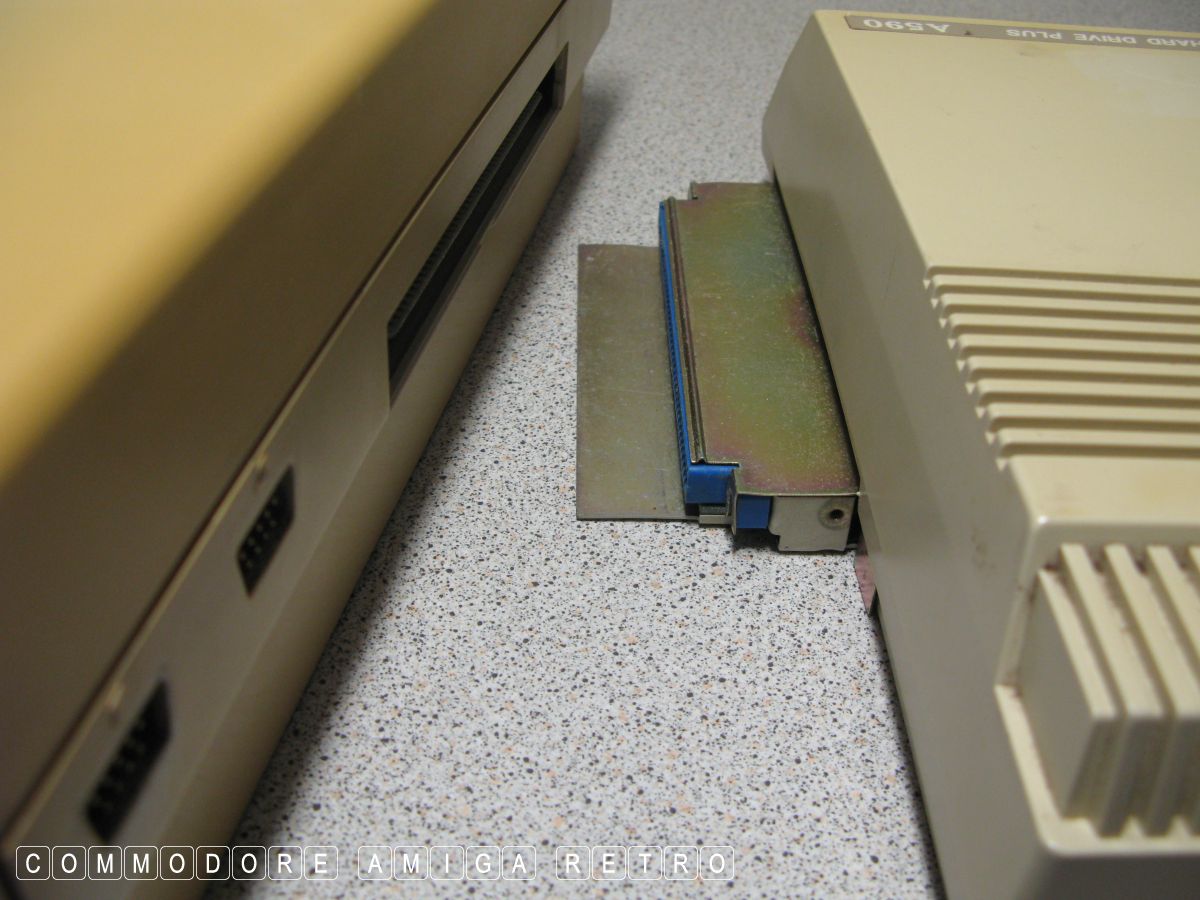
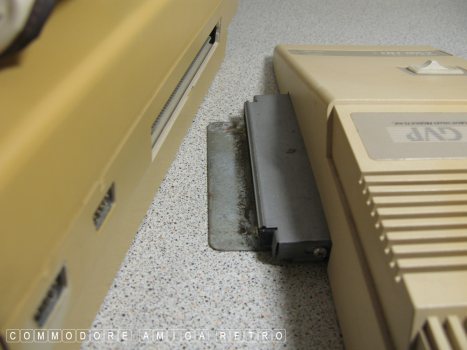
Which means the A590 or GVP or any sidecar would
have to attach the wrong way round.

You would be viewing the sidecar from the back.

Not to mention the problem with the metal plate
that prevents inserting the connector.
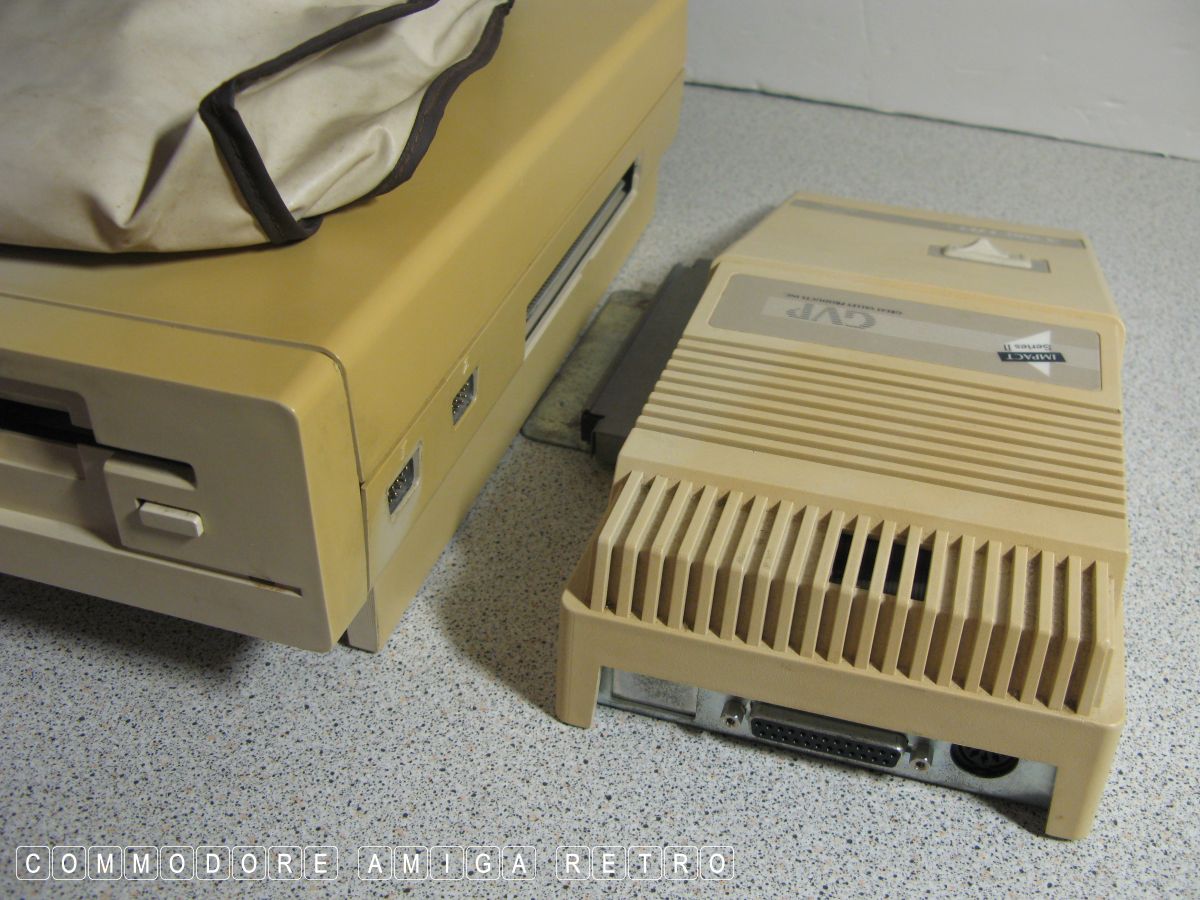
It is the same with the GVP sidecar.


I guess you could unscrew the plate and
cut the edge off. A bit drastic.

Anyhoo... time to get back to the Networking.
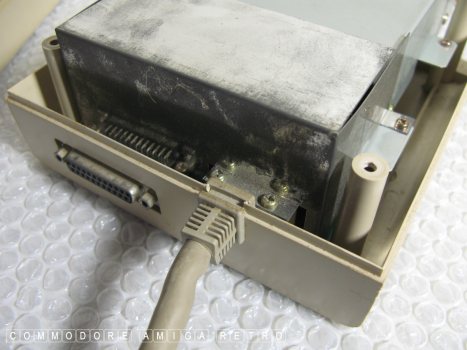
Throws the old dustcover off the A600. This
is just an old busted A600 I used to show
how the connector works.

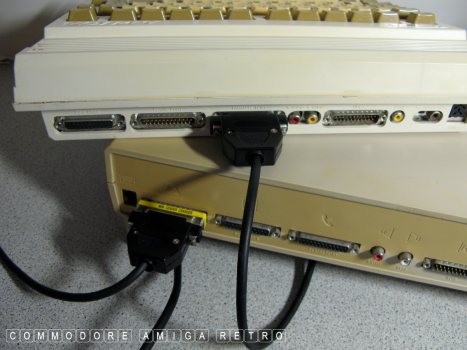
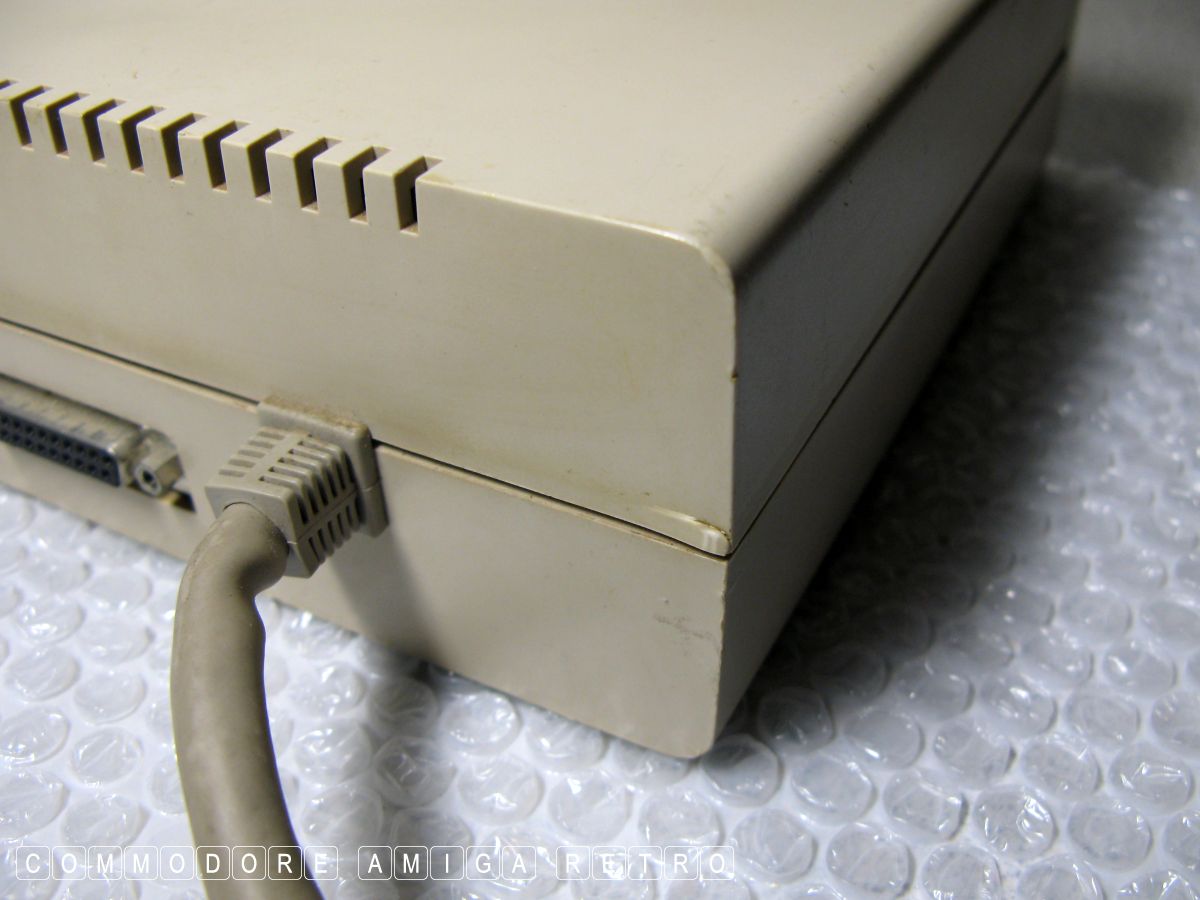
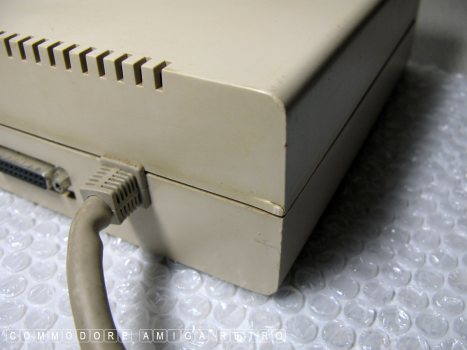
And so the Parnet cable is connected.
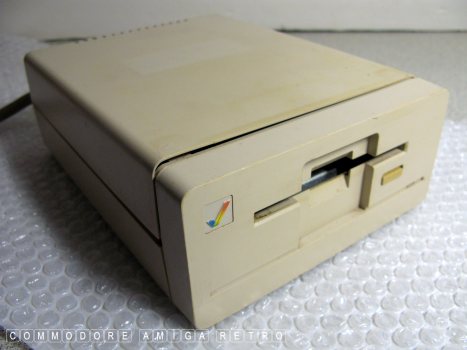
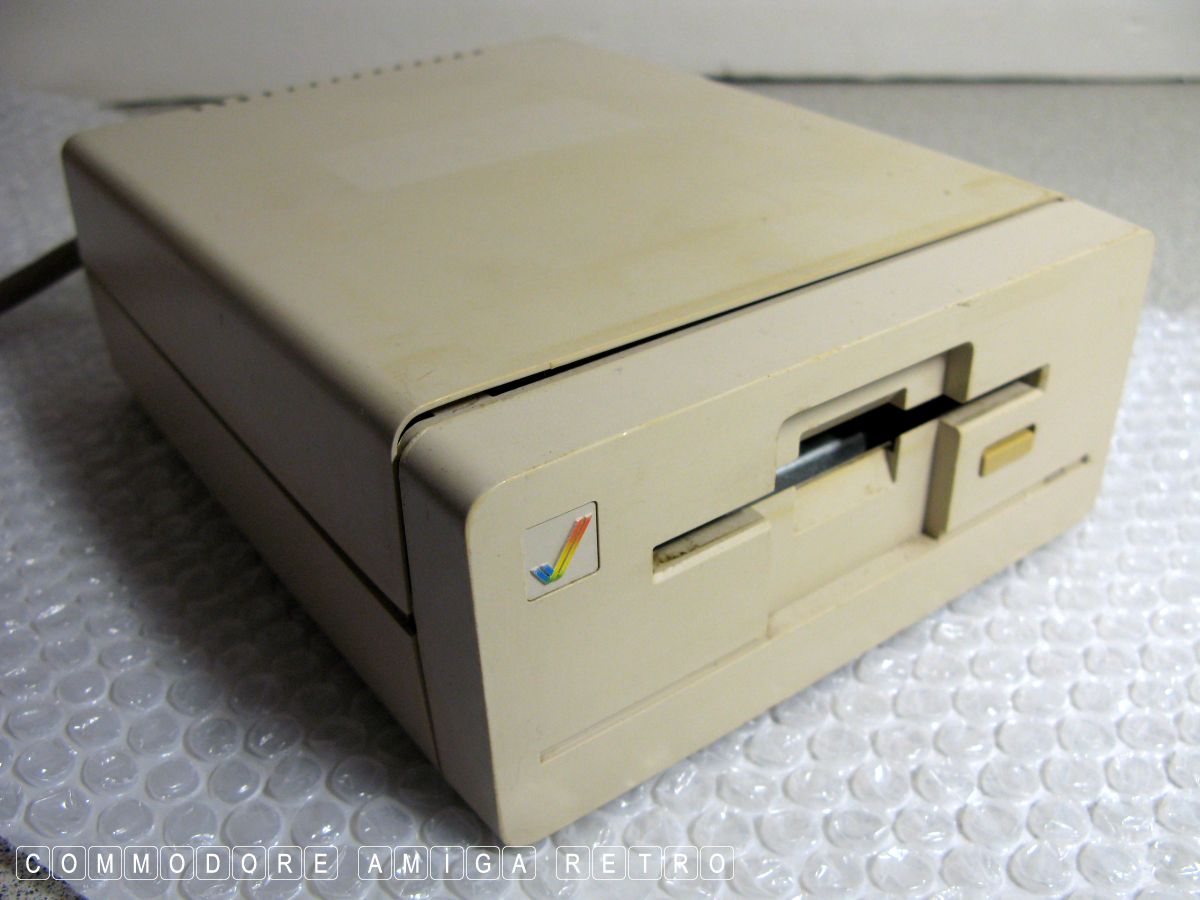
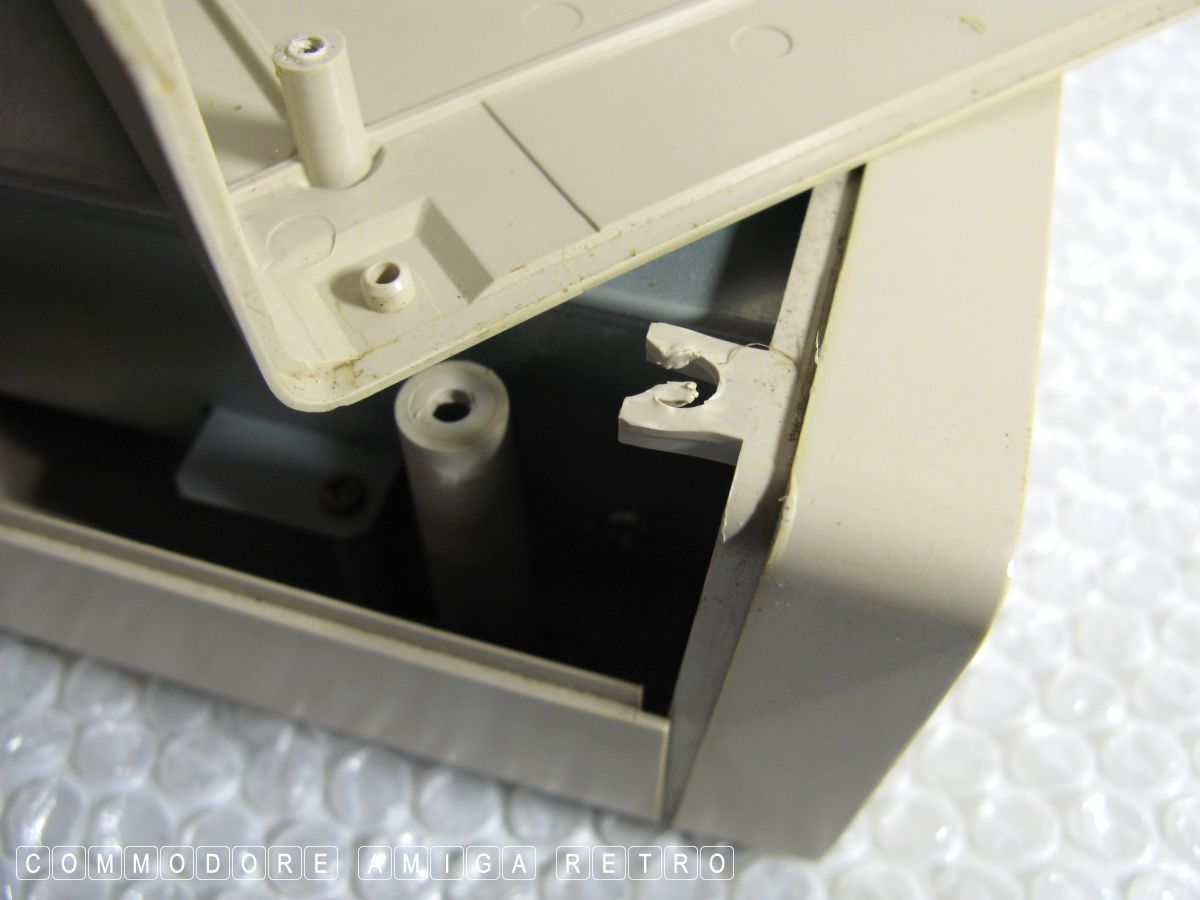
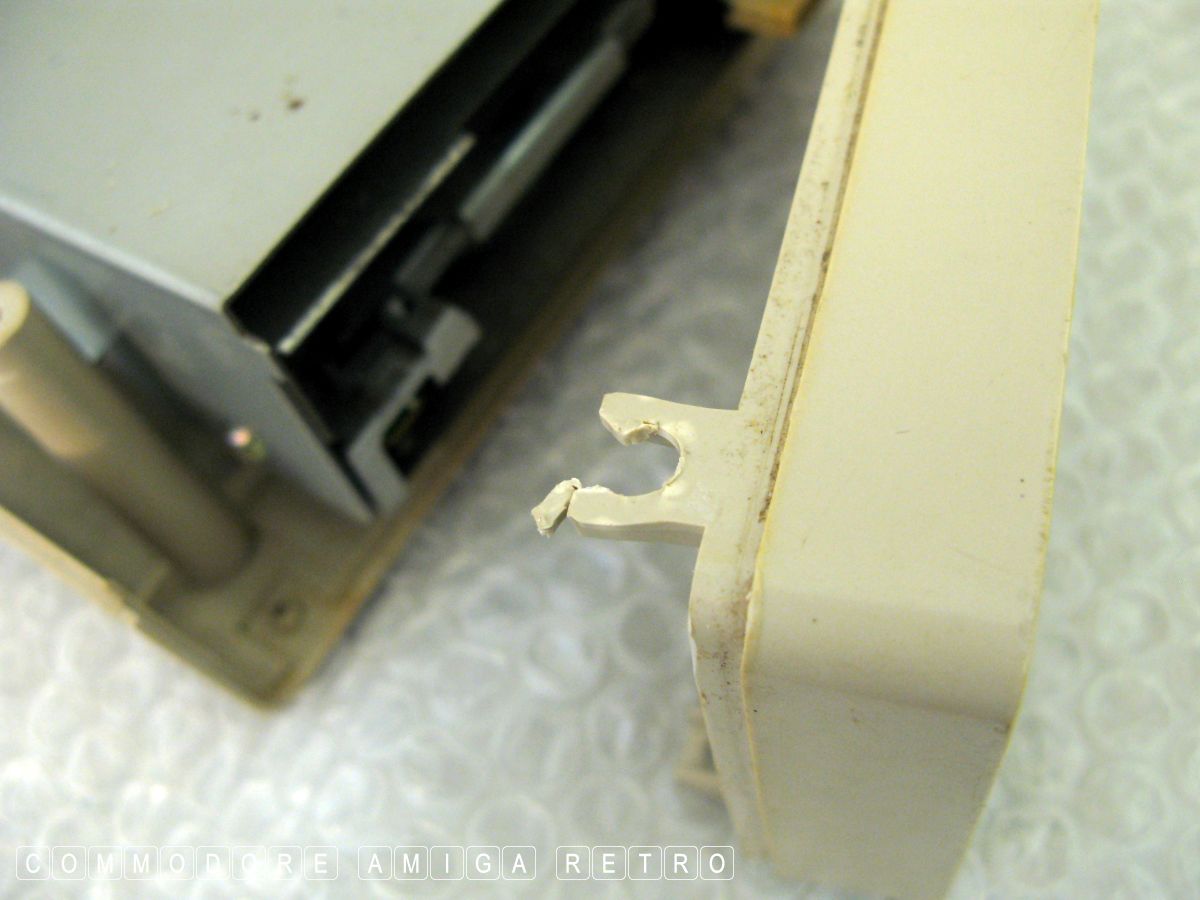
Wouldn't be retro without a bit of rough
and ready repair work. This Amiga 1010
looks like it had landed on its face in
another life and so I set too trying to
work out why the face was all crooked.
There was even a compression mark to the rear.


Unscrewing the drive from the base I discovered
that a plastic tang had bent over preventing the
cover face to the drive from seating properly.
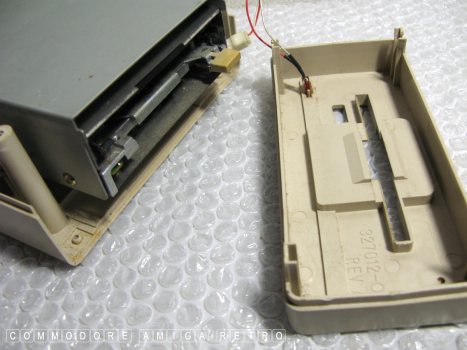

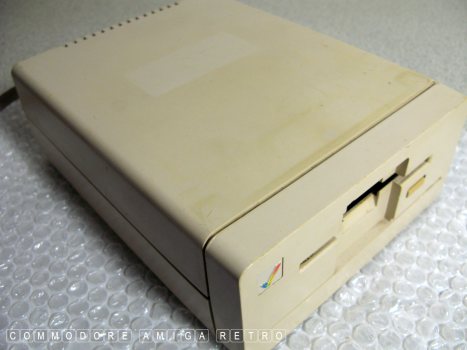
Corrected the problem and she closed properly.

OK I think I am ready. All connected up.
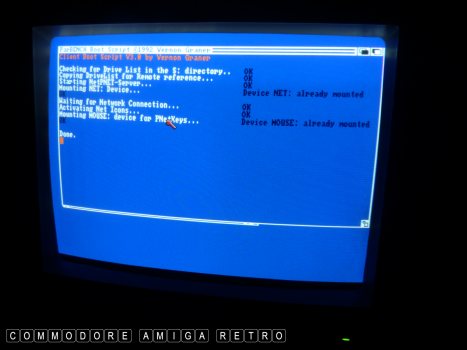
I had already tested the system before taking
these pictures so the drives and 'whatnot' were
already mounted. Working just fine.

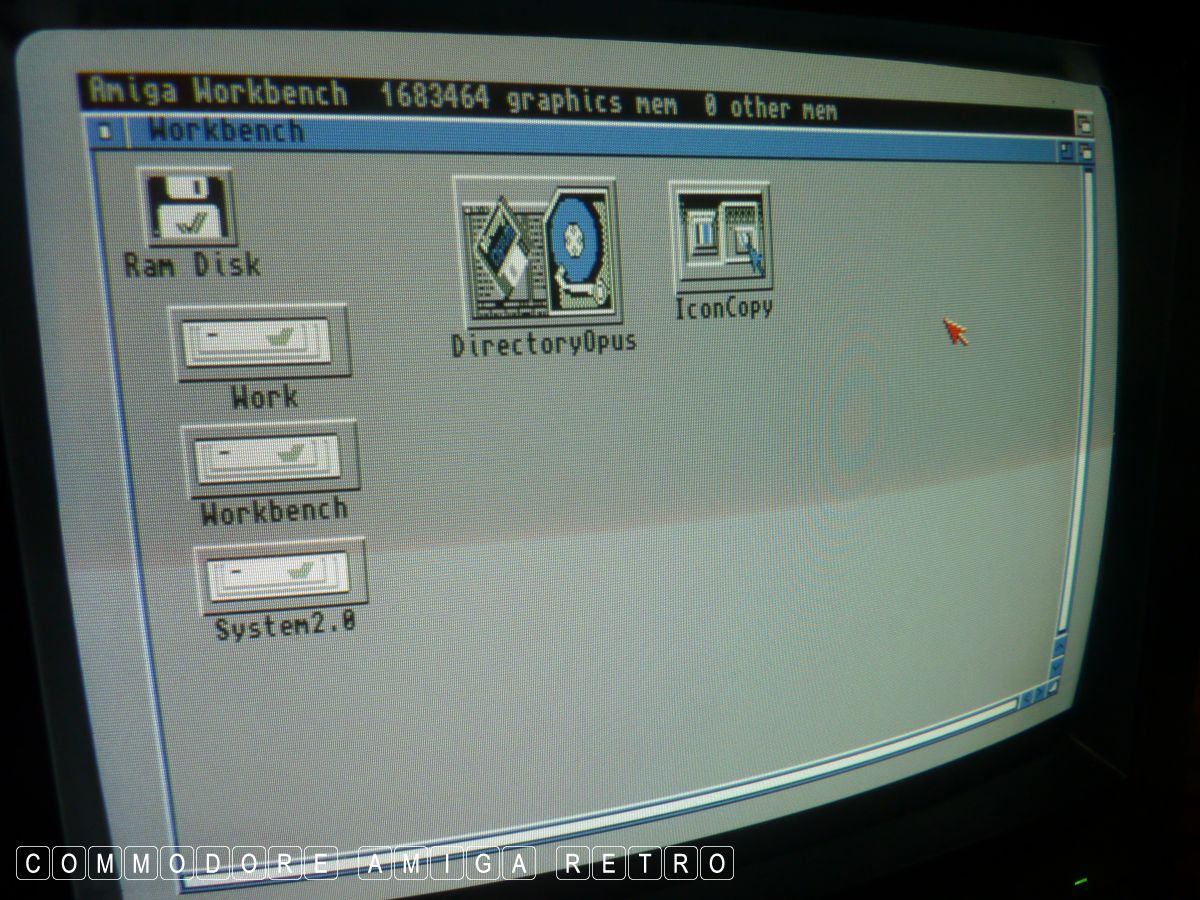
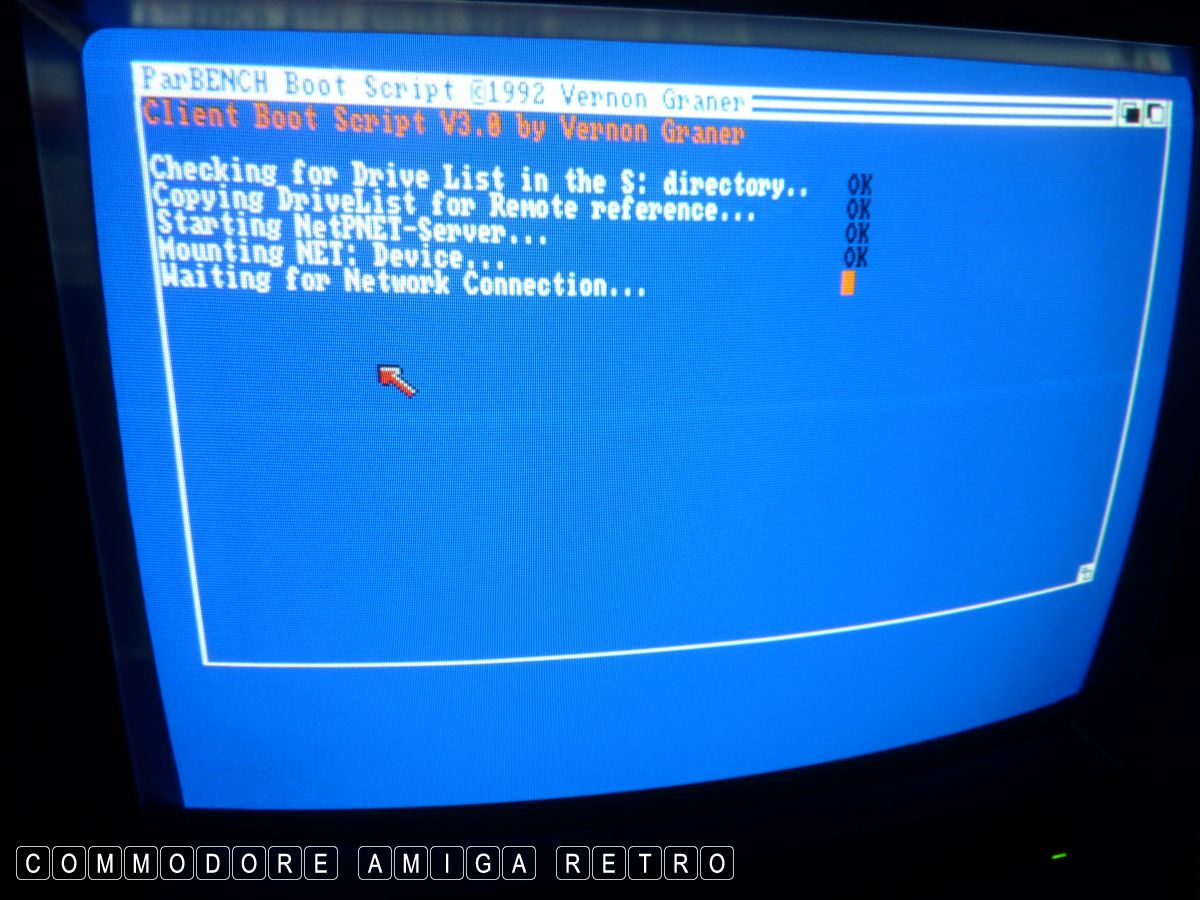
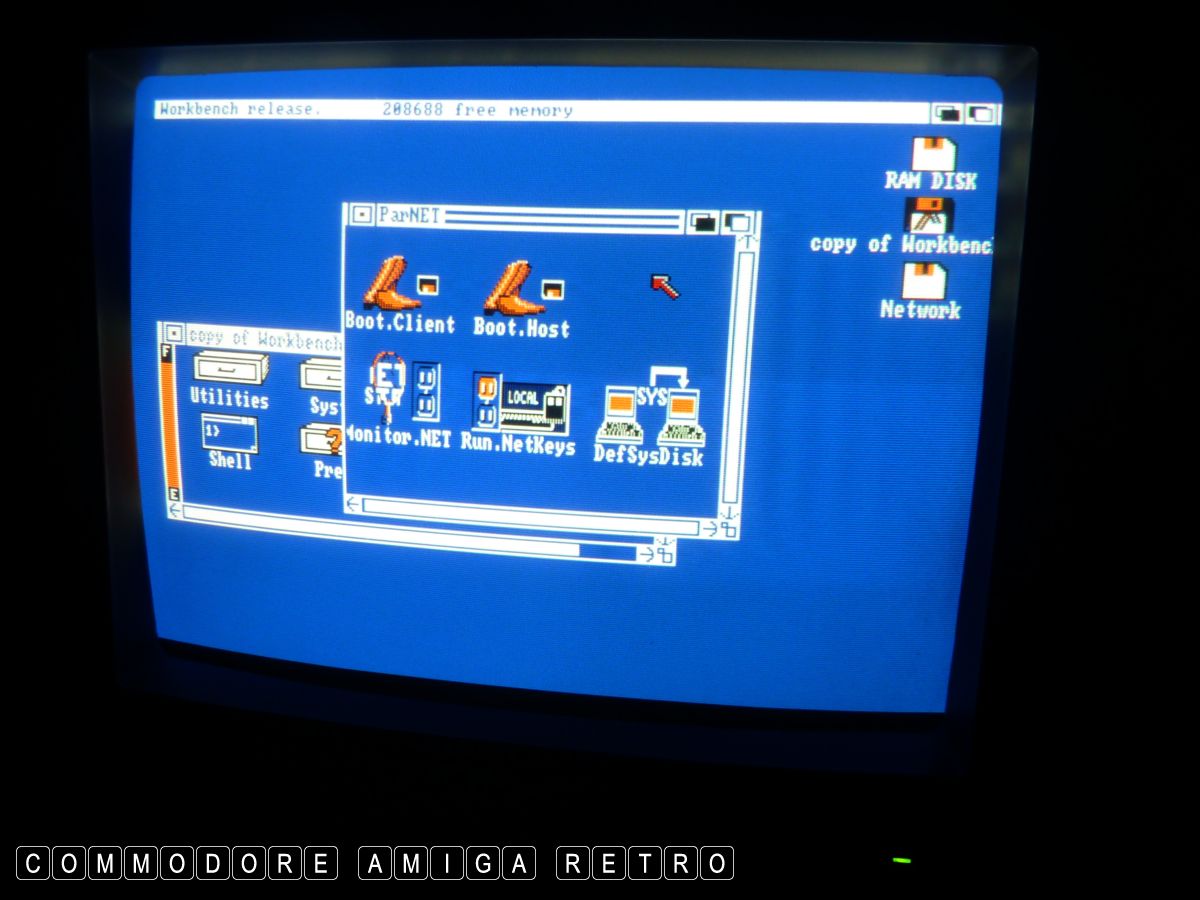
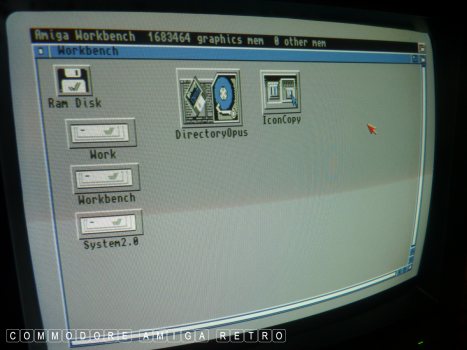
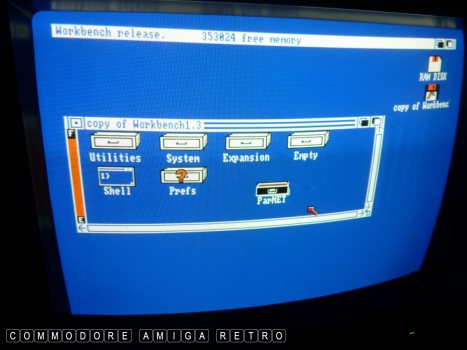
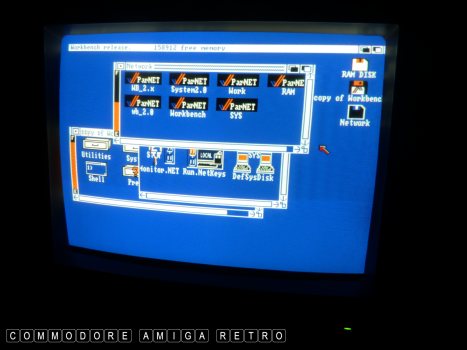
Note the Network icon that appears on
the Amiga 1000 Workbench. This essentially
is the A600 now active from the Amiga 1000
When activating the Parnet you simply boot
'Host' from one machine and 'Client' from
the other and just watch the magic happen.

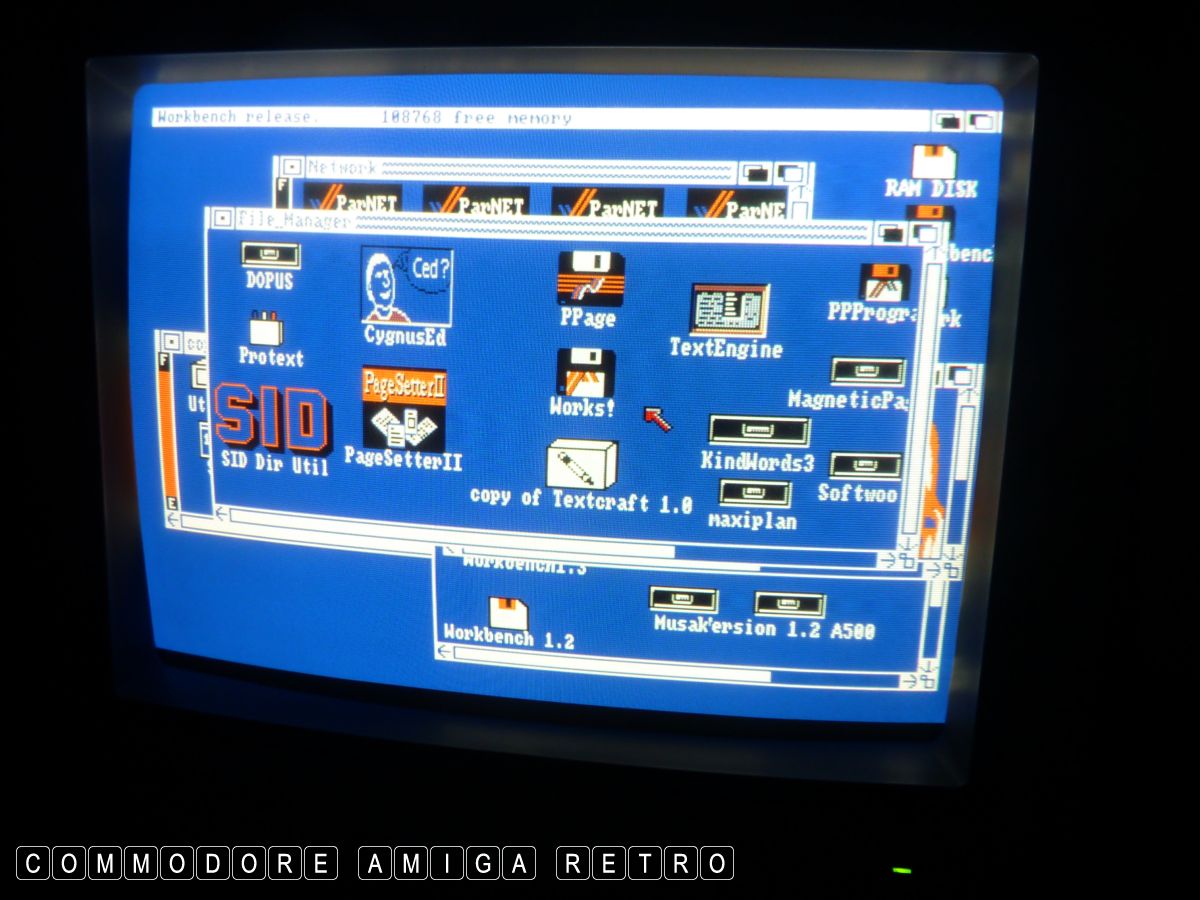
And there we have the A600 drives visible
from the Amiga 1000 Workbench.
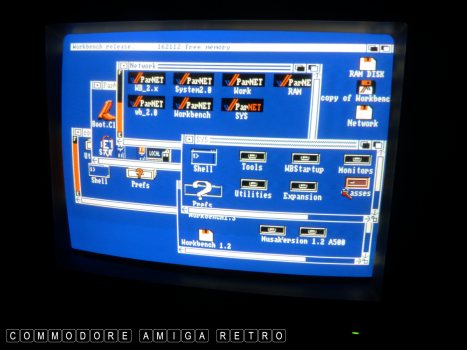
The Parnet icons give access to all the
drives on the Networked Amiga.
And that is how you network and Amiga 1000.

These offer a guide to using a Serial cable.
I have only used a Parallel Port connection
so not sure if it works any better.