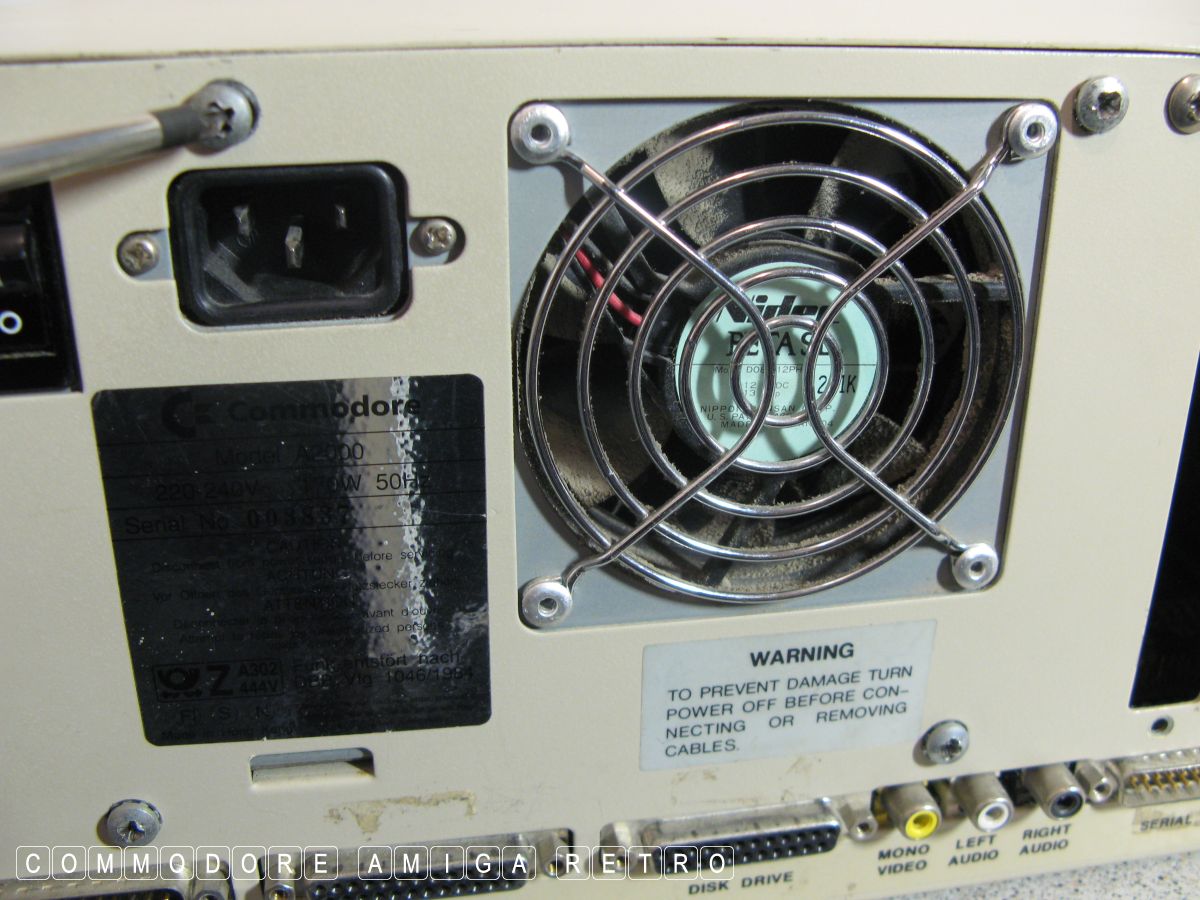
Amiga 2000 - Inside Out.

First up remove the four case screws of
which there are two each side.
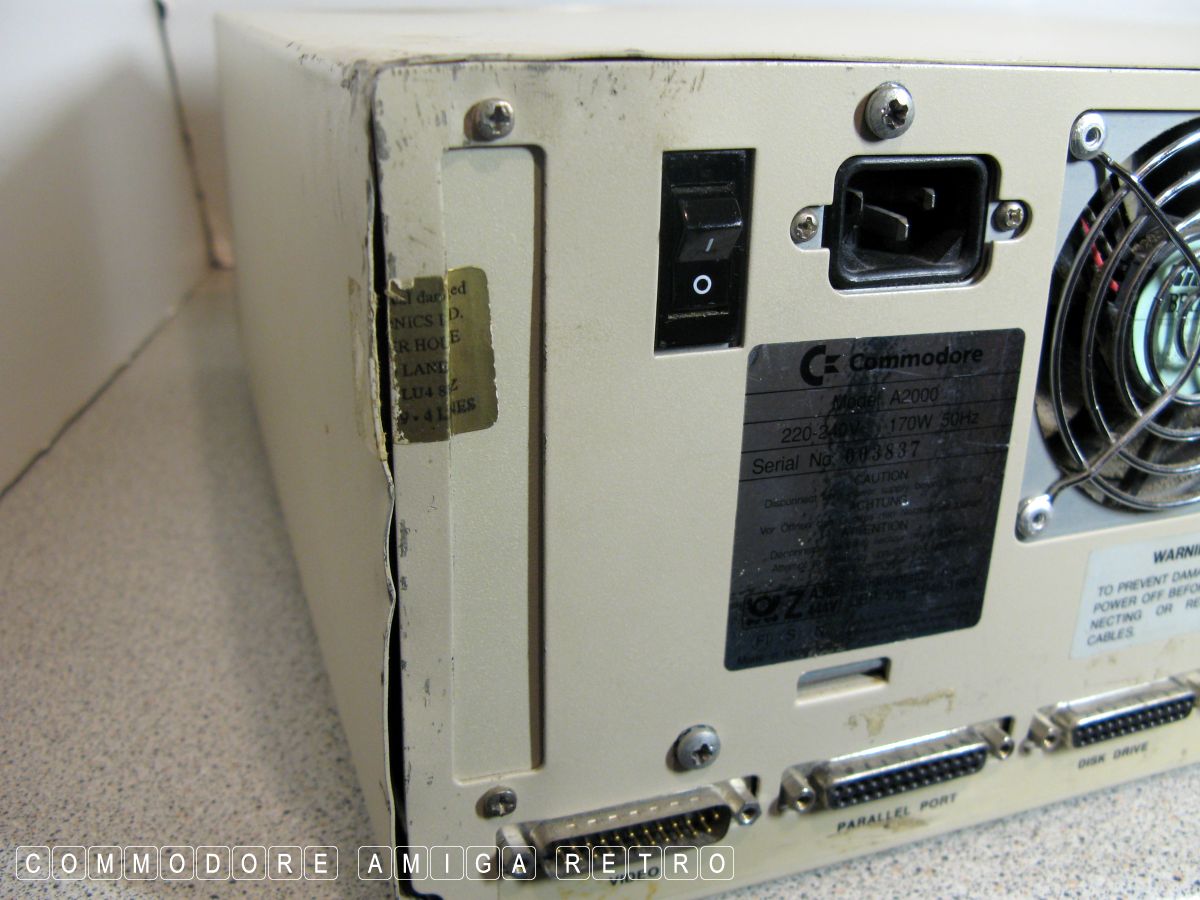
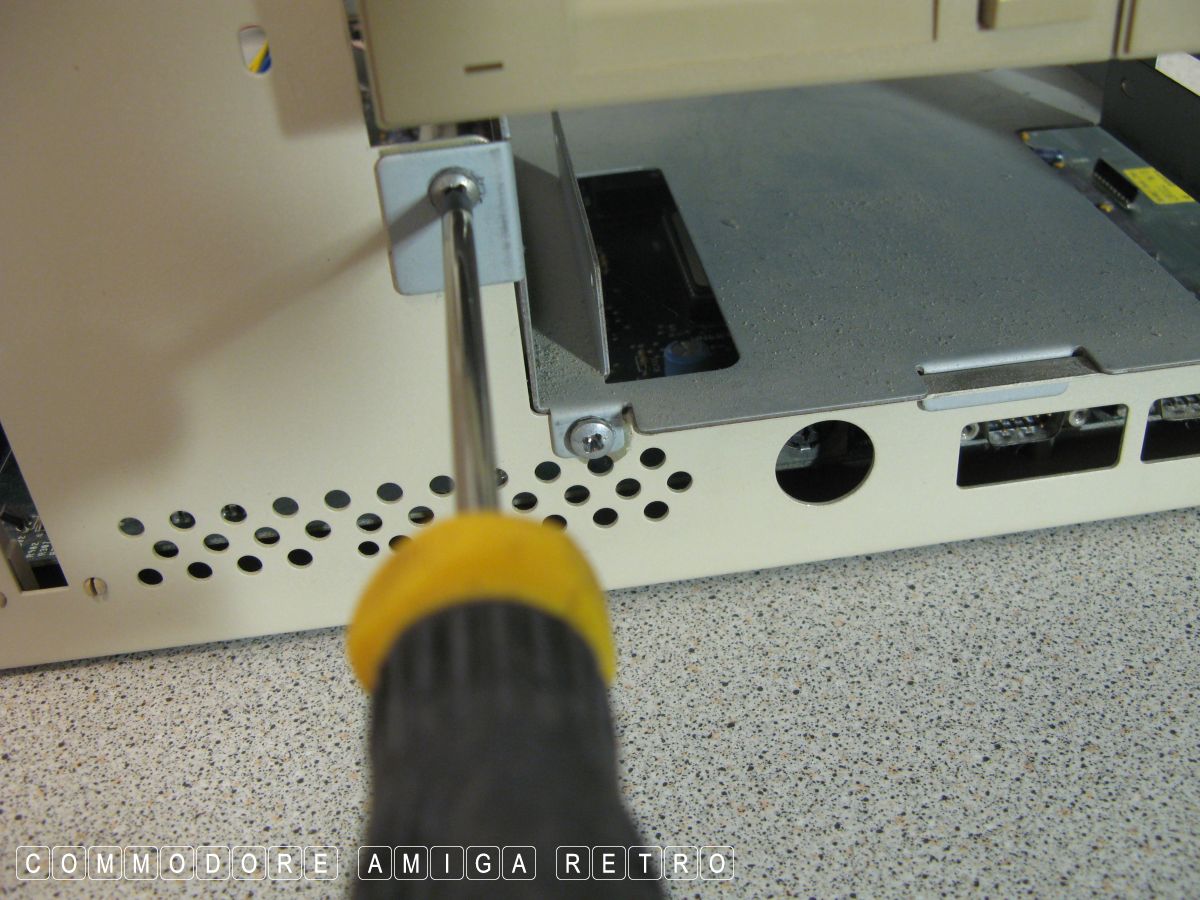
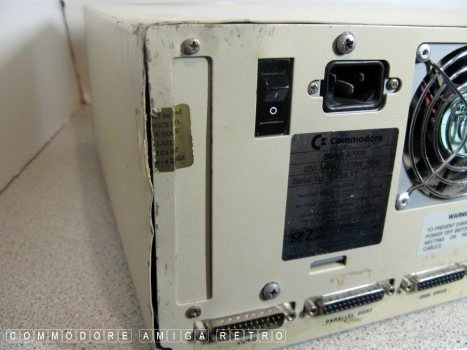
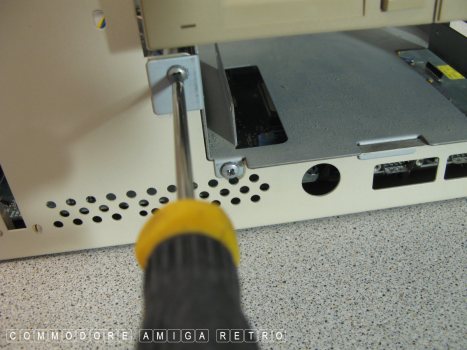
Next remove the one screw to the rear.
Leave the four screws to the PSU for now.
These four screws we remove later. If you
remove them now there is a risk of the
cradle dropping on the motherboard.
Rear retaining screw removed.
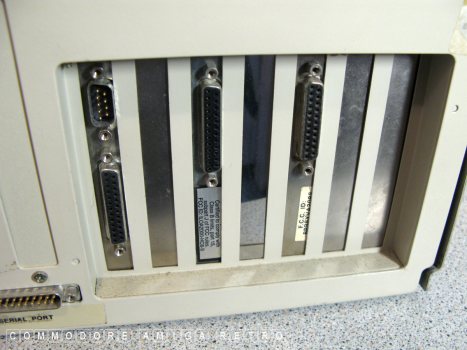
Make a note of the cards installed and
what order they were located.
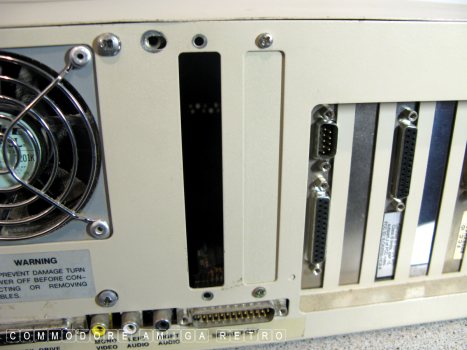
There is sometimes a video card to the
far left hand side of the computer

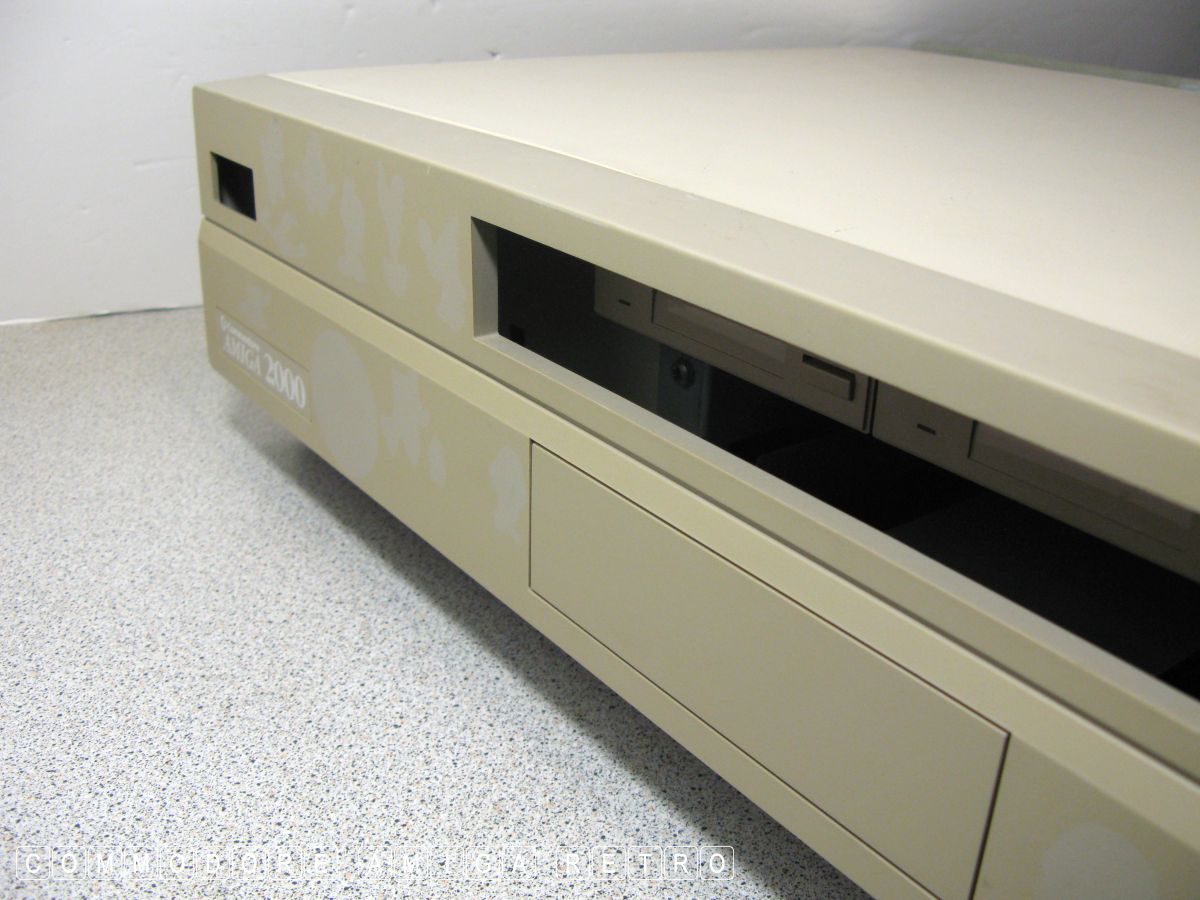
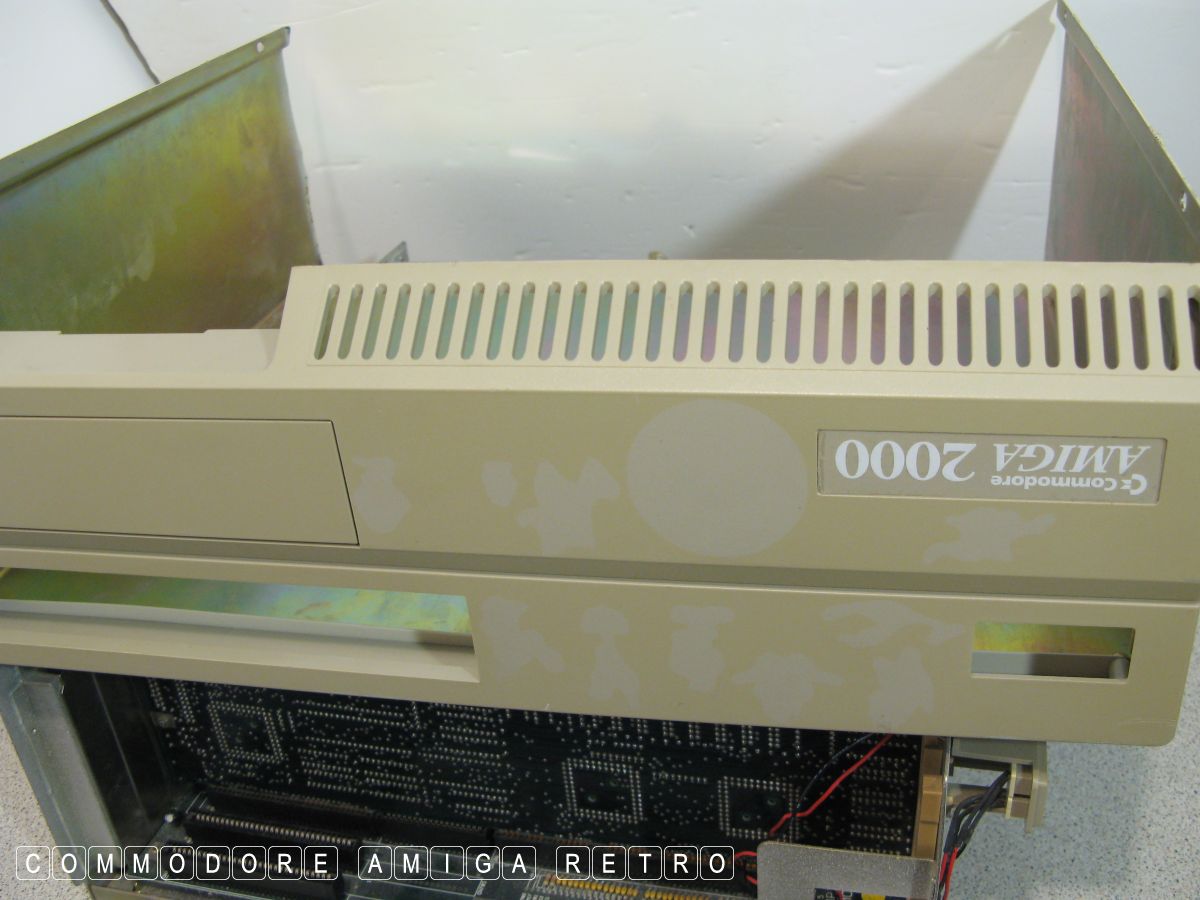
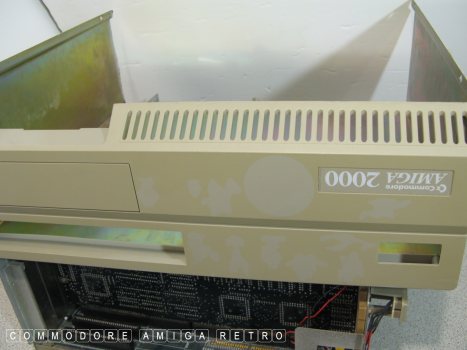
The top case then pulls away from the front
taking the front panel with it.
Slowly slide the case out being careful
not to snag ribbons and power cables.
There is a piece of foam stuck to the
inside of the case that may catch the
floppy drives and halt removal.
Simply pull the case cover completely clear.
Place the case somewhere safe for now.

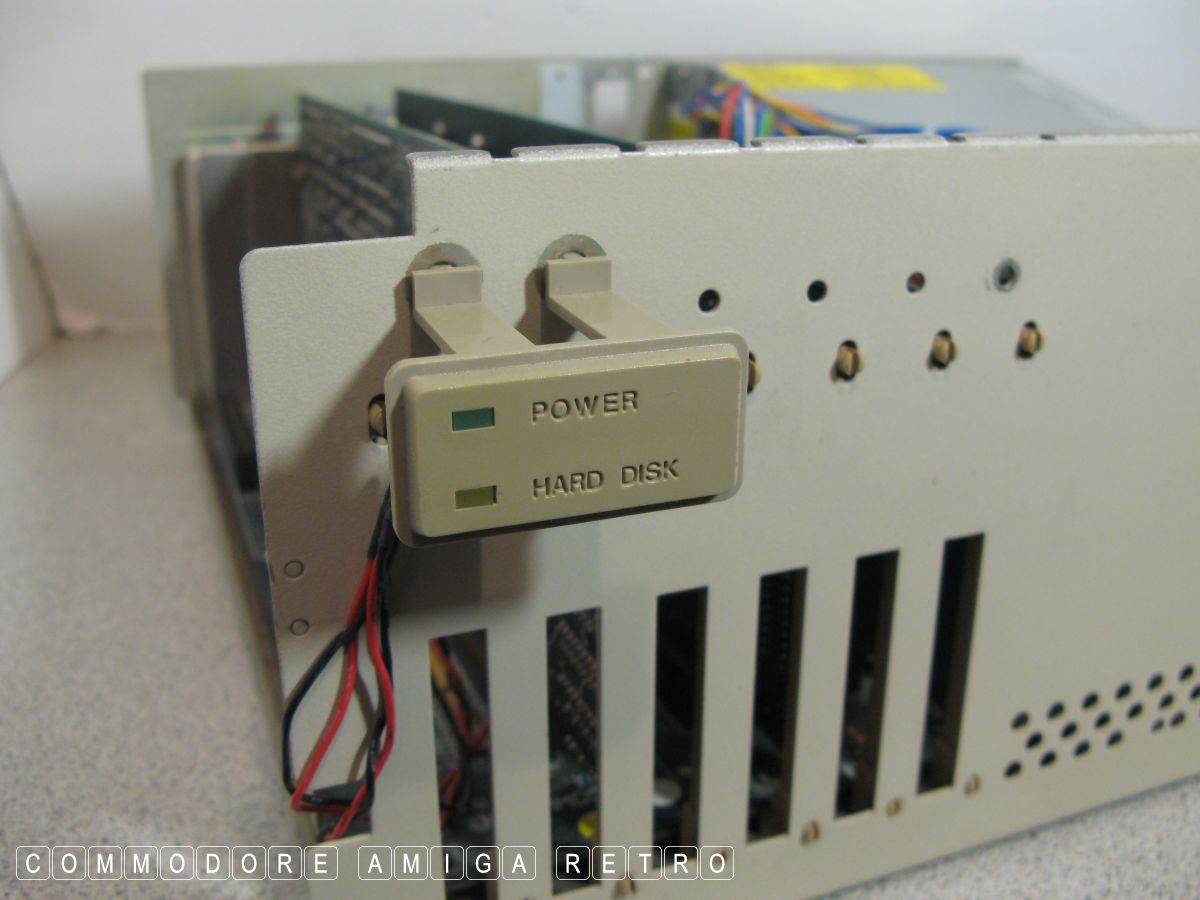
Be very careful not to snap off the
LED power/hard light indicator.
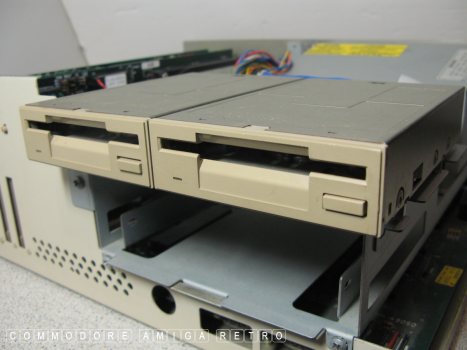
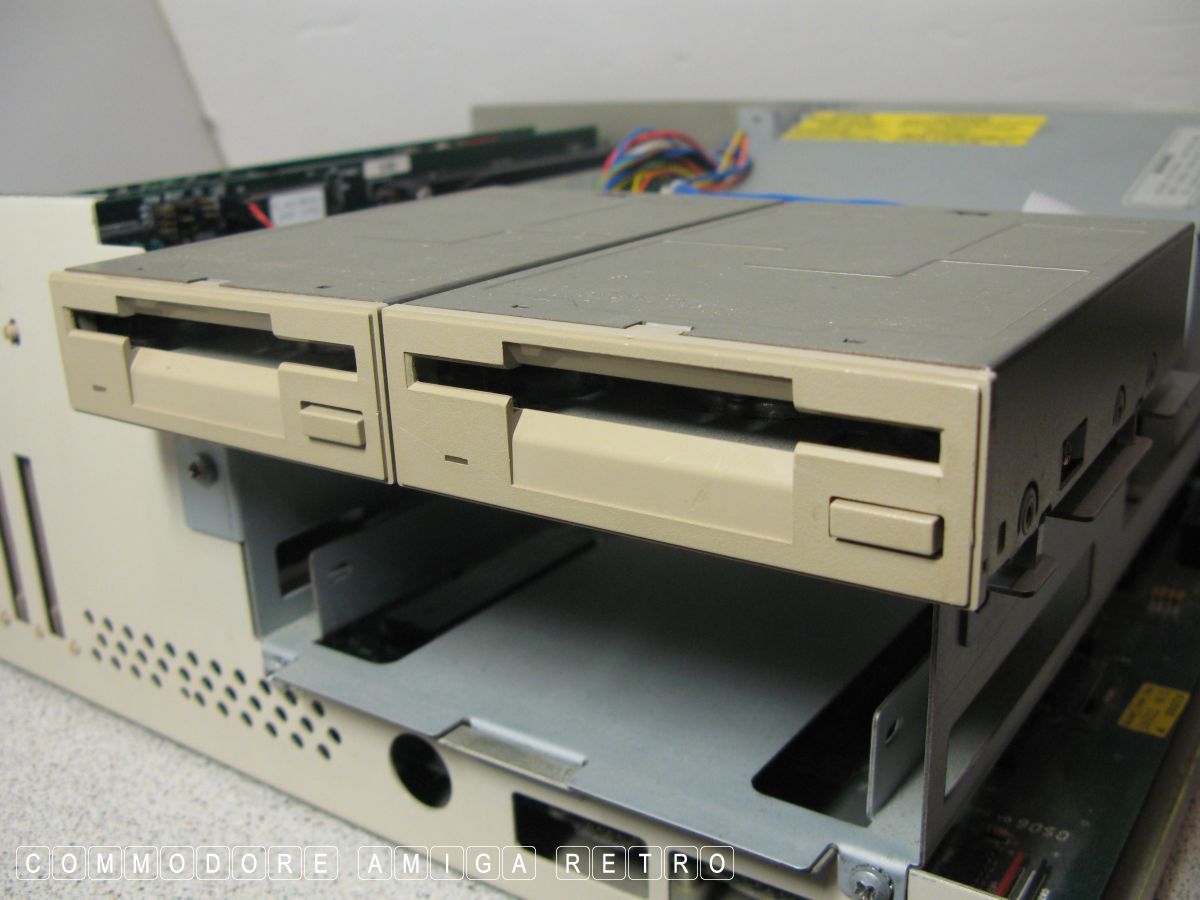
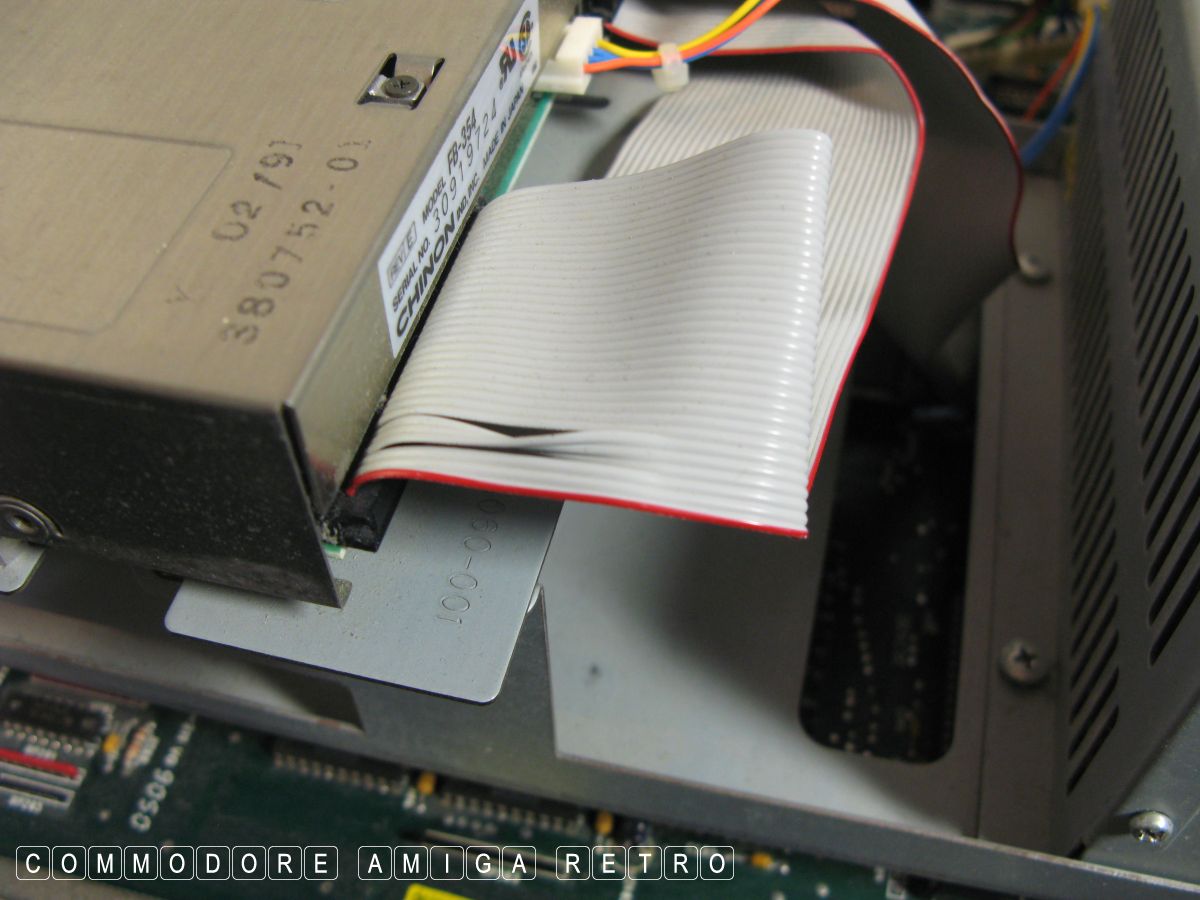
The A2000 may have one or two drives.
No need to dismantle the drives and so
leave ribbons, power all attached.
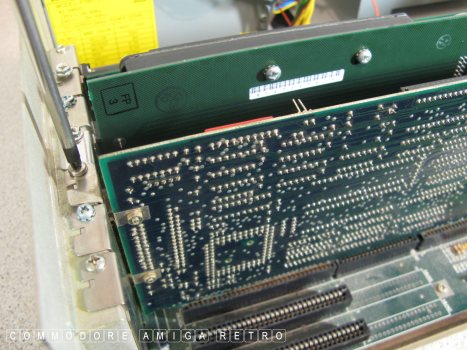
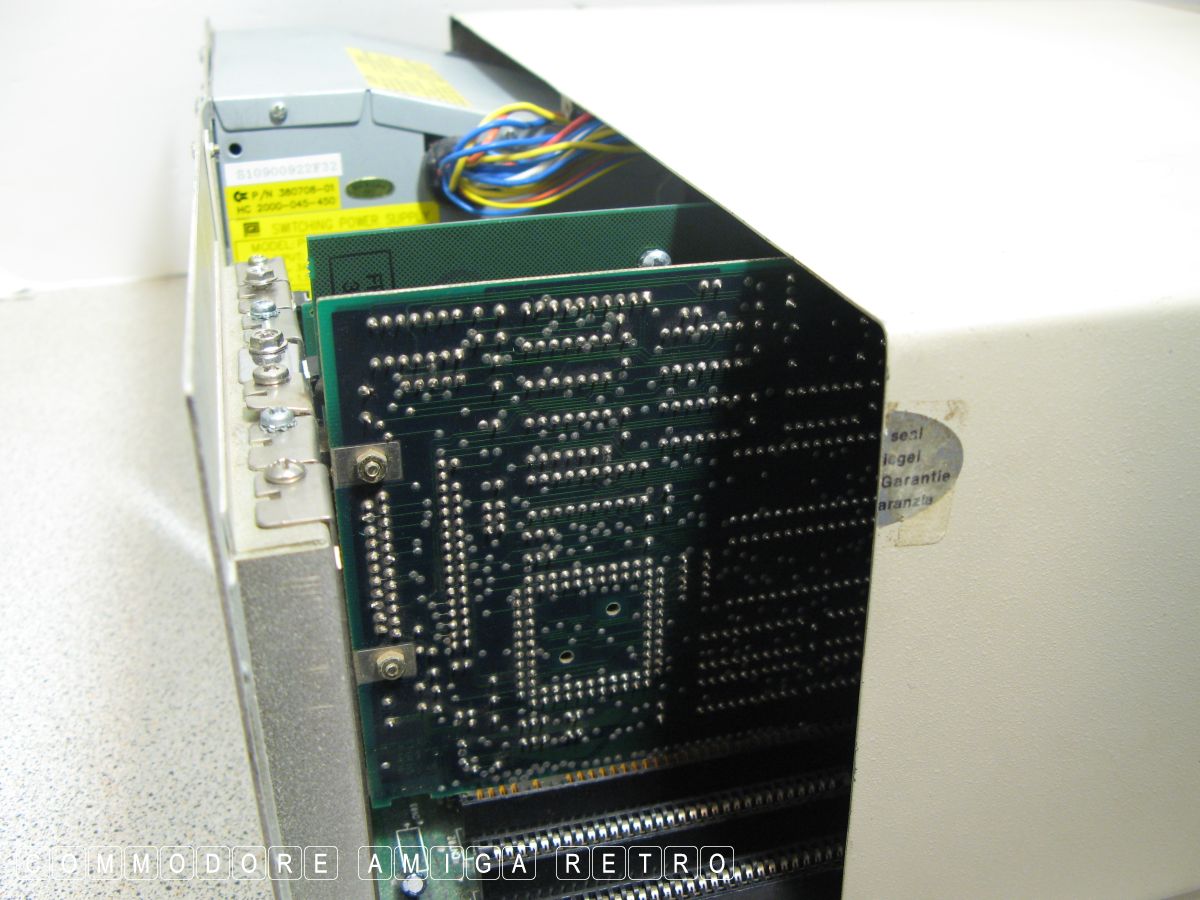
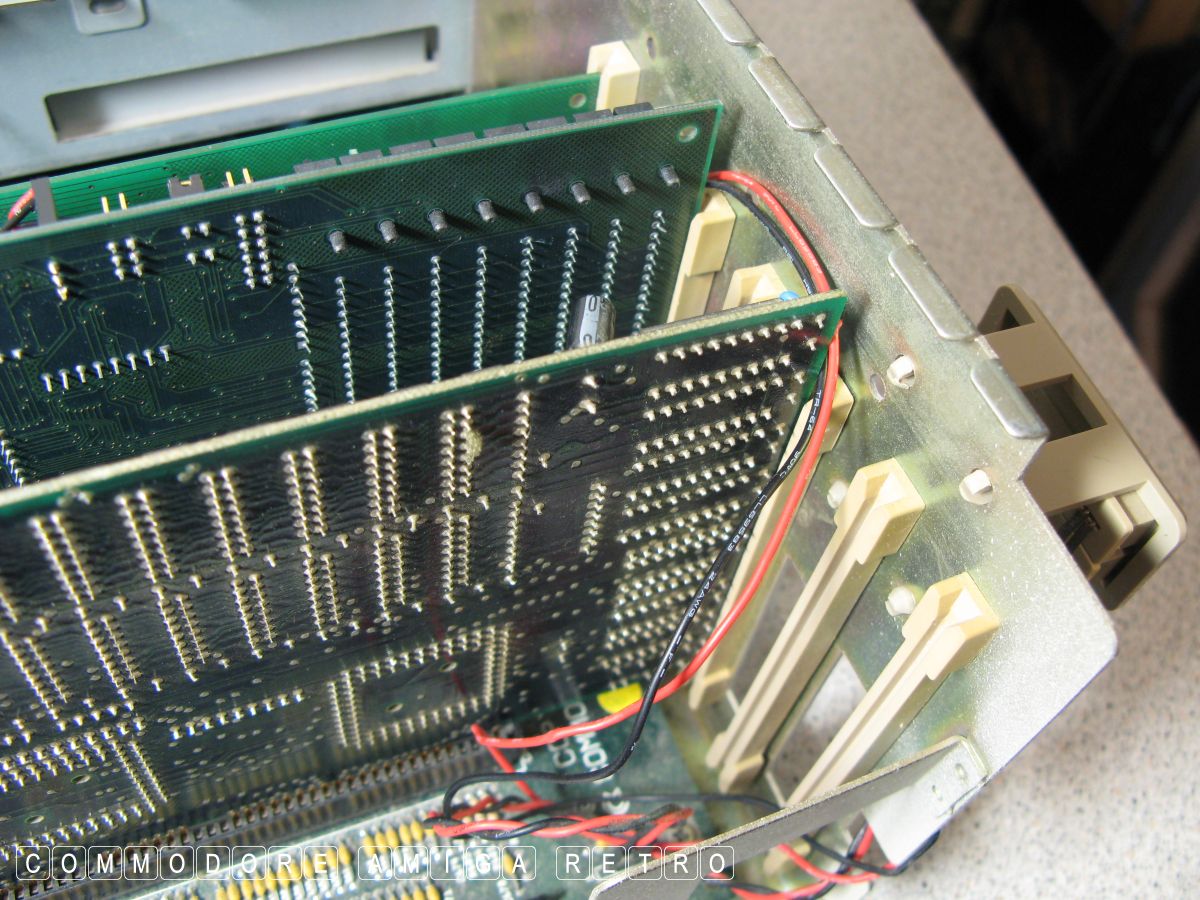
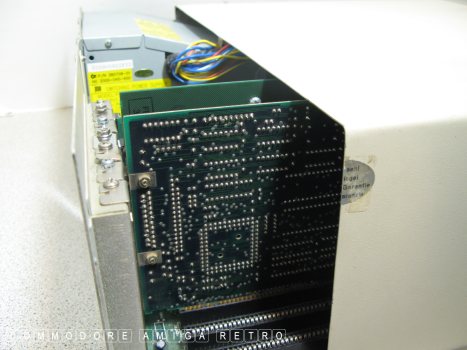
Begin removing each of the cards.

The cards leave a hole at the base of
each corner to get your finger in and
lift the card. Do so evenly and not at
an angle, which will jam the card. Always
pull from the bottom and not by grabbing
the card by its components and tugging.
Make a note of the cards and their locations.
Scribble down the connections to the
cards of any wires etc.
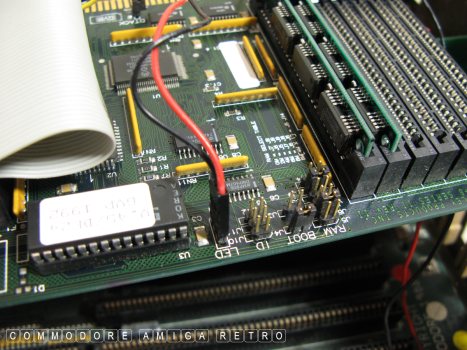
There are often LED connectors which can
have quite annoying trailing wires. Be very
careful not to snag these when you reinstall
the card, and cut them.
Remove cards 'fully' from the working area.
OK that's all the cards removed.
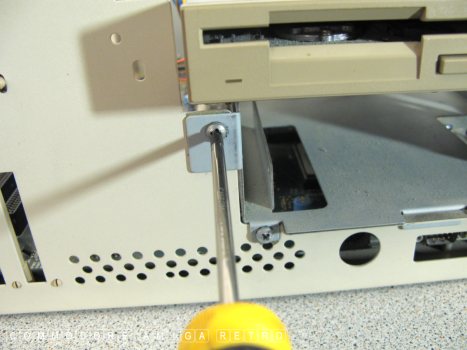
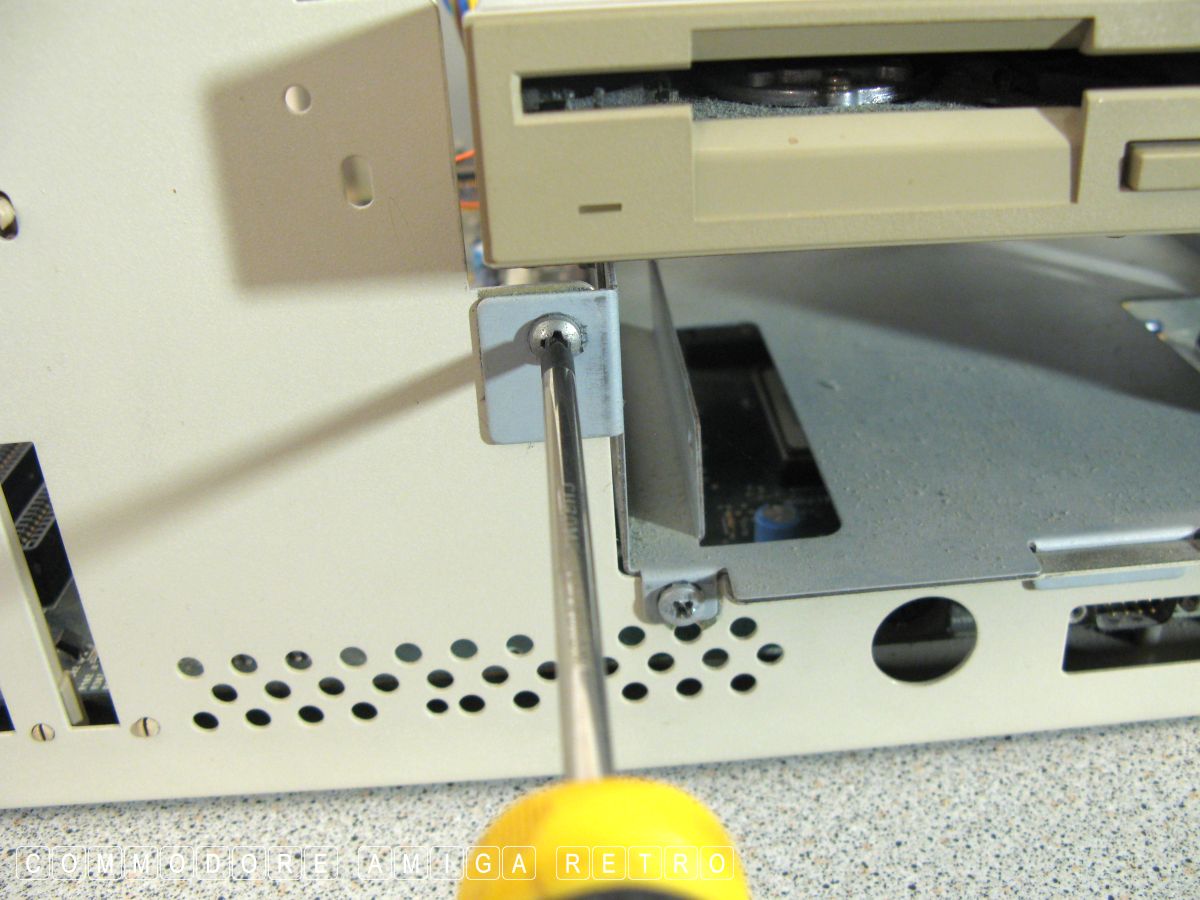
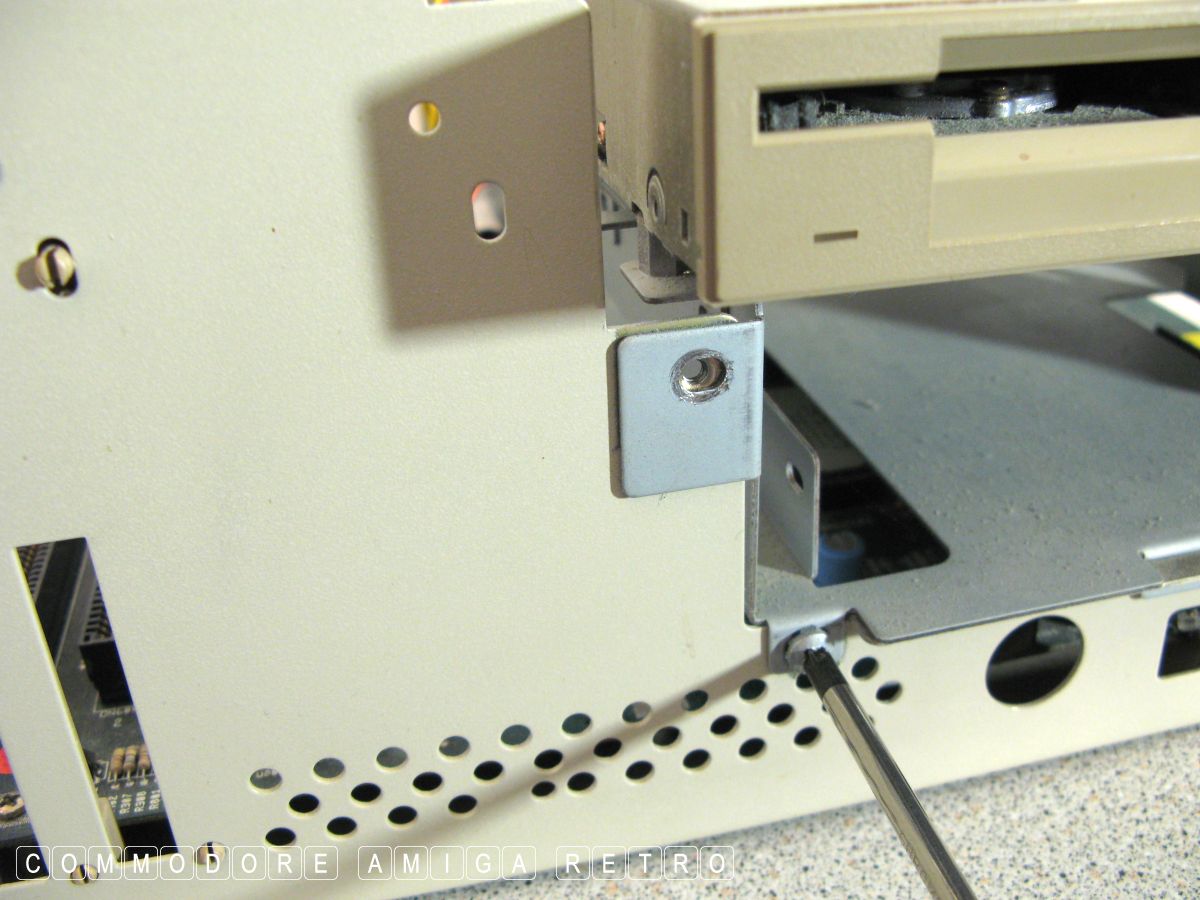
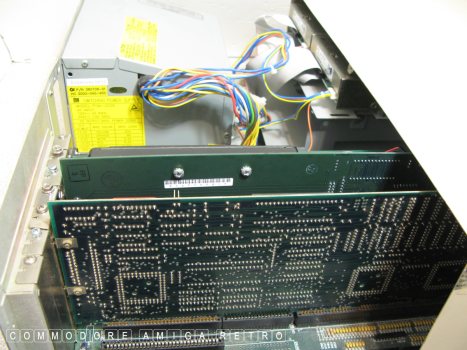
Next unscrew the four screws to the cradle.
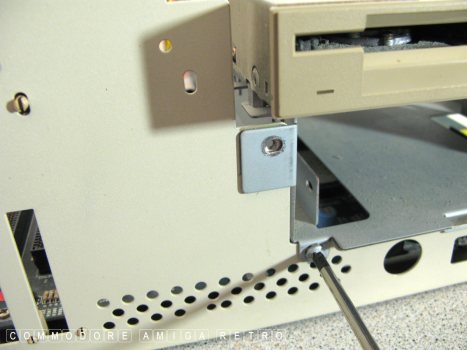
Only remove these screws from the front.
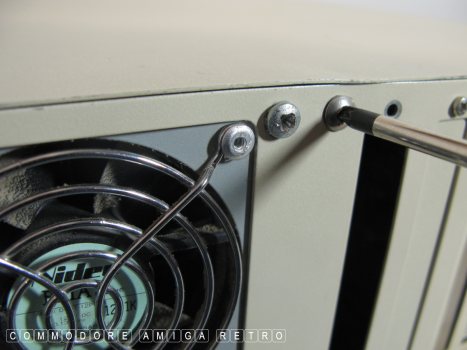
Then remove the four screws from the PSU.
at the back of the computer.
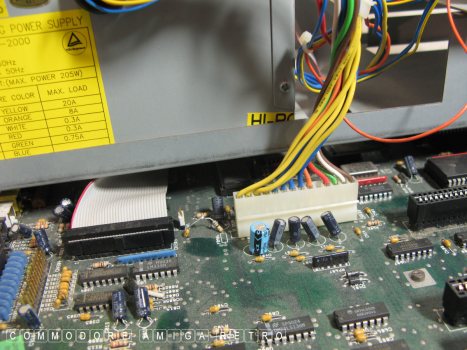
Next unplug the floppy ribbon and the
power supply making note of which way each
was connected to the motherboard.

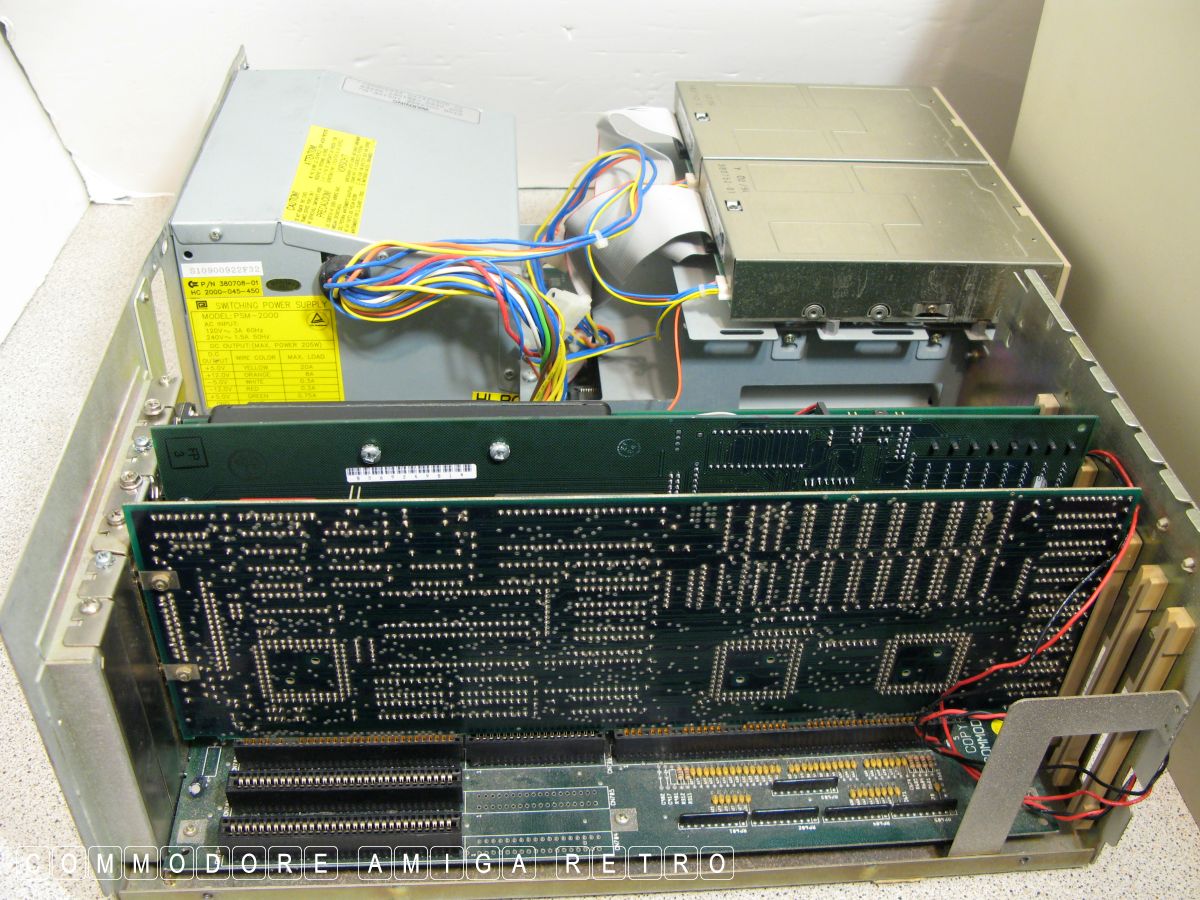
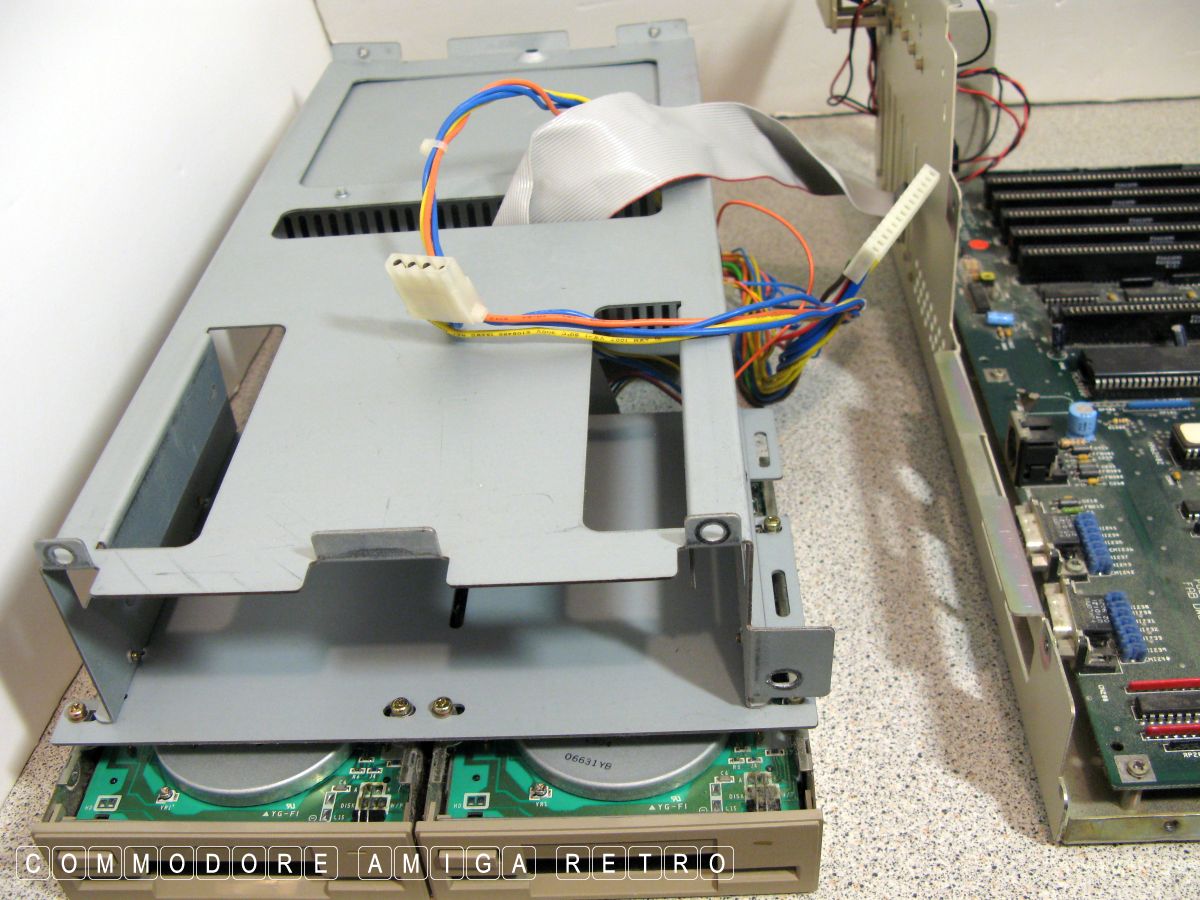
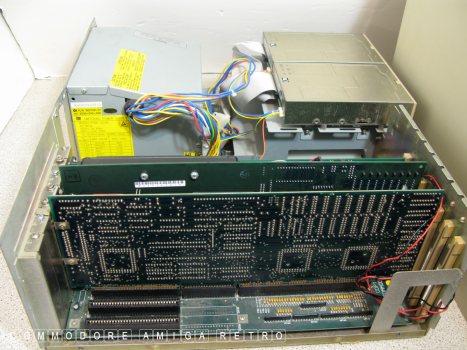
Then simply lift the whole cradle complete
with floppies and PSU over onto it's top
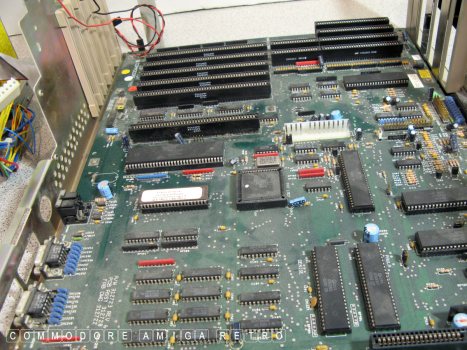
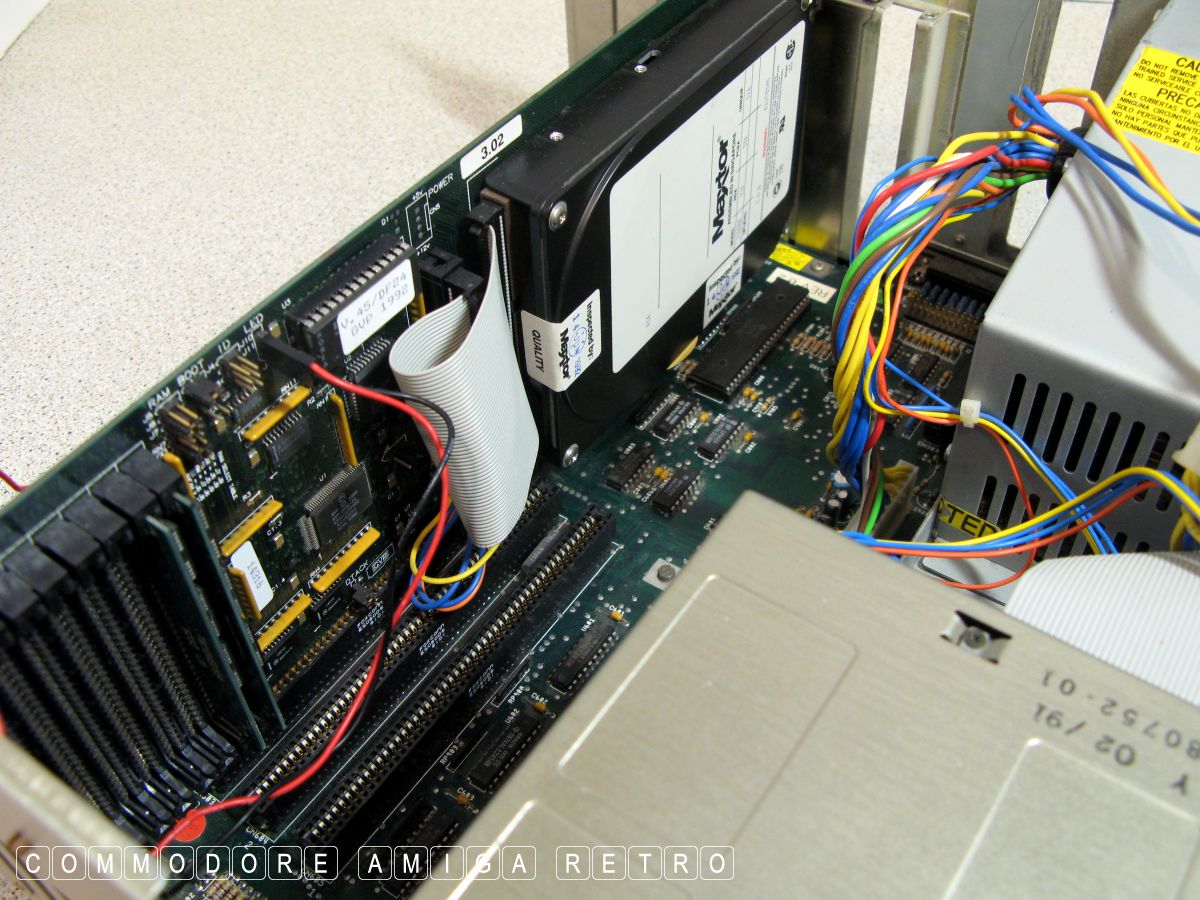
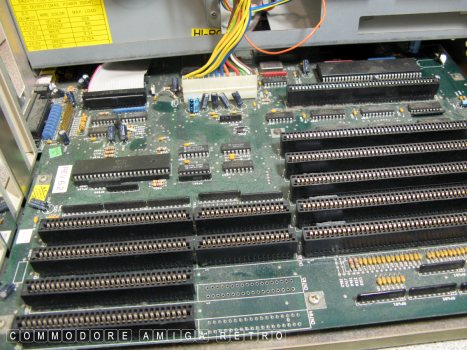
And now you have a fully accessible motherboard.

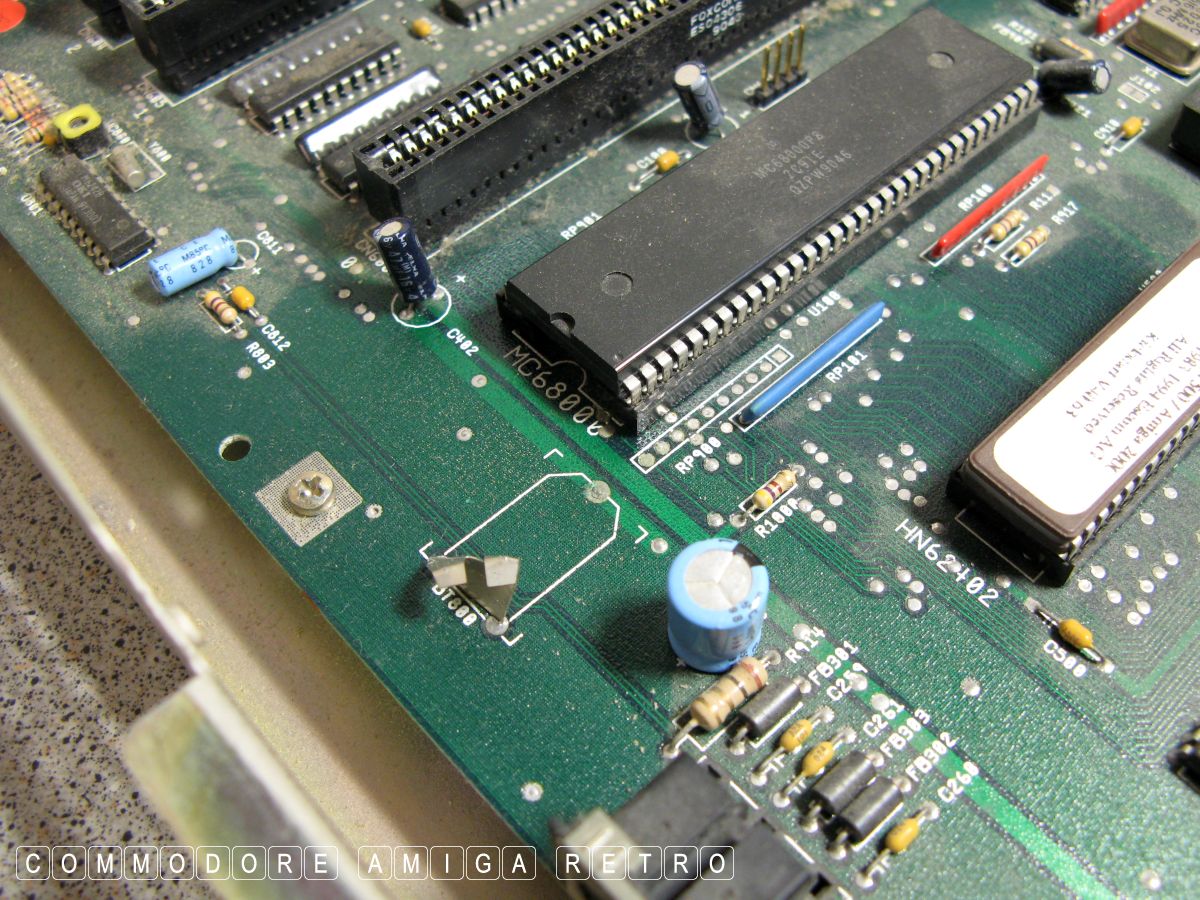
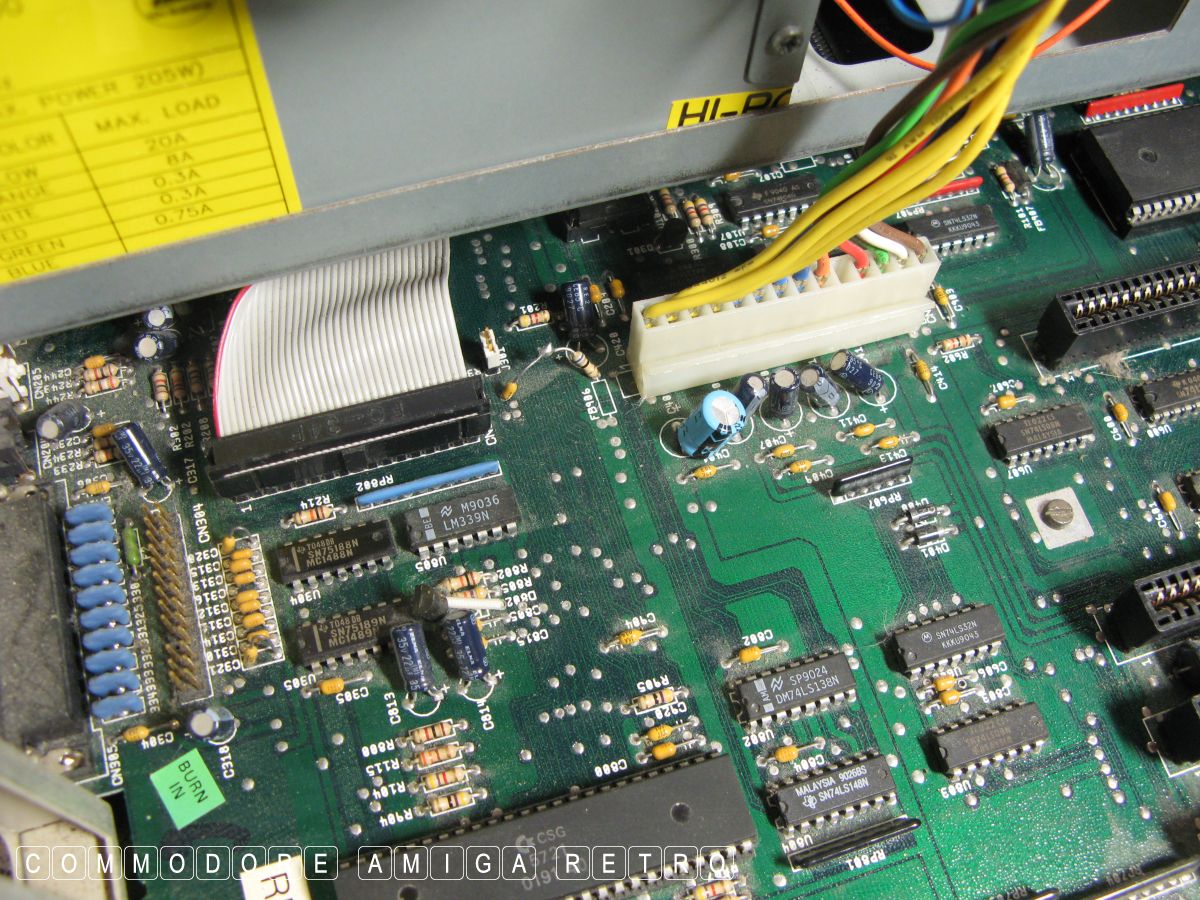
Always check the battery first and if a
barrel type then remove it. Immediately.

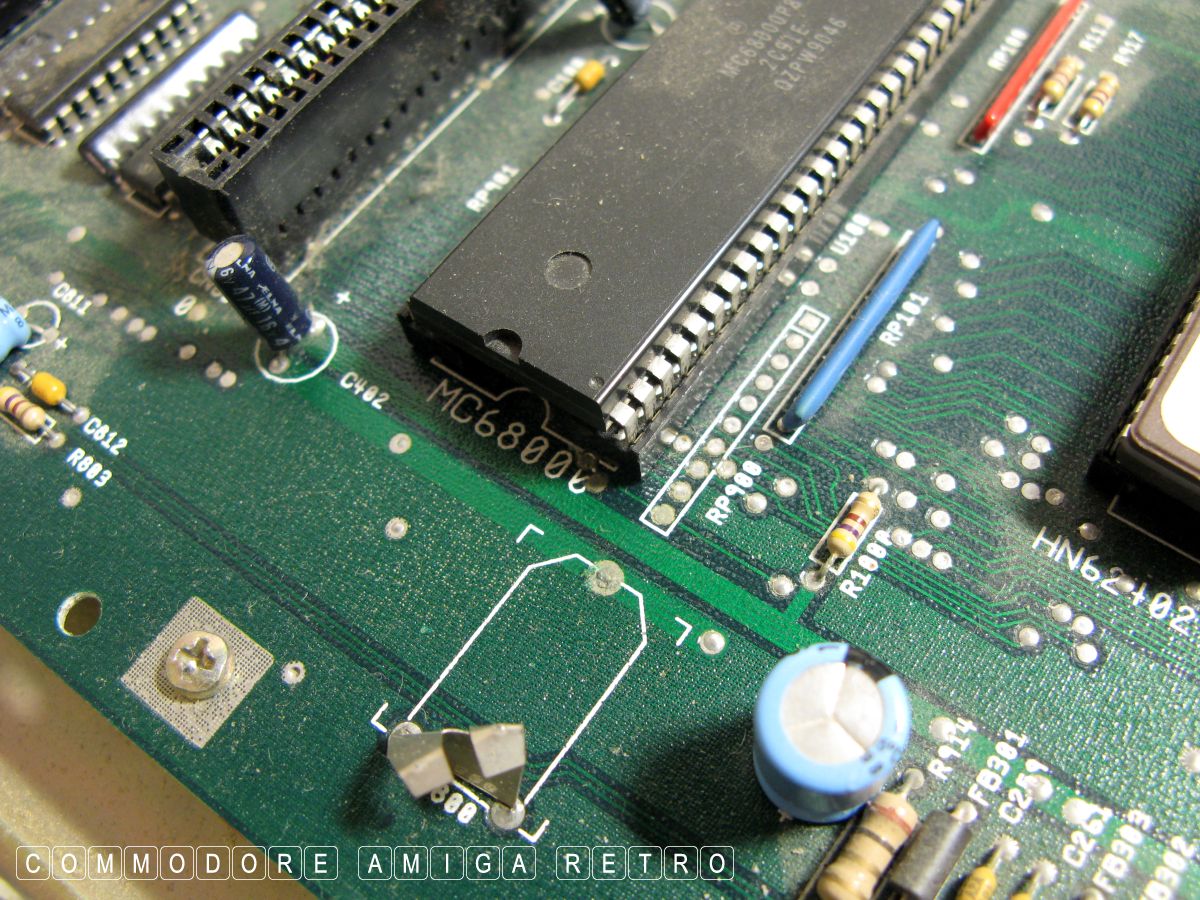
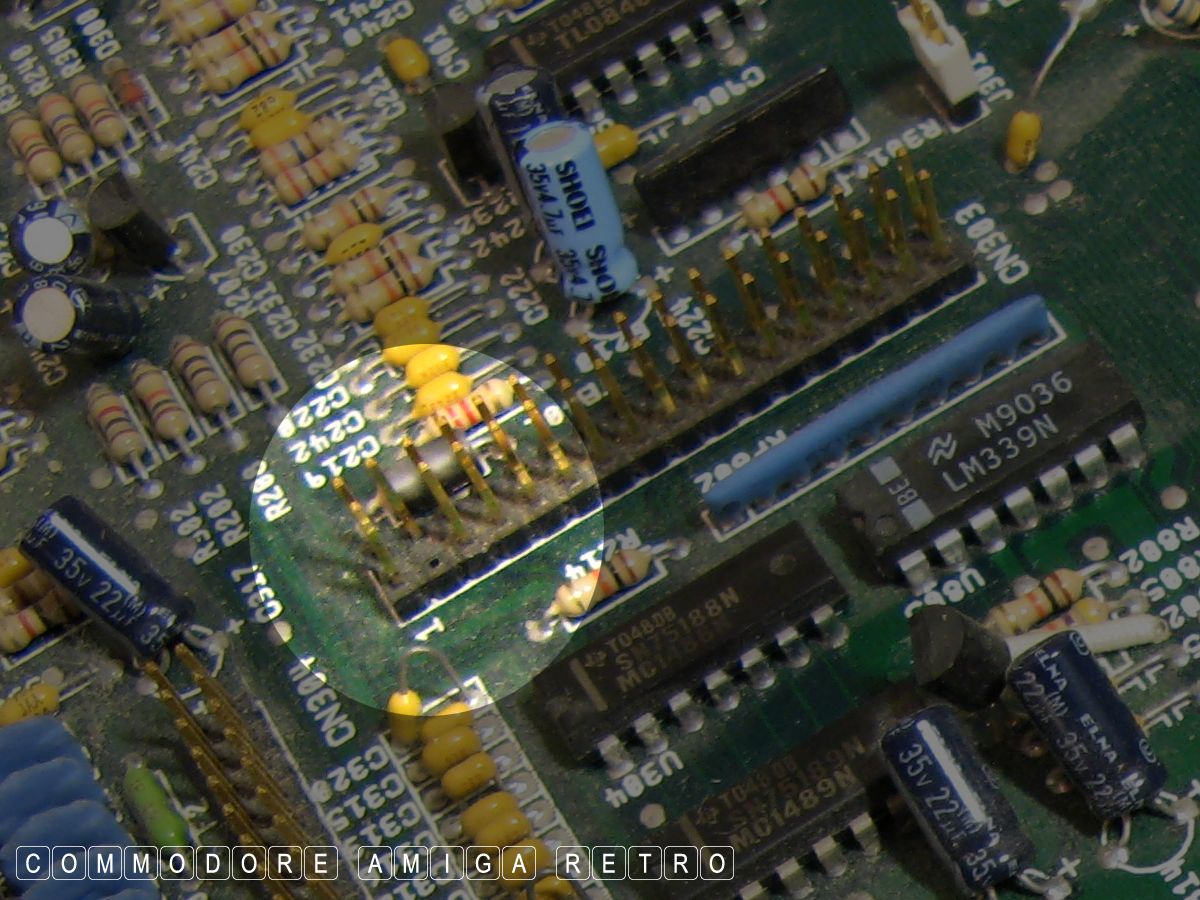
Check for pin corrosion to the end of
the processor next to the battery.
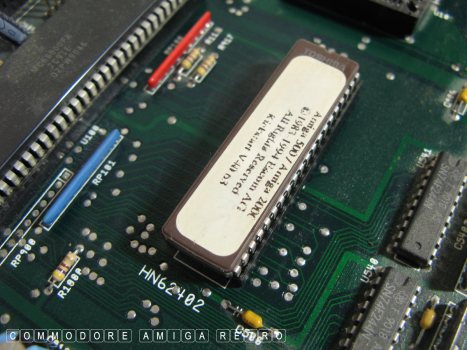
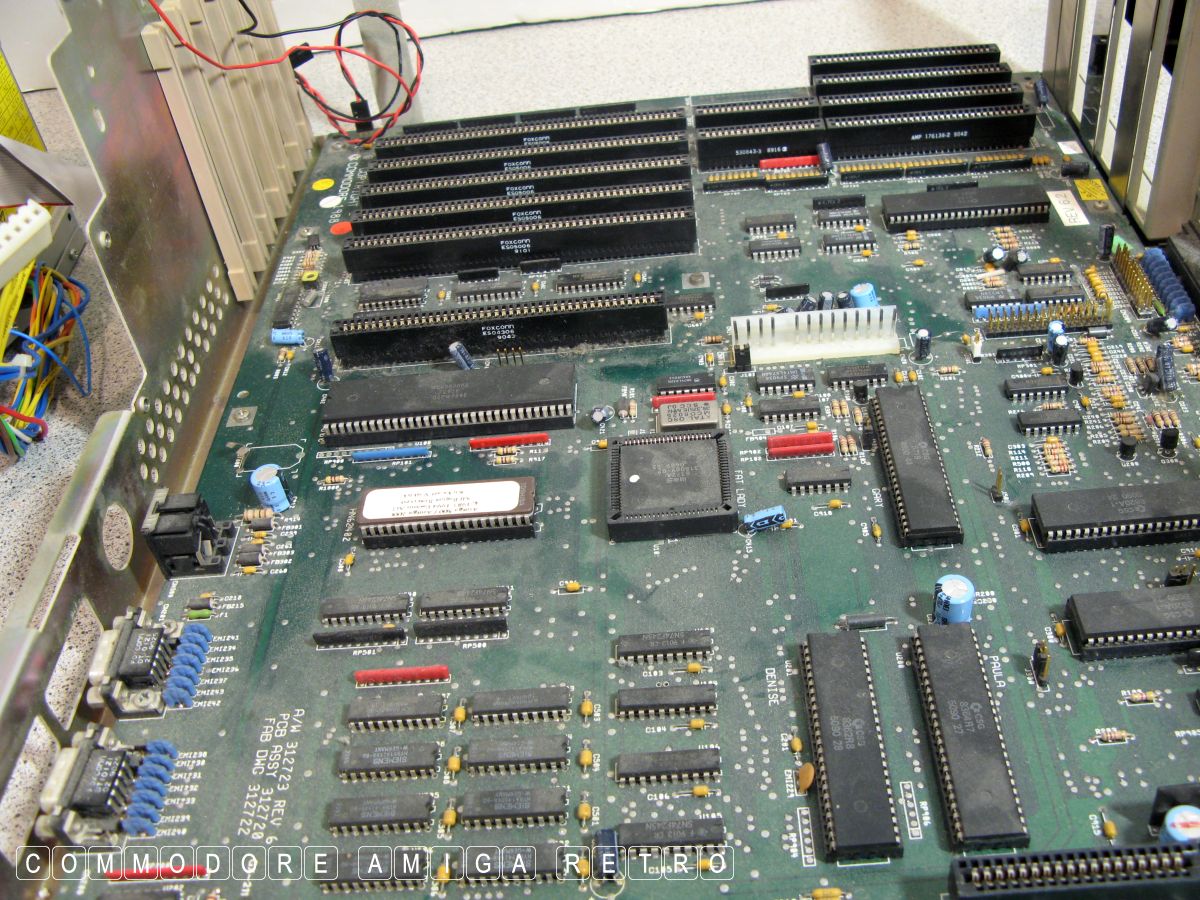
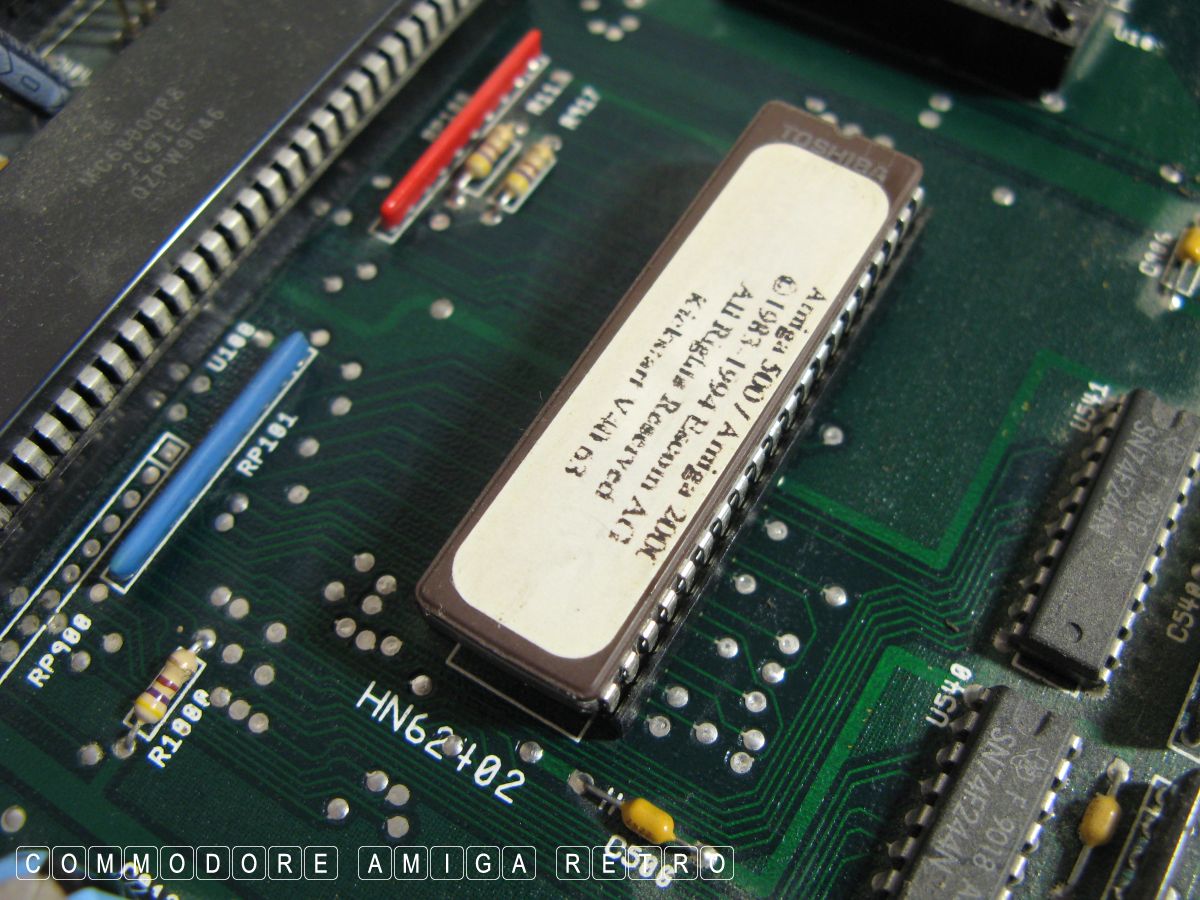
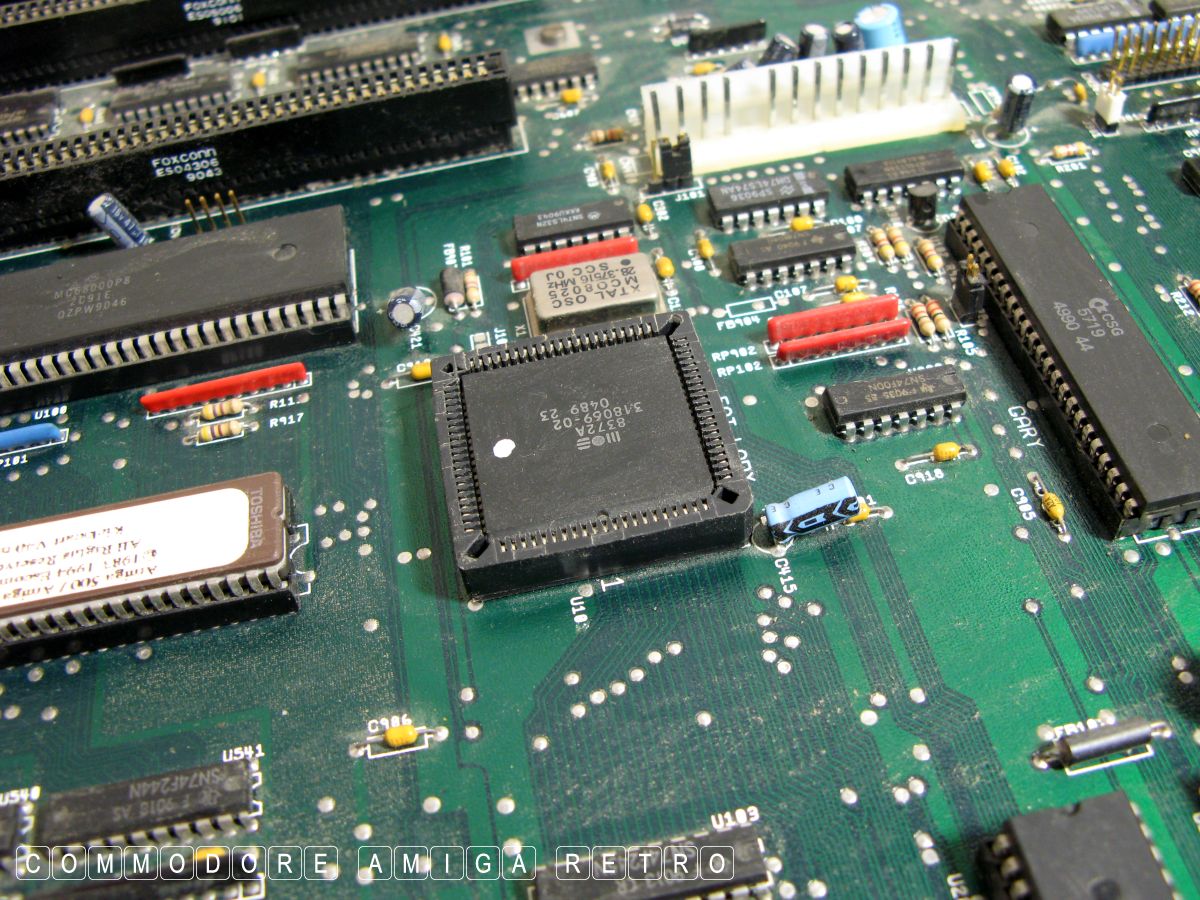
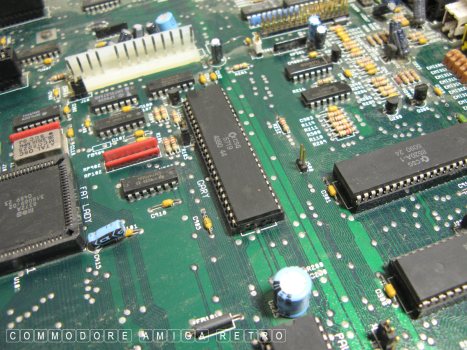
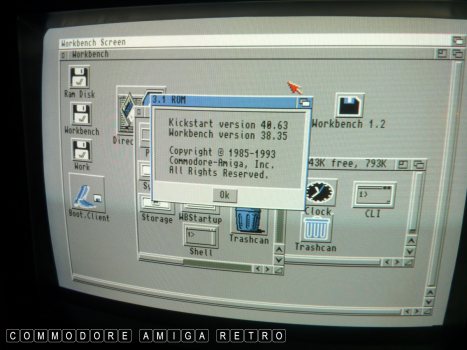
The ROM on this machine is the 3.1.
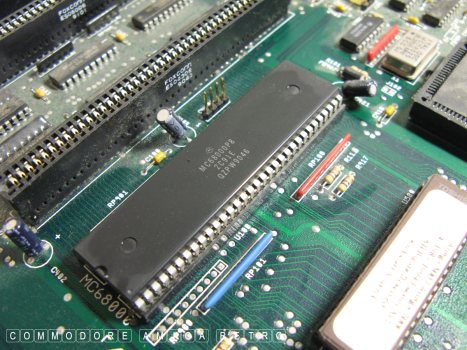
The processor is the 68000.
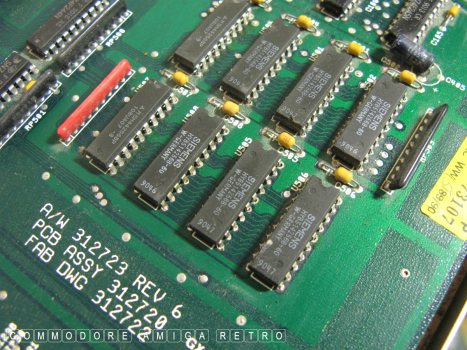
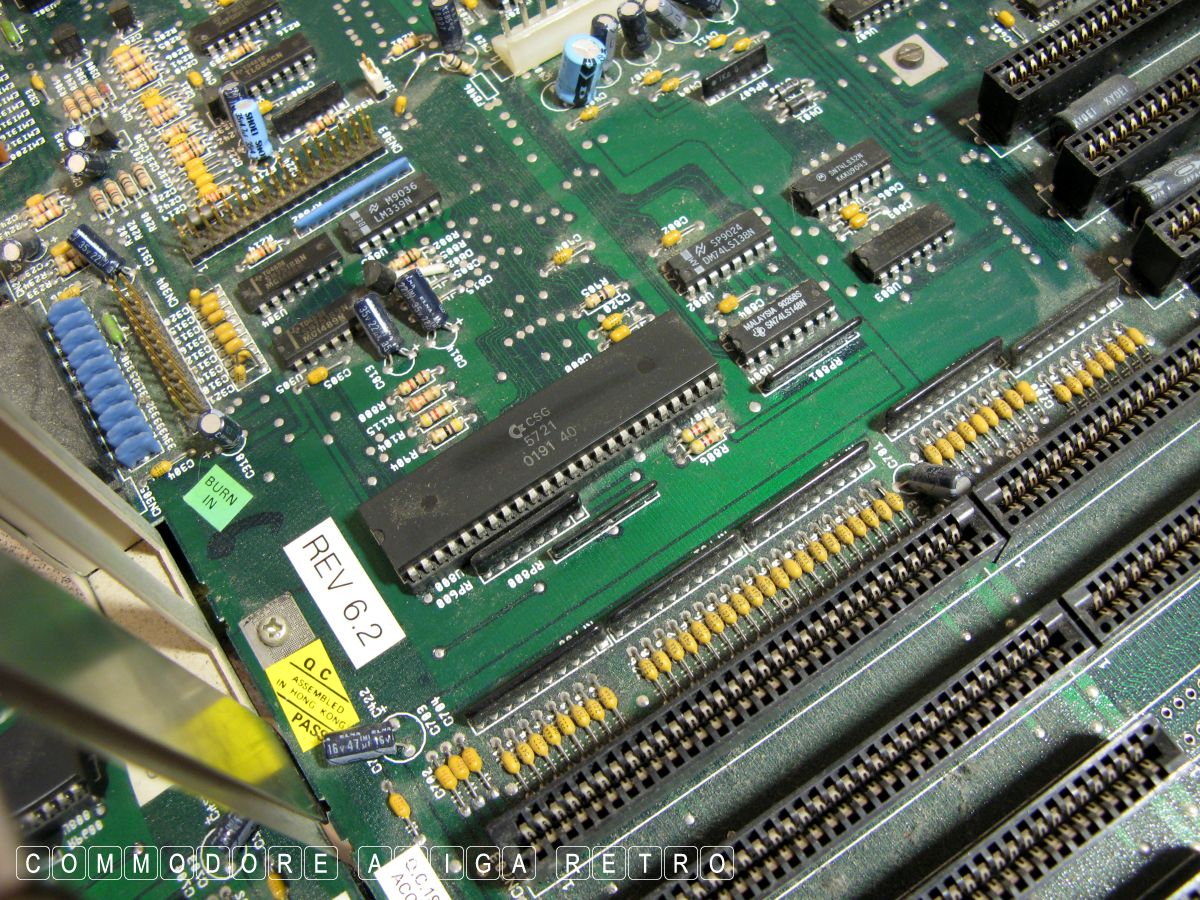
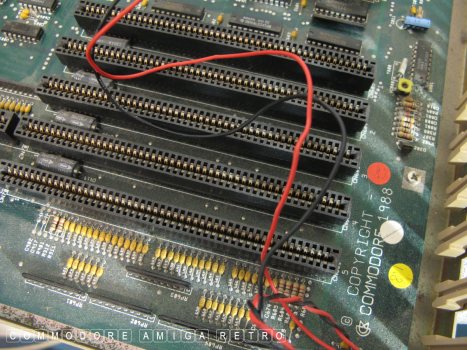
REV 6 board and chips made in 'West' Germany.

The A2000 has to be the simplest and
most straightforward of all the Amigas.
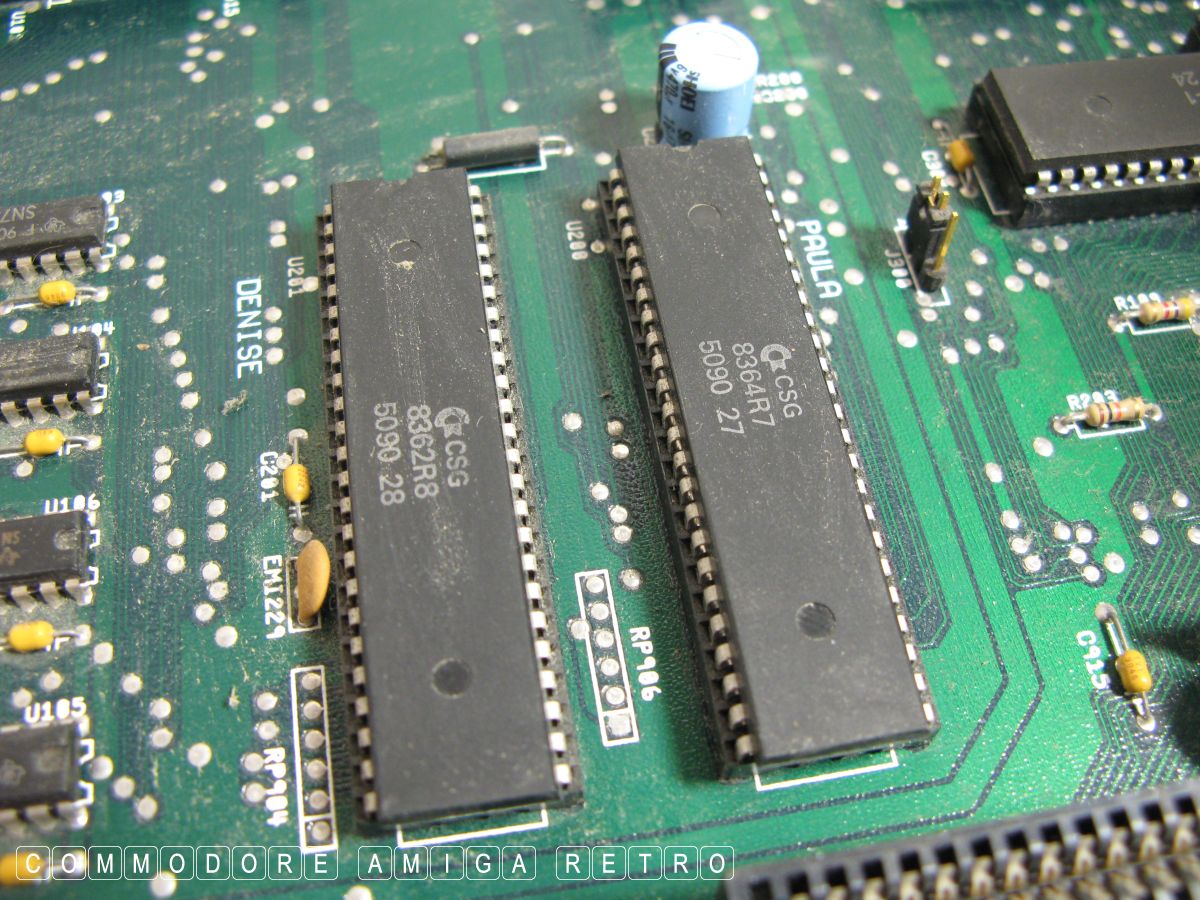
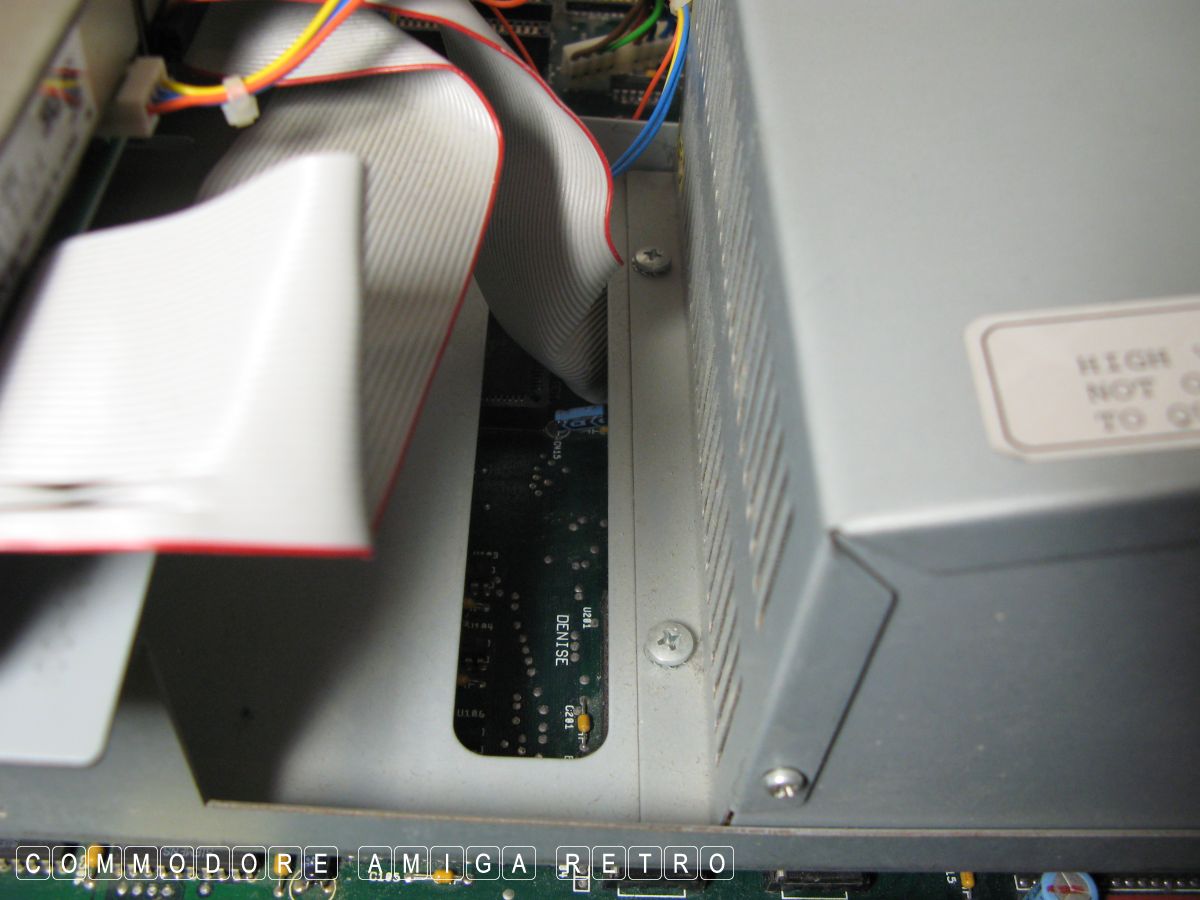
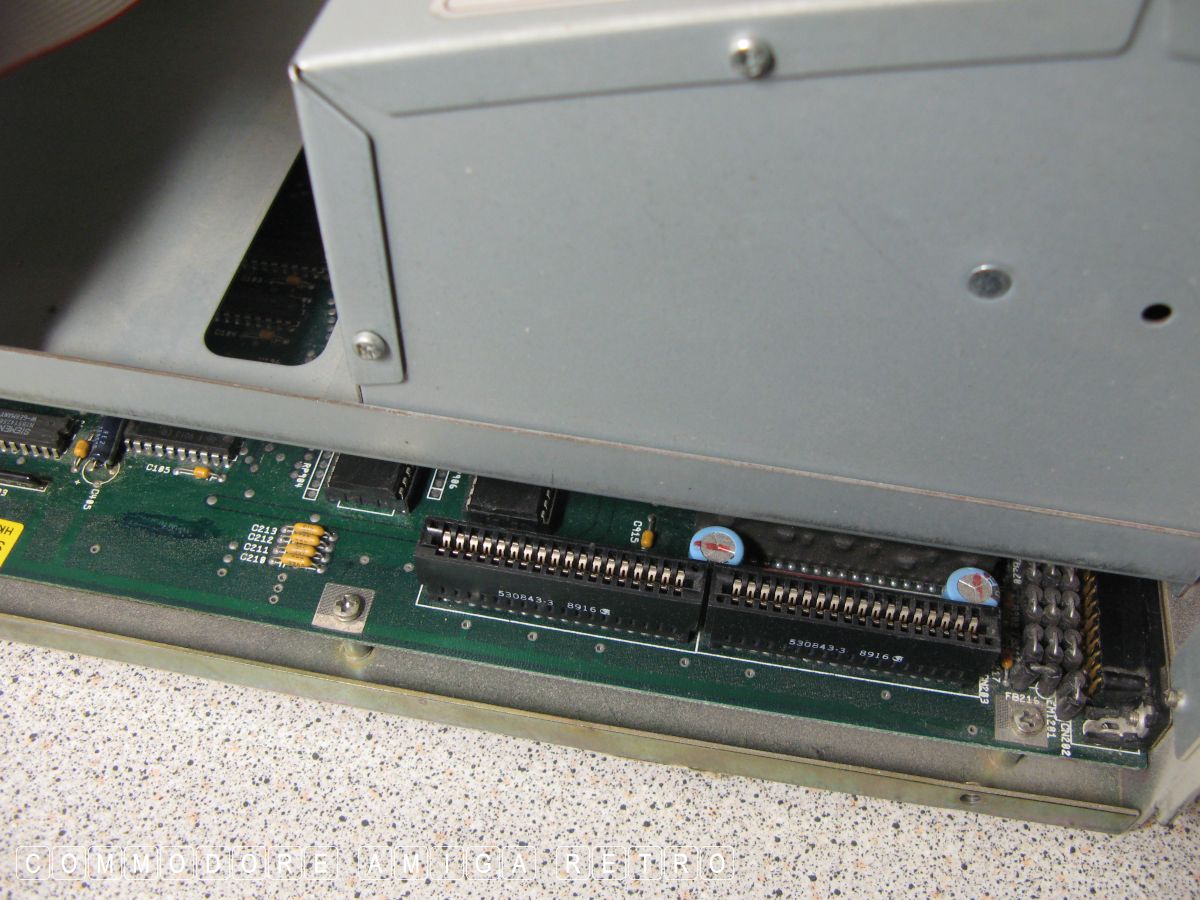
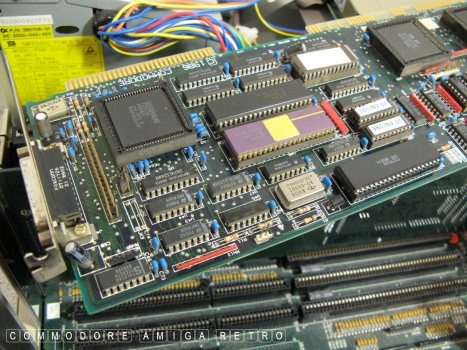
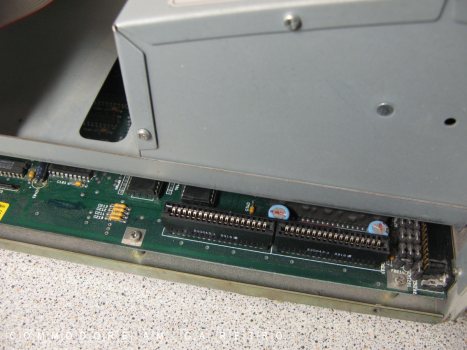
Here we have Denise and Paul.
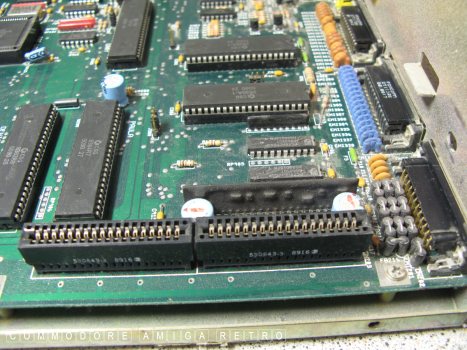
That video enhancer slot.

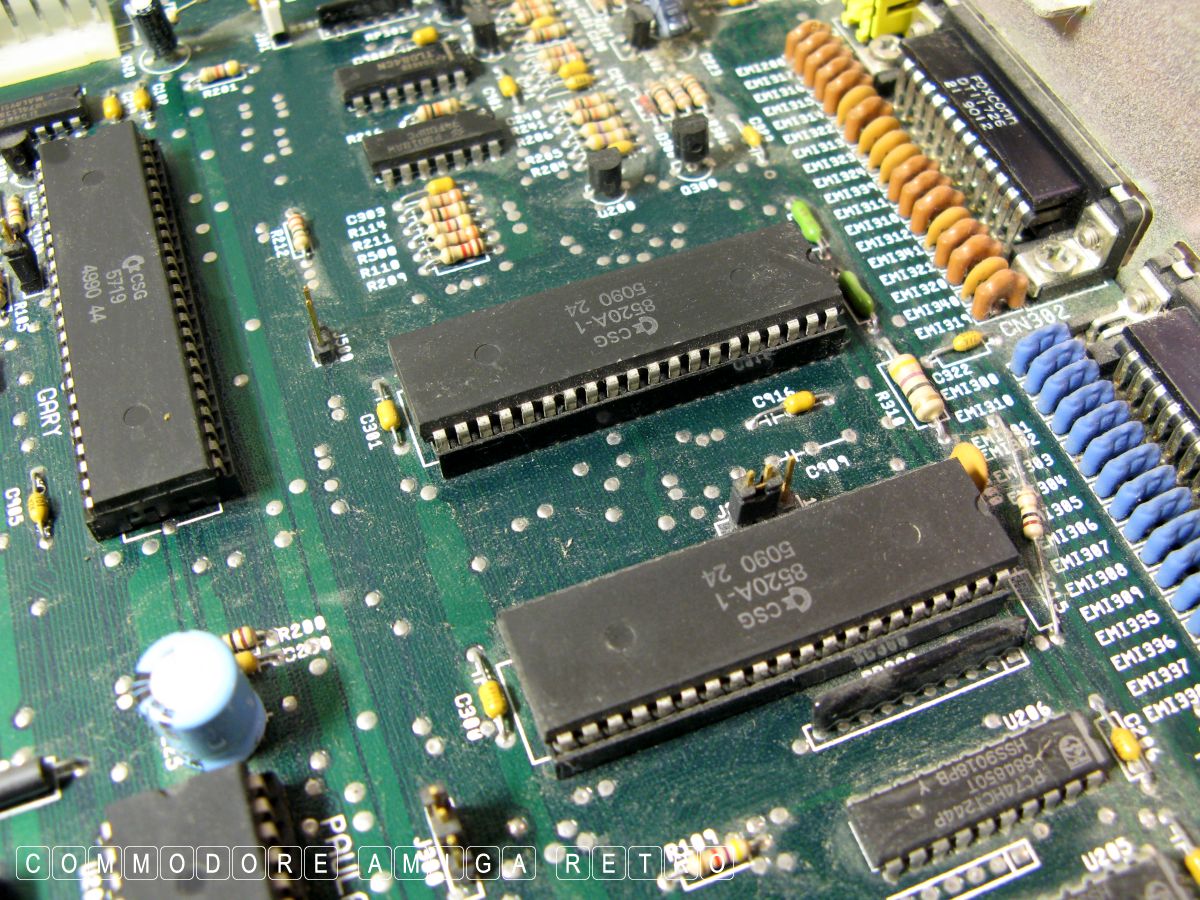
Matching CIA slots.
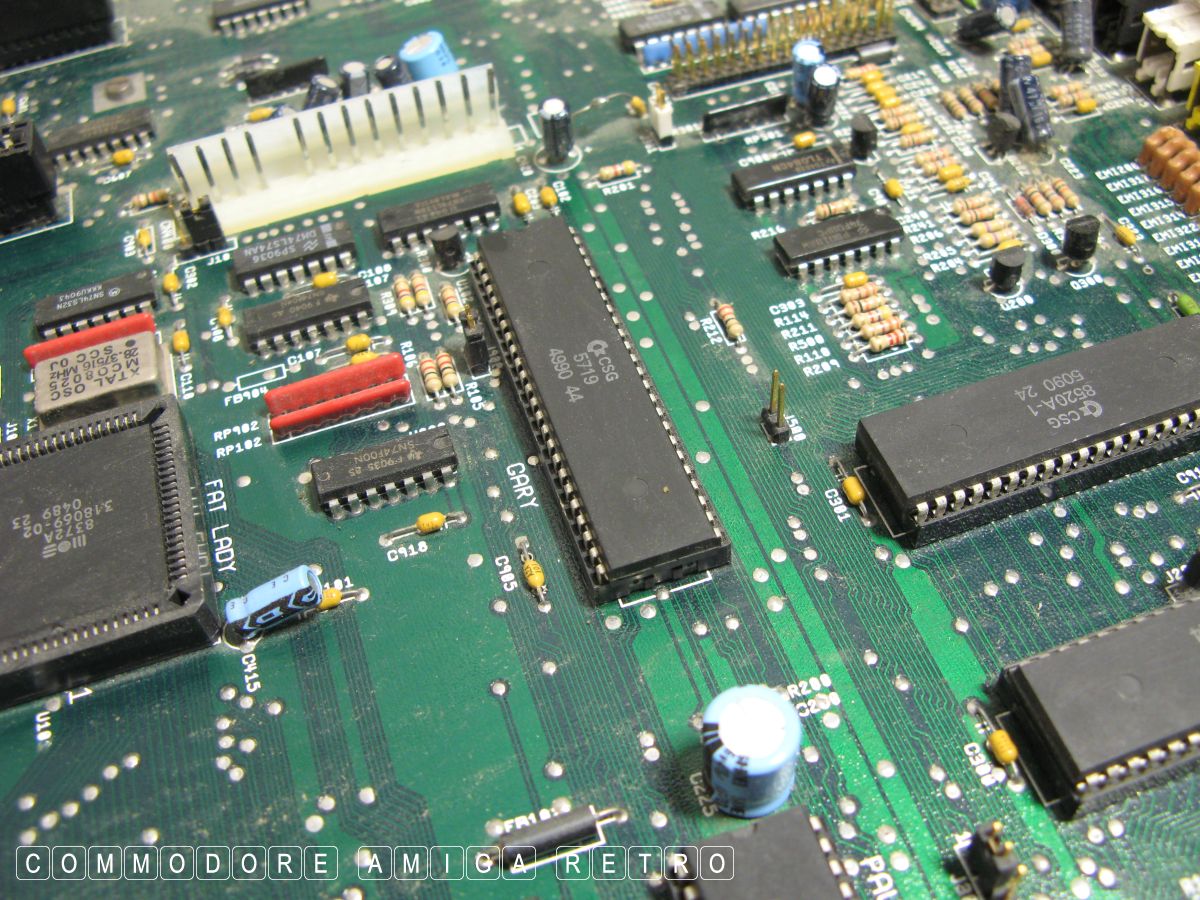
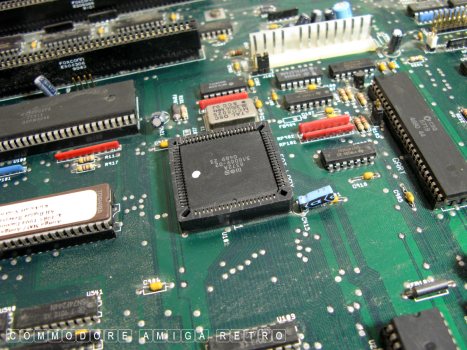
The Gary chip.
And the FAT Agnus.
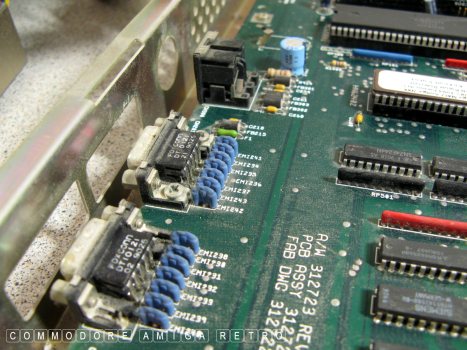
Mouse, joystick and keyboard ports.
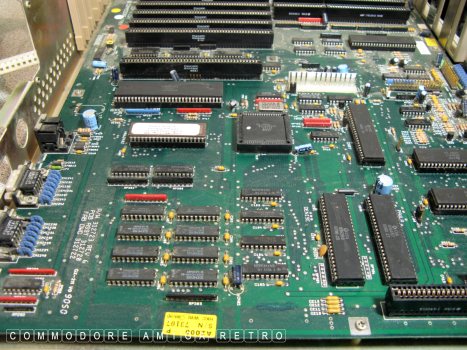
Simple but quite effective and pretty
bulletproof. Of all the Amigas I have
the A2000 is the most robust and durable.

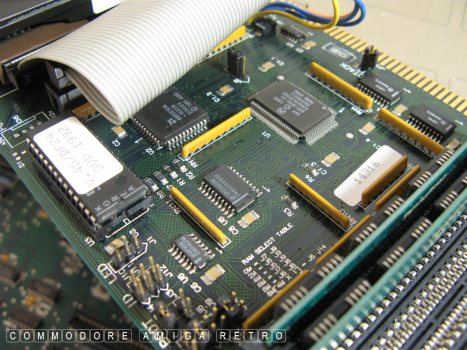
Actually a Revision 6.2.

Don't panic.. the pin is always missing.
Watch the trailing wires don't get
cut when inserting cards.
OK Reassembling is just the reverse.
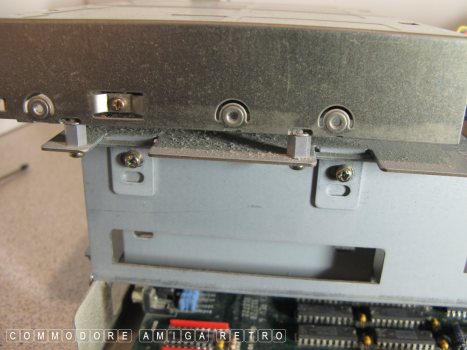
If you need to remove the floppy cradle
just unscrew these screws.
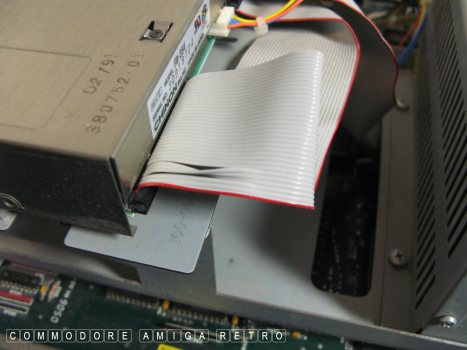
If removing the floppy ribbons and power
make a note of which ribbon had the twist.

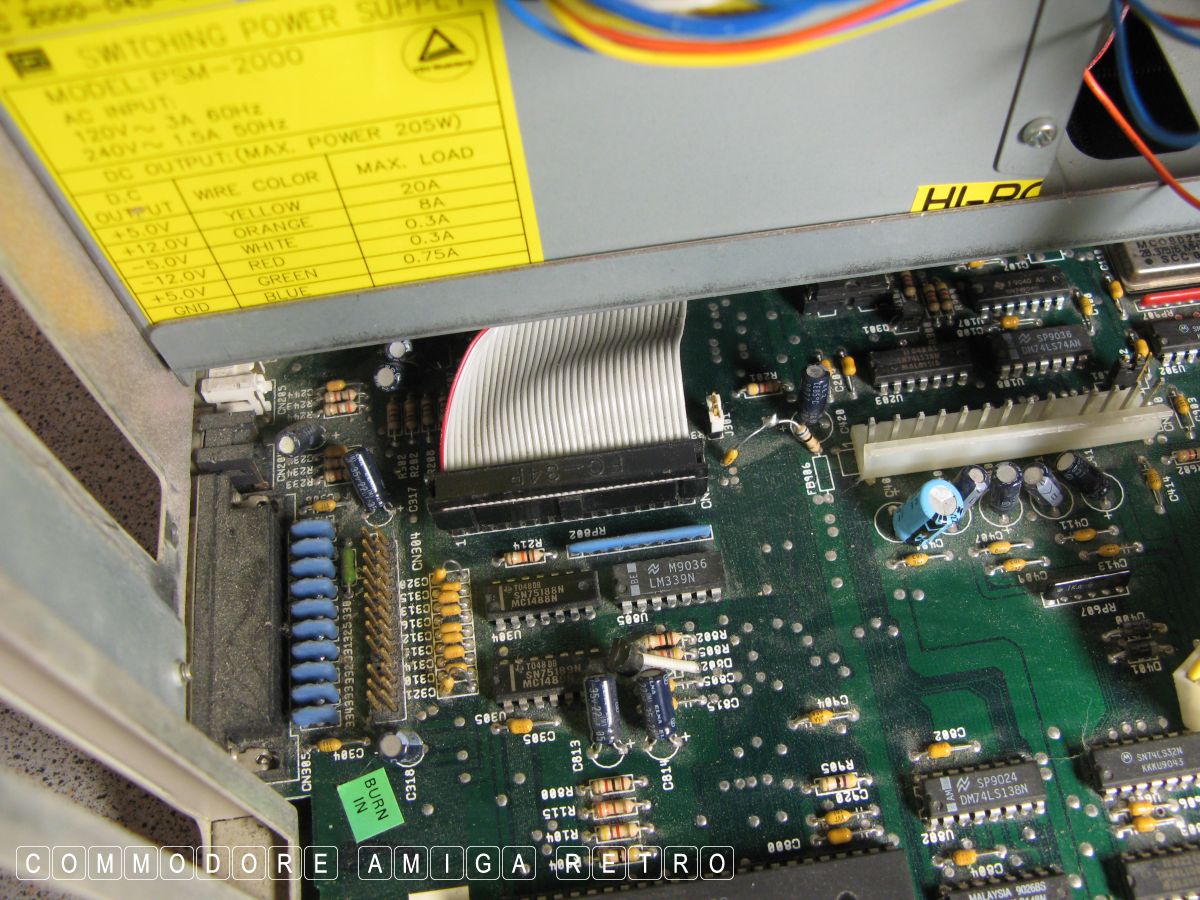
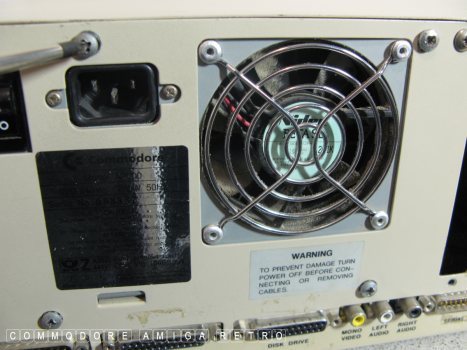
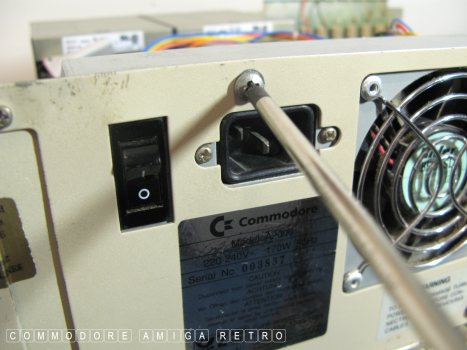
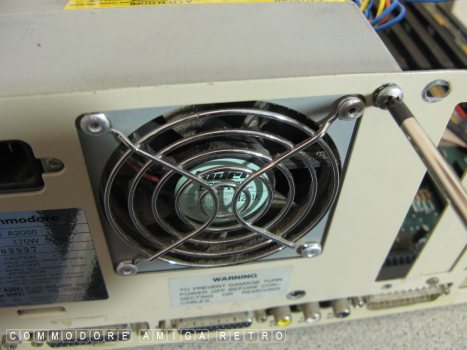
The back of the PSU unscrews from here.
Only if you need to remove it.
Note the video enhancer slot again.
Re-screw the PSU in place.

Then reconnect the floppy ribbon.

And next up the power supply.
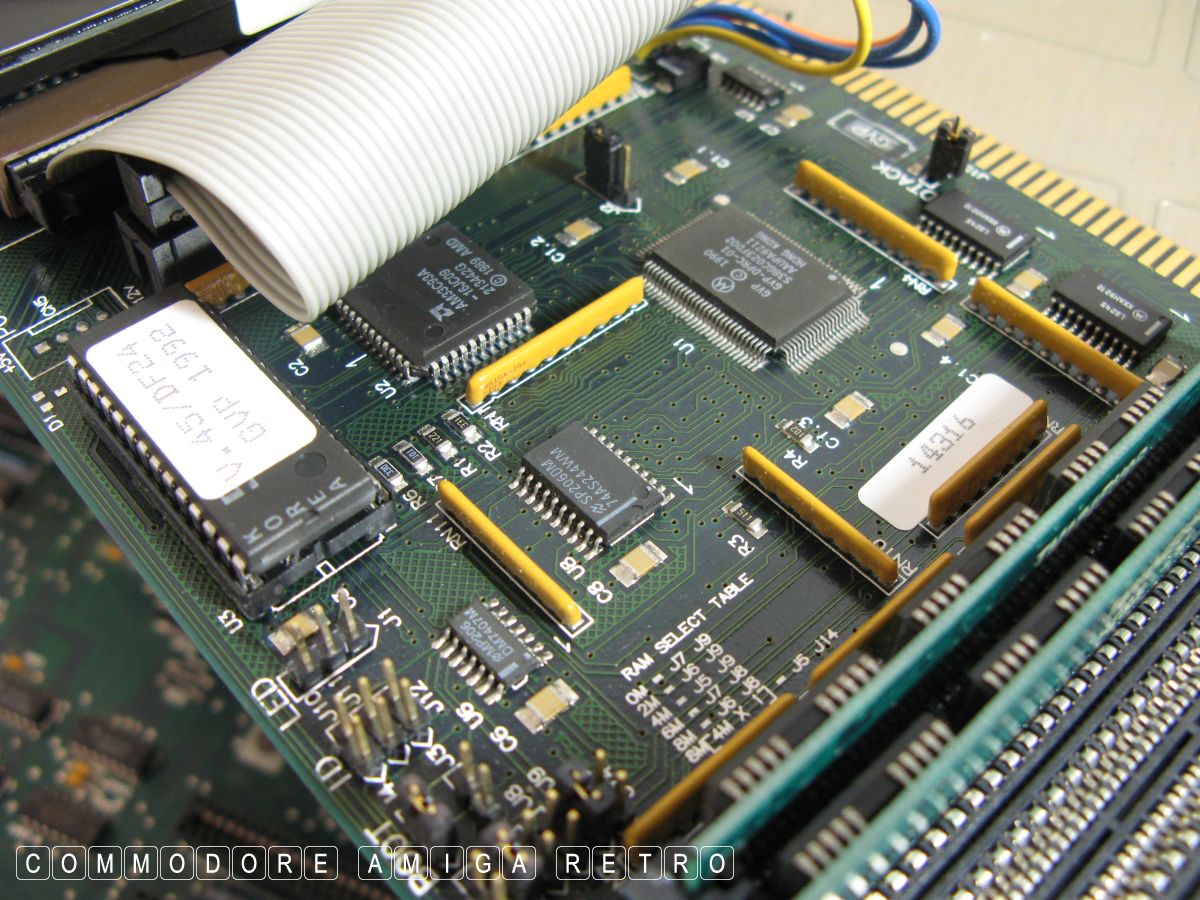
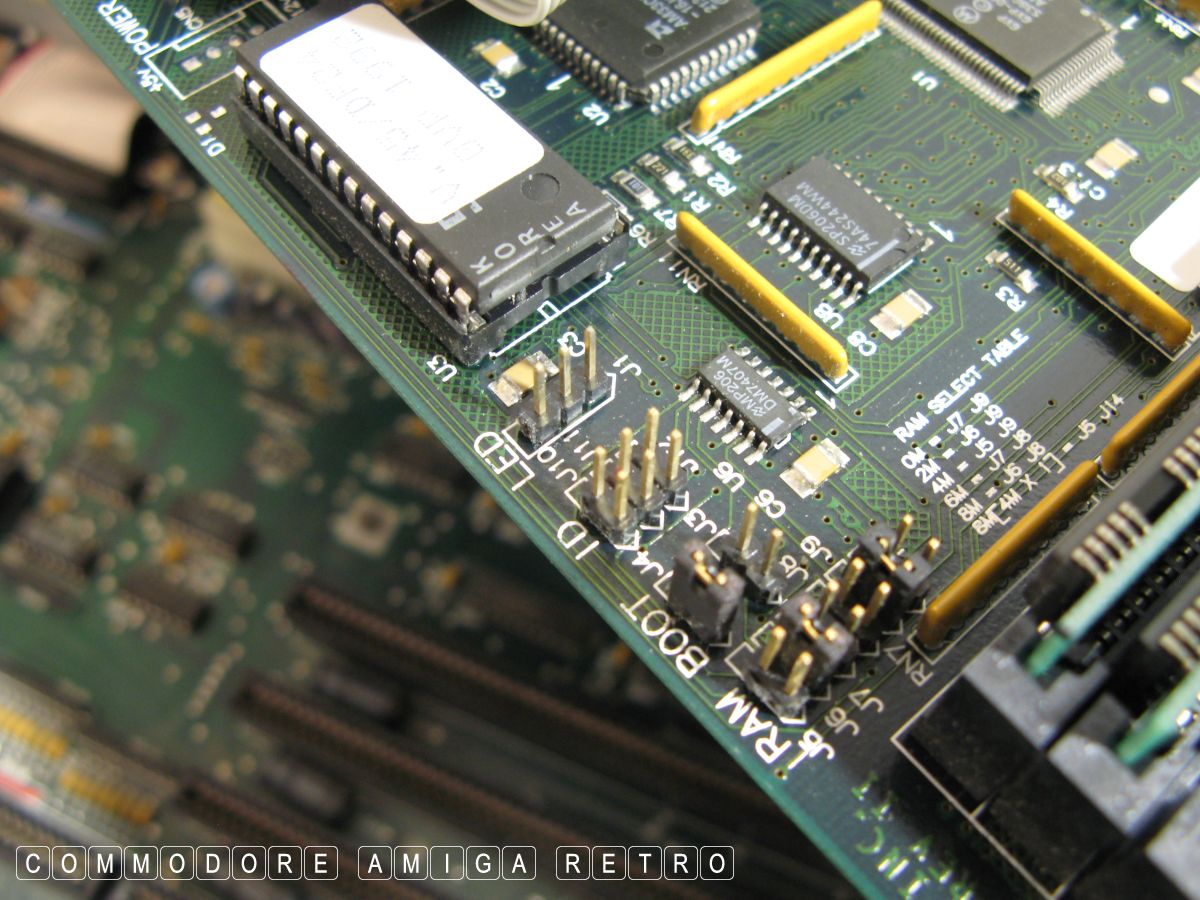
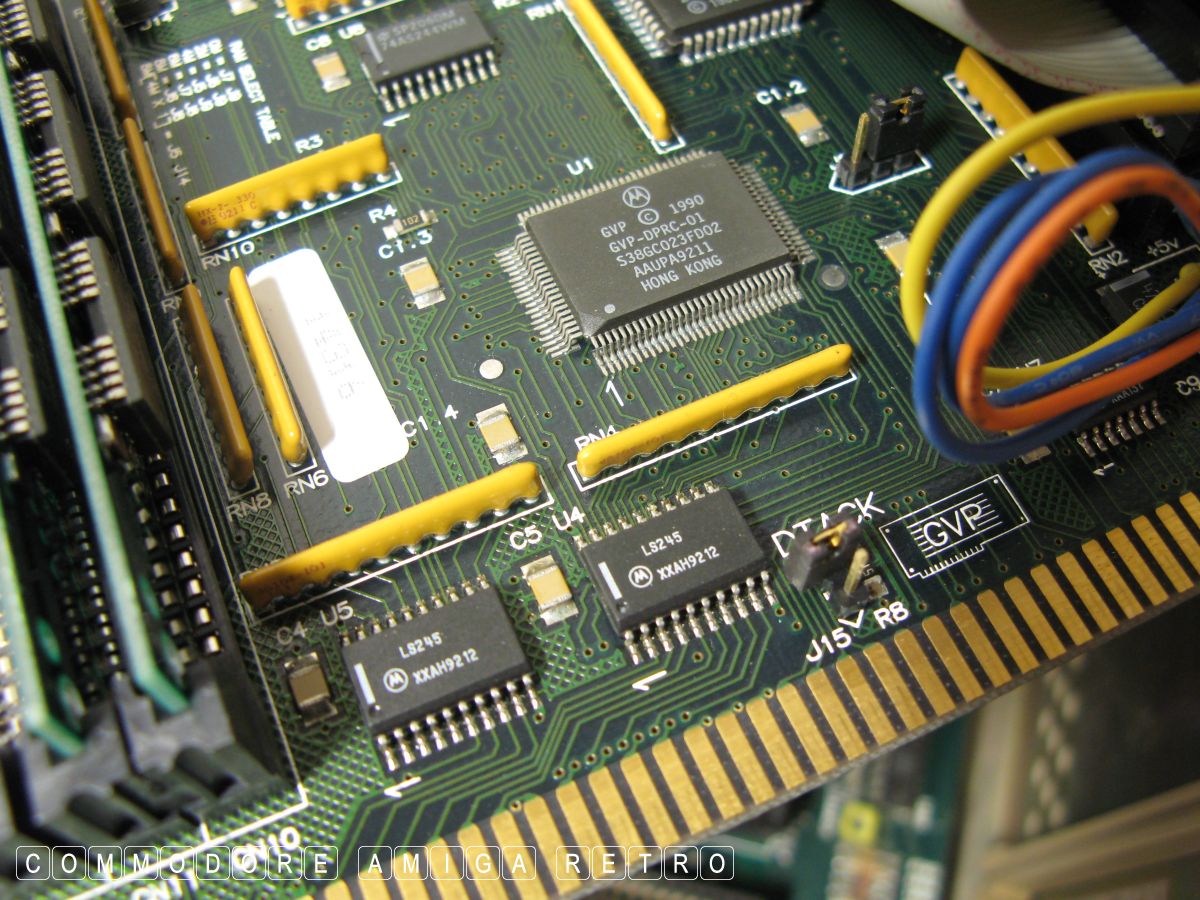
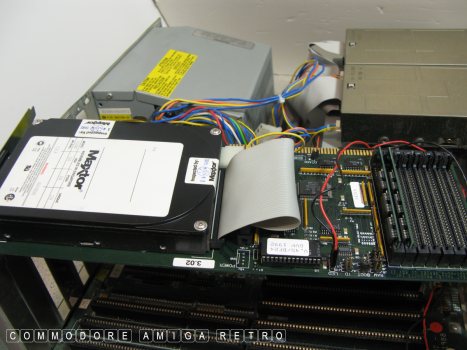
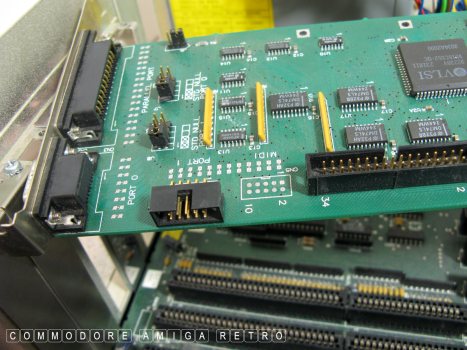
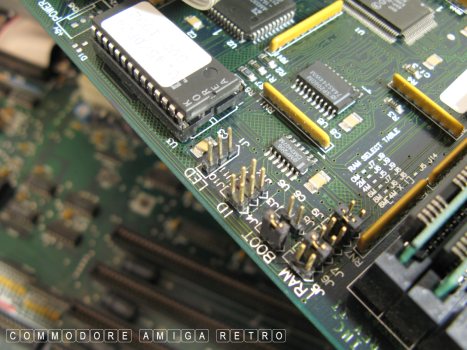
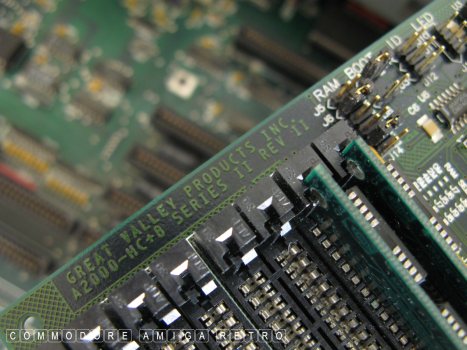
This time round I will only refit the
GVP HC+8 hard drive controller.

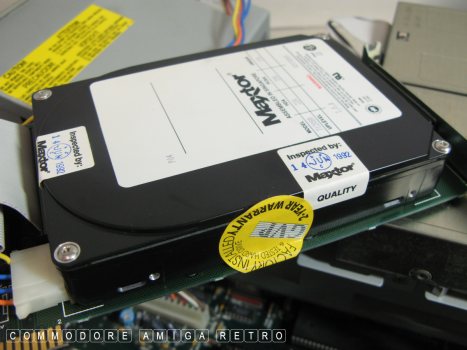
Note the original hard drive and seal.
These drives are a pain. They stick. The
reason is that they are mounted on their
side. To get them spinning again I stand
the computer upright and tap the drive gently.
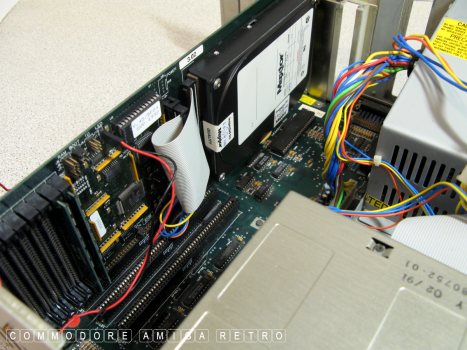
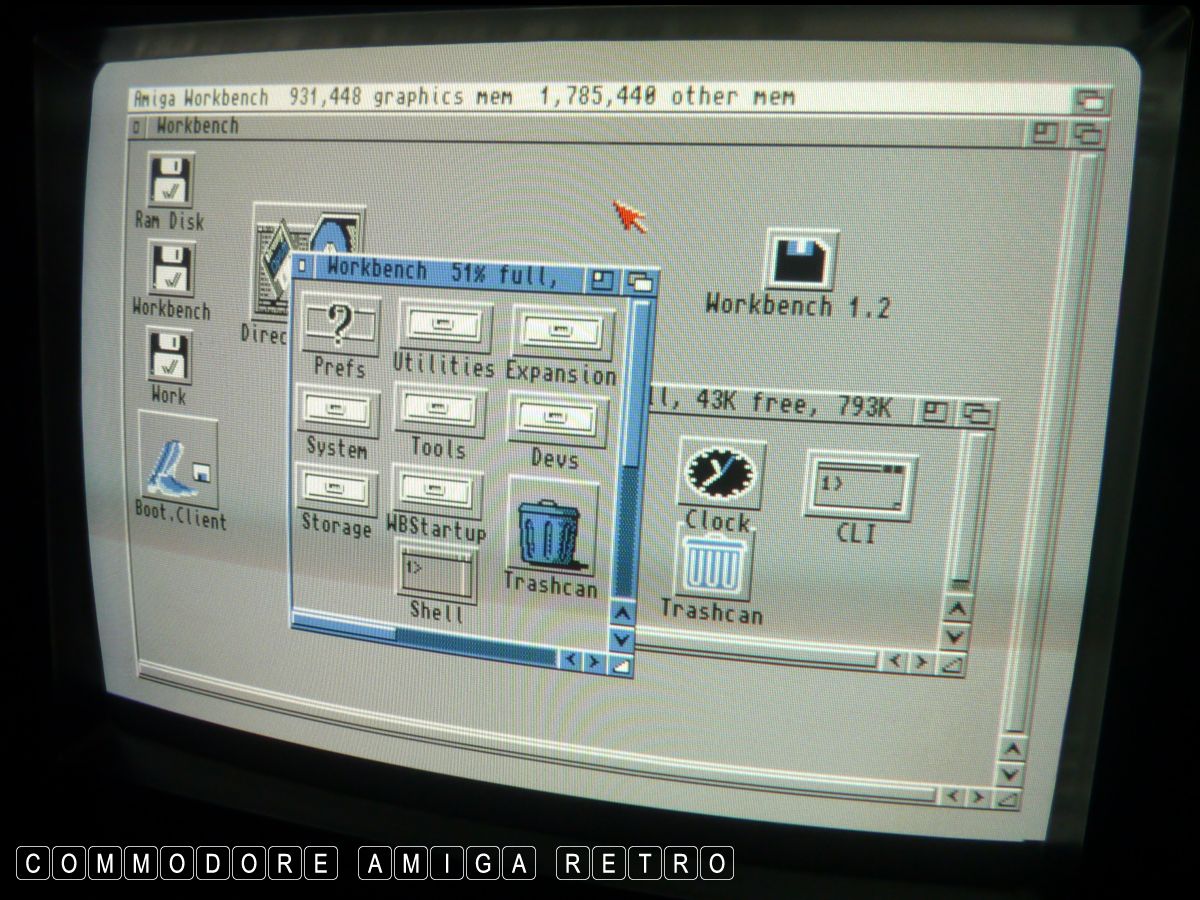
And we are done.
Both the hard drive and the floppies working.
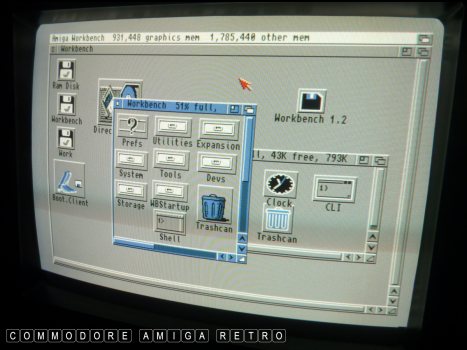
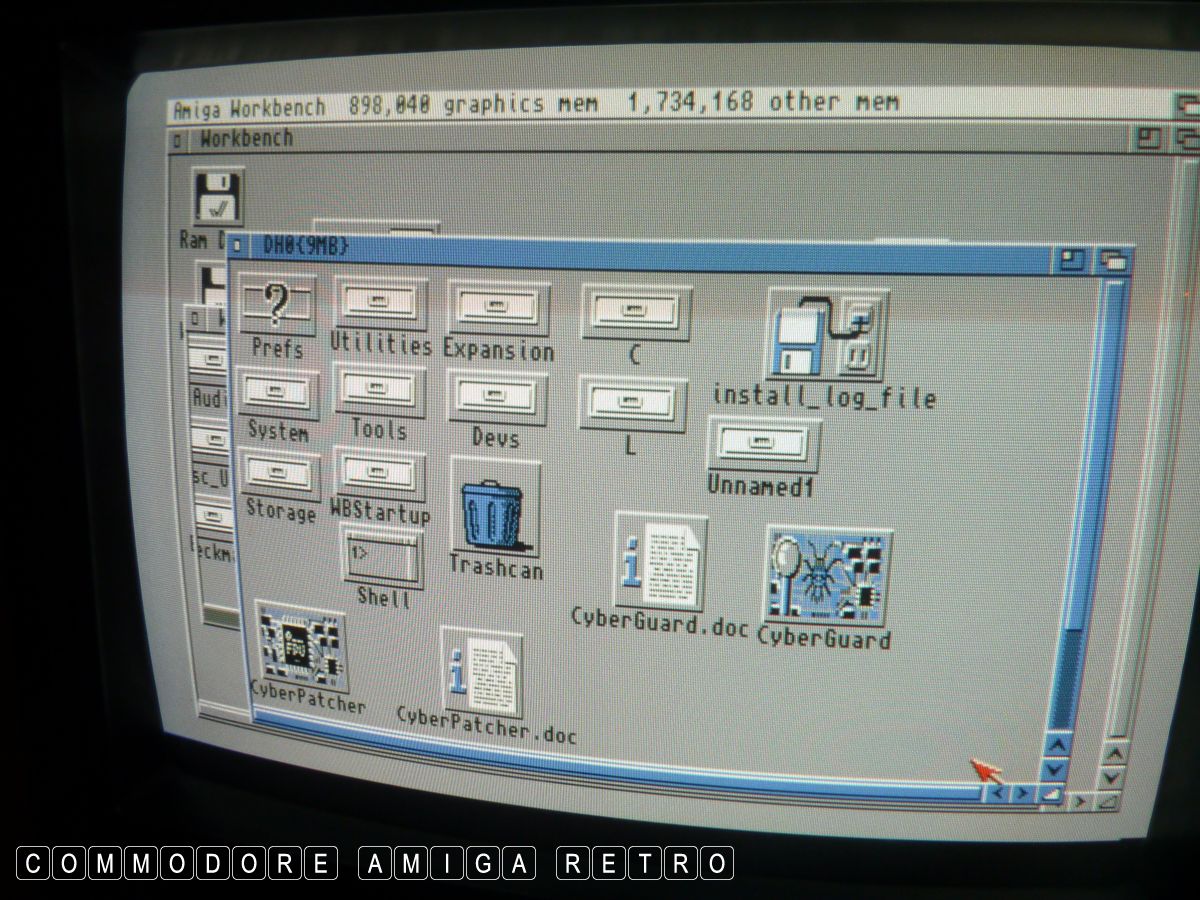
Very little on this drive.

I keep a copy of the Workbench on
another partition.
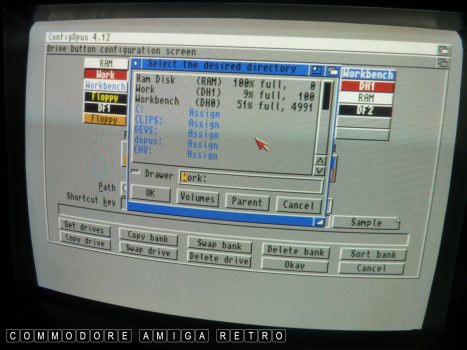
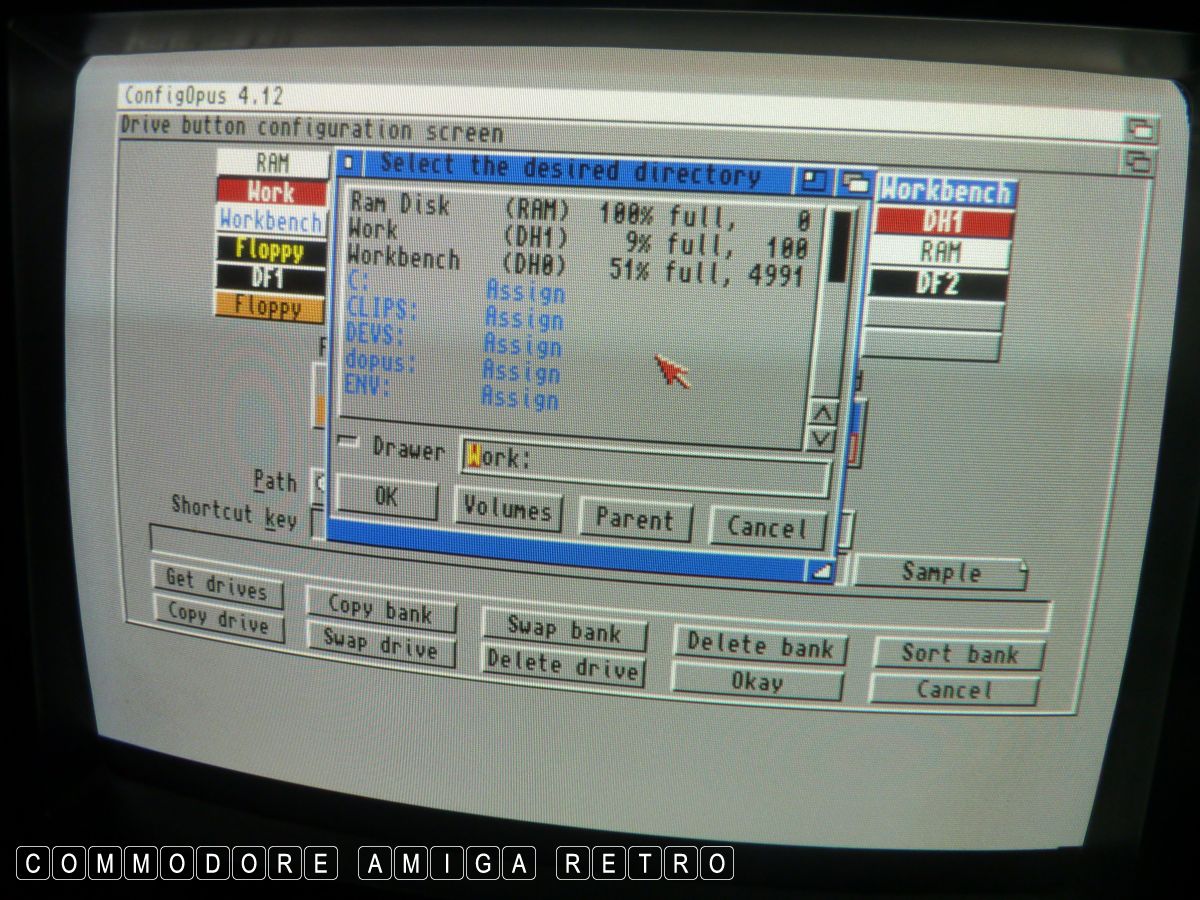
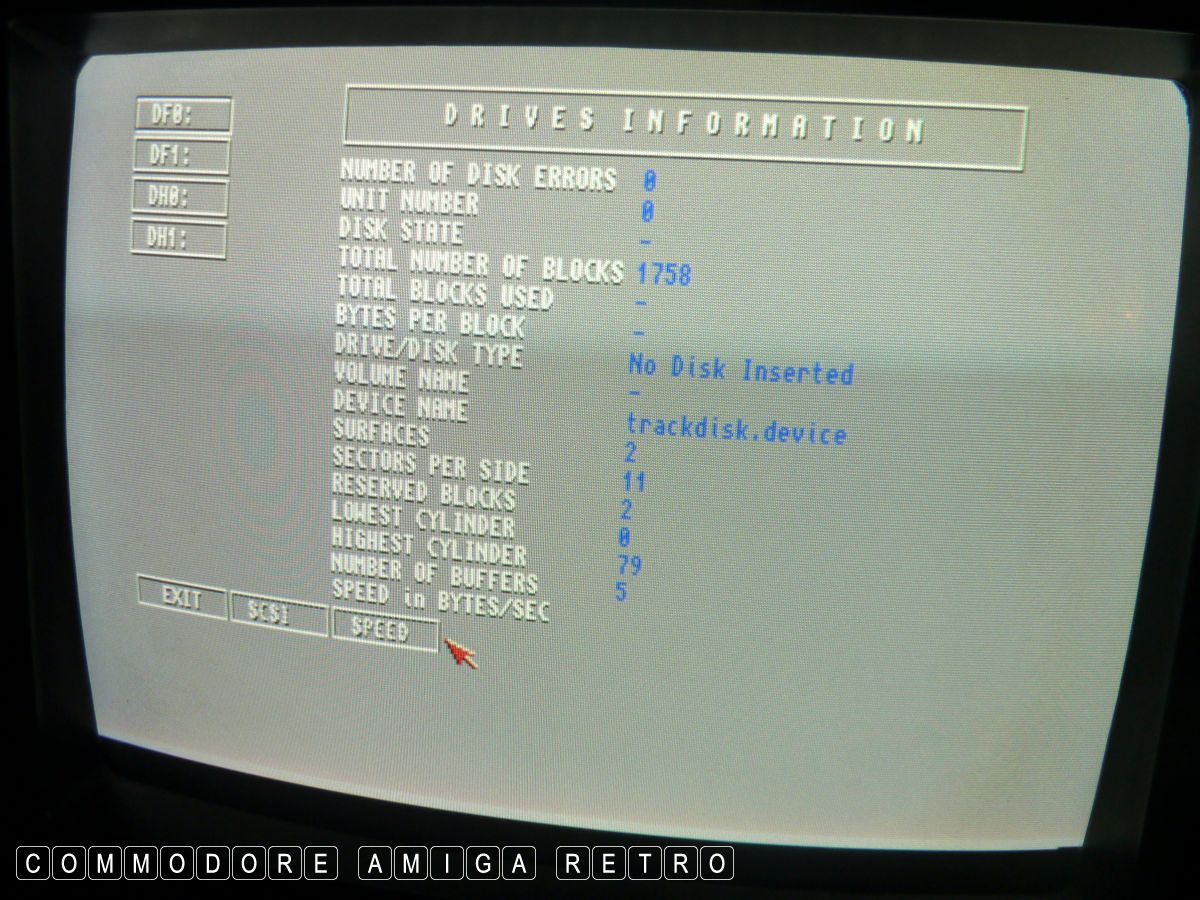
DOpus showing the mounted drives.
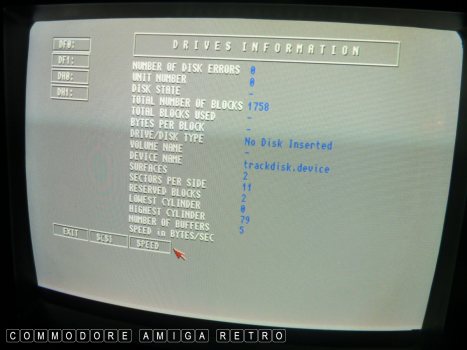
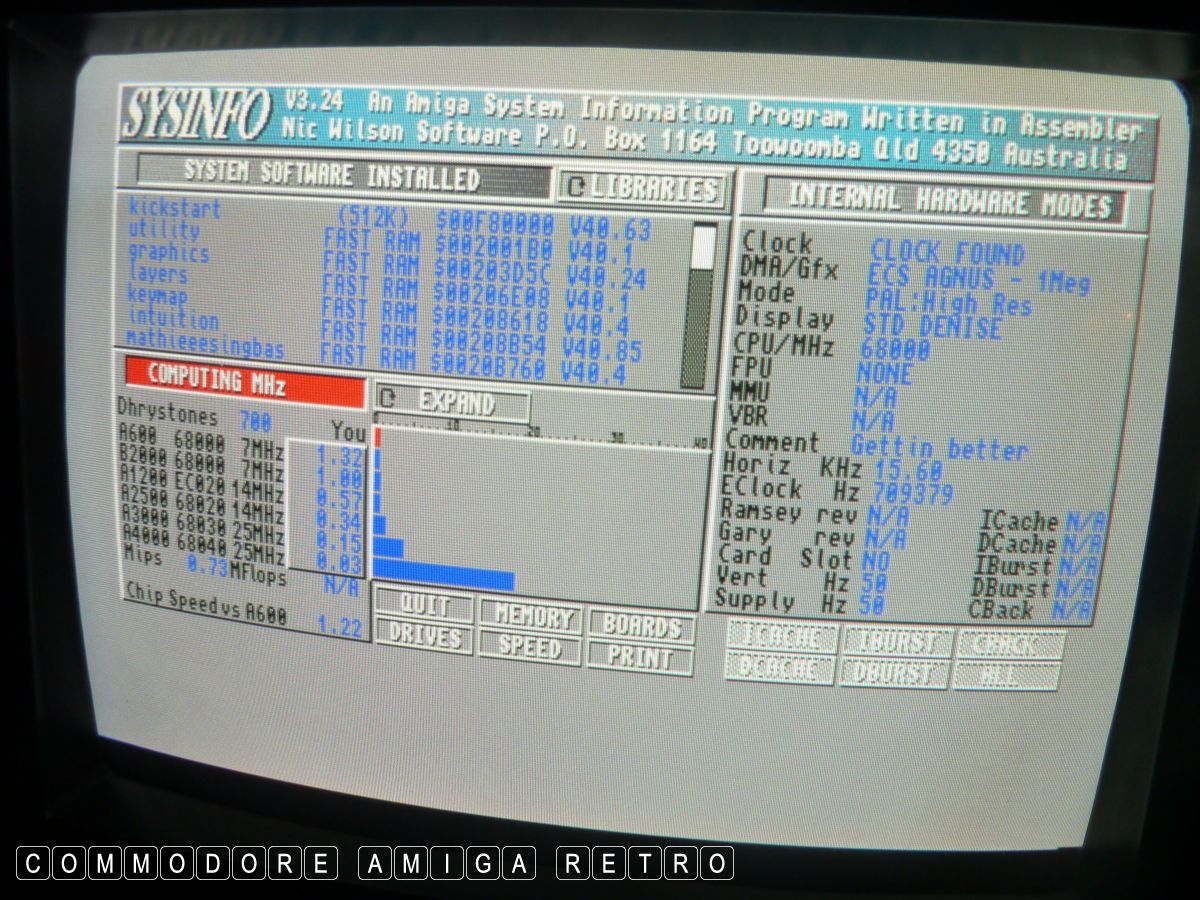
SysInfo also showing the drives and memory.
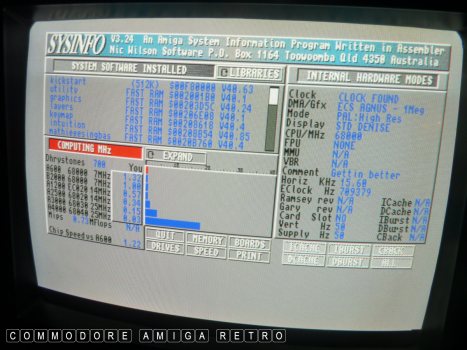
Seriously one of the slowest computers
I have here. The A2000 is efficent and
reliable but **cking slow.
Great for standing stuff on.
Compliments to Haynie/Fisher ..
Dave Haynie - Chief Engineer Commodore/Amiga.
*Terry Fisher - Motherboard wizard.
*Interestingly Mr Fisher was part responsible for the A2232
card which gave a massive 7 additional RS232C serial ports