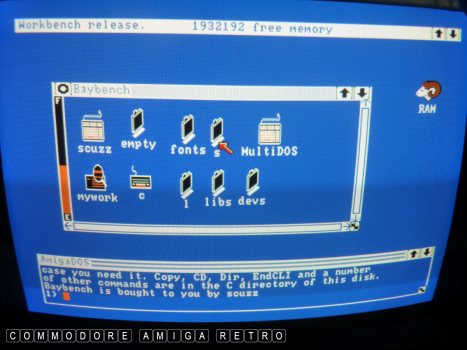
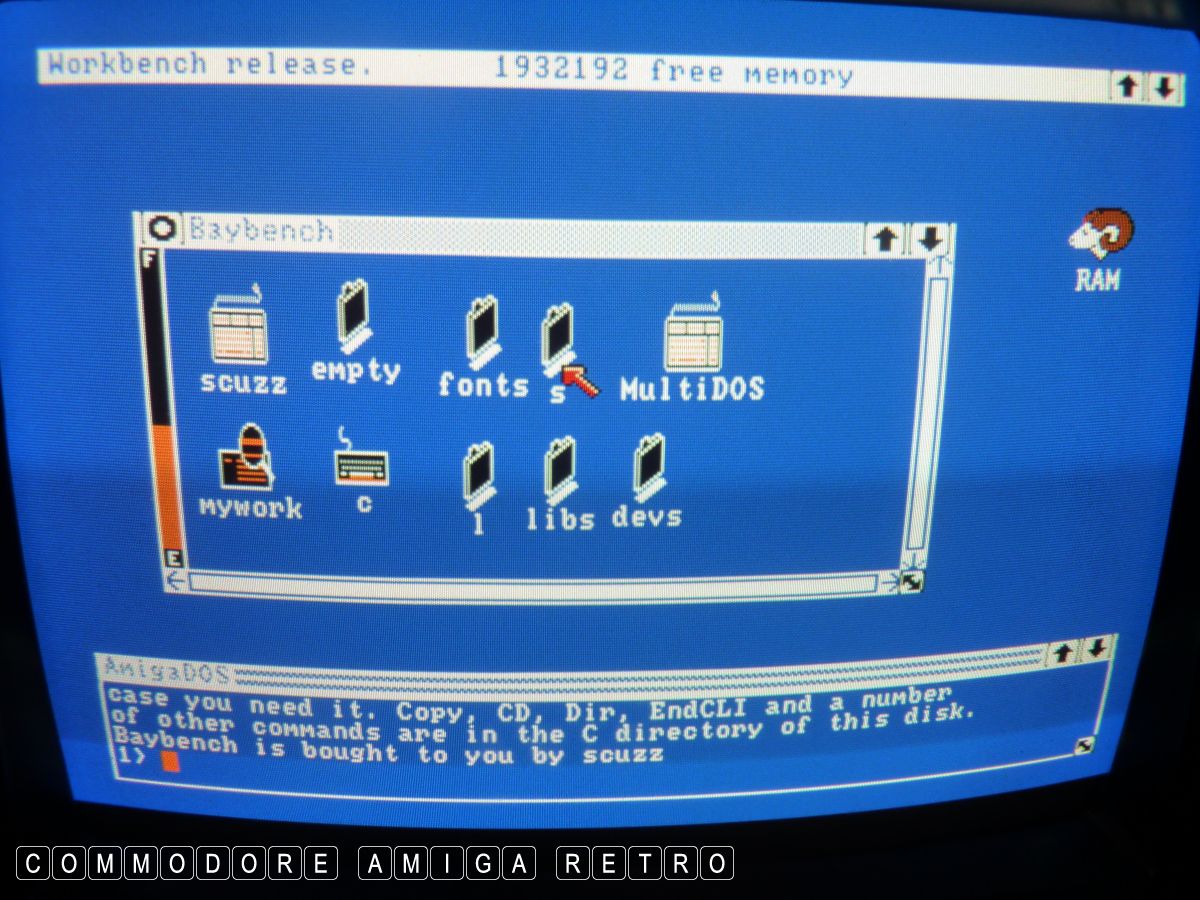
Baybench 1.3 - Adding MultiDOS.
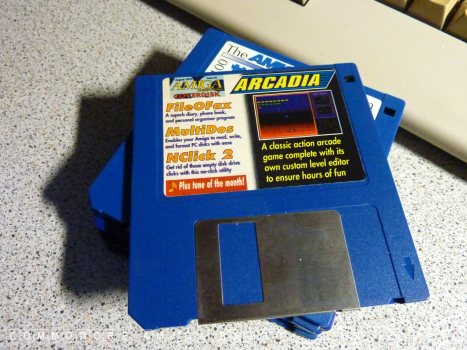
Arcadia from Amiga Computing with MultiDOS.

The MultiDOS guide says that the software
only works from WB2+. So technically I should
not be seeing this drawer on my Workbench.

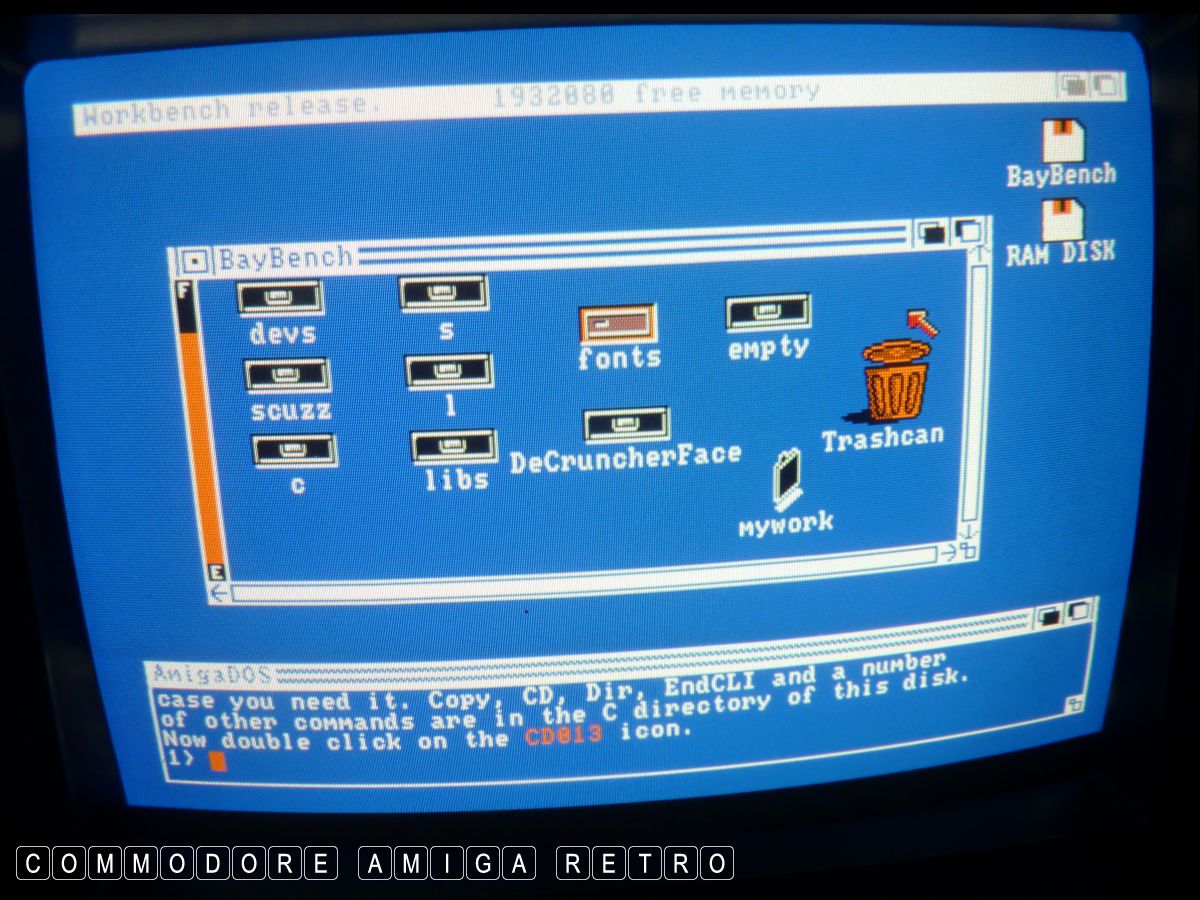
To undertake this exercise I chose to use a
second copy of my Baybench disk which I had
already started to embellish. Note I had added
DFace and changed the icons around.
I later removed DFace to make space on the disk.
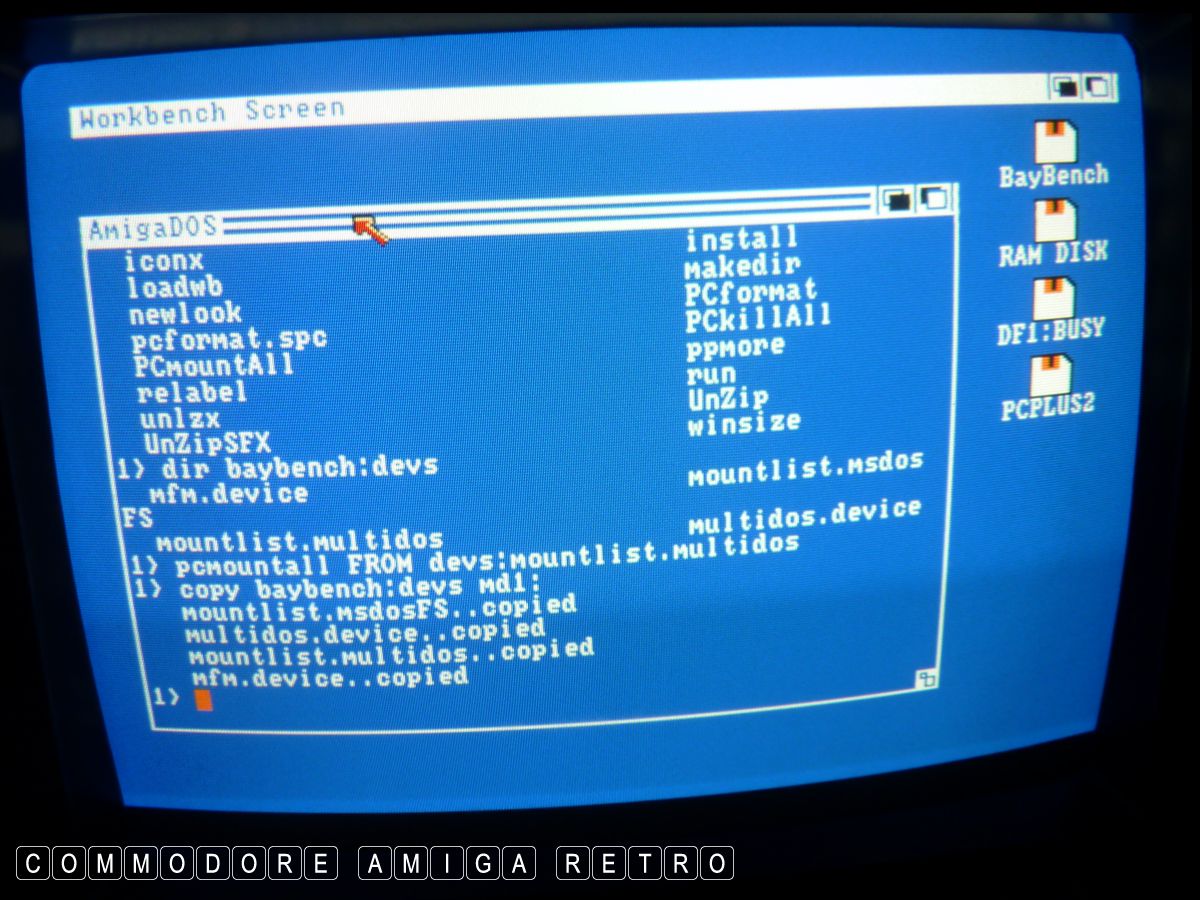
I have already copied the files from my earlier
PlusBench disk which included MultiDOS to all
the respective folders.

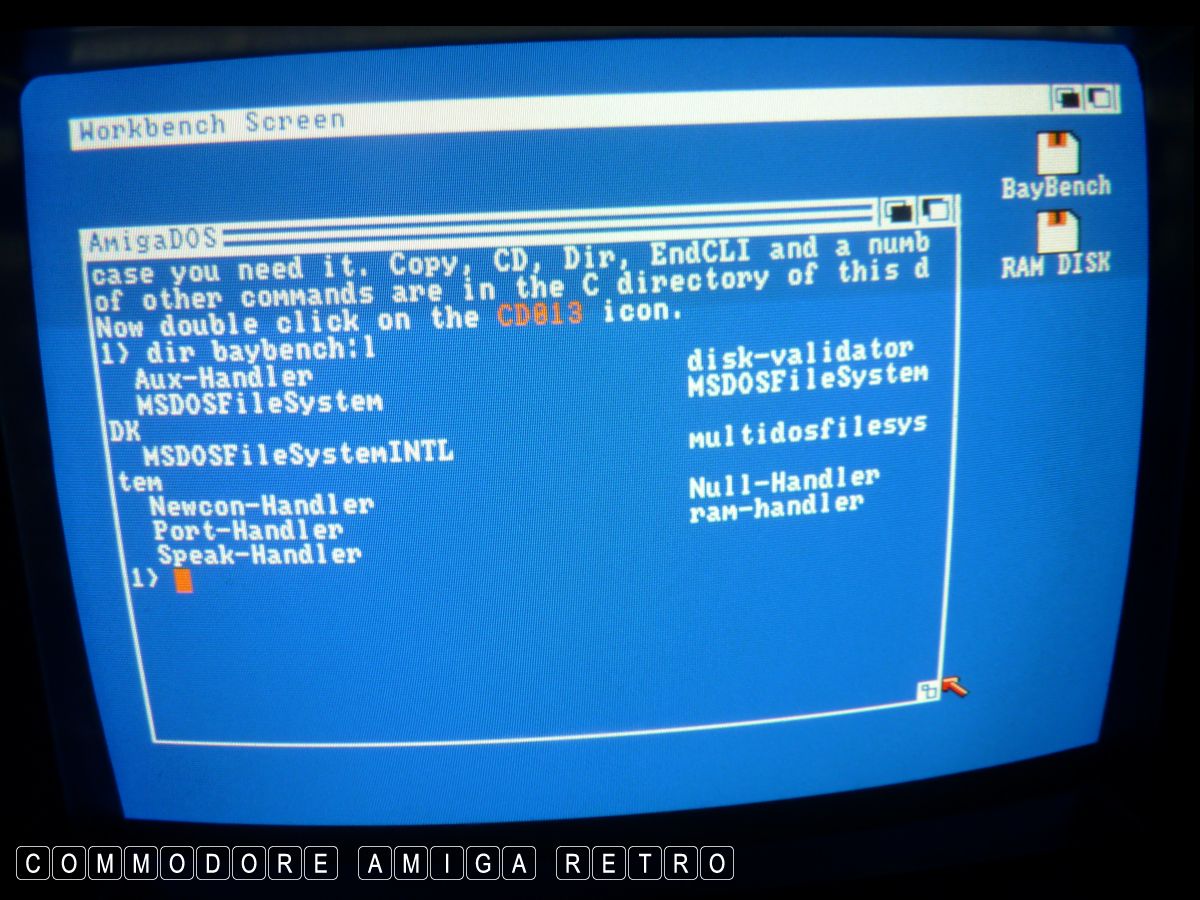
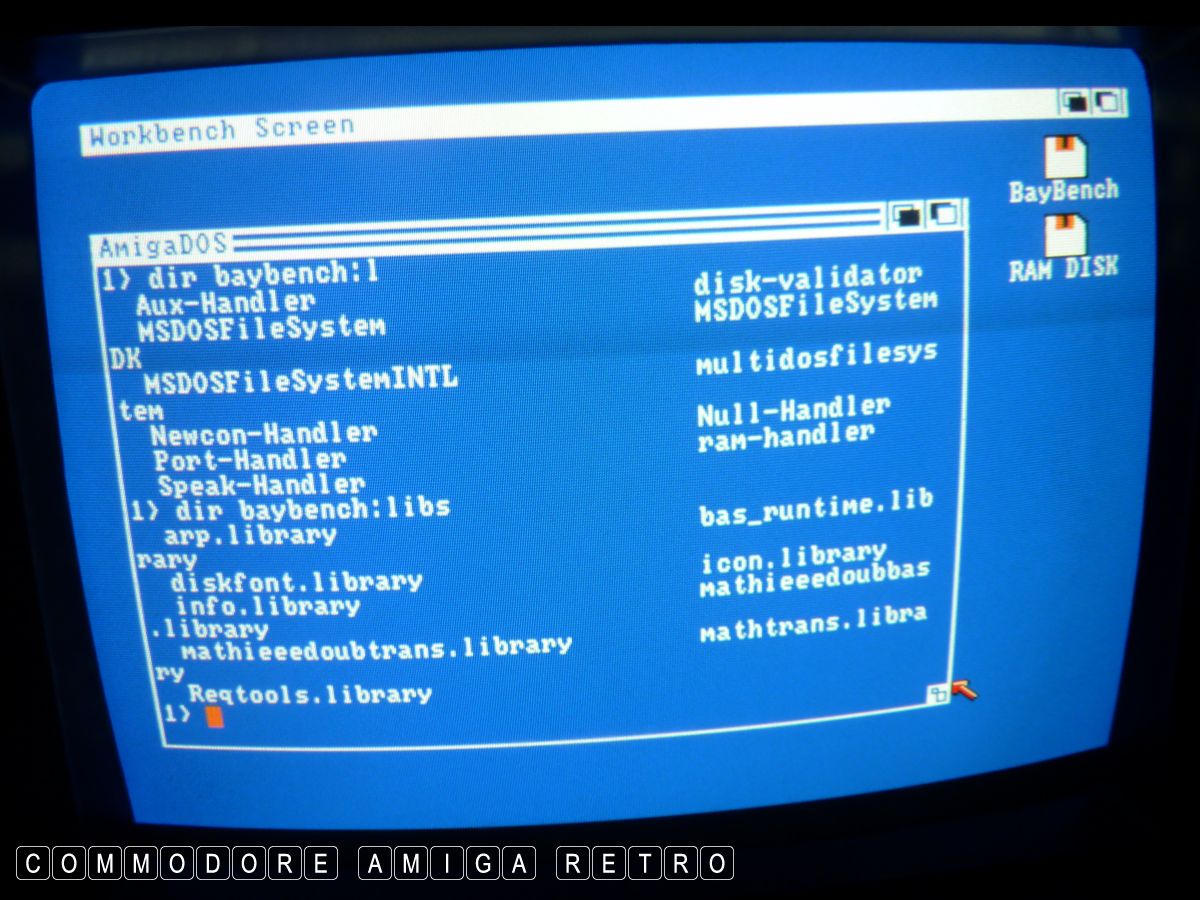
The File system to the L drawer and libraries
to the Libs drawer.

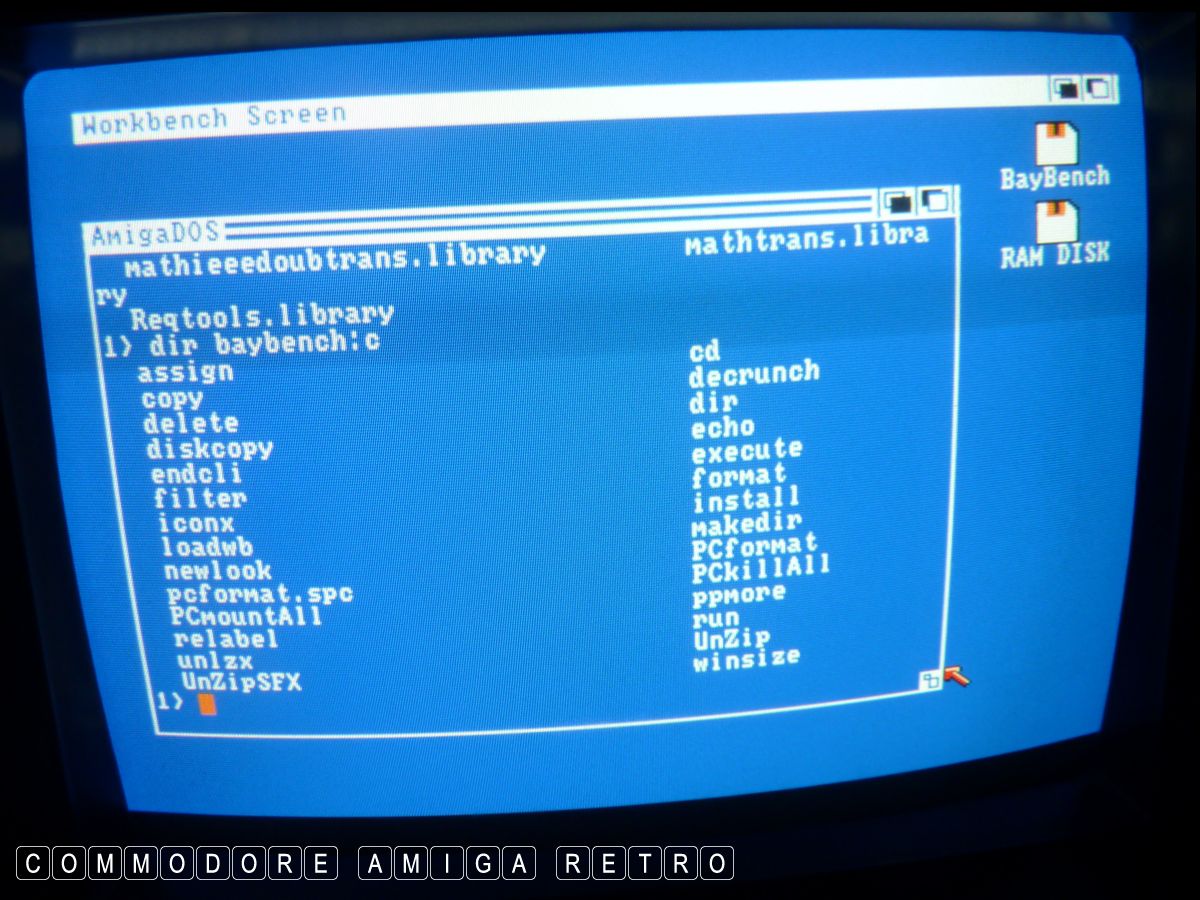
Plus the necessary files to the C drawer.
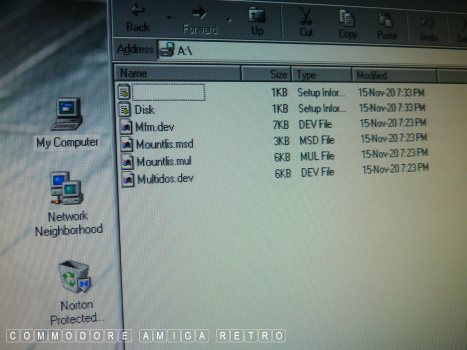
I simply copied over all the files from
the MultiDOS disk that related to the
program and placed them in their drawers.

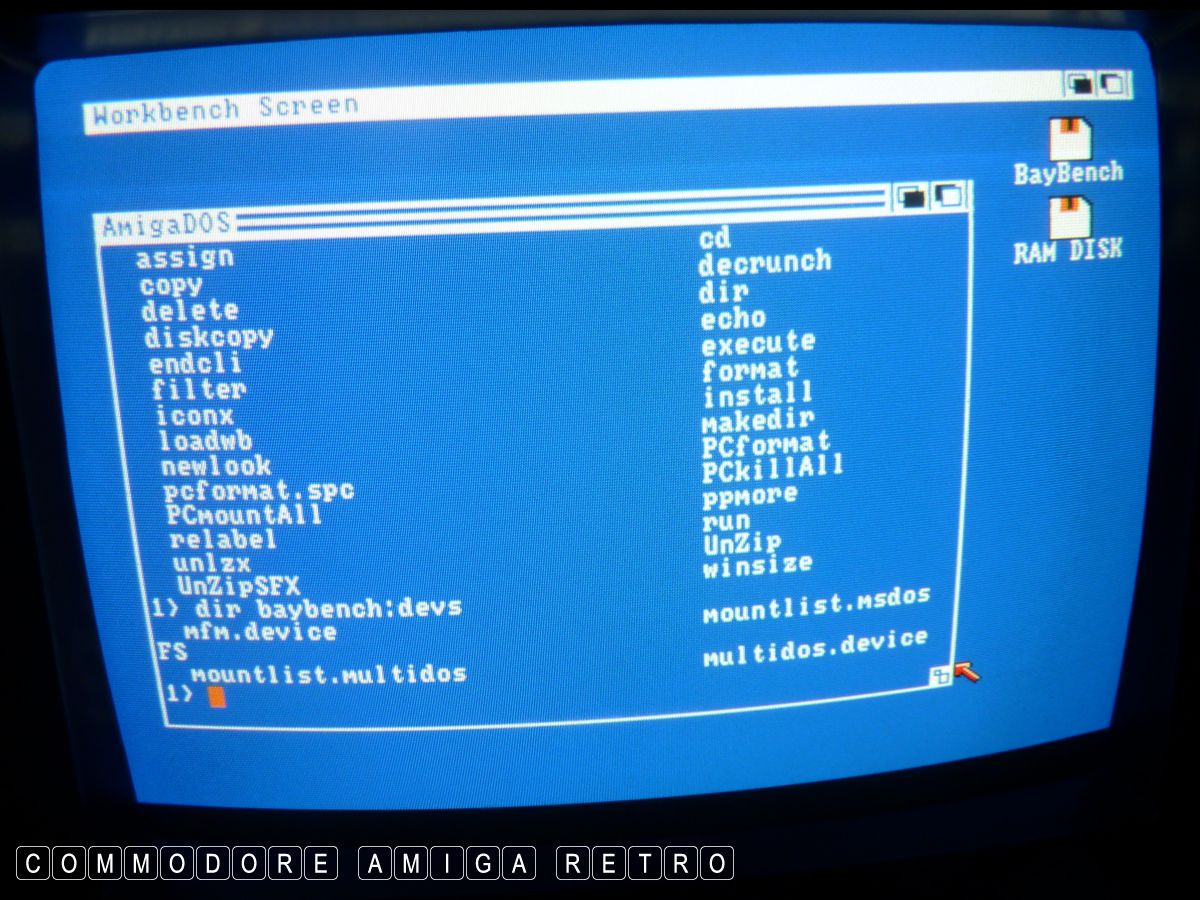
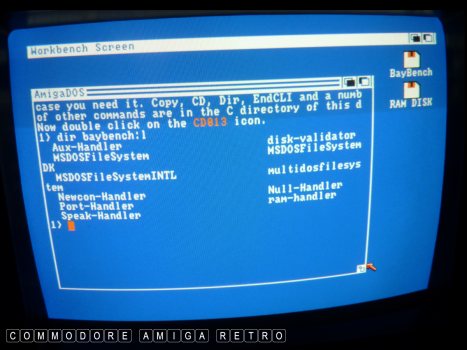
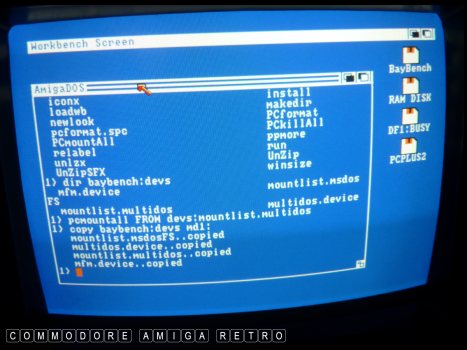
Finally I acopied the mount-list from Devs.
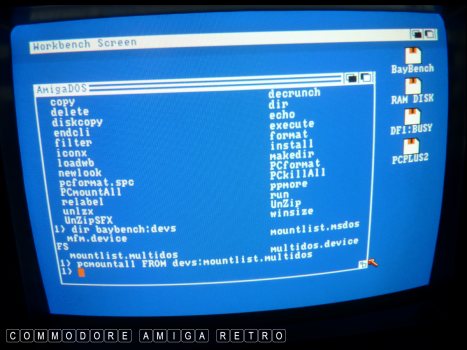
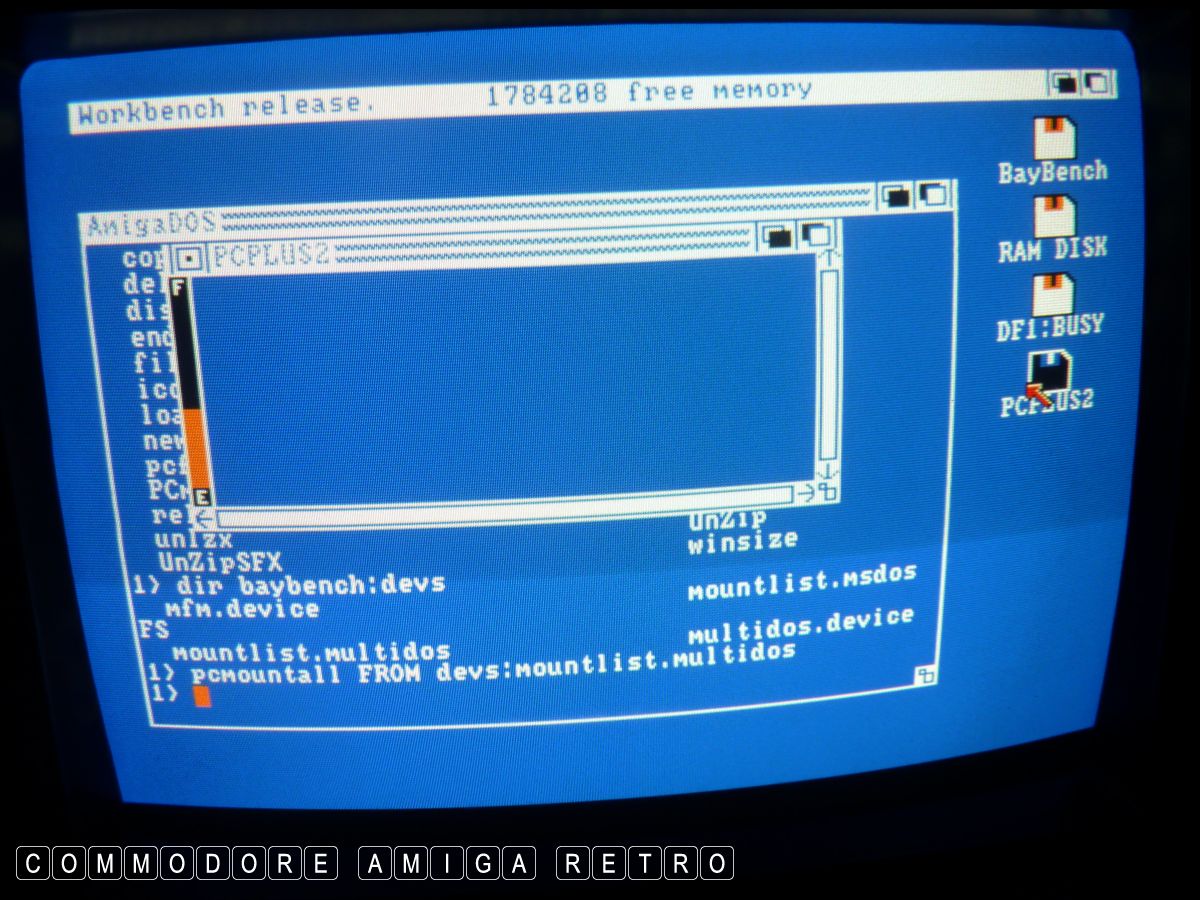
I then entered the command to mount the
PC drives into the 1.3 system.

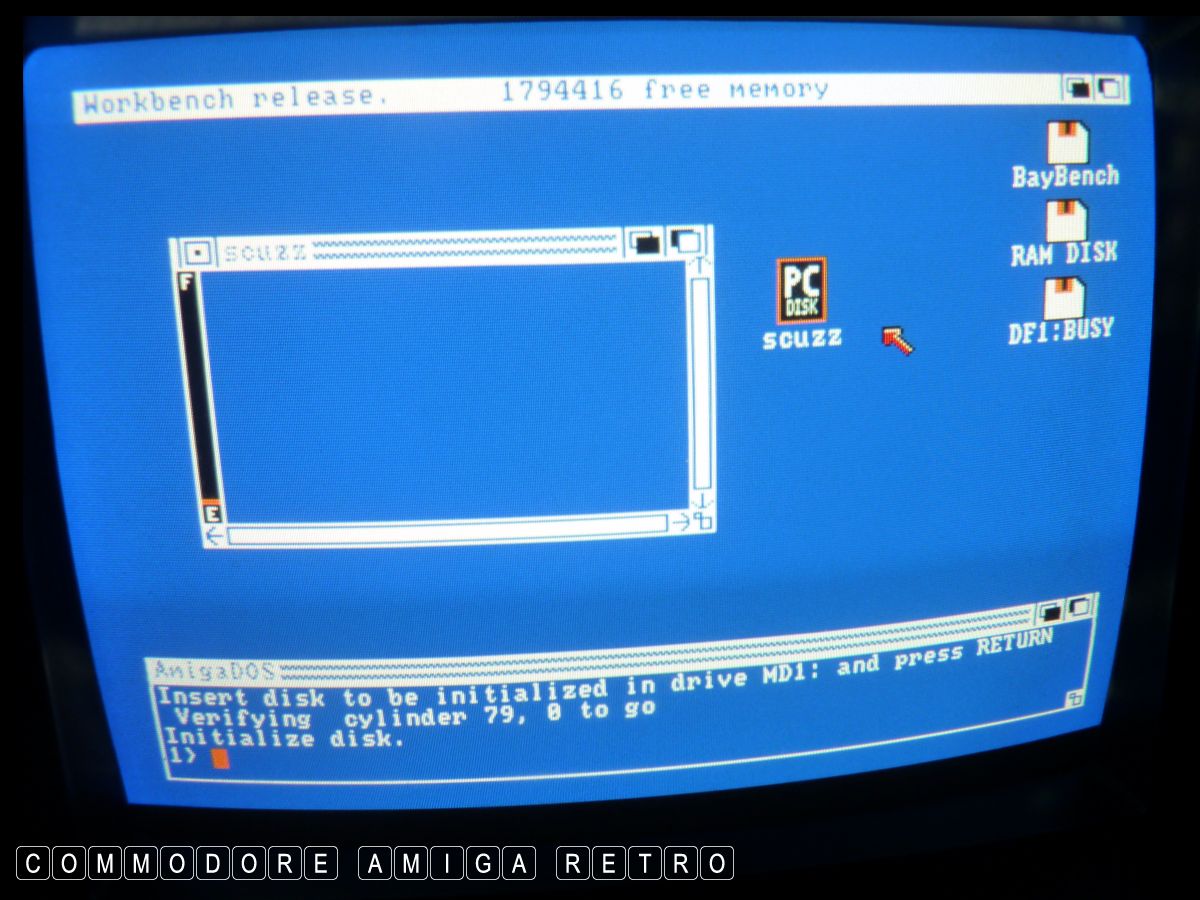
Next I simply inserted my PCPlus2 disk
from my 2.04 experiment and like magic
the computer was viewing a PC disk.
I was then able to simply copy files
from and to the disk.
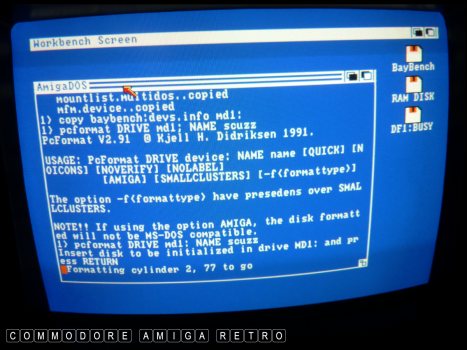
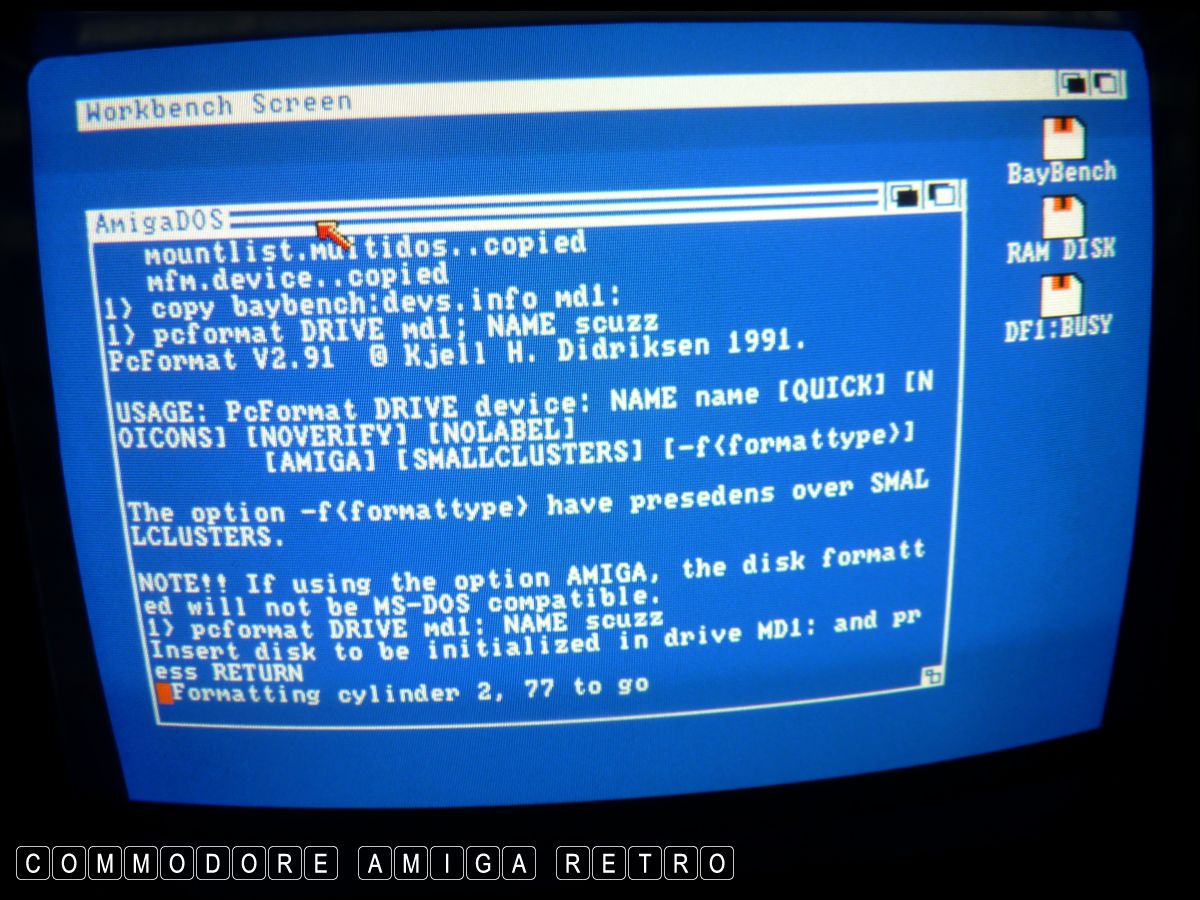
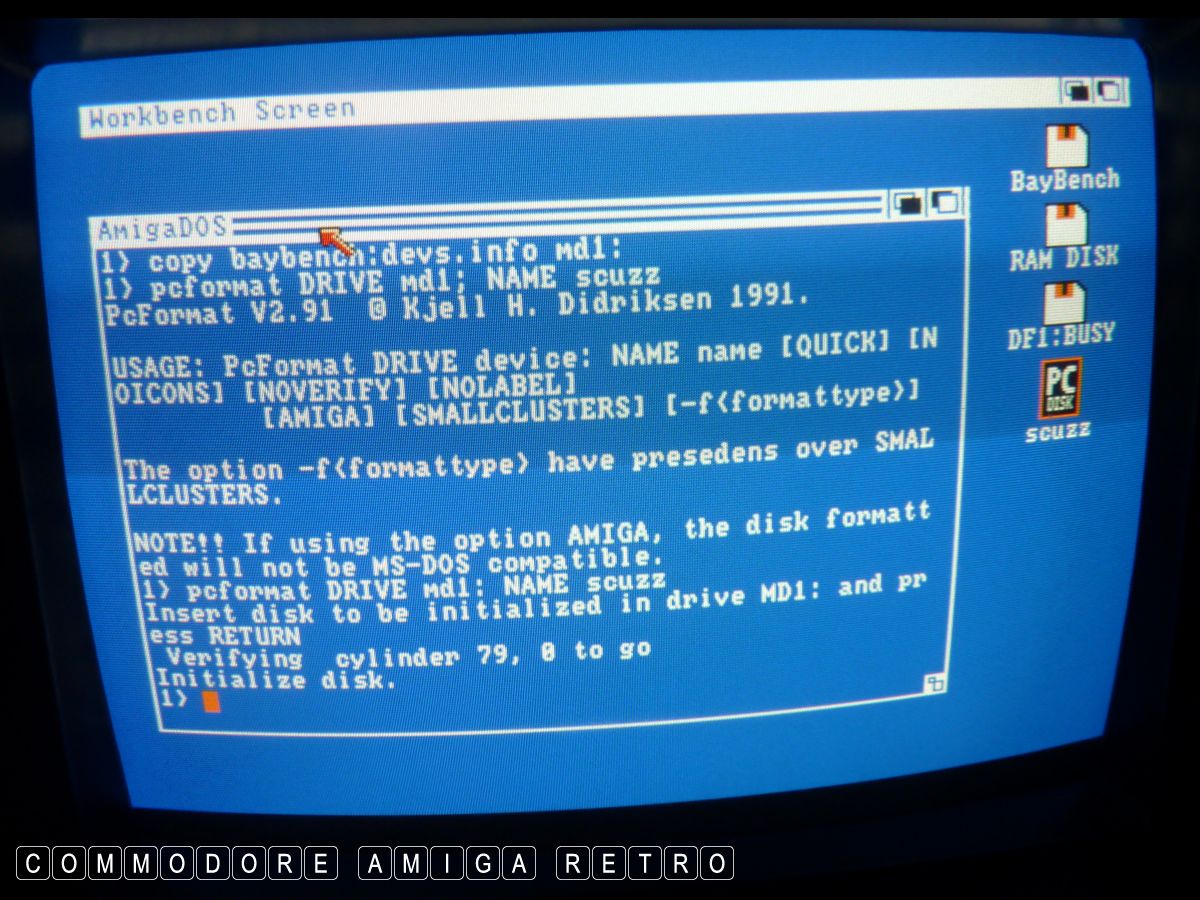
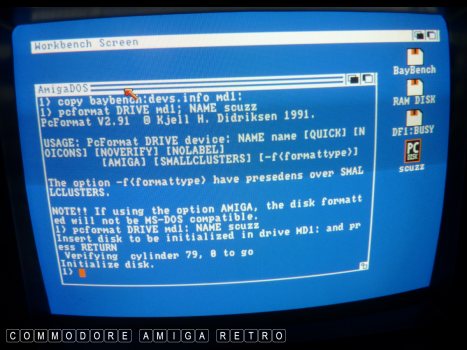
OK time to see if Format works. And it
did with no problems.
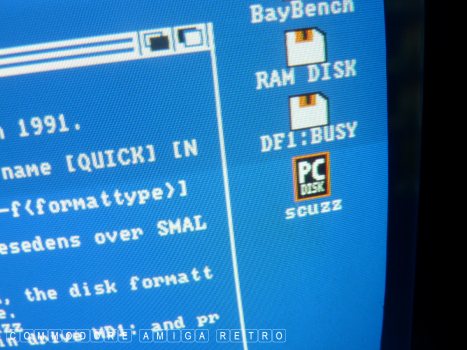
The disk comes with the sexy MultiDOS icon.
And there we have it.
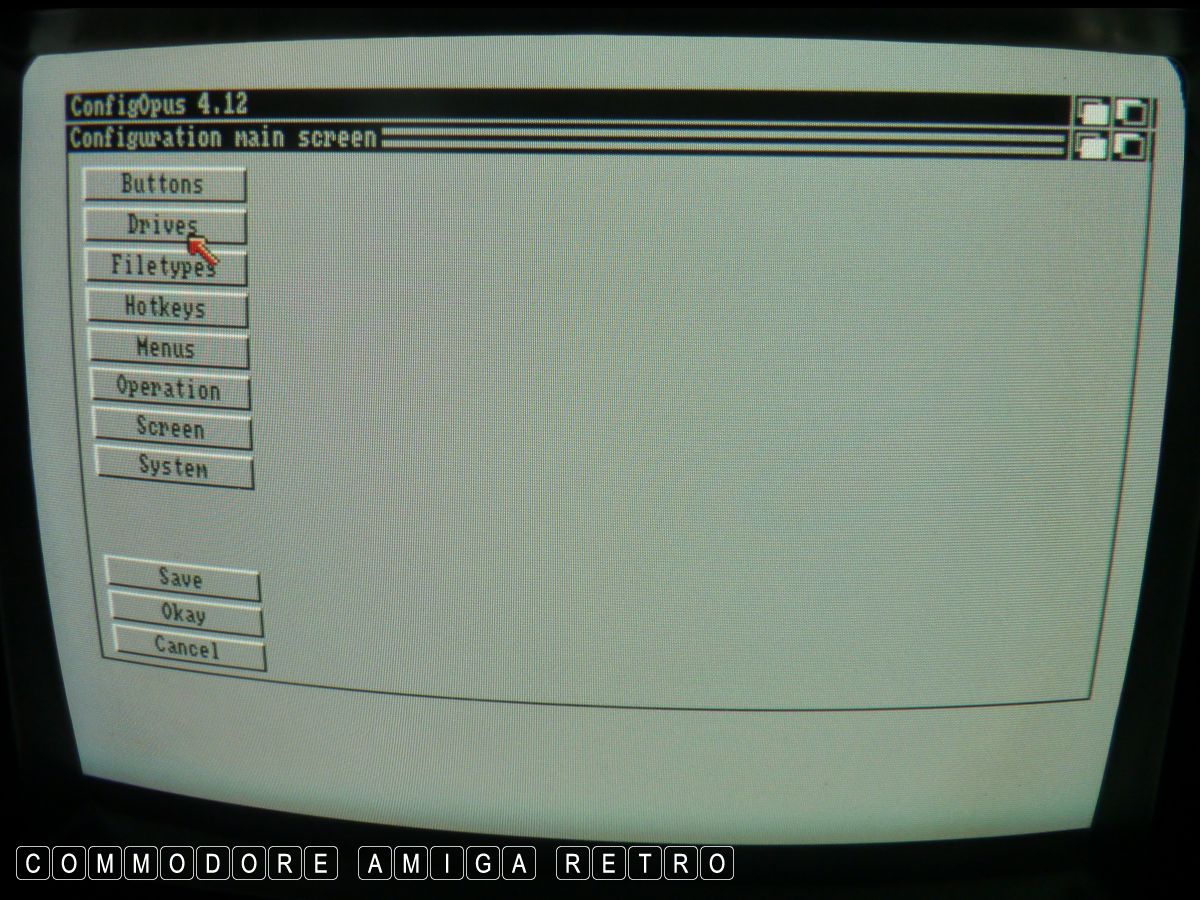
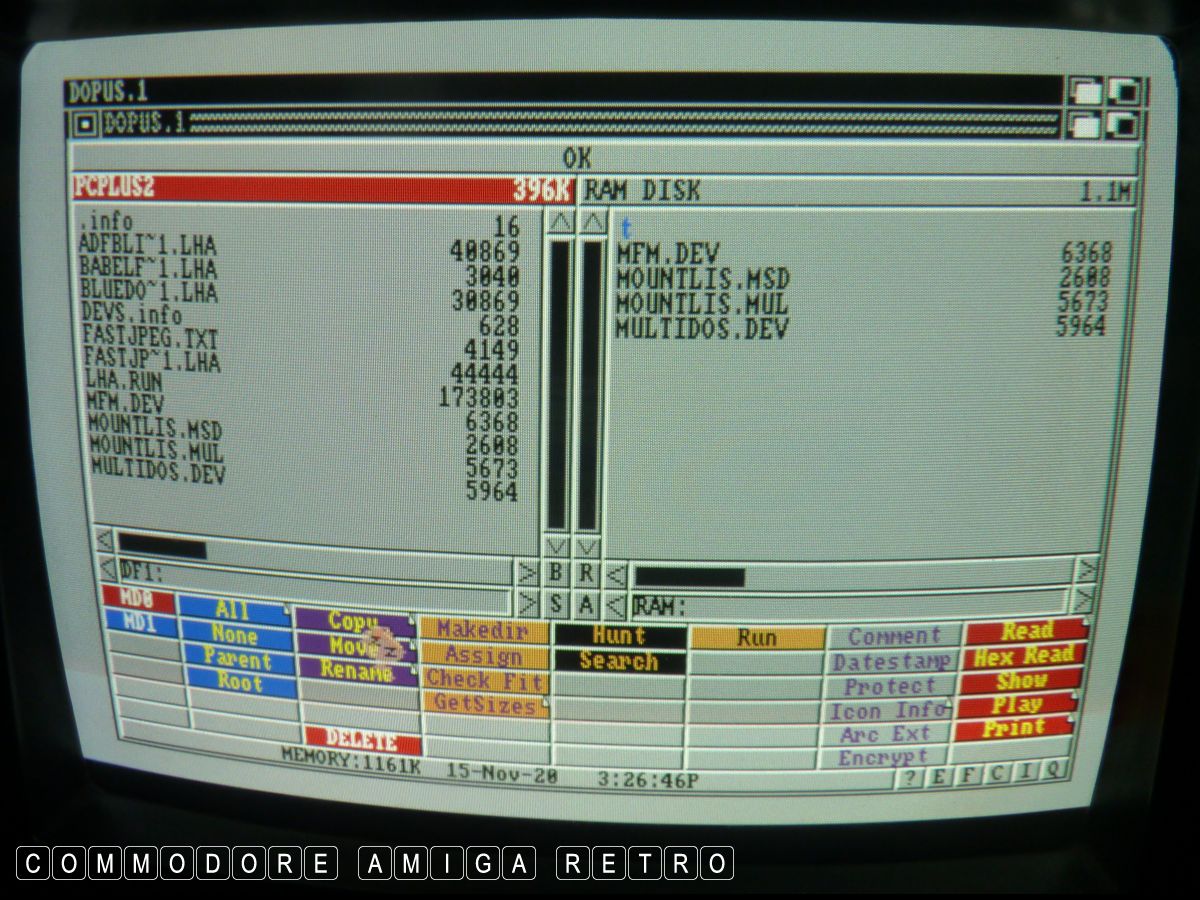
Let me now configure DOpus to see
the MD0: and MD1: PC drives.
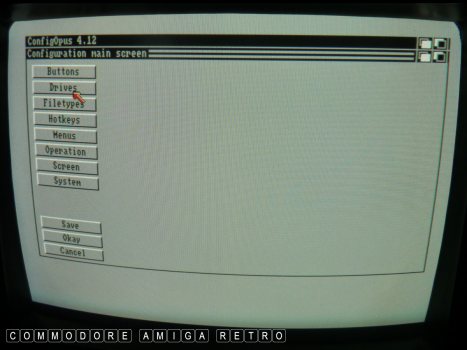
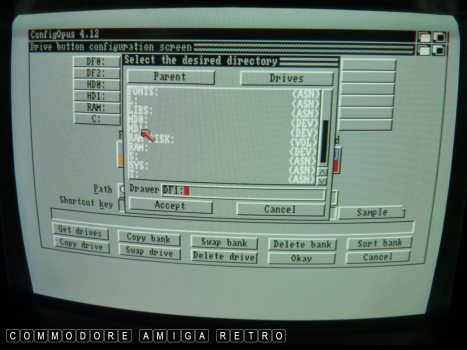
Enter the configuration from the
drop down menu above. Select drives.
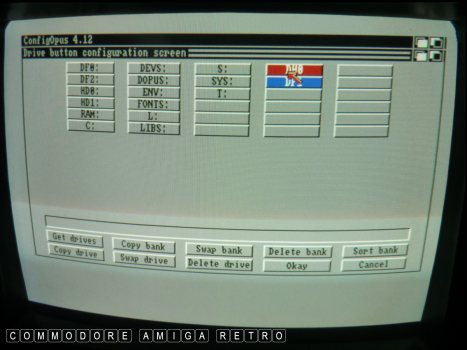
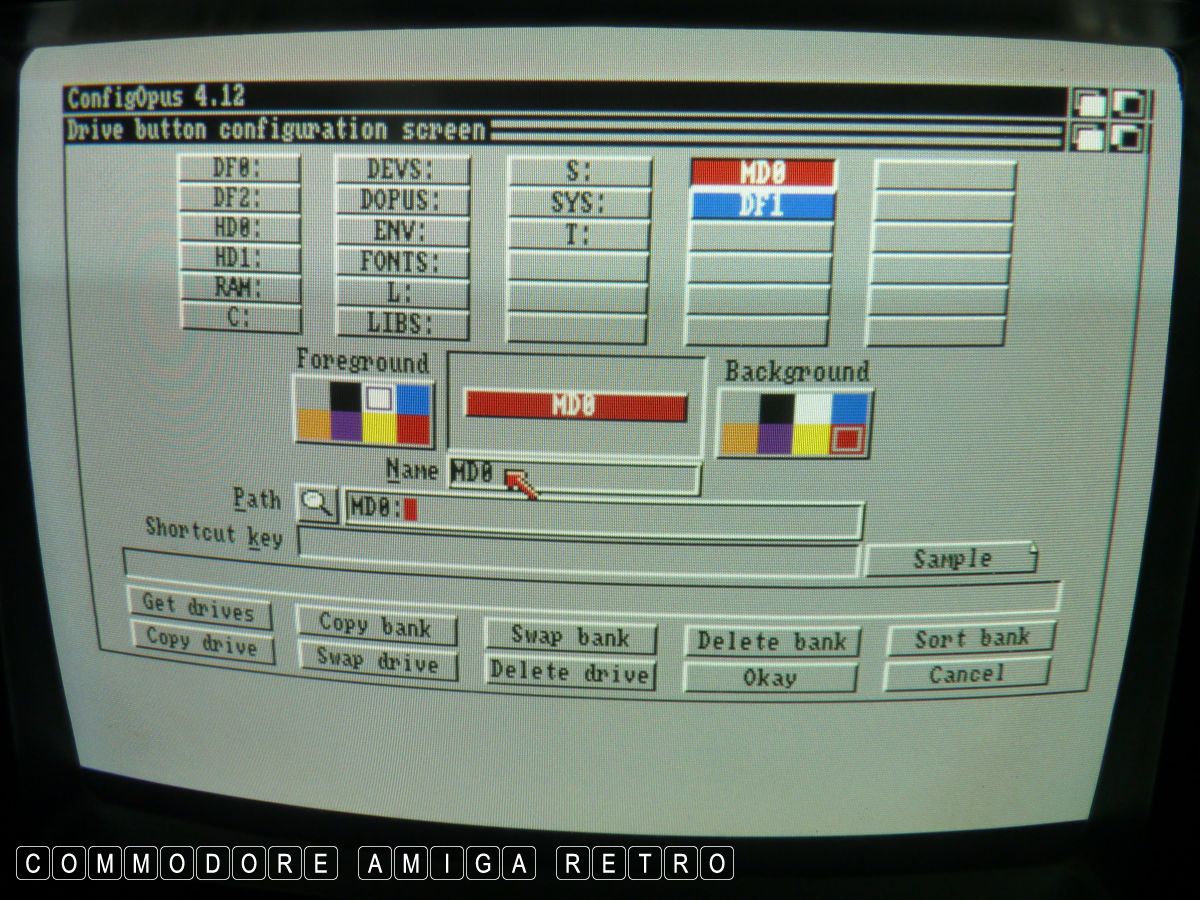
I am going to change DH0: to MD0:

Click the spyglass and select MD0:
from the list then type in MD0: under
name and select colour for button.
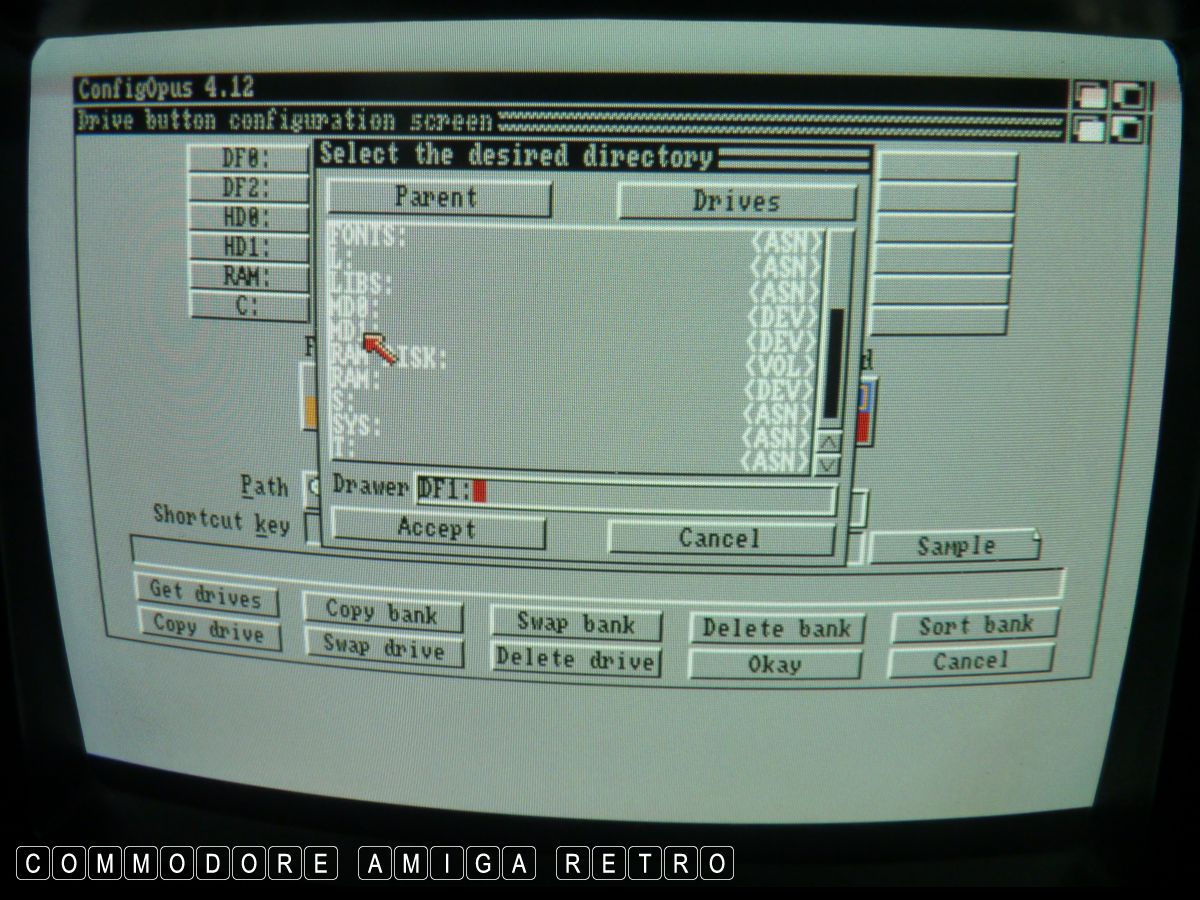
Now select the next button to change
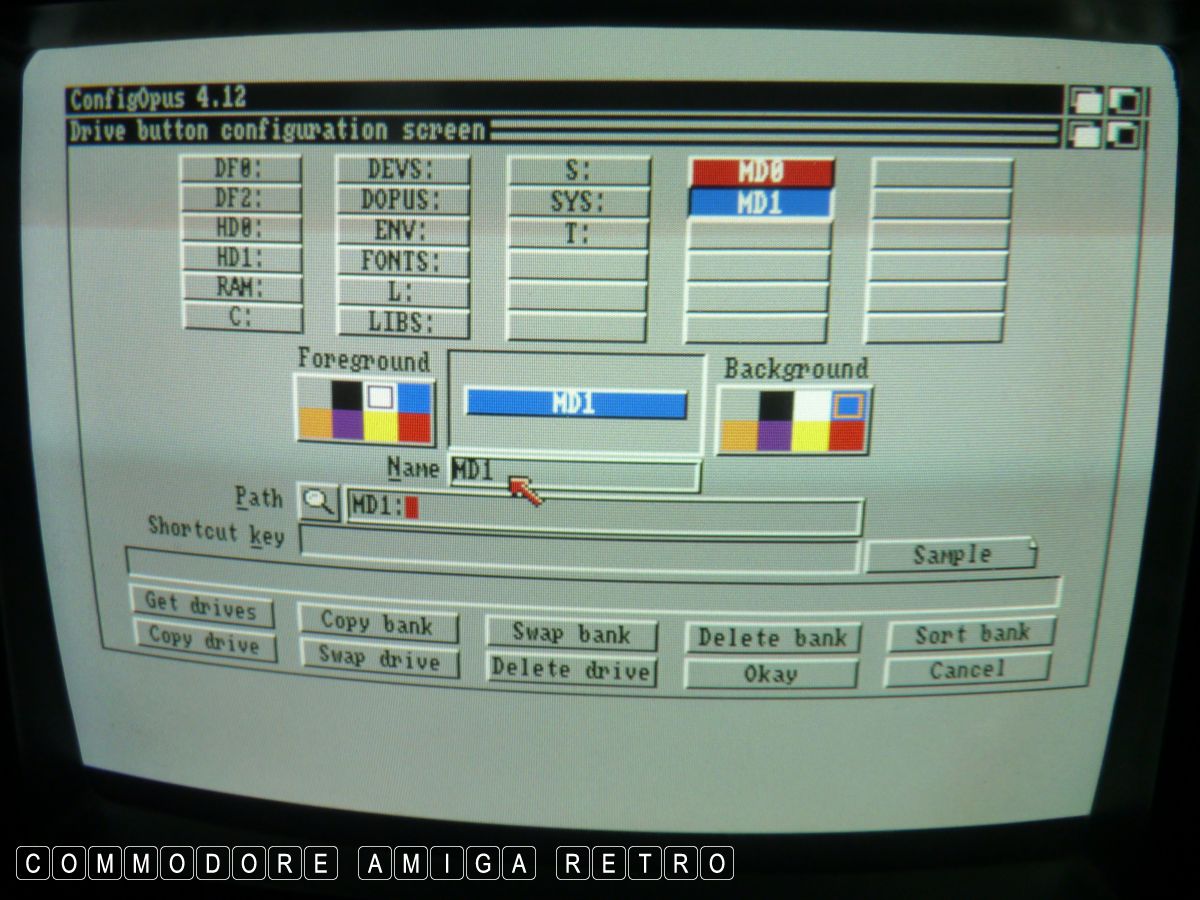
and hit the spyglass again. Select MD1:
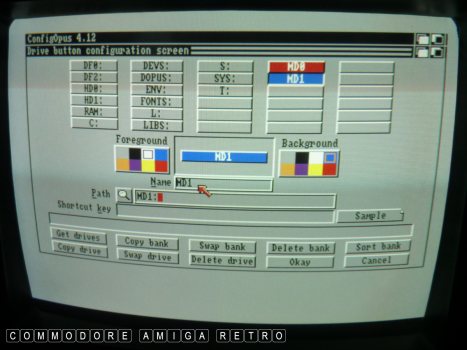
Again rename and pick a suitable colour
Right is button colour and left font.
The computer now selects DF1 as your MD1 drive.
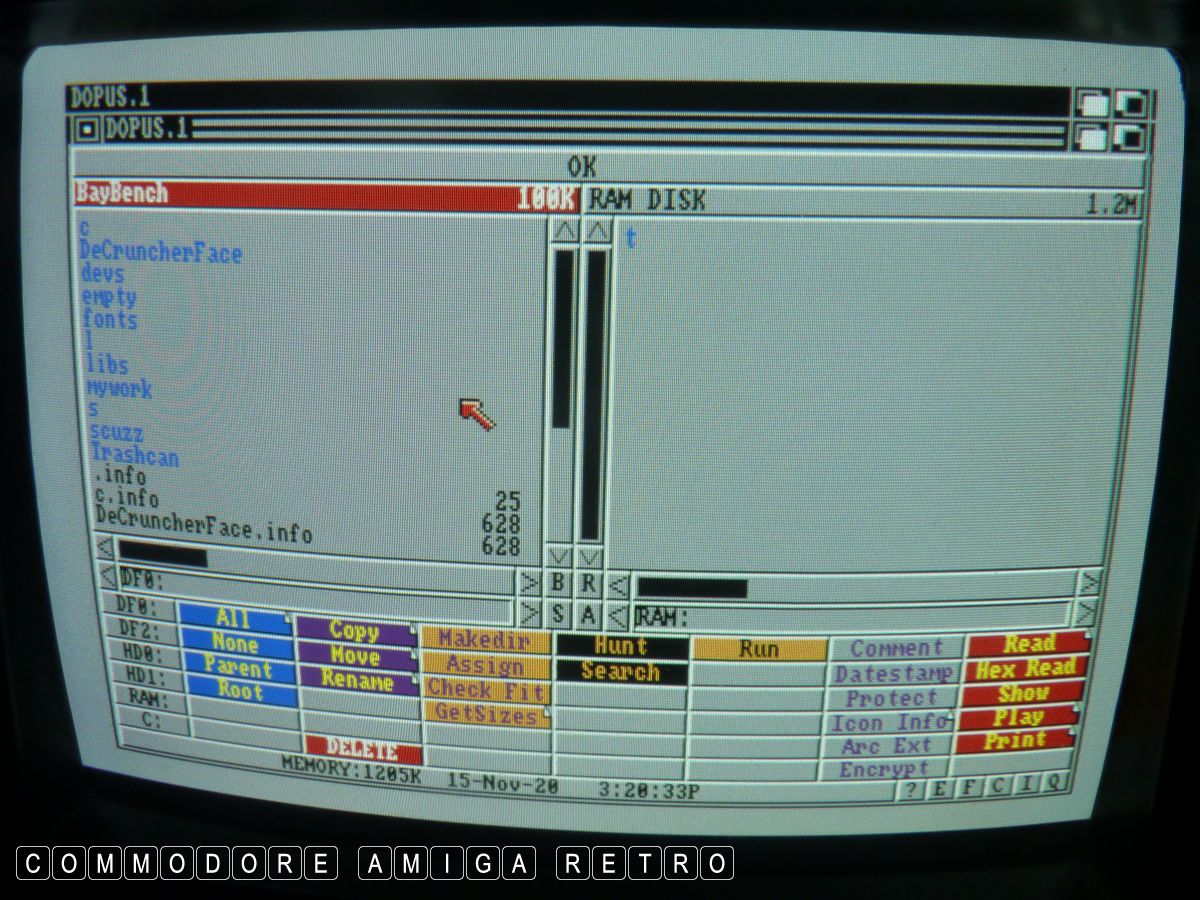
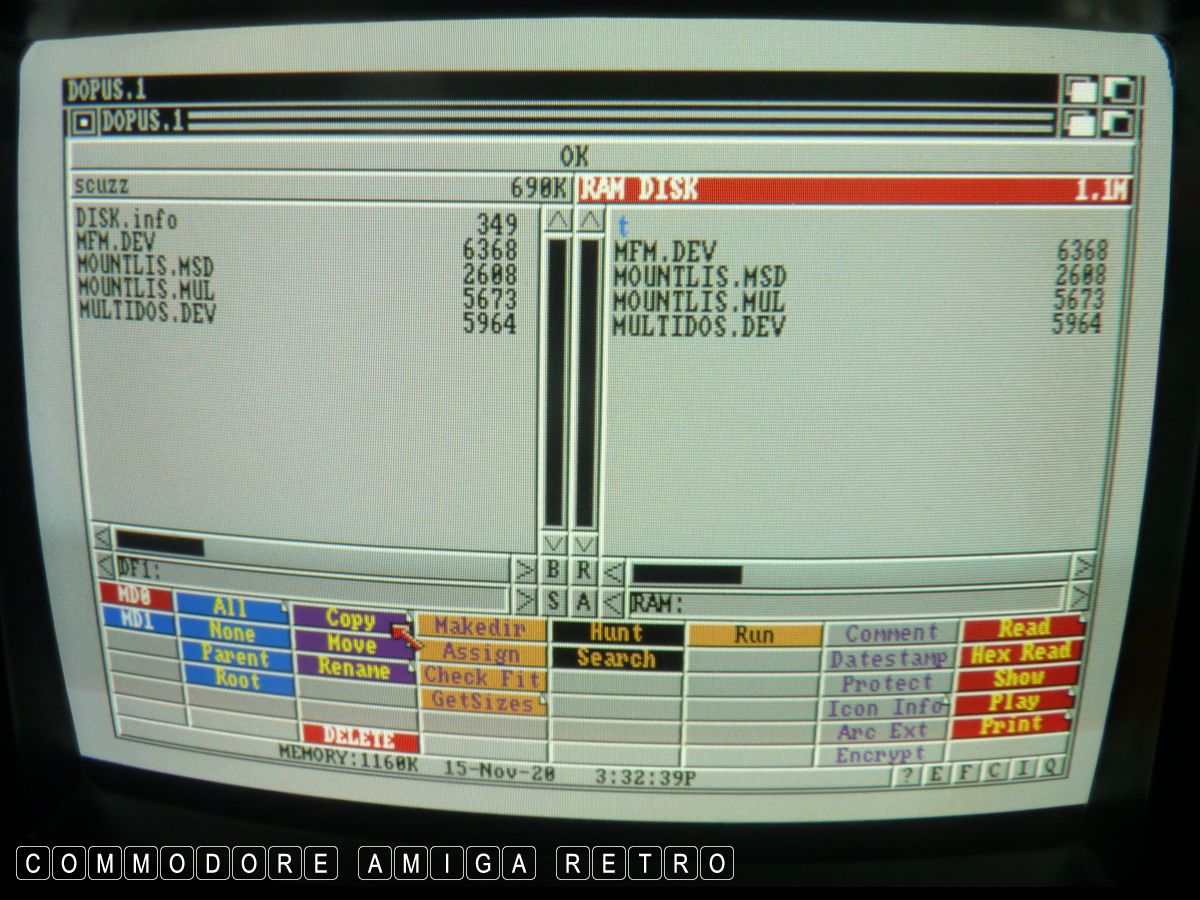
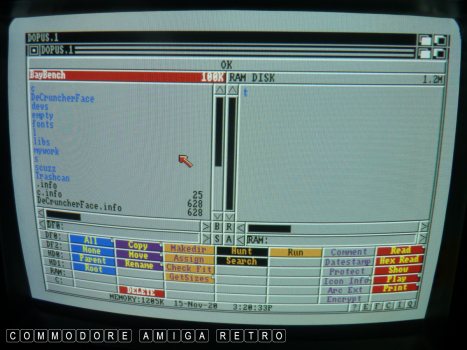
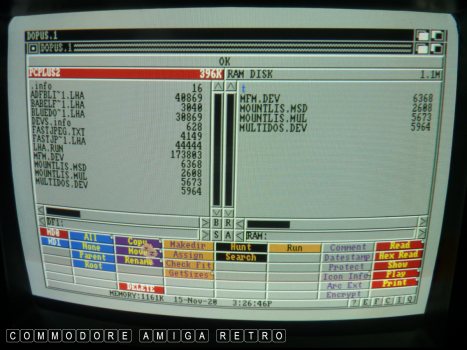
So I copied a few files to RAM off the PC disk.
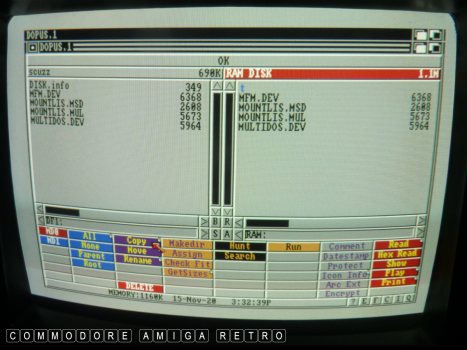
I then inserted the 'scuzz' disk and DOpus
auto loaded that drive and I copied the
files from RAM to the 'scuzz' disk.
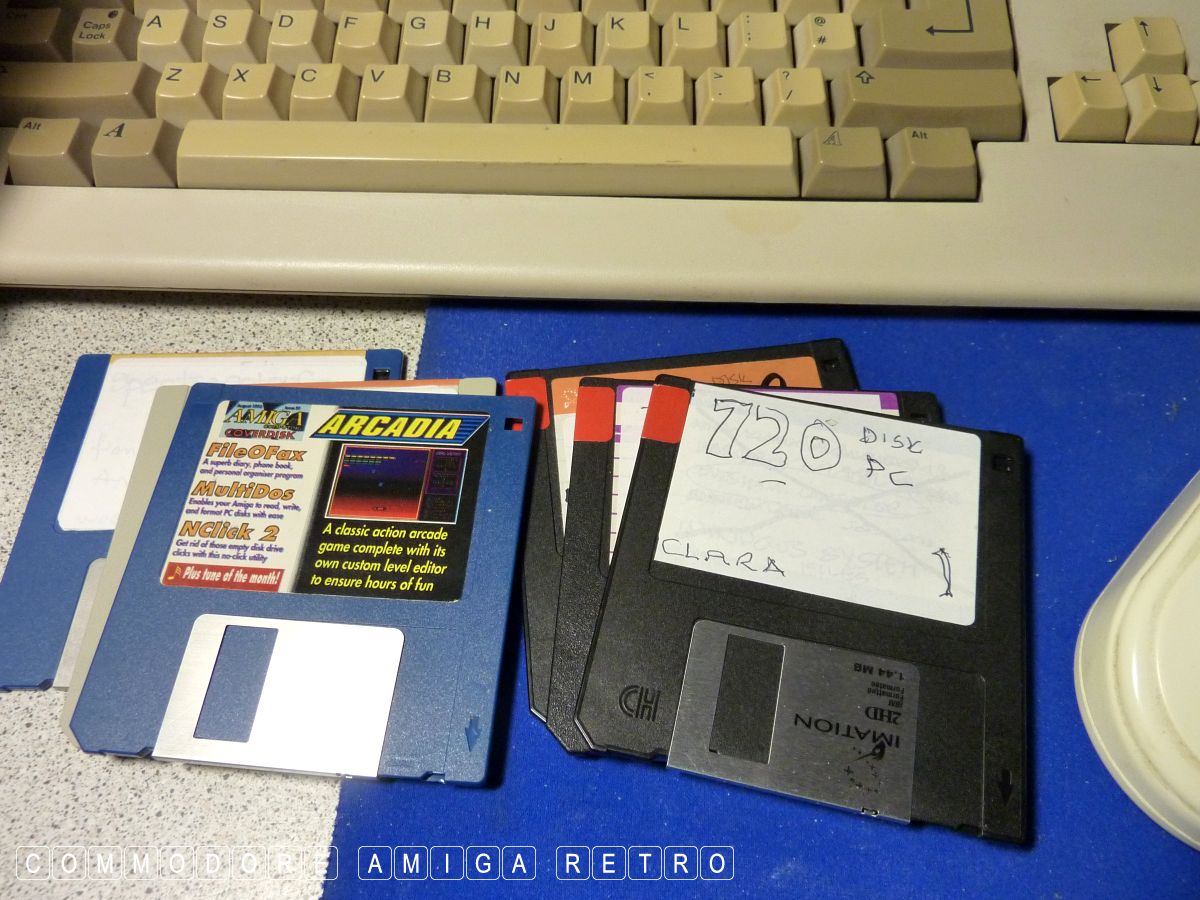
Note that the PC disk I am using is a HD
PC disk with the top corner hole taped over.
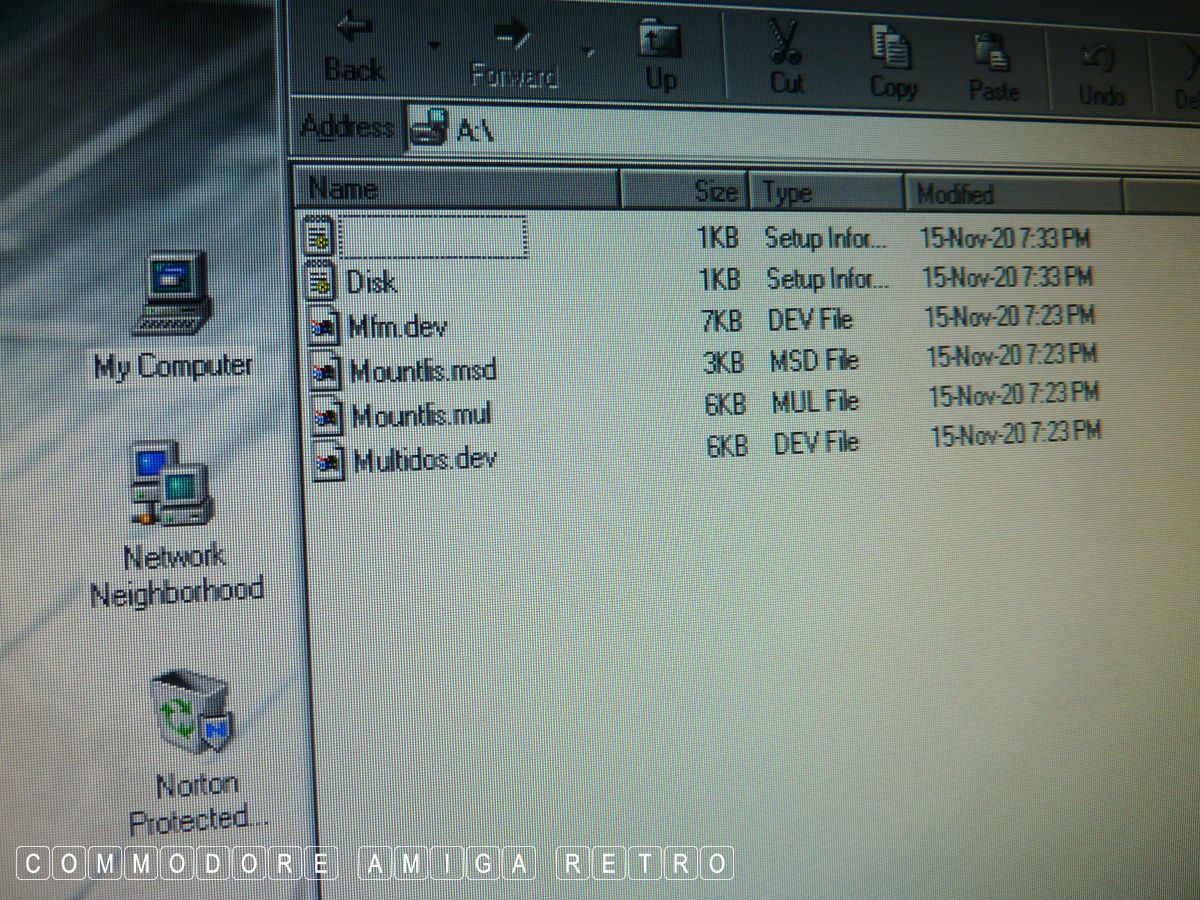
I then took the disk to my XP Windows PC
and like magic it read the disk.
Job done.