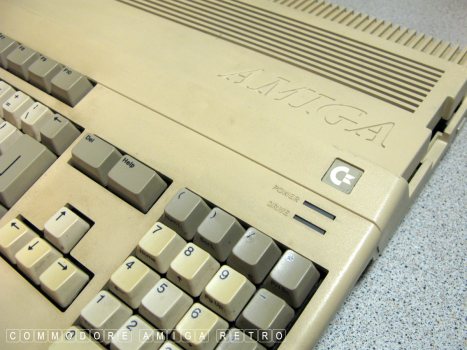
Amiga 500 - Buyers Beware.
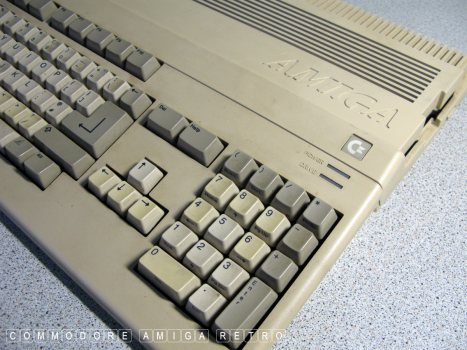
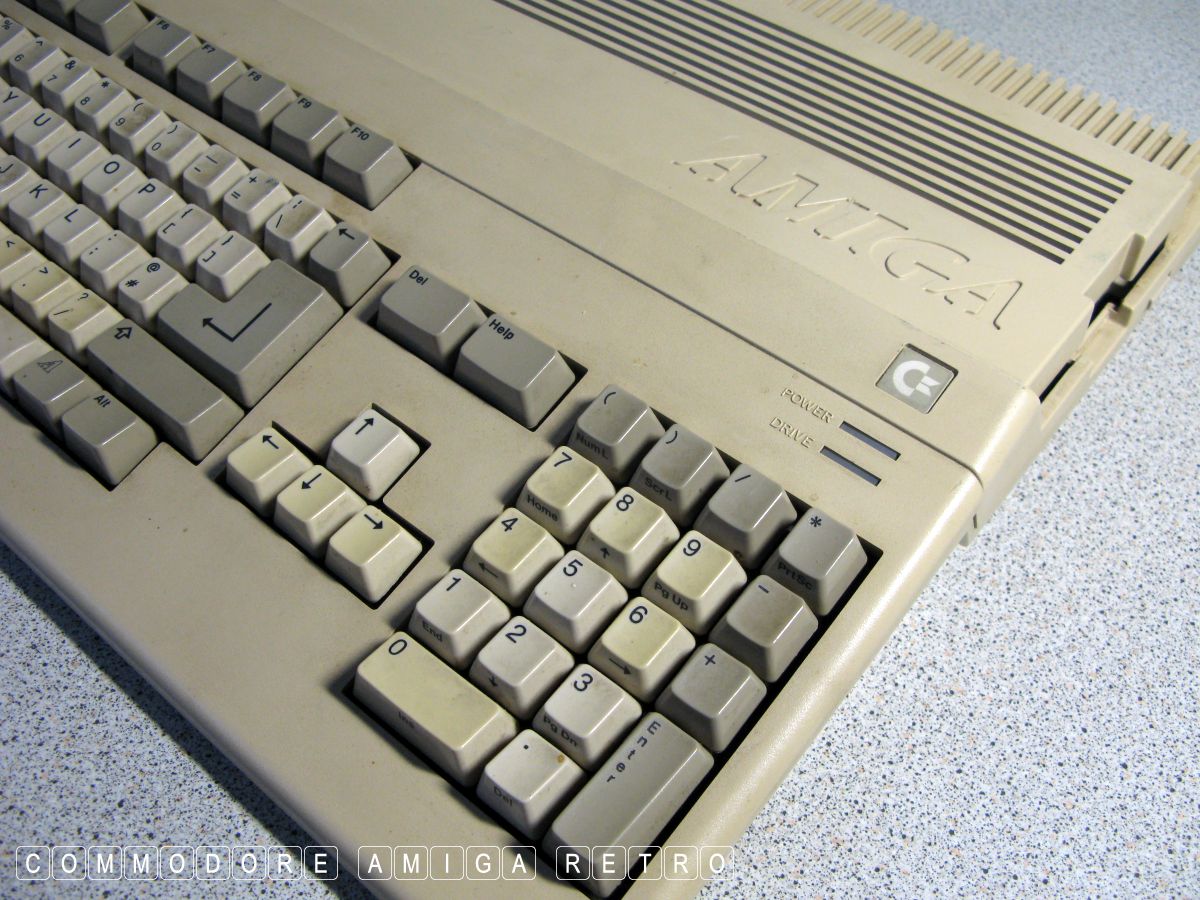
The real deal ... a genuine Amiga 500.
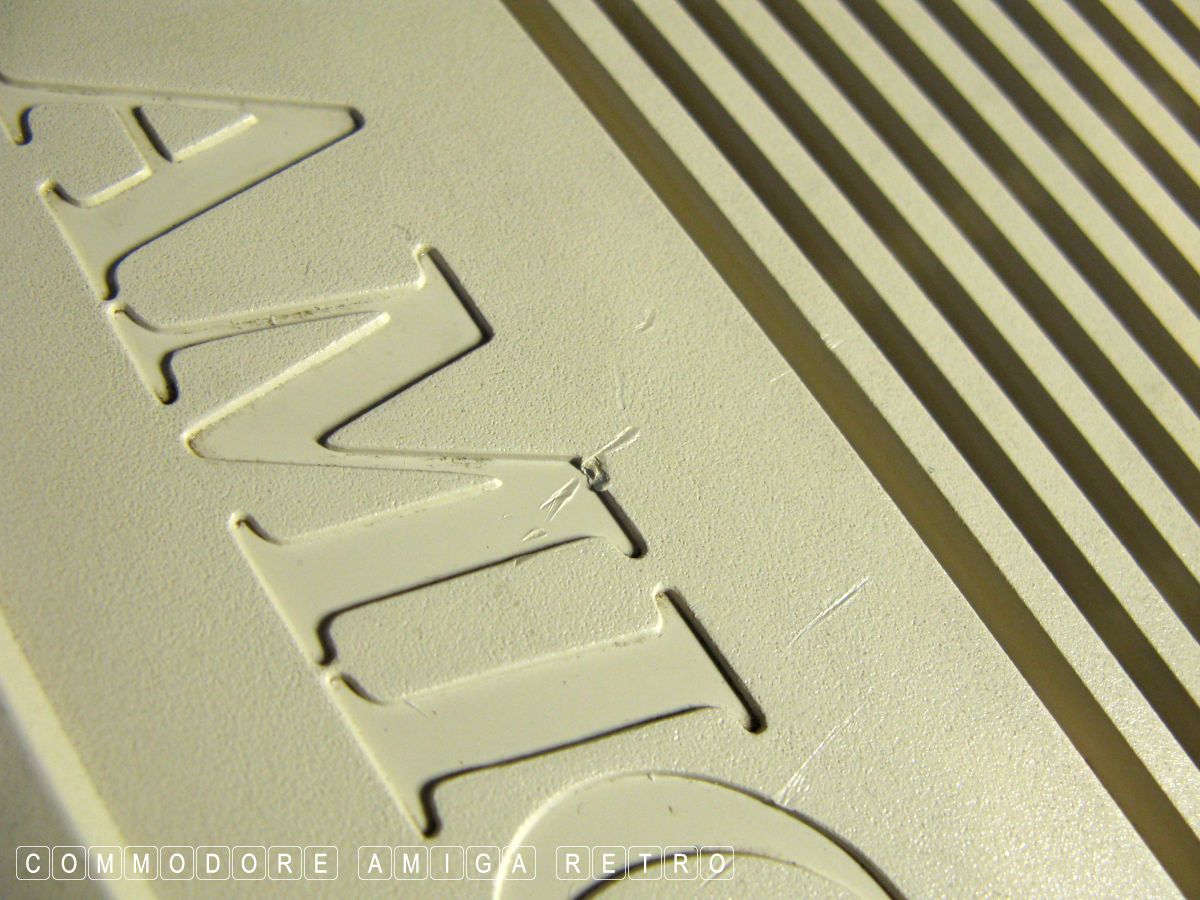
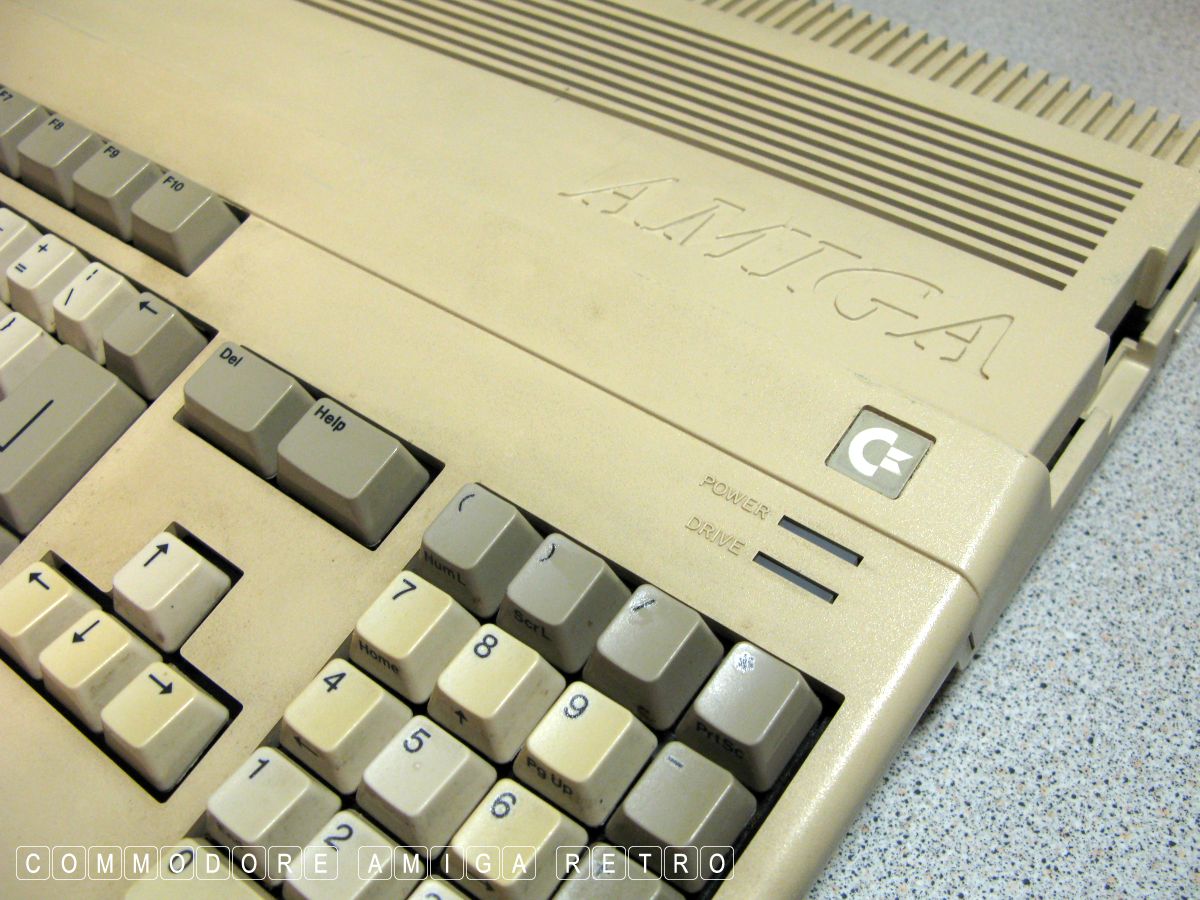
Not a bad shade of grey. Not that it bothers me.
In need of a deep clean and that's about all.

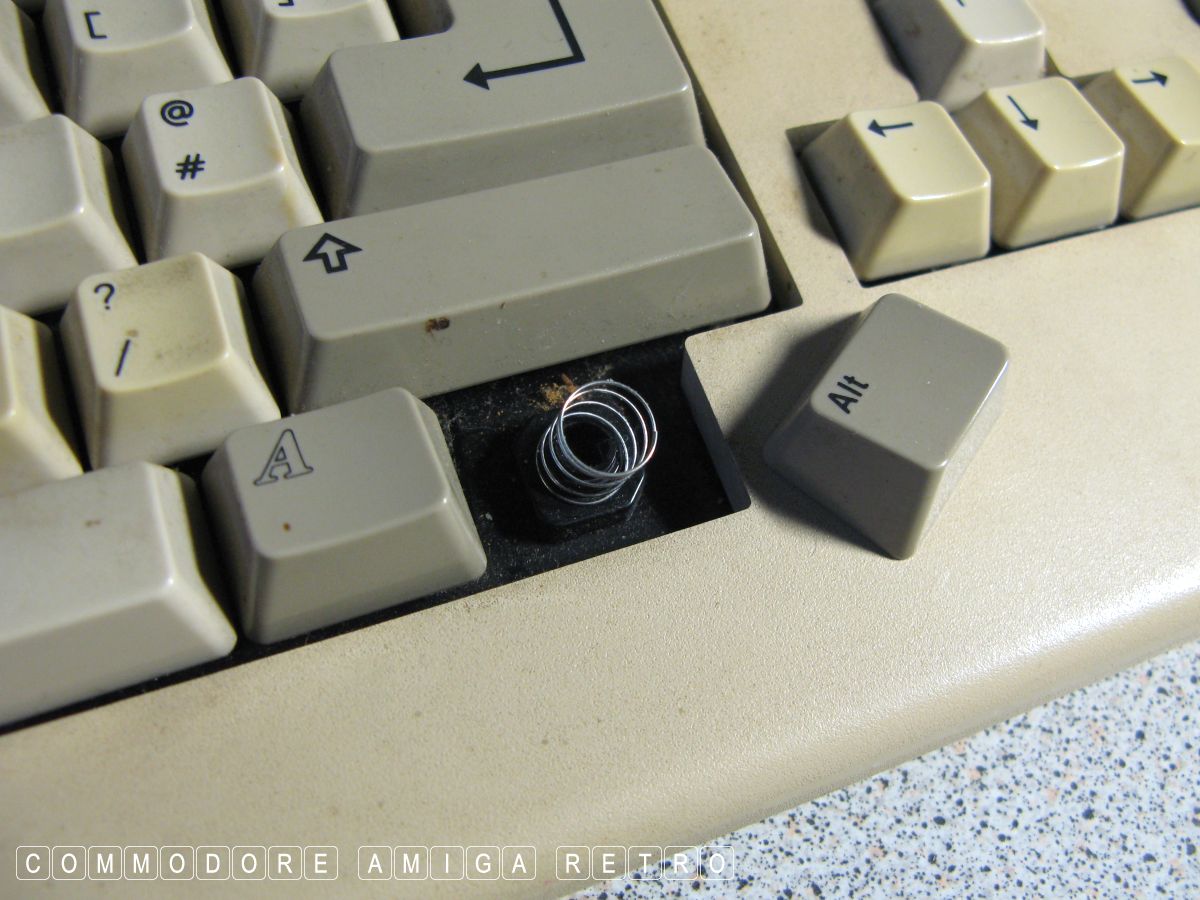
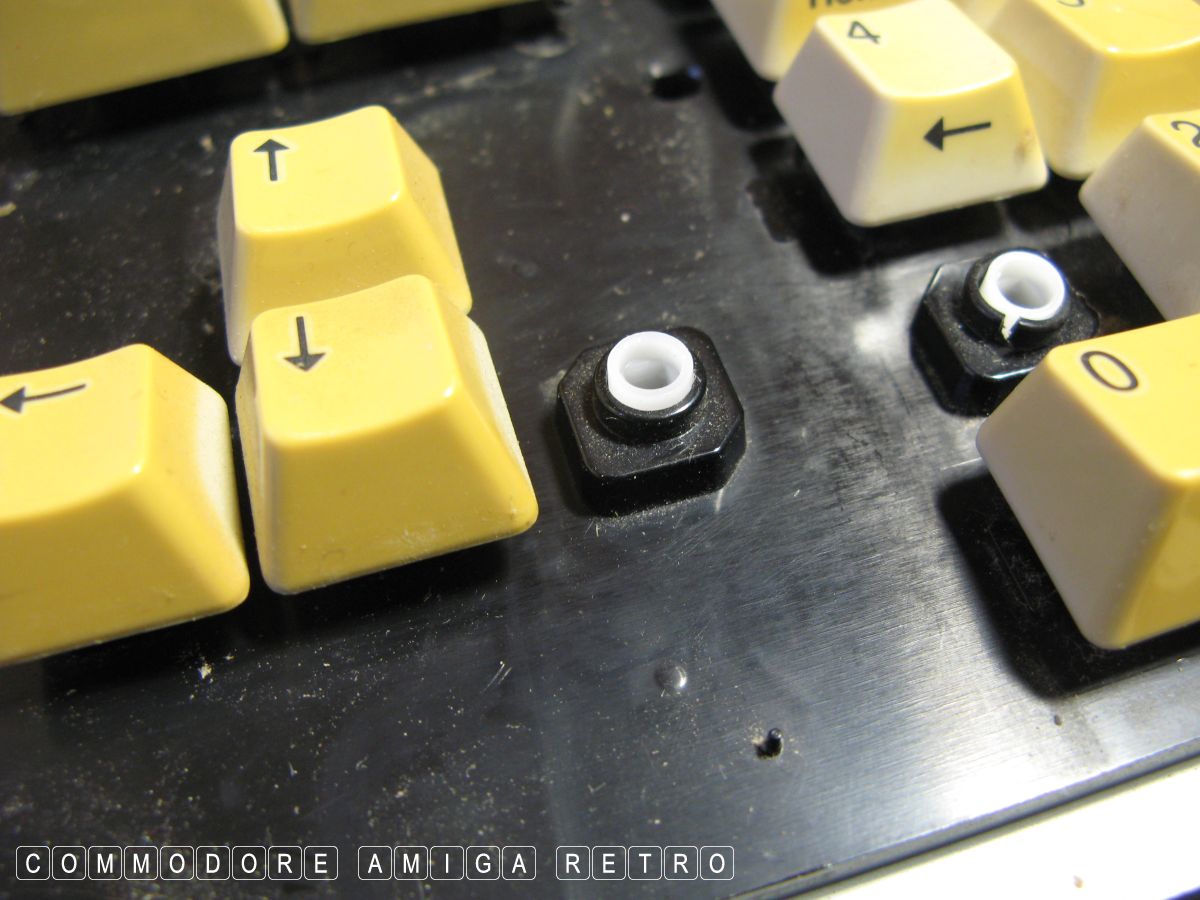
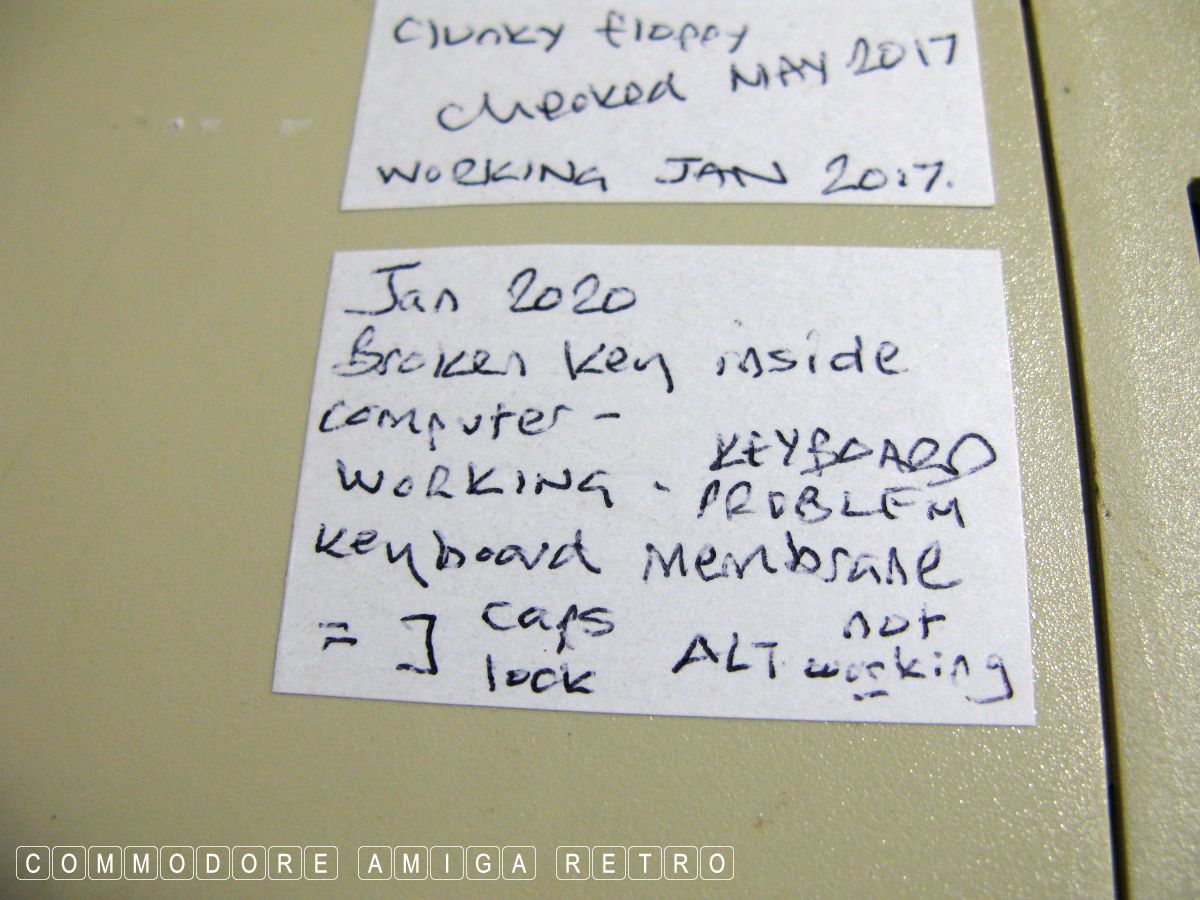
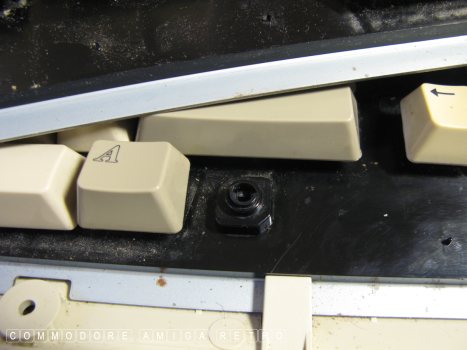
The ALT key just pops off sadly.
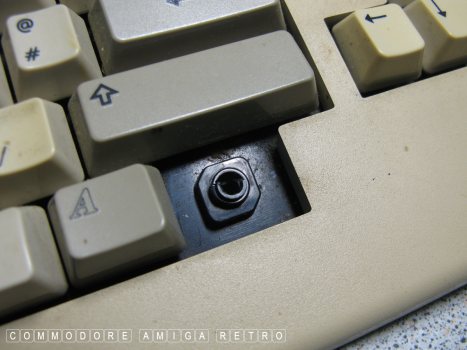
The reason is that half the pillar
is broken off. The top half.
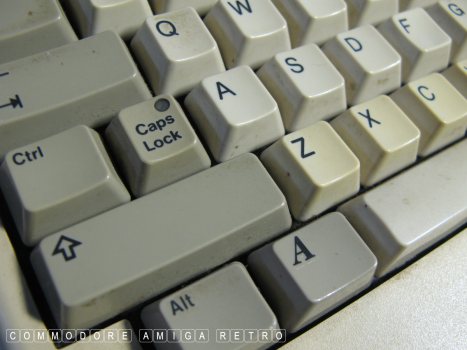
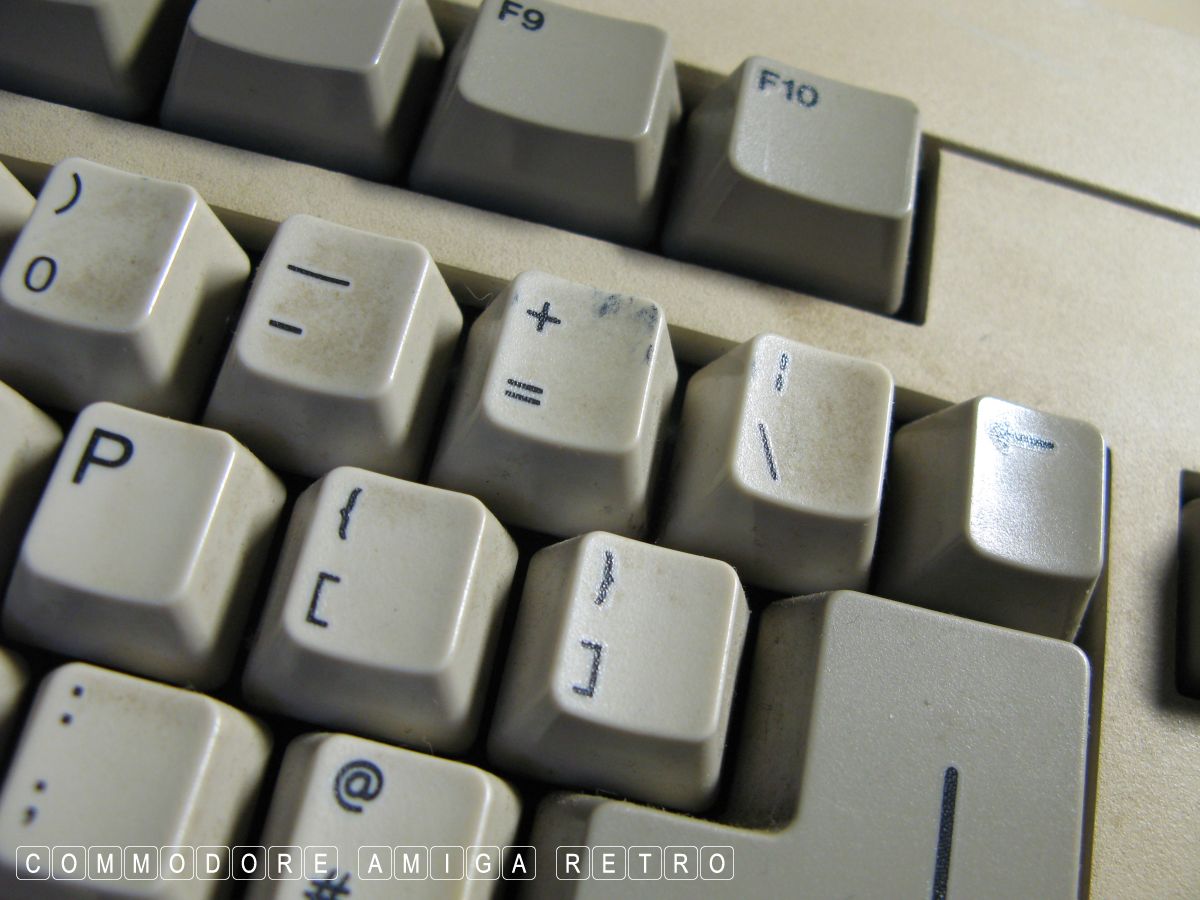
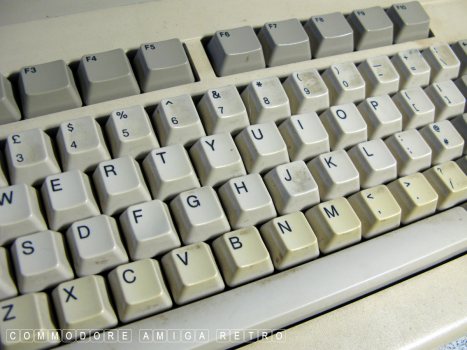
Also the CAPS light doesn't work. And
it's not the LED cus it flashes when
the A500 boots up.

The other keys not working are the
right square bracket and the plus key.
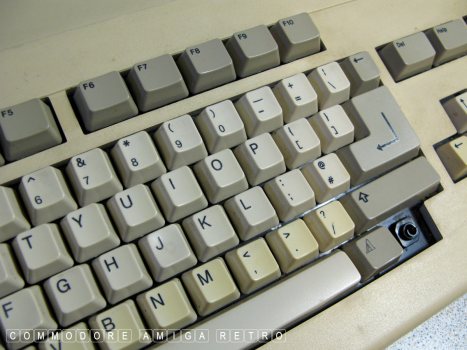
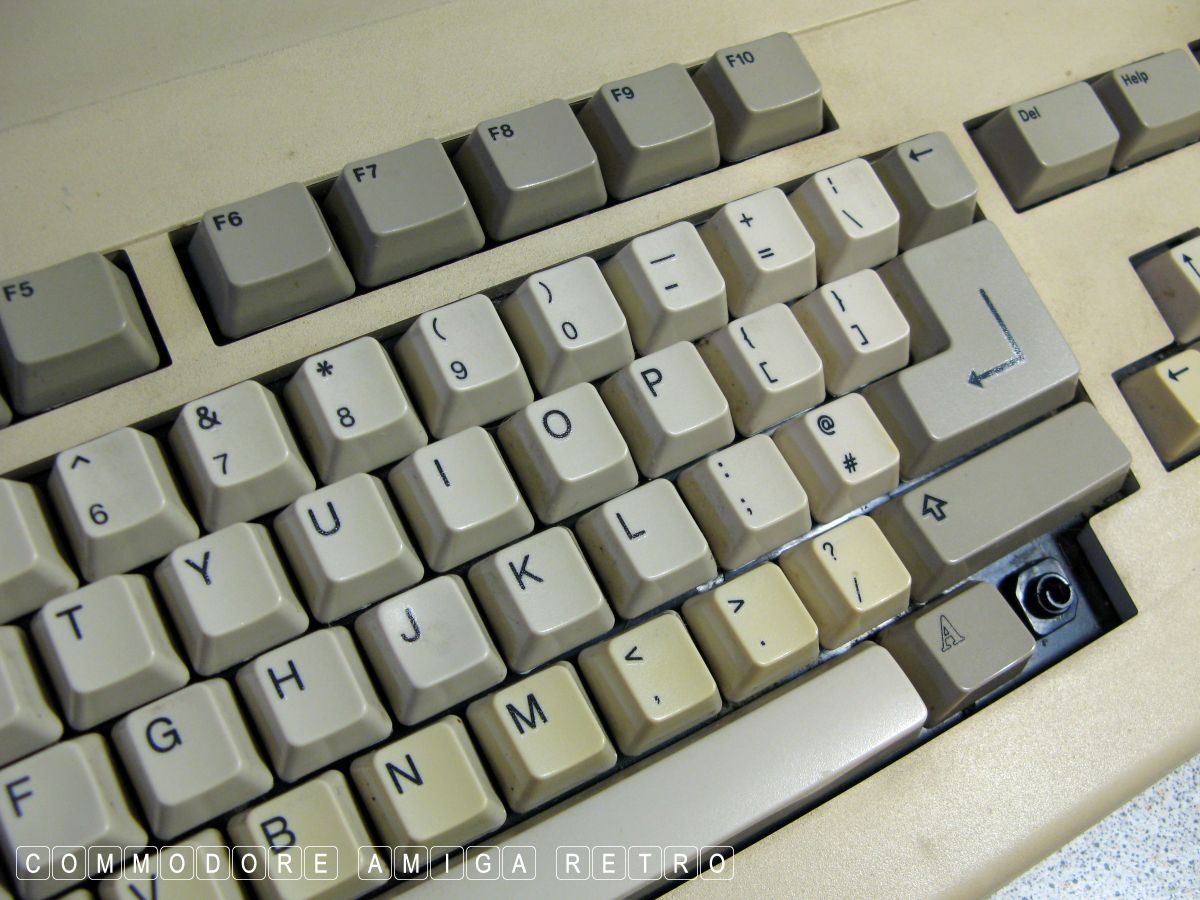
Knowing whether all the keys work is
quite important when buying. Plus are they
all there and in the correct order. Also
check for discolouration of certain keys
cus they may have been added later. Although
the Amiga 500 has mouse and joystick, many
games were very keyboard intensive.
A new membrane will cost between �15 and �25
but broken key pillars/supports would need to
be found and that aint easy.

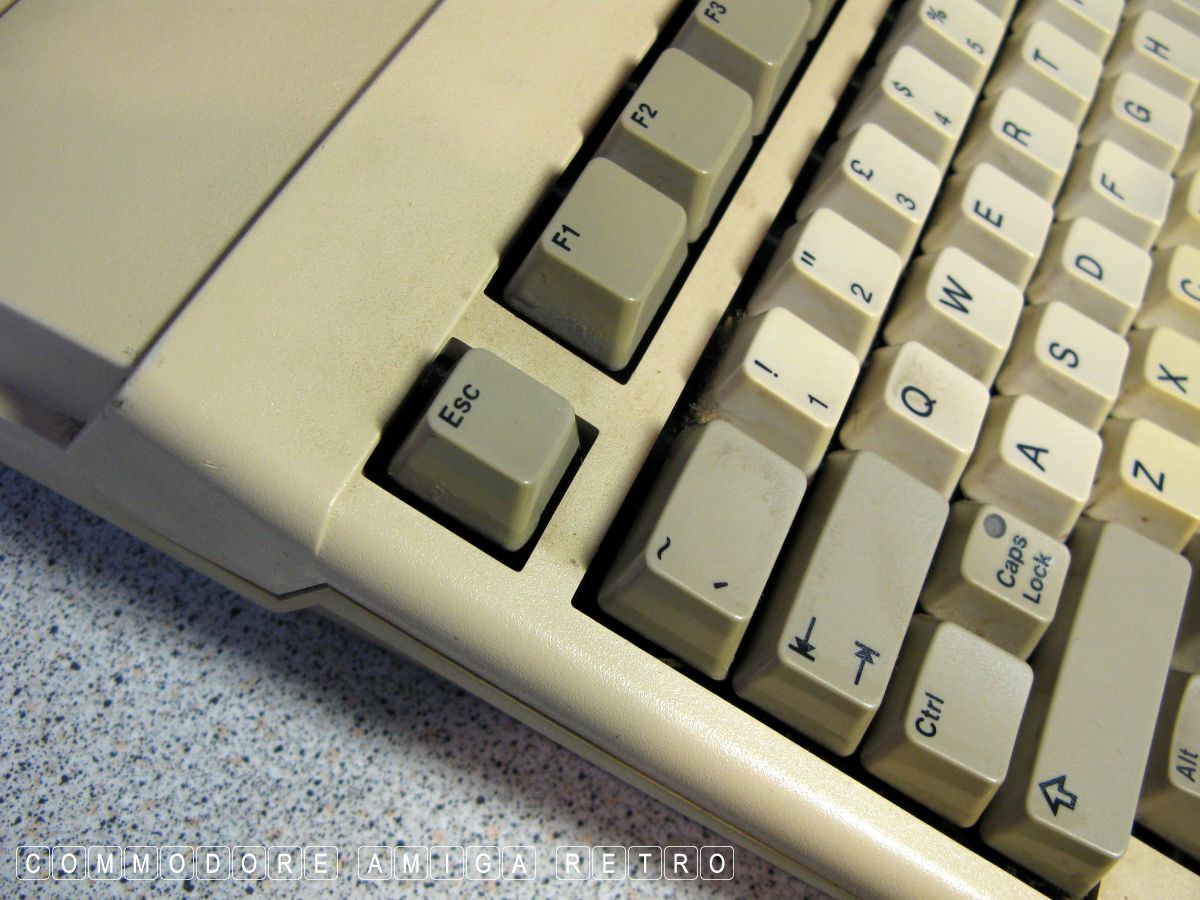
Check case to left of ESC key for signs
of cracking from lifting the case open
incorrectly from the bottom edge.

The floppy on this drive was clunking and
scraping across disks until I cleaned
and serviced the head and disk sensors.
The drive should simply click gently when
without disk in place. It shouldn't seek
a disk when not active. Also watch out for
DF0:??? errors on screen after boot.
Check for disk and power LED lights on keyboard.
Older machines have red power lights not green.
Also the older machines have red CAPS lights.

This case has suffered from a metal
case to an external floppy drive being
scraped or dropped on the case. The
flat area to the head of the 500 is
quite inviting for disk boxes, drives
and coffee cups. So check for damage.

Amiga 500s were used extensively as a
games machine. Consequently the joystick
and mouse ports got hammered. Check for
all pins in the port interfaces.
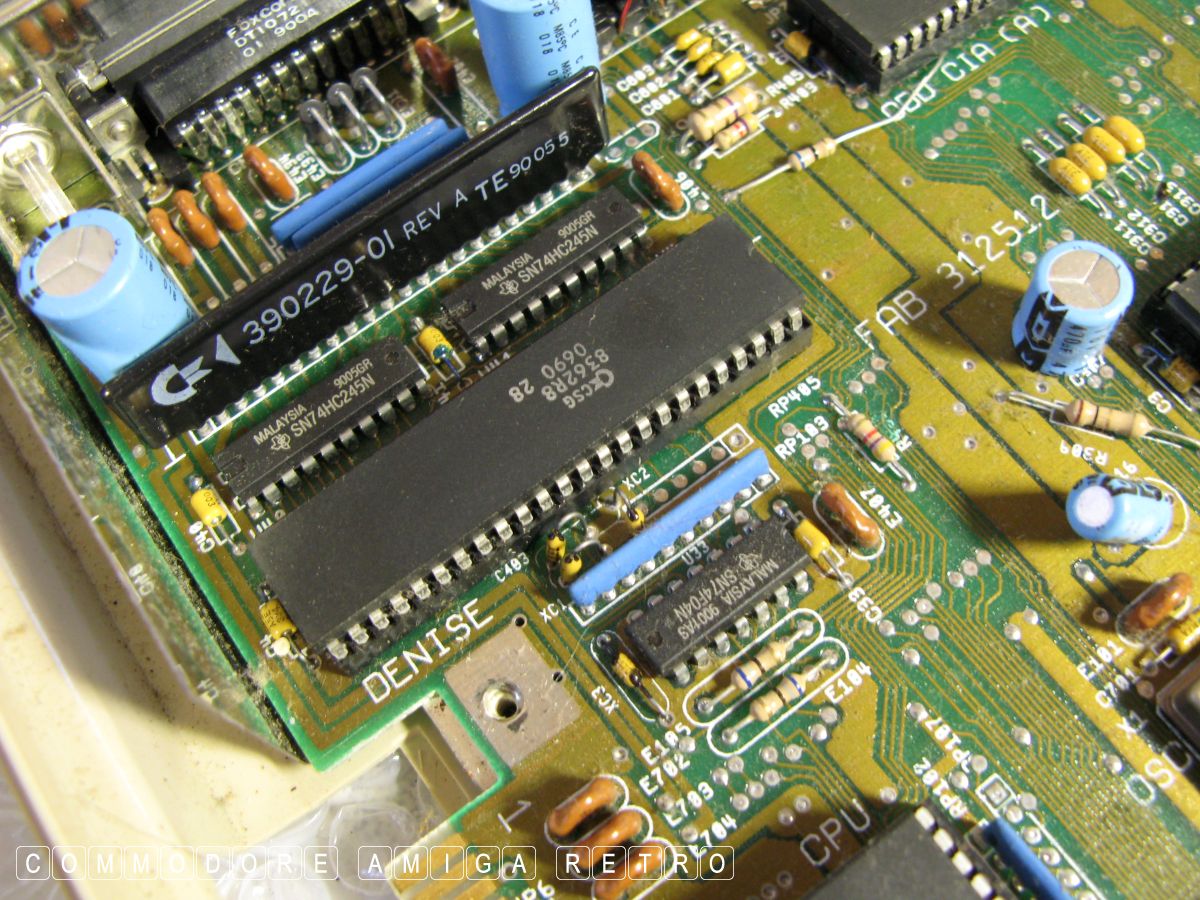
Mouse issues can only by diagnosed from
using the machine. Often a faulty chip
like the DENISE will cause the mouse
pointer to jump over icons and not click
them. When the machine is booting I always
move the mouse pointer to see I have smooth
horizontal and vertical movement.
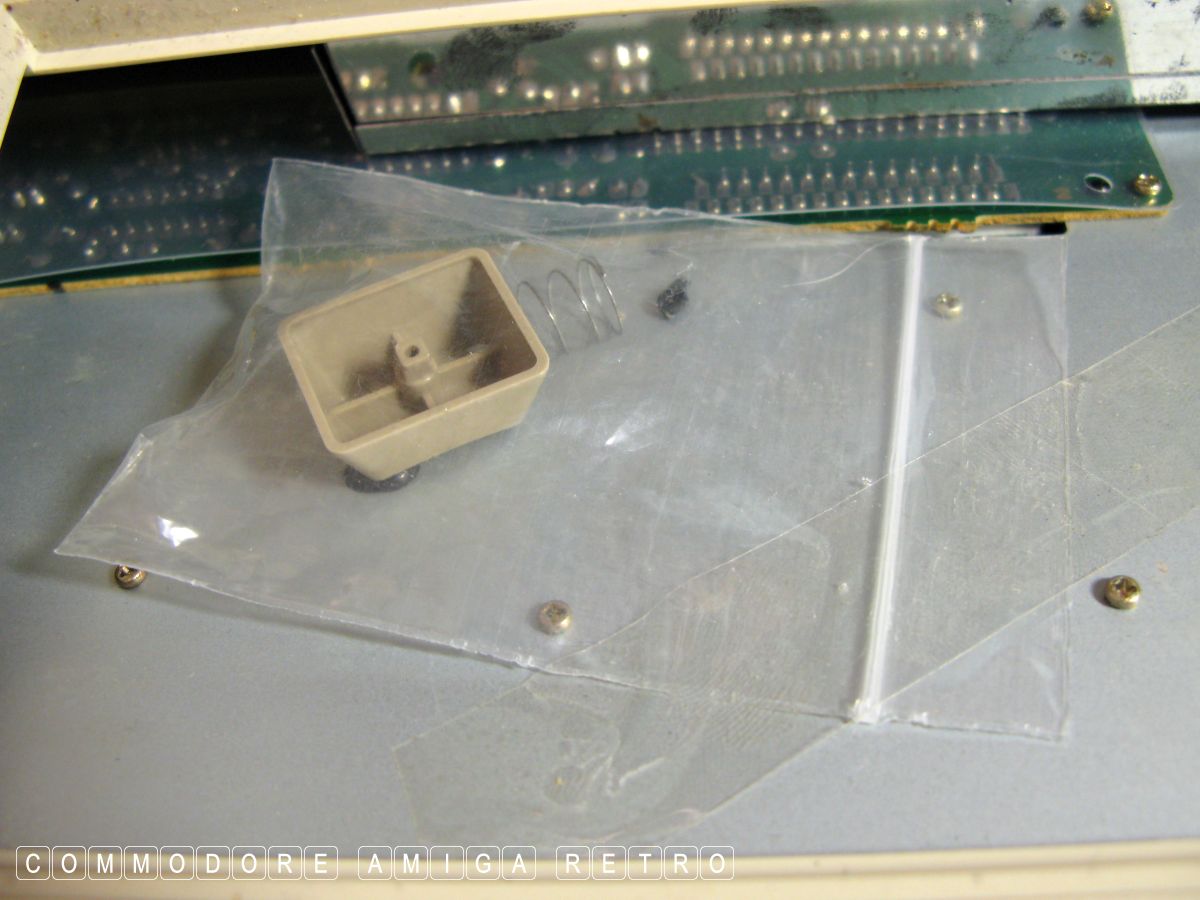
Never throw anything away and store
in a sealed plastic bag inside the A500.
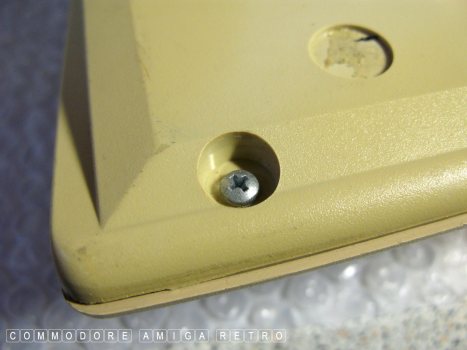
Screws can be either Philips or star
so ALWAYS use the correct screwdriver.
The white rubber feet had perished and
gone all sticky so I removed them.
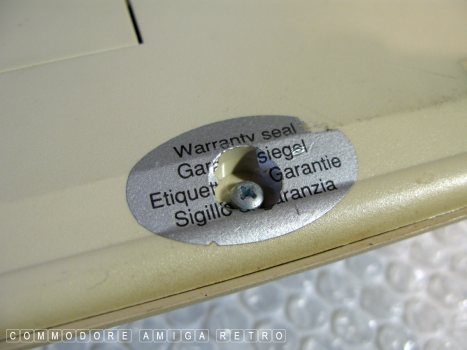
Warranty sticker is broken so a green
light to open up. Also means she has been
opened up before. If still intact then
glass case or sell. I never break seals
on Amiga 500s. ' Nothing to see here '.
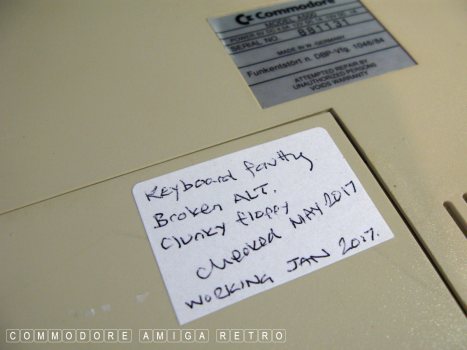
When I check a computer I put a sticker
on the trap door. NOT the main case.
Always update when finished.
This computer was made in West Germany.
What is inside the trapdoor can always
be a hidden surprise so I don't ask.
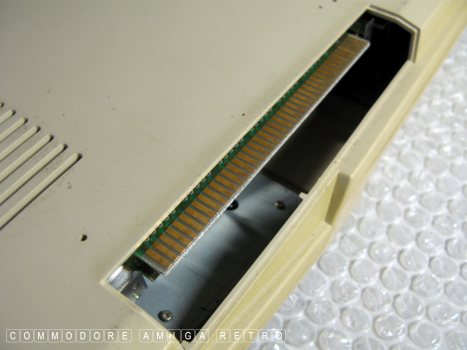
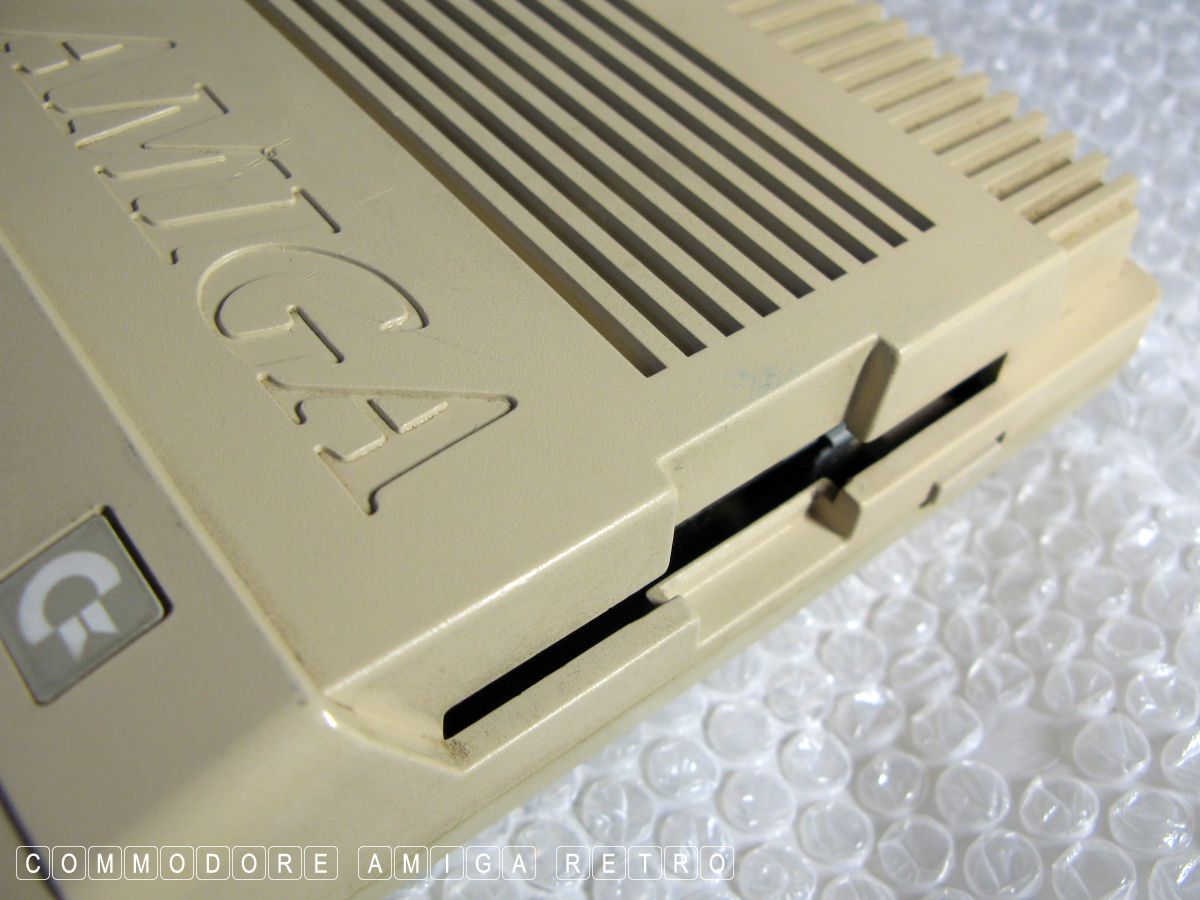
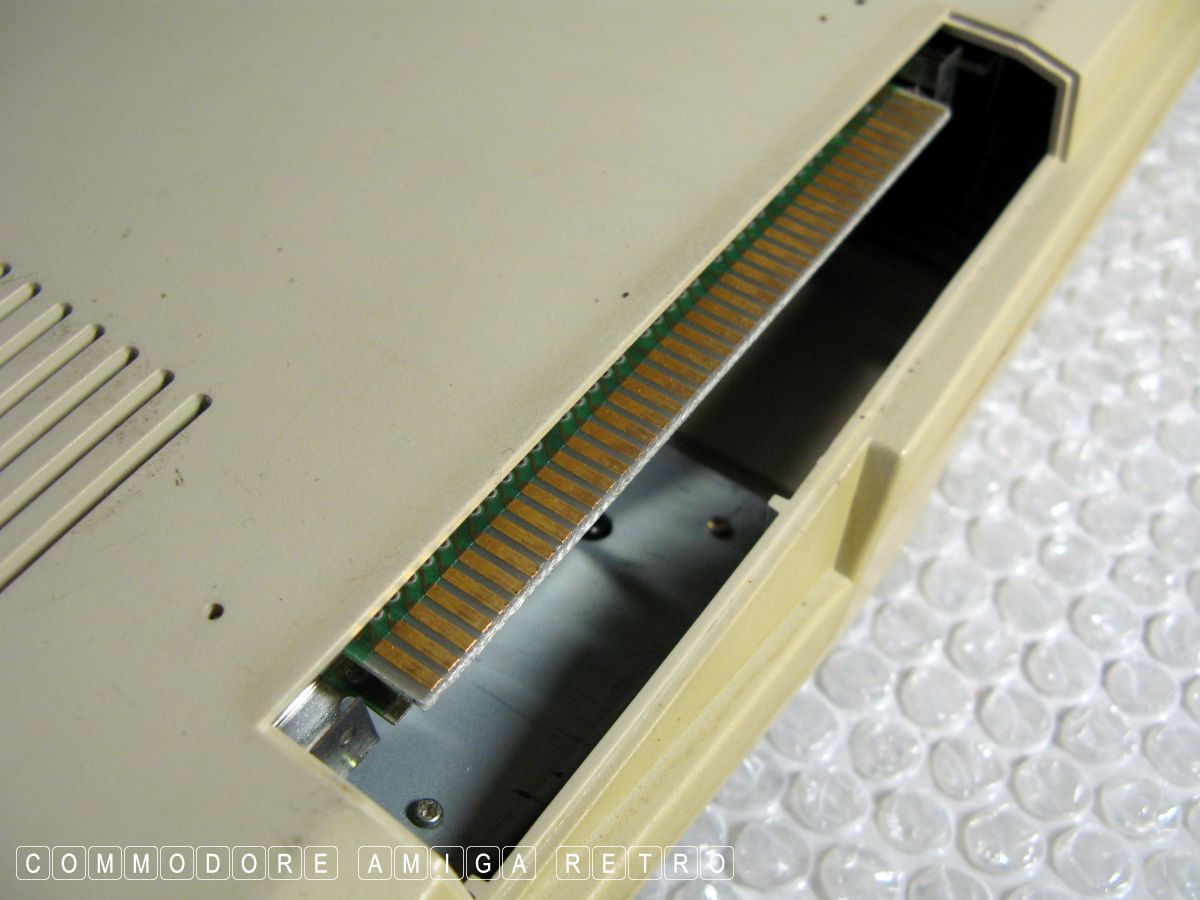
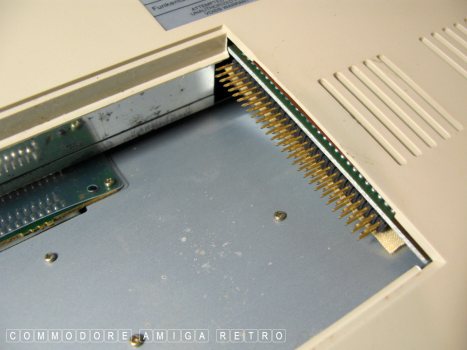
Check the side expansion connector for
wear and check for a grey grounding clip
used on sidecars. Also the colour of the
cover may vary from the main case, which
often shows a side car had been attached.
OK let me see what I can do with this
busted ALT key.
A good time to clean the keys. Always
do this with cotton buds and folded paper
NEVER and I mean NEVER remove the keys
and wash in the sink or dishwasher.
Never place unnecessary stress on fragile
and aged plastics. You reduce the life
expectancy each time you do idiot things
like this. AND NEVER remove the top
coating by chemical processes. Just
live with it. It's an old computer !!!

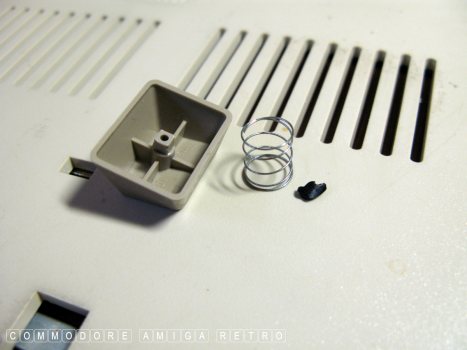
There were quite a number of different
keyboard mechs adopted by Commodore
This one uses an inner plastic pillar
which is removed from below.
If you ever leave a keyboard with a
broken key like this remember that
without the spring it is always in the
depressed position. It is a bit annoying
if it happens to your escape key.
Also never lean an Amiga against something
with the keys depressed. And NEVER EVER
place any object on the keyboard other than
a dust cover. if you can't afford a dust cover then
use some kitchen roll to cover keys and port slot.
Anyway, this is an old keyboard that I
use for salvaging parts.

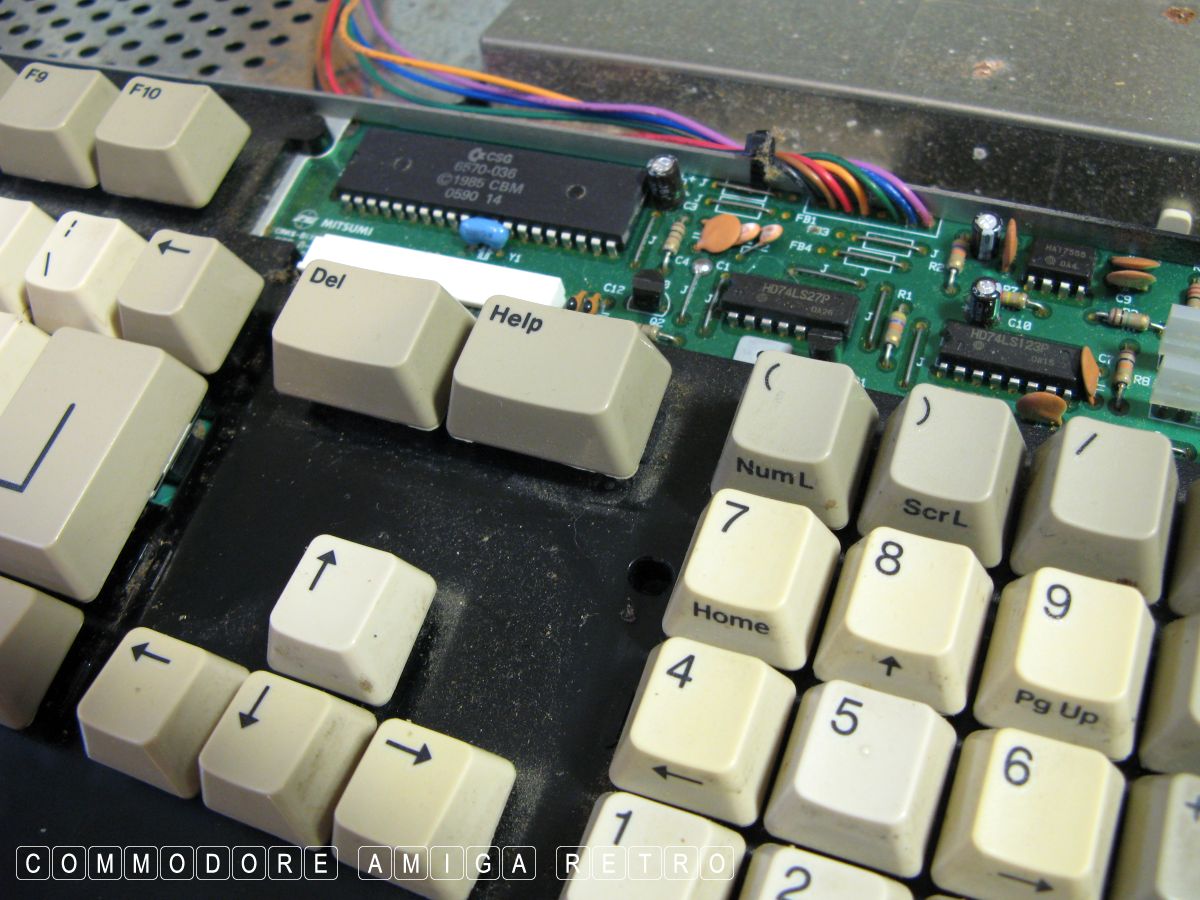
Check the connector from the keyboard
as on the older machines this was a ribbon.
There is a plastic black tie to the
wires as they meet the green PCB. If it
is not there it means the keyboard has
been taken apart at some time.
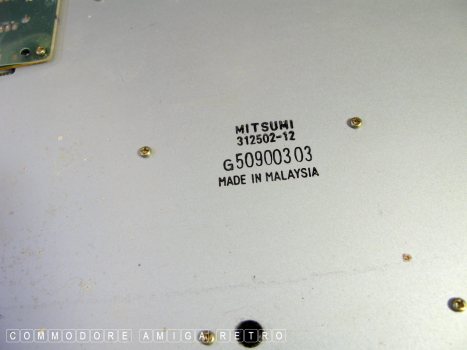
Mitsumi is a good sign and all
those little screws need to be removed.
This will be a separate project.

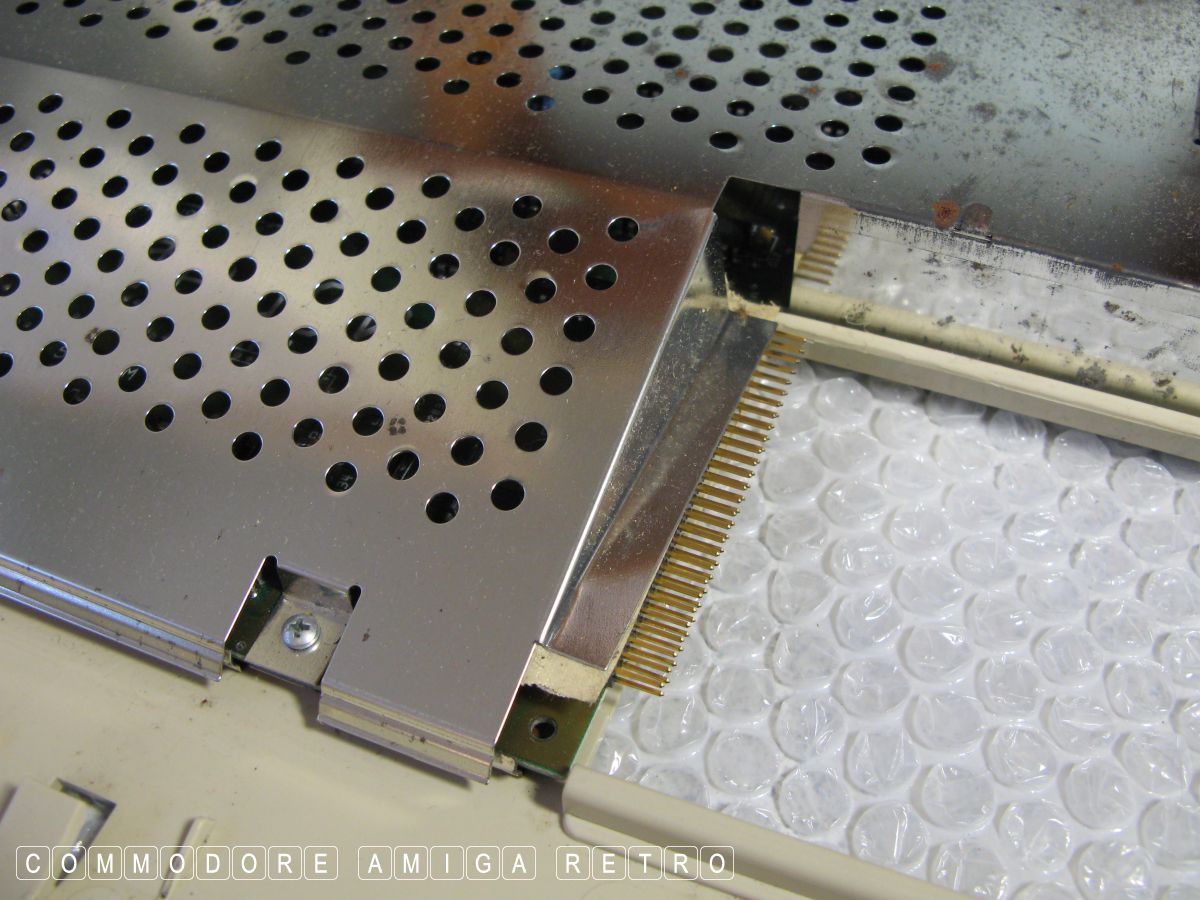
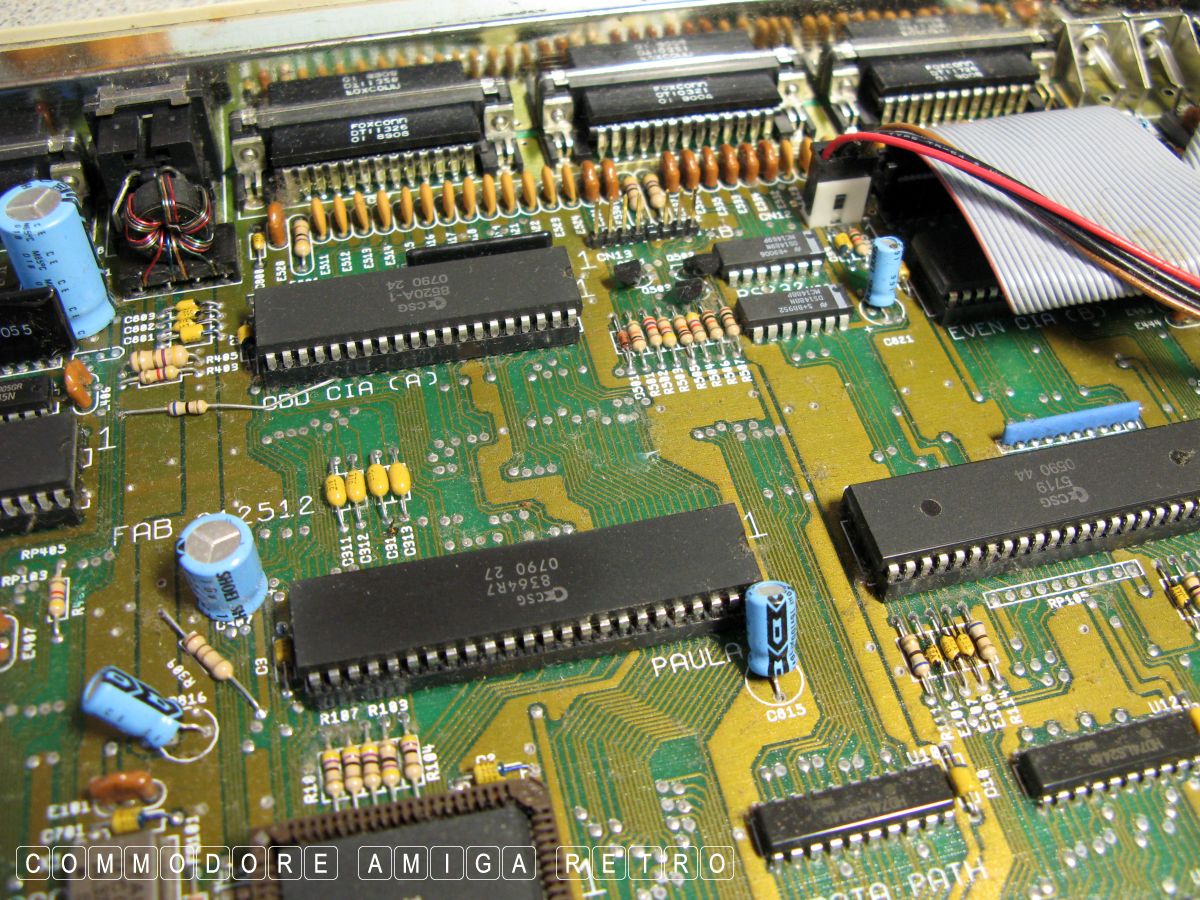
OK nothing in the trap and time to
remove the four screws to the shielding.
Check the shielding for rust and don't
cut yourself.

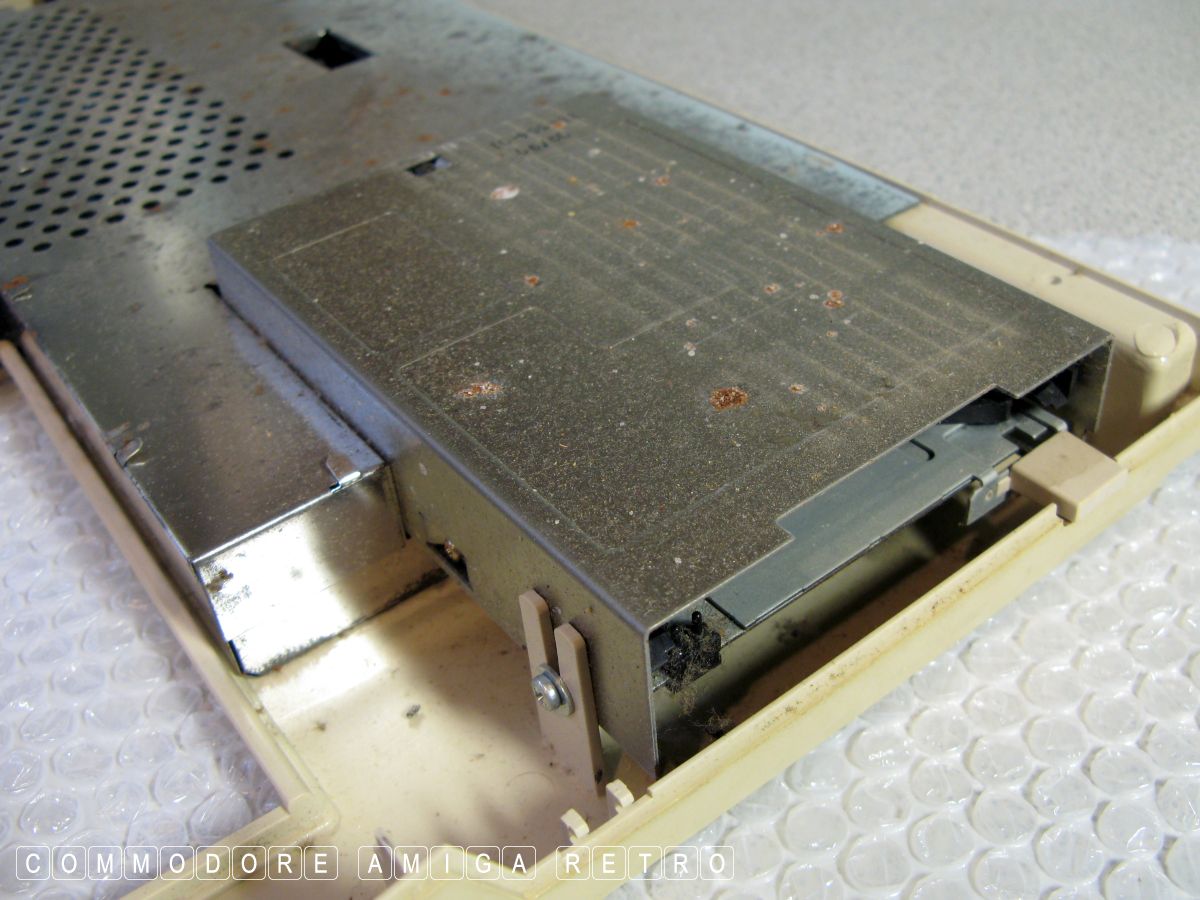
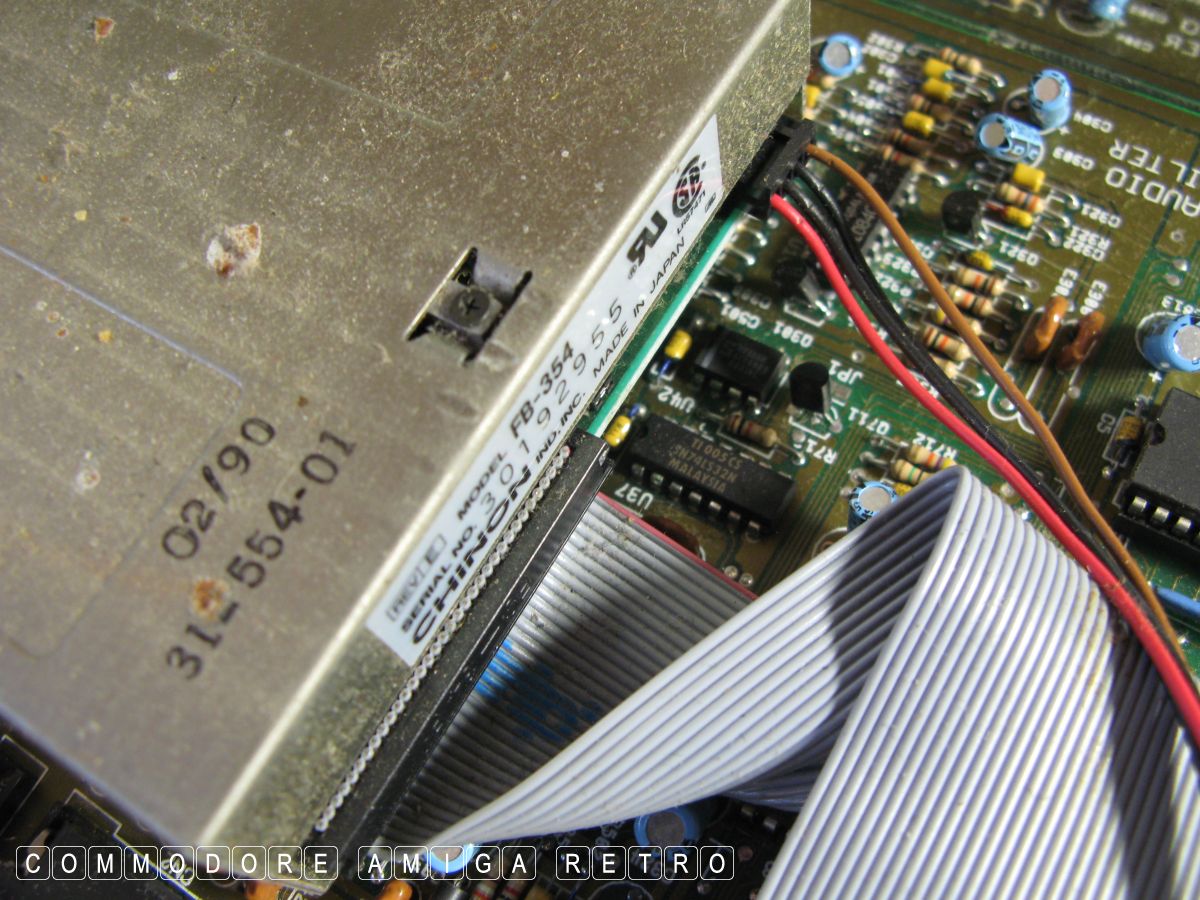
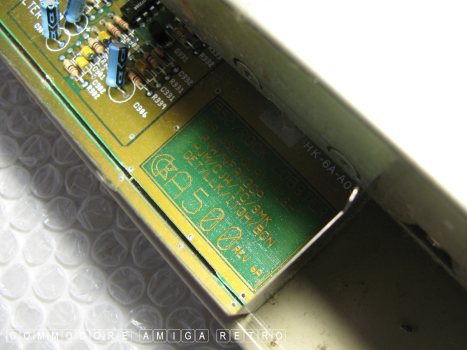
There is no need to remove the floppy
drive. The case often rusts.
Note the two tiny black switches just
inside the case on the left. A good time
to press them down gently and make sure
they are free and bouncing up and down.
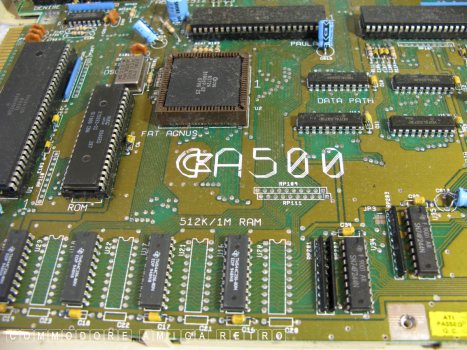
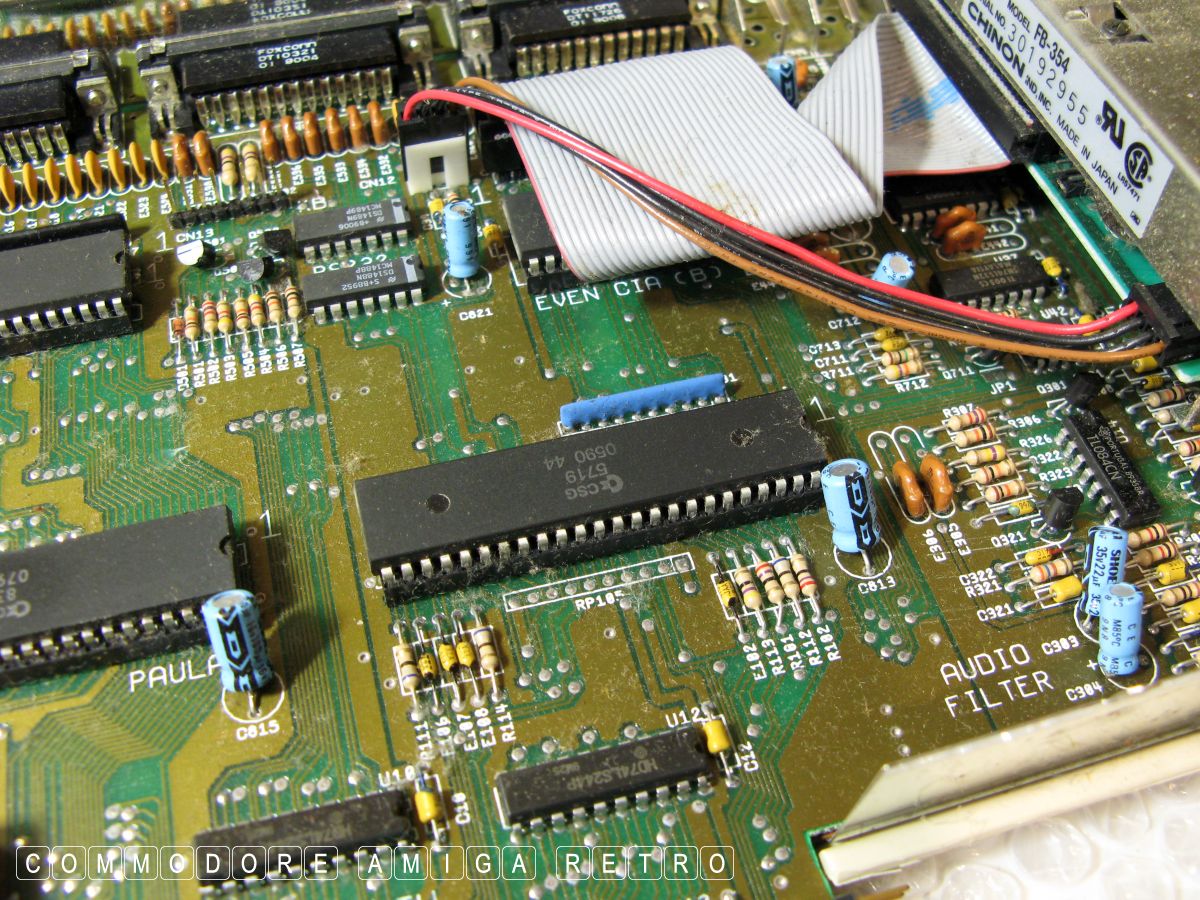
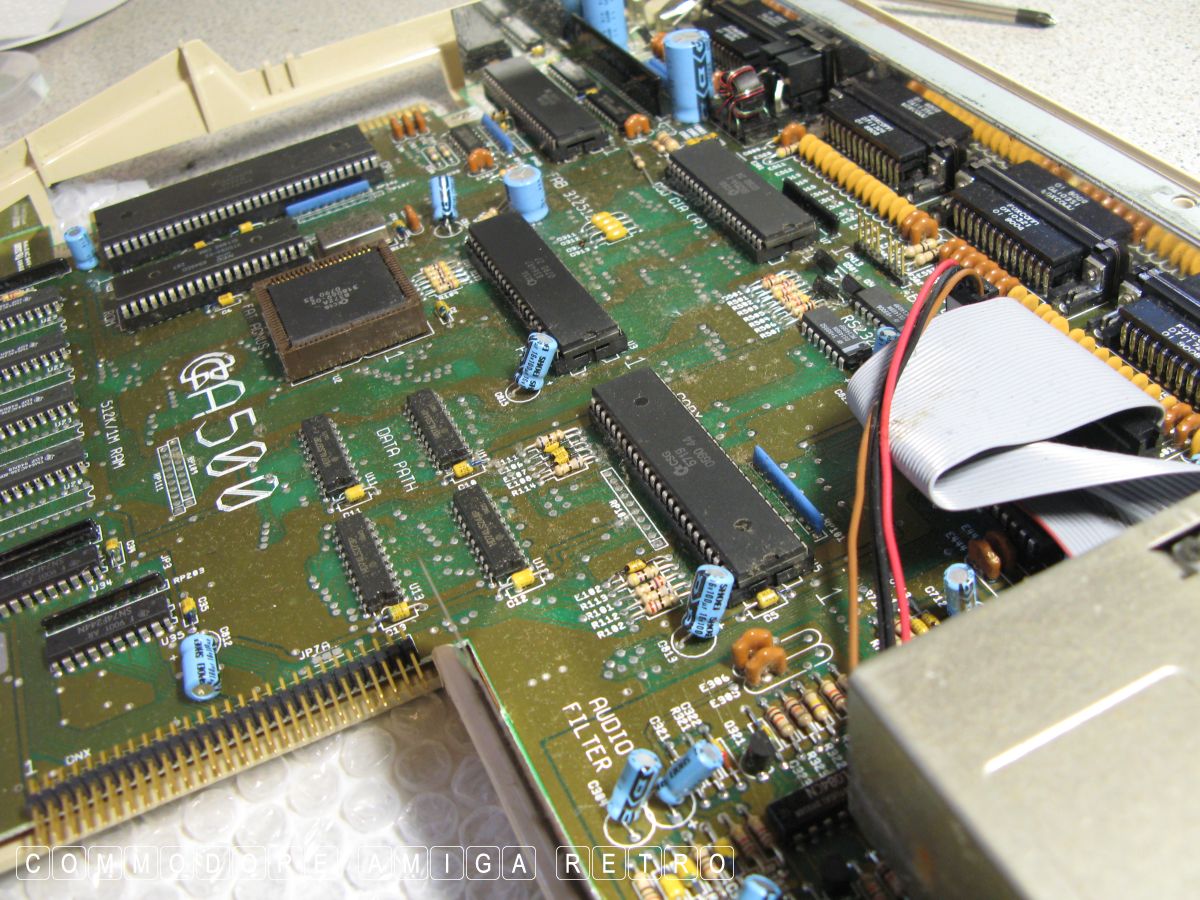
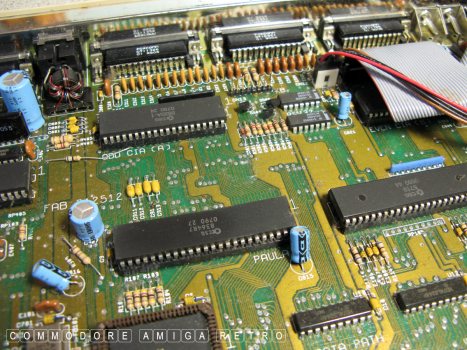
A genuine Amiga 500. Note the empty bank
of RAM slots at the base of the computer.
Motherboards may vary in colour.
This one is the pale green which
comes from West Germany as it once was.

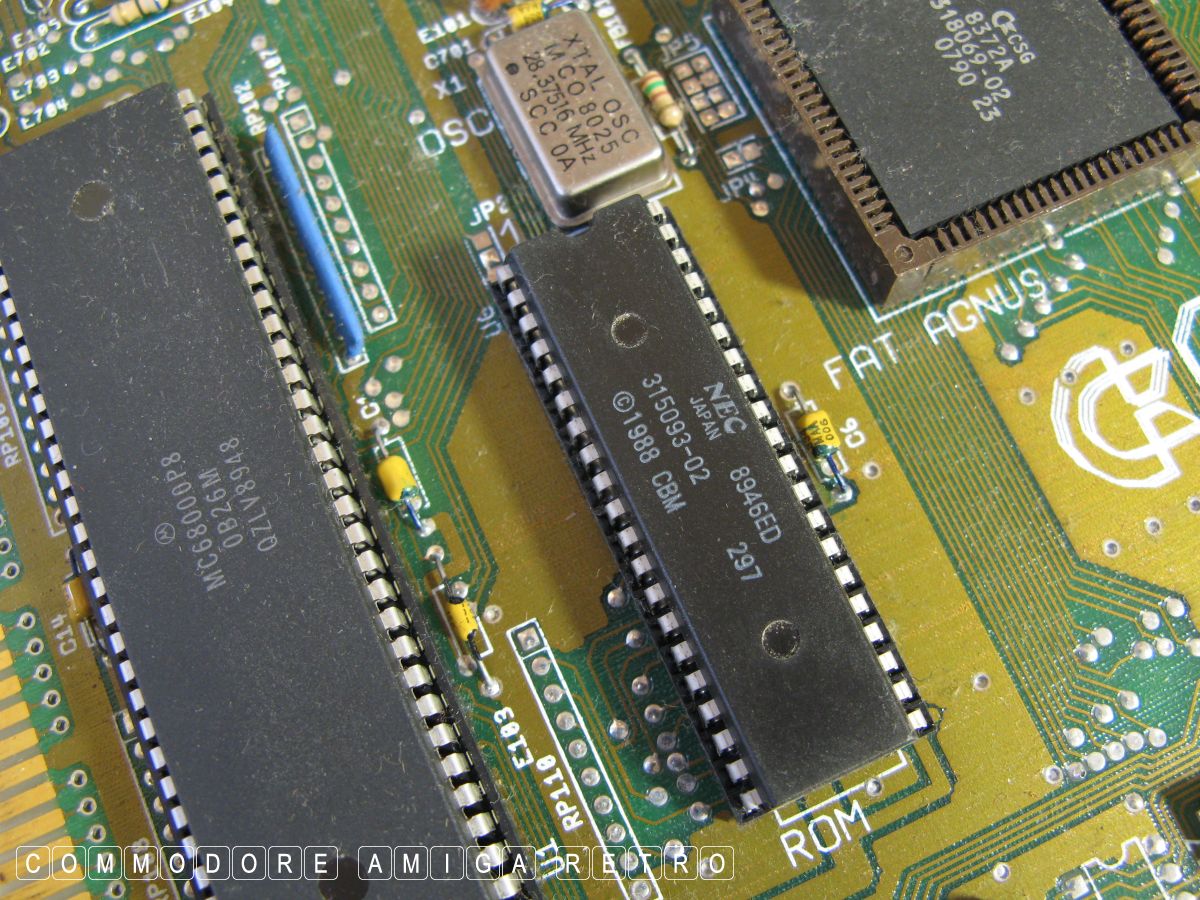
The ROM has the writing on the other
way round to the main 68000 adjacent.
The half moon to the CPU is at the
bottom. The half moon to the ROM is
at the top. If they are not then that
is probably why the computer is not
working. The ROM here is the 1.3 1988.
Most chips have a simple date code like
the FAT AGNUS 0790 or the seventh week
of 1990... which dates this computer.
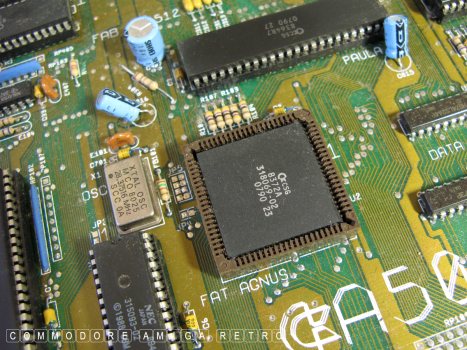
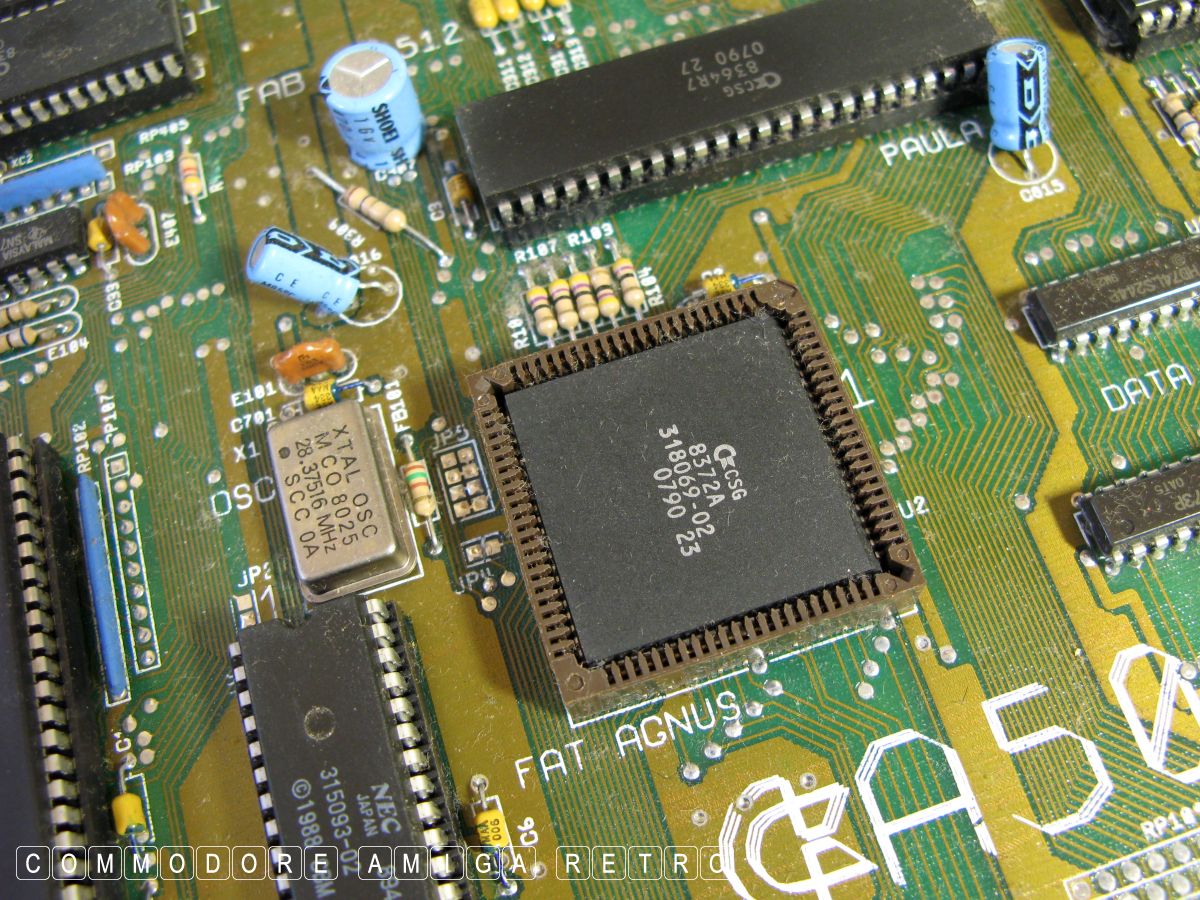
The FAT Agnus socket is not standard.
They are normally black and the pins
more visible. Not sure I would want to check.
Sometimes there are holes in the base of
the motherboard to let you push out the
FAT AGNUS. If not use the correct tool.

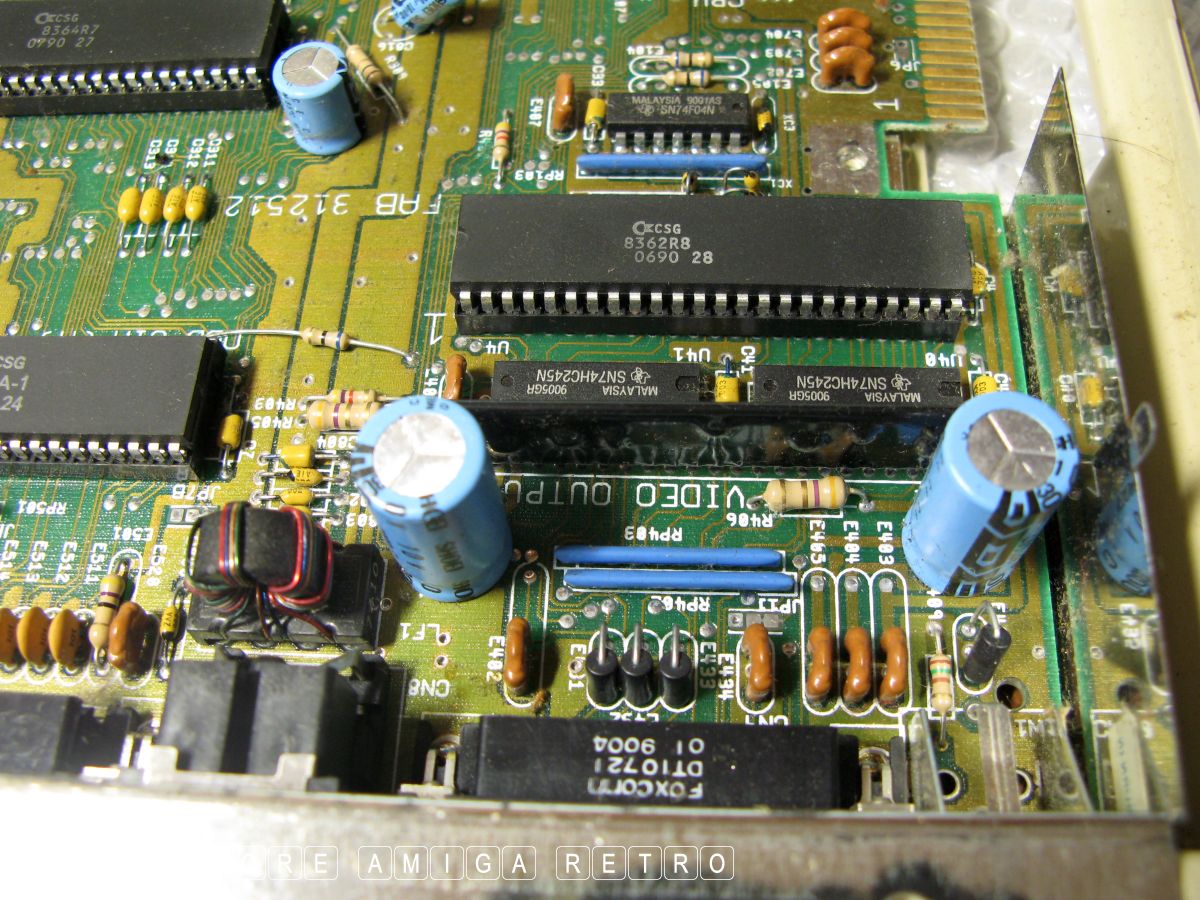
Some strange discolouration below R405
and has washed out the number, though
the tracks are clear and not damaged.
Check that all pins appear seated and
not bent and discoloured. Also check for
white residue on the motherboard around
chips.
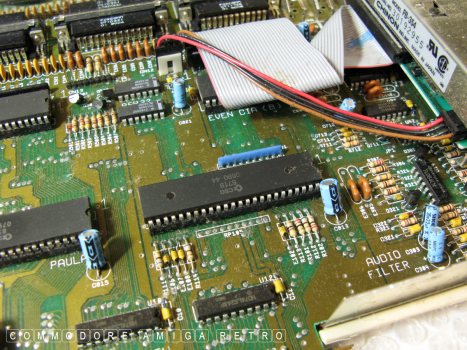
And there should be no battery
or empty battery location.
Useful knowing the boards Revision No.
Here it is Revision 6A.

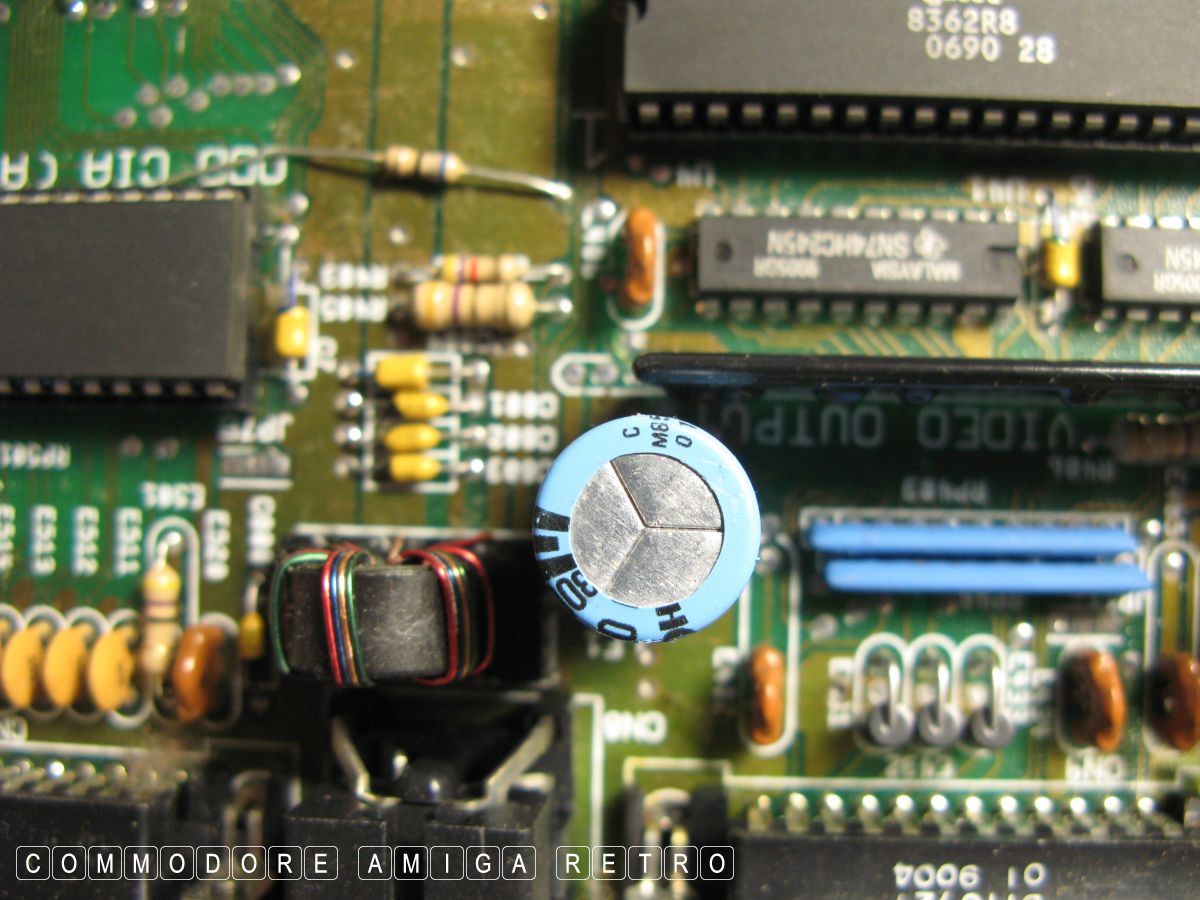
I don't worry myself with the light blue things.

Check for corrosion and rusting along
this base edge which may indicate it
has been stored in a damp loft or garage.
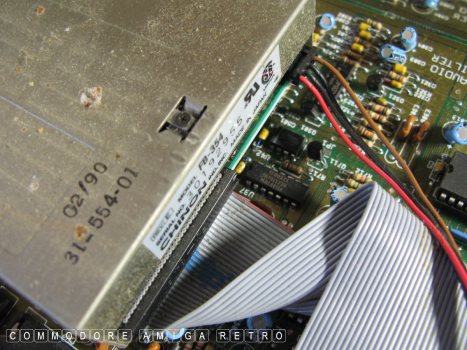
You could check pins to drive and
or the motherboard. However, unplugging
and plugging in can place unnecessary
distress on the computer so I leave alone.

If you want to recap then that is up to
you. I only fix stuff when it is broken.
These are old computers and have become
quite fragile.

OK the trap door pocket has all kinds of use.

So I update the sticky on the trapdoor cover.
This will be tomorrows project
So the acid test... Is she working ?

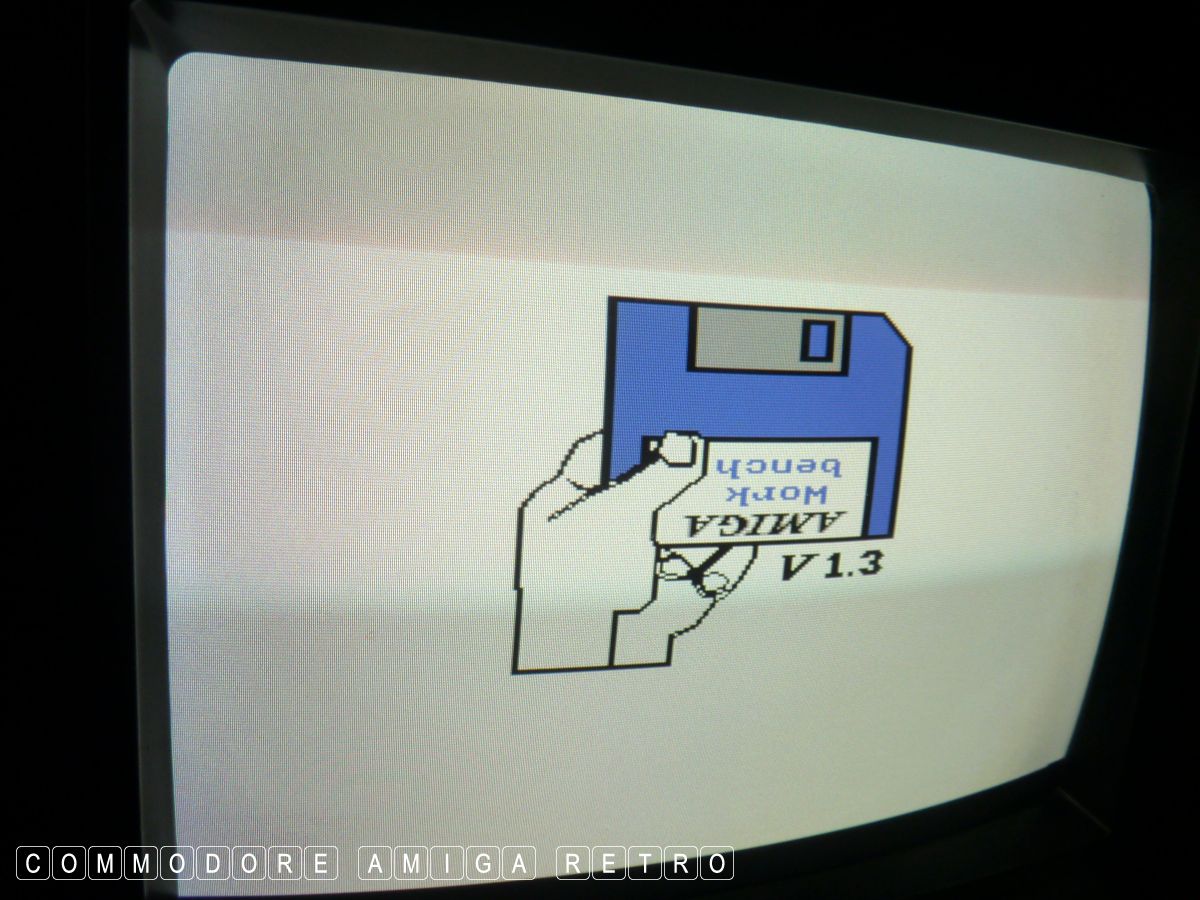
The Amiga 1.3 disk requester. Looking good.

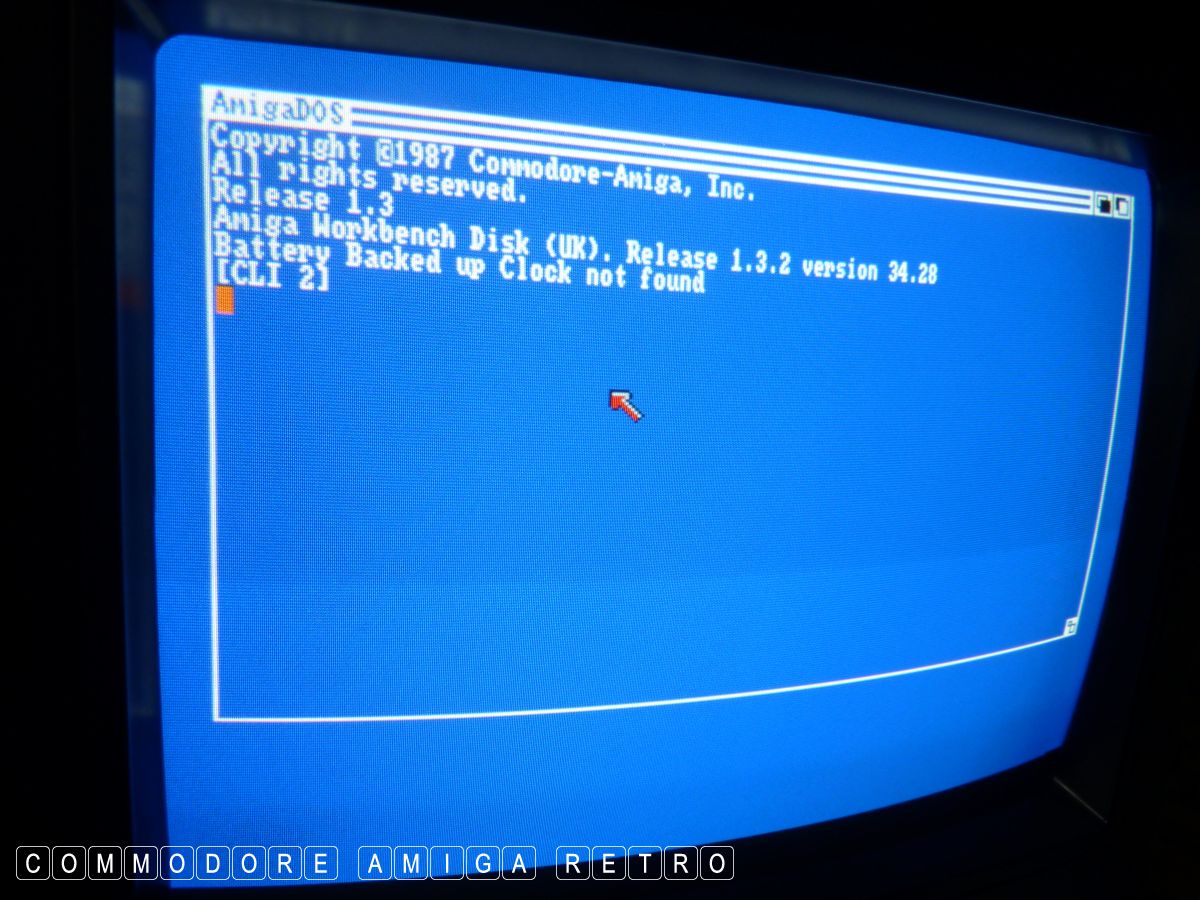
Loading screen and checking mouse movement.

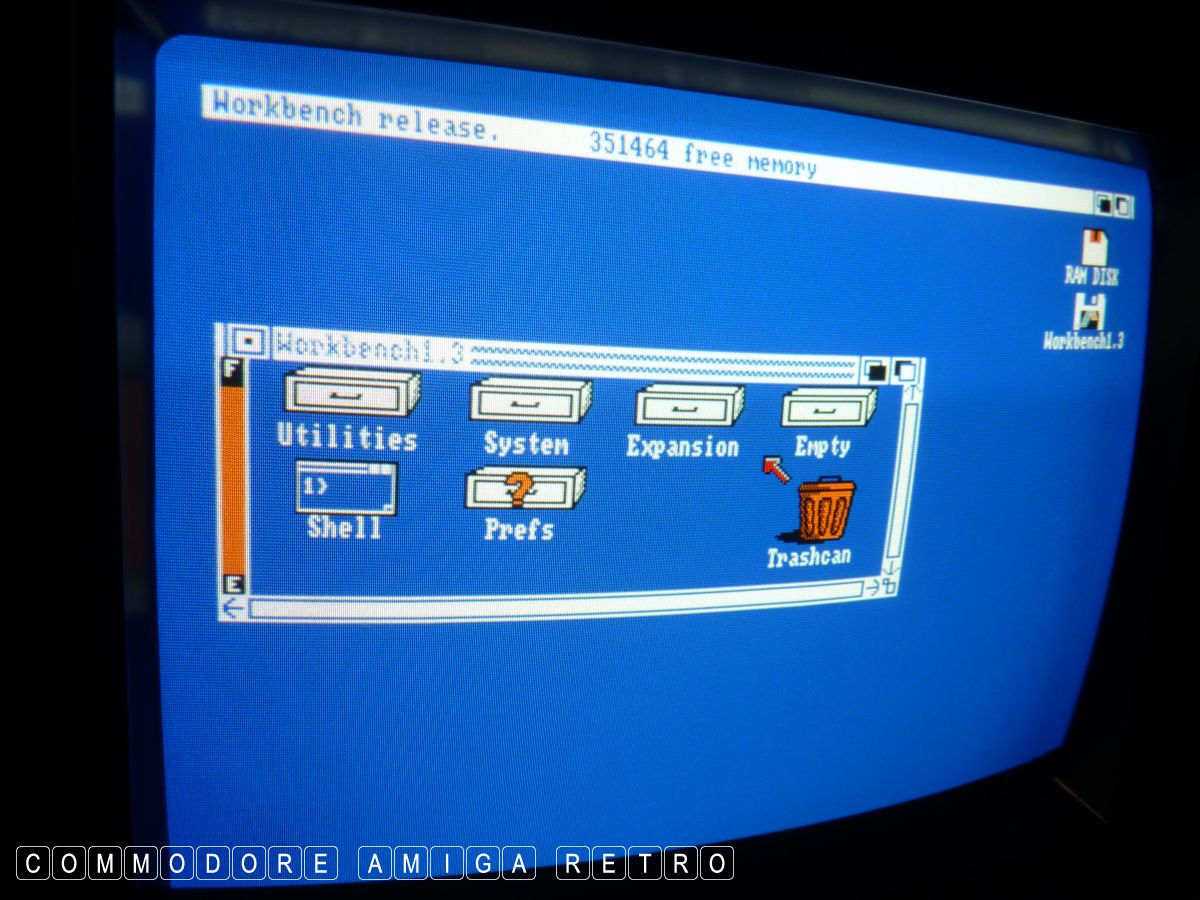
Icons on the right, 351464 memory at the
head and Workbench 1.3 opens.

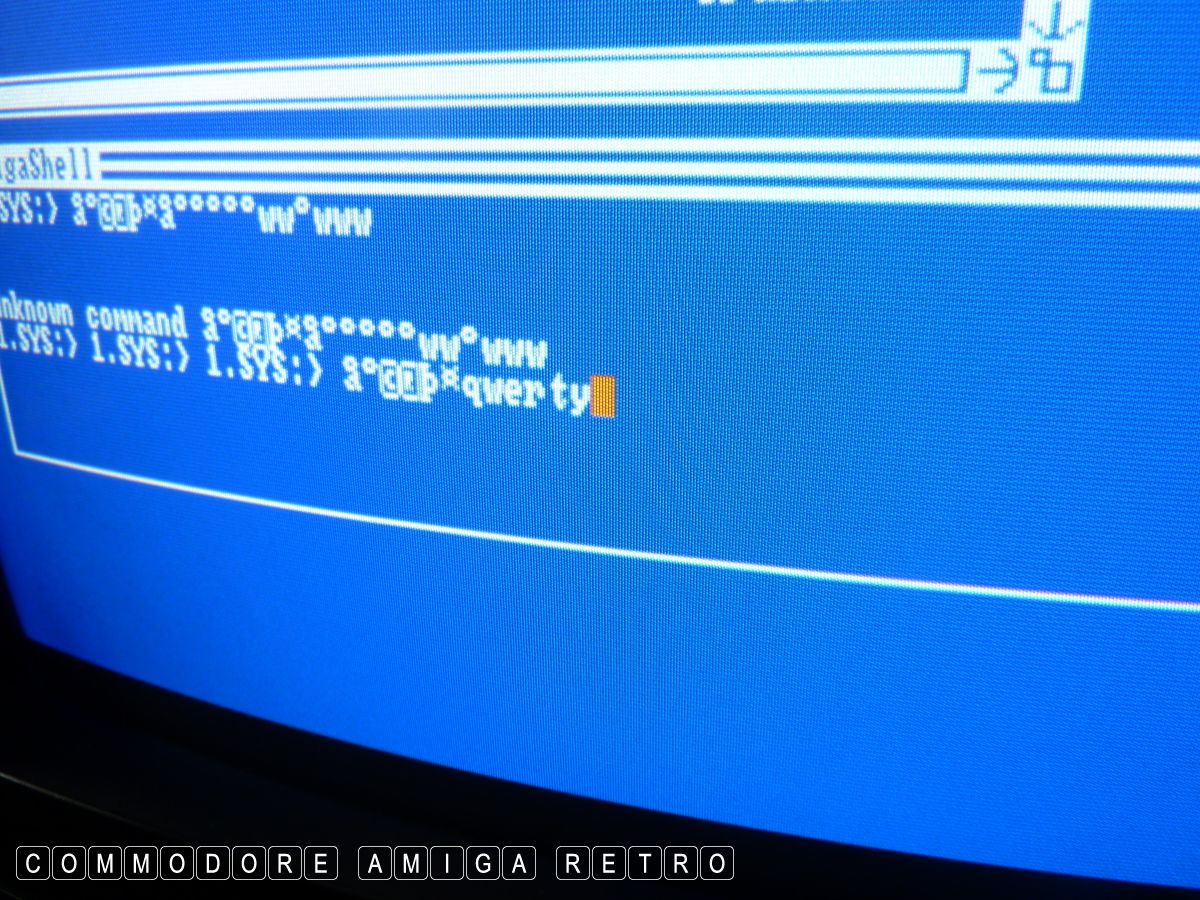
Sadly those keys are still broken. If you
open the SHELL and type in all the keys
plus the capitals and special keys you
identify if any are broken.
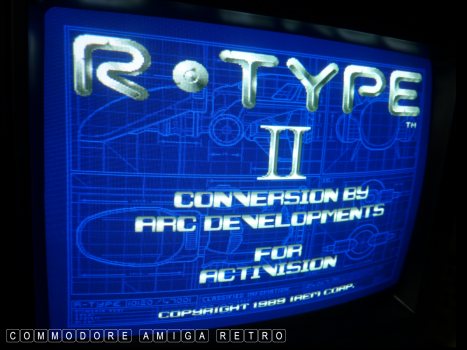
You can also check the joystick port by
firing up R-Type II.
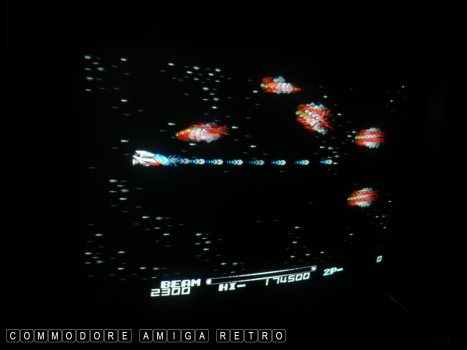
And then some hours later, switch
the lights on cus its probably
gone dark while you play. Happens
to me all the time.
Come back tomorrow and I'll fix that keyboard.
TRUST ME !!