Amiga 4000d/040 - Motherboard removal.
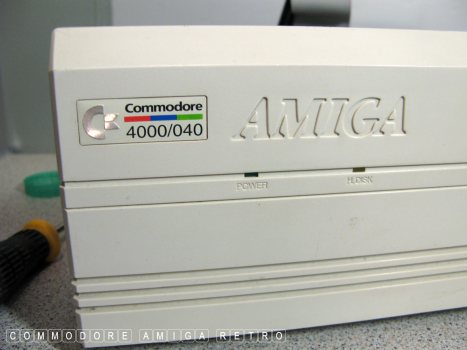
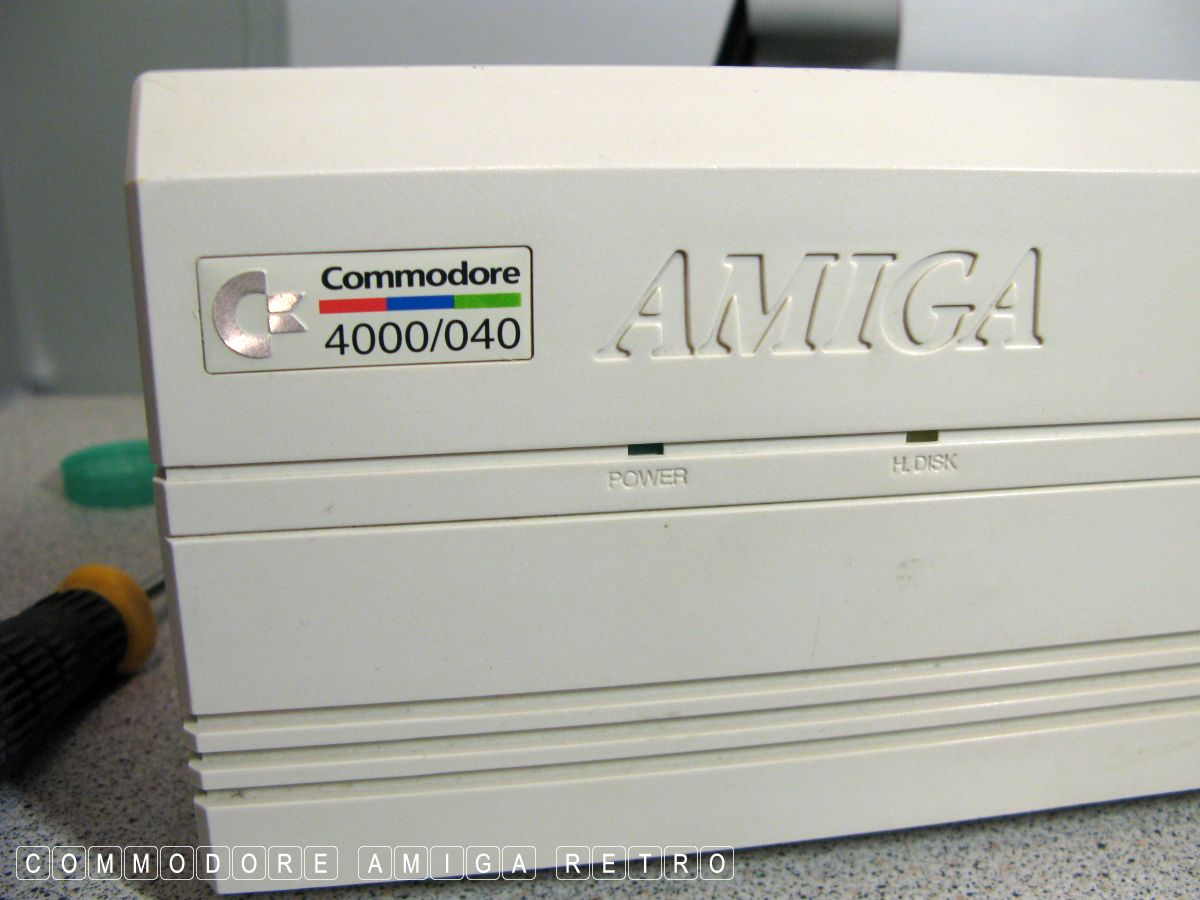
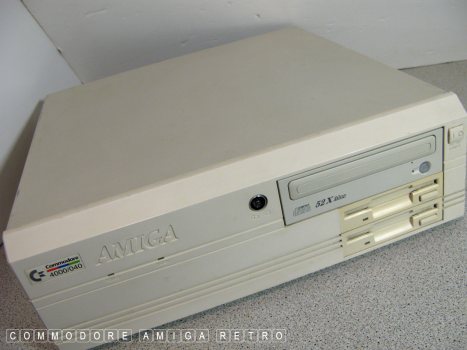
My A4000d/040 that sadly does not work
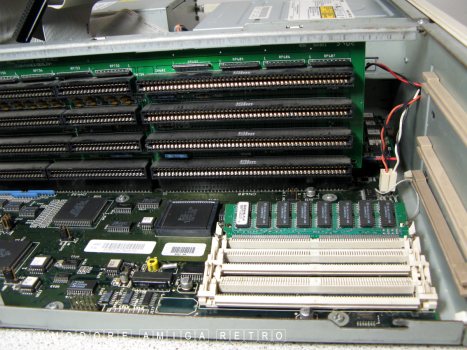
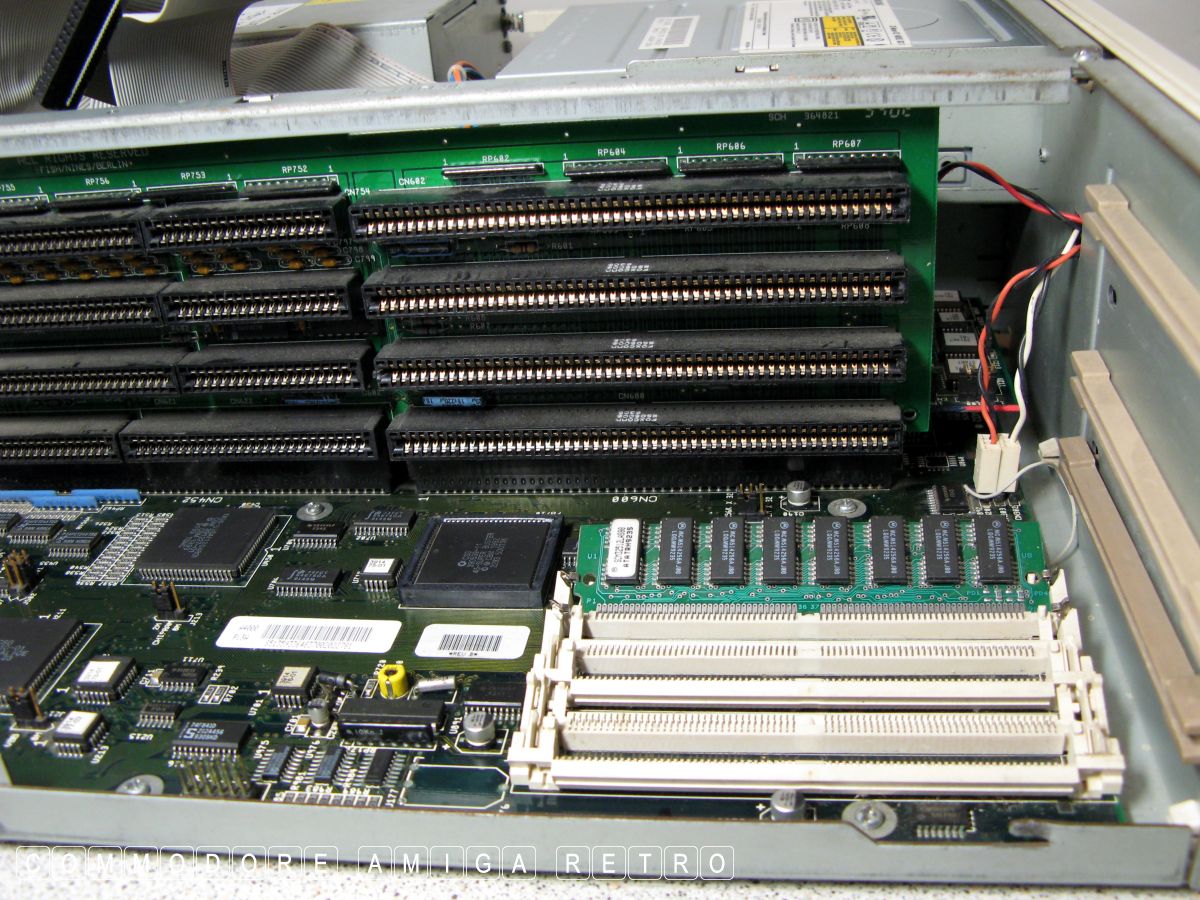
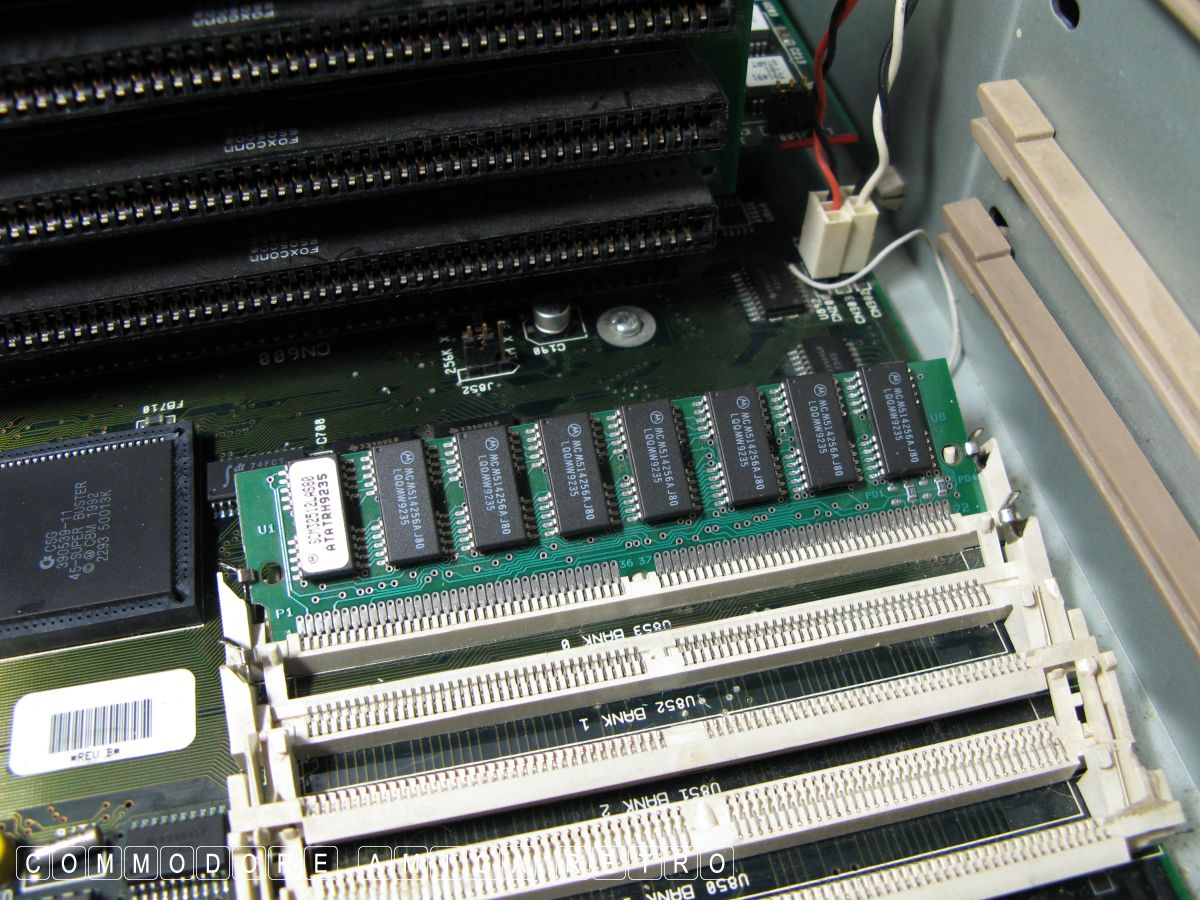
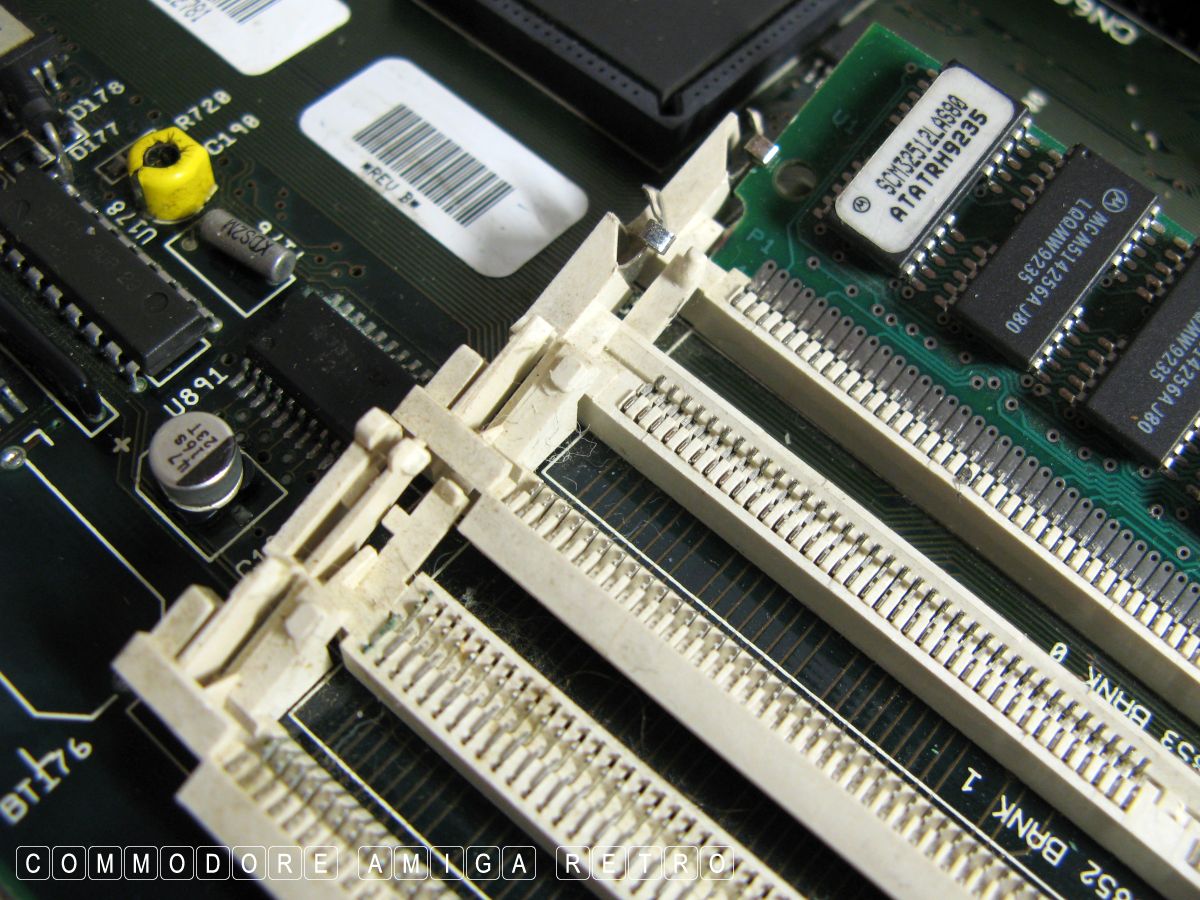
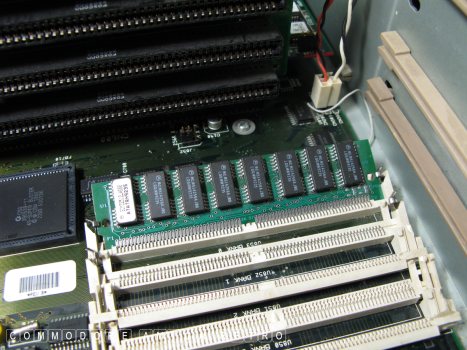
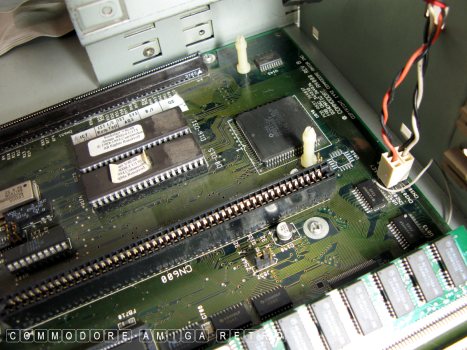
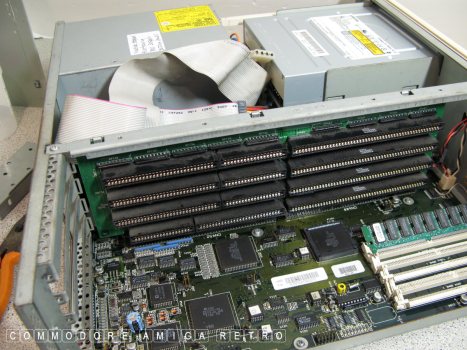
The problem I fear is the busted SIMM slots.
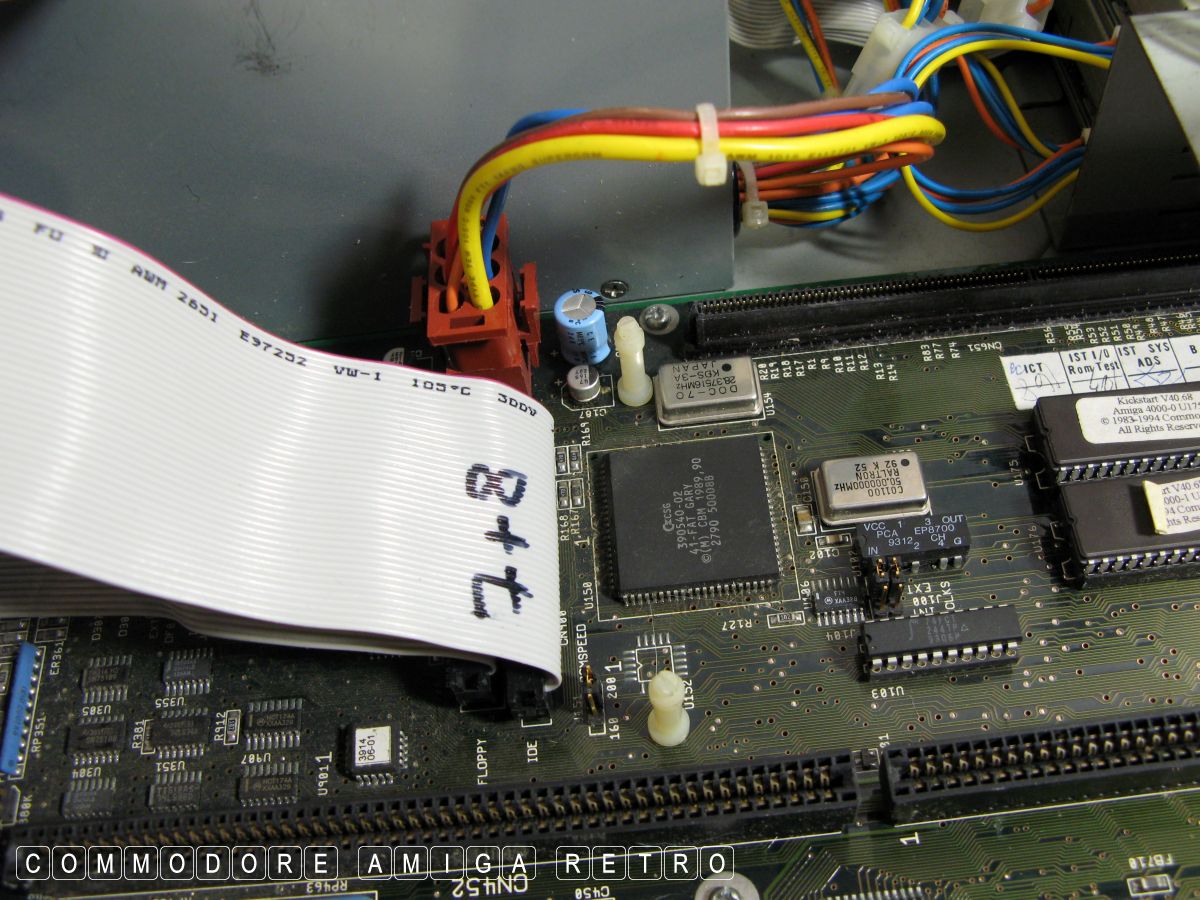
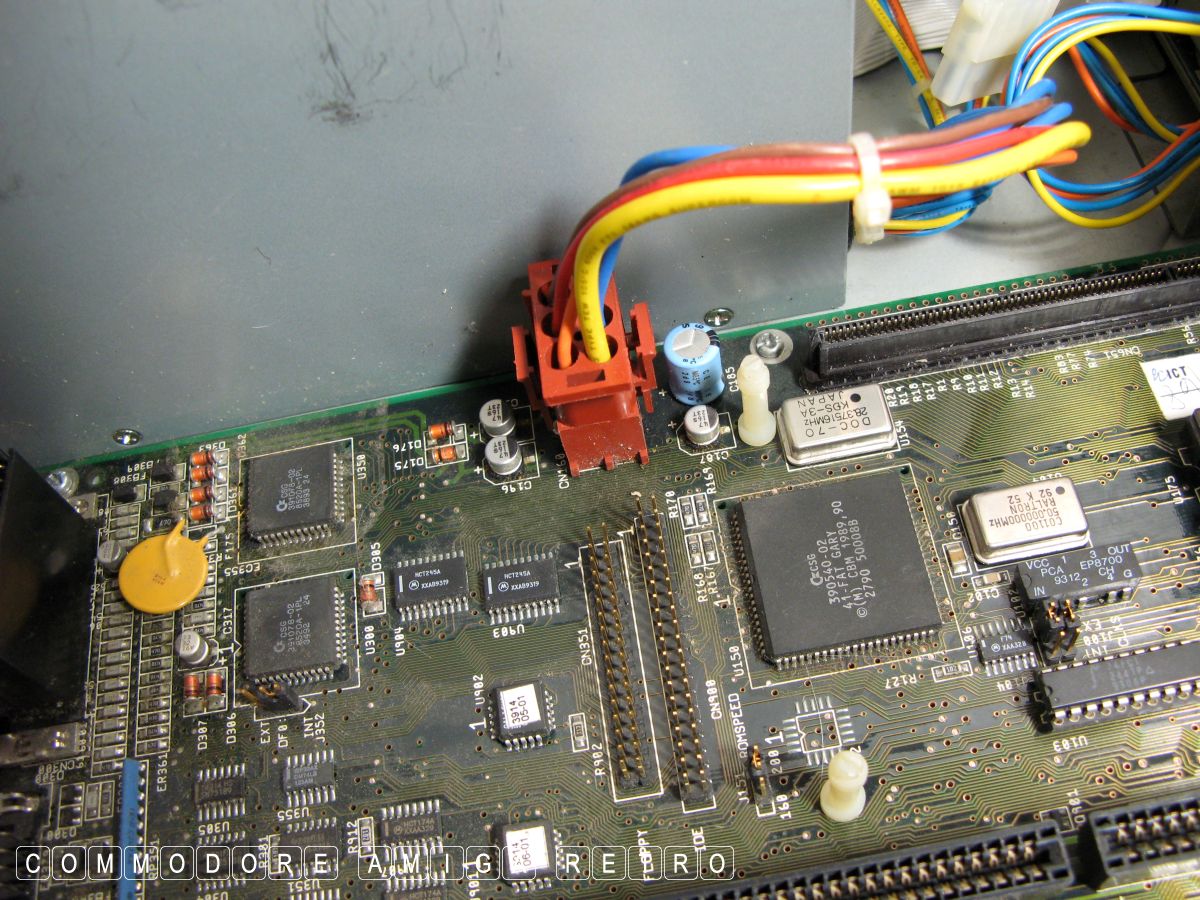
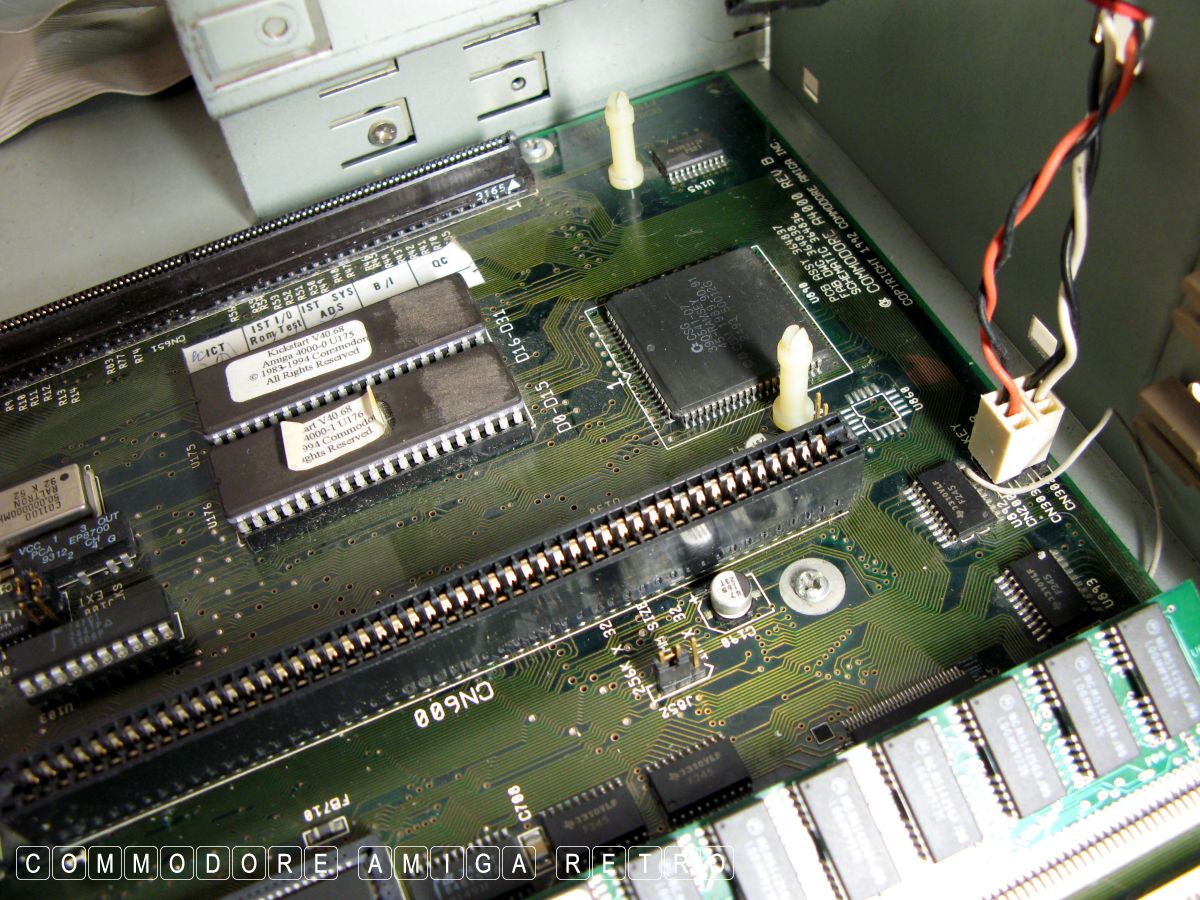
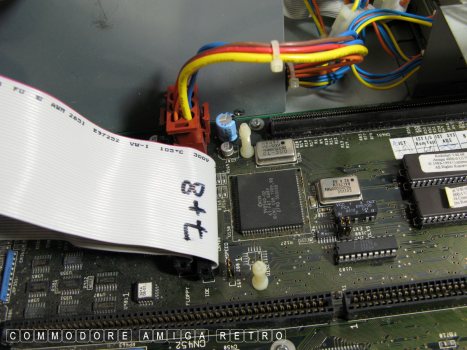
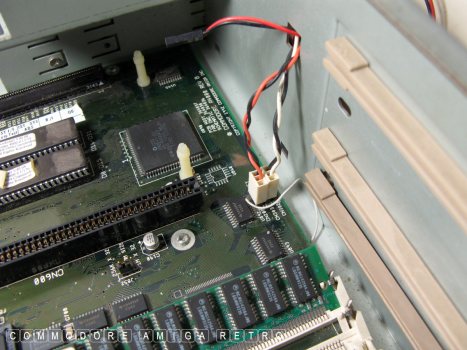
Note the white wire to the far right corner.
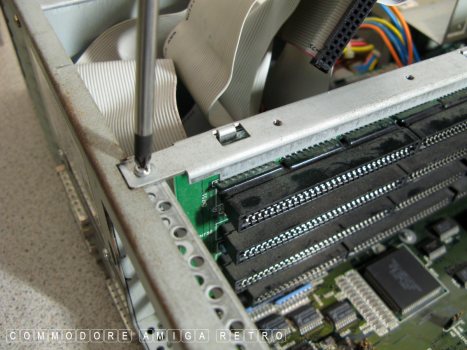
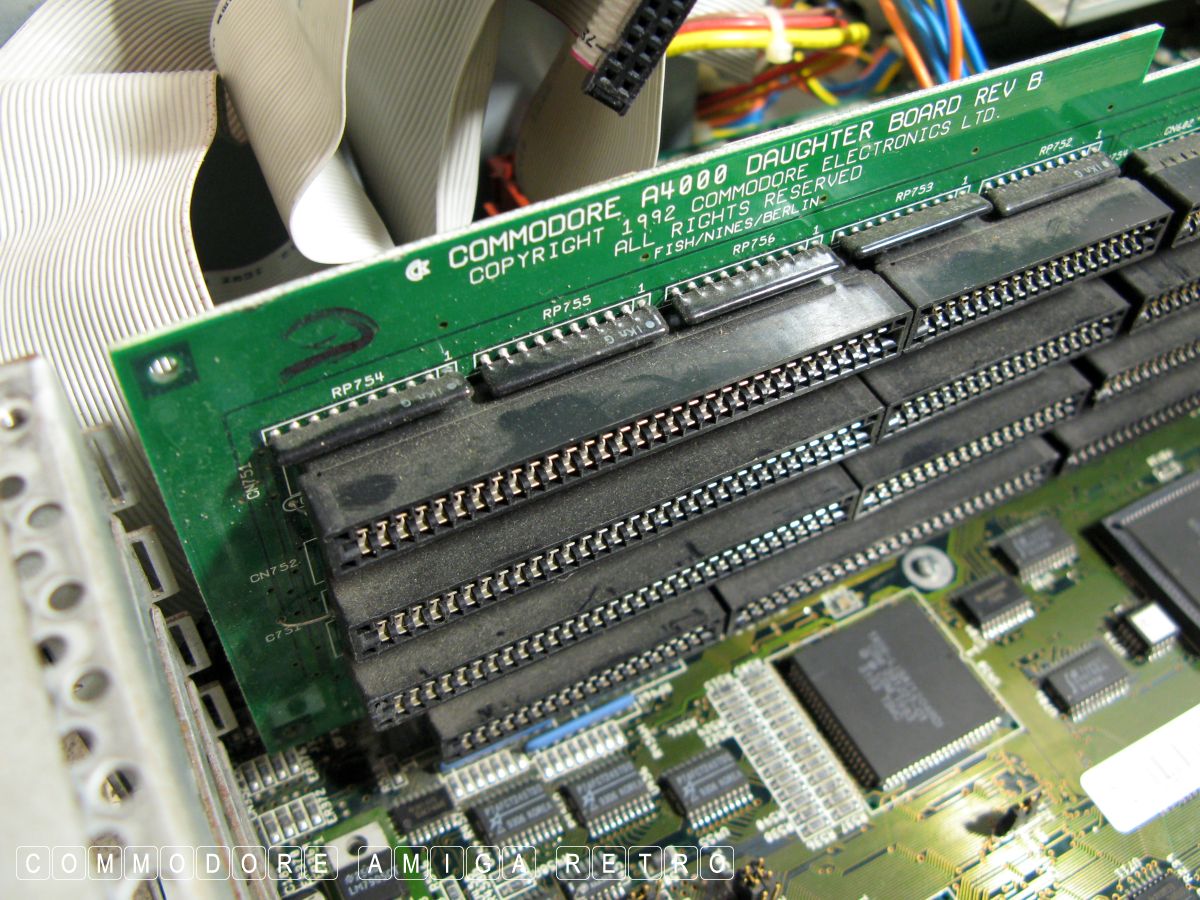
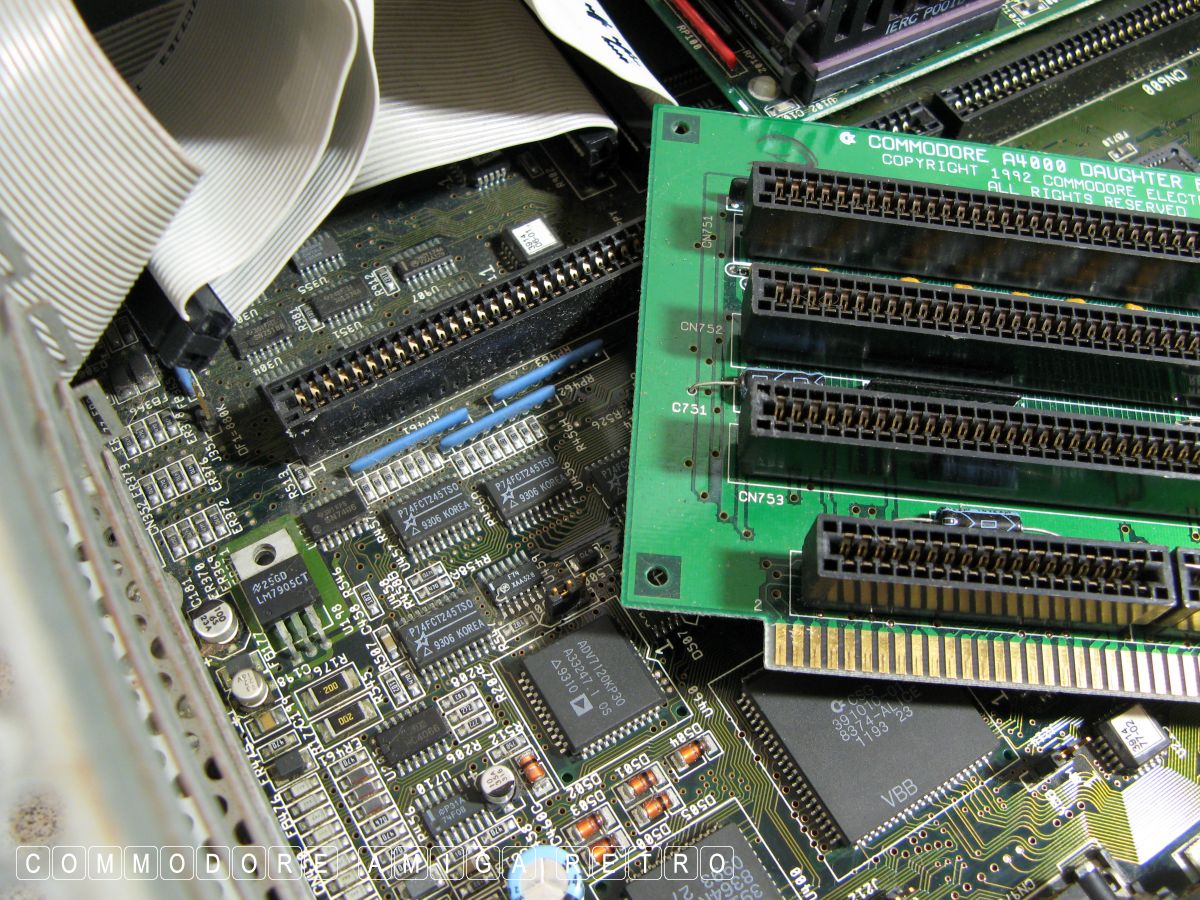
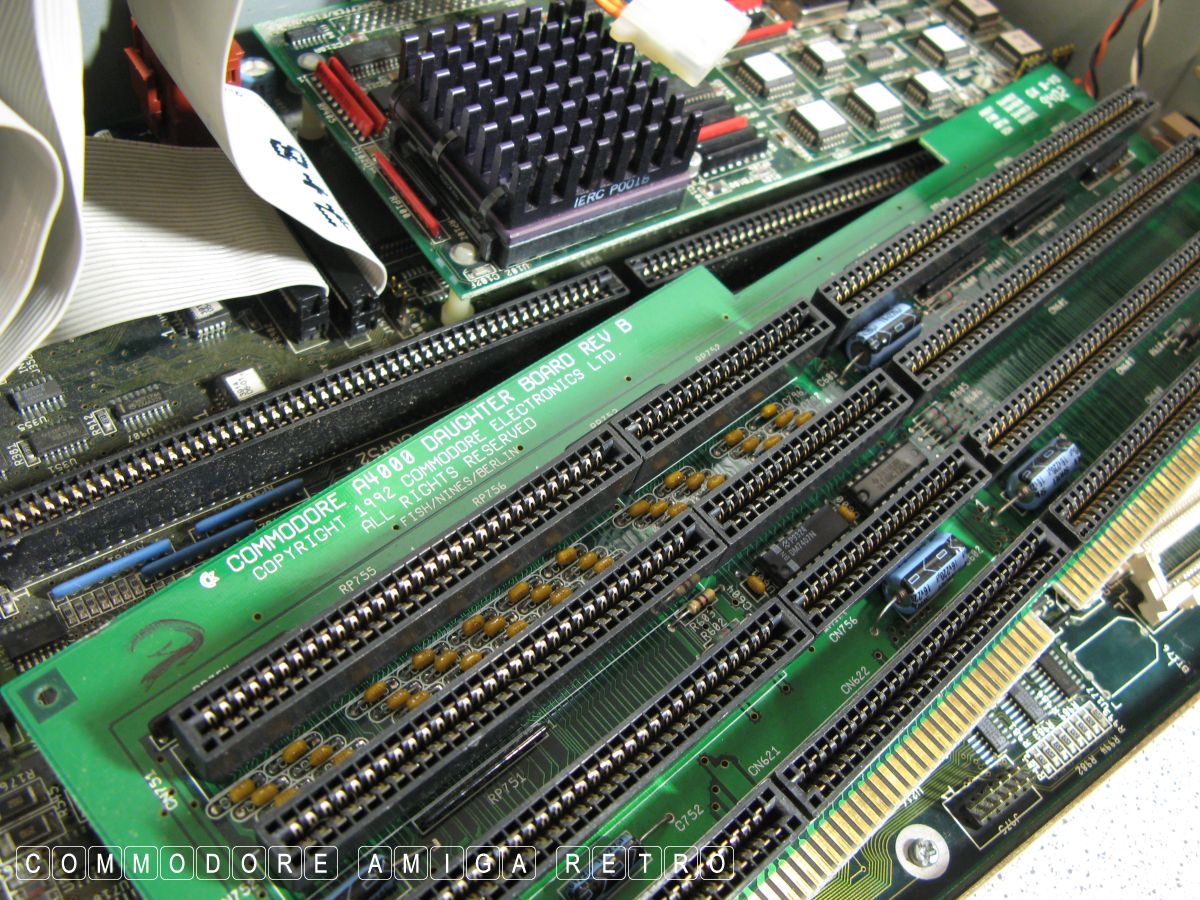
First we remove the daughter board top clamp.

This frees the daughter board for removal.

The daughter board can be simply pulled.


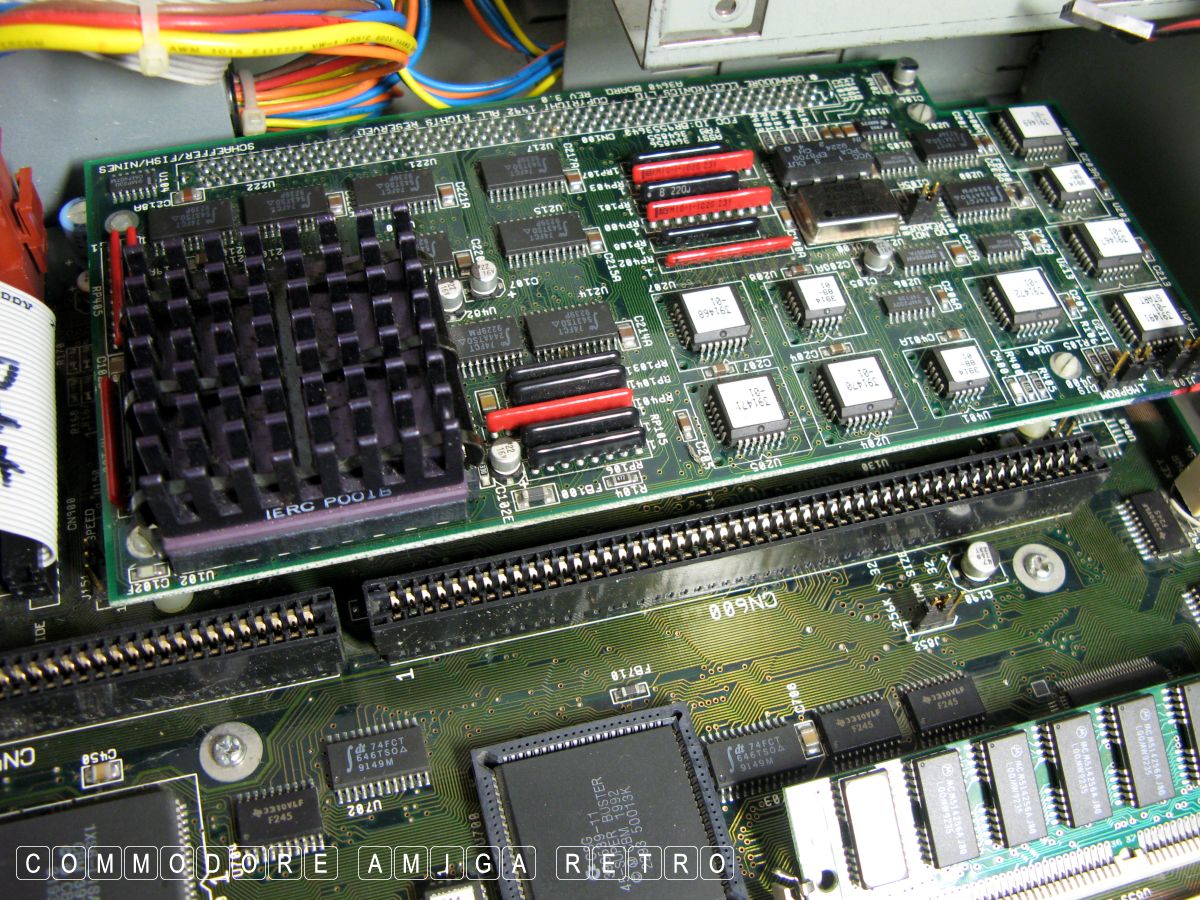
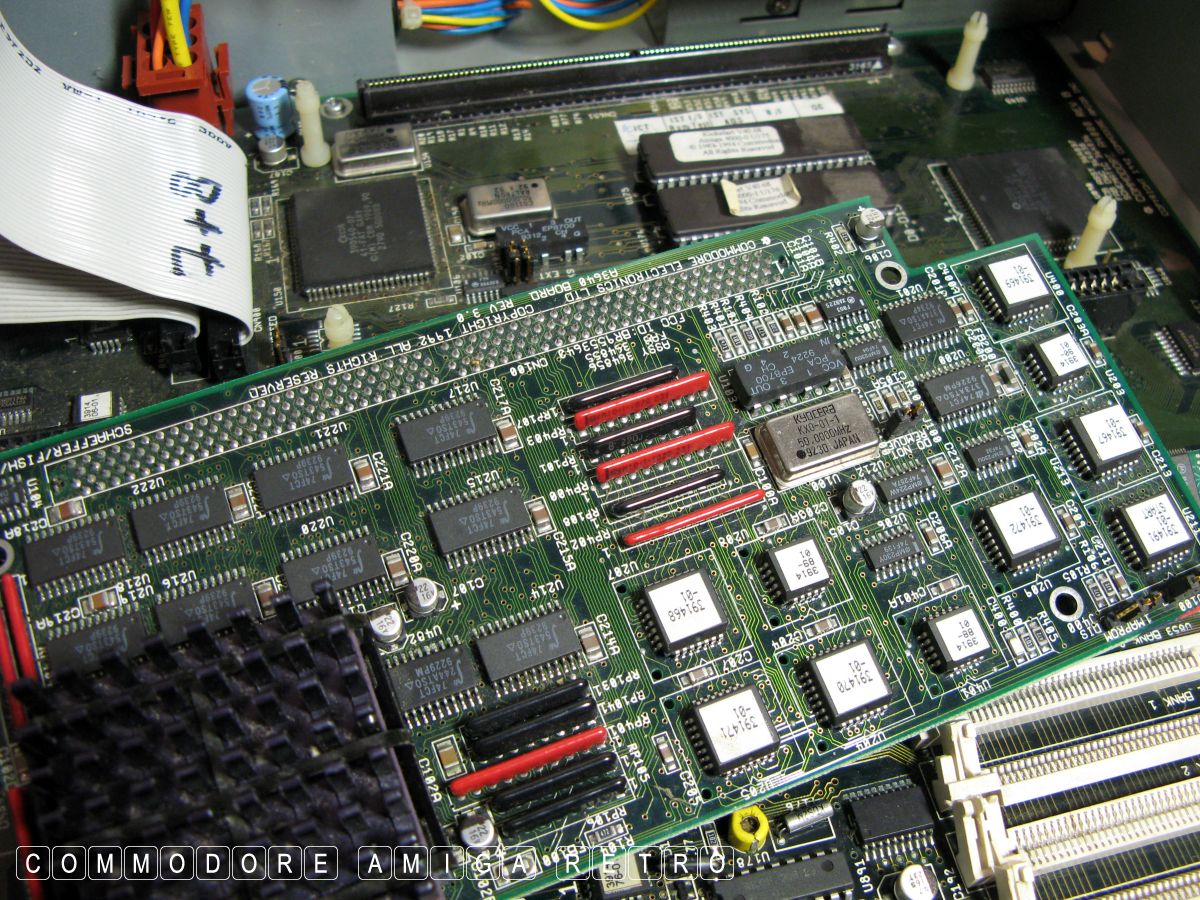
Next we can lift the 040 processor board.
The white legs can be left attached.

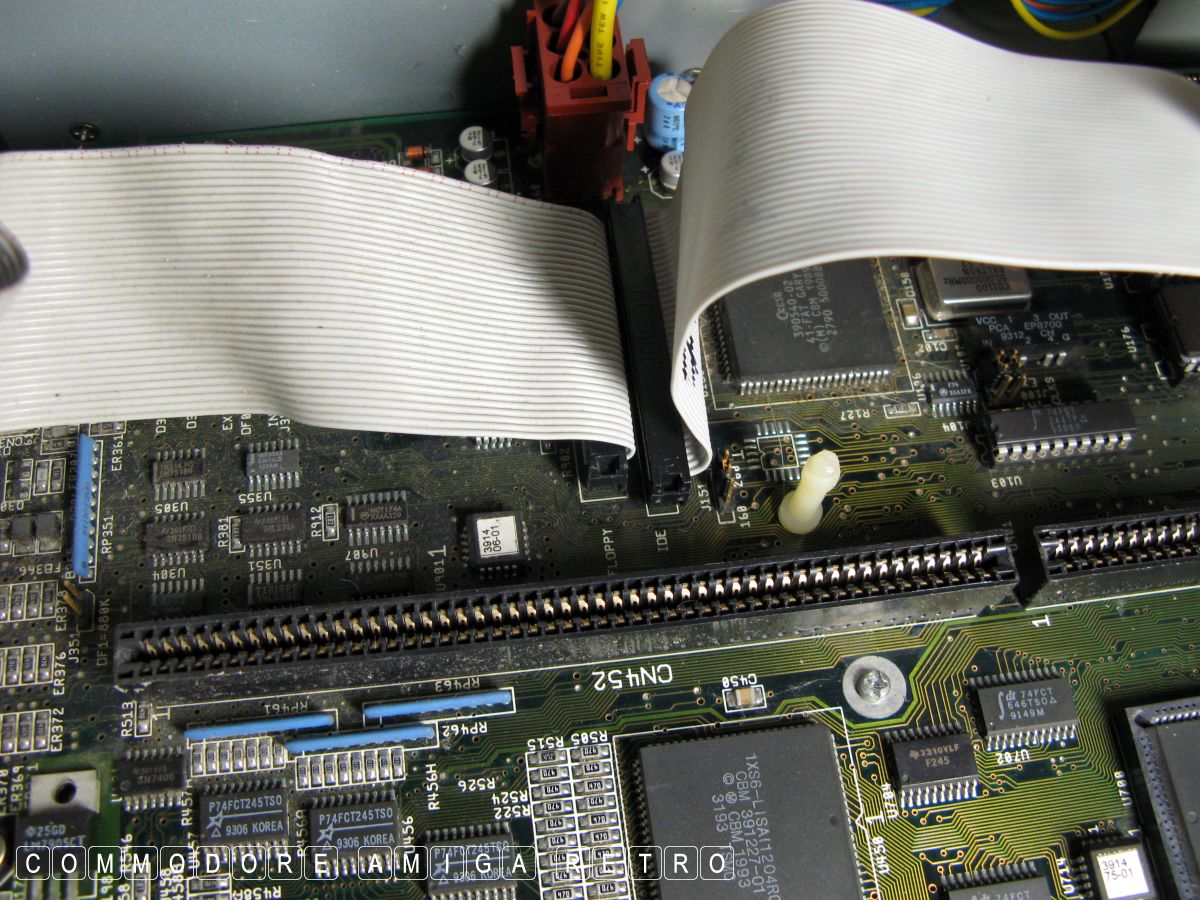
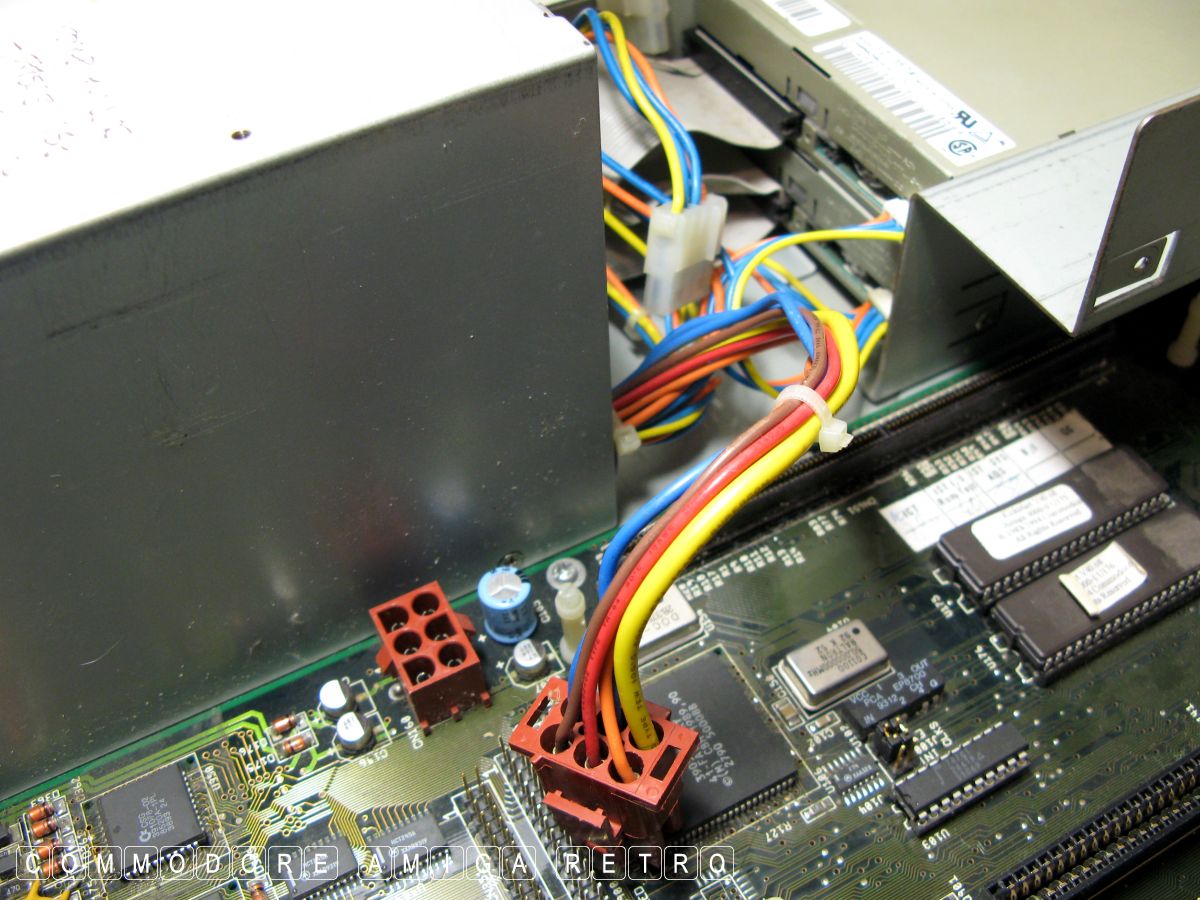
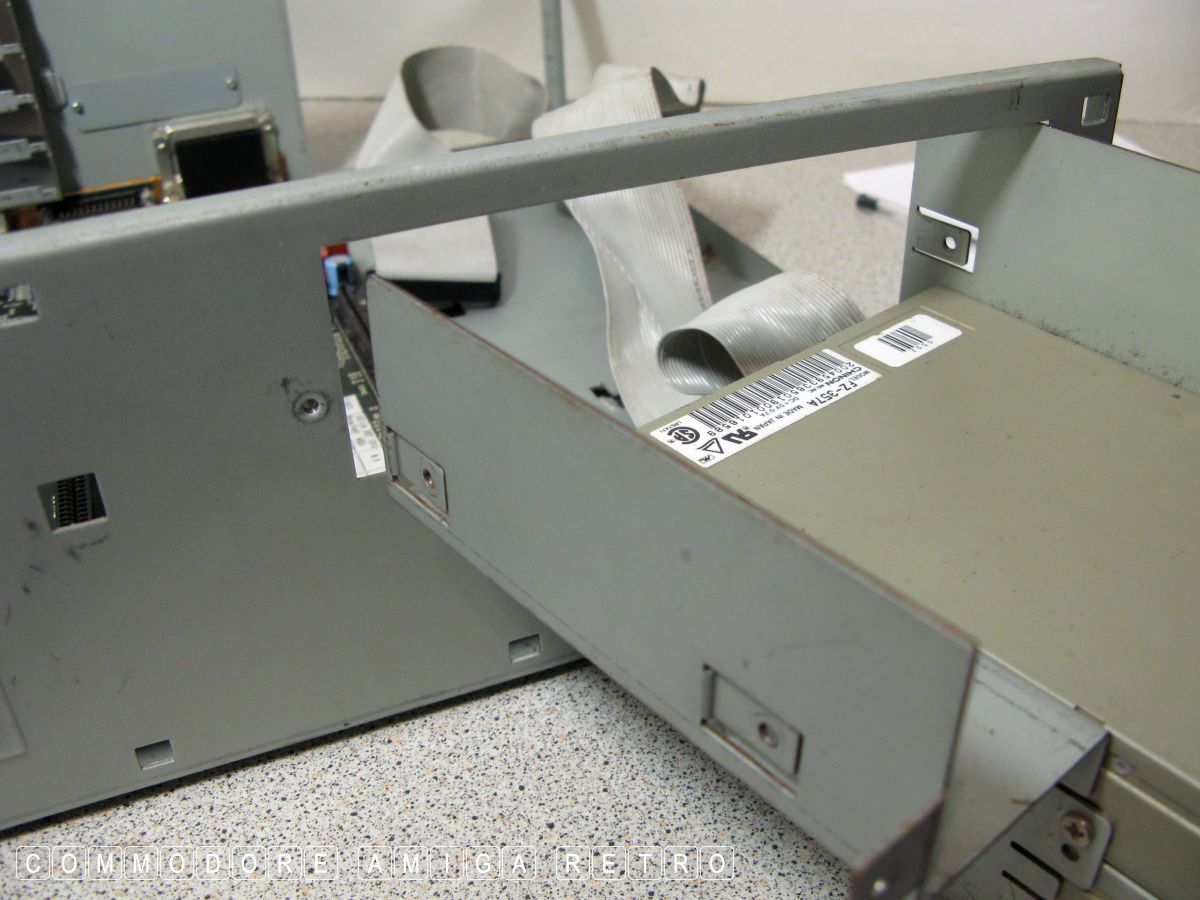
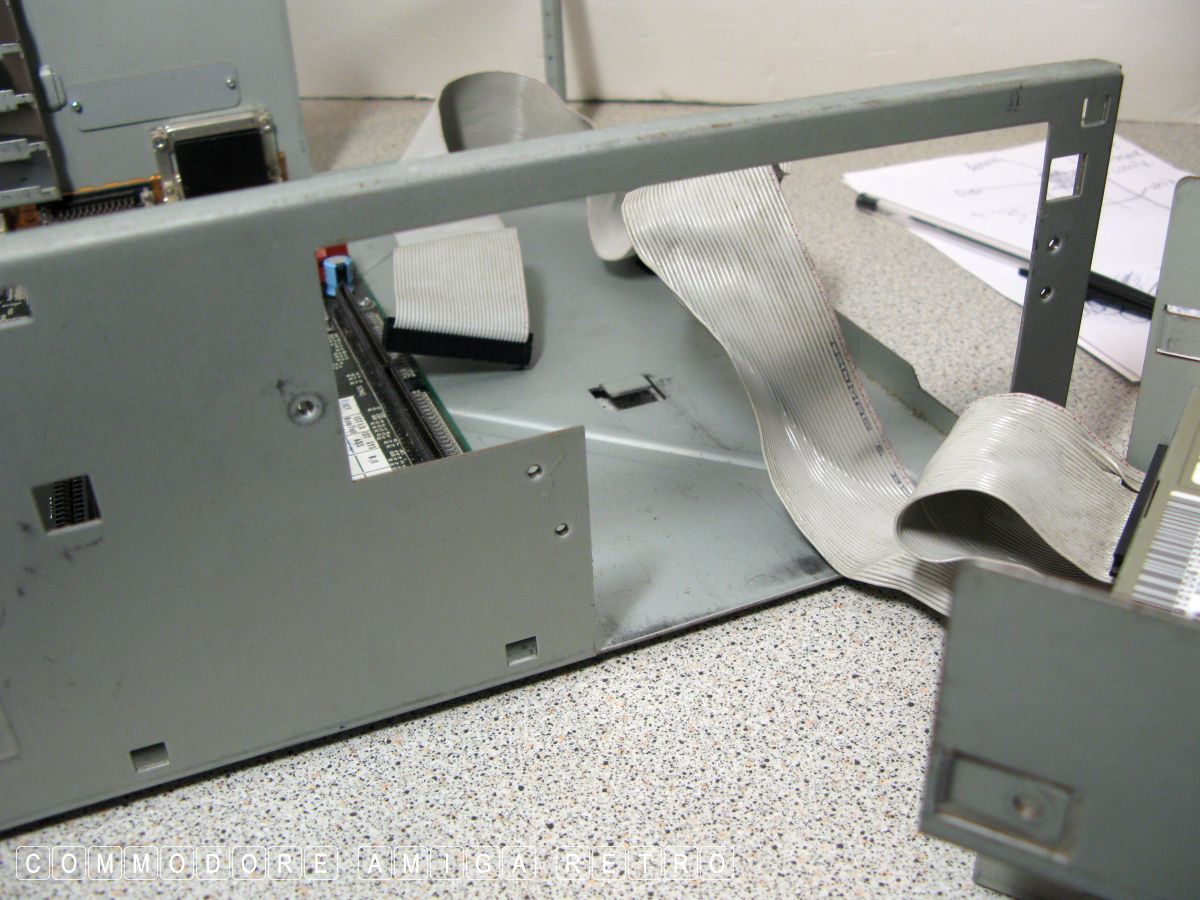
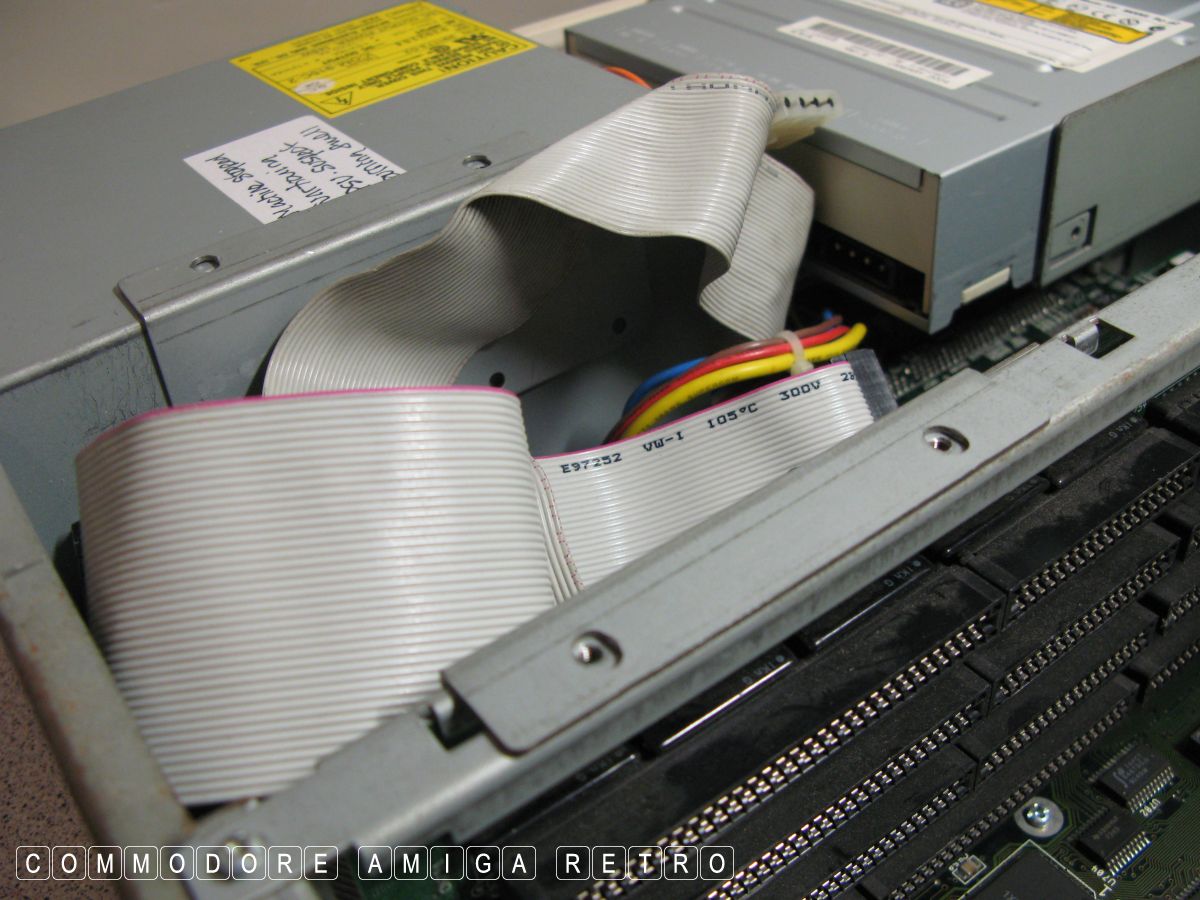
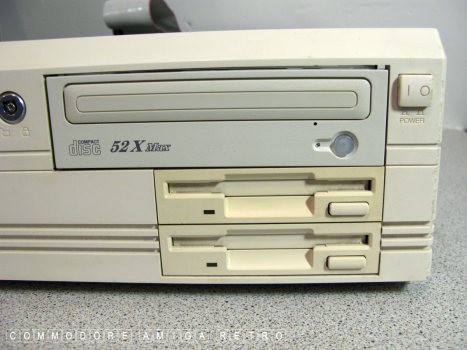
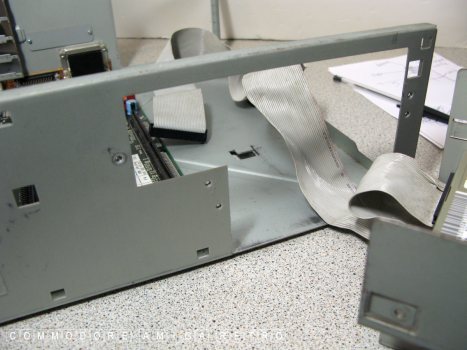
Next to the floppy and hard drive ribbons.
Remove the right hard drive ribbon.
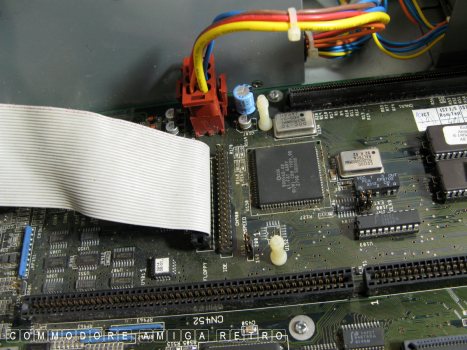
And the left for the floppy. Note the
red ribbon edge closest to the PSU.

Press in the clasp to the orange power
connector and remove.

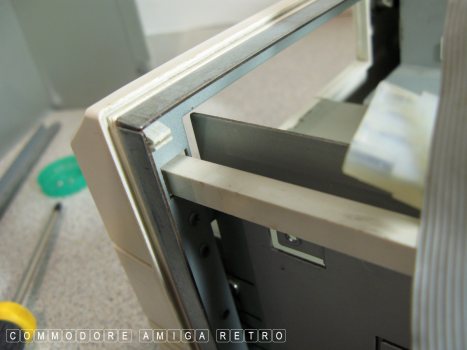
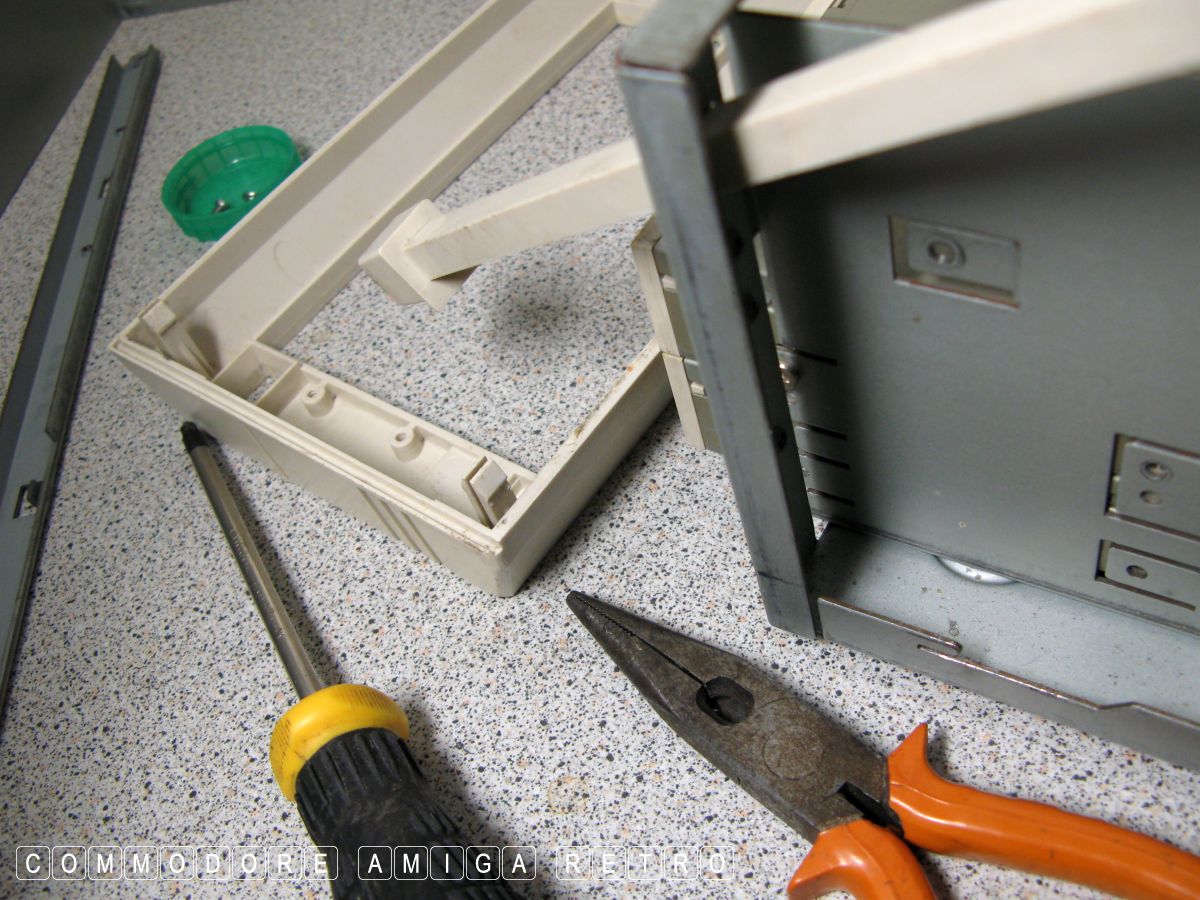
The front bezel or fascia is secured by
plastic connectors which you squeeze tight
and push through.

The power switch rod will drop free.
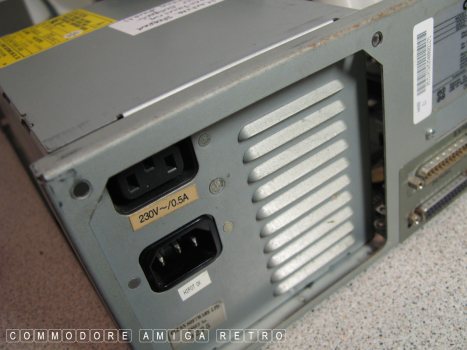
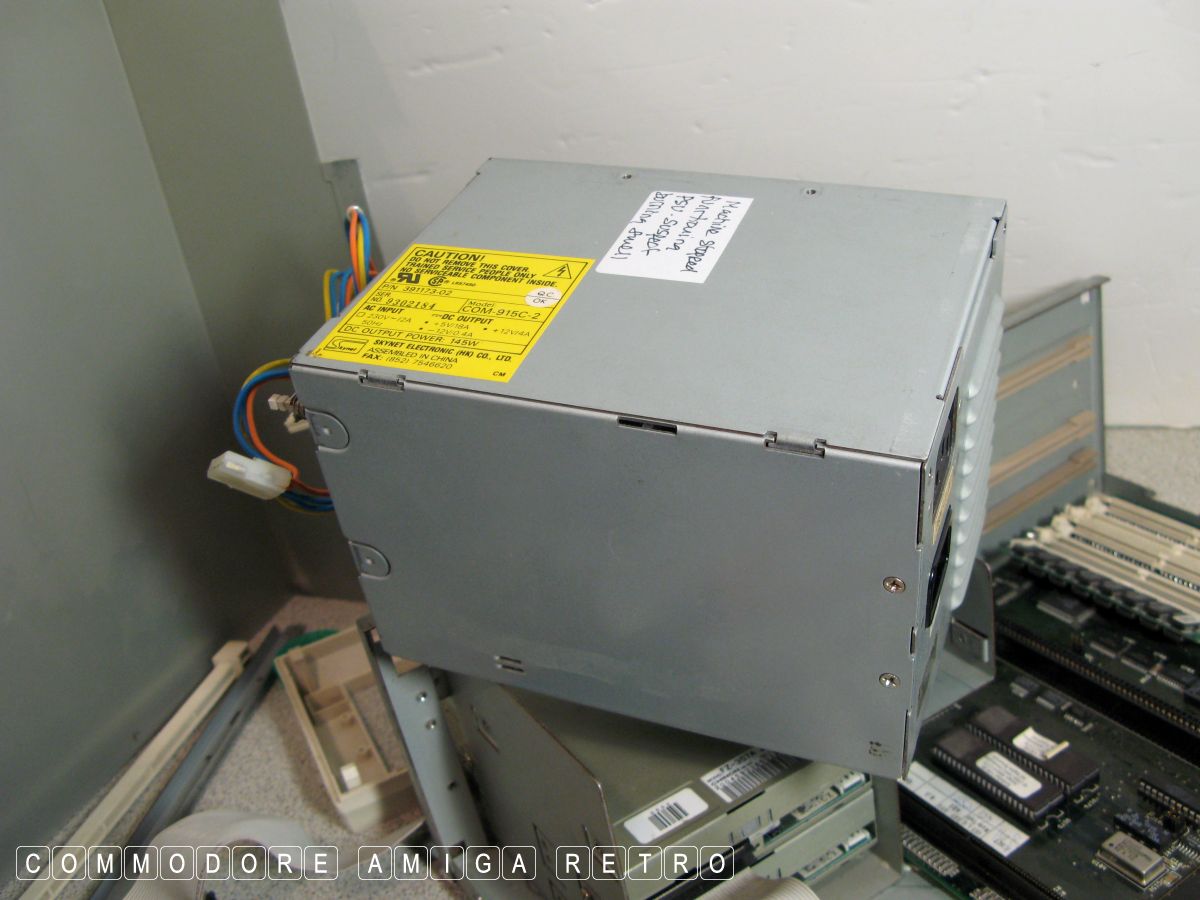
Unscrew the PSU unit and push inward
to release from the bottom restrainer.

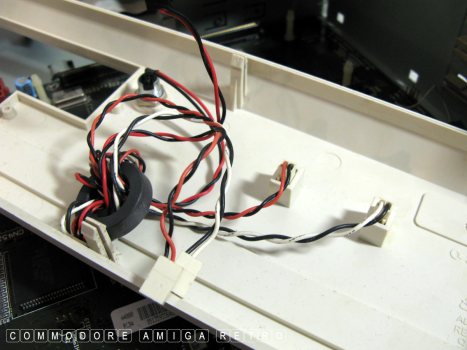
Unplug the power to floppy drives and remove.
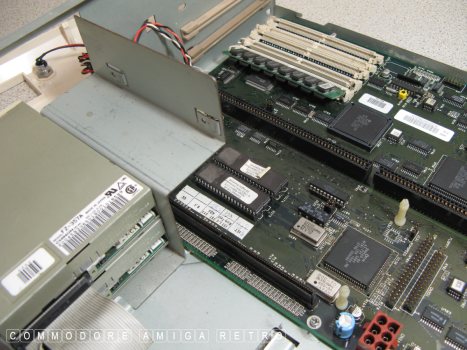
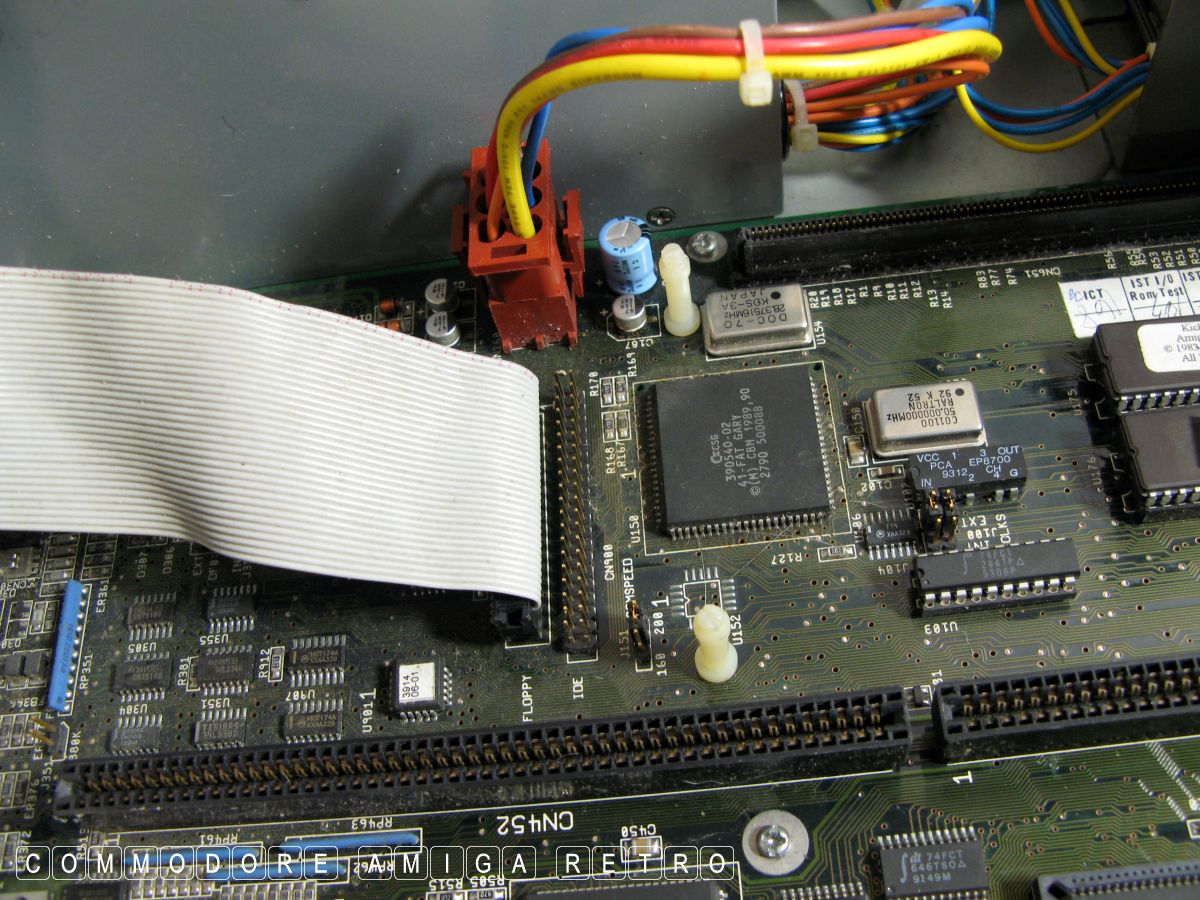
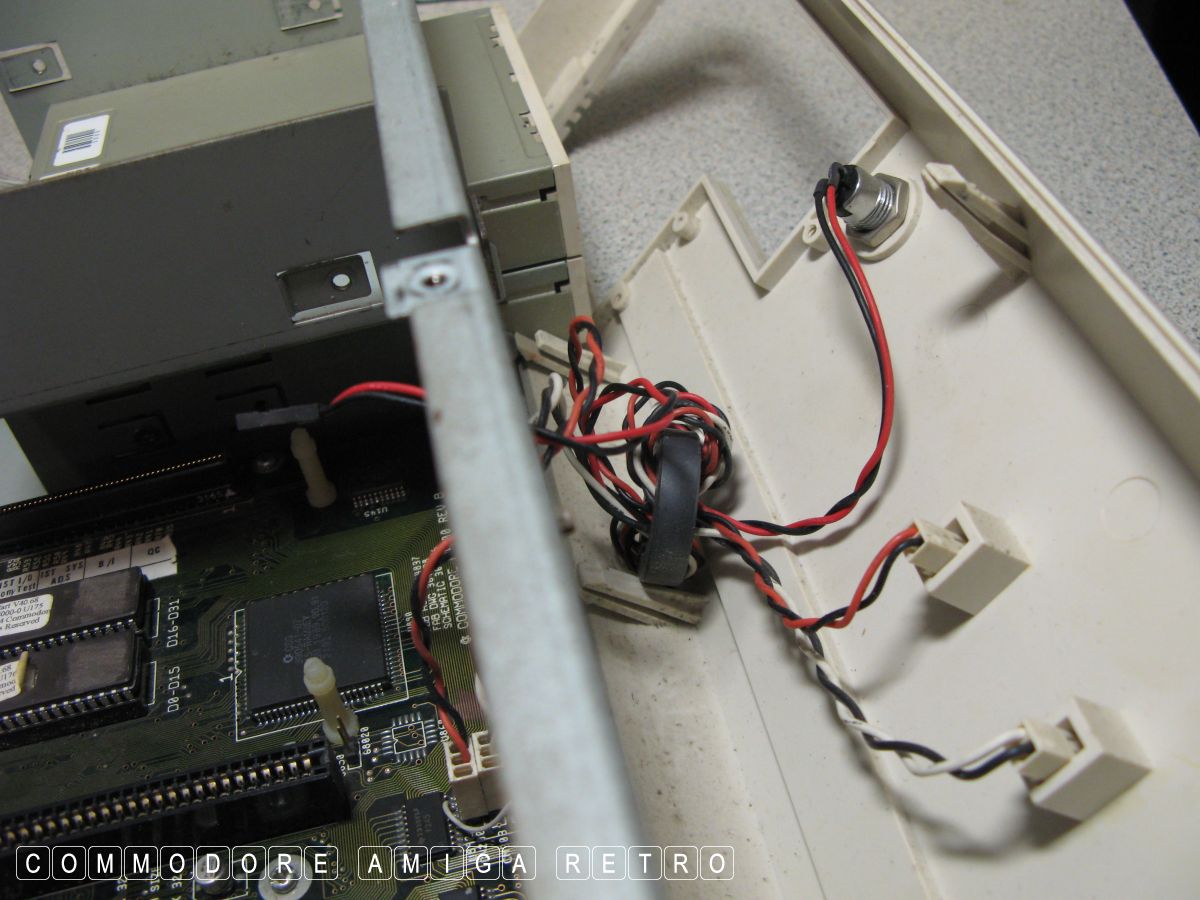
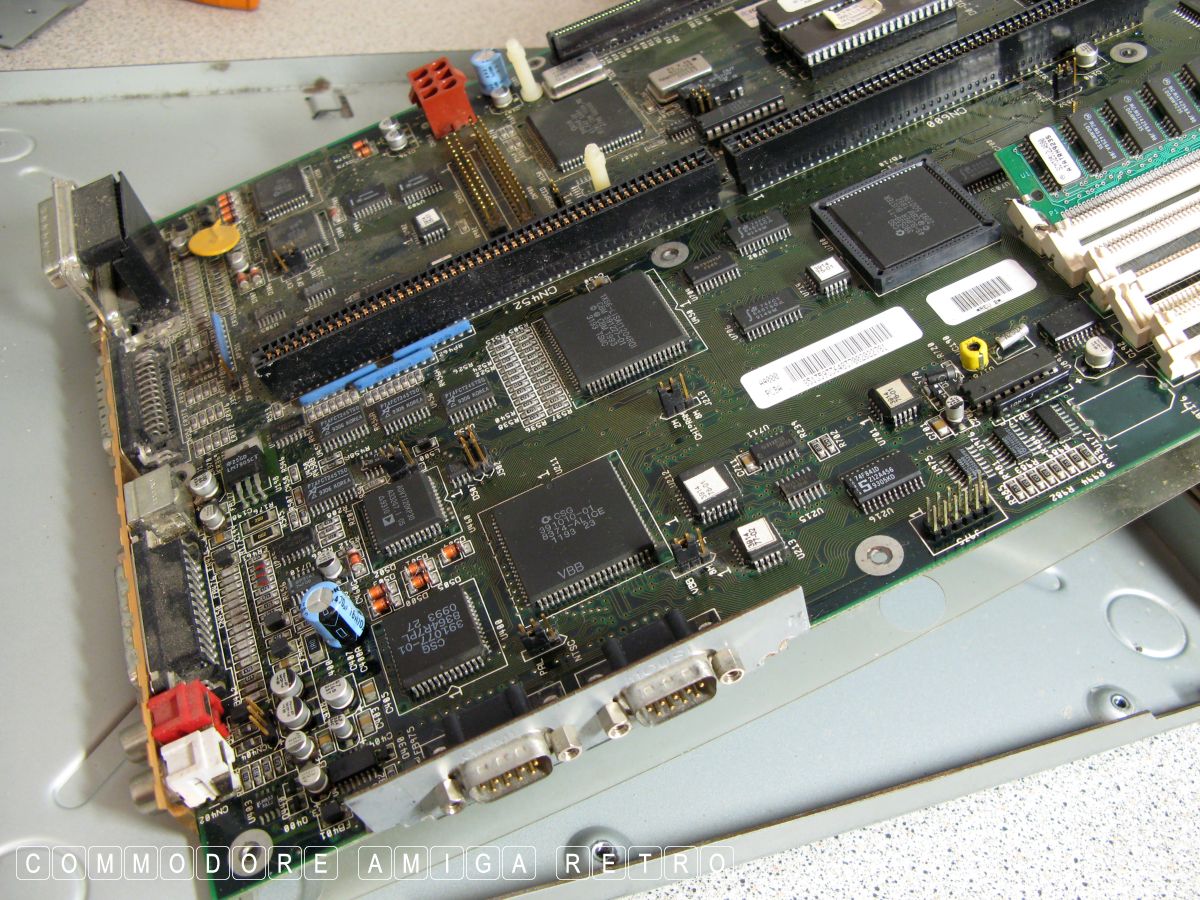
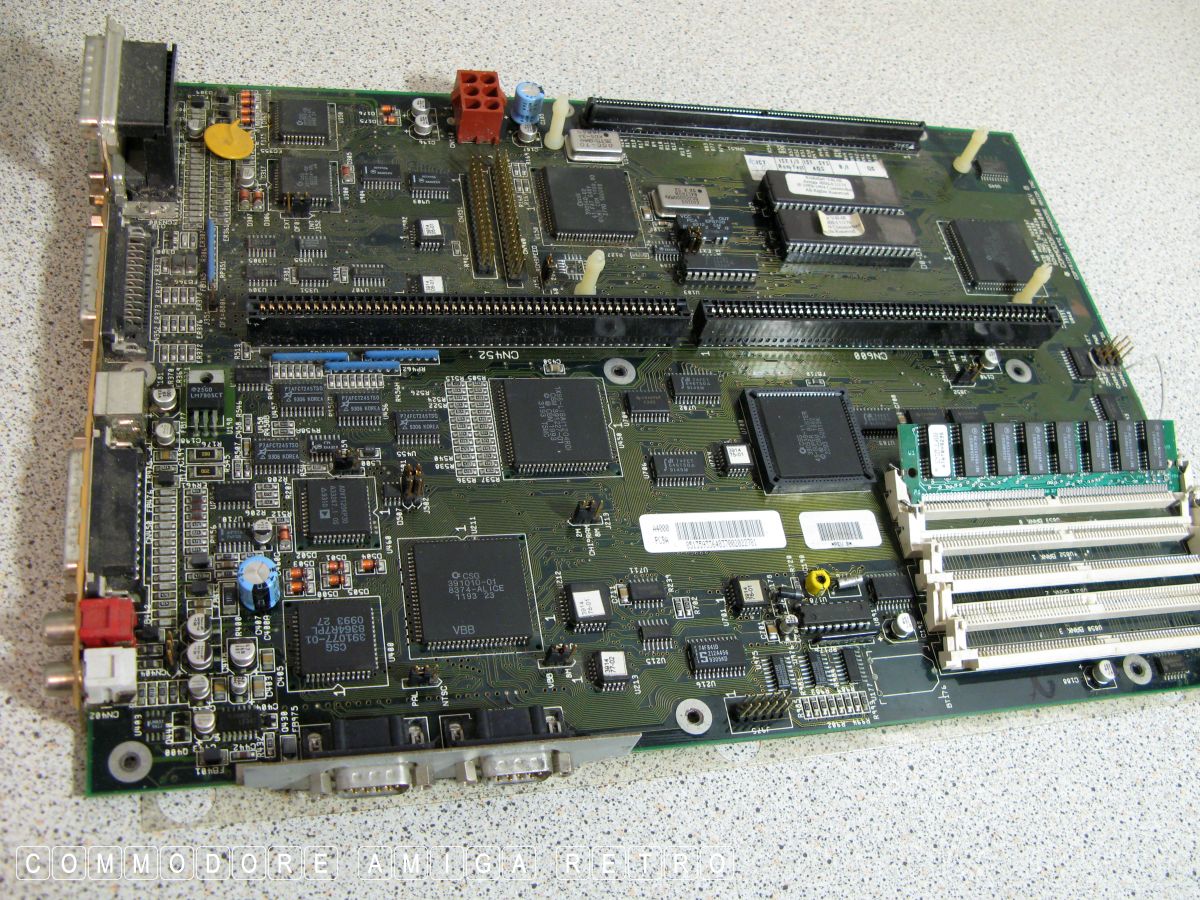
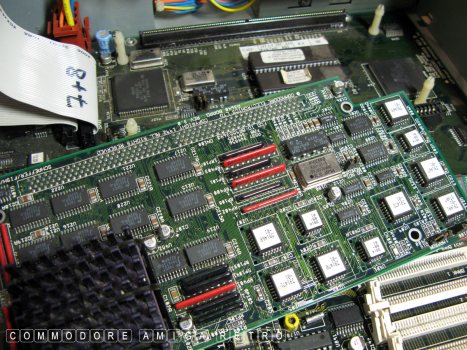
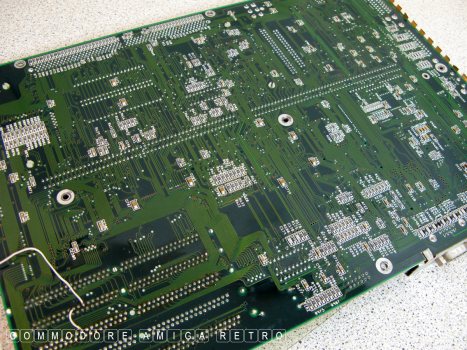
Most of the board is now revealed.
Make a note of the connector wire positions
to the motherboard.
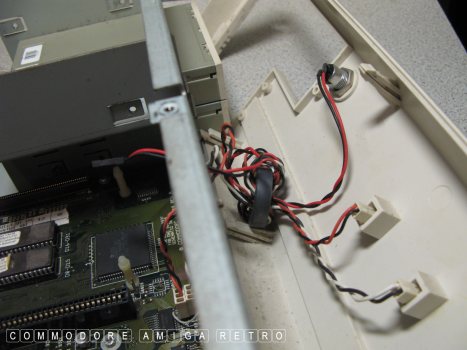
The wires feed through the front panel.

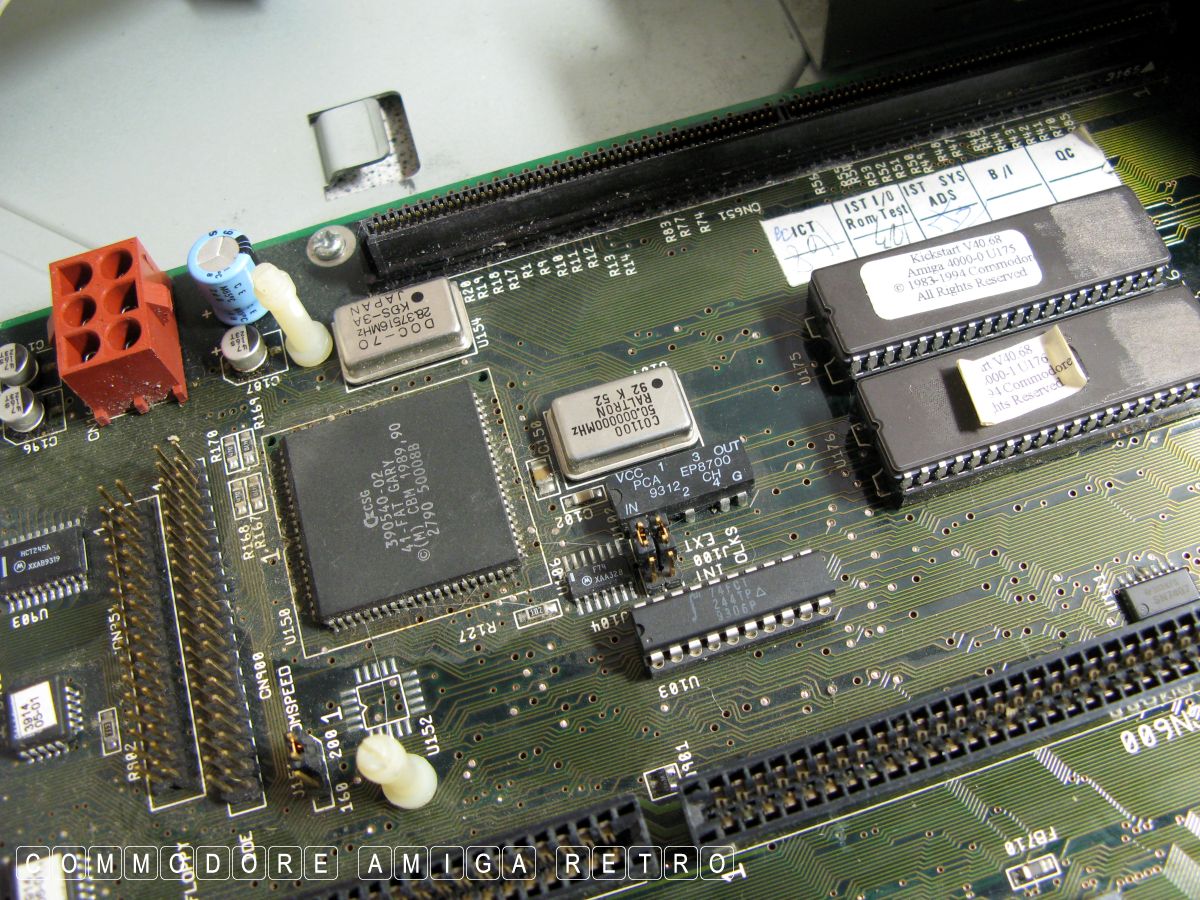
Make a note of all jumper settings noting
that with the 040 the setting is external.
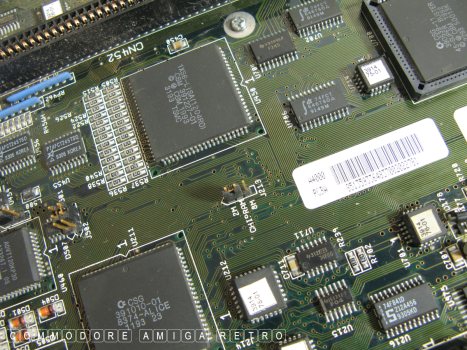
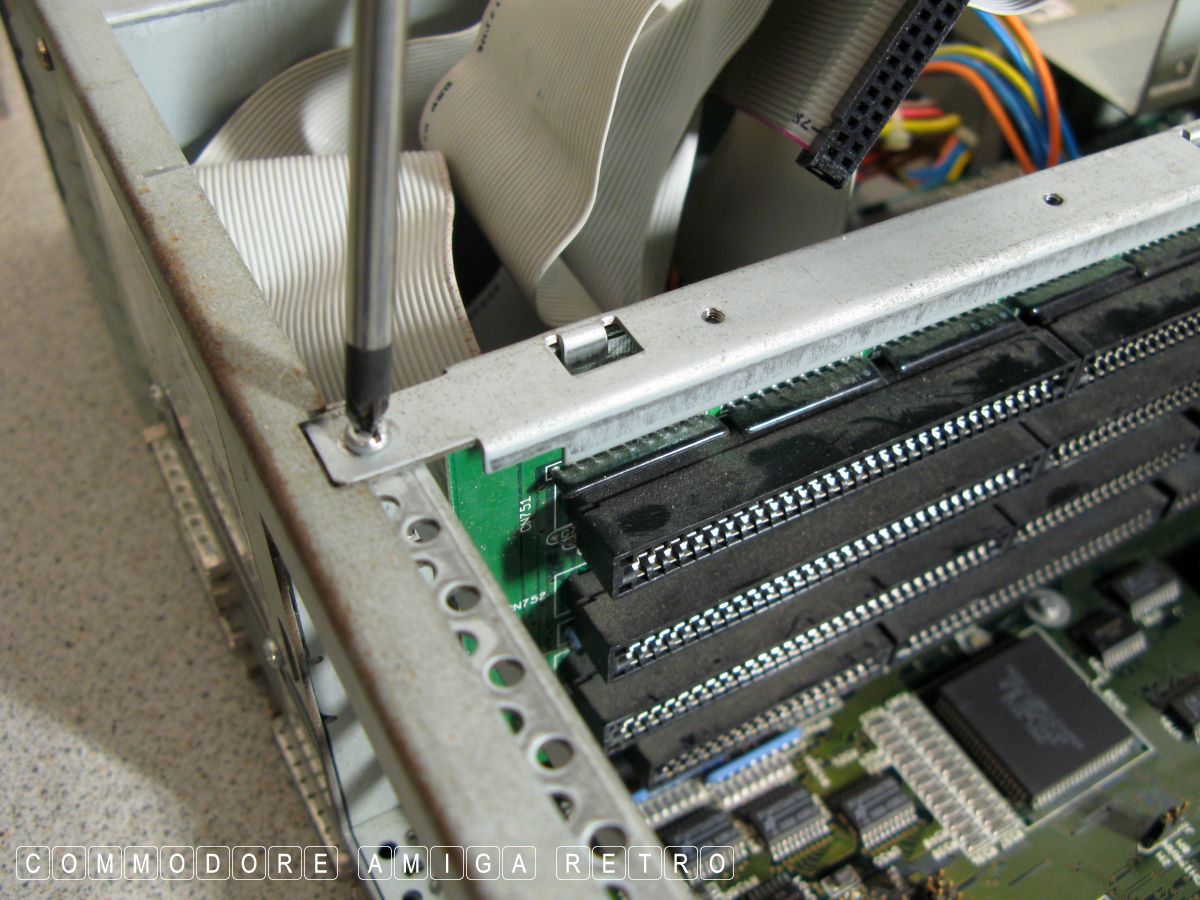
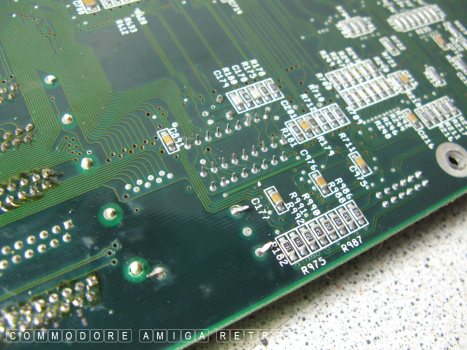
There are quite a few jumpers on the motherboard.
Pull those connectors through the tiny hole.
Remove the front fascia bezel completely.
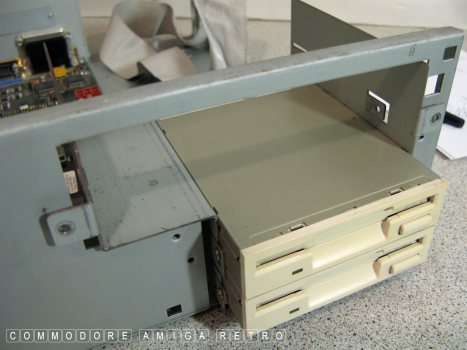
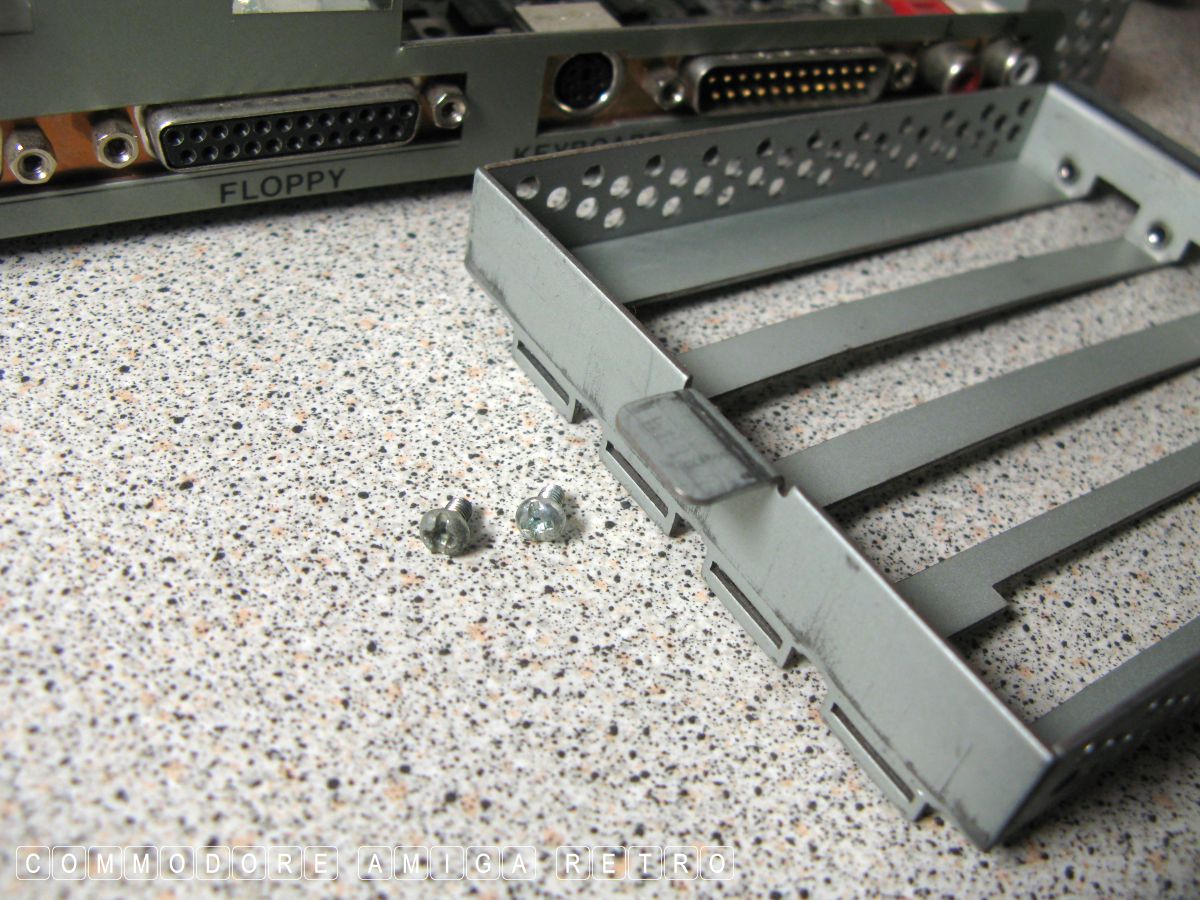
Unscrew the two screws holding the floppy cradle.

Withdraw the cradle completely.
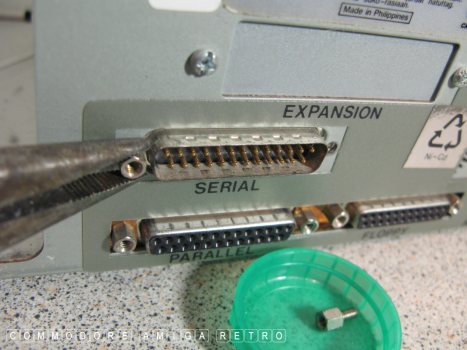
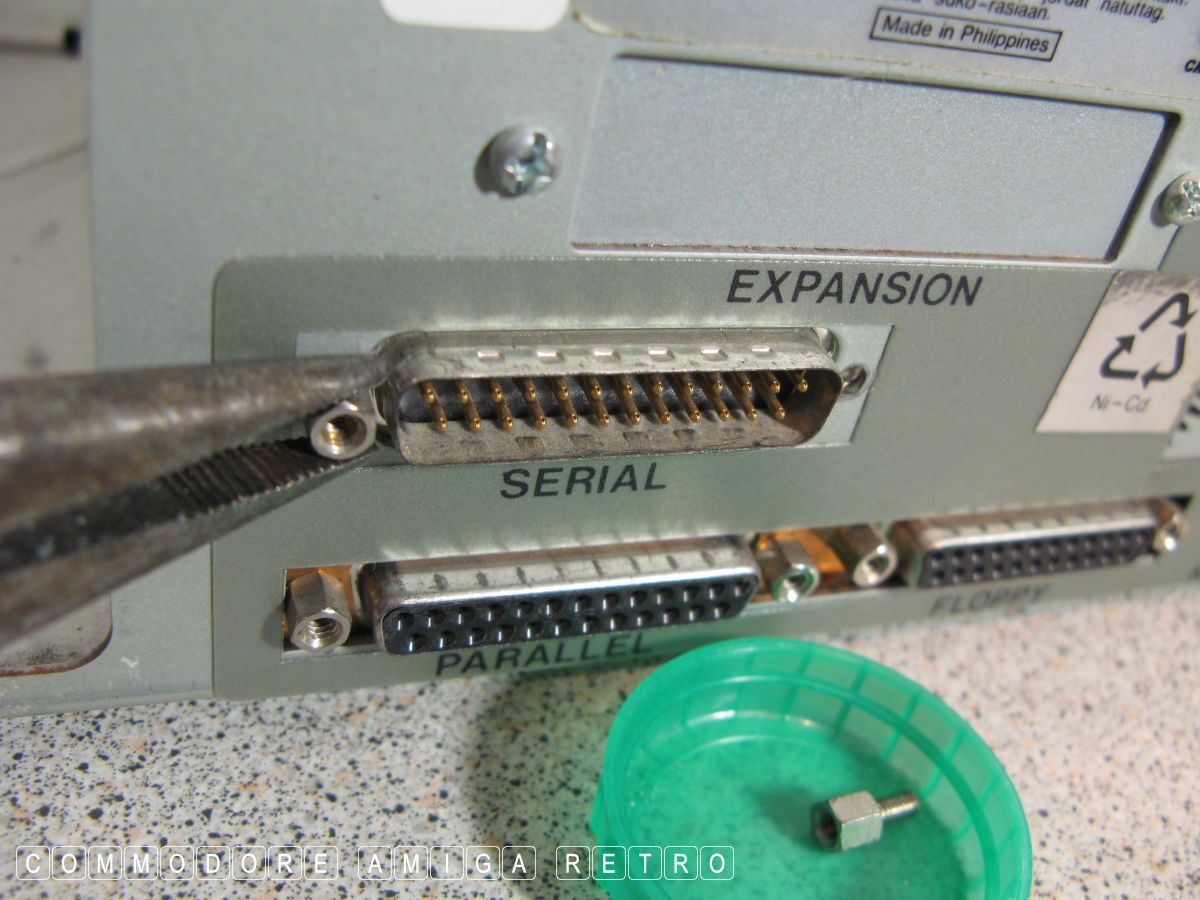
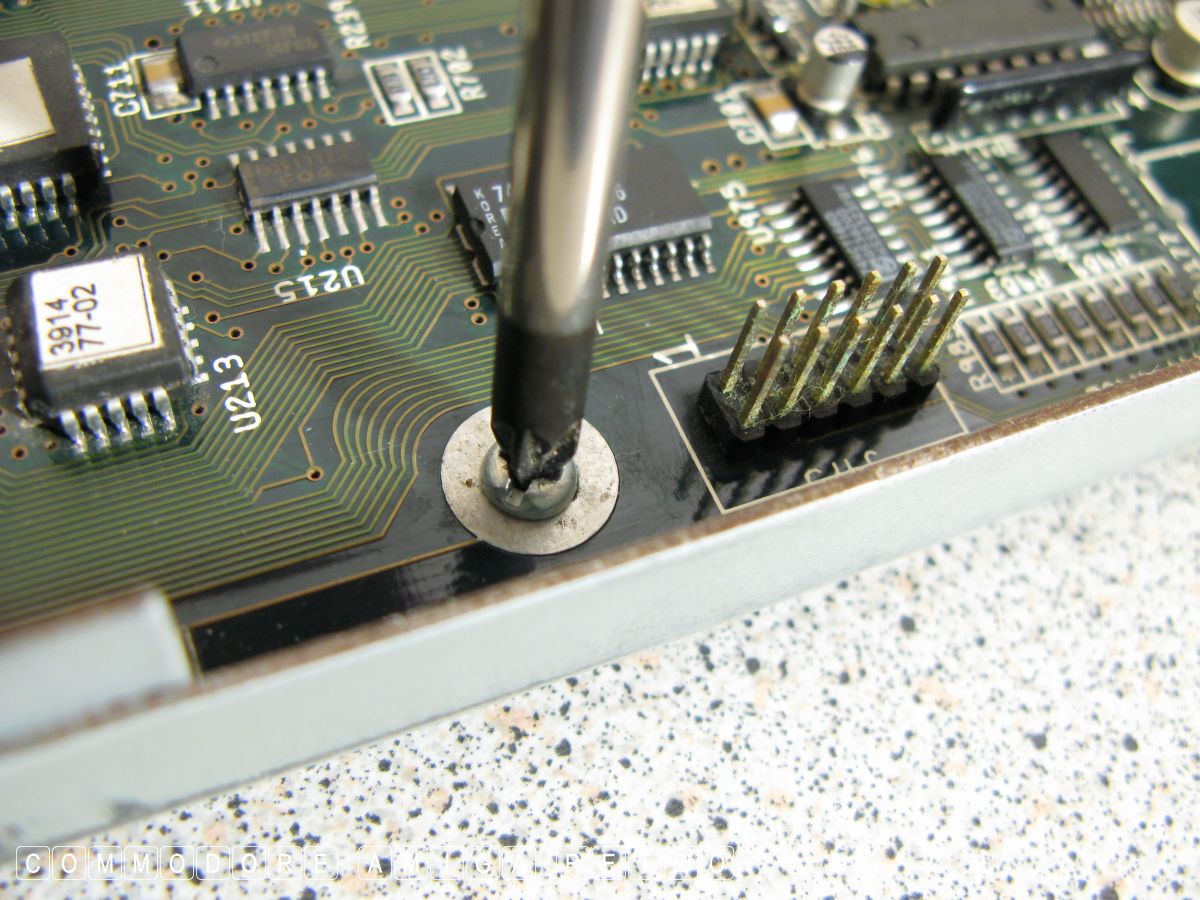
The only port to be unscrewed is the serial.
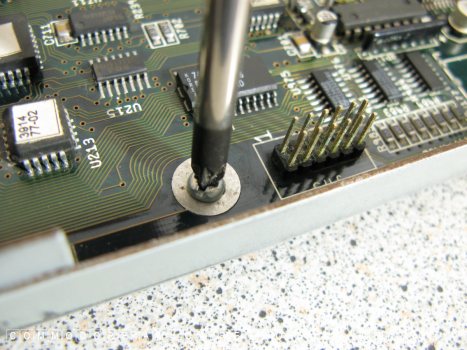
Begin to unscrew the motherboard.

One screw is obscured by the rear card
plate. Remove the one screw and slide out.

We can now withdraw the whole motherboard.

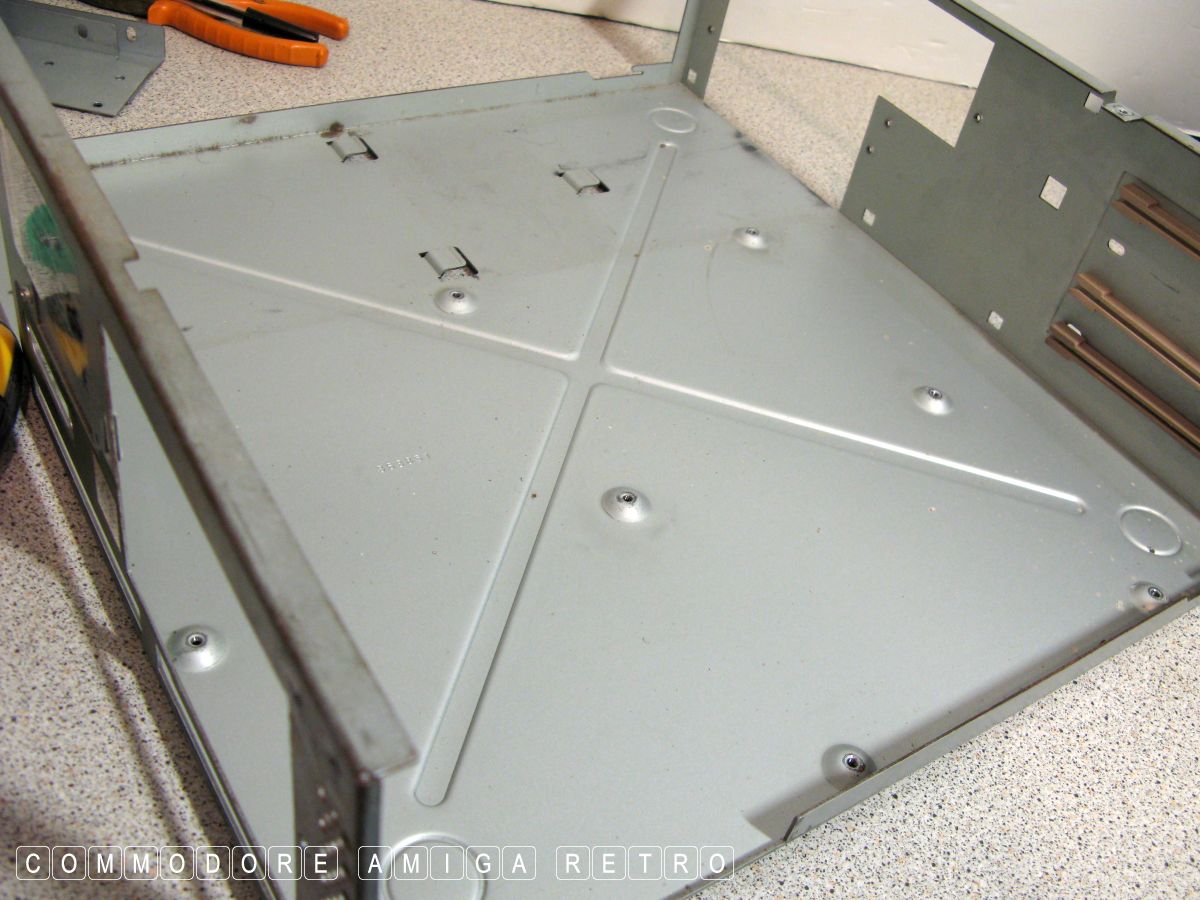
Check the base of the computer for rusting.
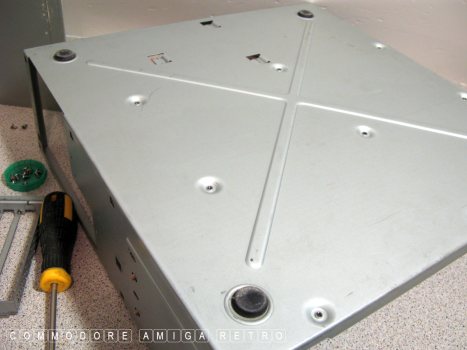
Check top and the very bottom.

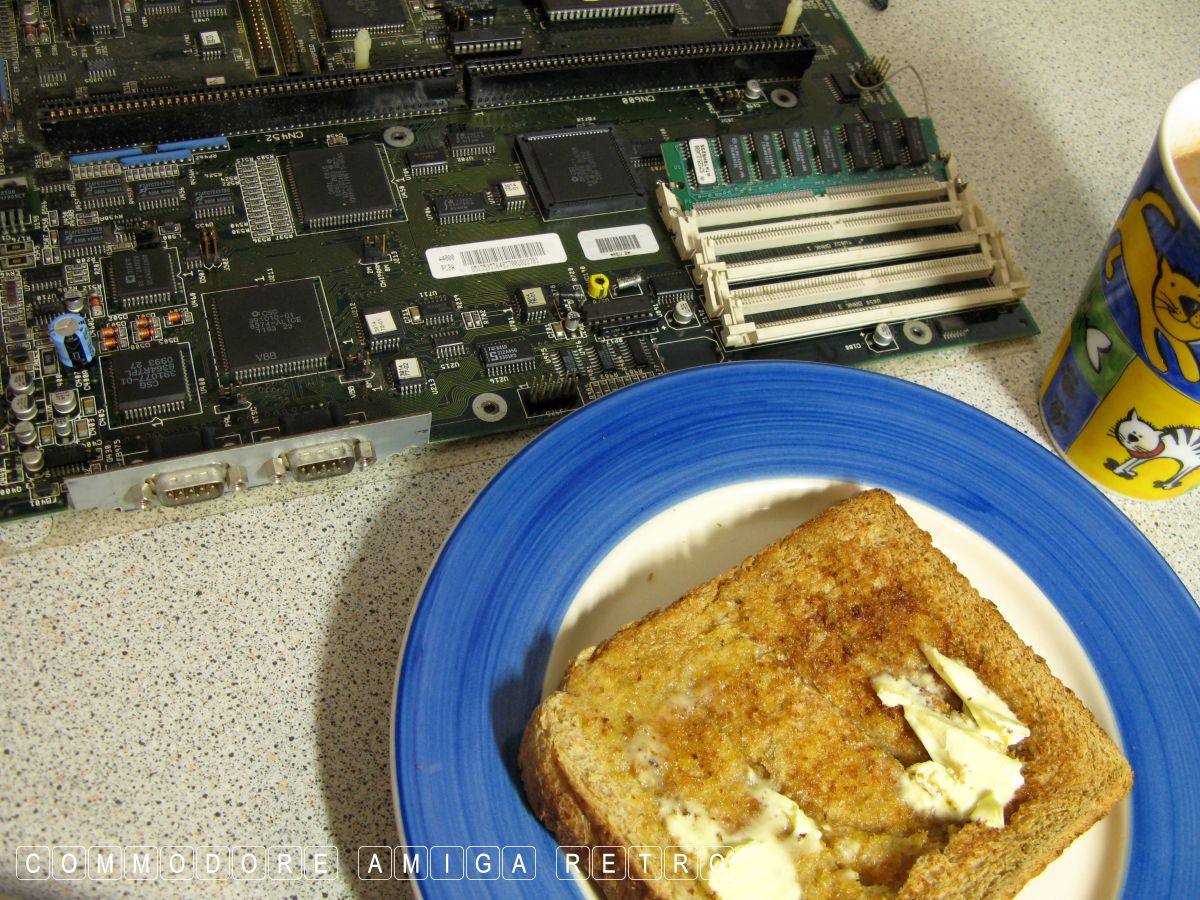
Place the motherboard on a clean level surface.

Have tea and toast.
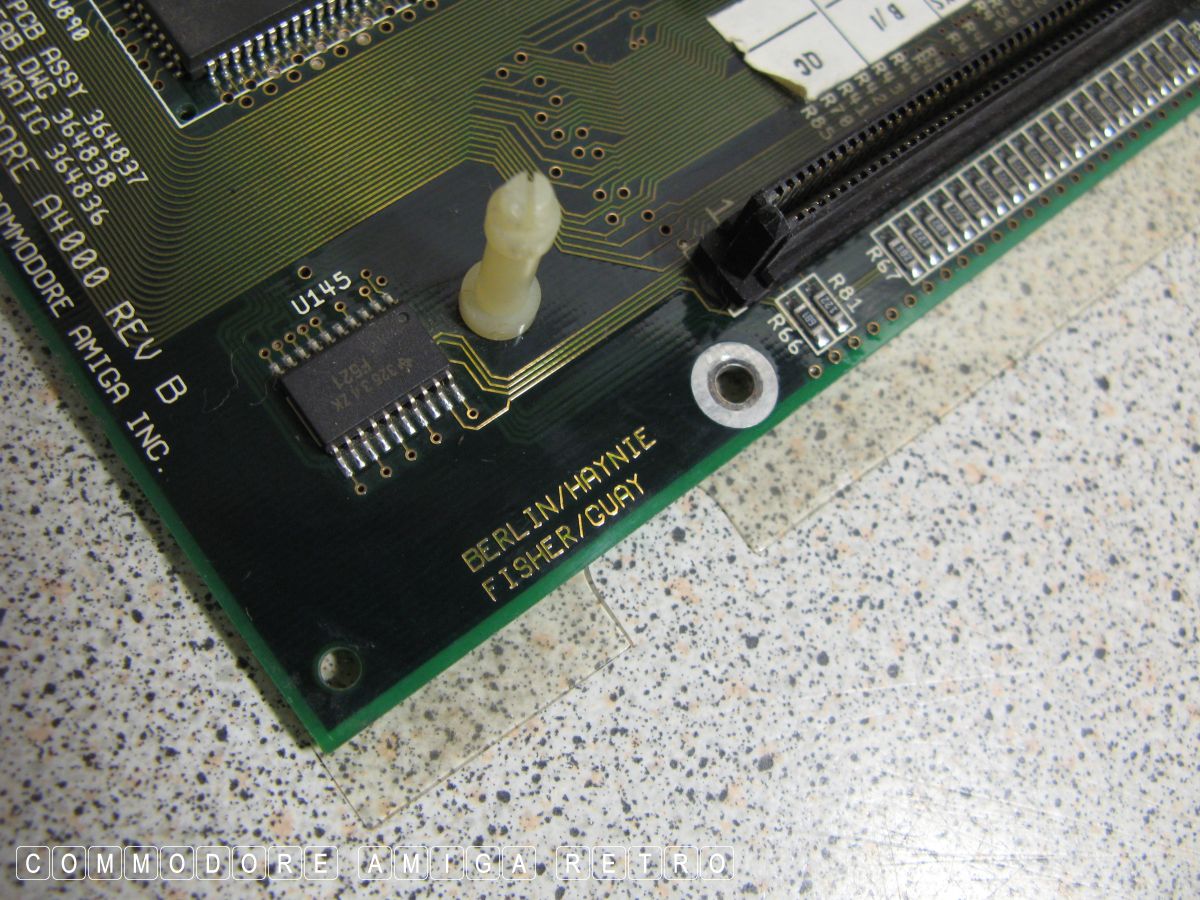
That Dave Haynie gets everywhere.
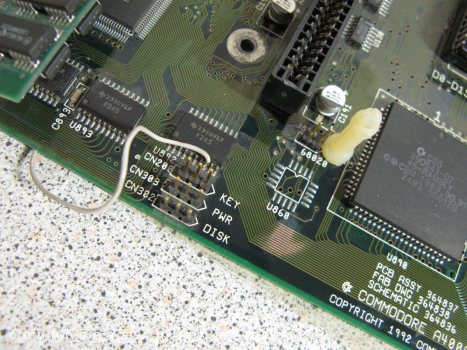
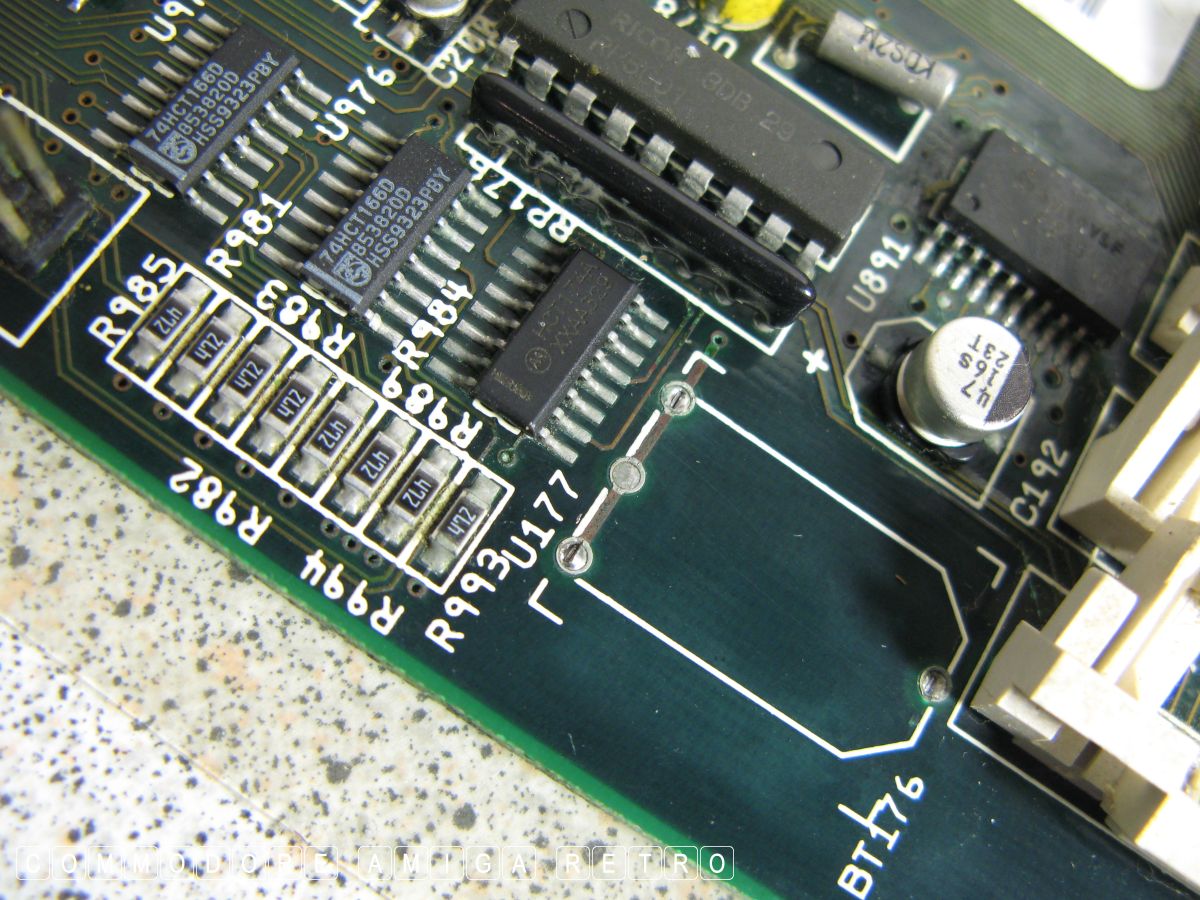
OK time to check that wire.
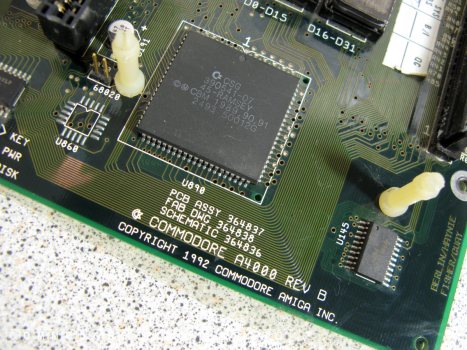
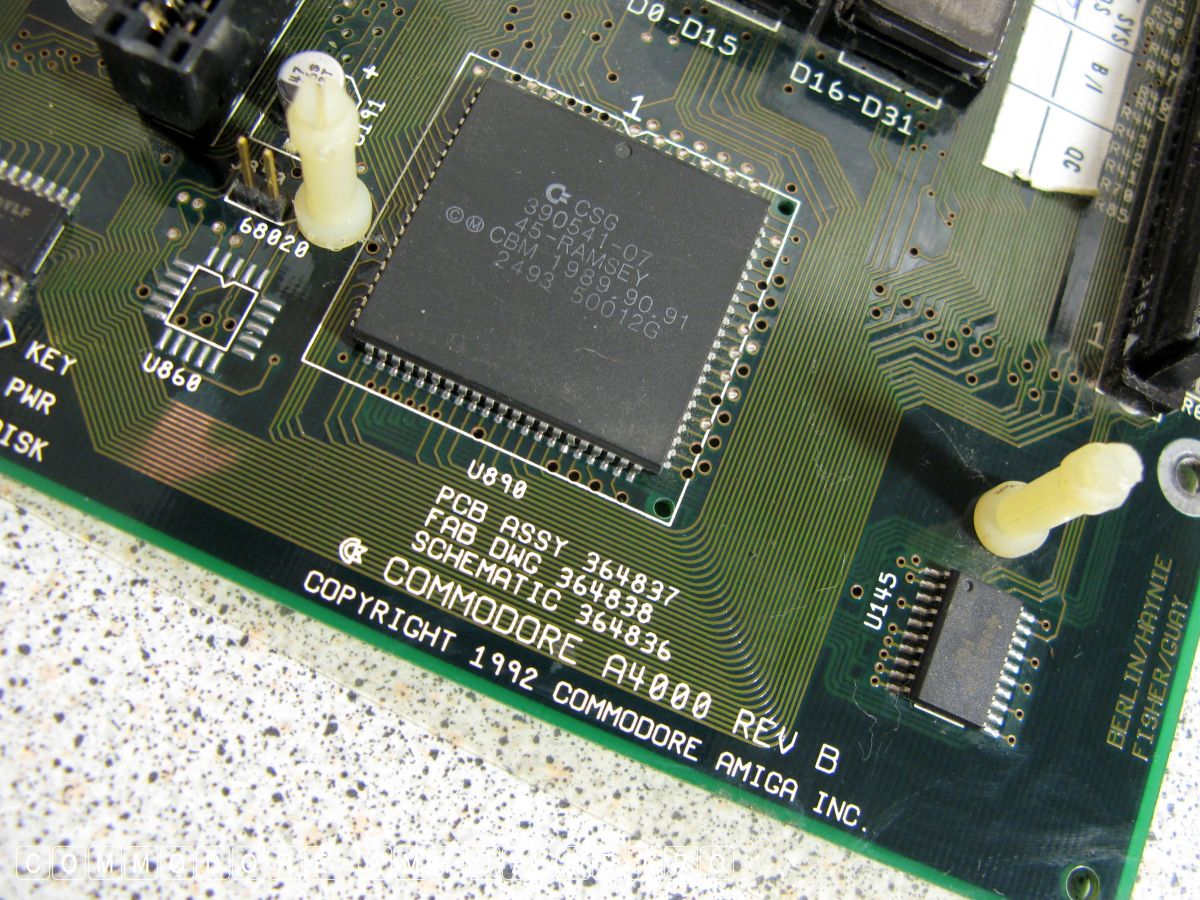
Commodore A4000 Rev B.. in truth the 'A'
stands for Amiga and so you should never
call an A4000 and Amiga A4000.

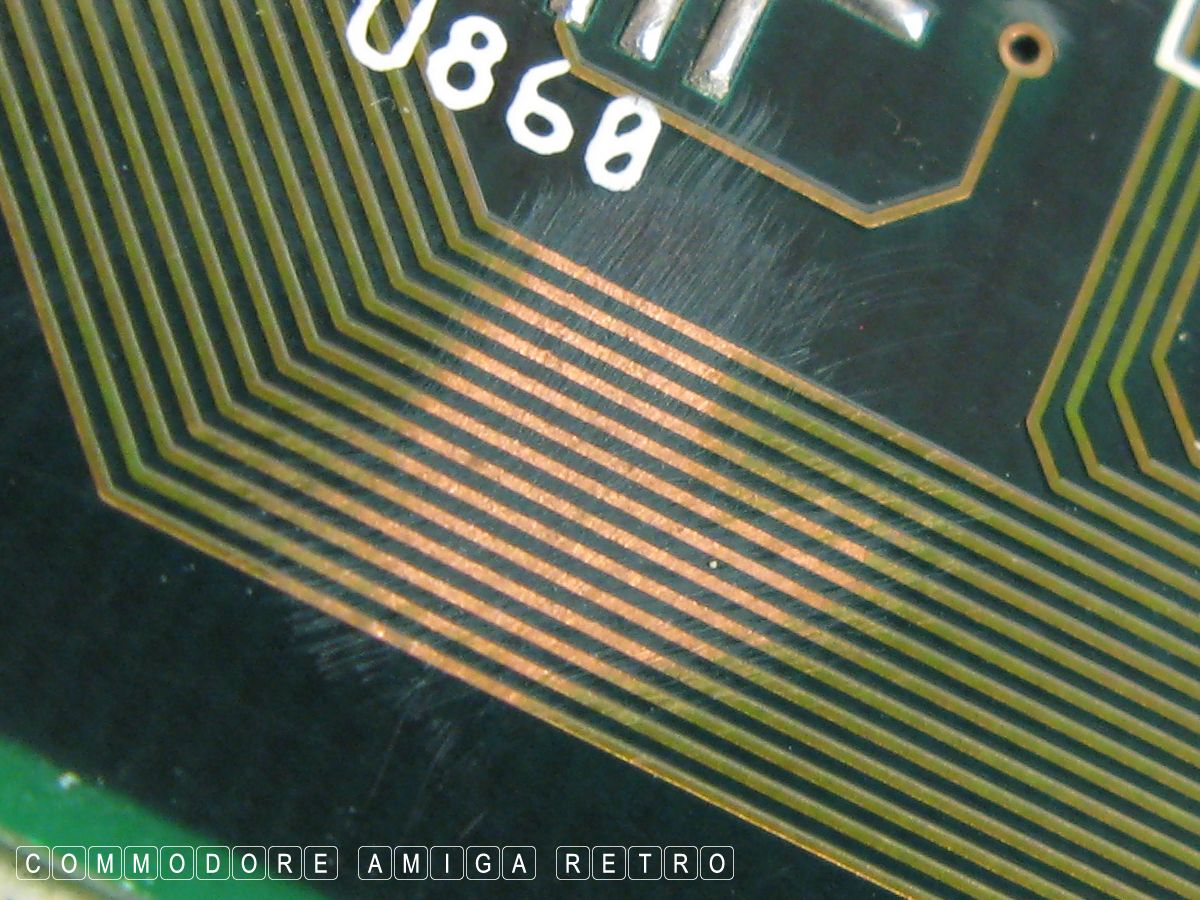
This area looks like the tracks have
been deliberately abraded.
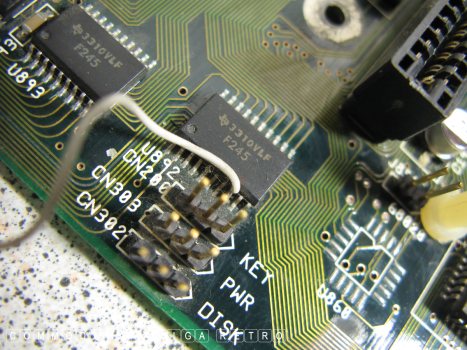
Note the wire and the pin it is connected to.
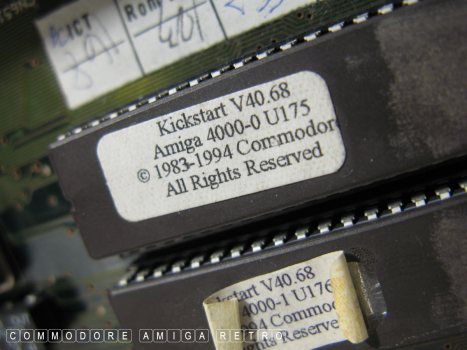
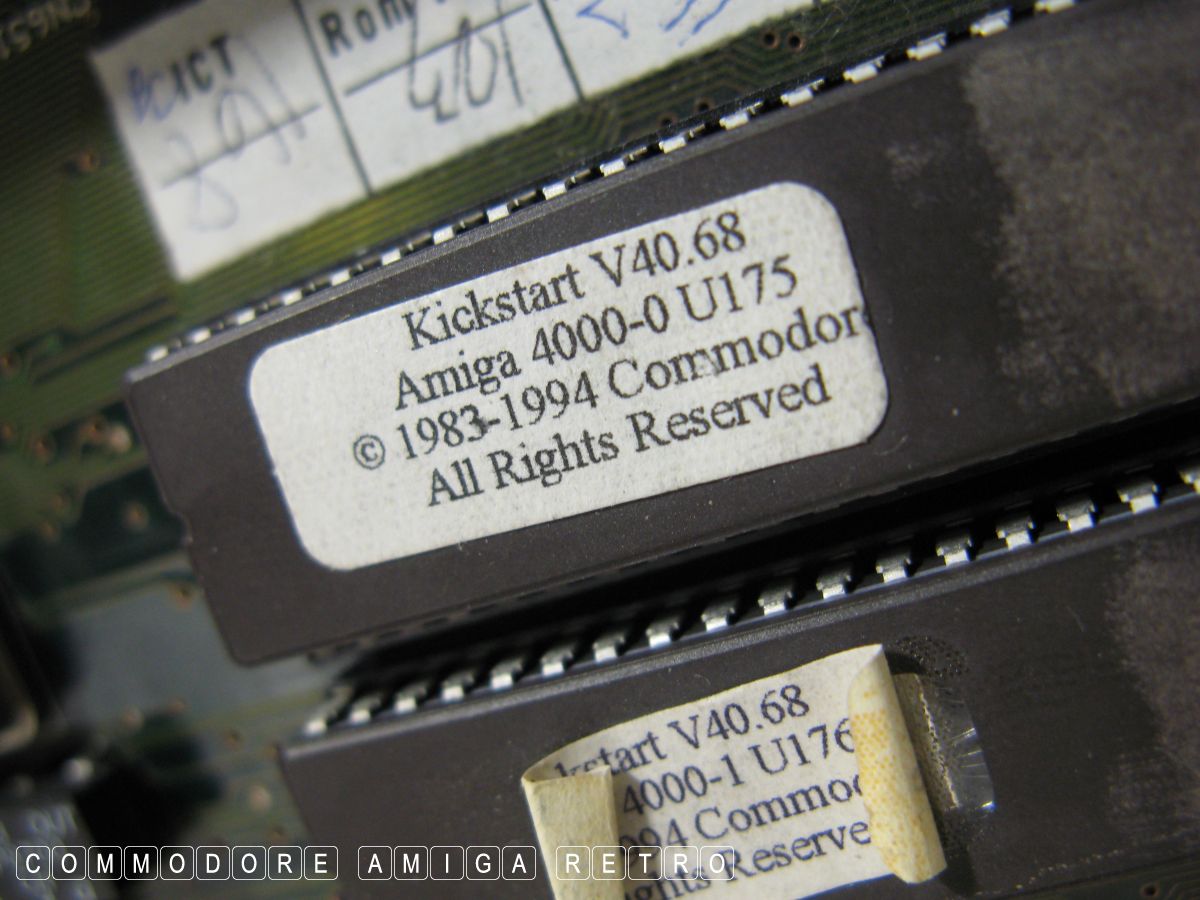
Fitted with the 3.1 ROM chips.

Broken SIMM slots.
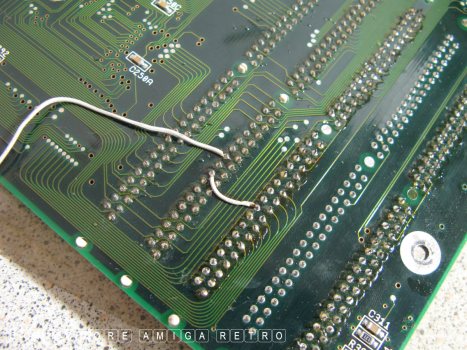
And so that is where the wire goes.
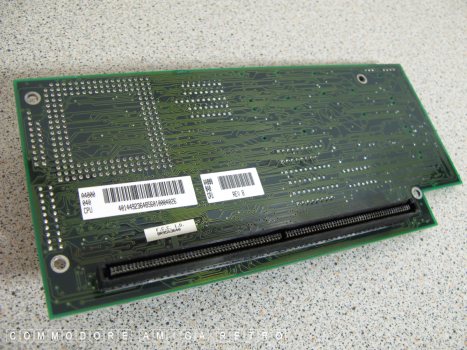
No battery damage to the rear.
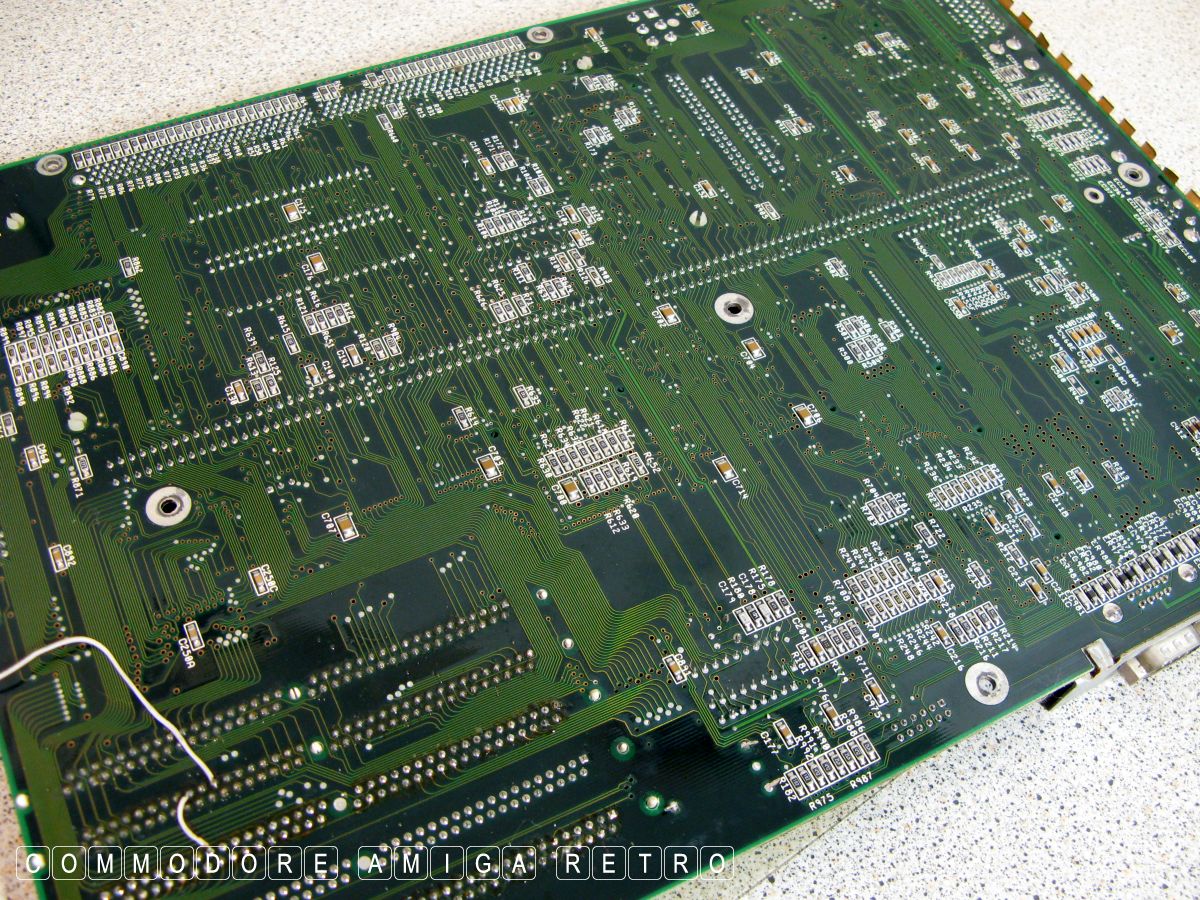
The rear of the motherboard.
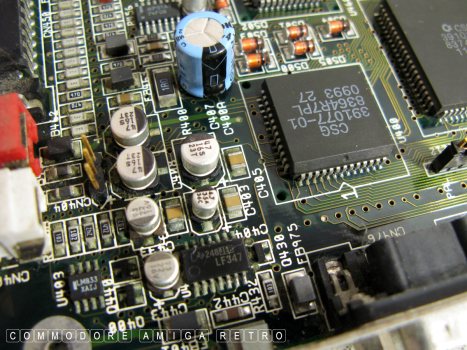
Capacitor check, like I know what I
am looking for.

I removed the battery a good while back
even though it was new when I got the A4000.
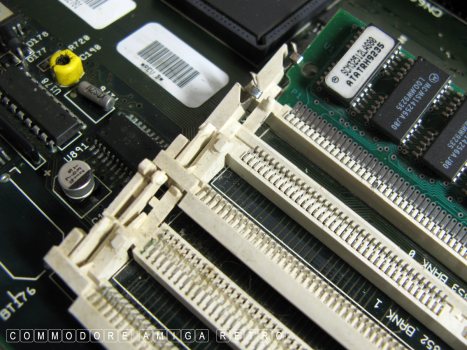
It befuddles me how in under ten years these
SIMM slots got so badly damaged. It is a problem
with many Amiga 4000s.
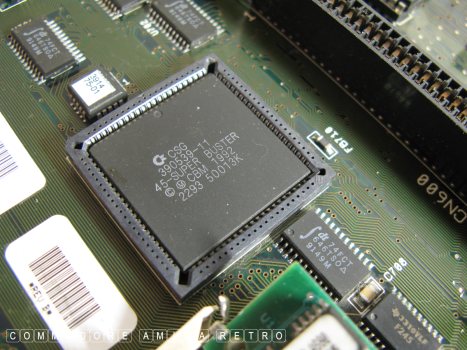
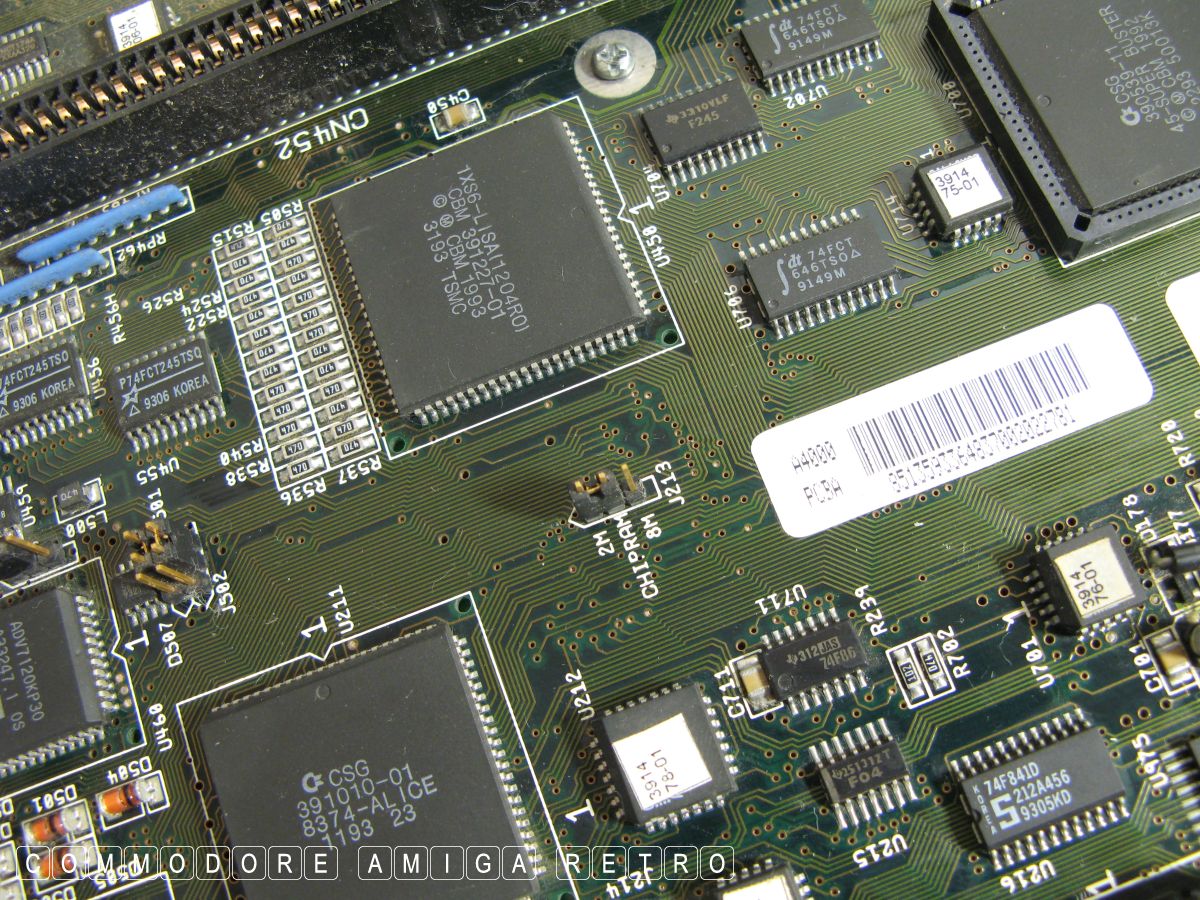
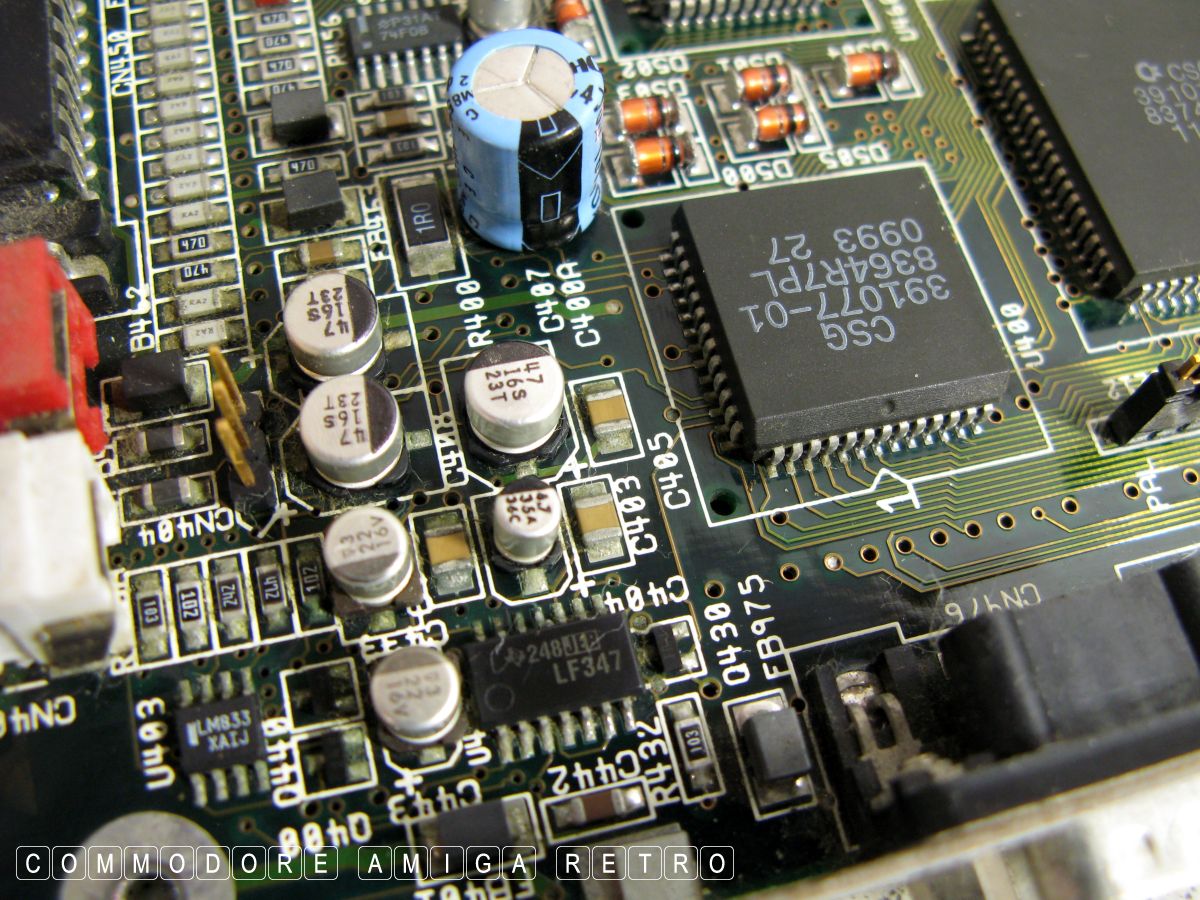
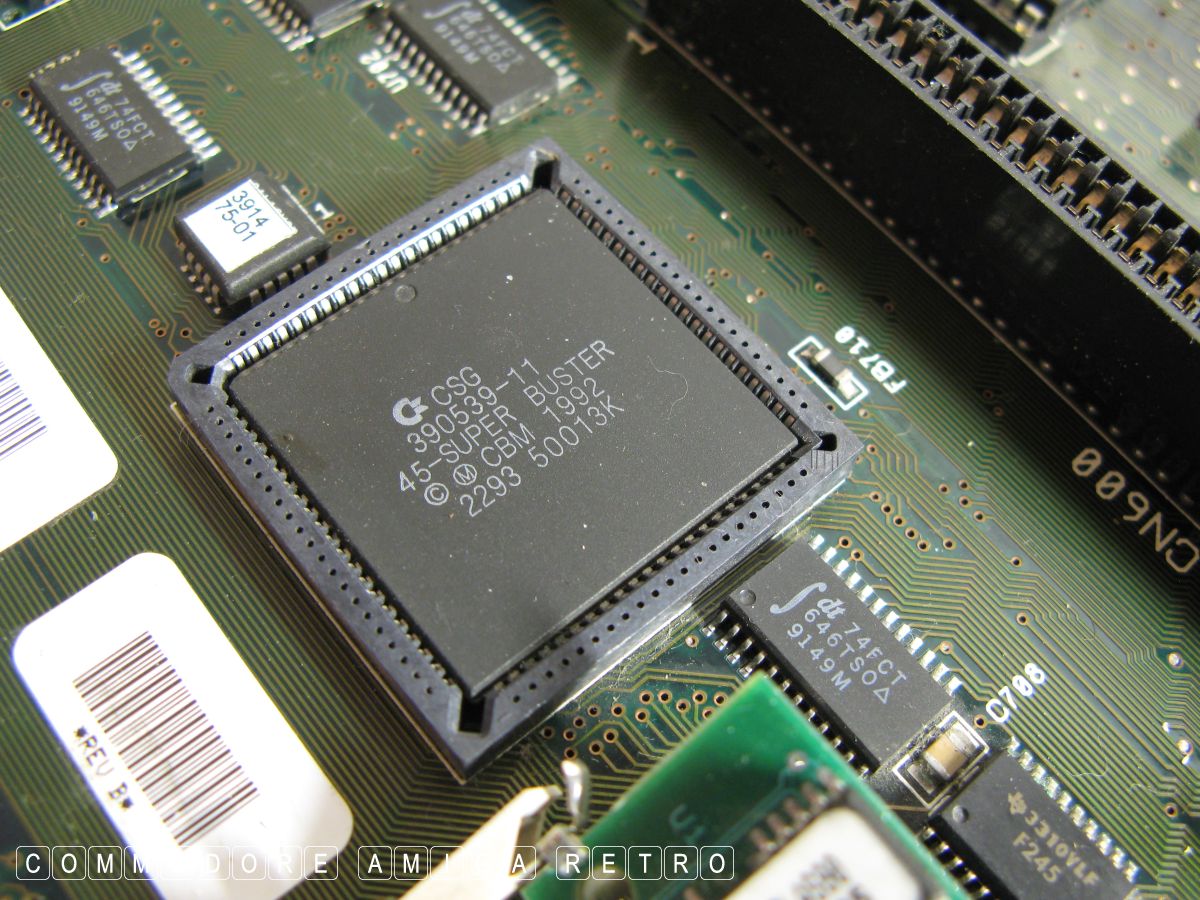
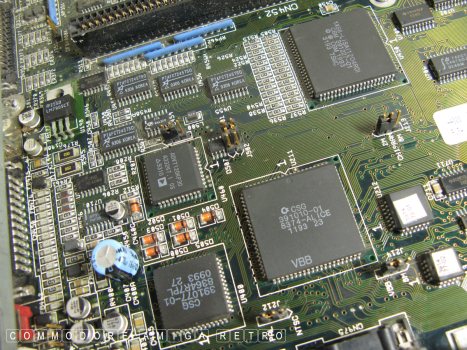
The very important Buster 11.
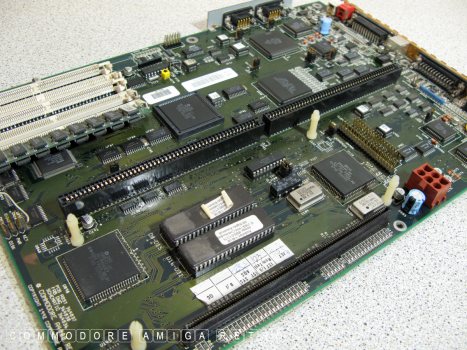
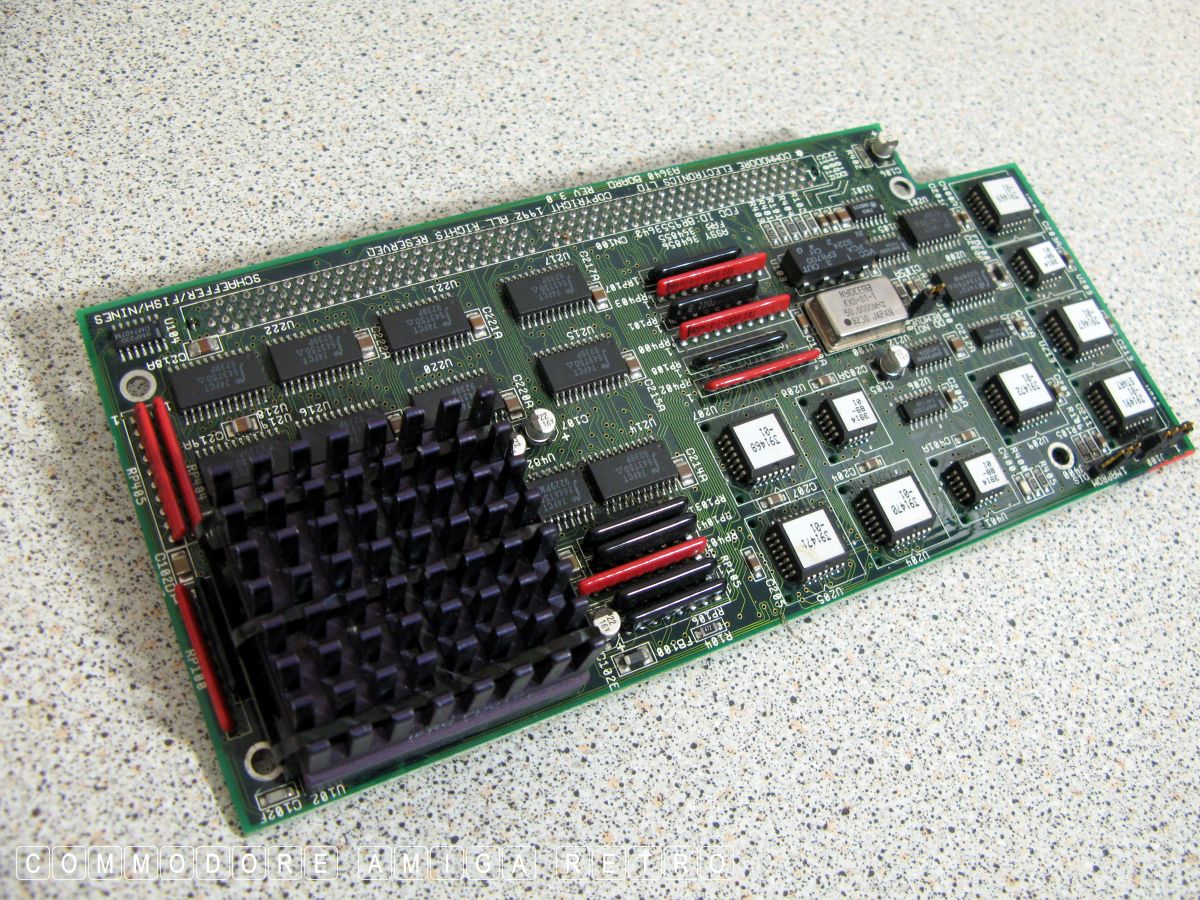
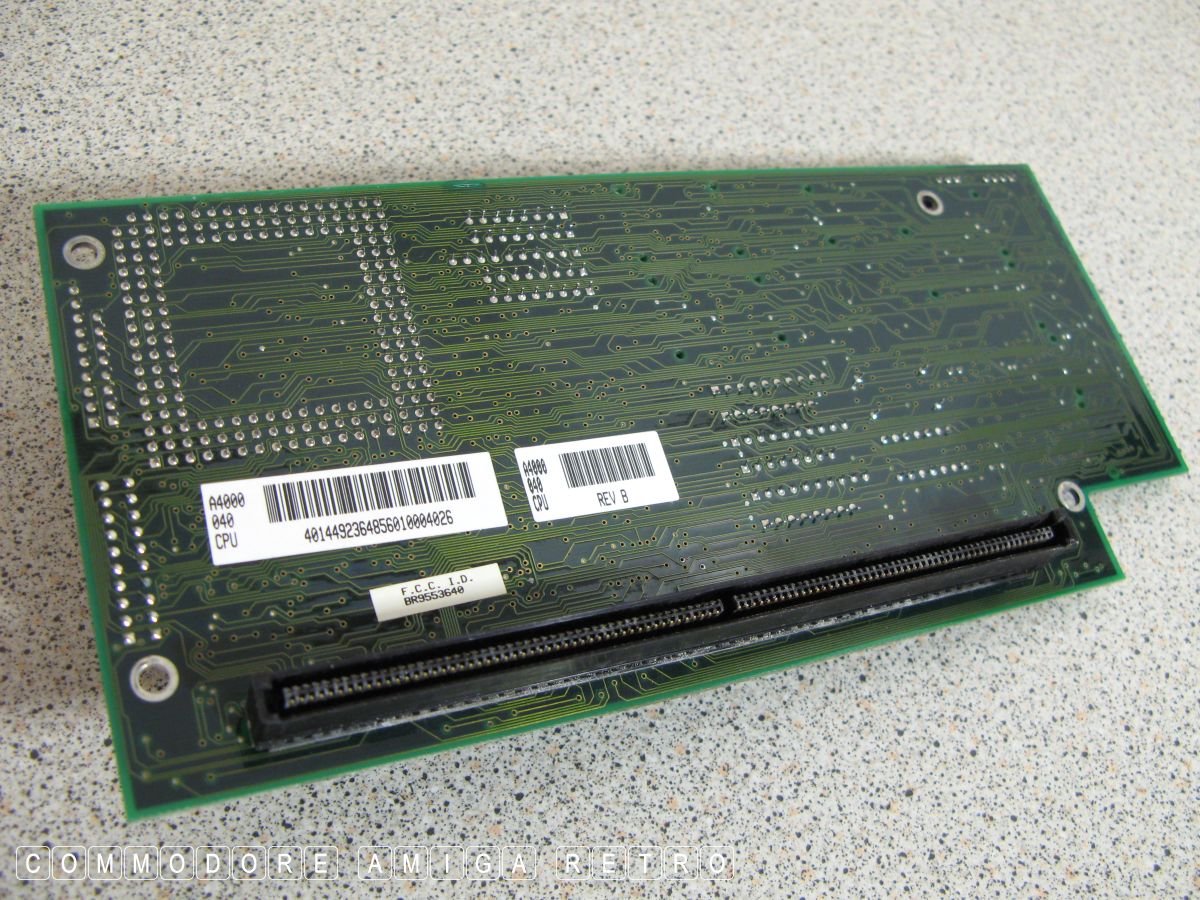
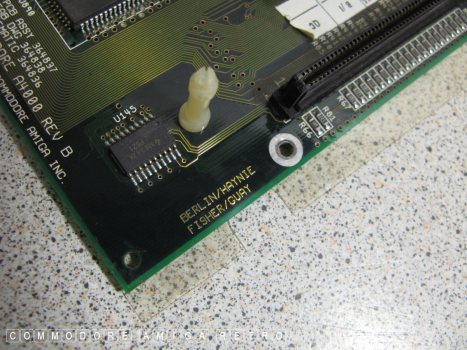
An A4000d motherboard.

An /040 processor board.
And just reverse to rebuild.
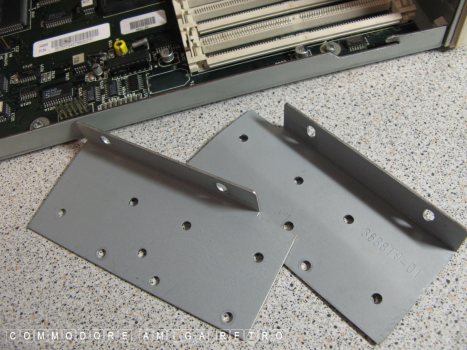
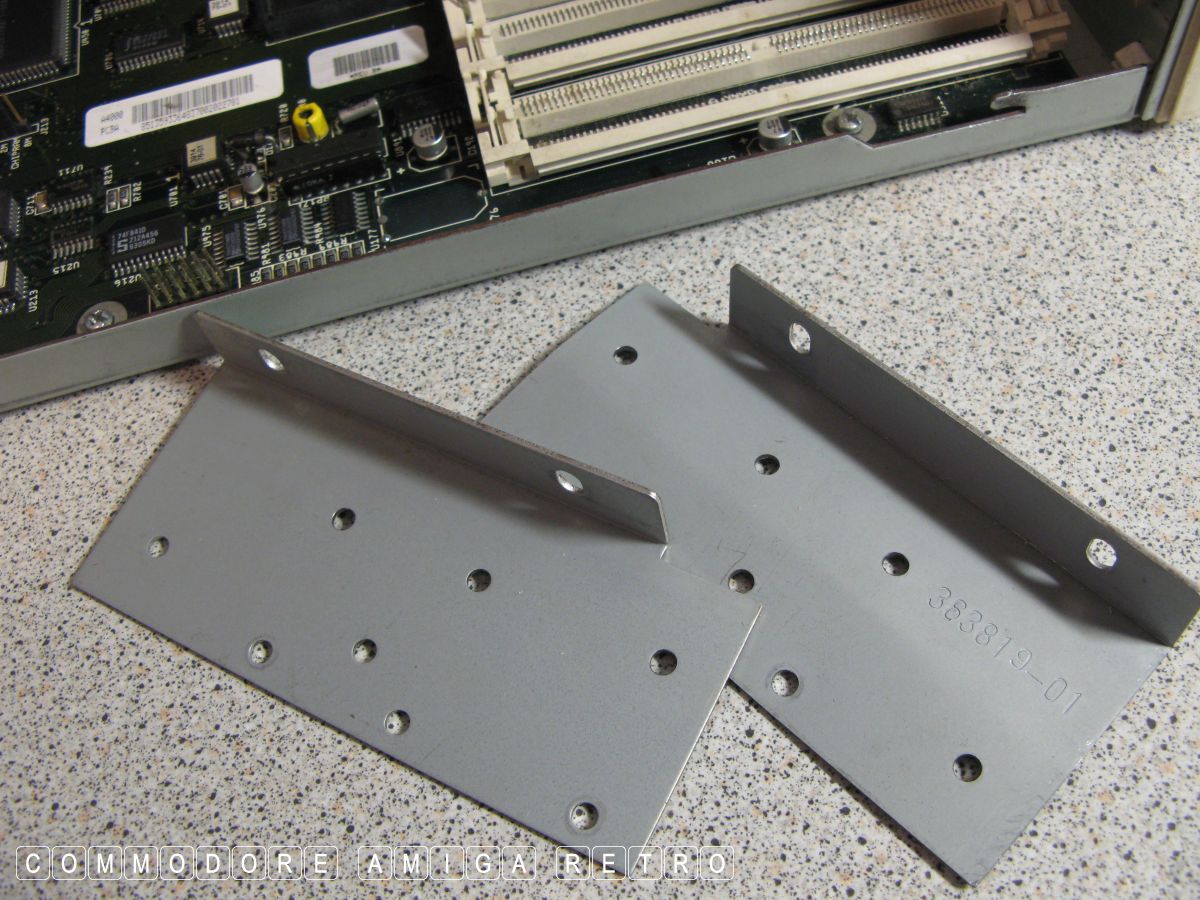
The hard drive connects to these hangers.

The hard drive just spans between the
'L' shaped hangers.
Sadly still broken and not at all yellow.

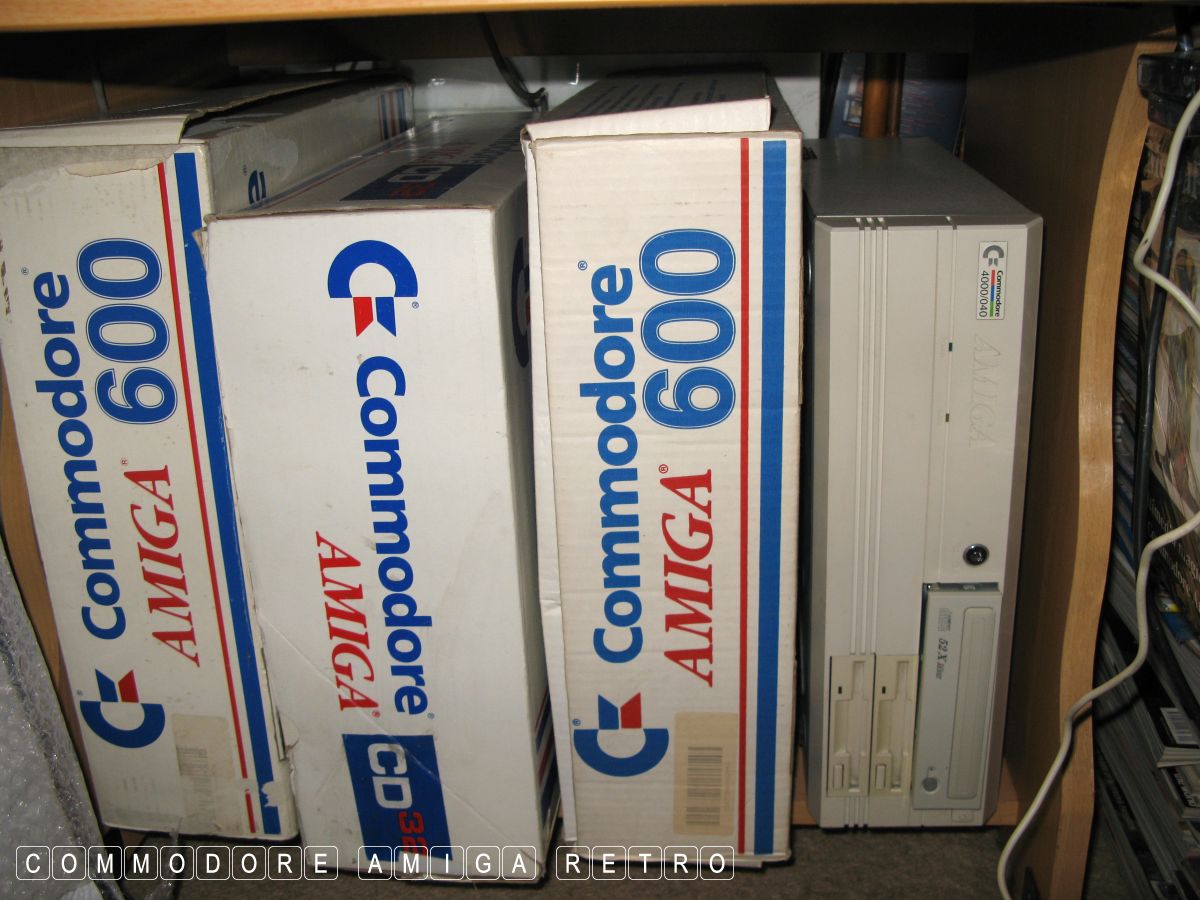
Back into storage like very large Amiga books.
I have several Amiga 4000s so its no problem
leaving this Amiga on the shelf. I even have a
spare A4000 motherboard so some day I may just
swap the thing out. No rush.
Interestingly there is an Ateo Concepts Amiga 4000
tower just to my right in this picture. That is a
tower that uses an A4000d motherboard. Sad that an
Amiga 4000 case was abandoned for the tower. I do
wish they wouldn't do that.