ScuzzBlog: Diaries 2018
March 11: Entry 1814: scuzzblog: Post: 2
GEOS Boot Camp
Crib notes for C64 Corner tomorrow.... Needed to swat up.
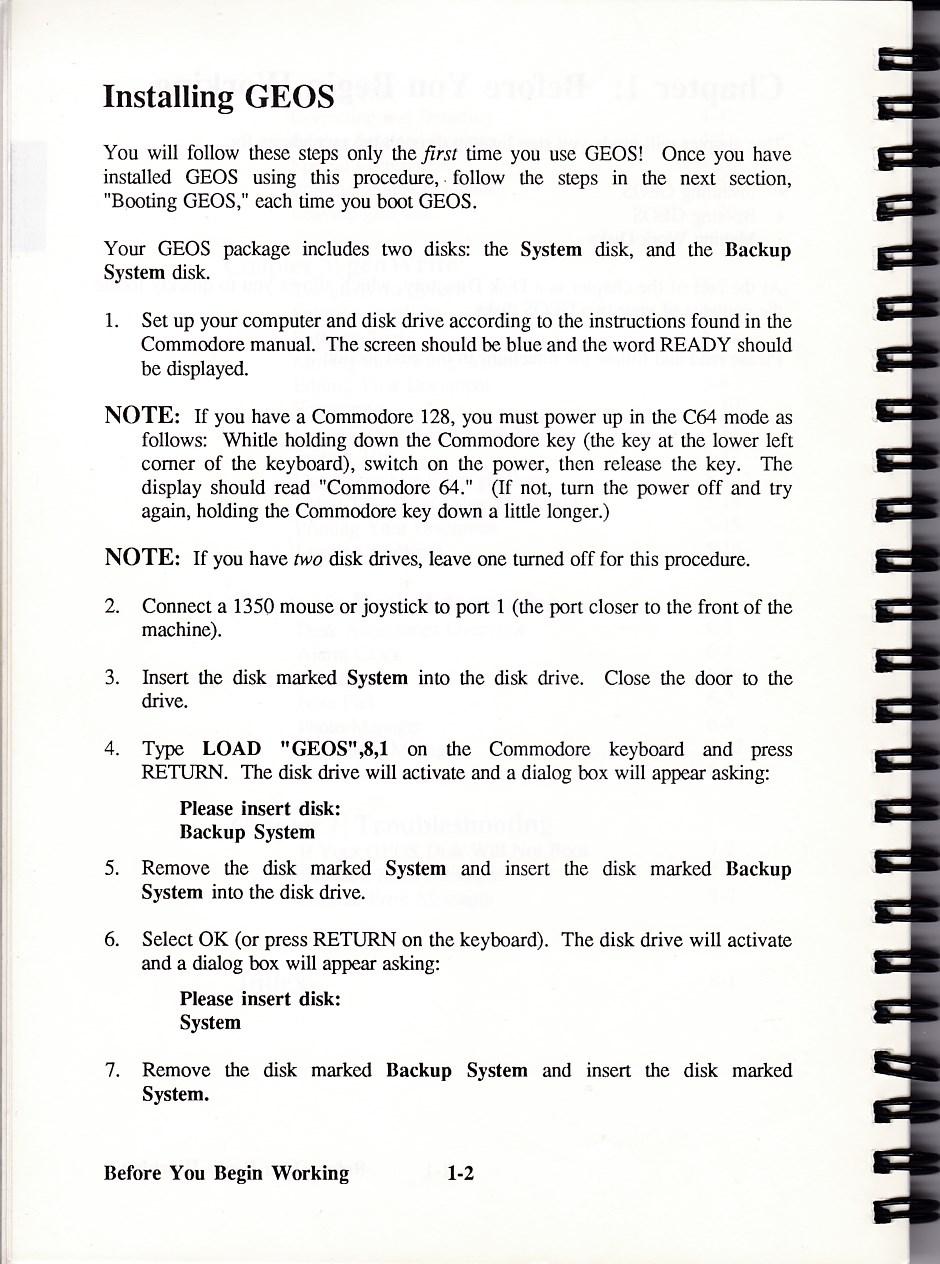
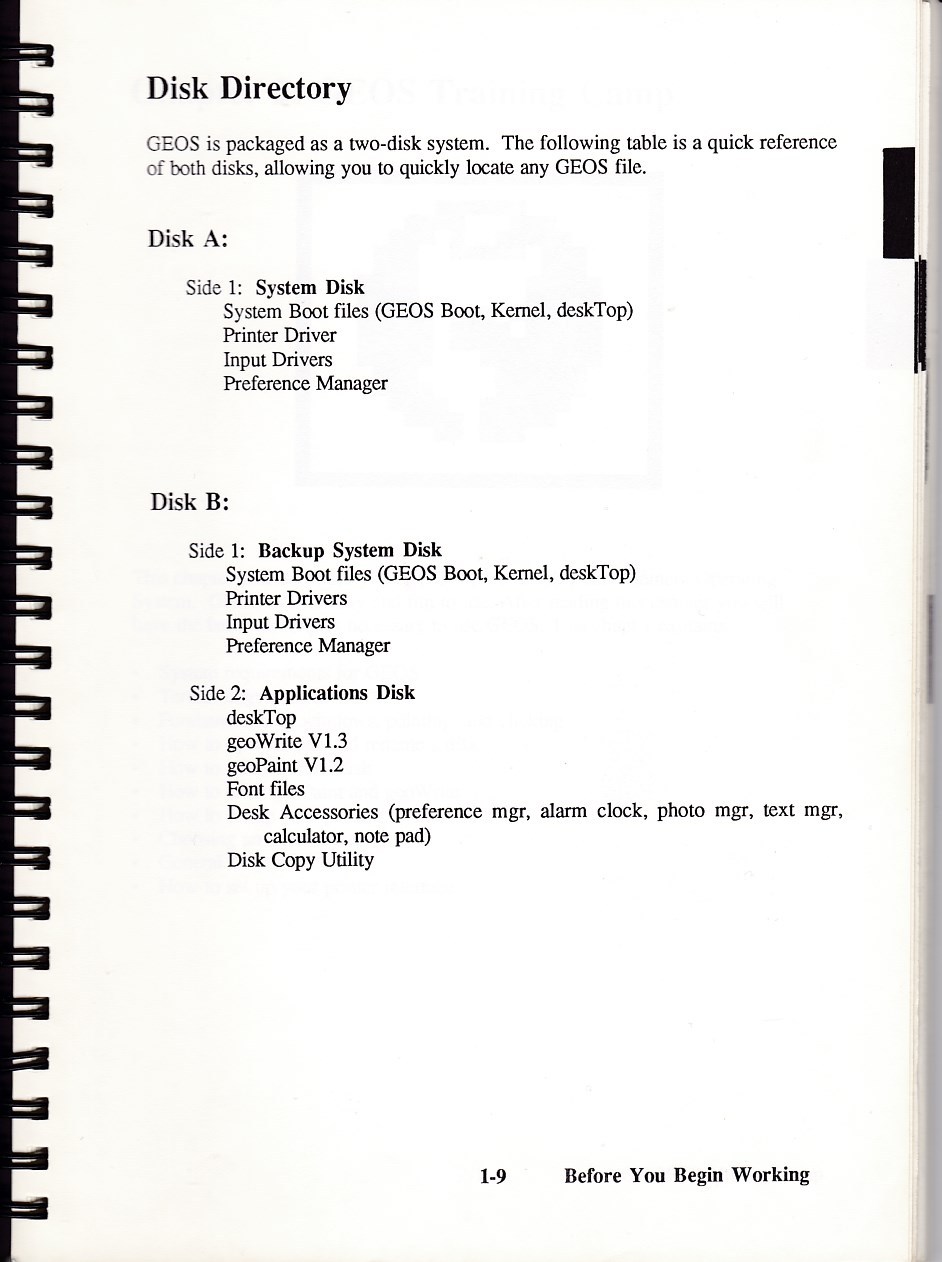
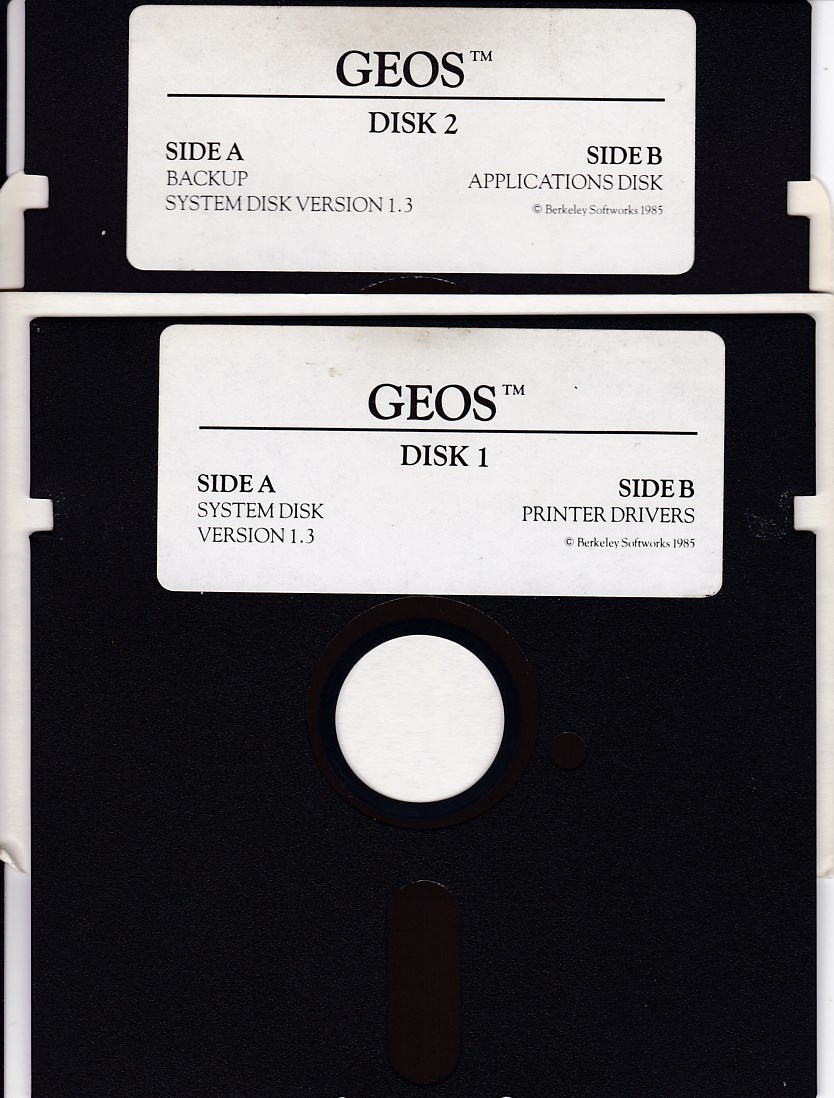
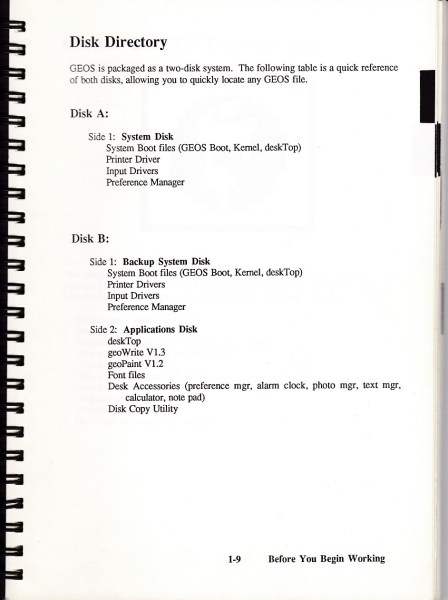
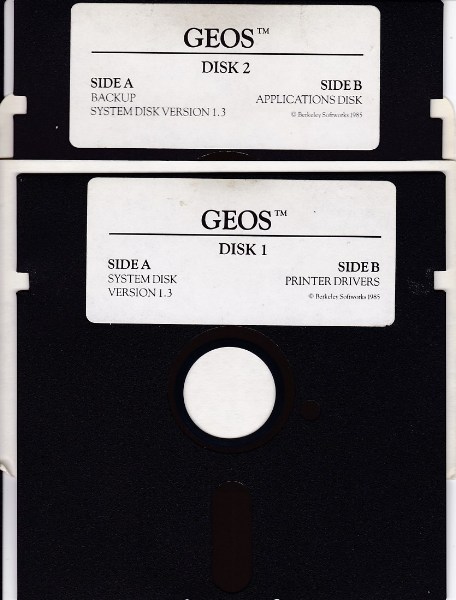
The GEOS package includes two disks: the System disk and the
Backup System disk.
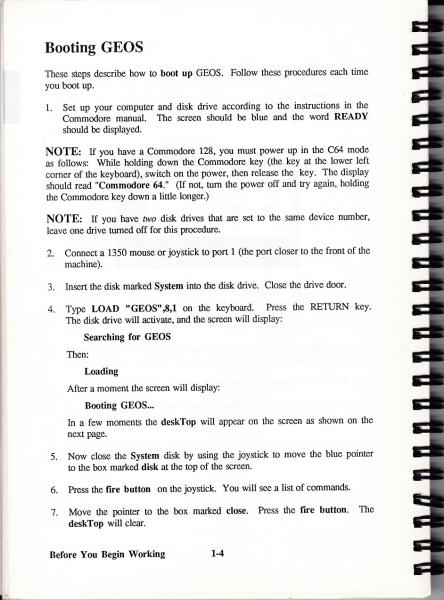
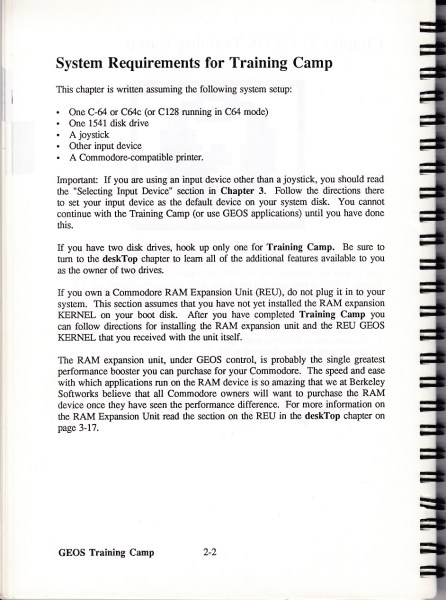
[Will be using the C64 so already in C64 mode]
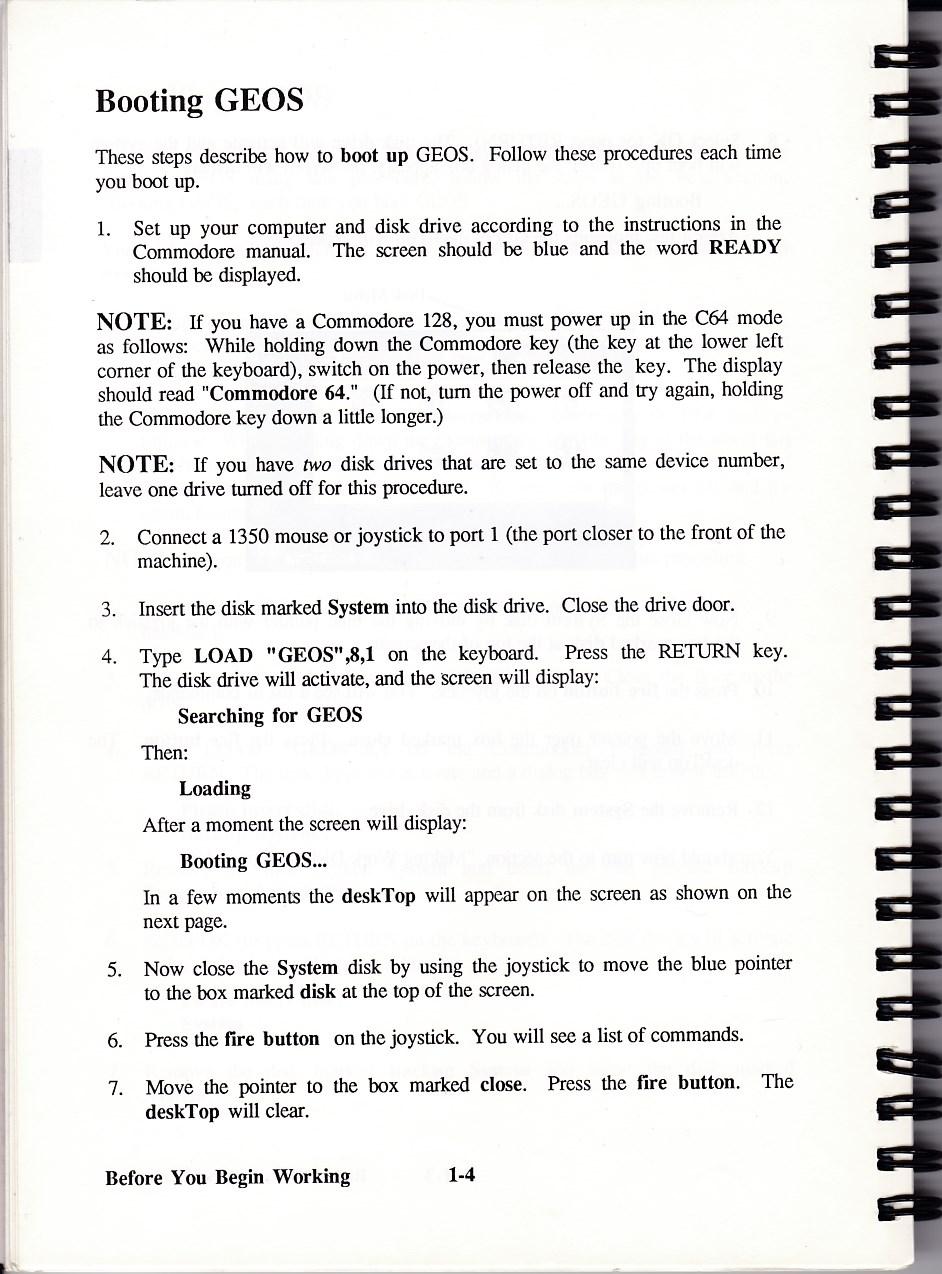
Connect the 1350 mouse or joystick to port 1 (the port closer to
the front of the machine)
Insert the disk marked System into the disk drive.
To LOAD type LOAD "GEOS",8,1 and press RETURN.
A dialogue box will appear asking:
Please insert disk:
Backup System
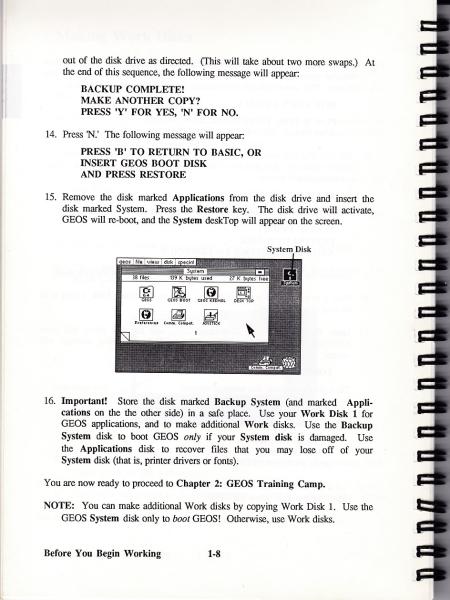
Insert the disk Backup System
You will then be asked for the System disk and insert System
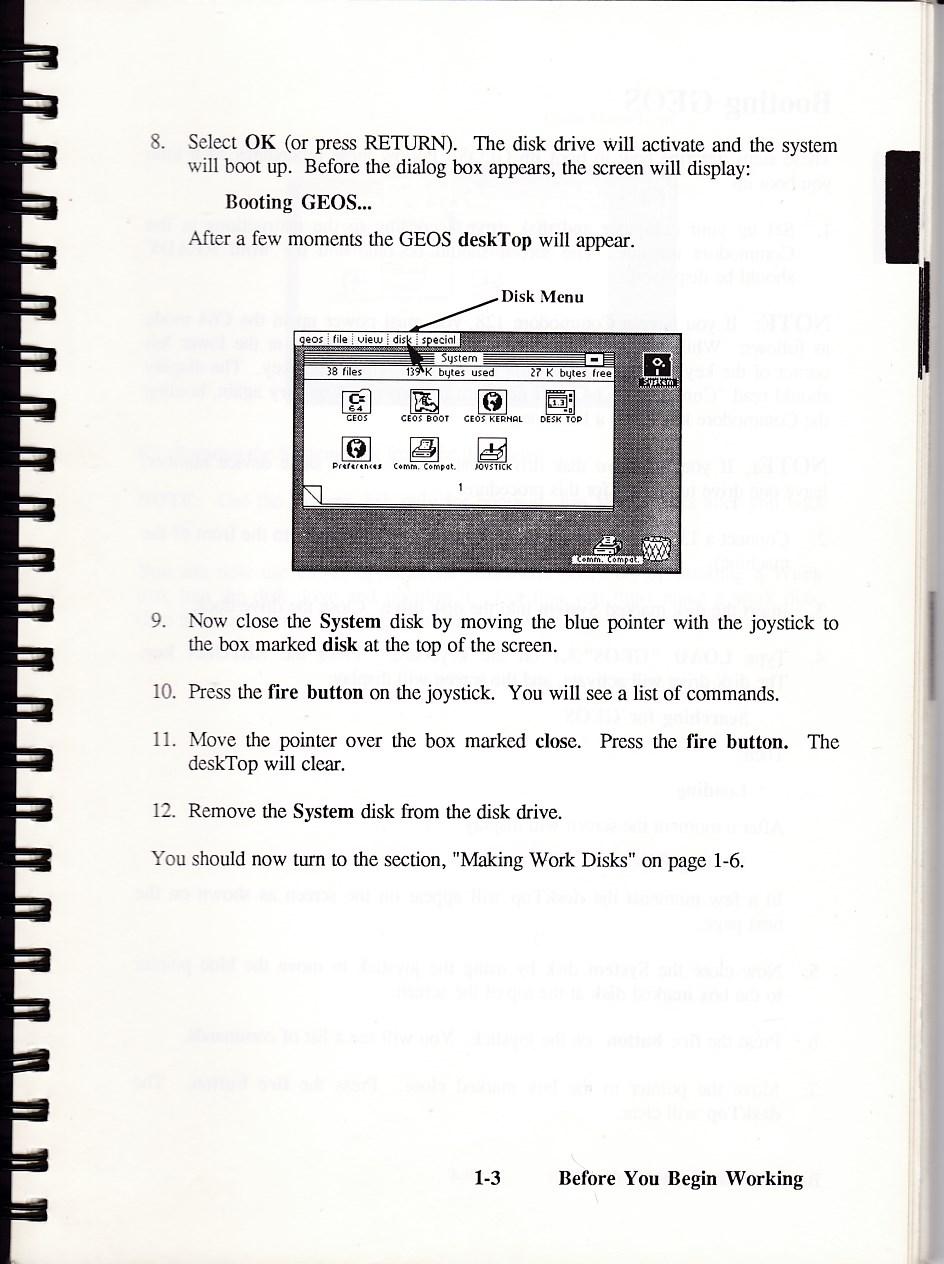
The system will then Boot GEOS
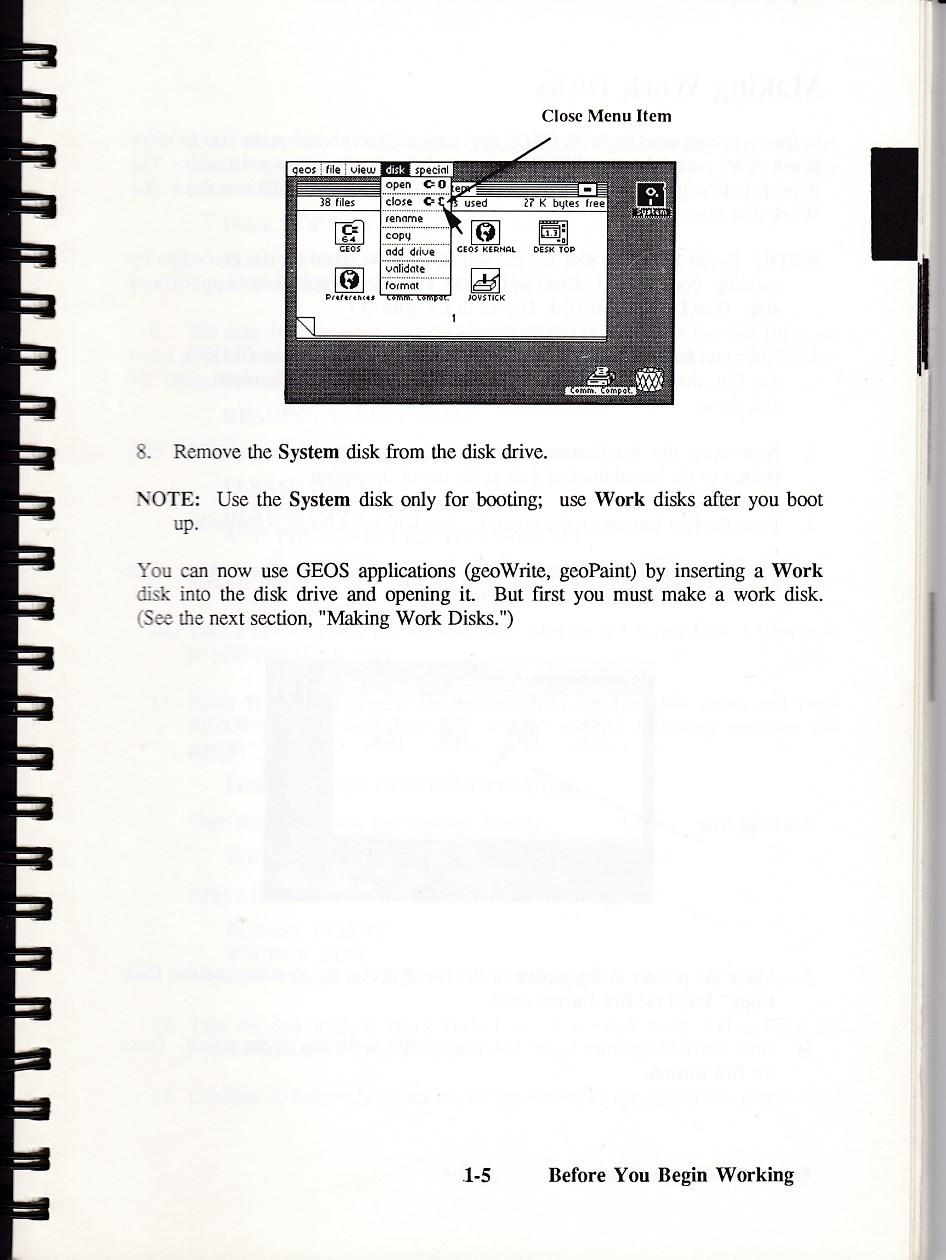
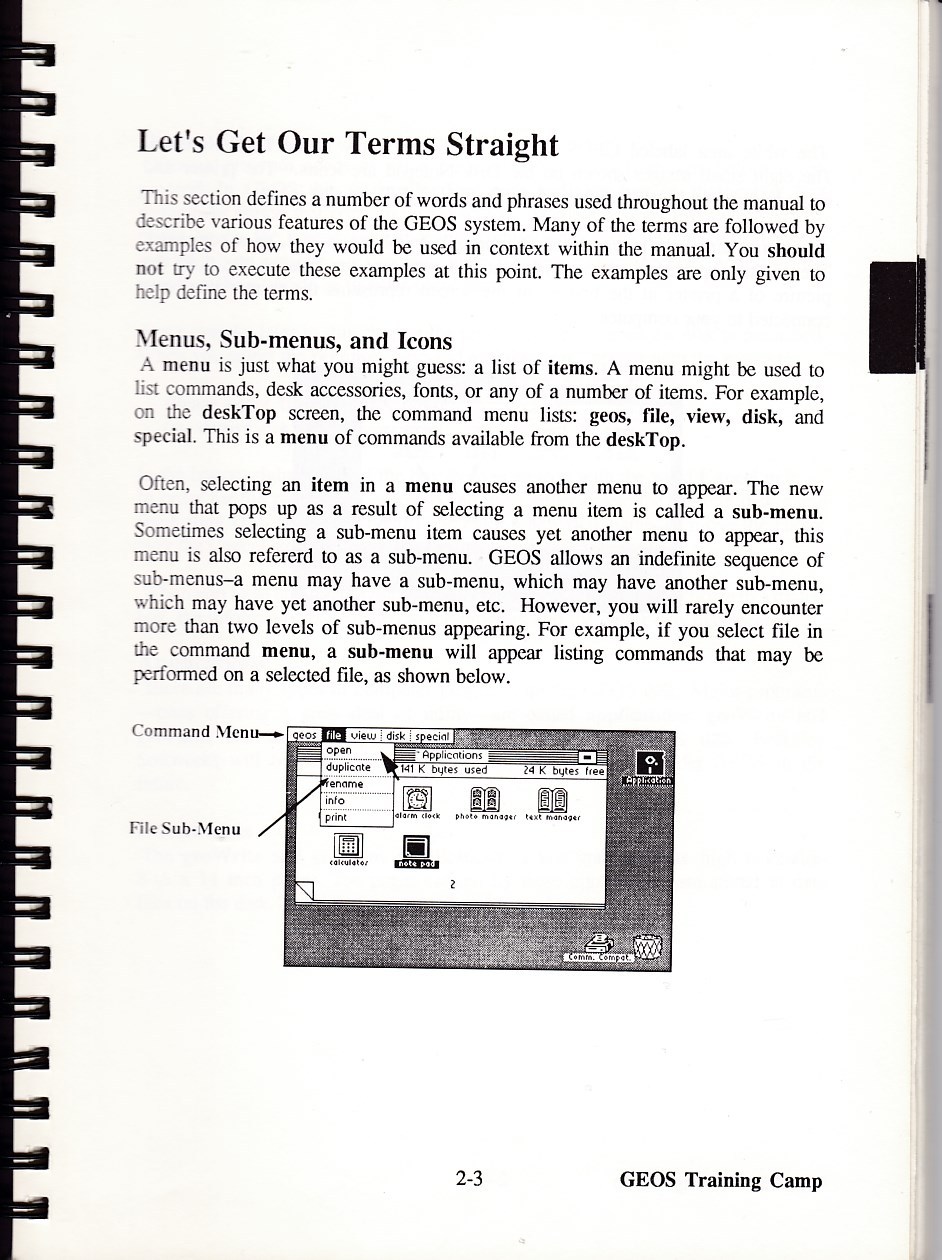
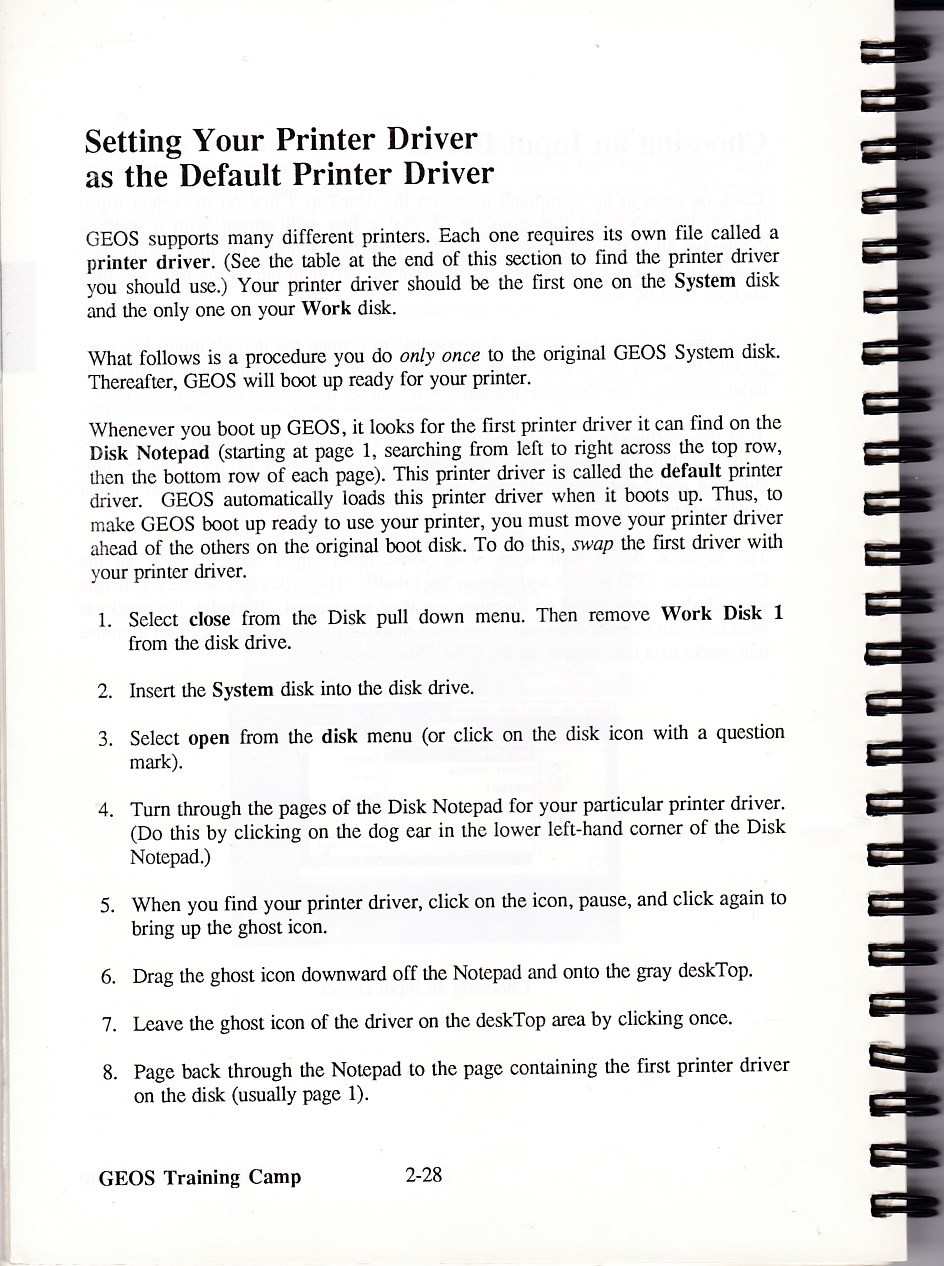
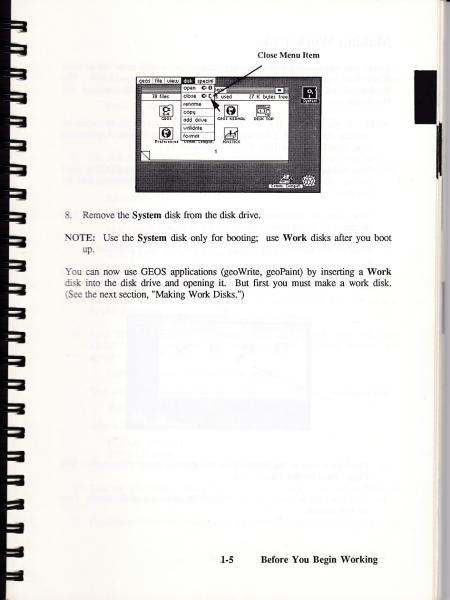
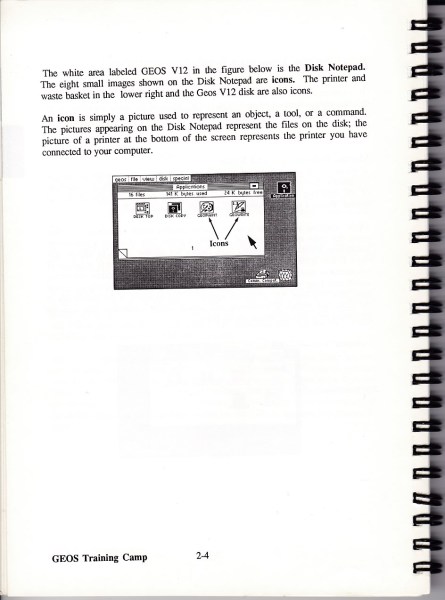
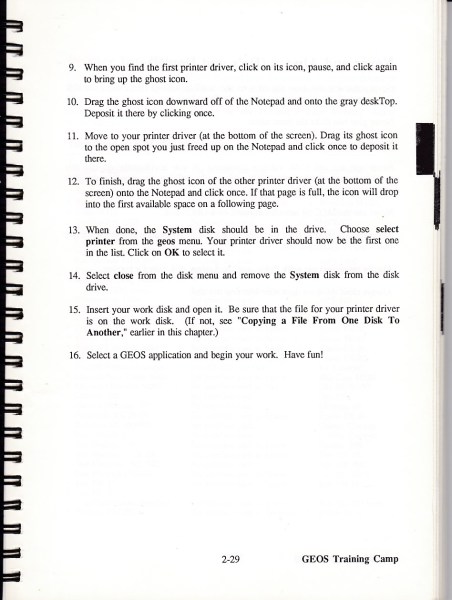
Now close System disk by moving the blue pointer with the mouse
or joystick to the box marked disk at the top of the screen.
Move pointer over close and press fire and remove the System disk
GO TO MAKING WORKS DISKS page 1-6
Use System disk for booting and use Work Disks afterwards
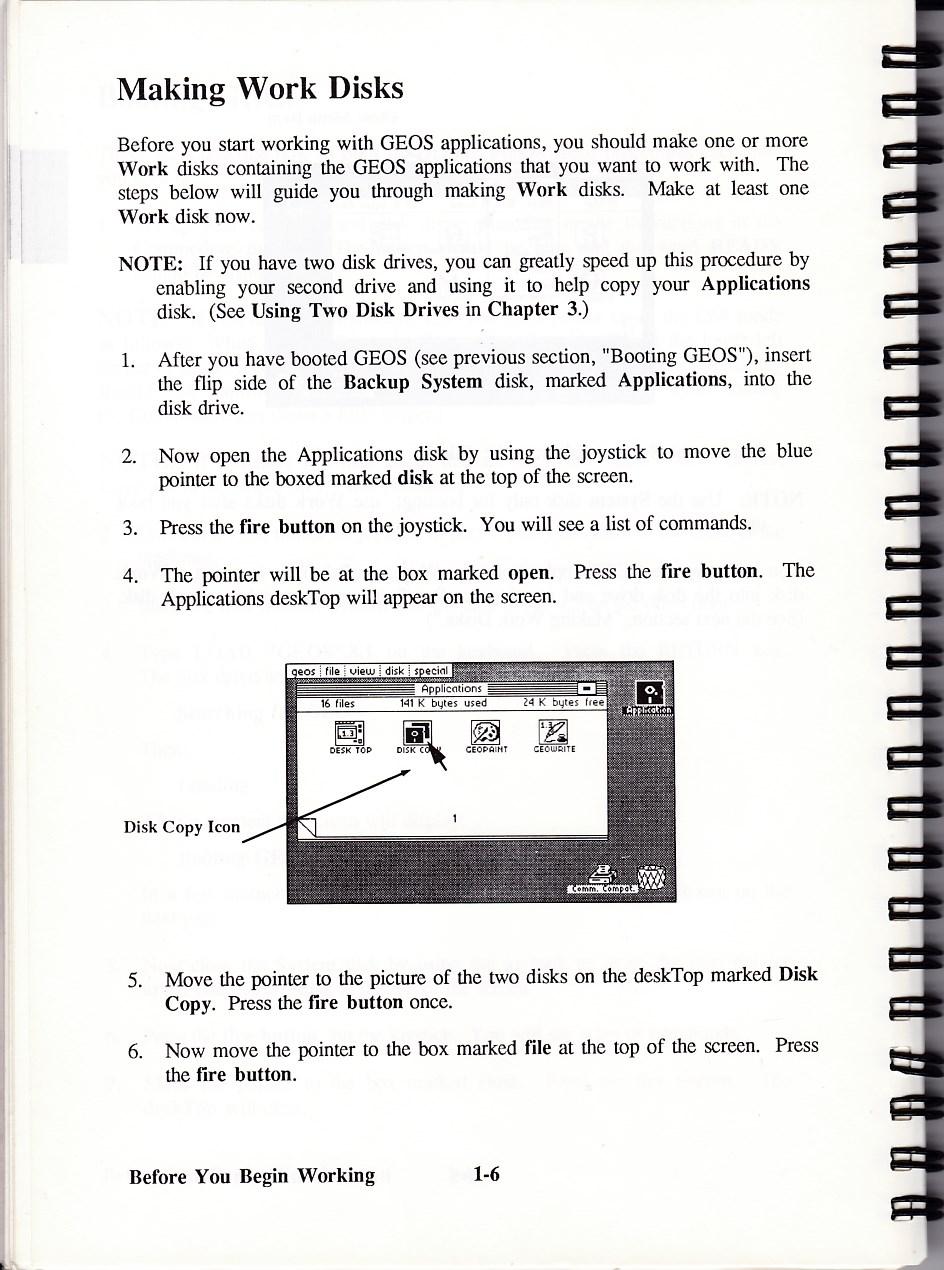
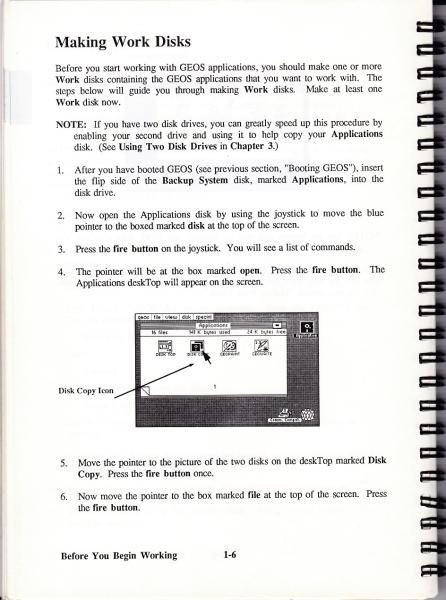
After you have booted GEOS insert the flip side of the Backup
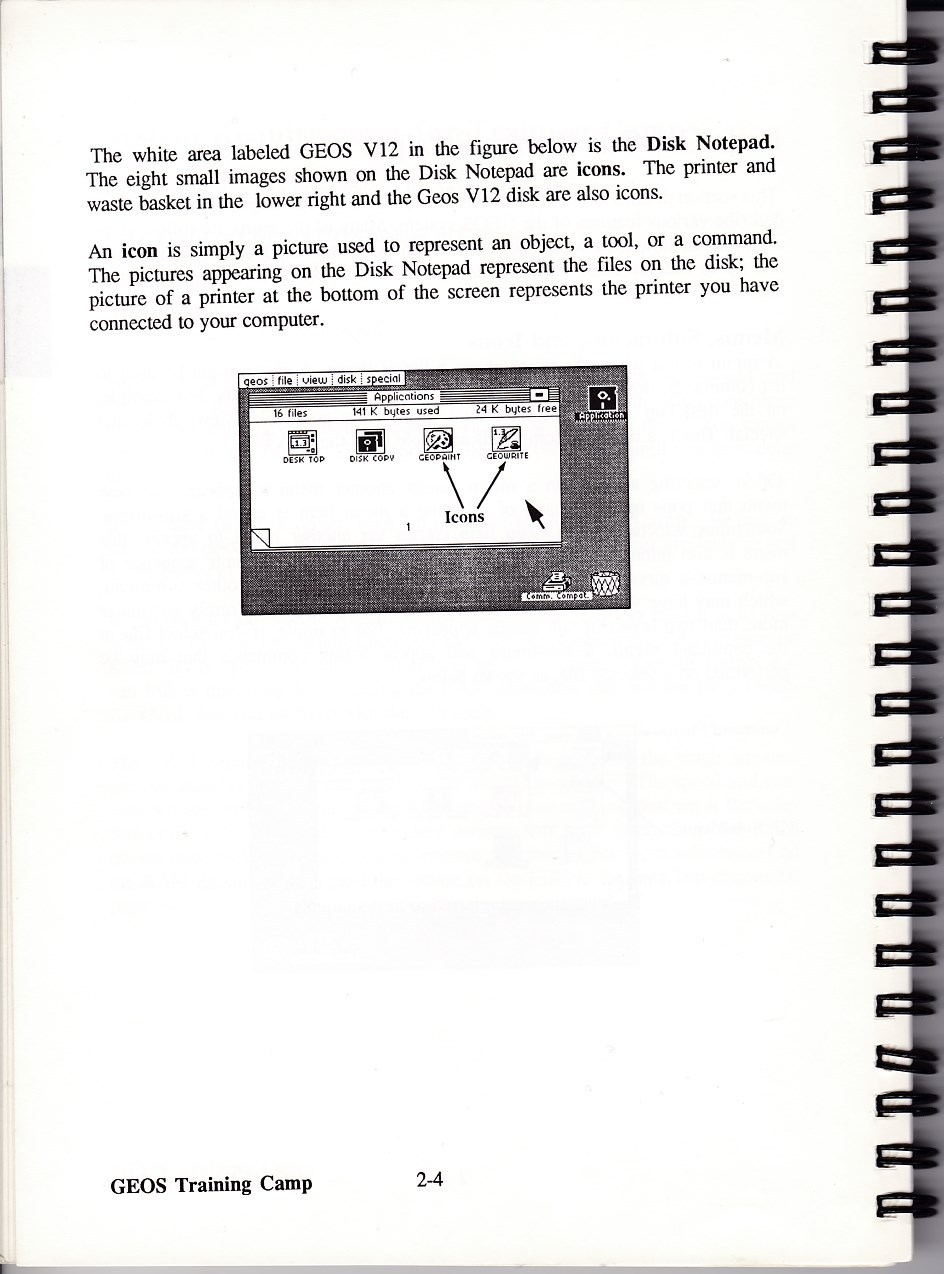
System disk marked Applications. Open the icon for the disk.
Move pointer over disk copy and select once. Now move the pointer
to the box/menu marked file and press the fire/select button.
Move pointer to Open
The screen will now turn blue and the following message should appear
Disk Copy Utility
Place Disk to be copied in drive
and press return to continue
Press Return key to copy the disk in the drive ' Applications '
Reading source Disk
After a moment the following message will appear
Please Insert
Destination Disk
and press Return to Continue
Label a new disk Work Disk 1 and insert
Formatting Destination Disk
Writing Destination Disk
Please Insert
Source Disk
and Press Return to Continue
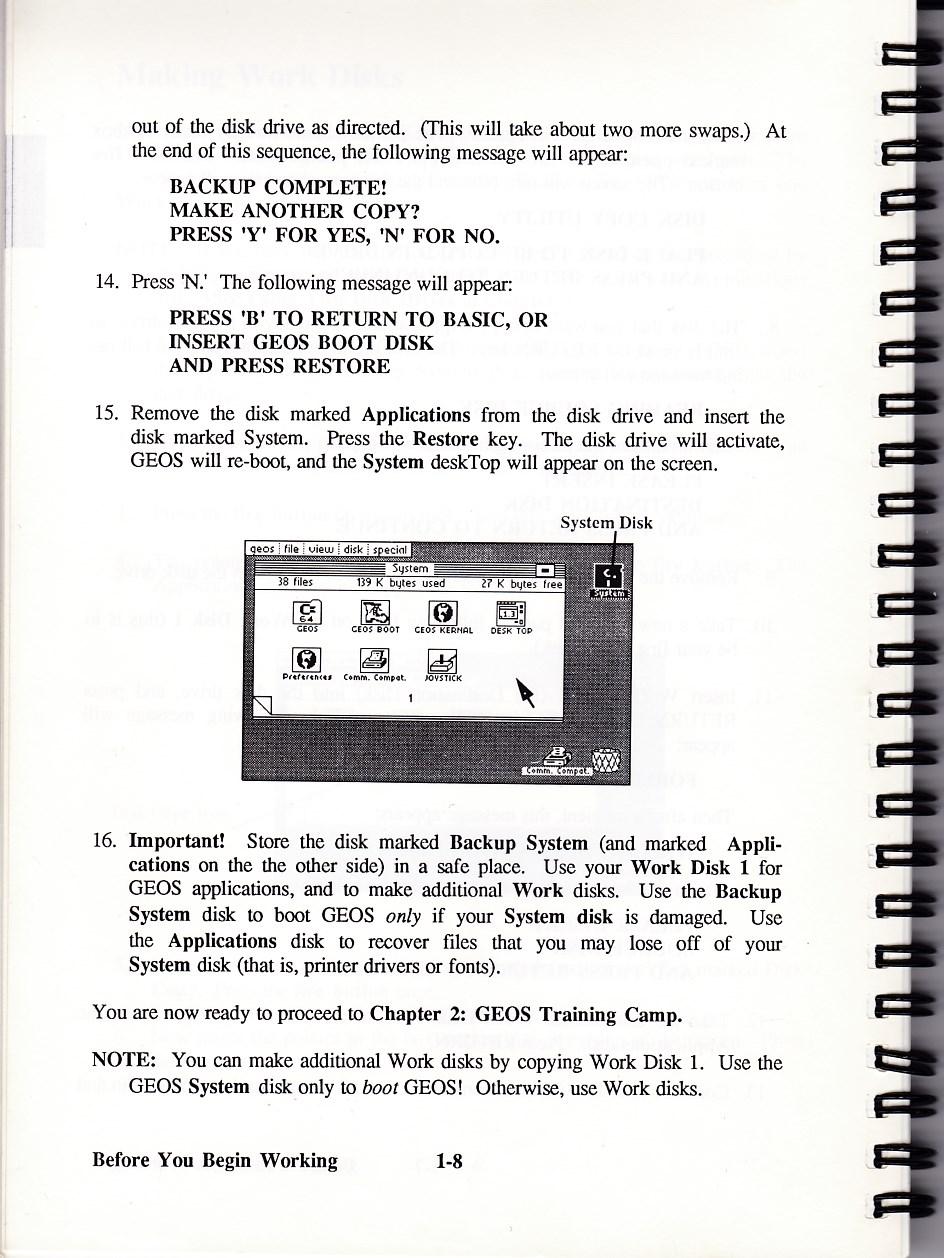
Continue swapping as requested
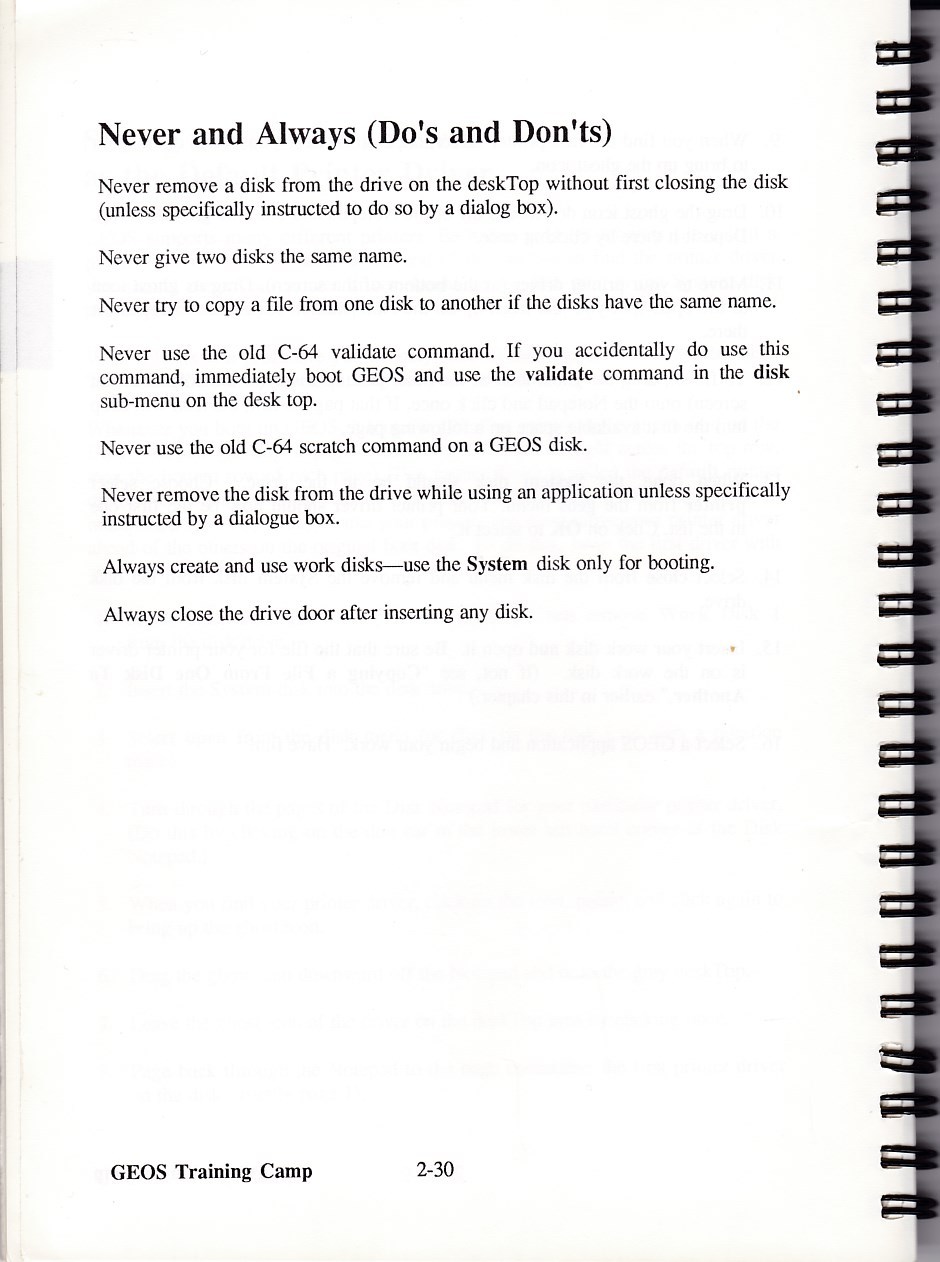
From this point on use the System Disk to Boot and the Work Disk 1
for applications.
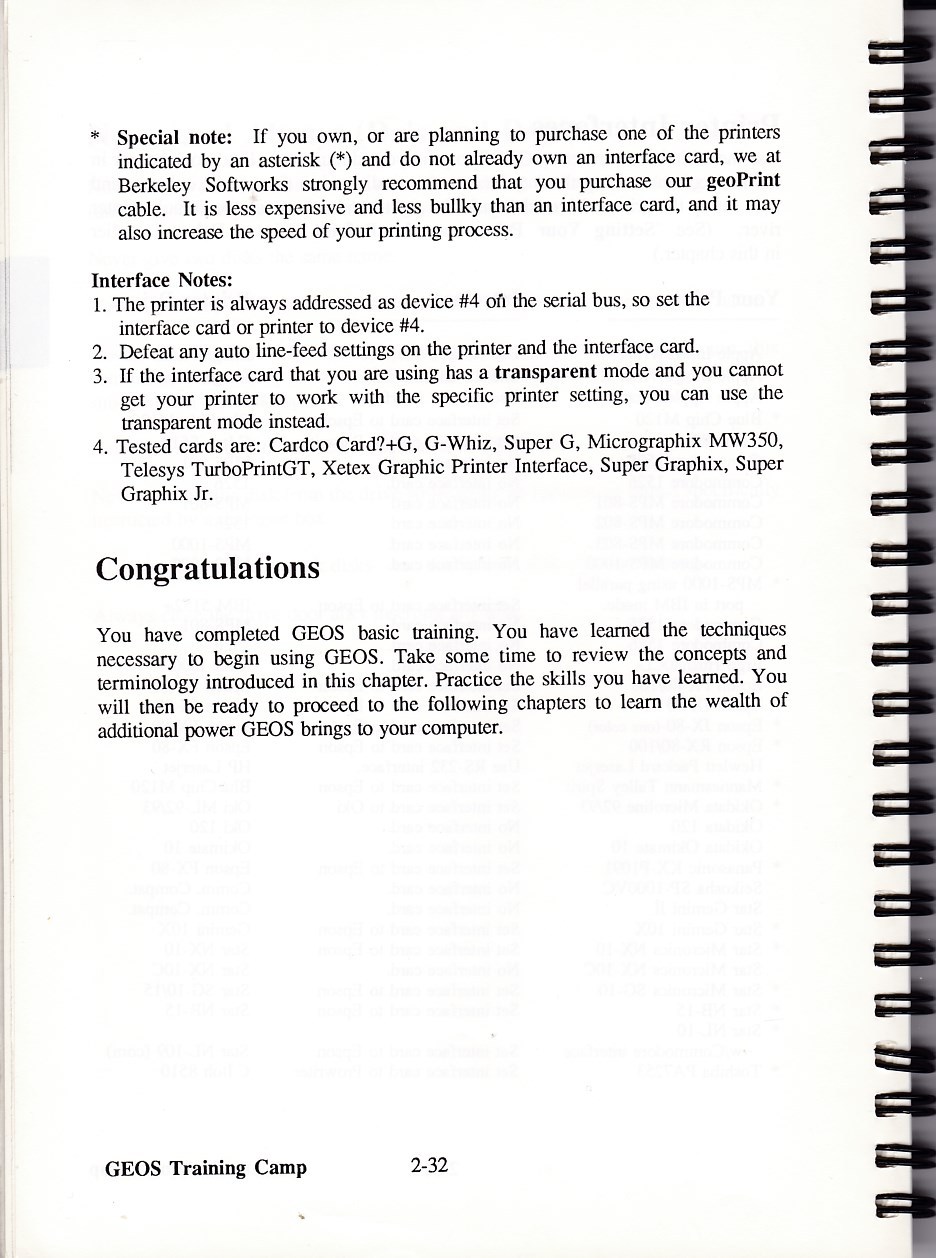
That concludes the GEOS Boot Camp tutorial
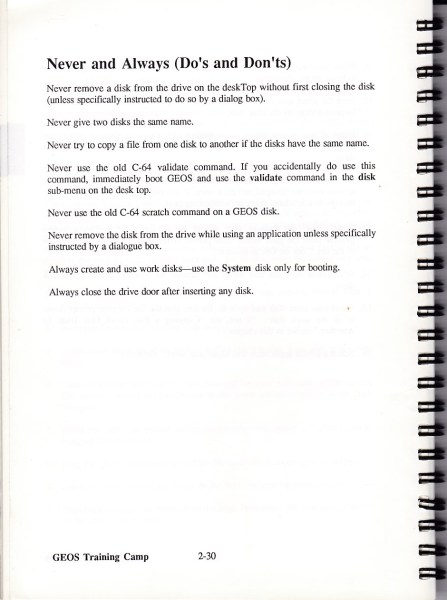
Note: To use the other side of a double sided disk you will need to
cut a notch in it or it will be write protected. The 1541 only has
one head so the drive can read and write on the other side but needs
the notch. This also works on the Apple but not so successful on the
IBM machines as there is an indexing issue.
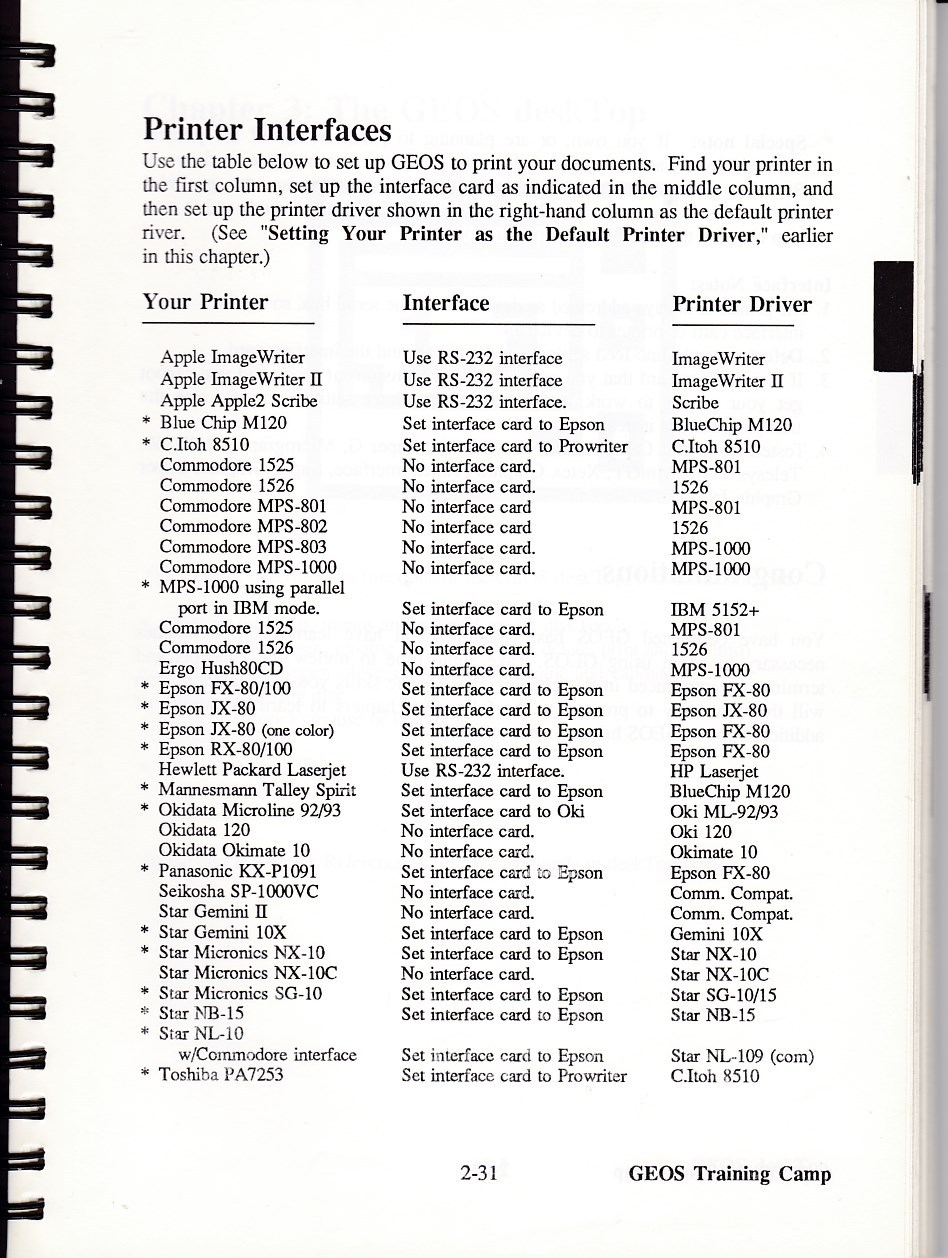
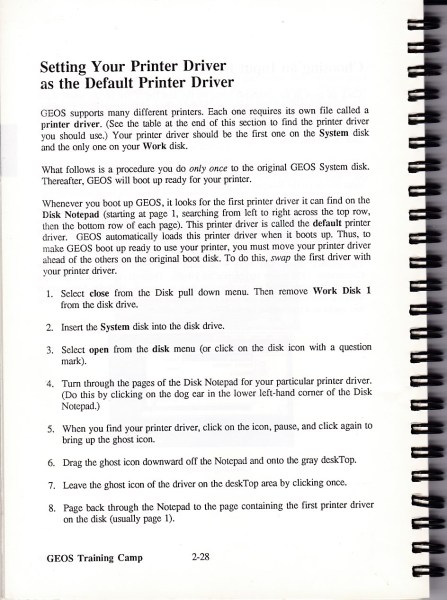
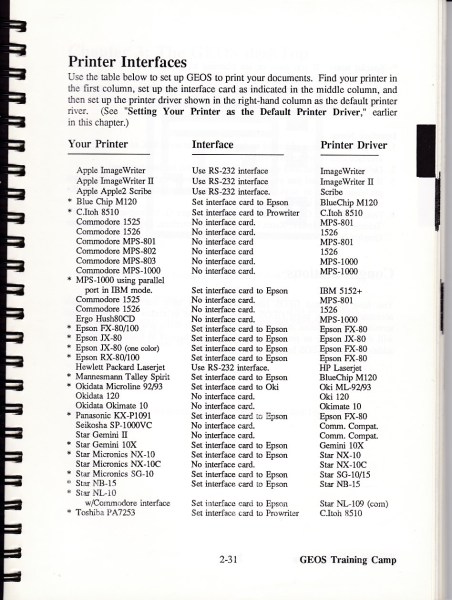
See also pages here for setting up the PRINTER. Note that the Serial
cable goes to the port closest to the power supply switch on the back
of the 1541. Use a second Serial connector from the right hand socket
looking from the back of the 1541 to the Printer. The same serial
cable works on both printer and floppy drive.
And as for Mr Cheese ... The NEOS Mouse Cheese shouldn't be a problem.


|