A-500 - My failing floppy Pt II

Time to remove that drive and take a look.
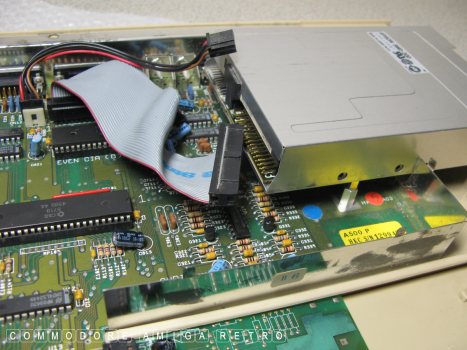
First off I noticed the red edge on the
ribbon did not coincide with Pin 1. Not
a problem unless there is a blanking out
spot on the connector.

There are three screws on the base of the
machine all with fine thread. Not self tappers.
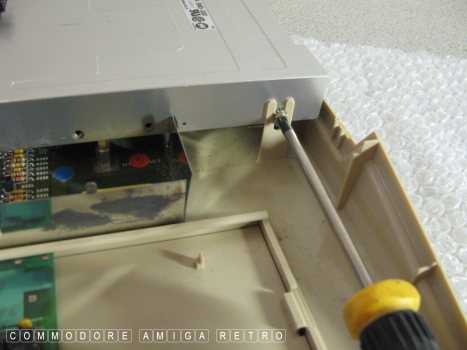
Remove the side screw.
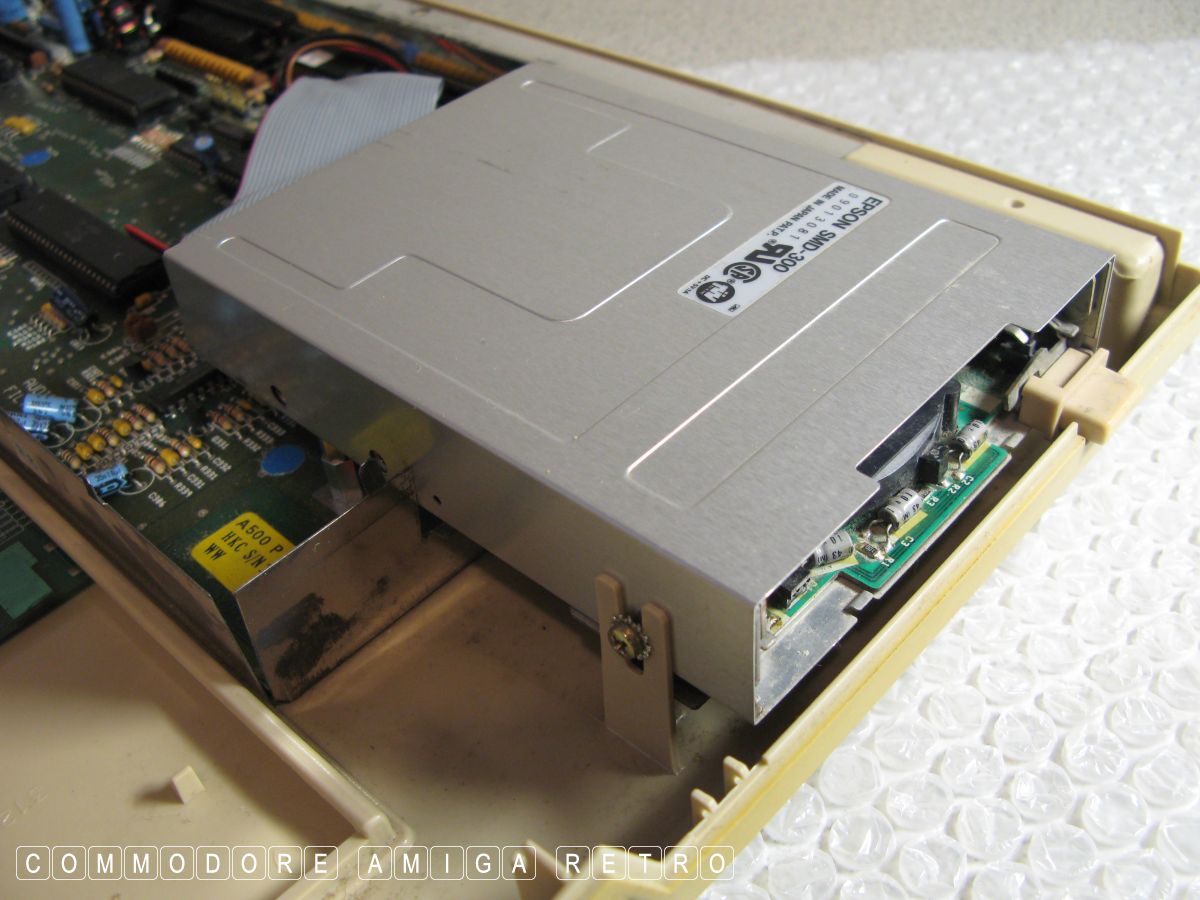
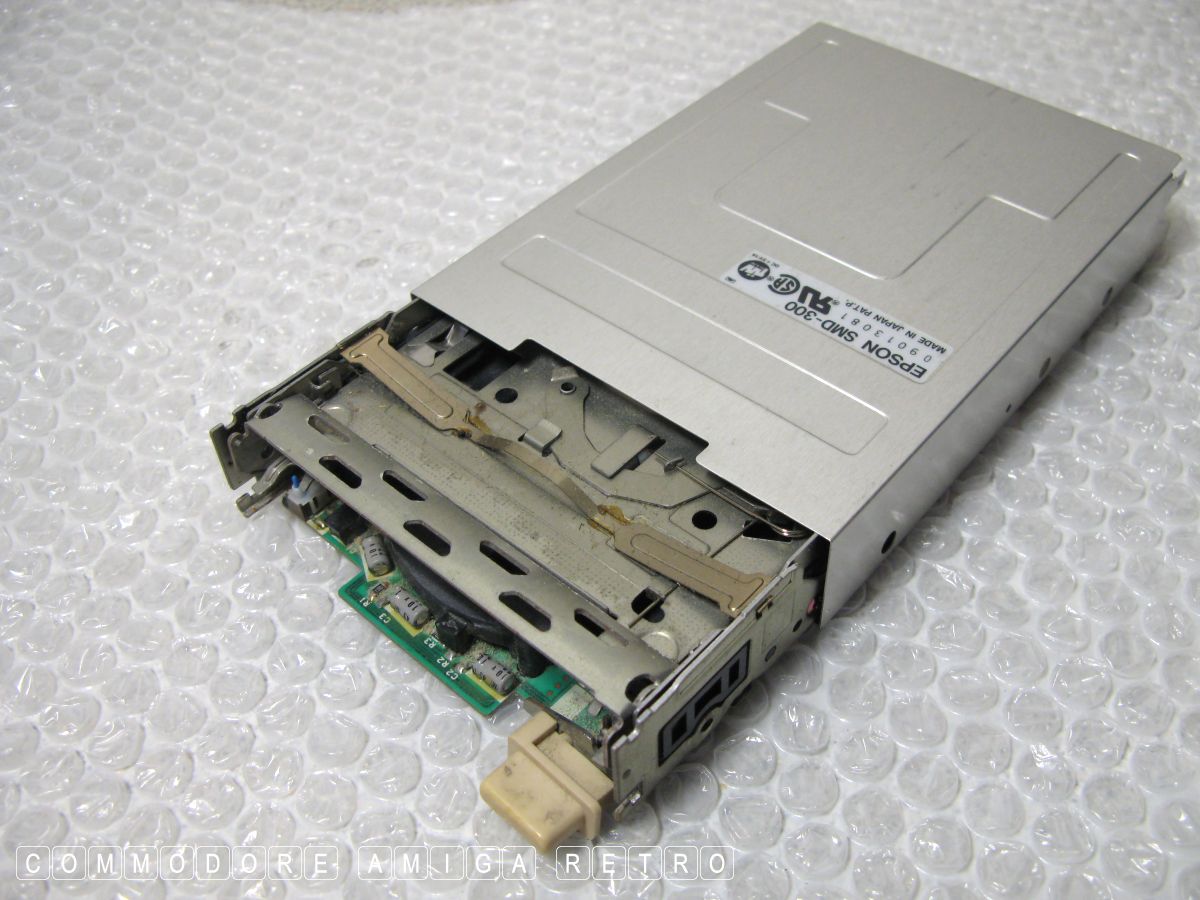
This unit has a base lifter cus I sense
this is a newer A1200 style drive that
is thinner than the usual A500 floppies.
Note the extension pieces on the feet plus
bracket that raise this thinner floppy drive.


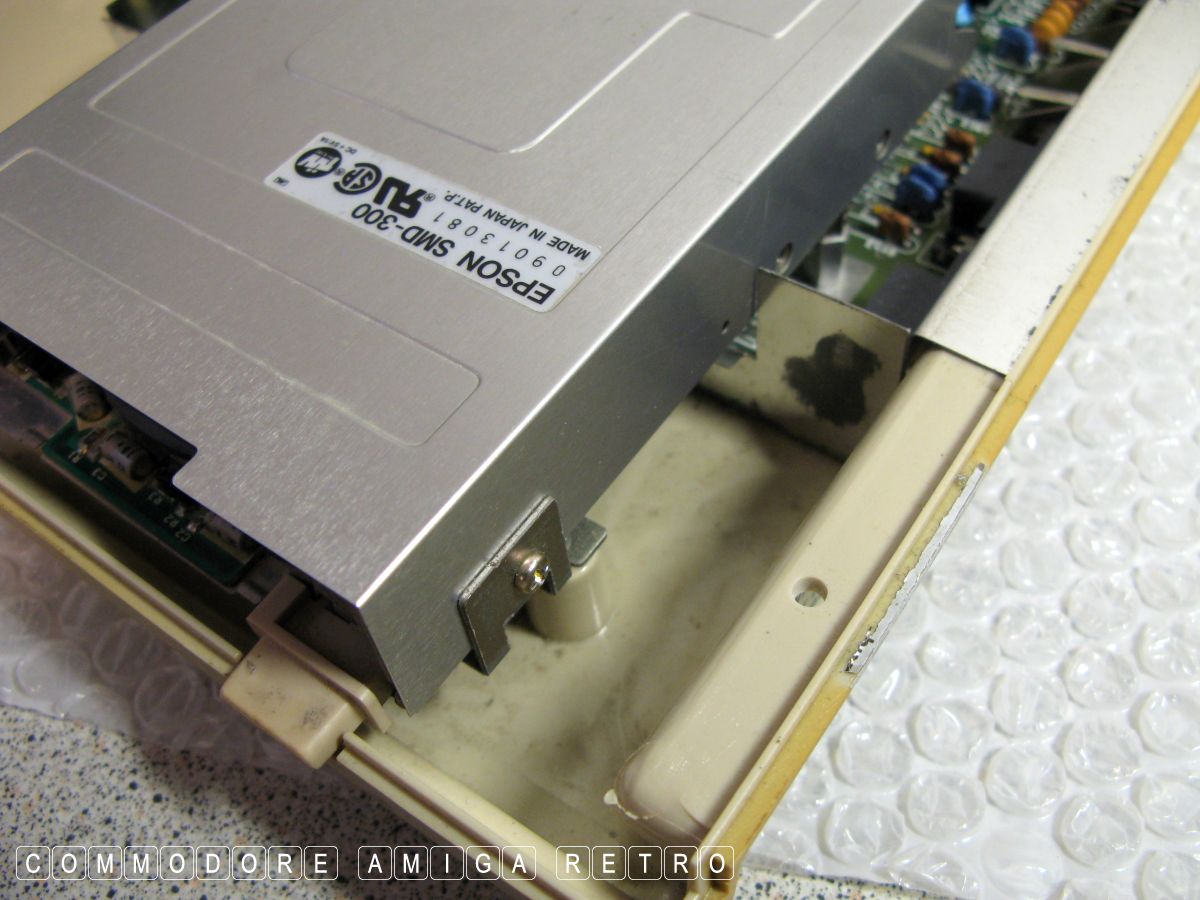
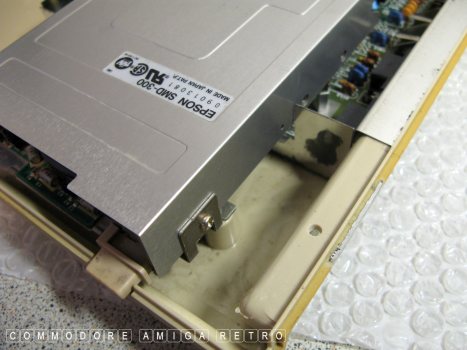
There is one tiny screw plus two larger
plus the feet and bracket to remove
before the inside slides out.


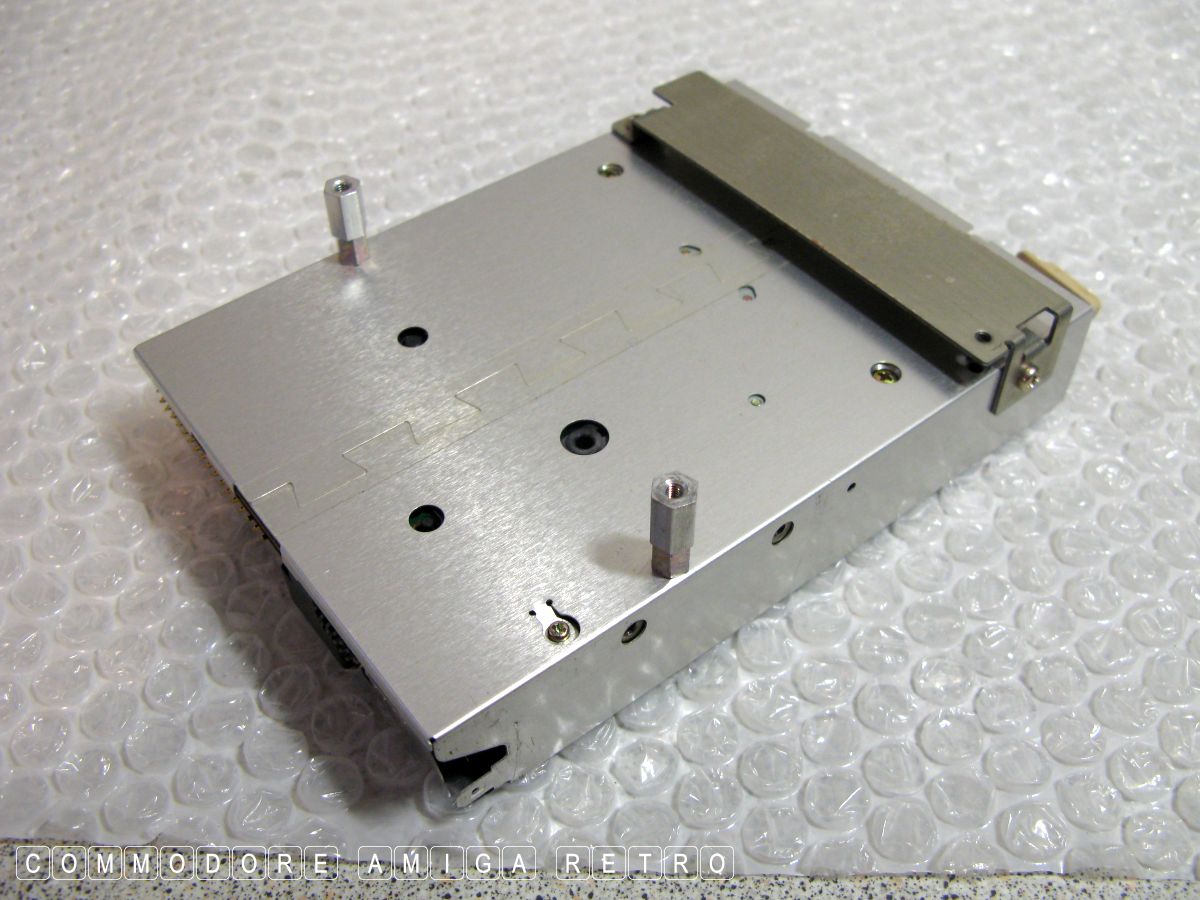
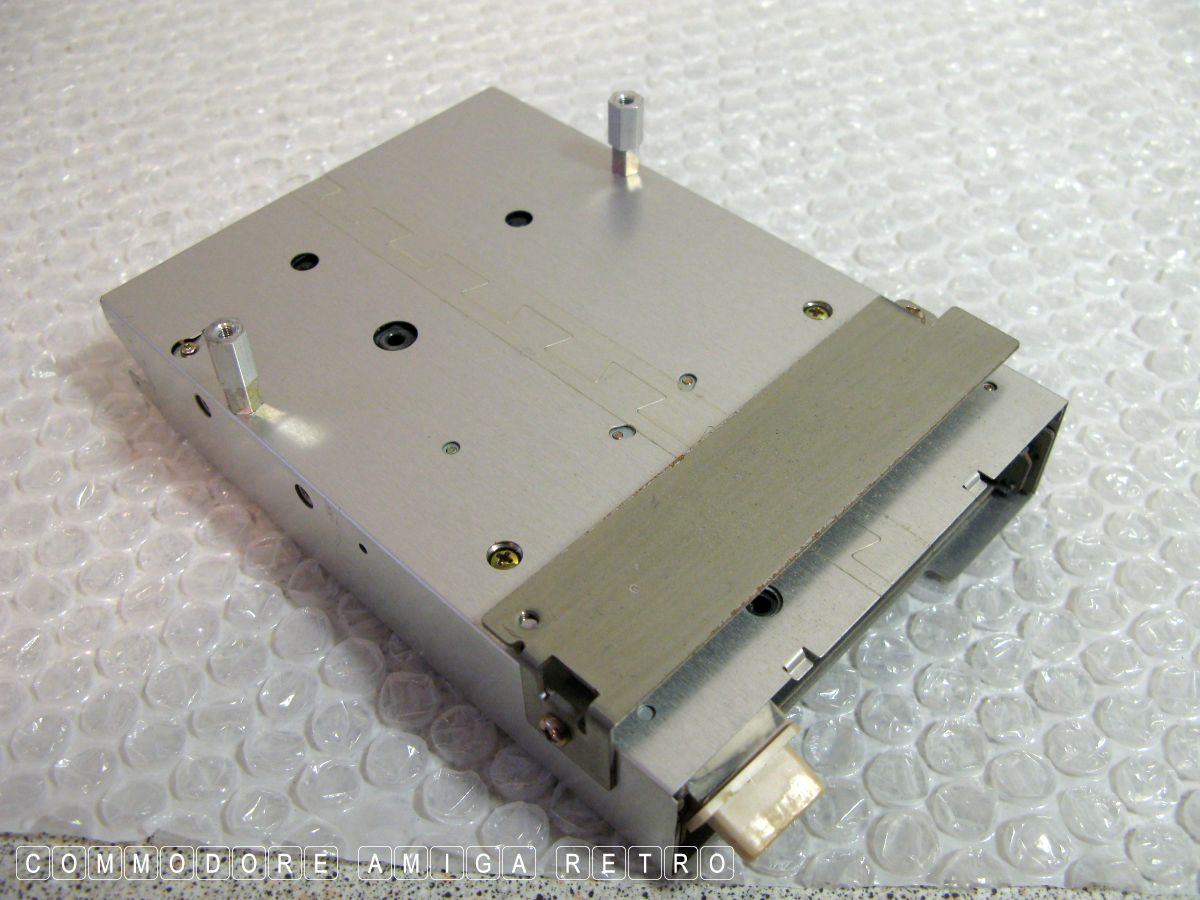
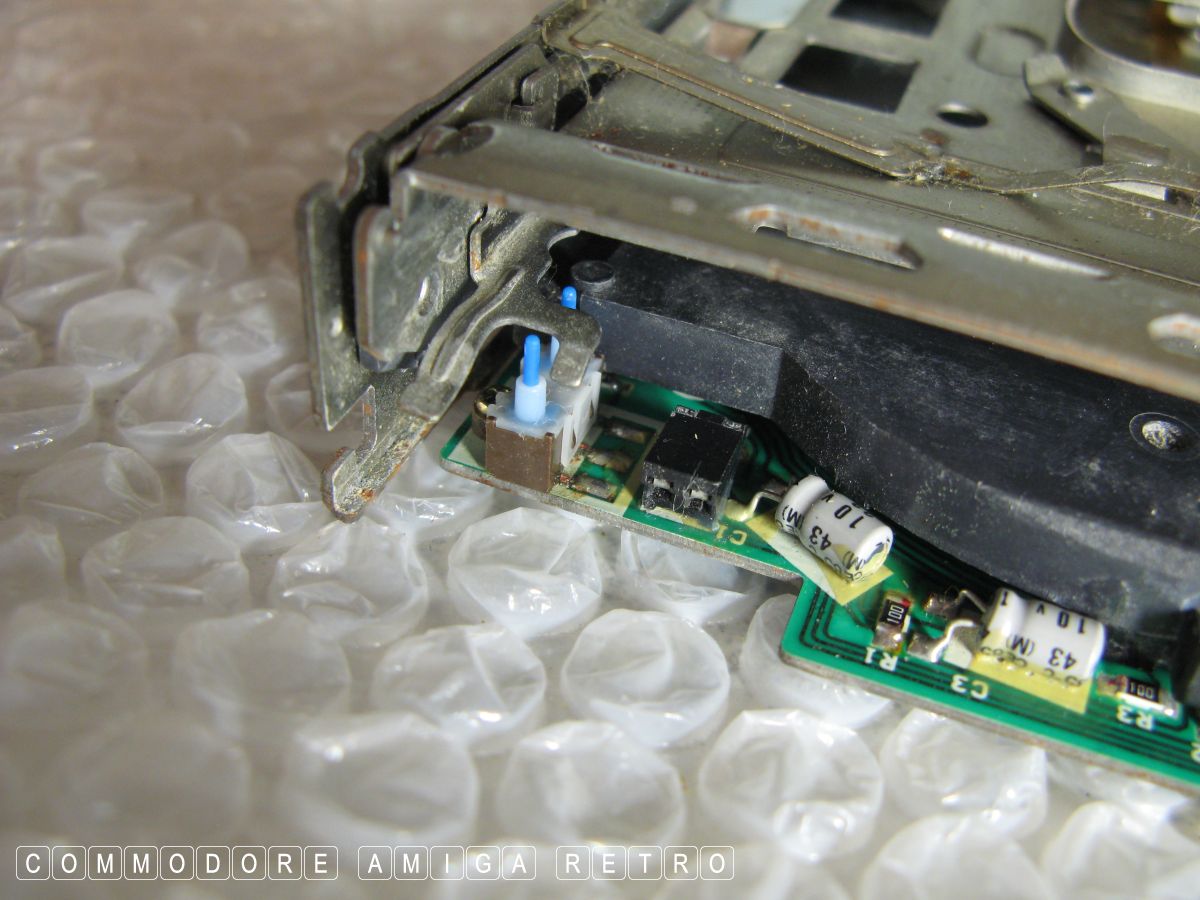
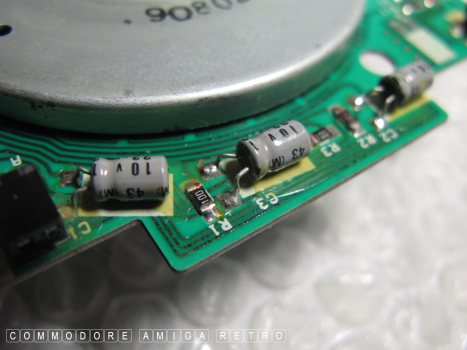
Note that the motor is mounted on the side.

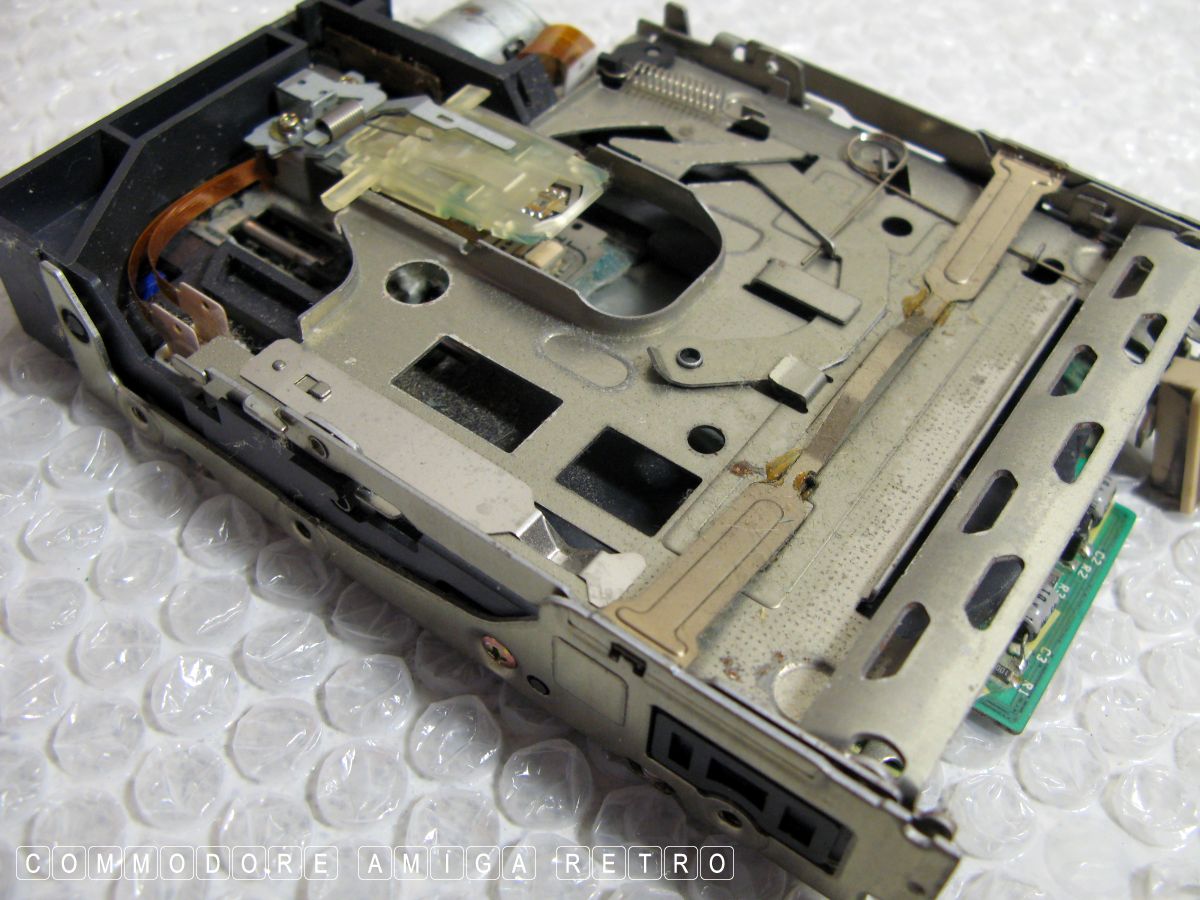
The PCB simply folds back on itself.
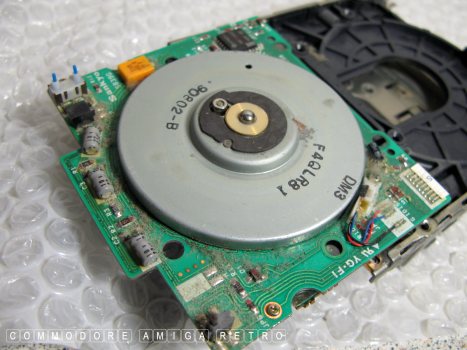
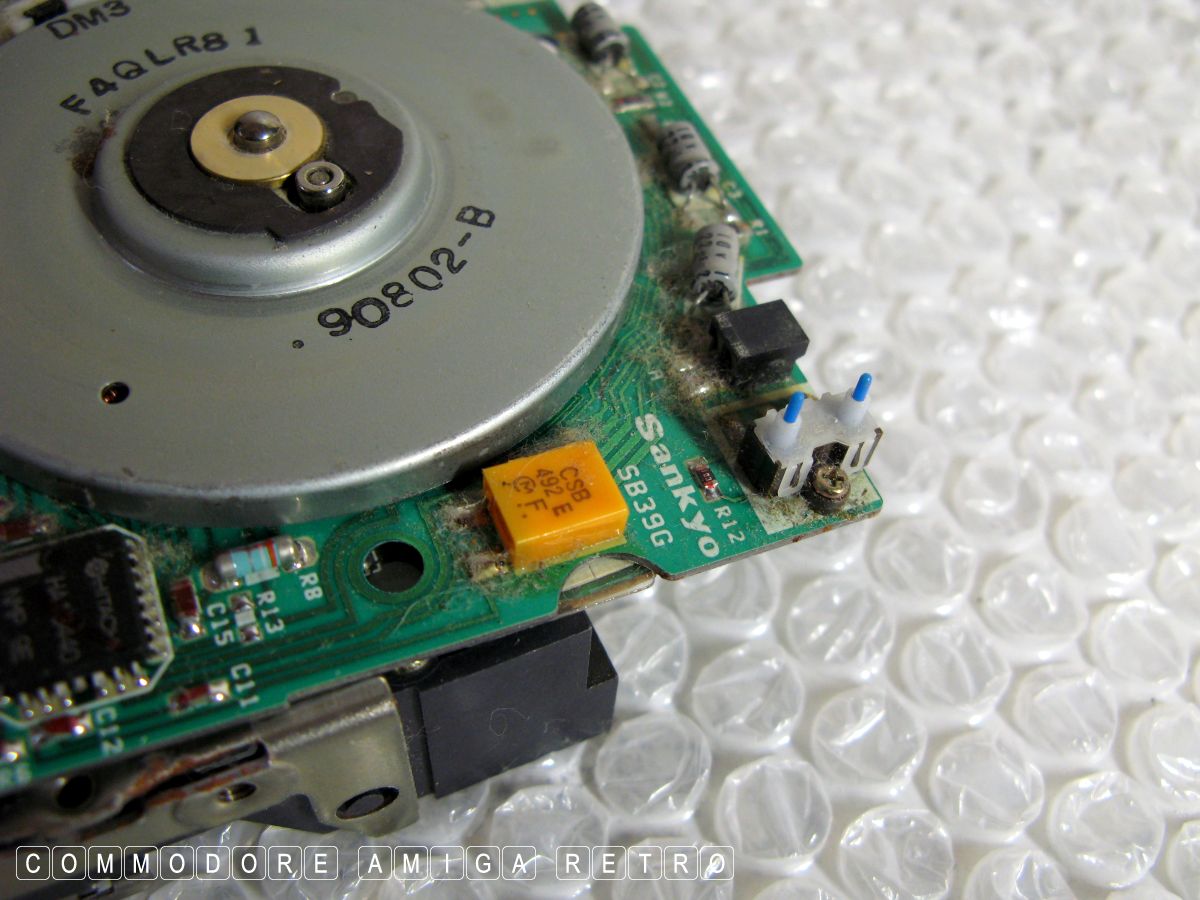
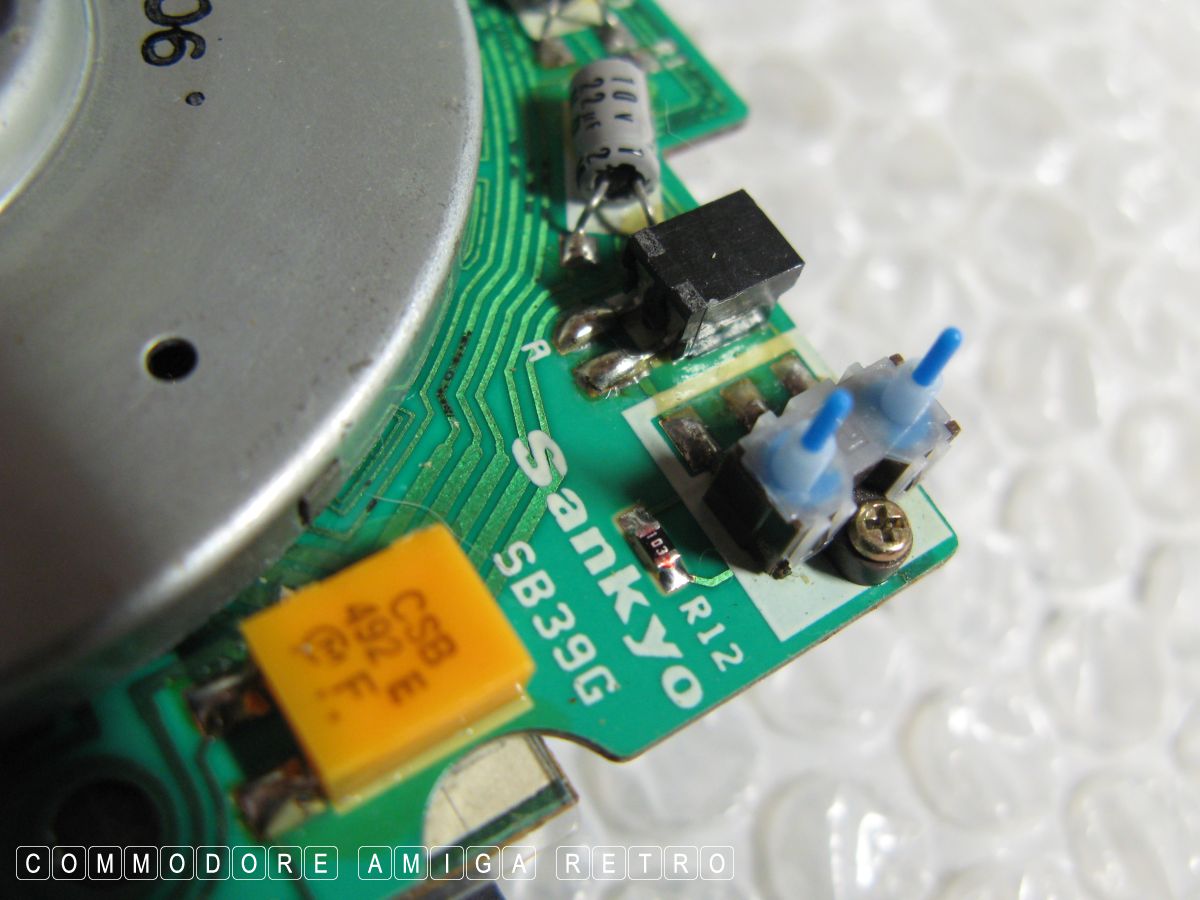
Revealing a very dusty dirty board.


So much dust, dirt and hairs. Yuk !

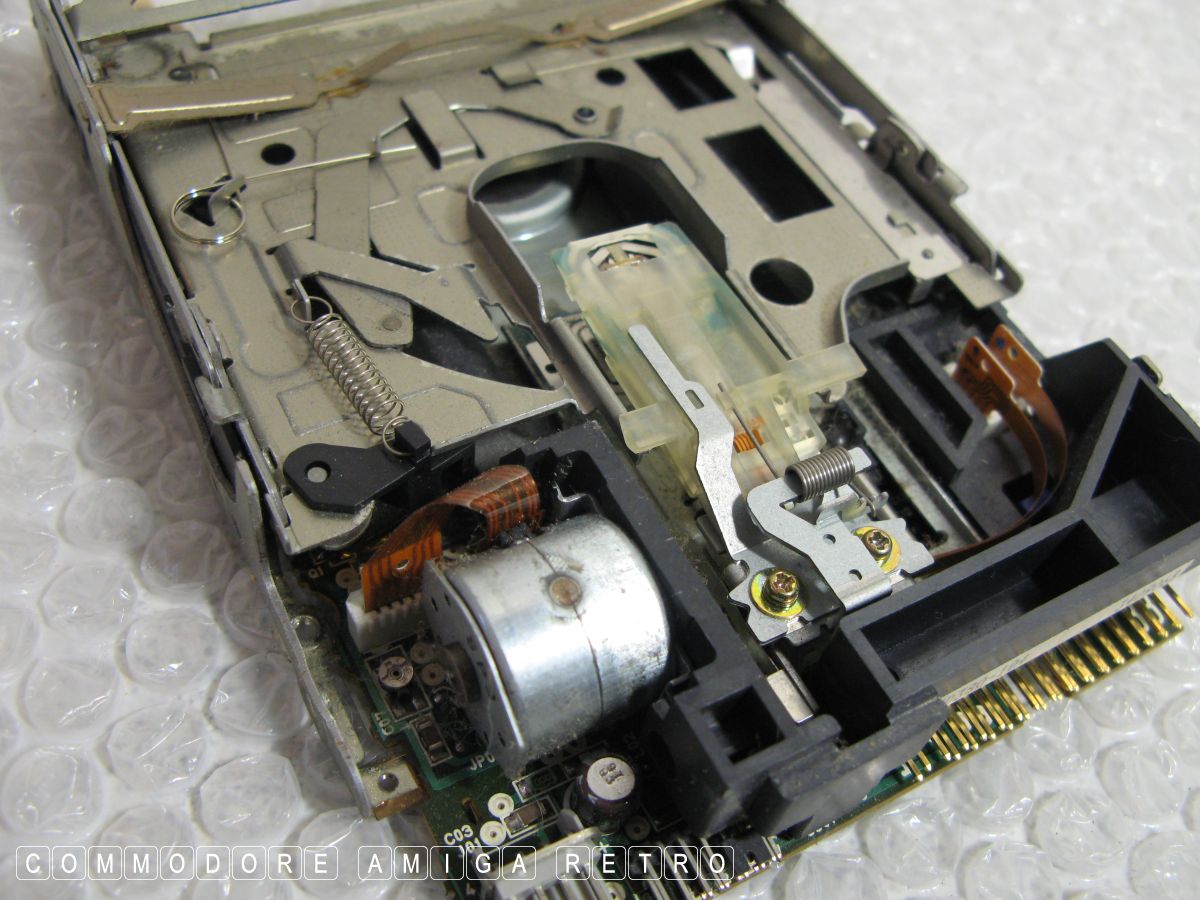
OK I gave this floppy a deep clean.

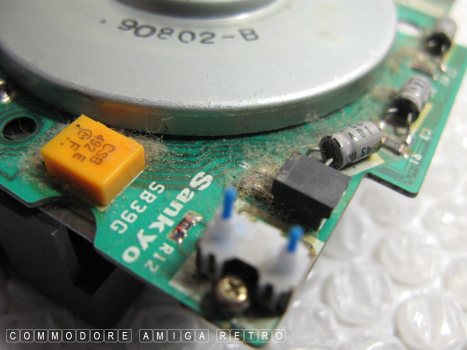
I am convinced that the hardened goo is
hot glue. And why ? In the years of use
if the capacitors had leaked it would have
picked up dust and dirt. Below the surface
of each gob of goo there is a totally clean
board and the tracks have no black degrading.
I believe the white pads indicate a surface
where hot clear glue was used to hold down
the capacitors which otherwise may have been
dislodged with disks as they were inserted.

Note the empty pad. All the components
have the hot glue around them and not
just the capacitors.

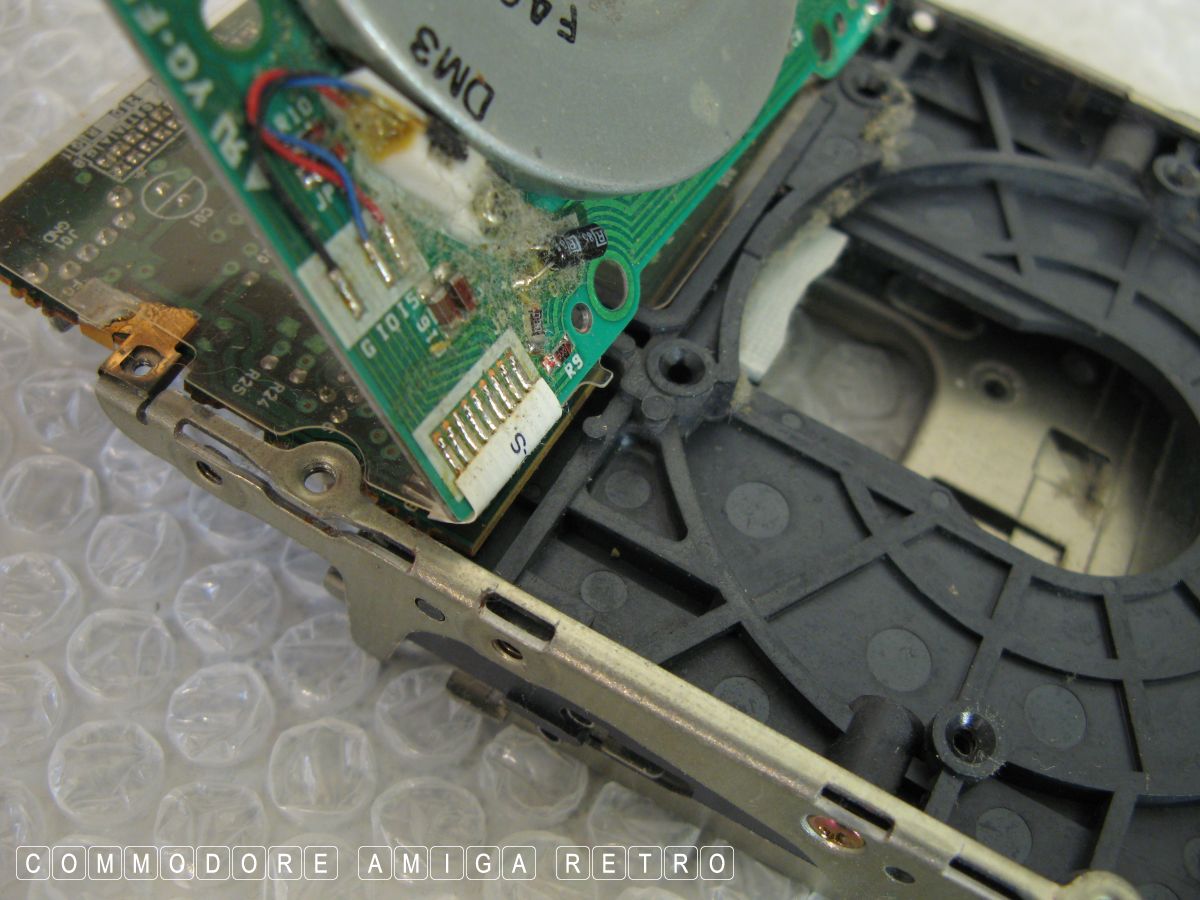
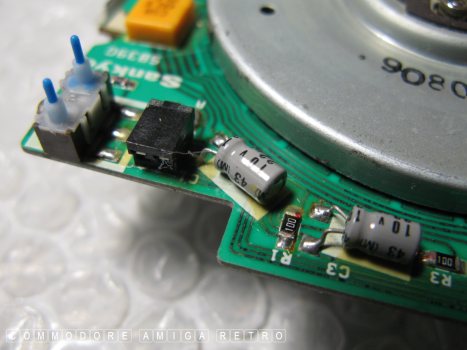
I did attempt to clean out the switches
with fluid but very difficult.

I cleaned out the other switch also.
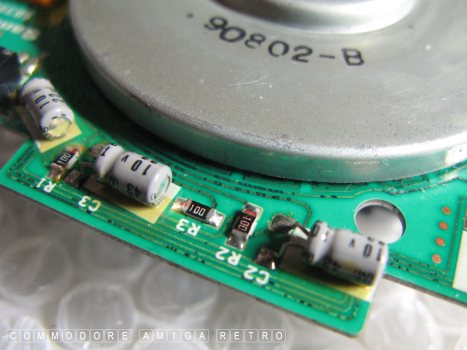
If you look at the tracks below the goo
you will see they are in perfect condition.
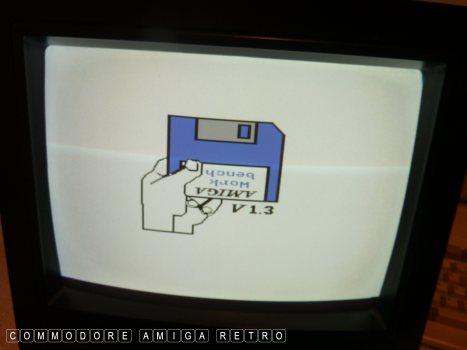
So did it work ? Did it **ck !!
If anything she was worse... Hmmm
I think it is likely to be a dry
capacitor. Maybe the one on the
motor board. The drive is just not reading.
OK time for another rethink.
READ NEXT BLOG