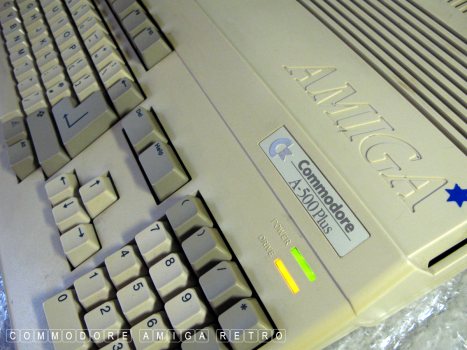
Amiga-500 Plus - The battery battle that never ends.
This 500 Plus was featured recently with
a GARY issue. I had thought about opening
her up but given she was working fine and
with it only being a few months since I
carried out the work I decided she was good
to go and put the screwdriver to one side.
This computer had been left for dead in the
day and the motherboard removed and placed
in store. I happened to check the board one
day and found it working so I put it into a
spare case got her working.

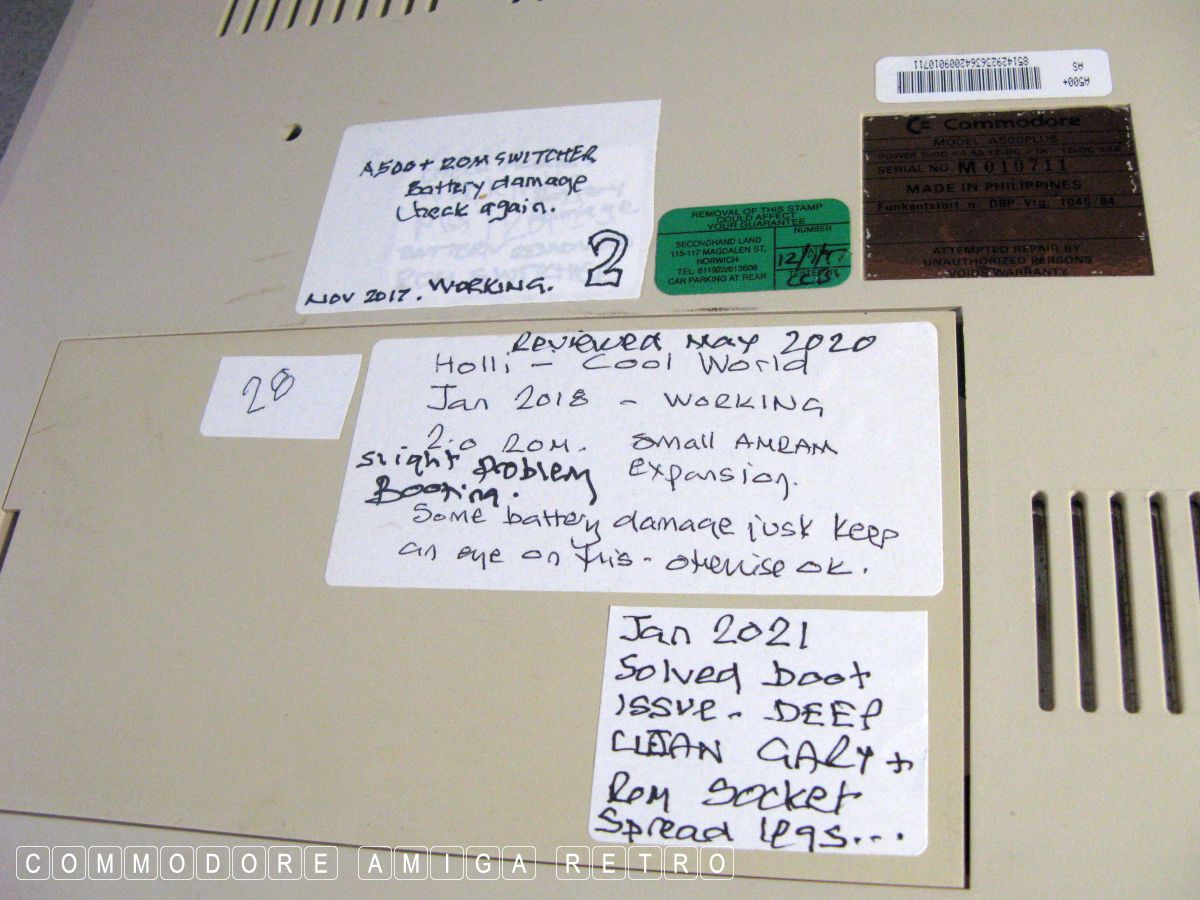
I've been checking the board for any number
of years and she still continues to astound.
I record damage and any further deterioration.
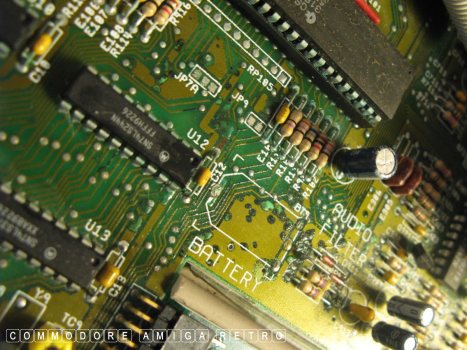
This was her condition in 2017.
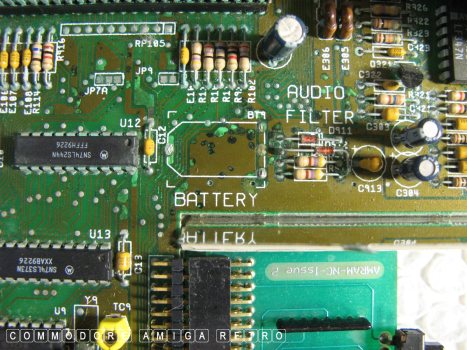
This was her condition in 2020.
A few months ago her GARY chip decided
to play up and I had cause to remove it.

I cleaned the socket the best I could
and spread the chip legs and she was fine.
Hardened corrosion is very very hard
to remove. The dulling of chip legs is
also hard to deal with as they are tinned
and you run the risk of removing the tinning
and exposing the legs to more corrosion.
See my end comment.

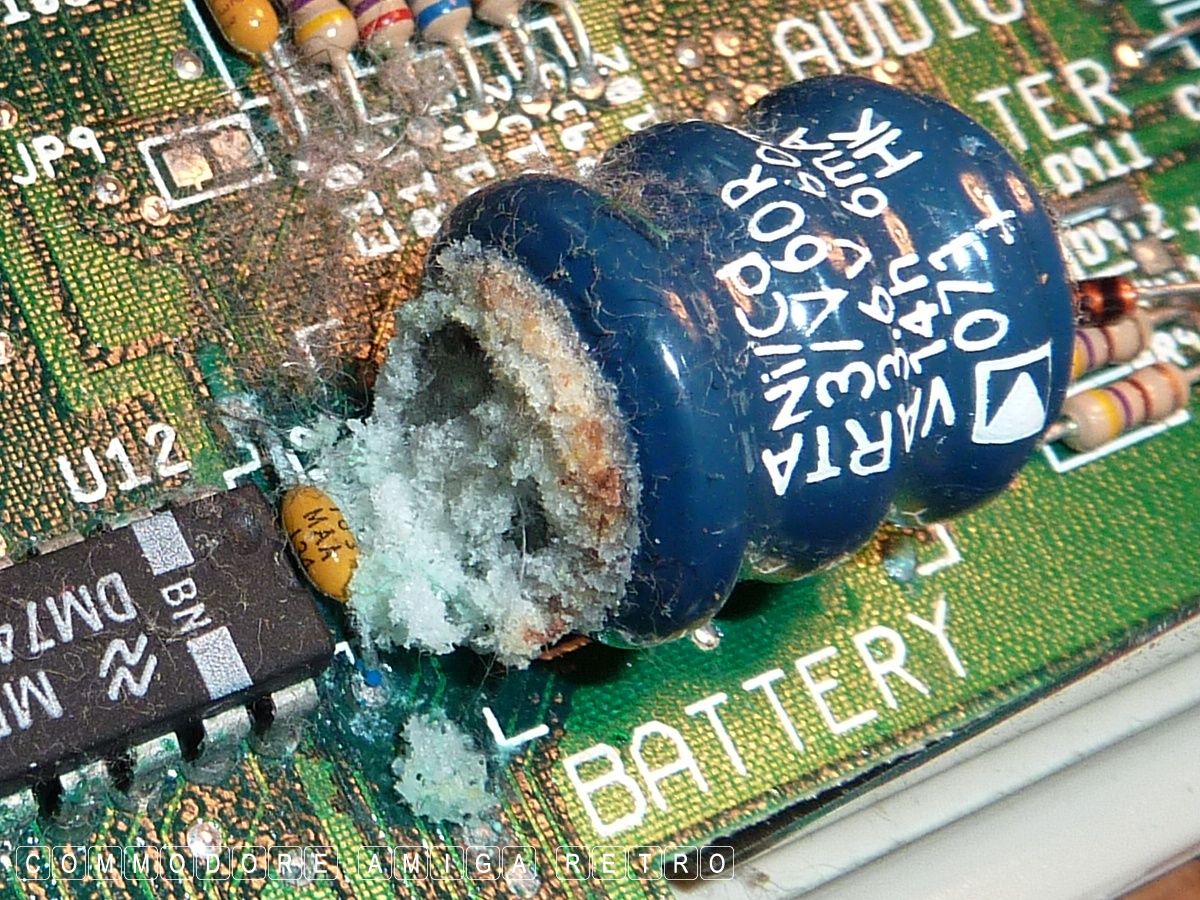
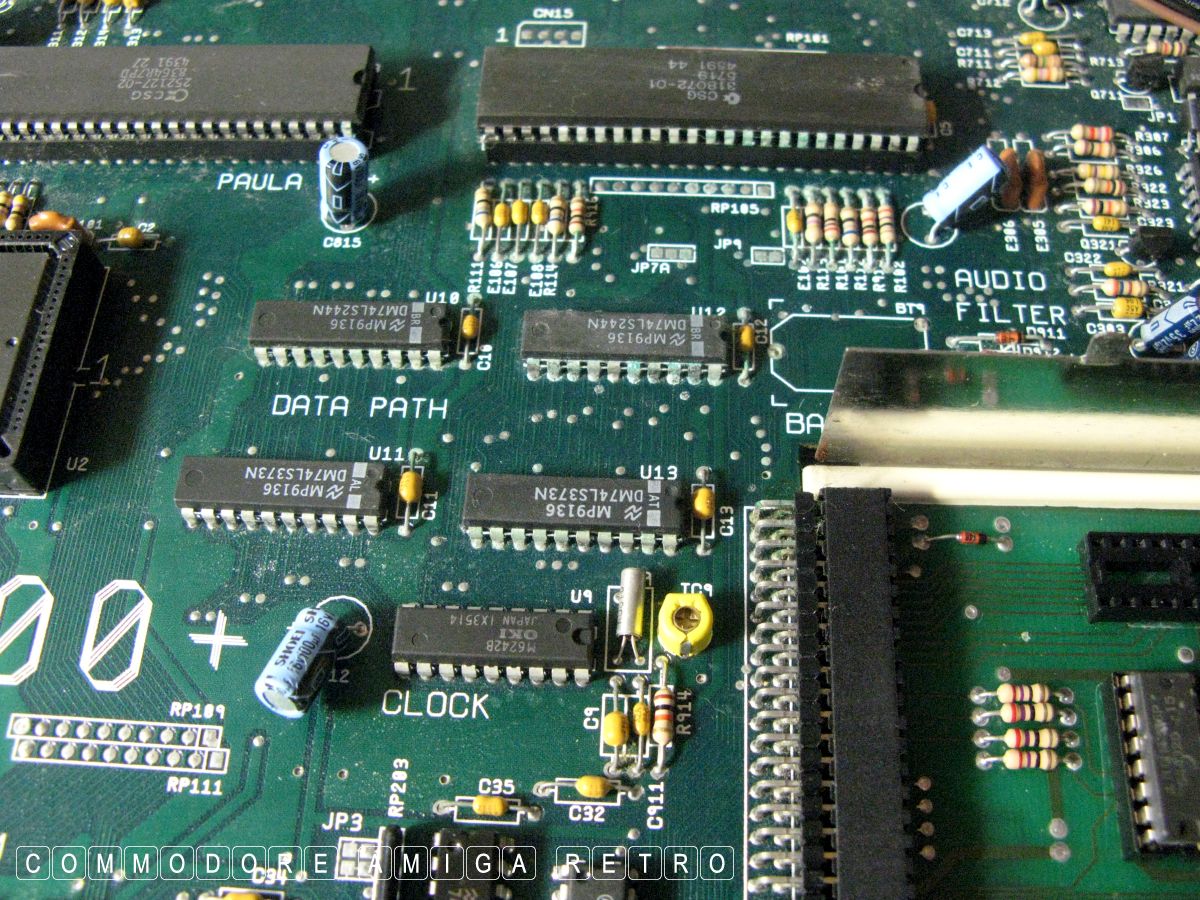
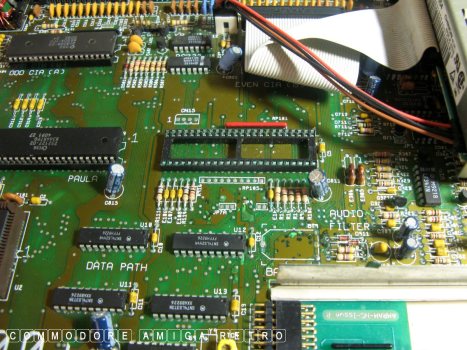
This is generally how A-500 Plus machines
looked when I opened them up in 2005.
Some were much worse than others.

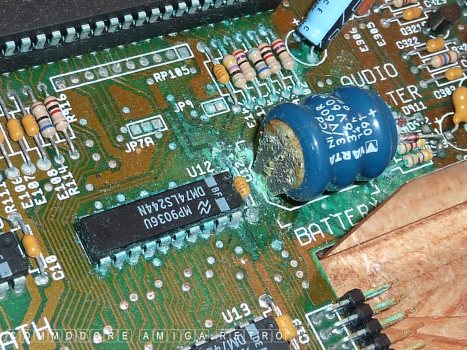
Battery damage could be limited to
just around the leaky battery.

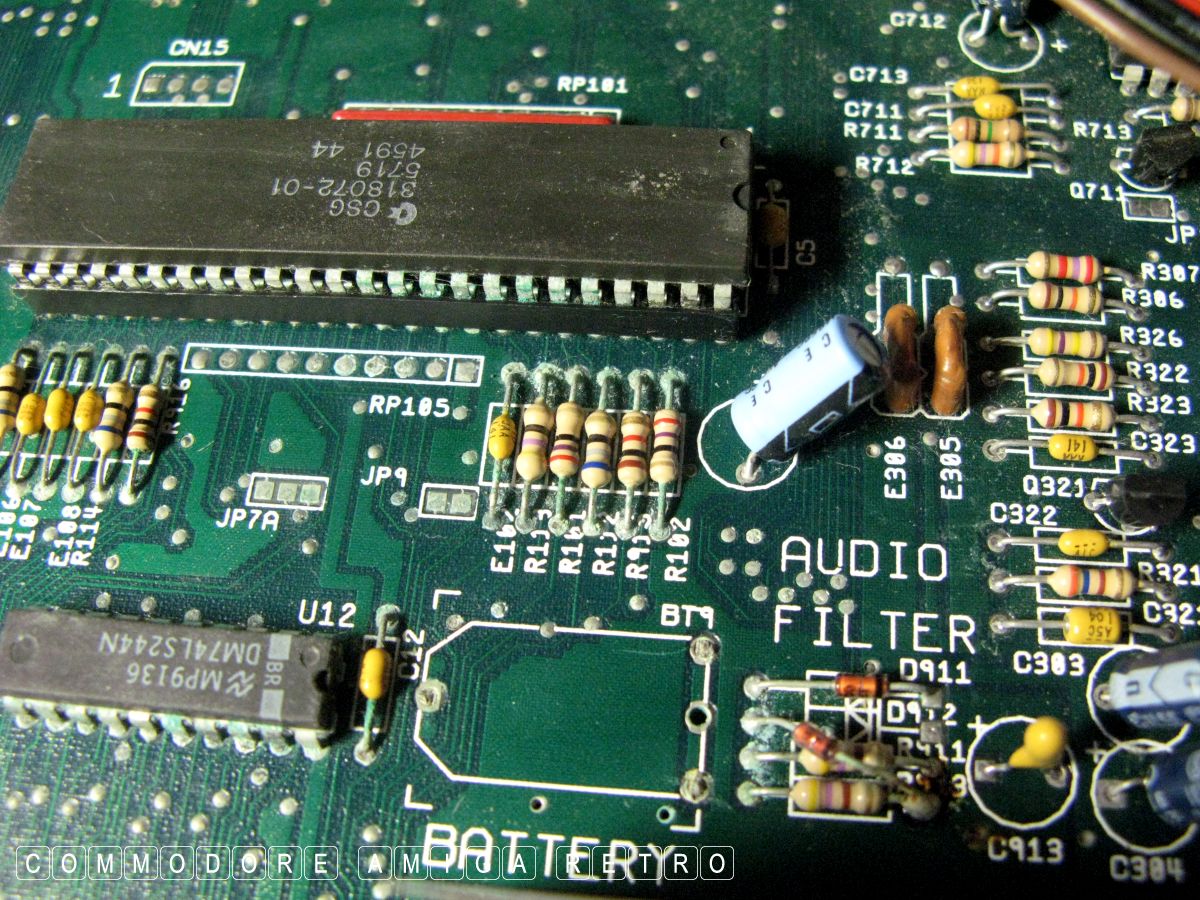
With others there was no leakage but
the adjacent corrosion was extensive.

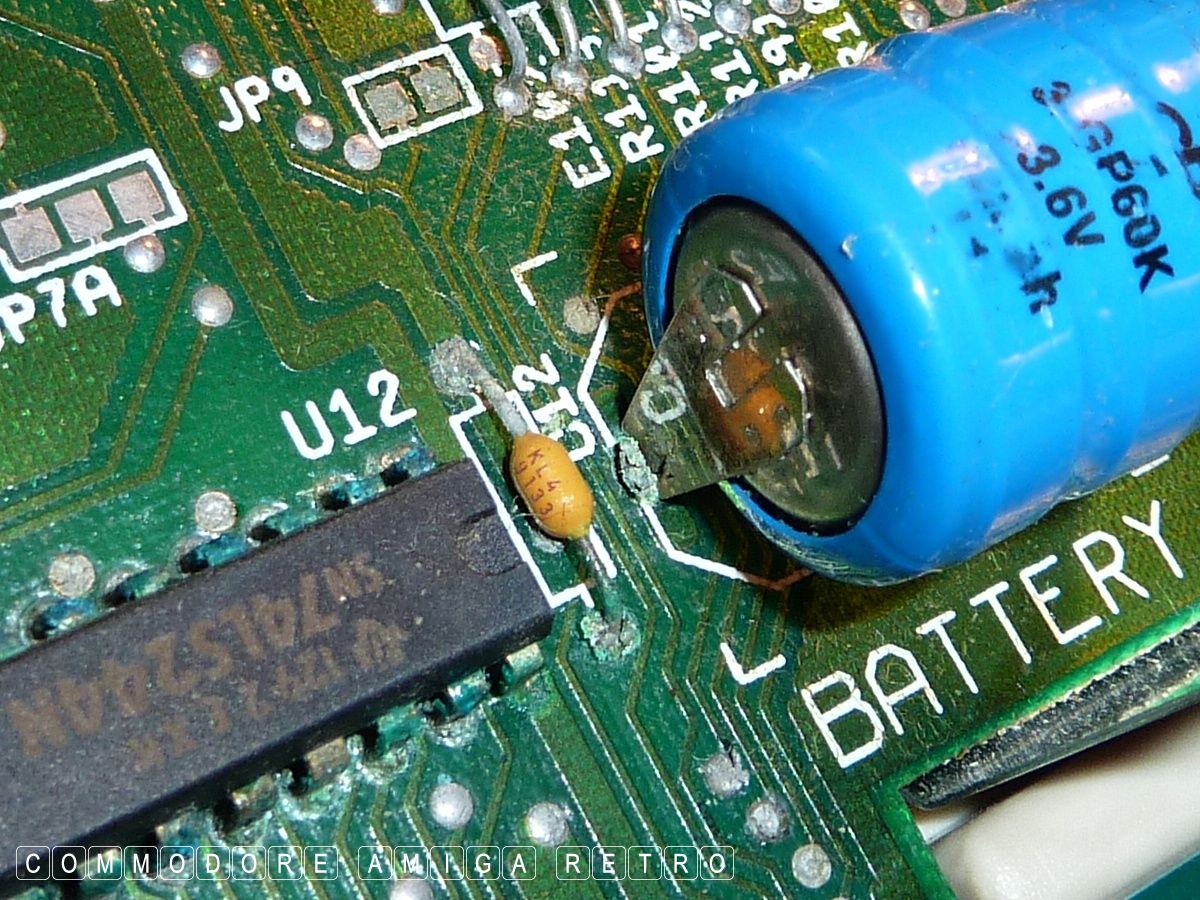
In each instance it was a case of removing
the battery and cleaning up and seeing if
she was working. If so the challenge was
to monitor the corrosion at first and then
attack it gradually.
The aim was to maintain the computers
health without destroying the board and
or the components.
OK let's have a look at an A-500 in
need of some socket cleaning.
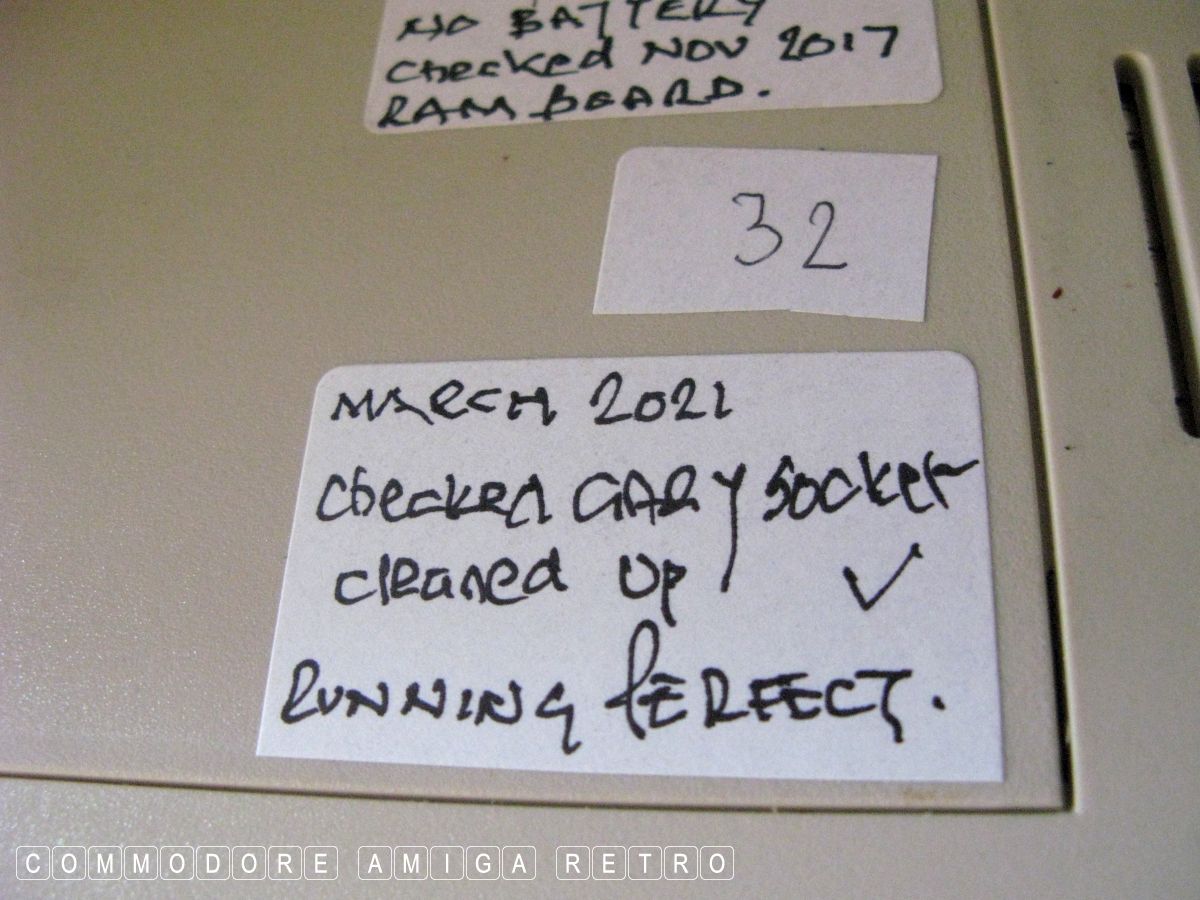
First I test that she boots up a disk.

I check the notes to the computer.
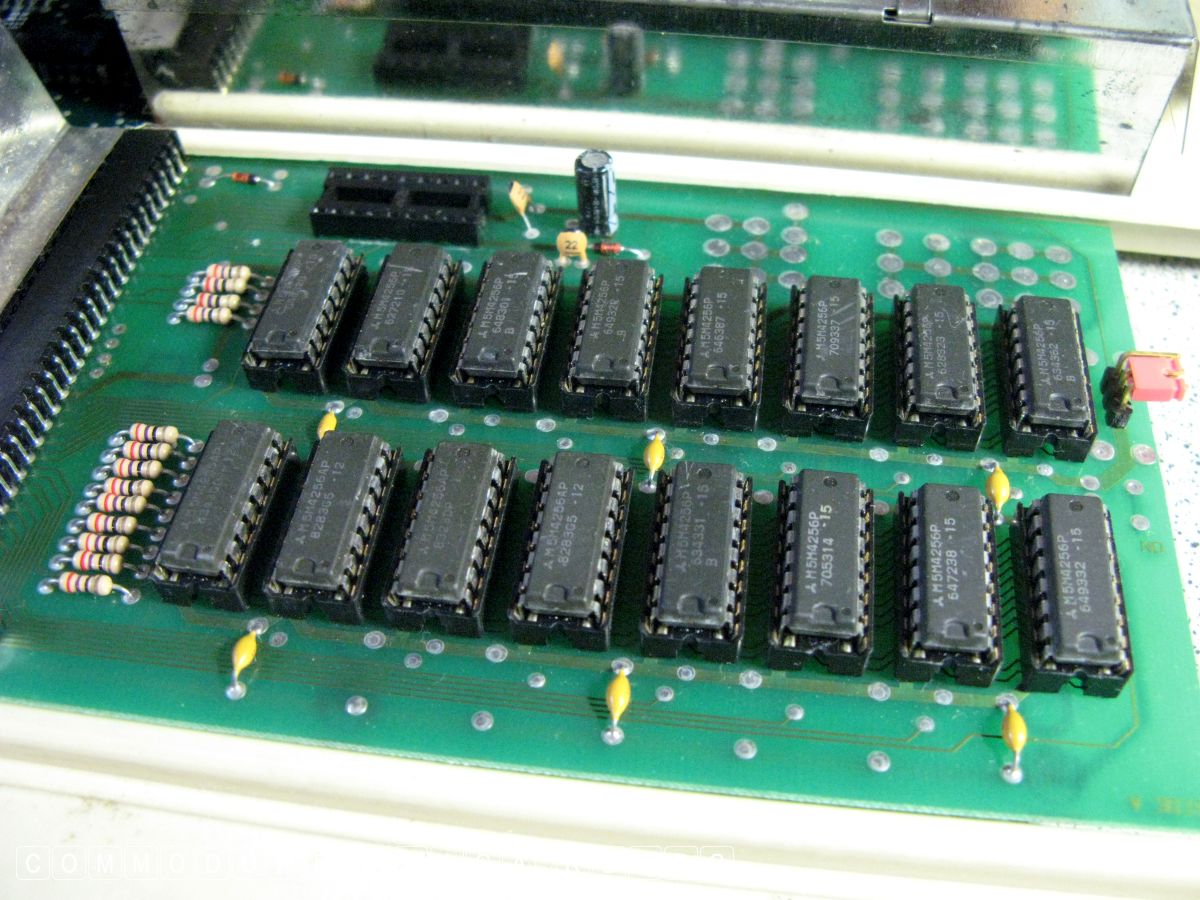
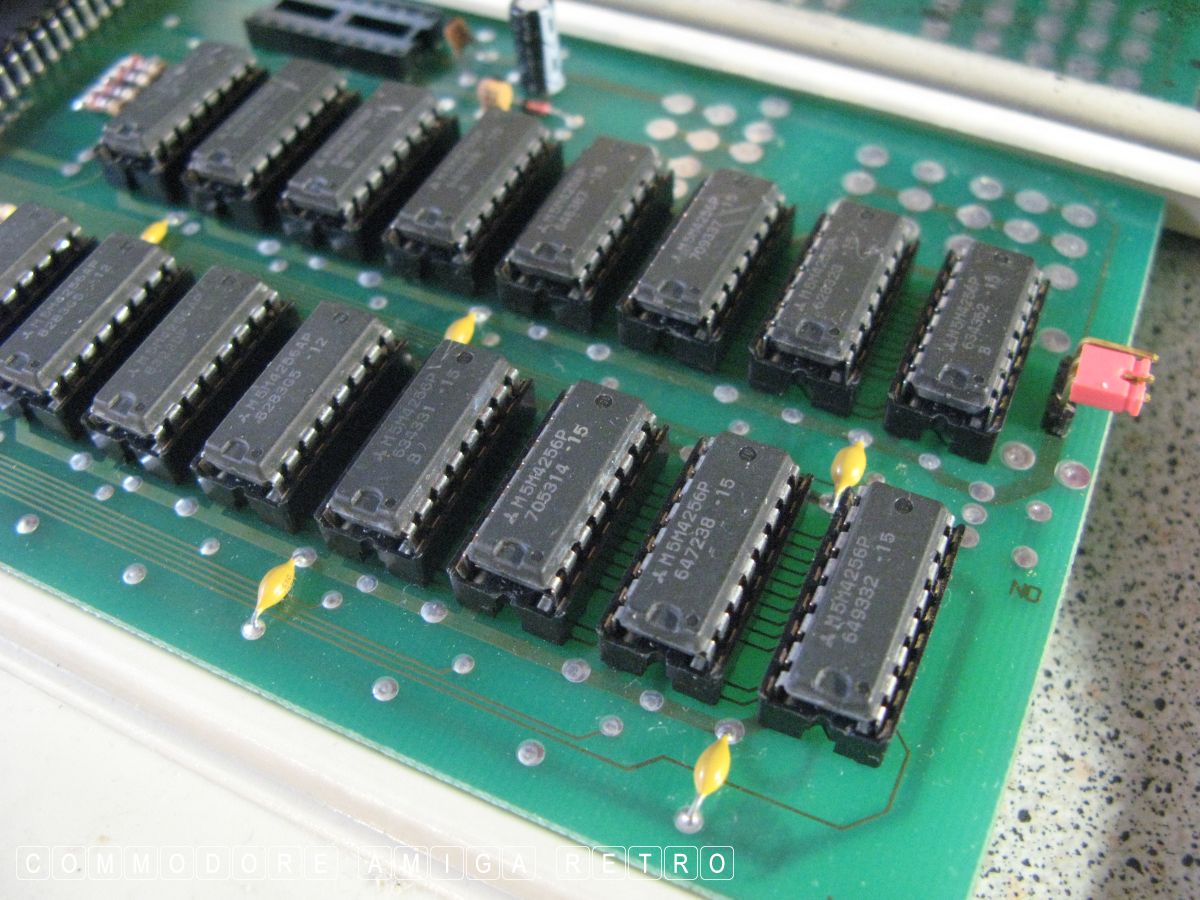
The computer has a WTS Electronics Pro-RAM
which was originally created to expand the
Amiga 500 to 1MB CHIP RAM. So in this instance
we should see an uplift to 1.5MB CHIP. Cool.
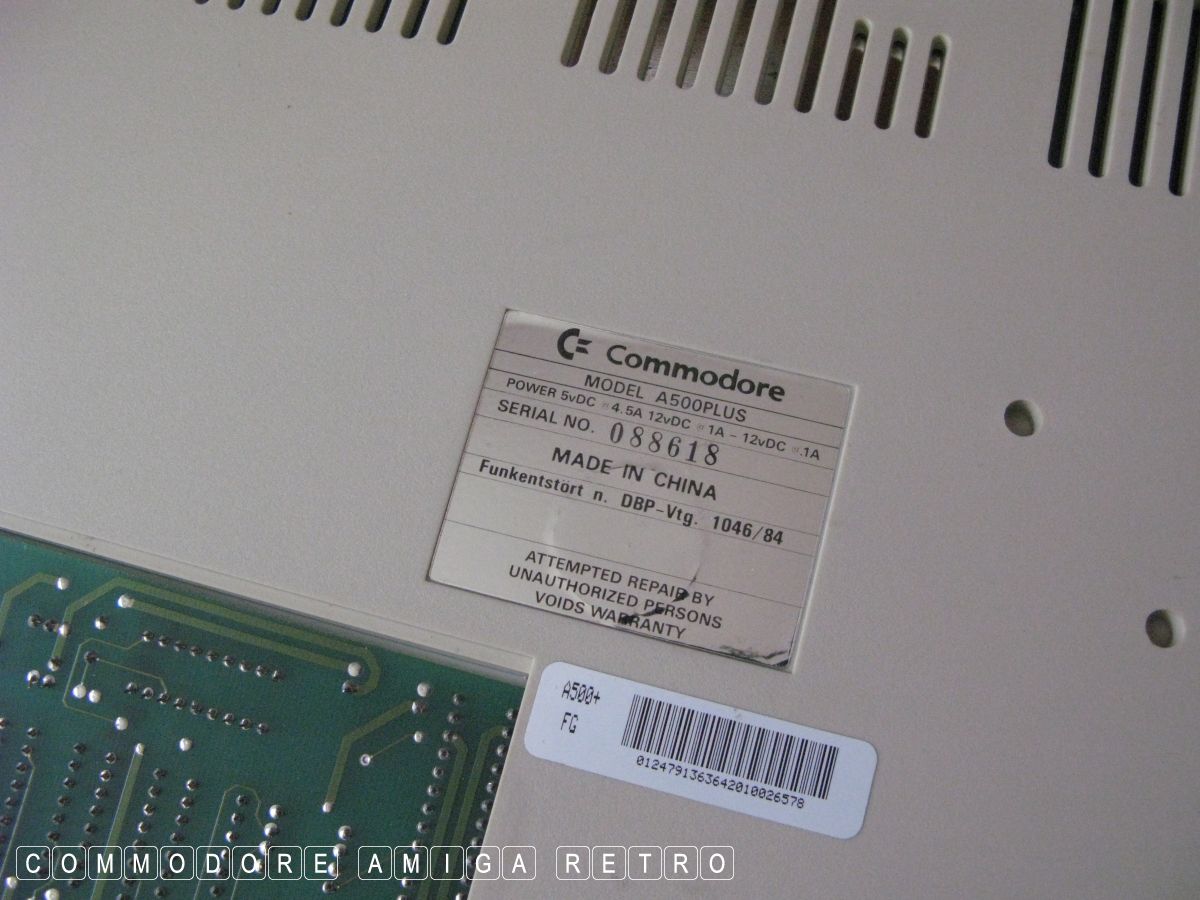
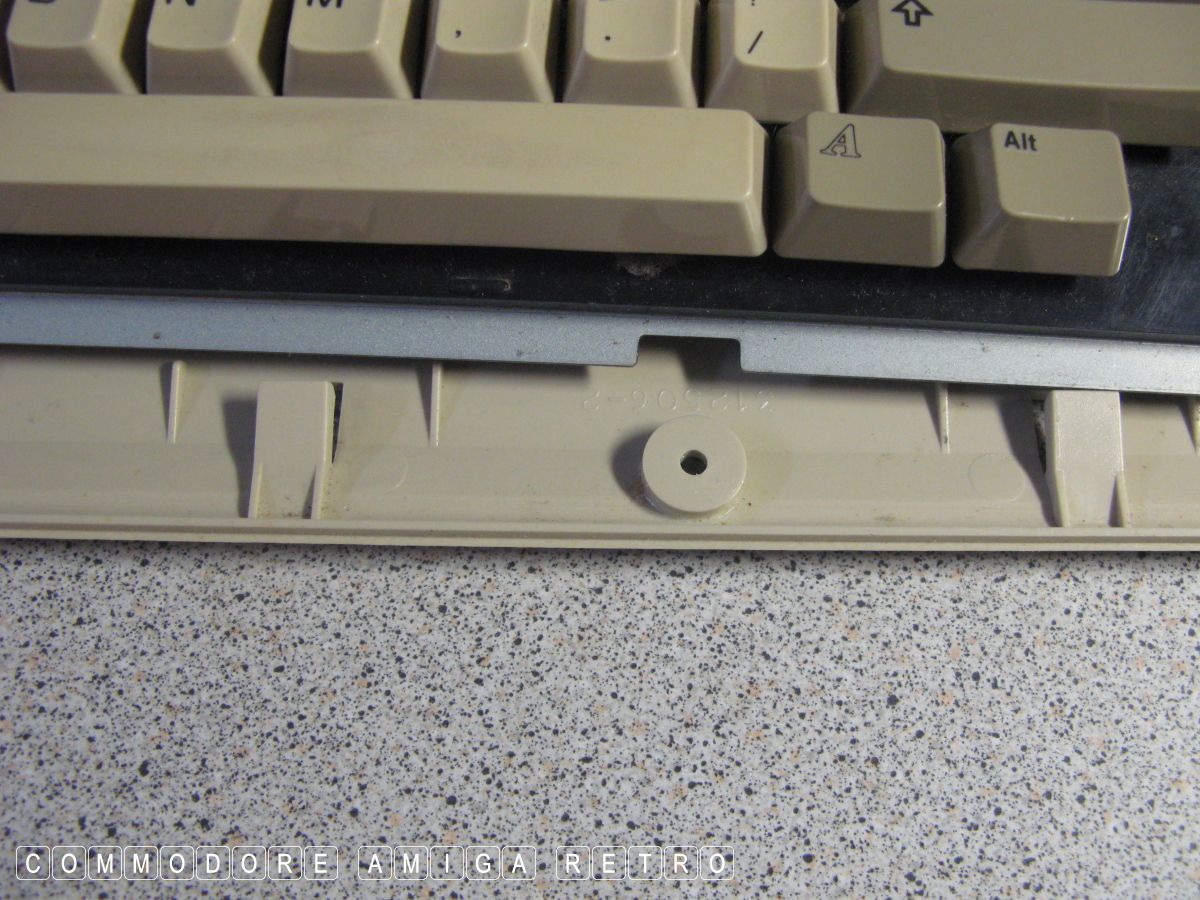
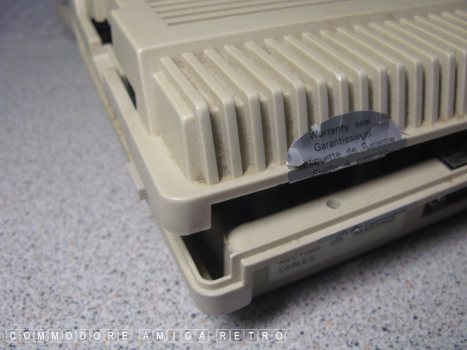
Always check that rubber feet haven't perished.
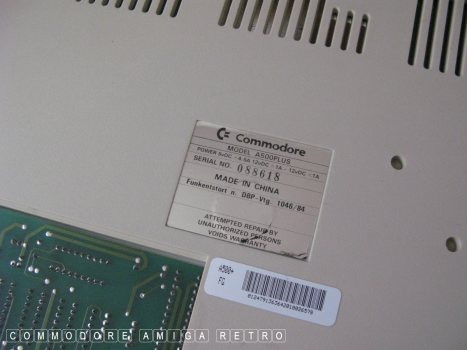
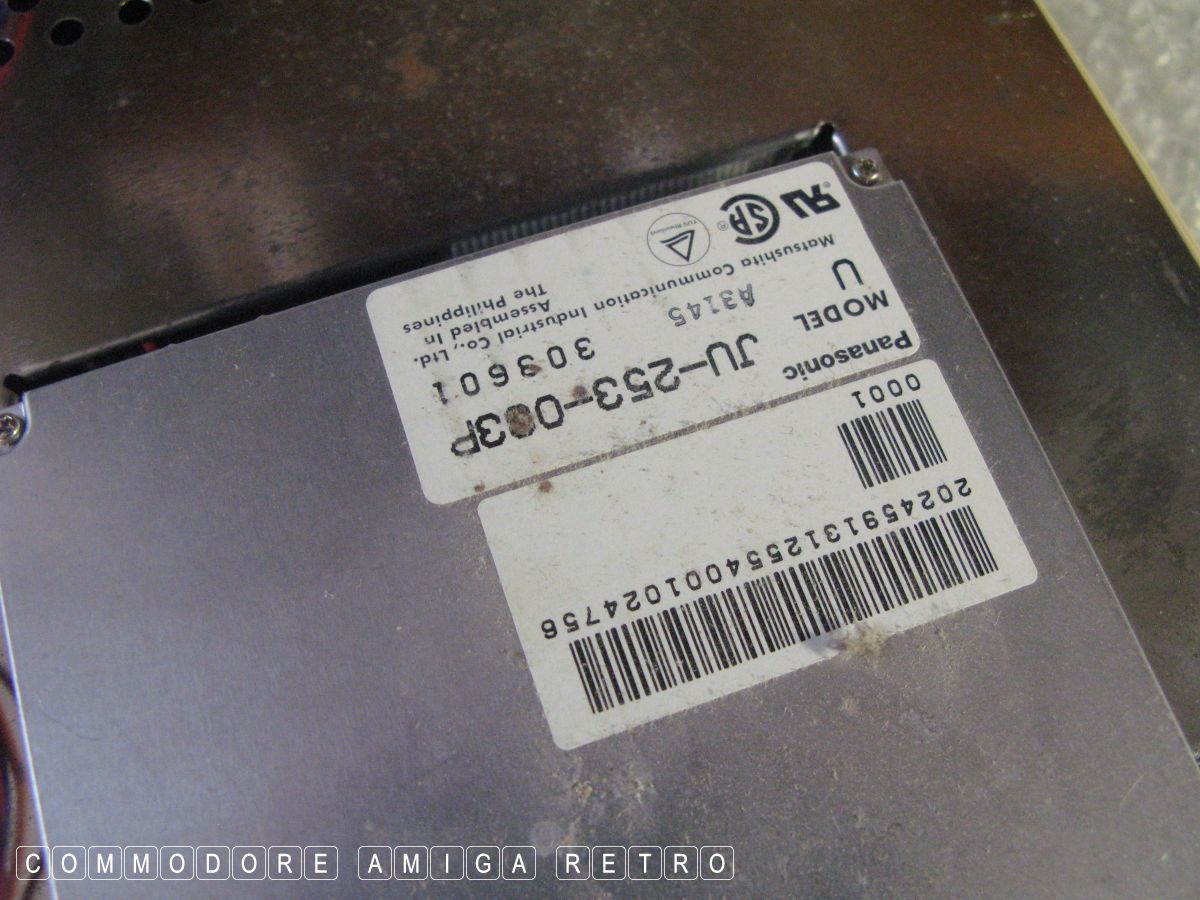
Record the serial number in photographs.
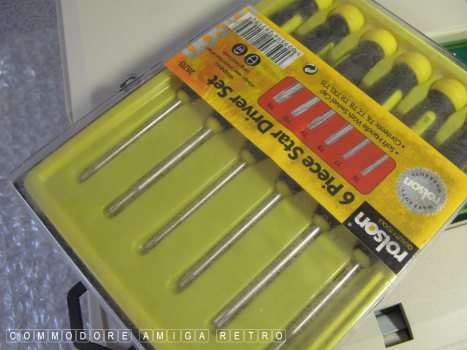
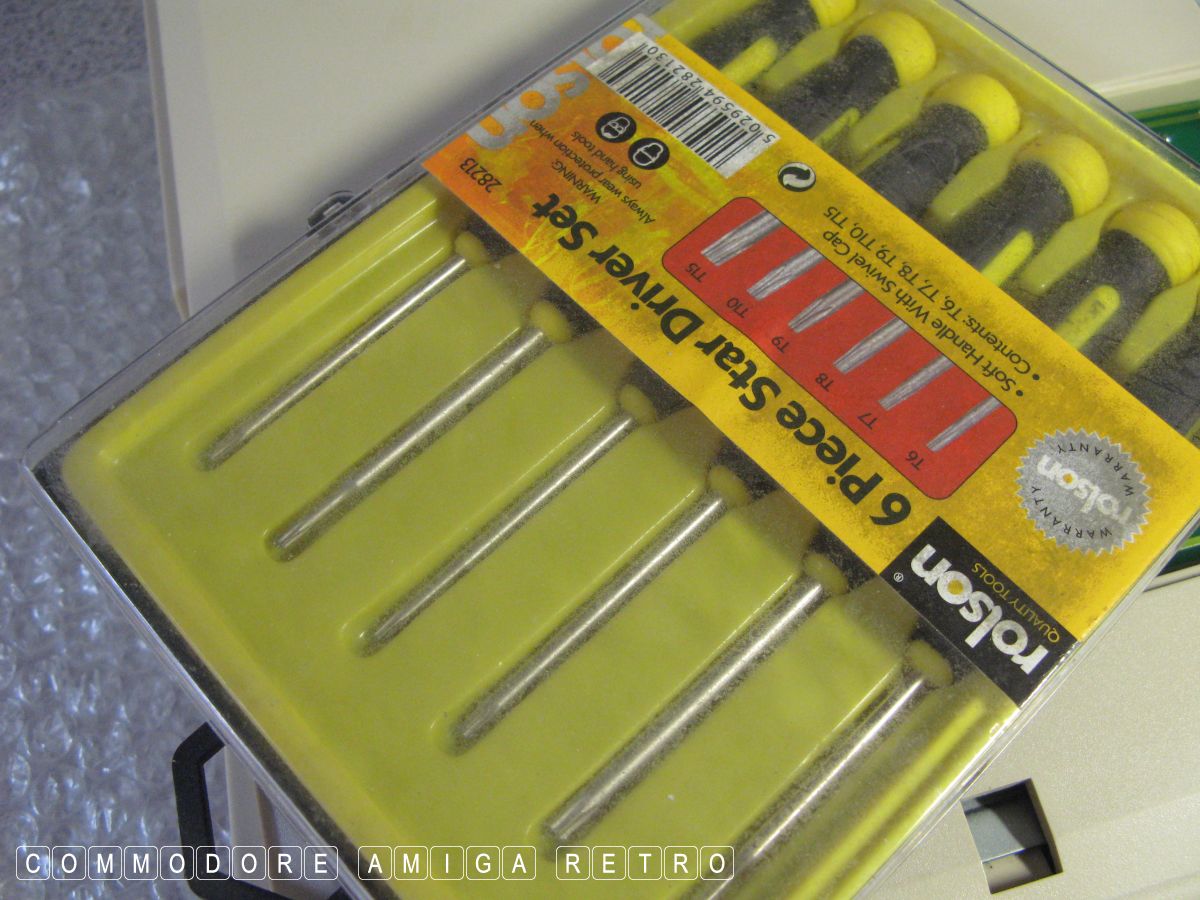
Make sure you use the correct tools.
In this instance they were Philips
normal type screws. There are three
to the top edge and three to the base.
Always put protection down when placing
face work such as keys on the bench.
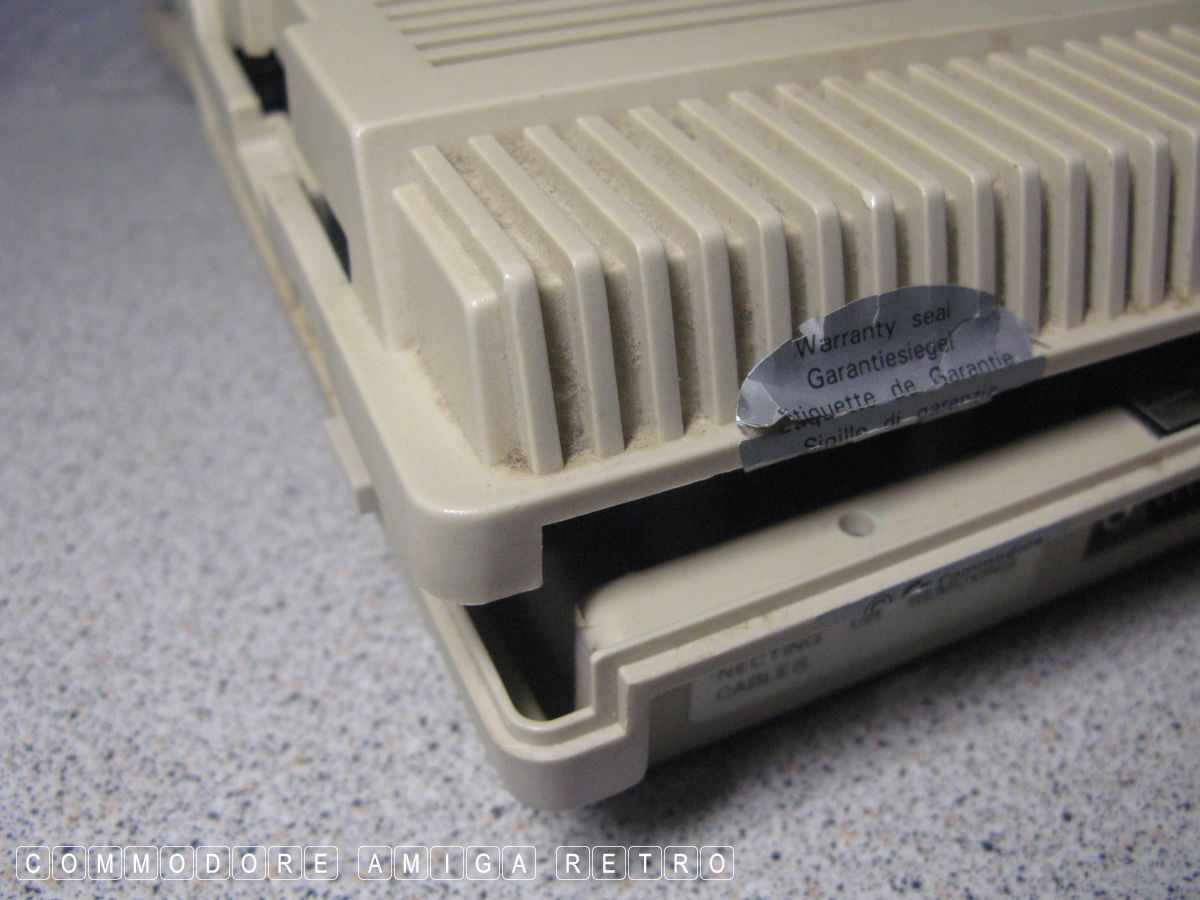
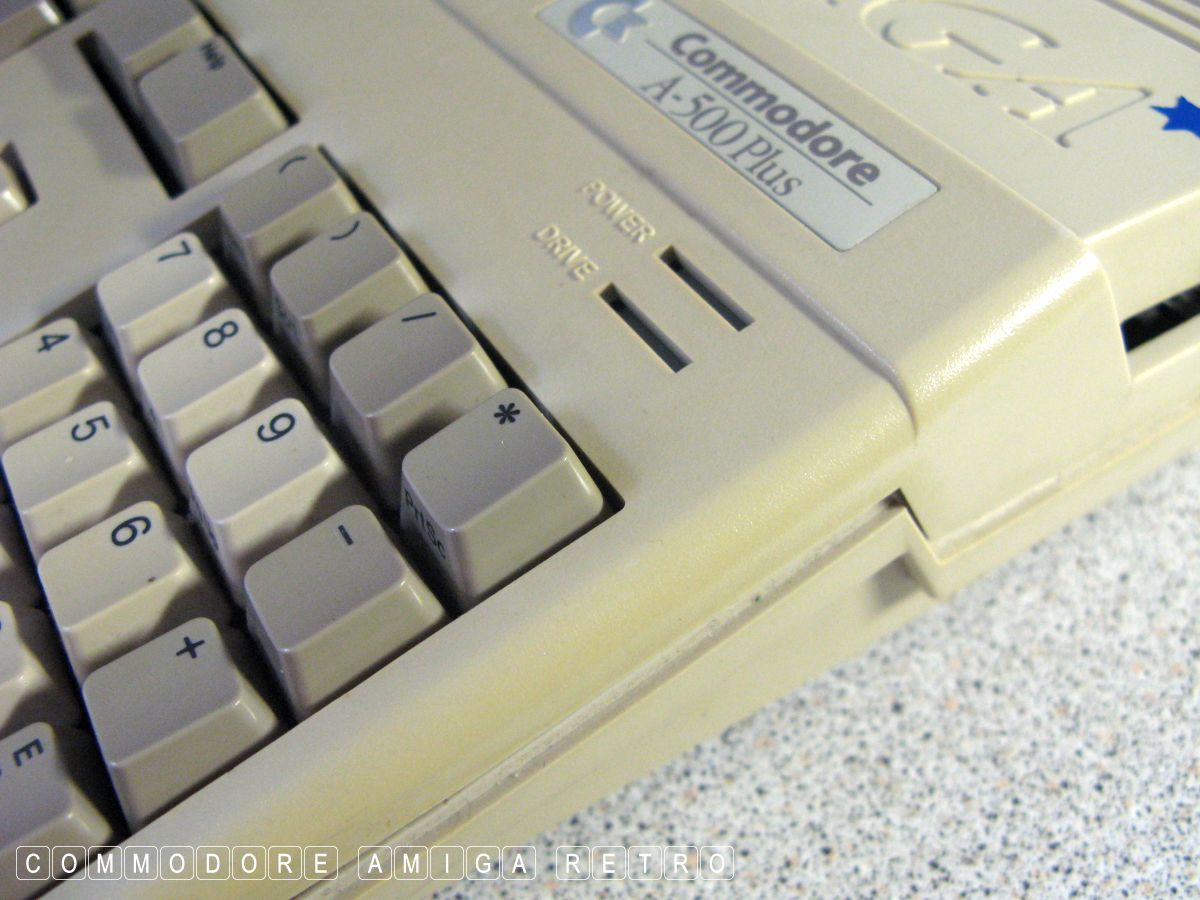
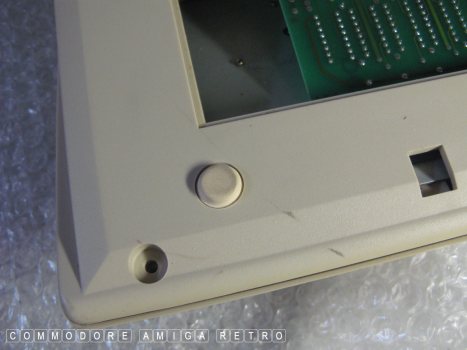
Always split open the case from the back.
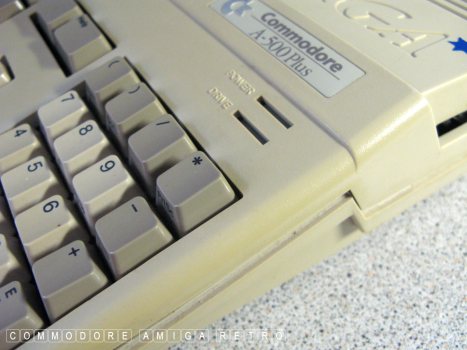
If you split from the bottom edge it will
crack the brittle plastic next to the
asterisk key. Trust me, so don't do that.

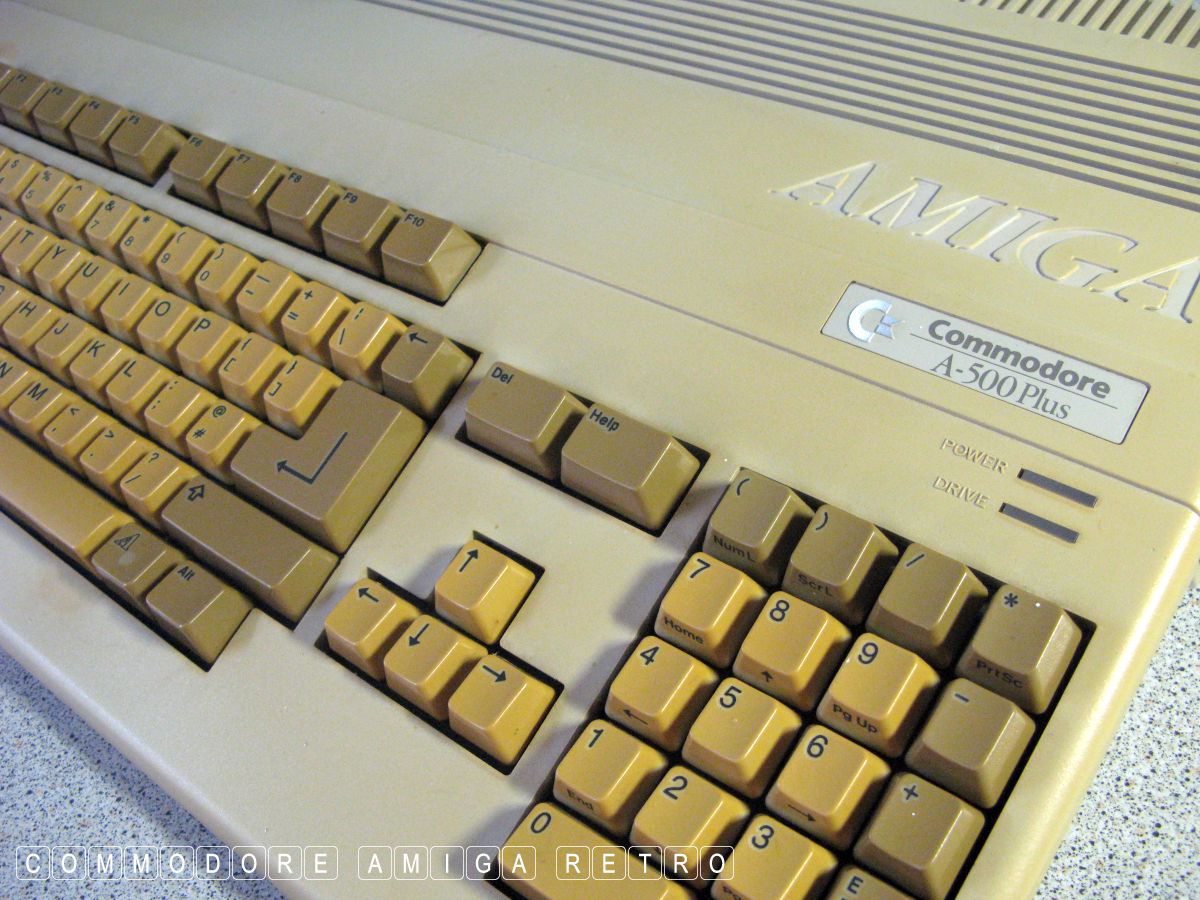
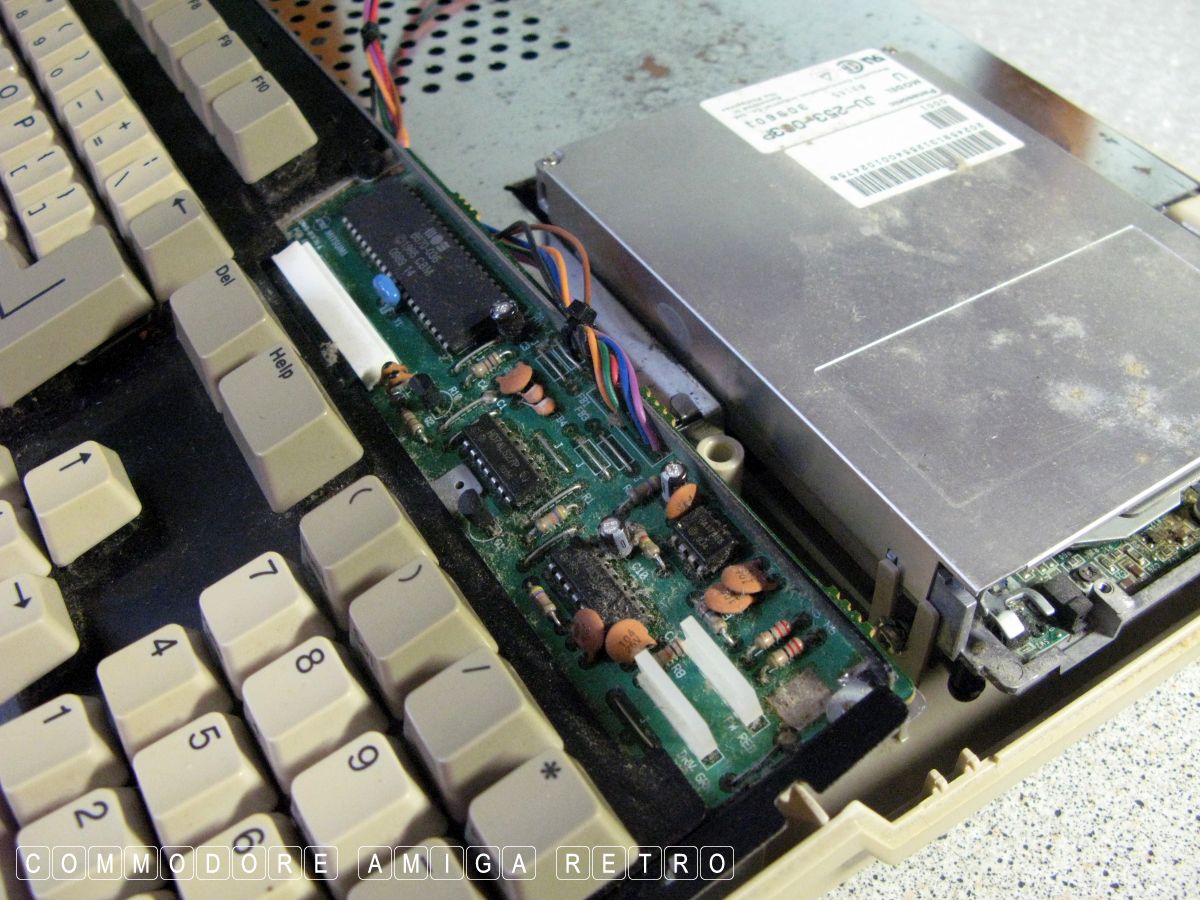
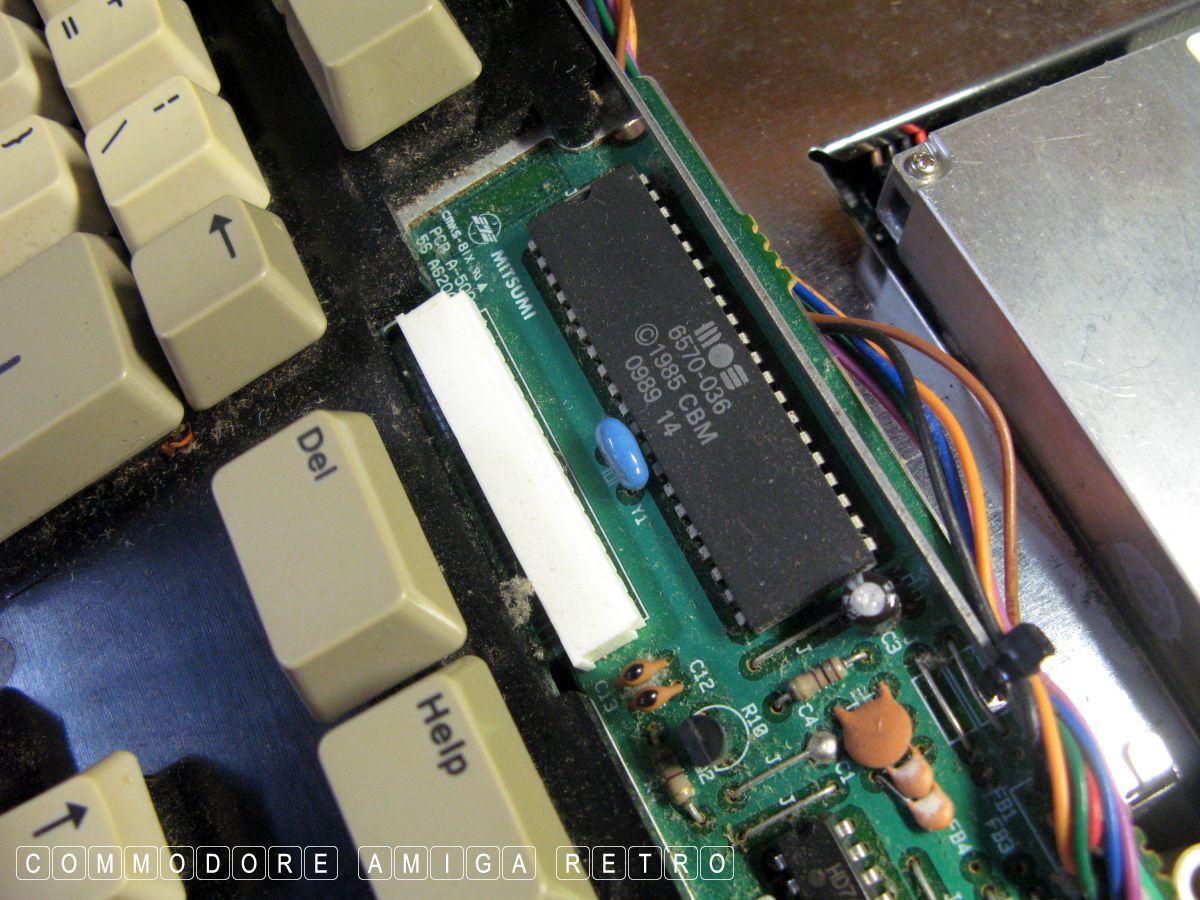
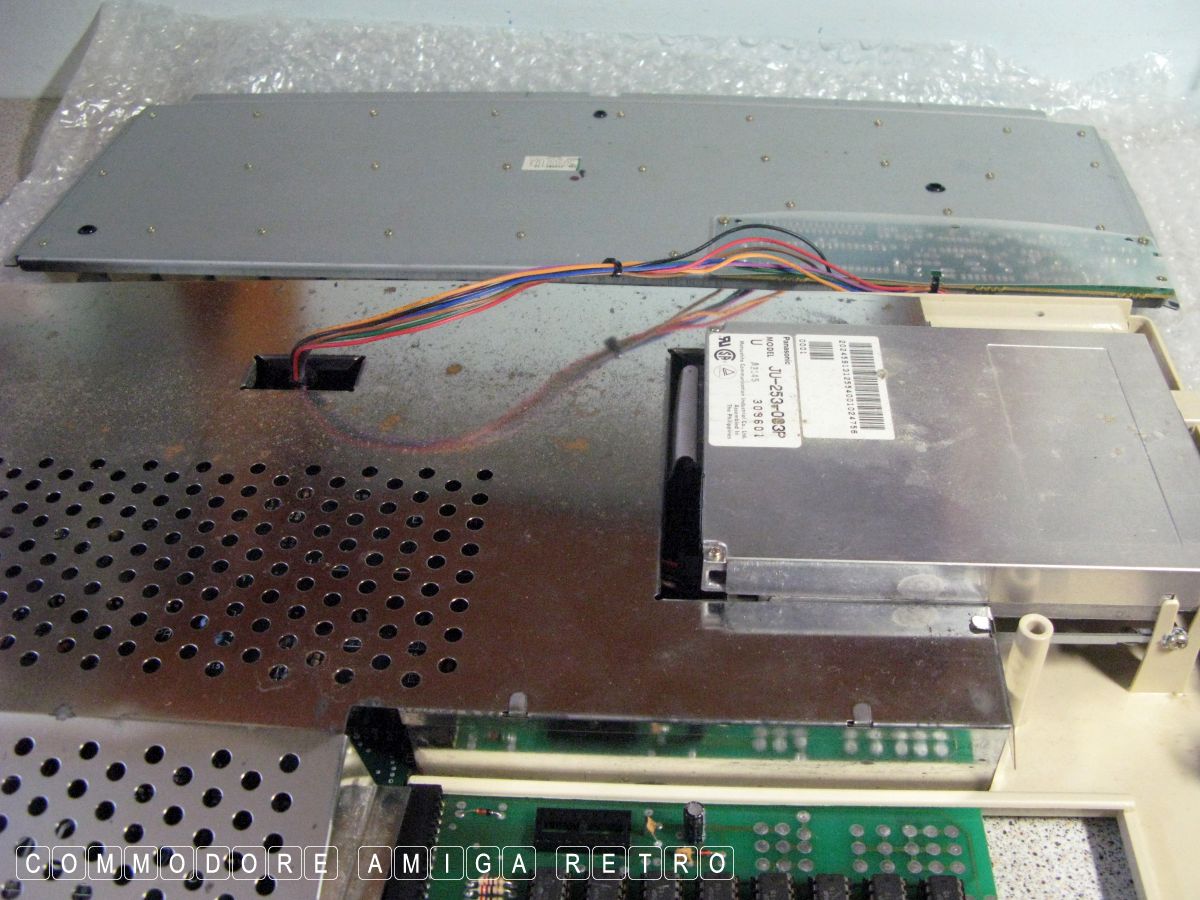
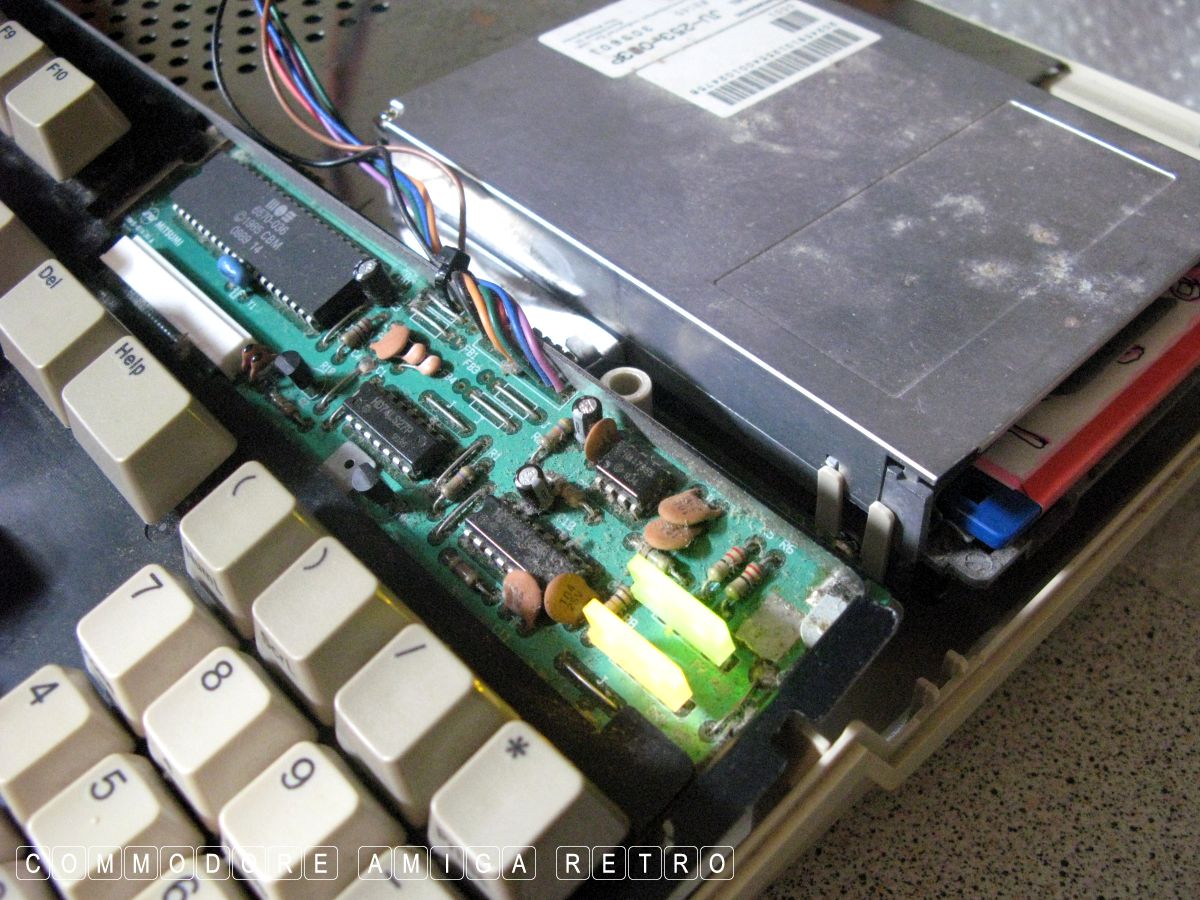
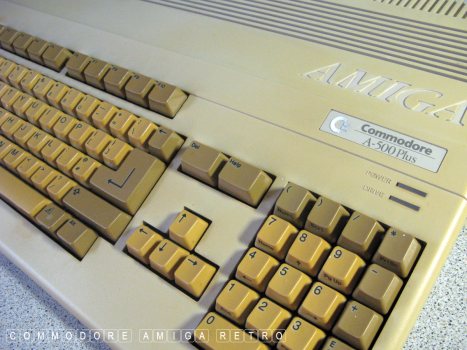
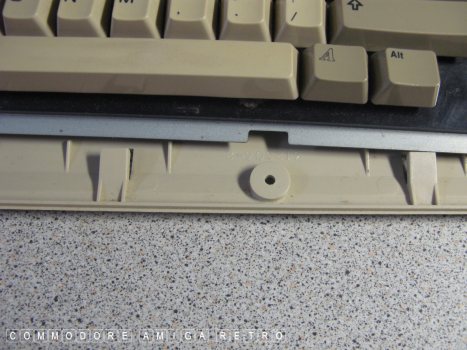
It is always worth recording the keyboard type
as they may differ from the case and motherboard
in terms of their age.

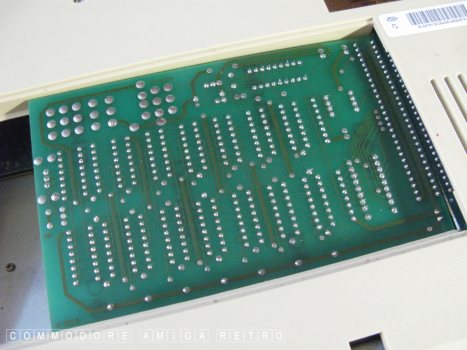
The white connector actually slides
if you ever need to remove the PCB. No
need to disassemble the keyboard.
Man is that dirty. Needs to clean that.
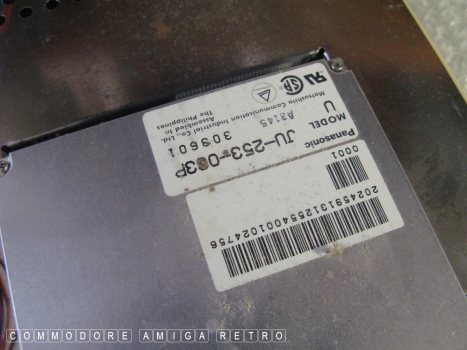
If you take photographic records it saves
you having to open up if you need to
refer to the make for servicing reasons.
As say with the floppy drive.
Lift the keyboard out of the bottom slot.

Lay it on the protective plastic to the
back of the computer. Do not disconnect.
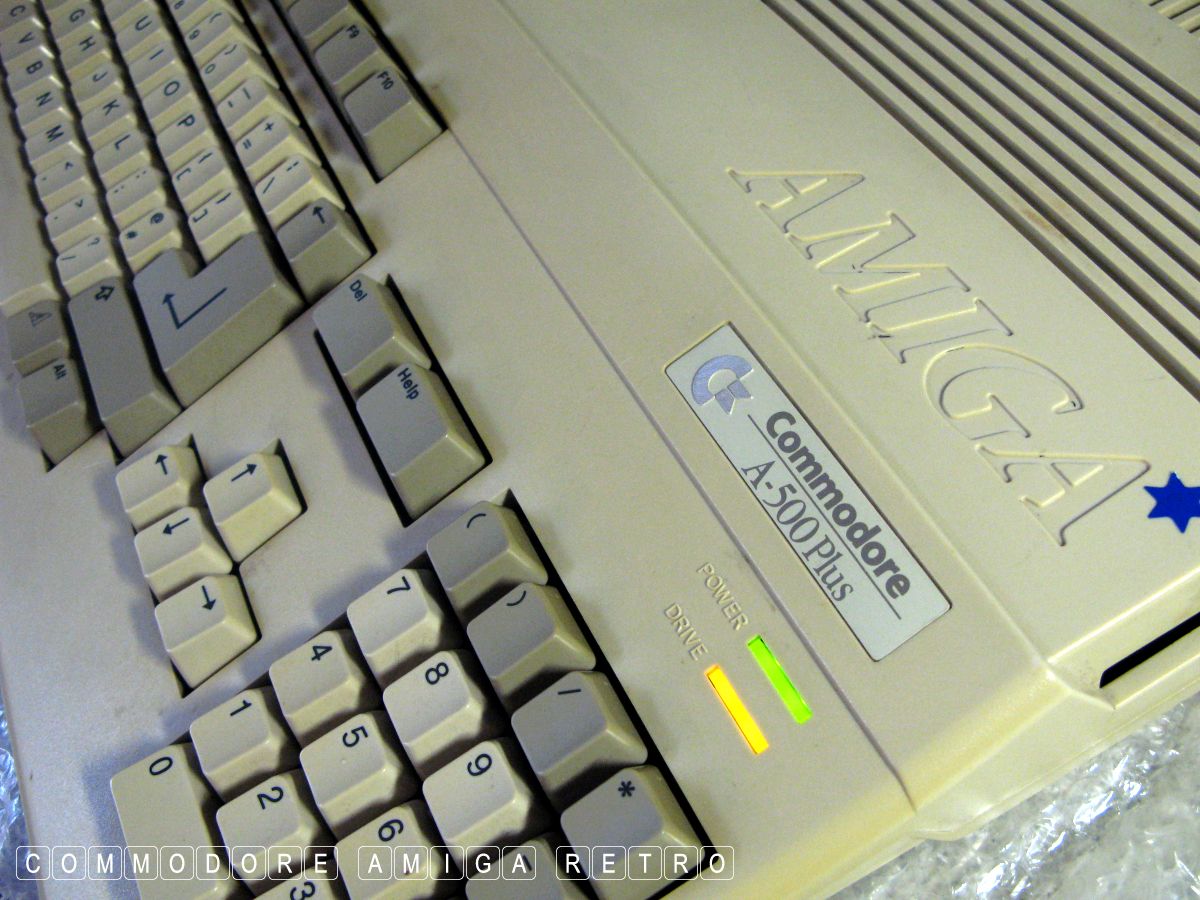
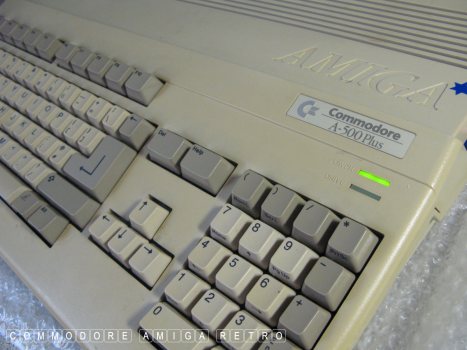
Having the keys and LED lights working
are so important for troubleshooting. The
Amiga has codes for errors using keys. The
LED should begin dull and then get brighter.

Record cards and establish what they are.

Again it is better to leave them connected.
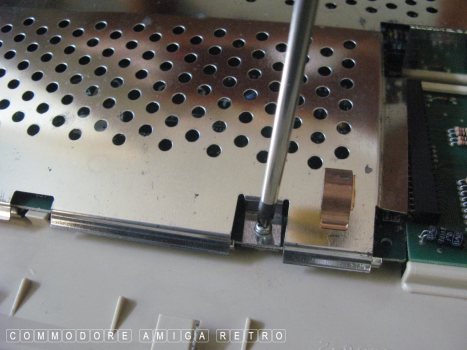
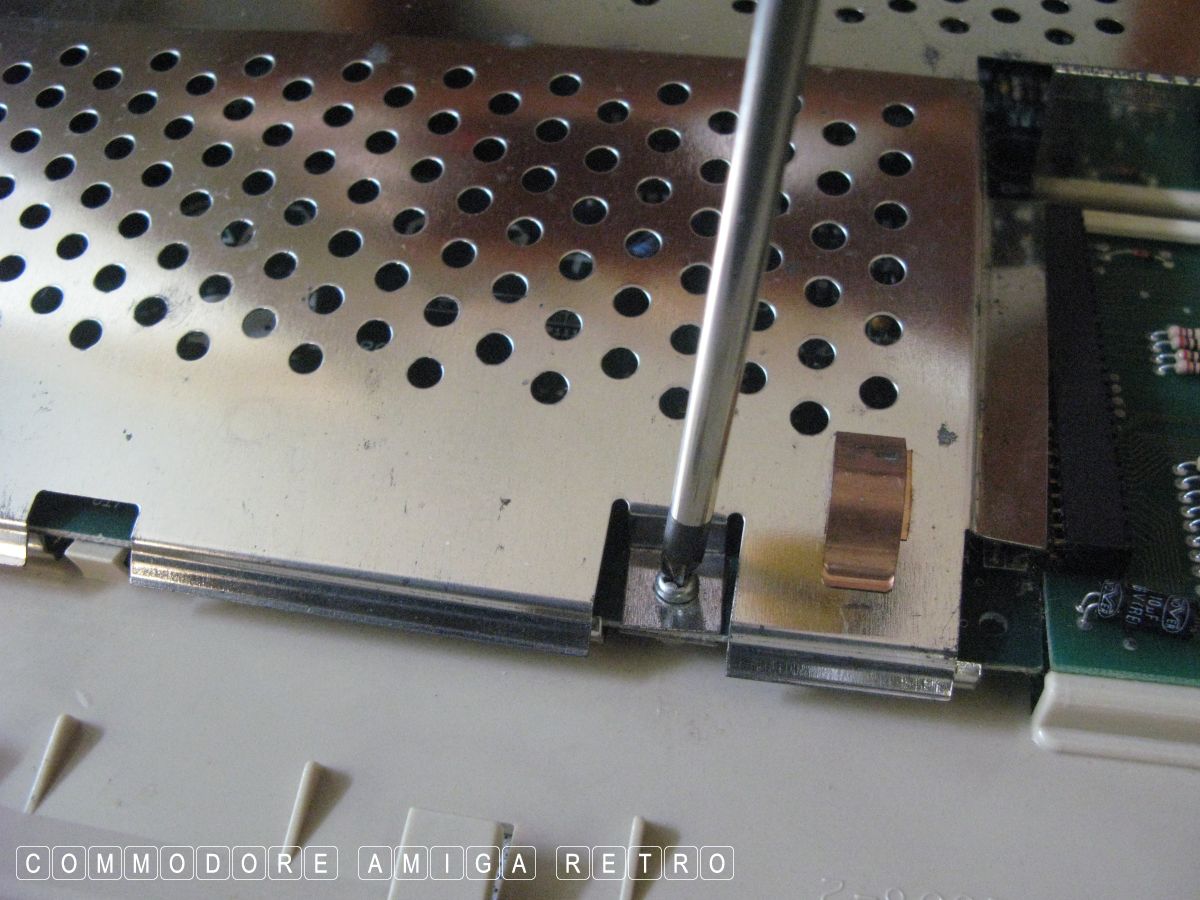
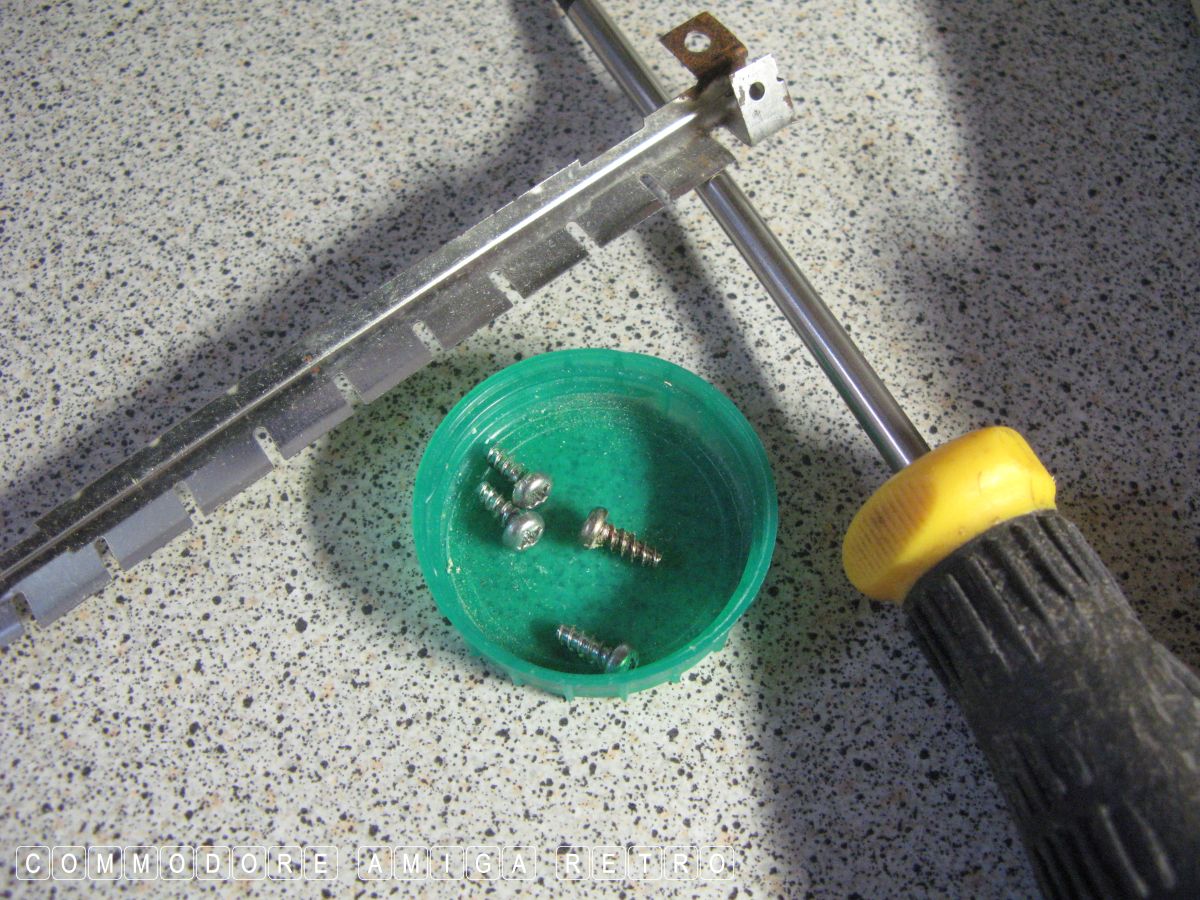
There are two screws to the shielding.
one centre bottom.

The other to the left bottom corner.
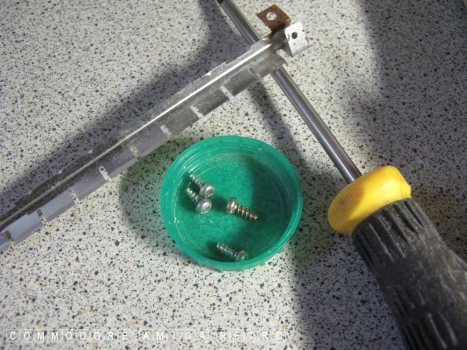
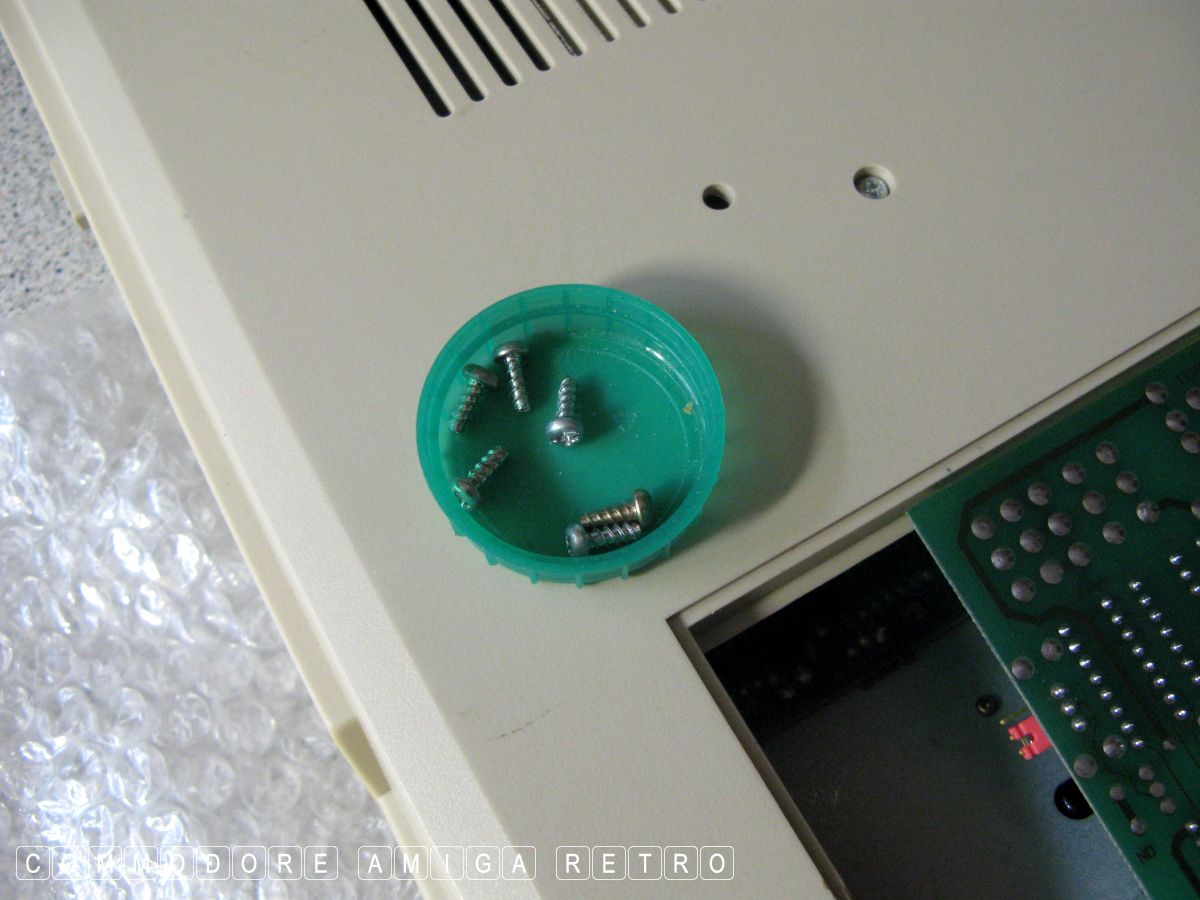
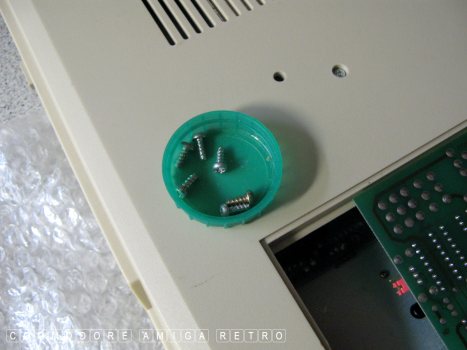
There are also two screws to the
expansion slot cover. Always put screws
in containers. That way you know how
many there were. Don't be a Tuber and just
leave them on the bench... DUH !
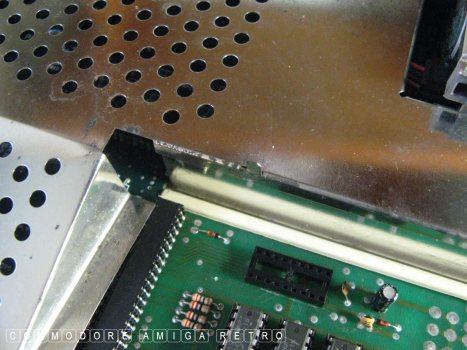
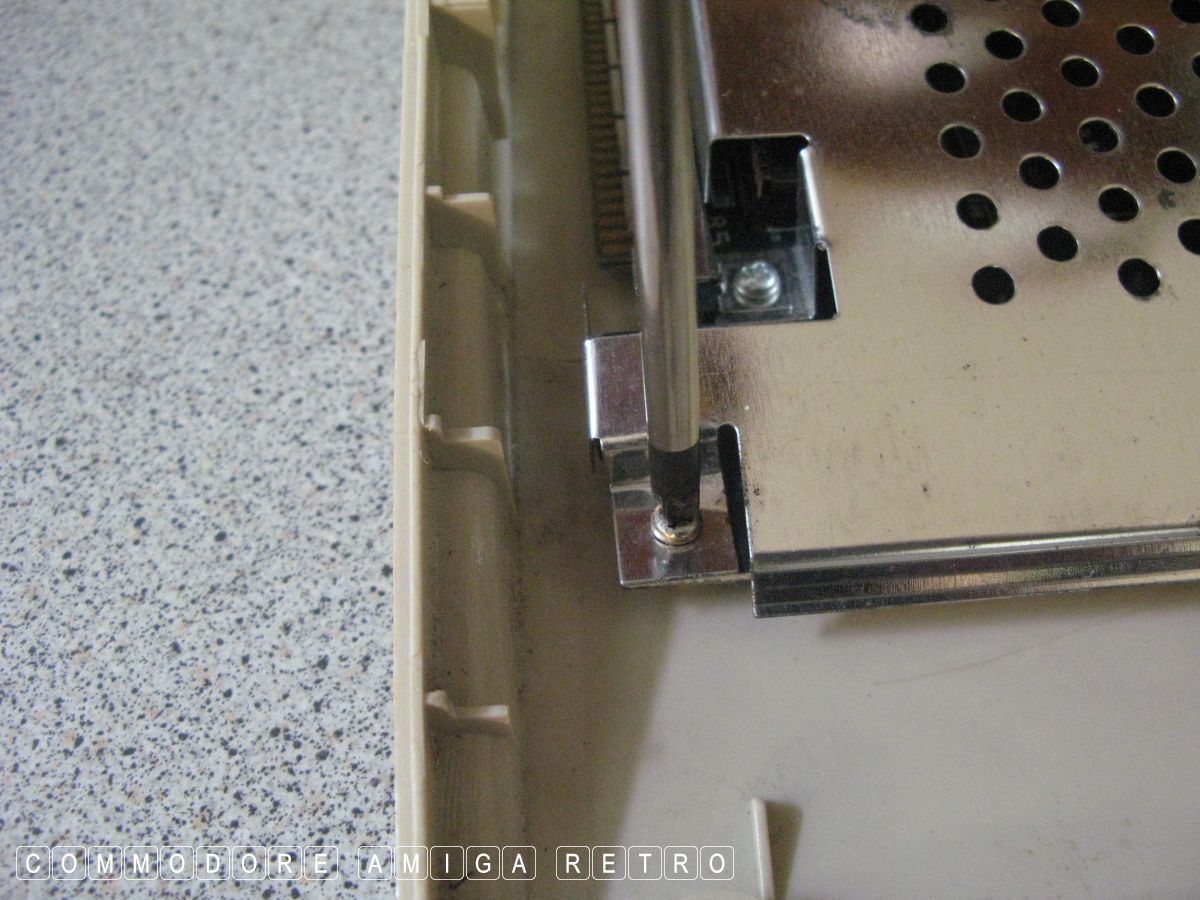
Try and lift the tangs with your fingers.
There are just four. Three by the floppy
and one over the other side. If you use
a screwdriver you will reduce the life
expectancy of the tang and scratch the
shielding. Just learn to deal with finger
wounds.
Carefully slide the shielding up and over
the keyboard cable. DO NOT cut the wires
with the very sharp shielding. Take your time.

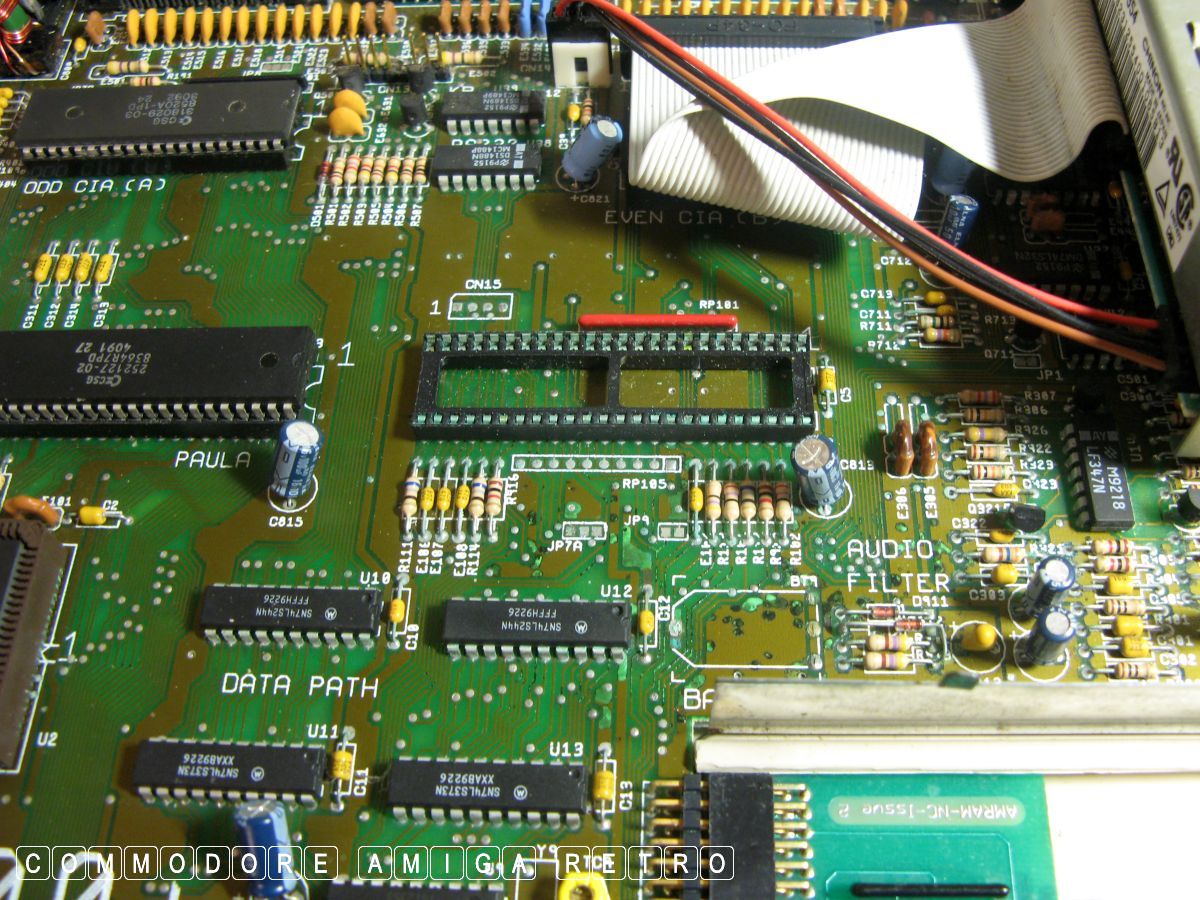
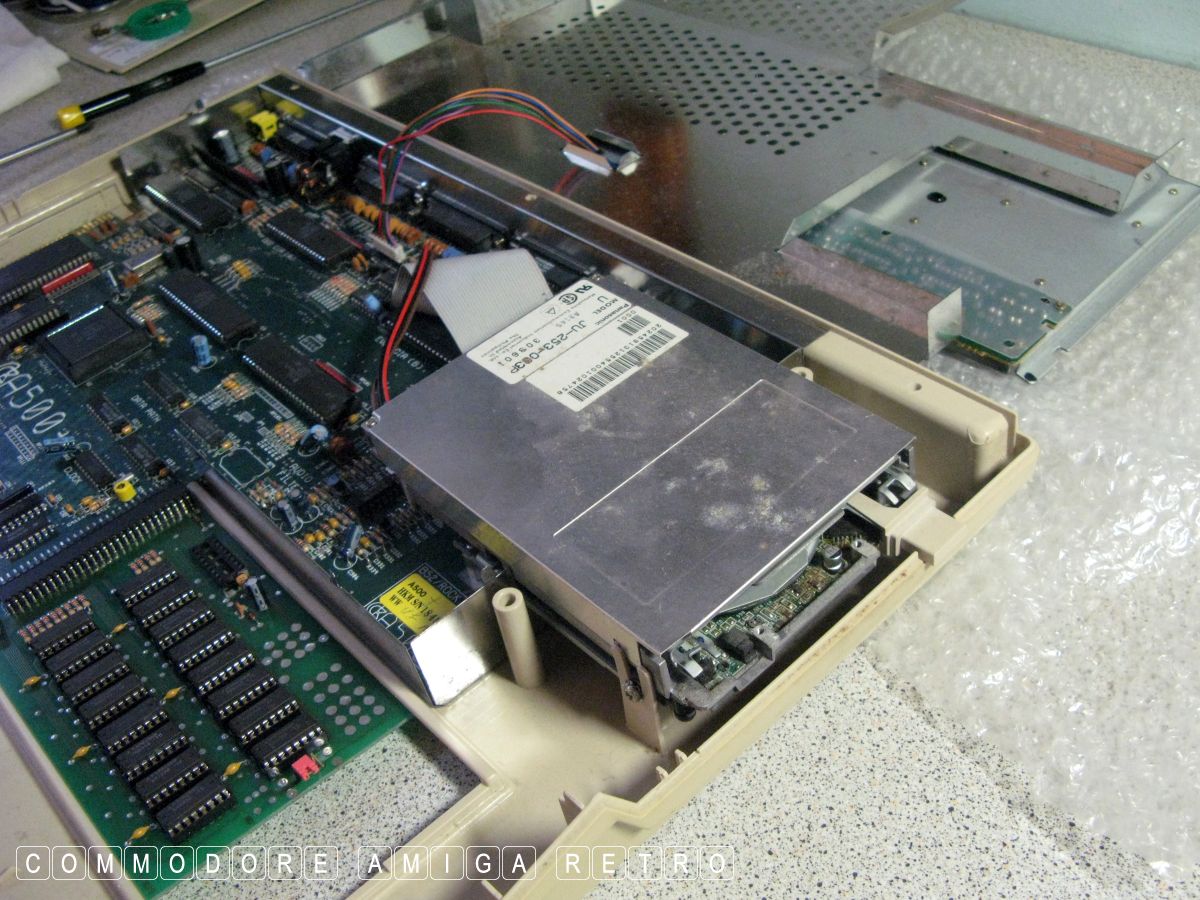
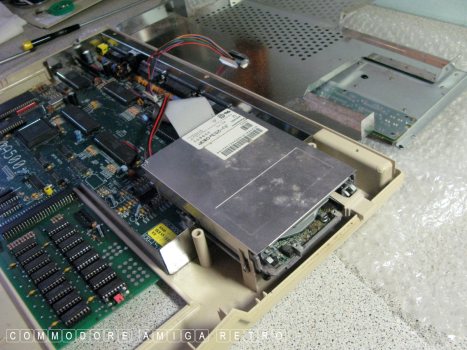
Next make sure the motherboard is what
you expected. The board could be a 500
and not a Plus. Happens.

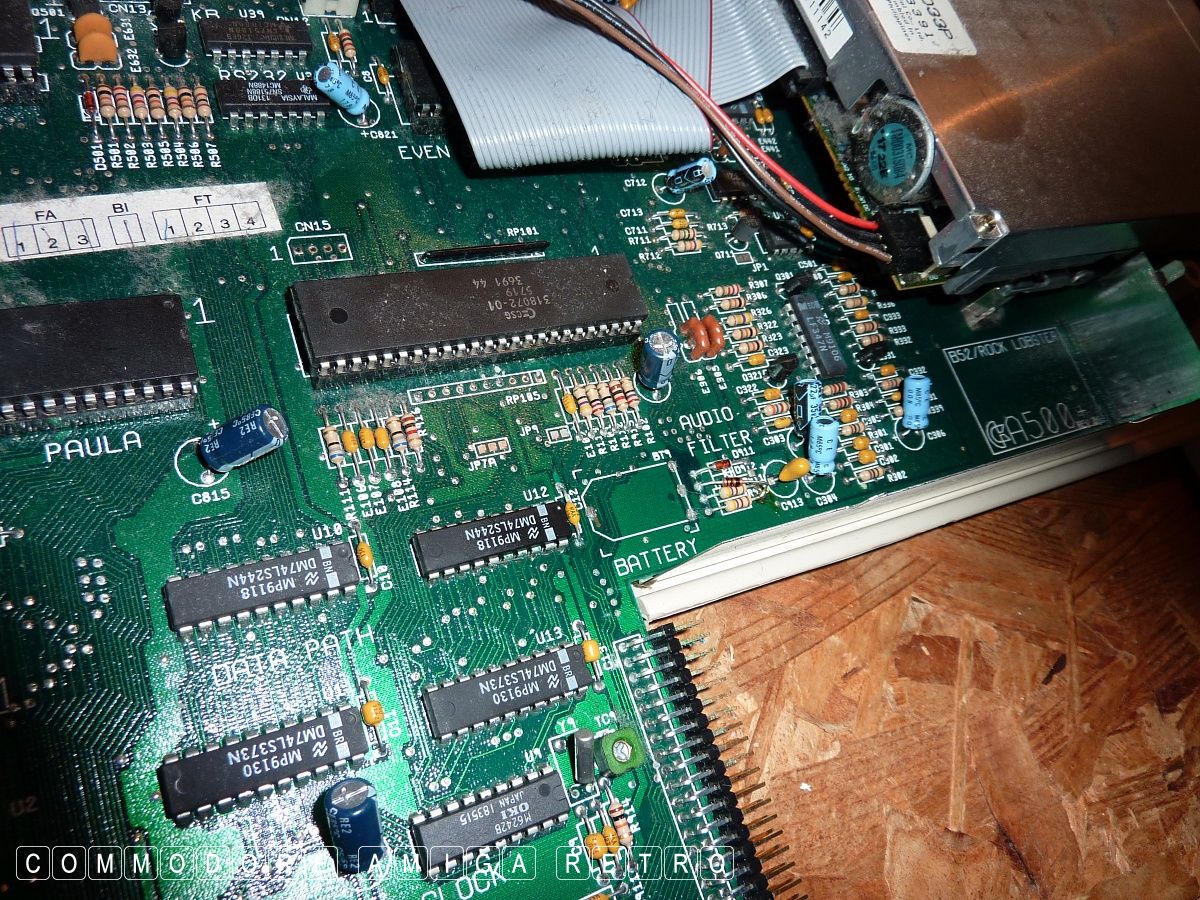
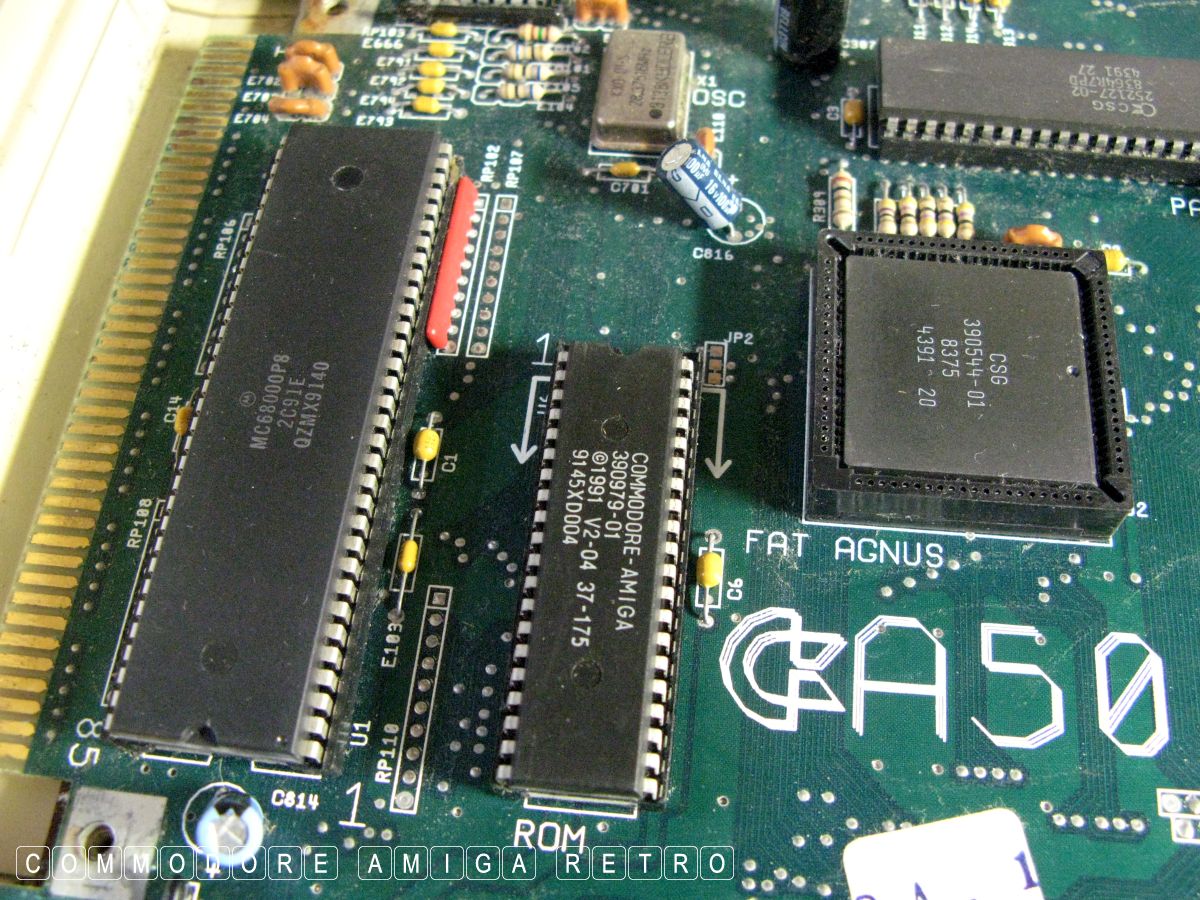
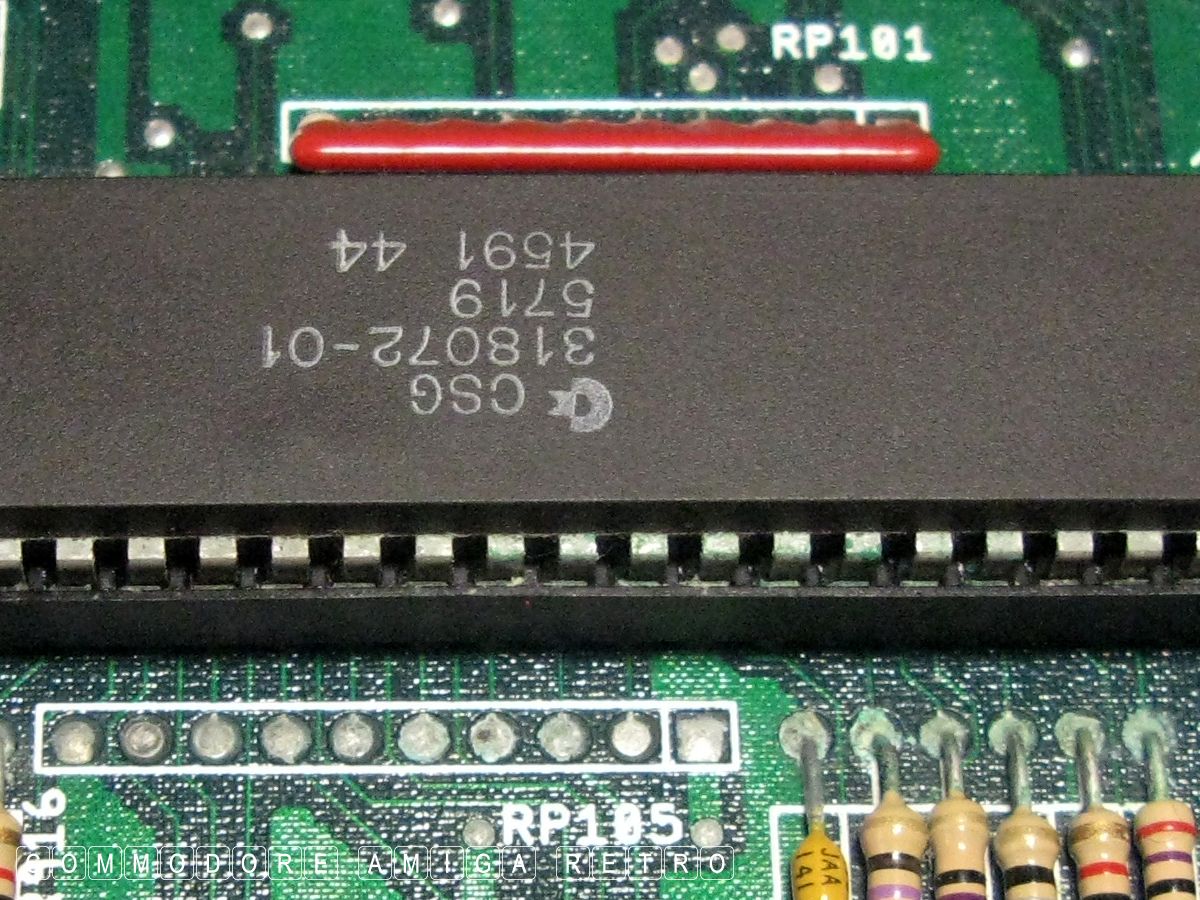
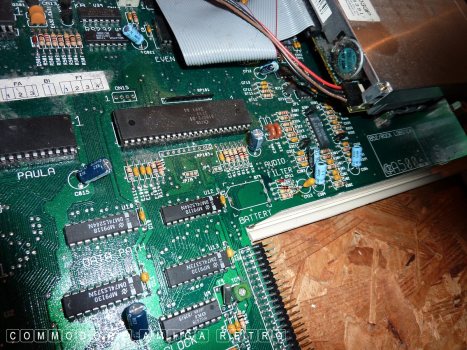
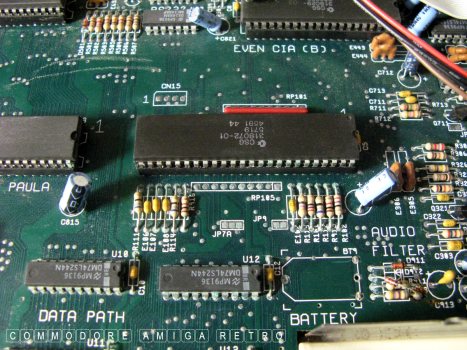
Record the ROM, AGNUS and DENISE.
The DENISE is up top left.
Time to take a look at the battery.
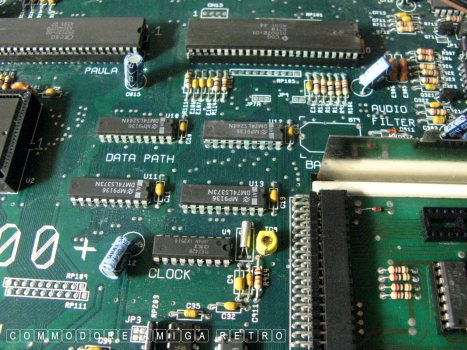
OK I'M BACK TO TODAY'S CHALLENGE.
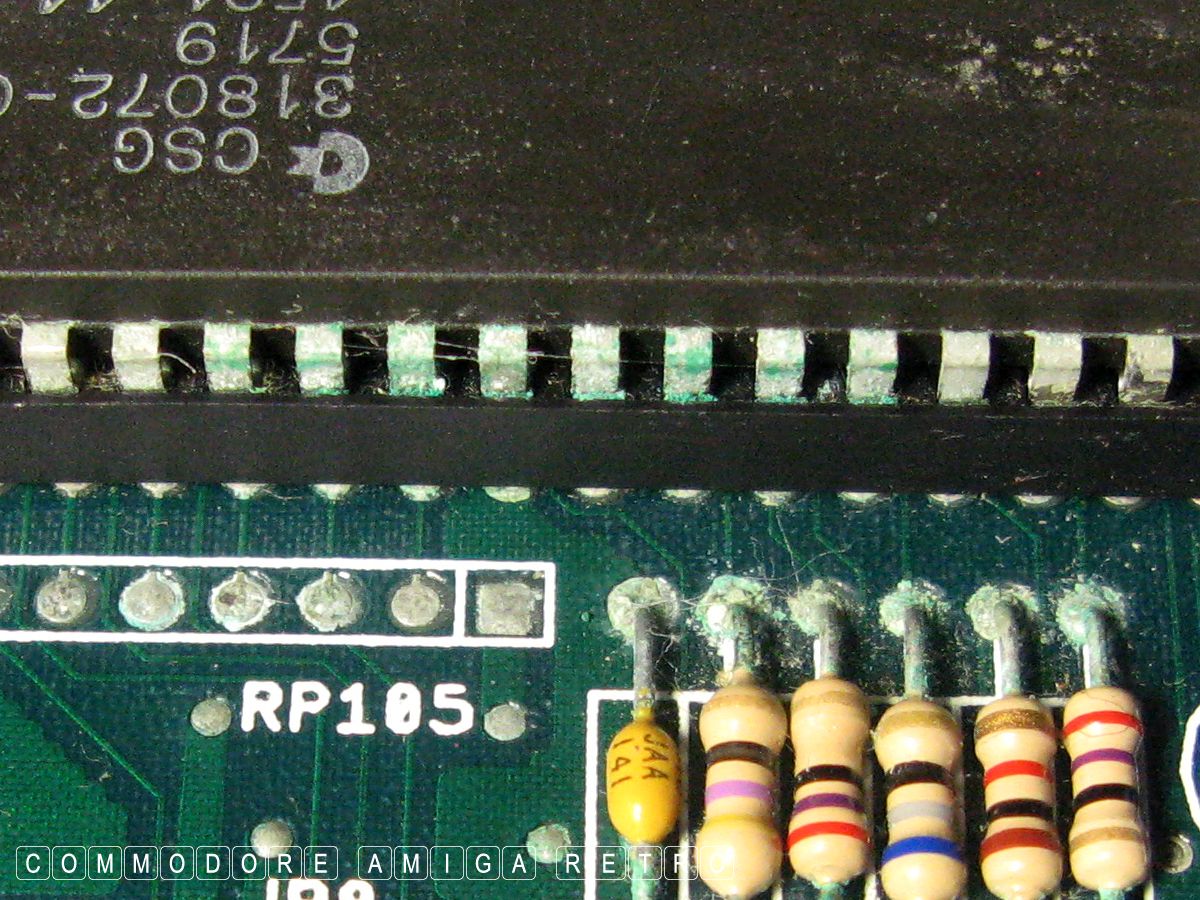
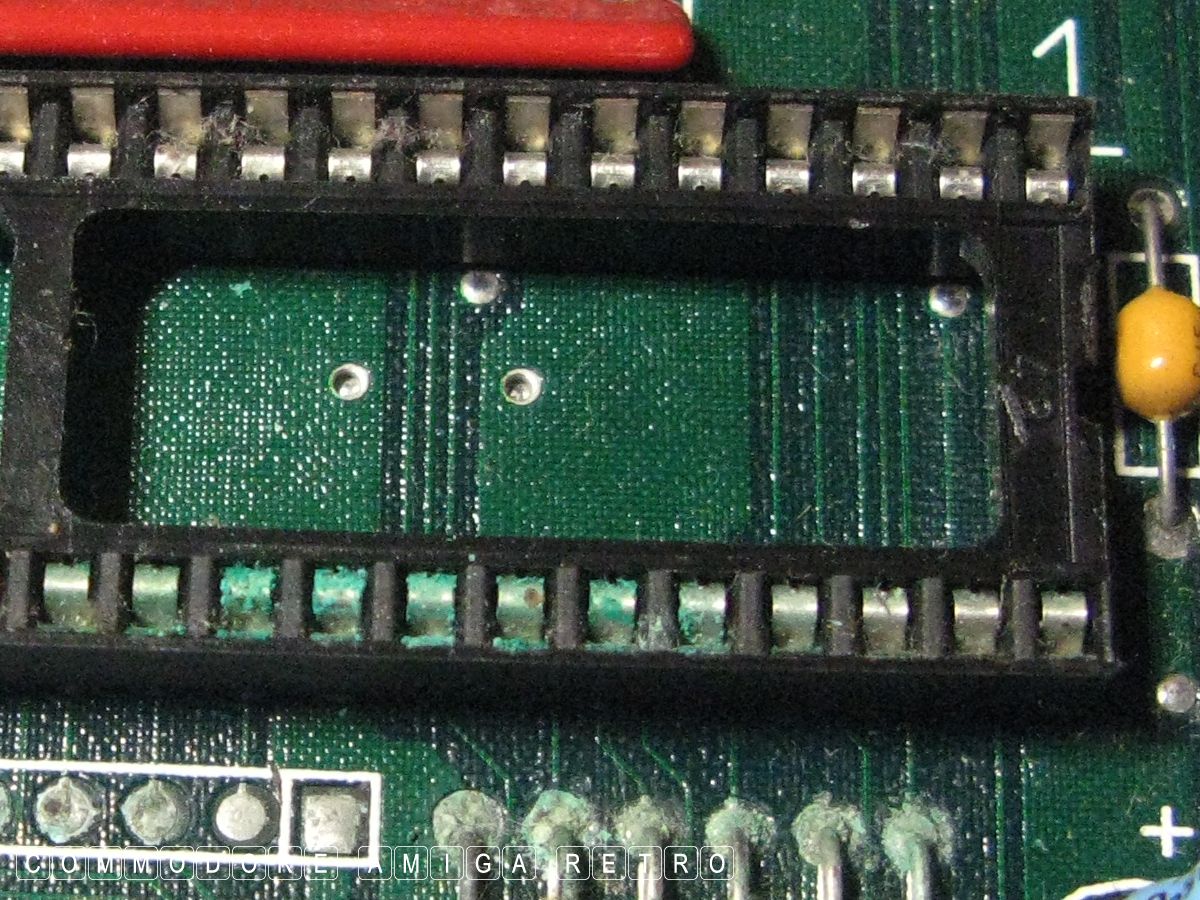
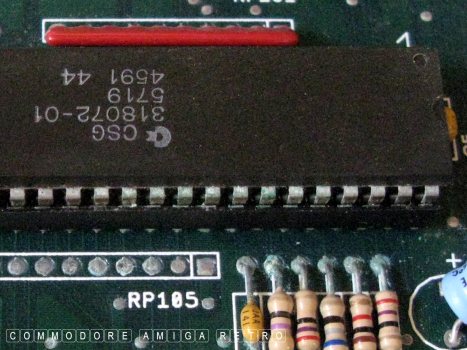
There are some quite green legs
on the GARY and although I have
resisted up to now I need to check
that socket.

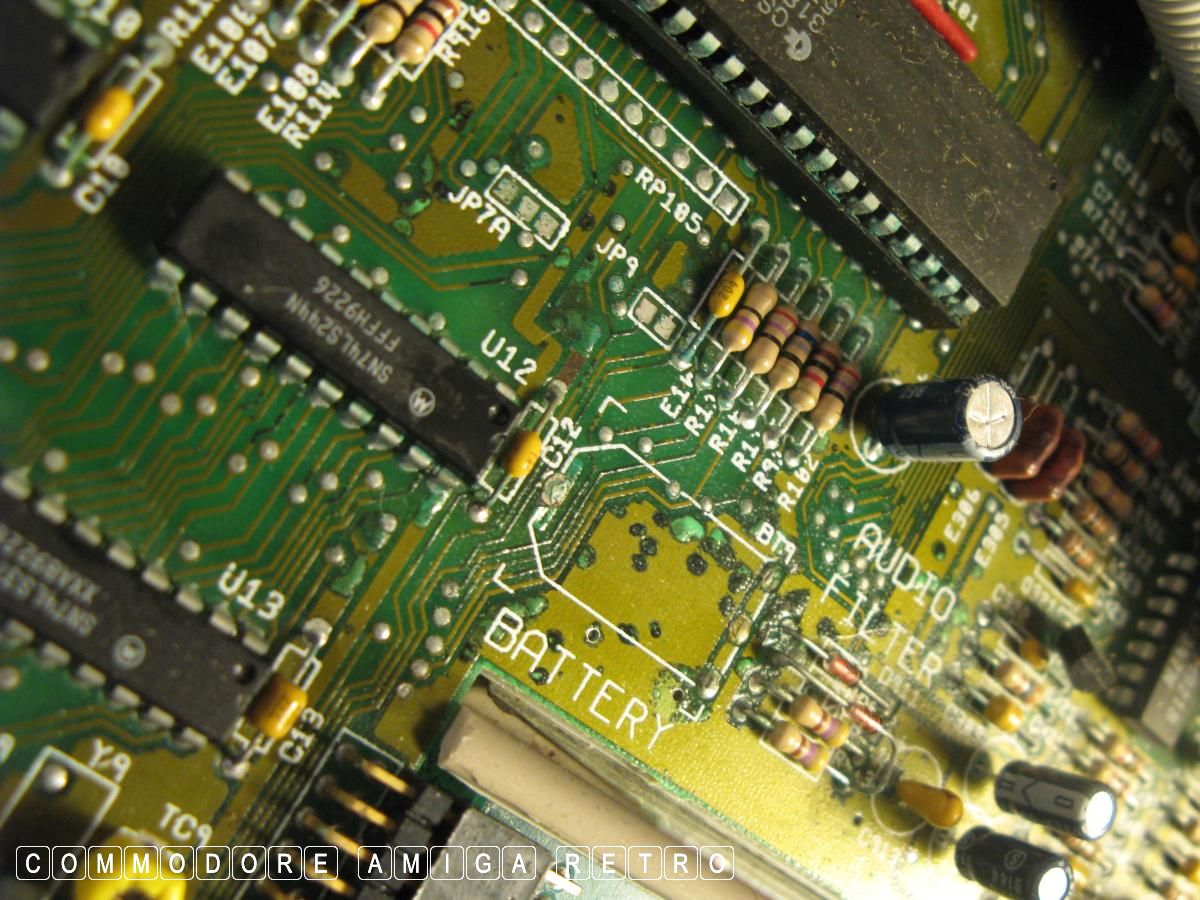
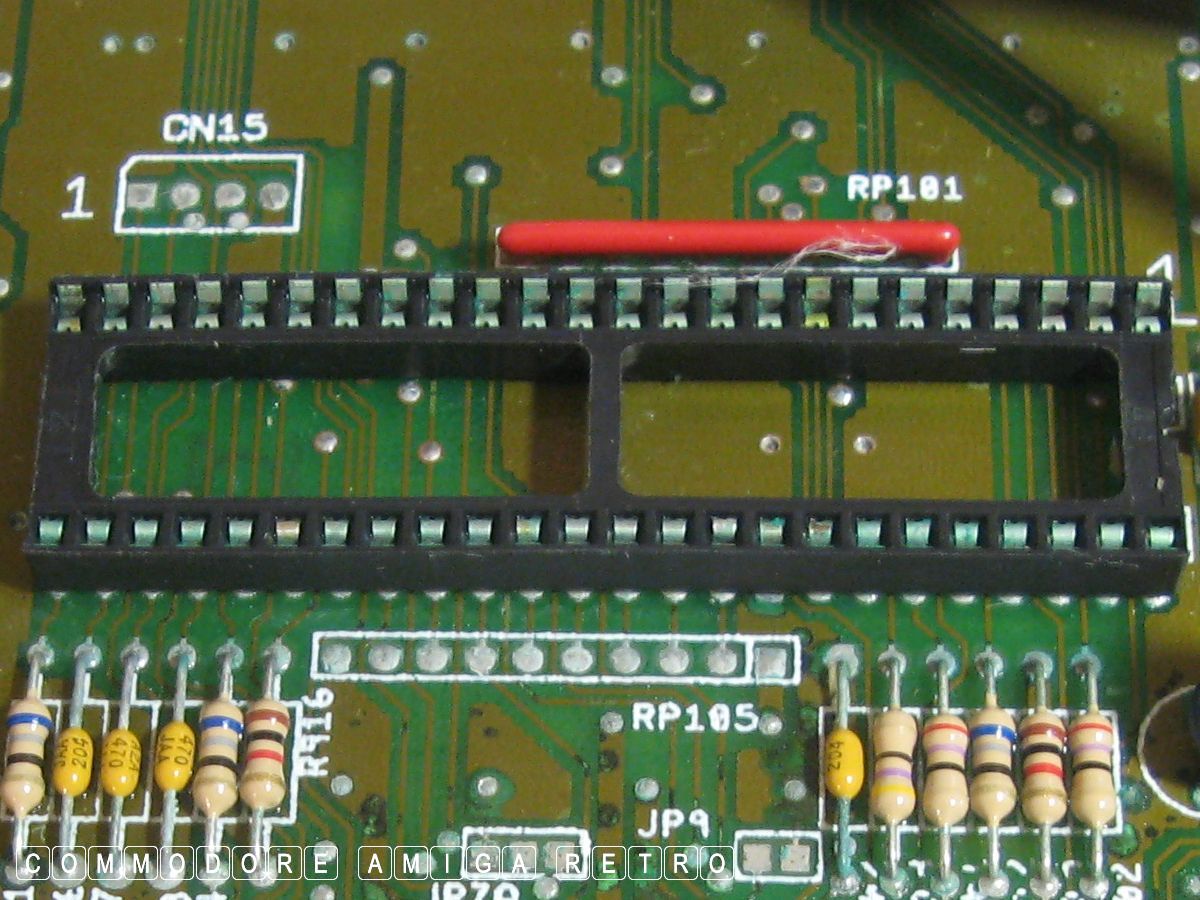
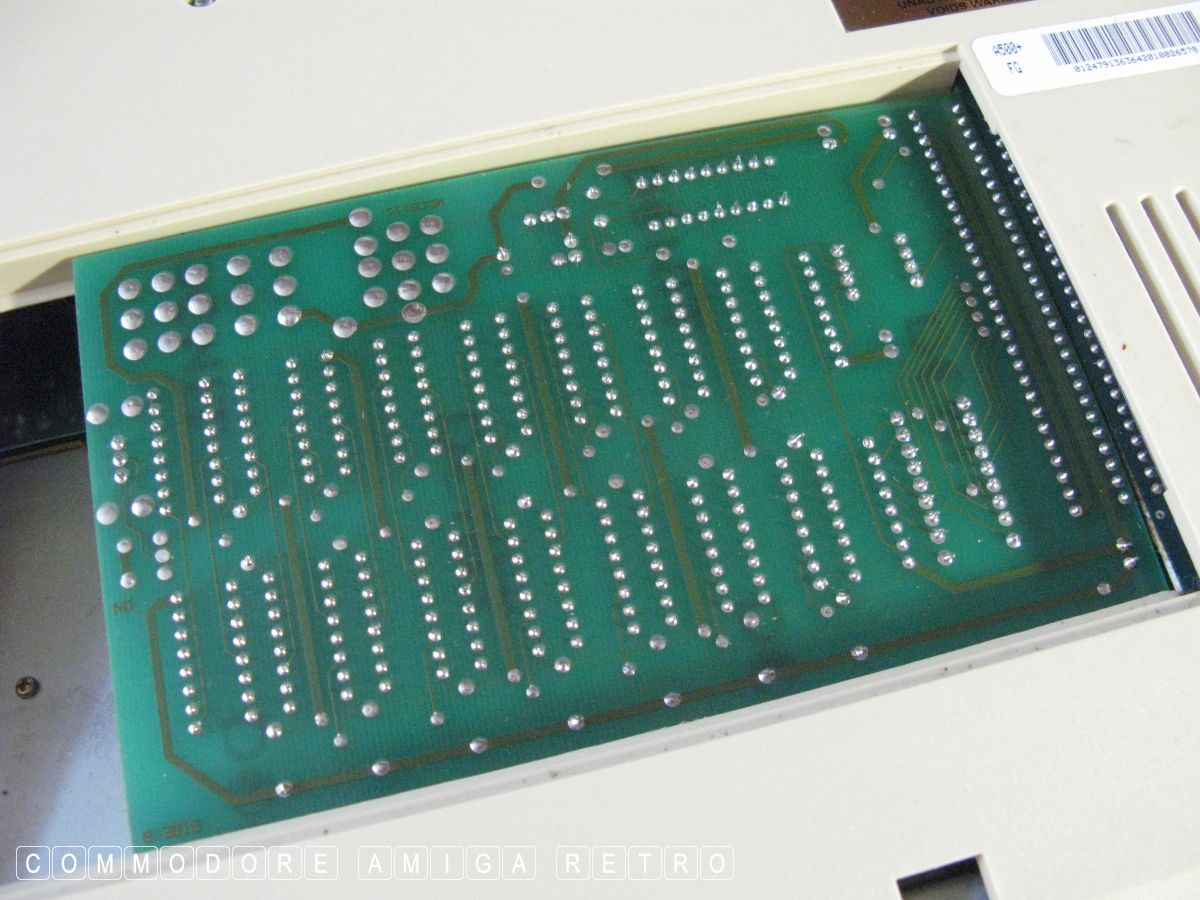
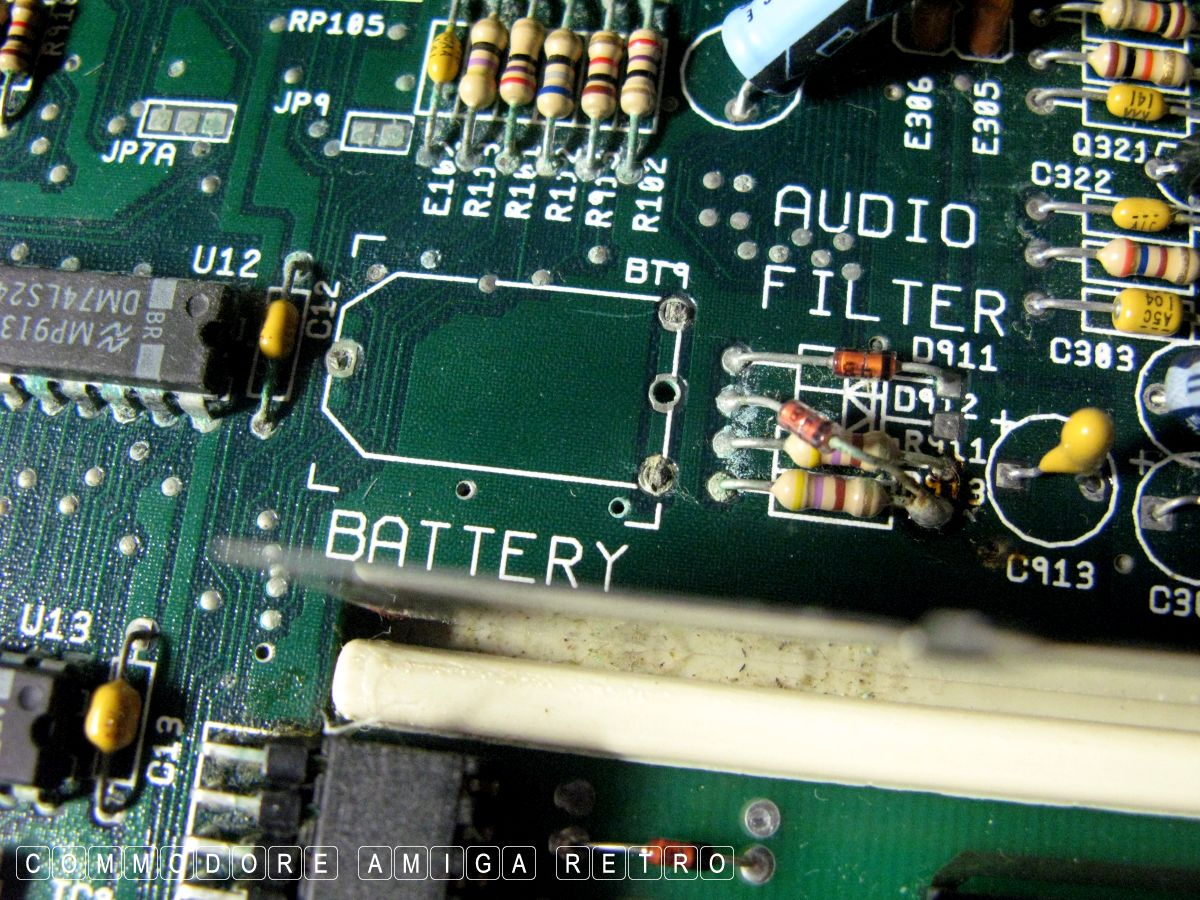
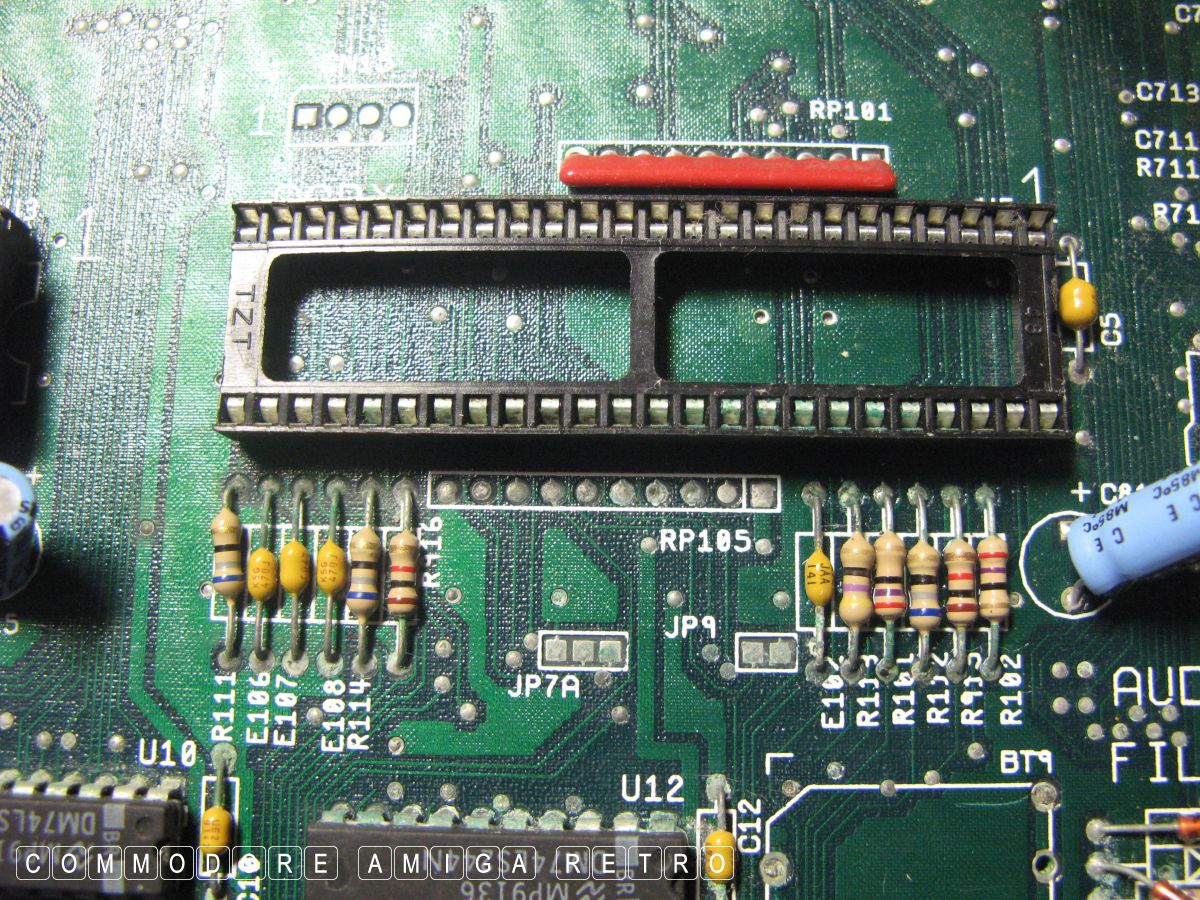
I always record the motherboard around
the area of the removed battery.

This I compare with older photographs.

You would think it was easy to remove
the green oxidisation. Trust me it's not.

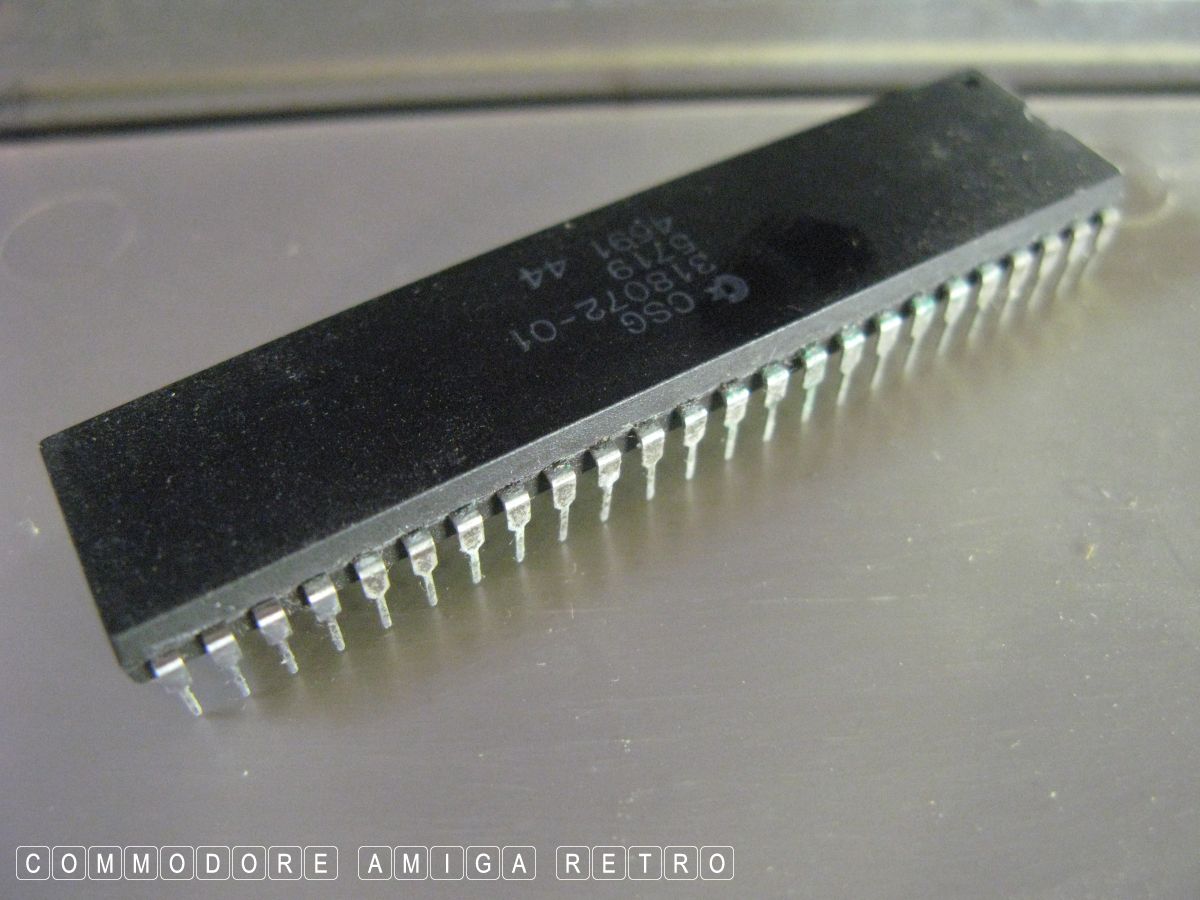
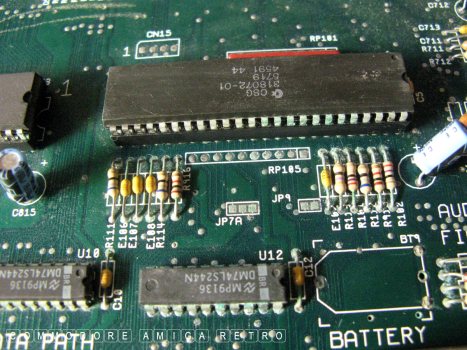
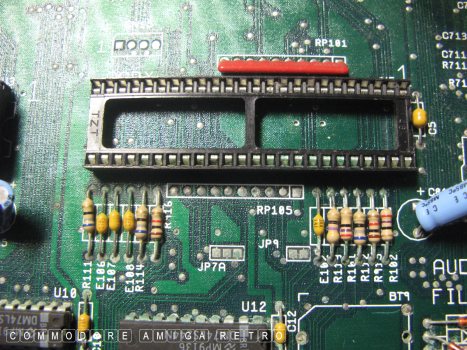
GARY is out of the honey tree. All pins
accounted for albeit a little tainted.
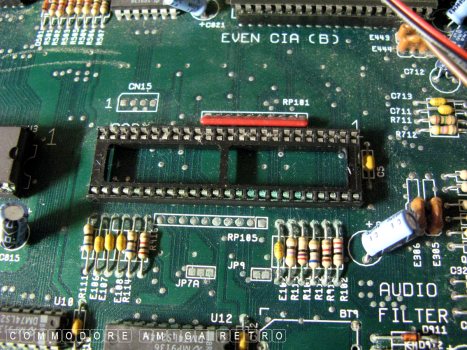
The socket appears all in one piece.
Always use the correct tool for the
chip removal. Never use a screwdriver.
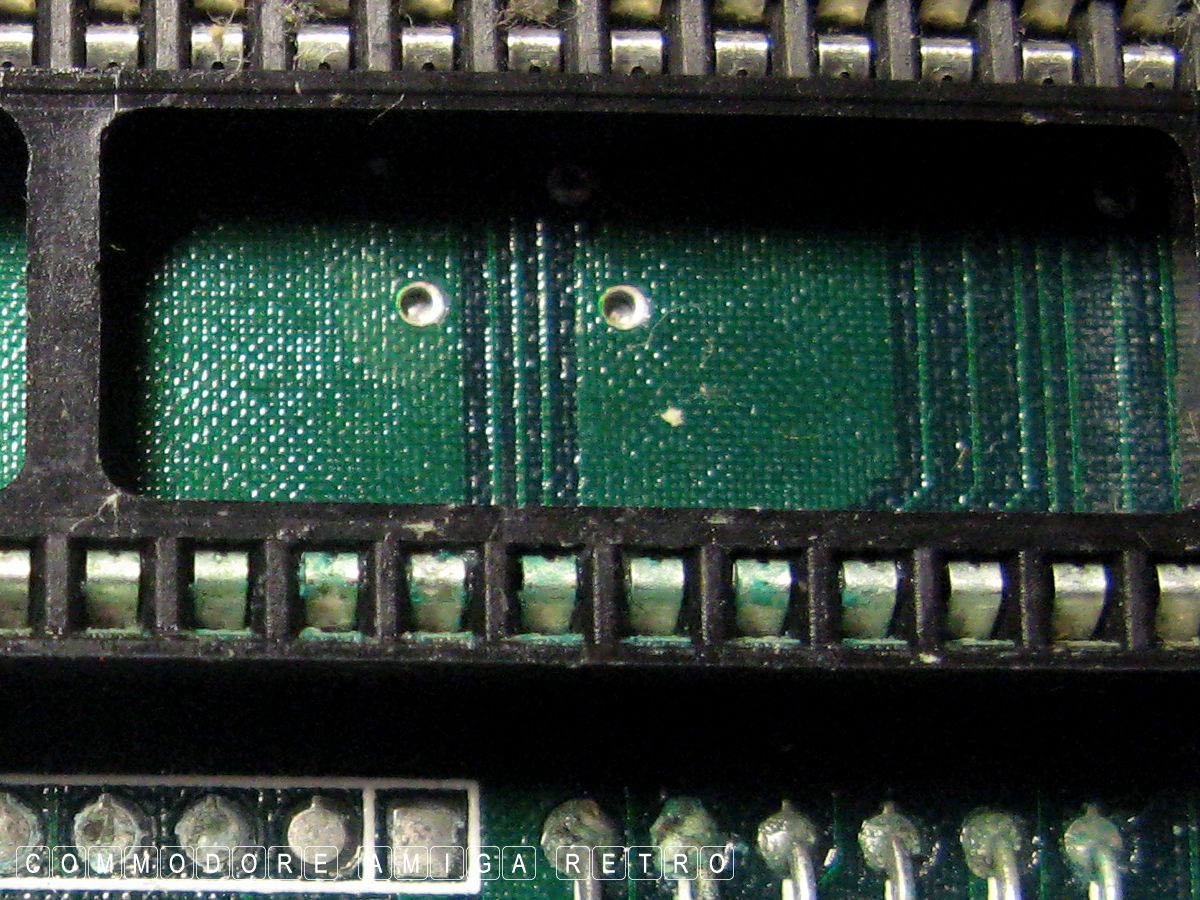
OK a little green but not busted.
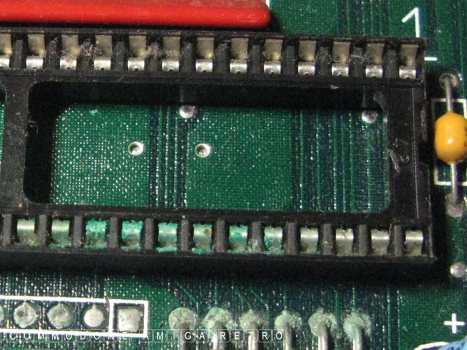
I was cleaning this socket for hours
with alcohol, cocktail sticks, needles
and card. The stuff is rock hard and
in the end I did as much as I could.
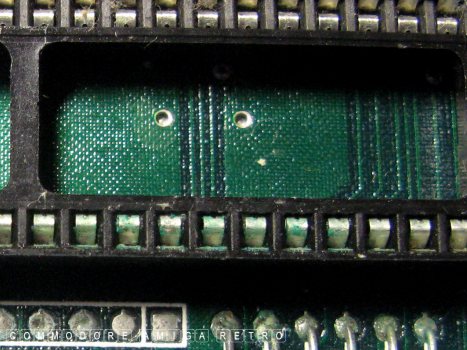
The difficult part was on the ridge
at the top. I gave it my best for now.

Against better judgement I abraded the
legs very very gently with a fine grade
matchbox... not the heavy grade. Those
legs are tinned and you need to avoid
destroying the protective coating. Very
difficult in truth. Again I was at this
a very long time.
I was kinda happy with where I got
and decided to leave for further review
again in six months. It really is a
waiting game to see if the oxidisation
and or corrosion returns.

Record your efforts and check again.
Managed to get the green off most
of the socket risers to the edge.

She is working so time to clean that keyboard.
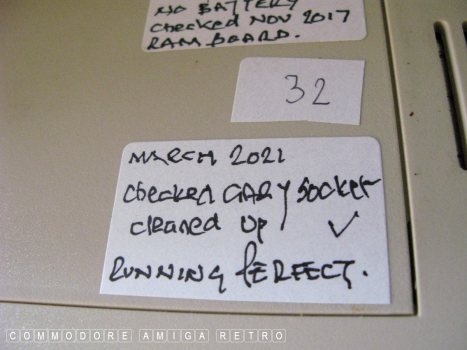
Always record the date and report
on what you did today.

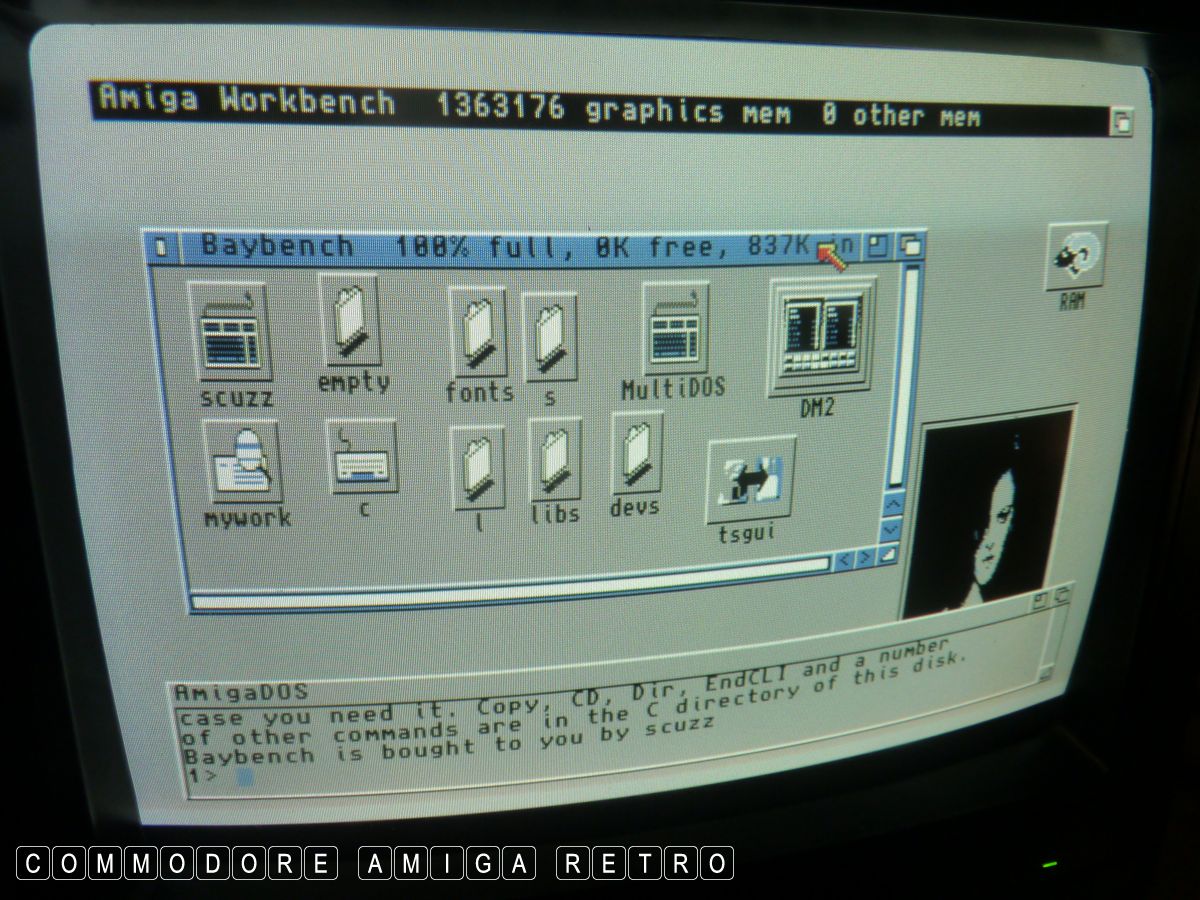
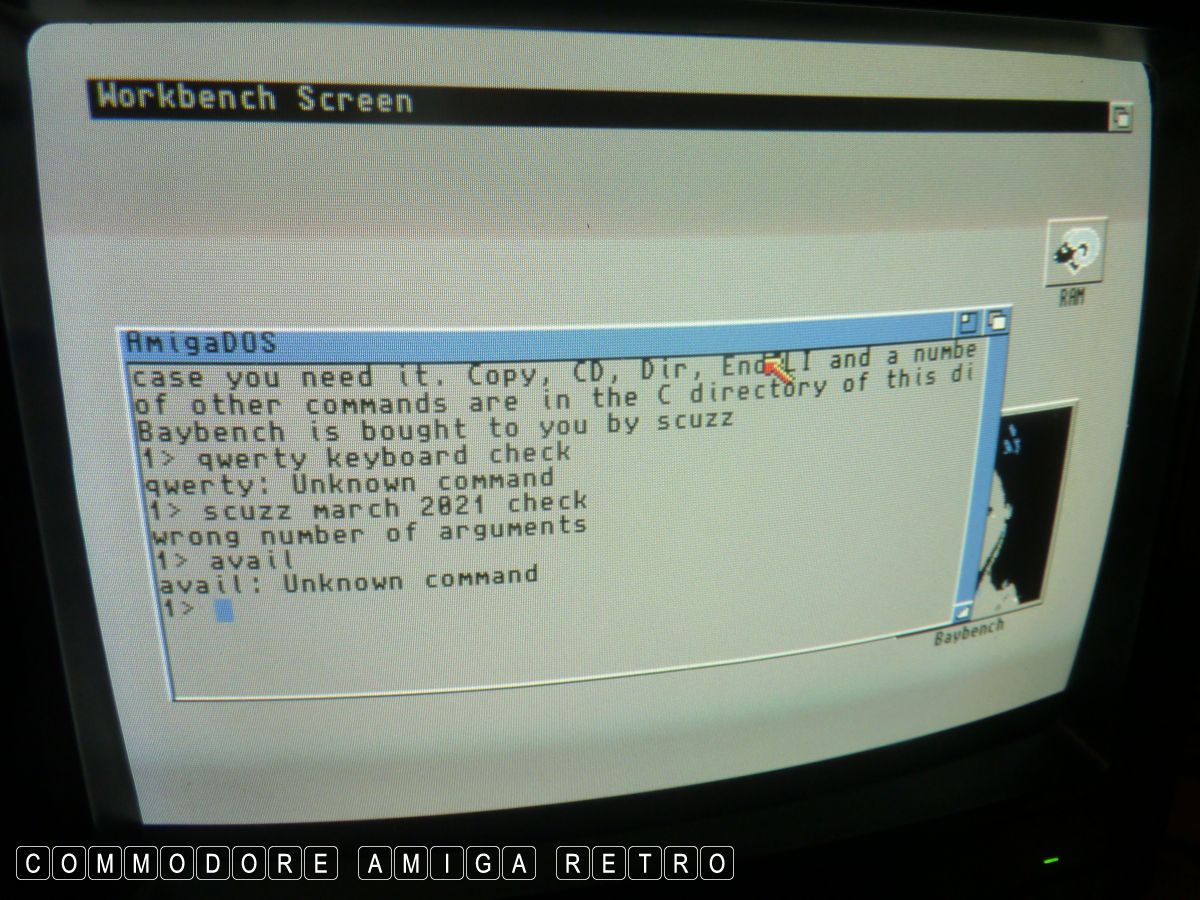
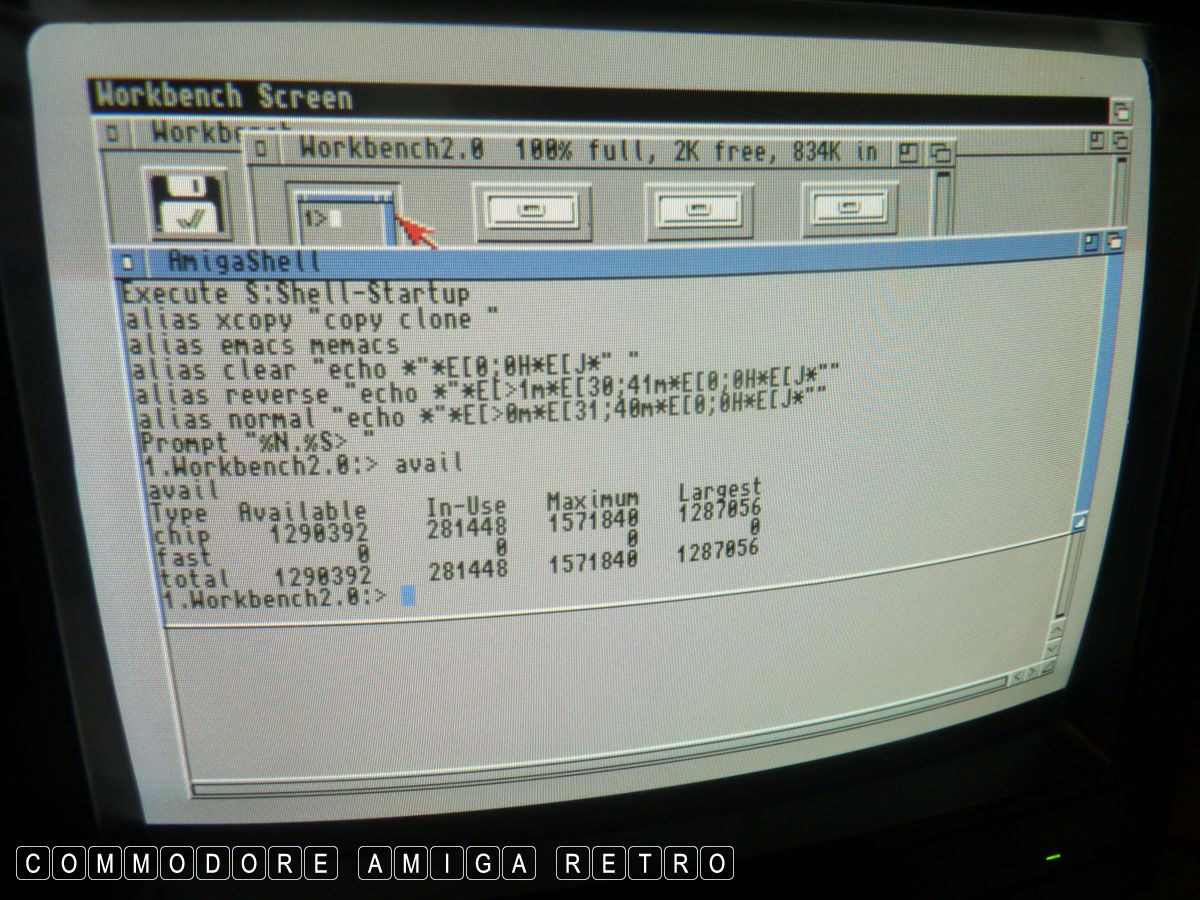
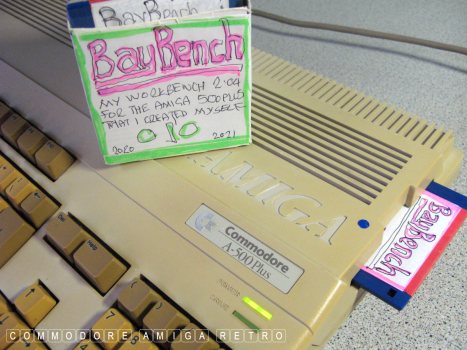
Fired up my BayBench.
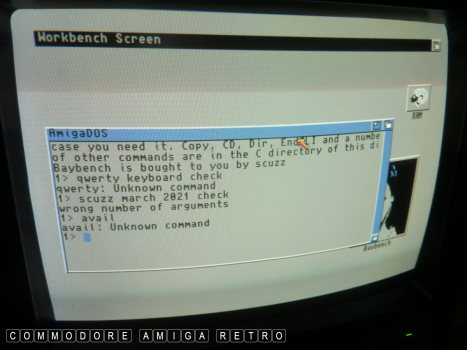
Interesting I have no AVAIL in C.
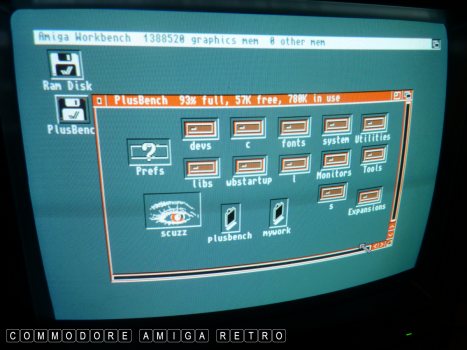
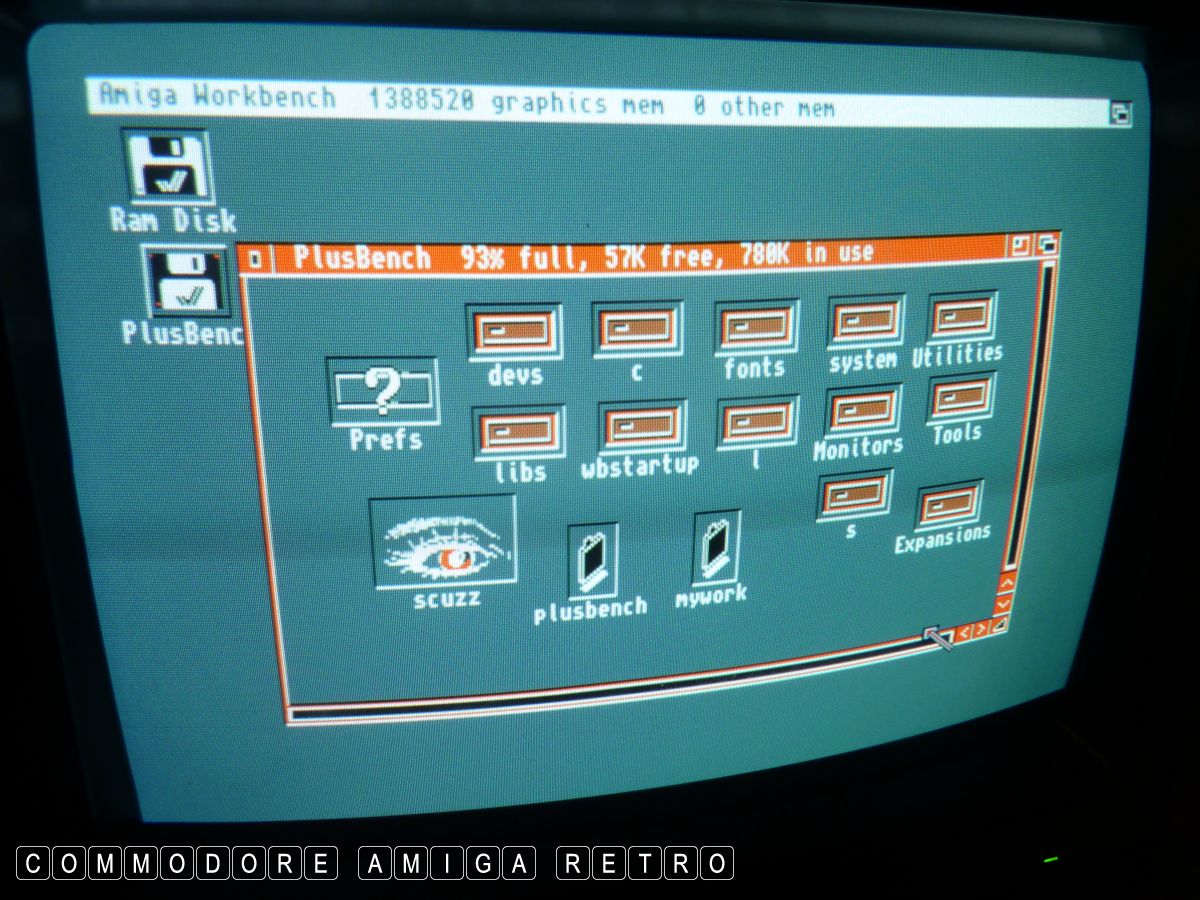
Fired up my PlusBench Workbench disk.

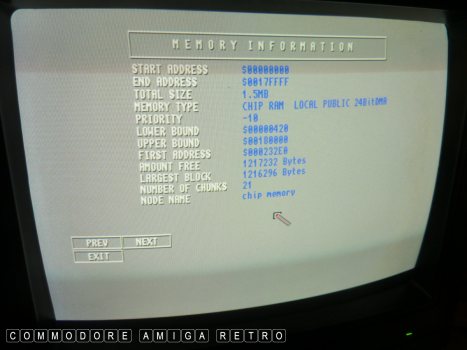
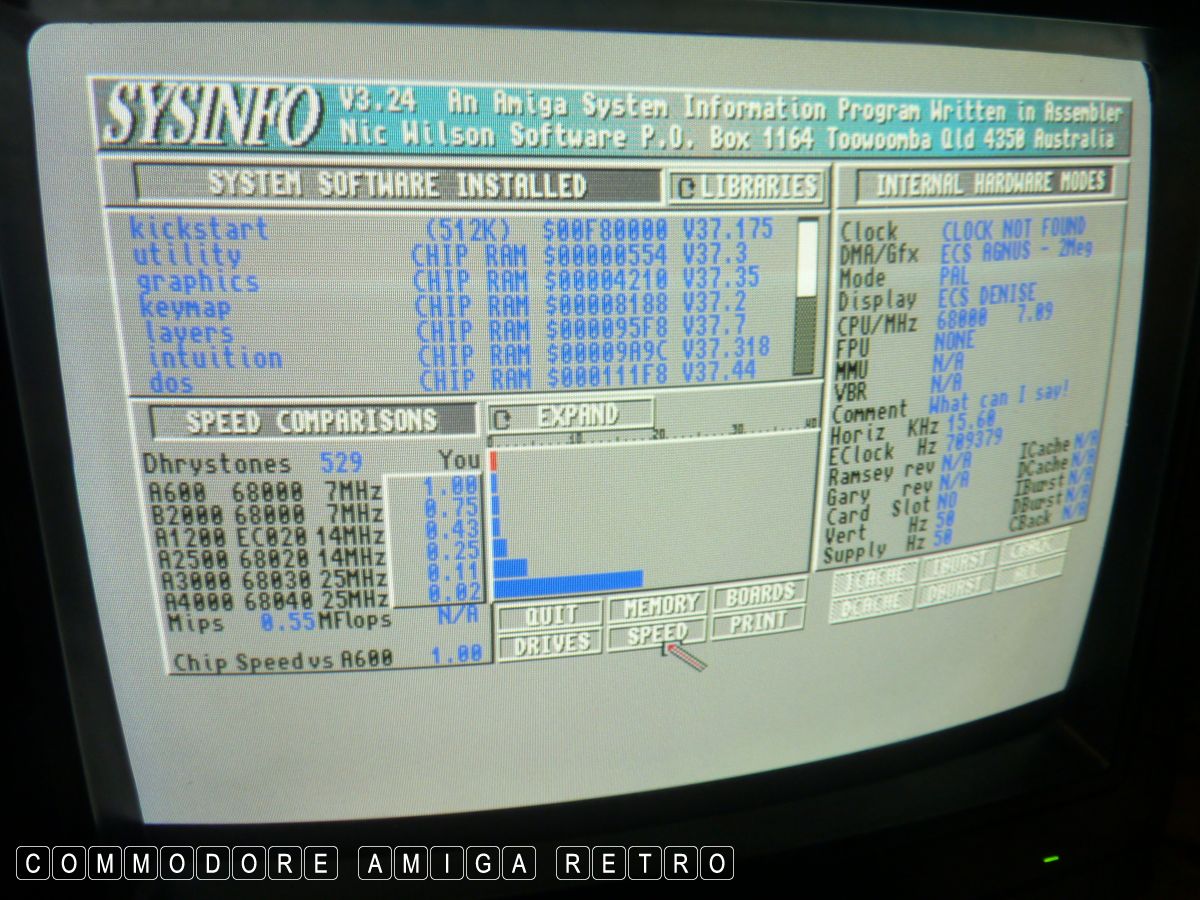
Checking with SysInfo I do have 1.5MB Chip.
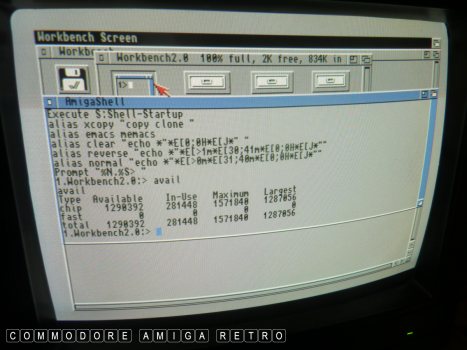
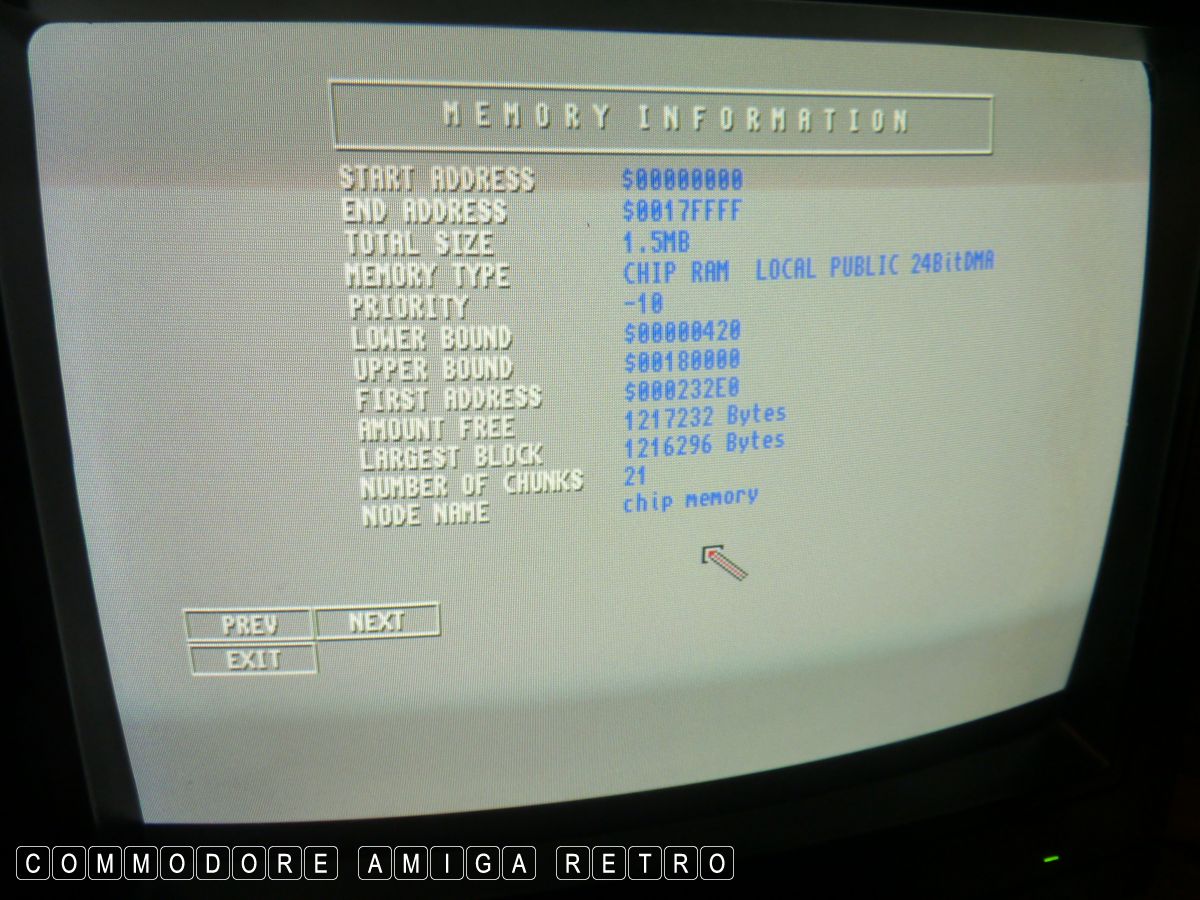
AVAIL also identifies the 1.5MB chip.
Not 1MB chip and 500K fast but all chip.
CLOSING COMMENT.
I see many videos on YouTube of guys trying
to make their boards pristine. They see a row
of green chip legs and they de-solder the thing.
And they see a green socket and they replace.
Also some scrape the motherboard exposing the
tracks and rewire....
I don't hold to that view.
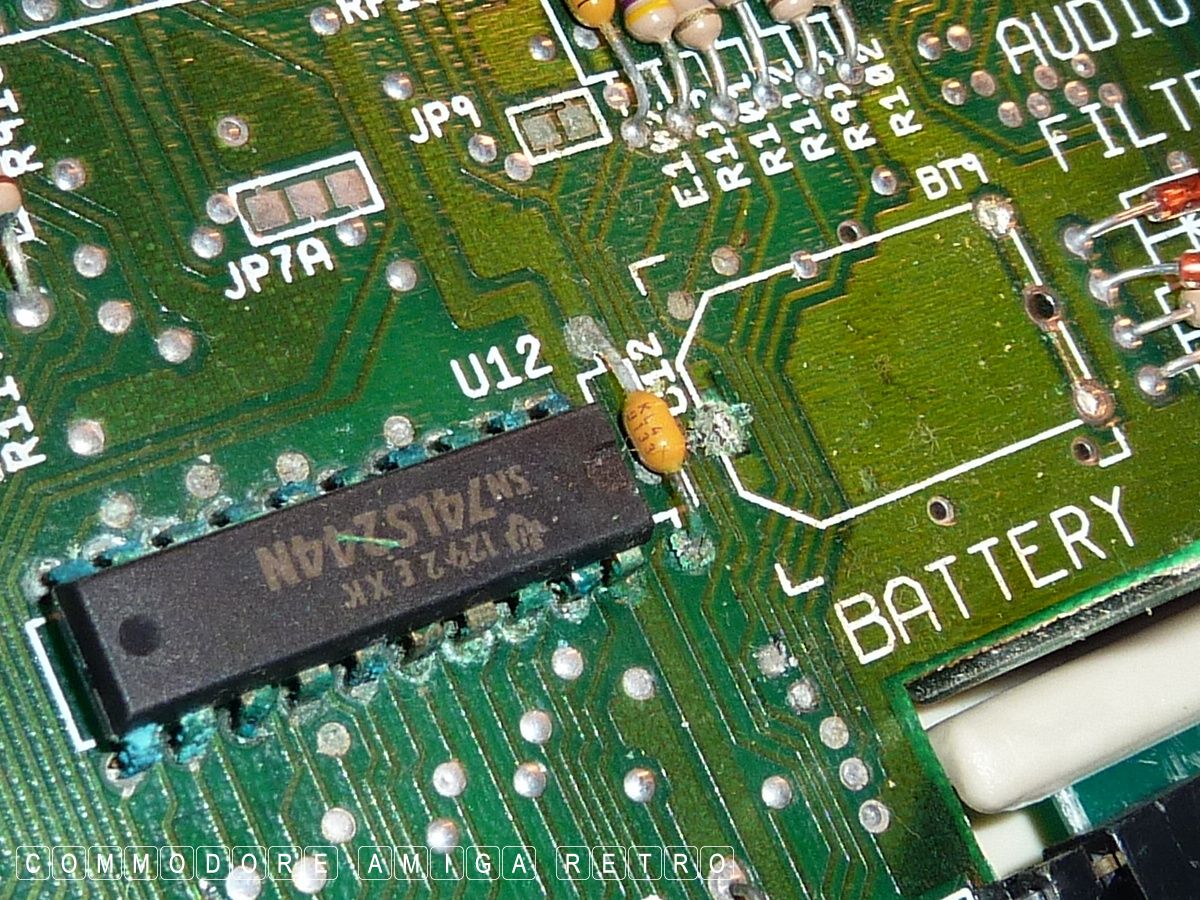
For me you clean up as best you can and record
the state of the board. If the computer is
working it is best to leave well alone. With
the battery removed the electrostatic actions
that advanced the corrosion have gone. The
risk now is actual corrosion from moisture
in the atmosphere. So control your computers
environment and keep her dry.
Check the computer on regular intervals and
compare corrosion. I tend to find there is
no further corrosion and it has not advanced.
However if you feel comfortable then attack
maybe one or two areas and be very careful just
how aggressive you are. It wont take much to
break a pin or crack a resistor leg.
Lastly don't get hung up over the green. It may
not look pristine and brand new sparkly, but
if she is working then be very thankful. It is
a watching game and just take you time. There
will not be any great expansion of corrosion, it
is a fallacy spread by Tubers. The storm is over
once the battery is removed. After that you have
years to keep tidying up.
And so I put my A-500 Plus machines away happy
that I have the problem under control and I have
records to prove it.