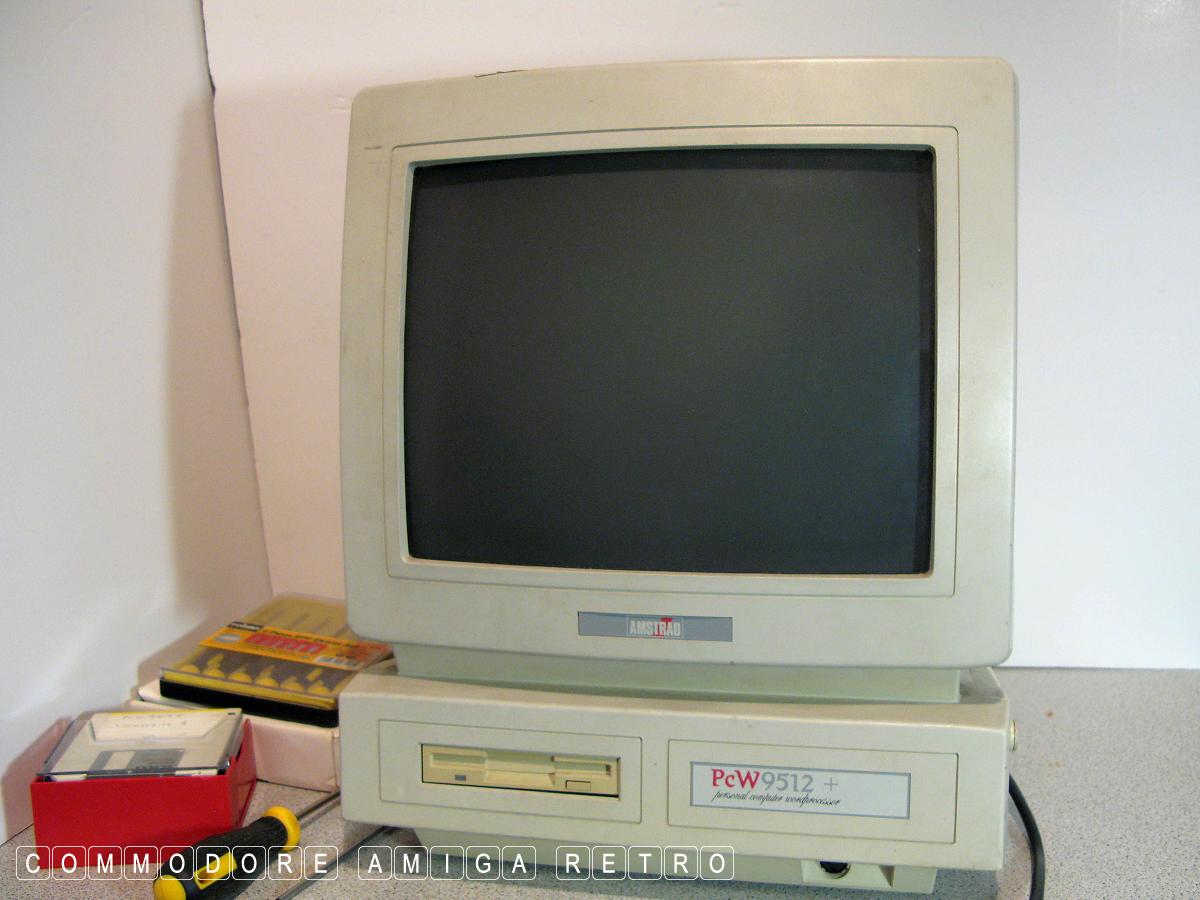
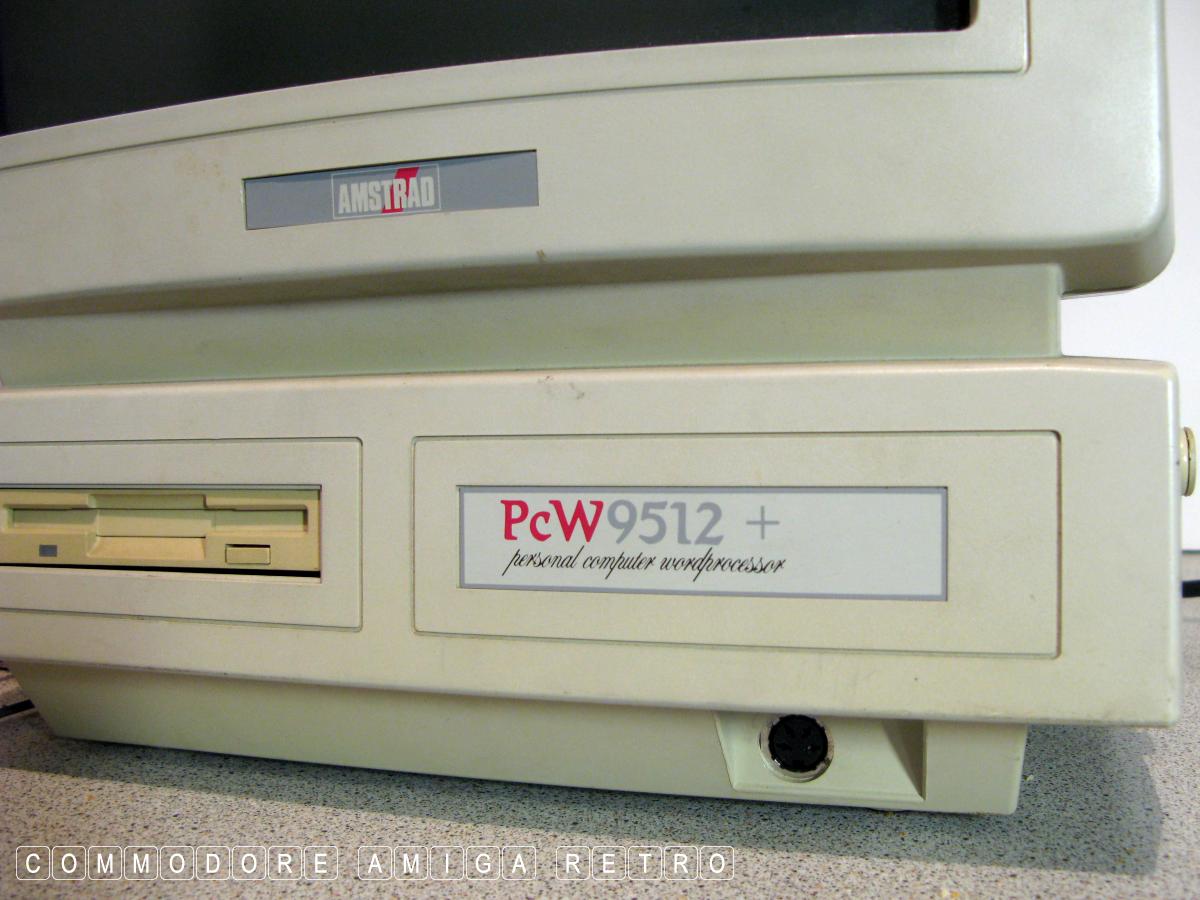
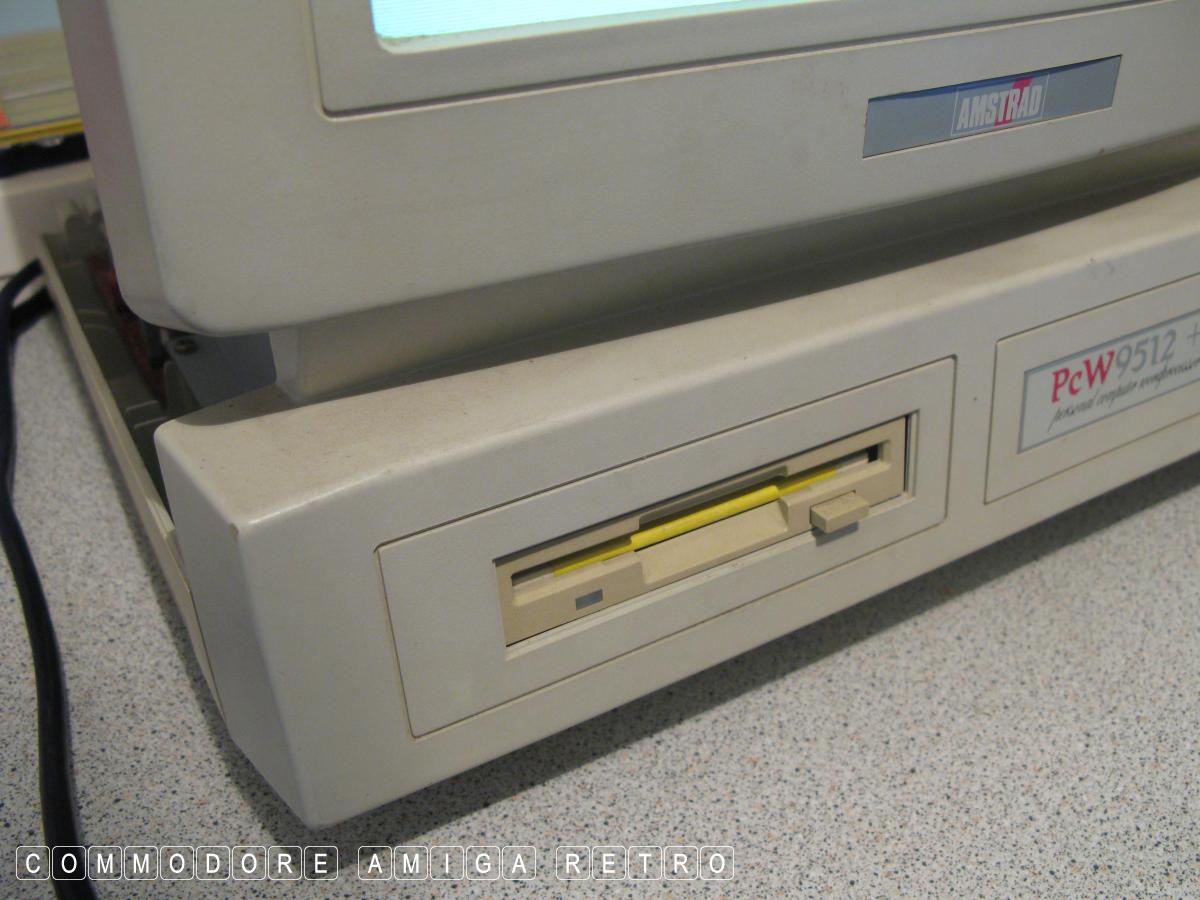
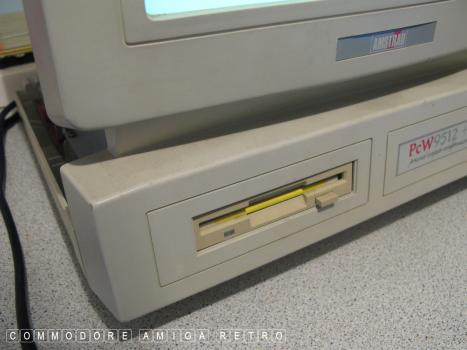
The Amstrad PCW9512+

An upgraded version of the PCW9512

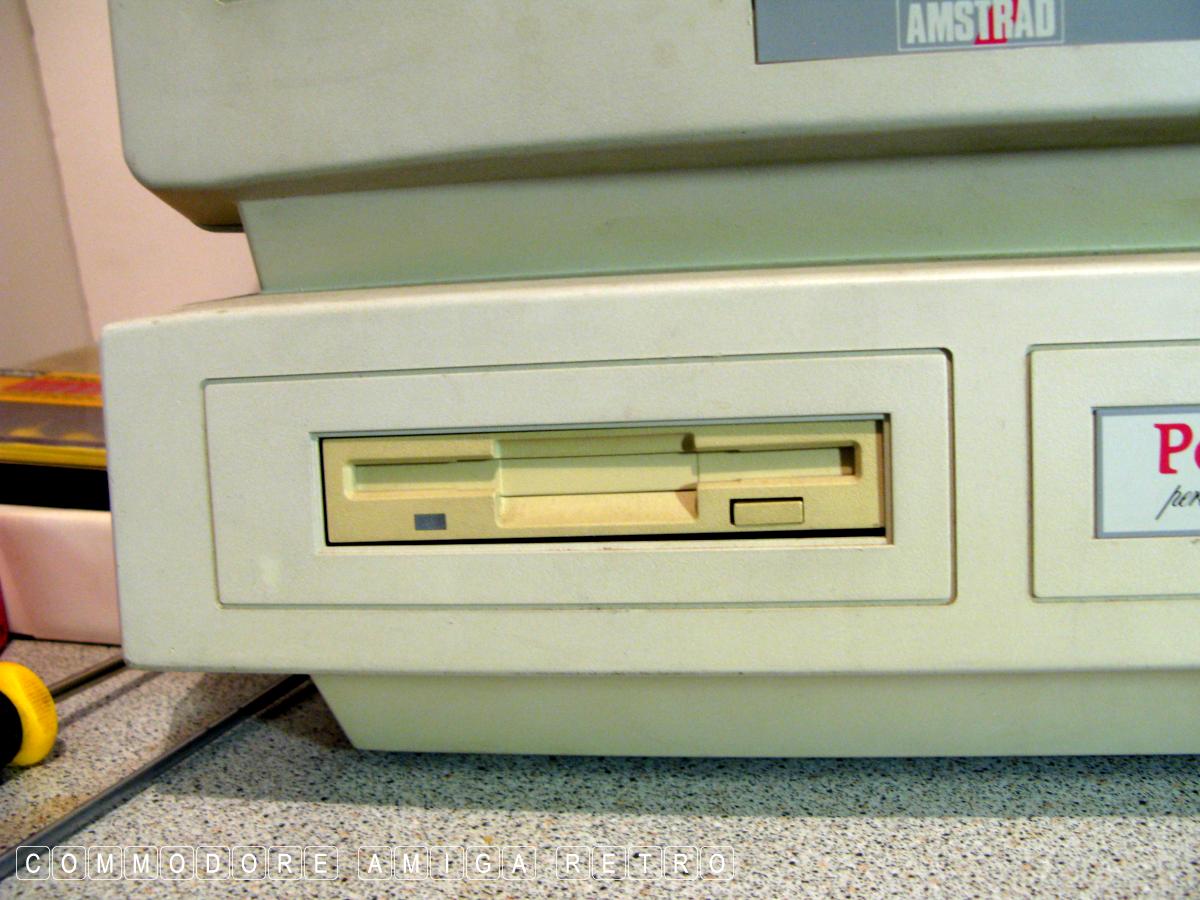
With the faulty 3.5" drive

So let's get busy with it

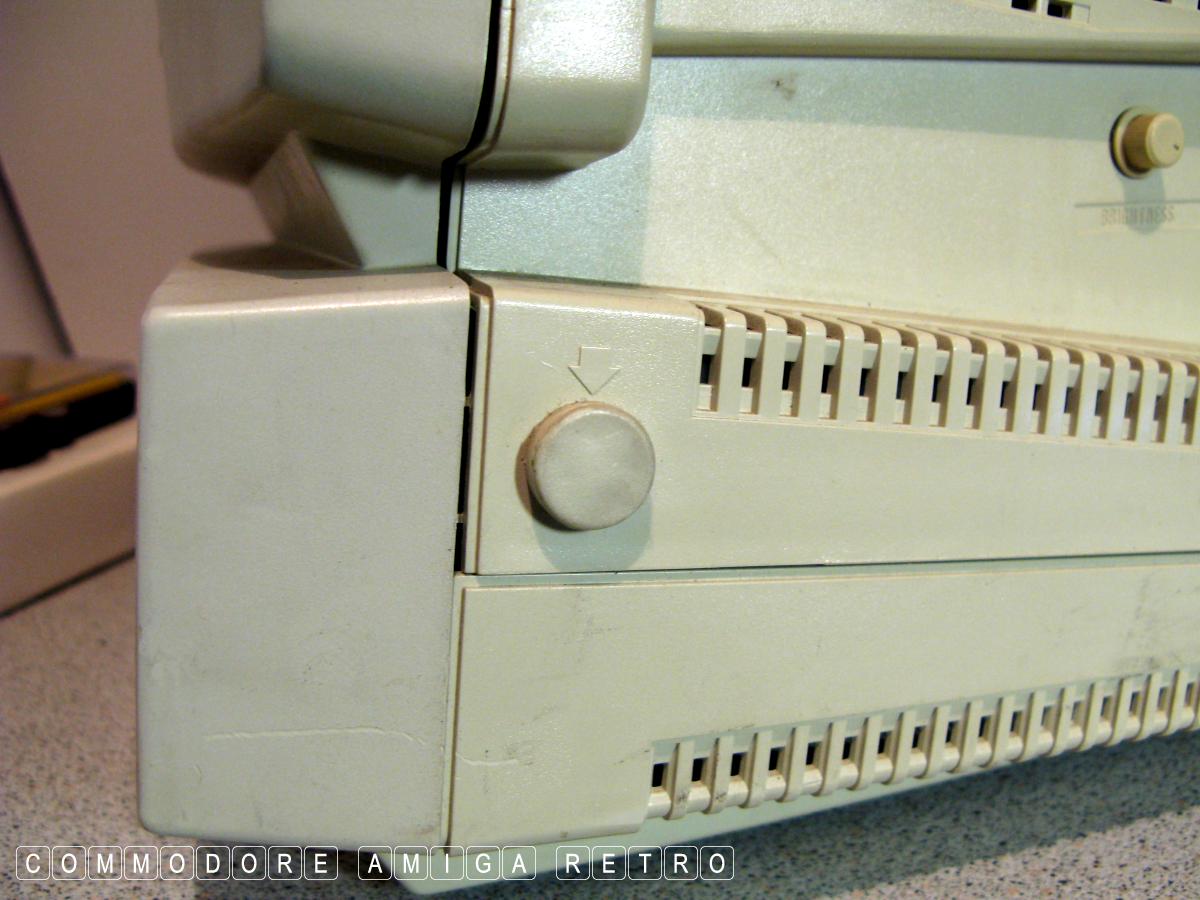
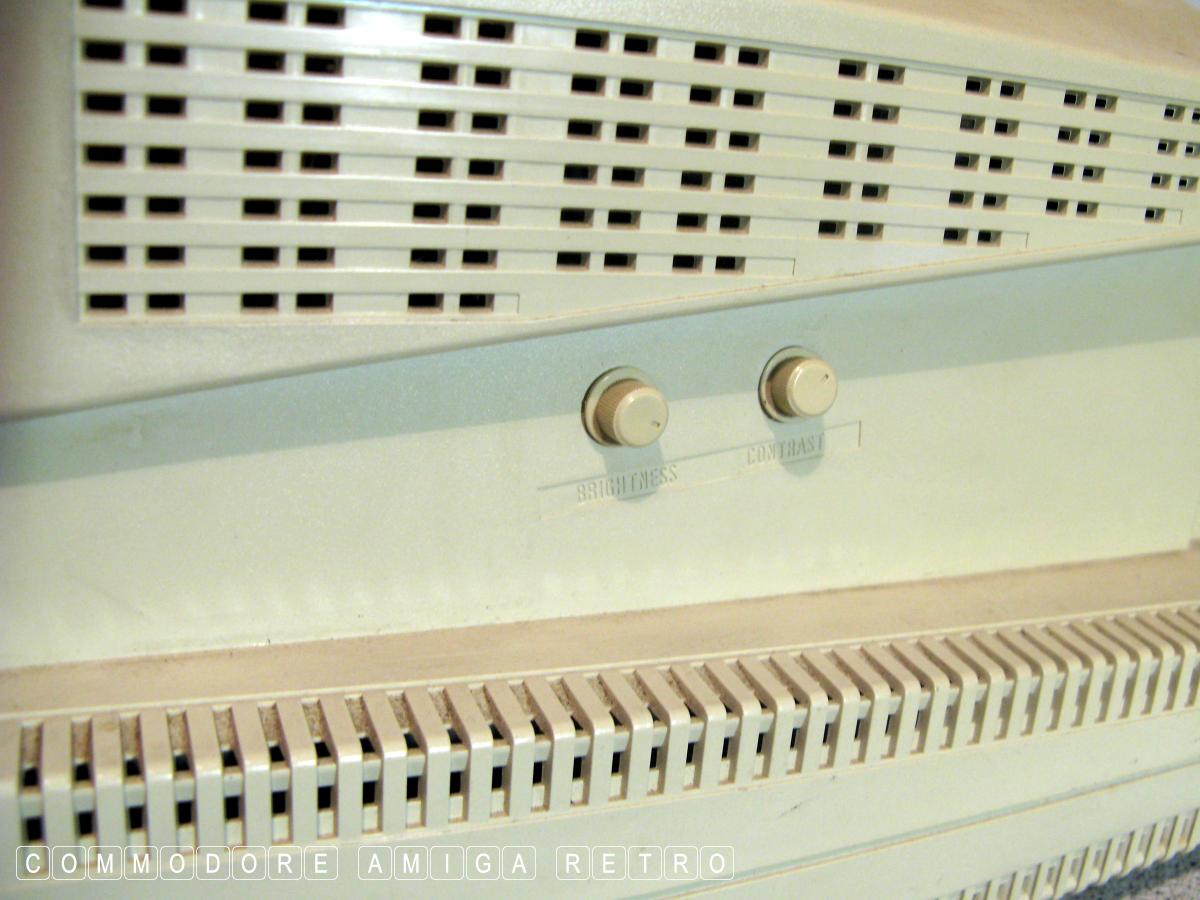
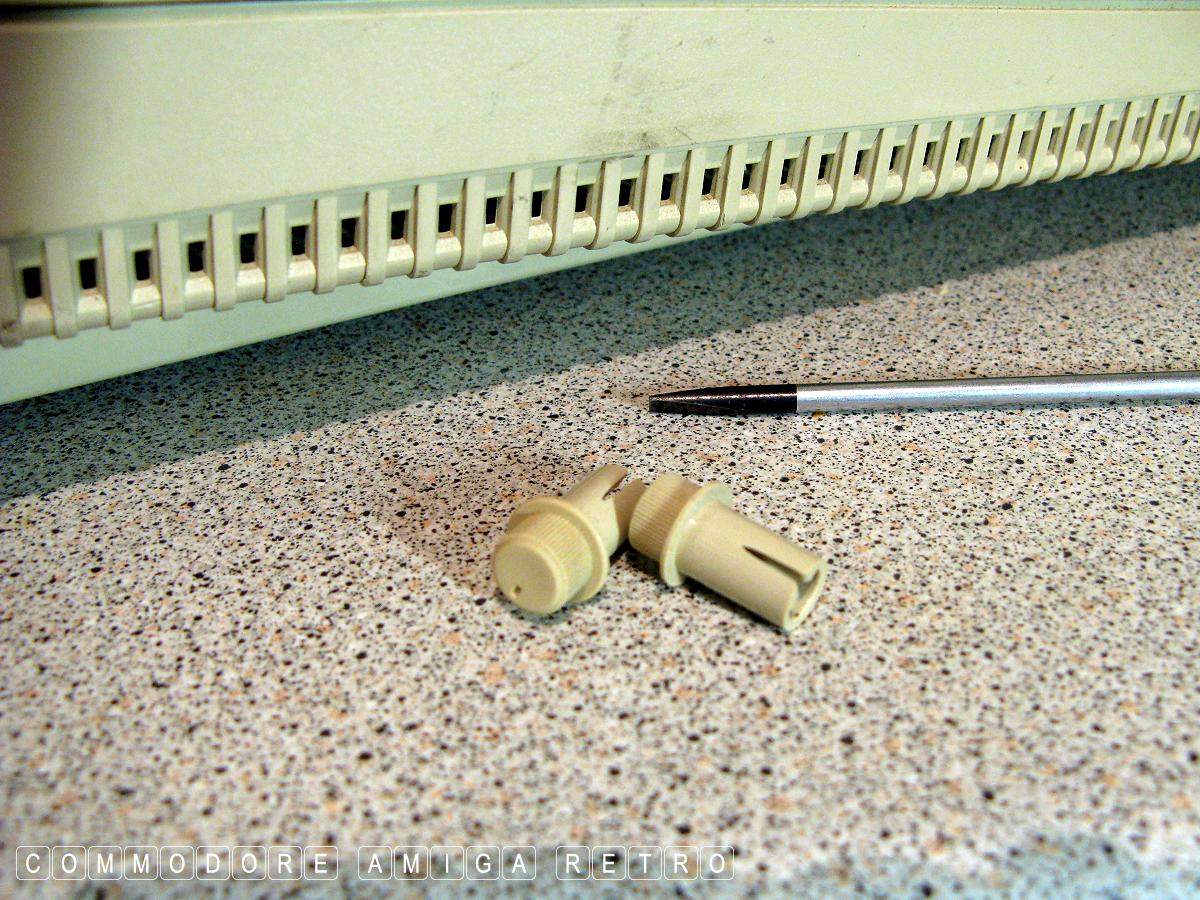
Remove caps and first screws

Simply pull out the knobs
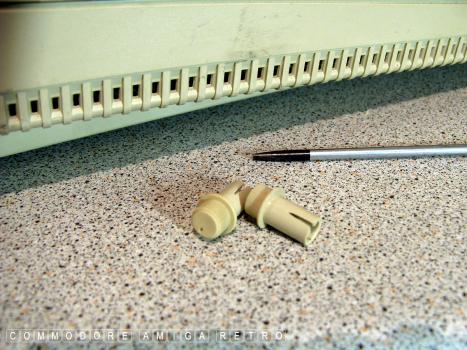
Don't lose them
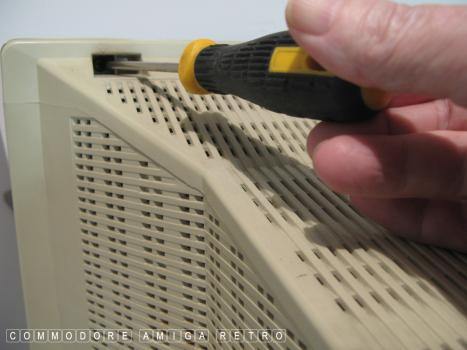
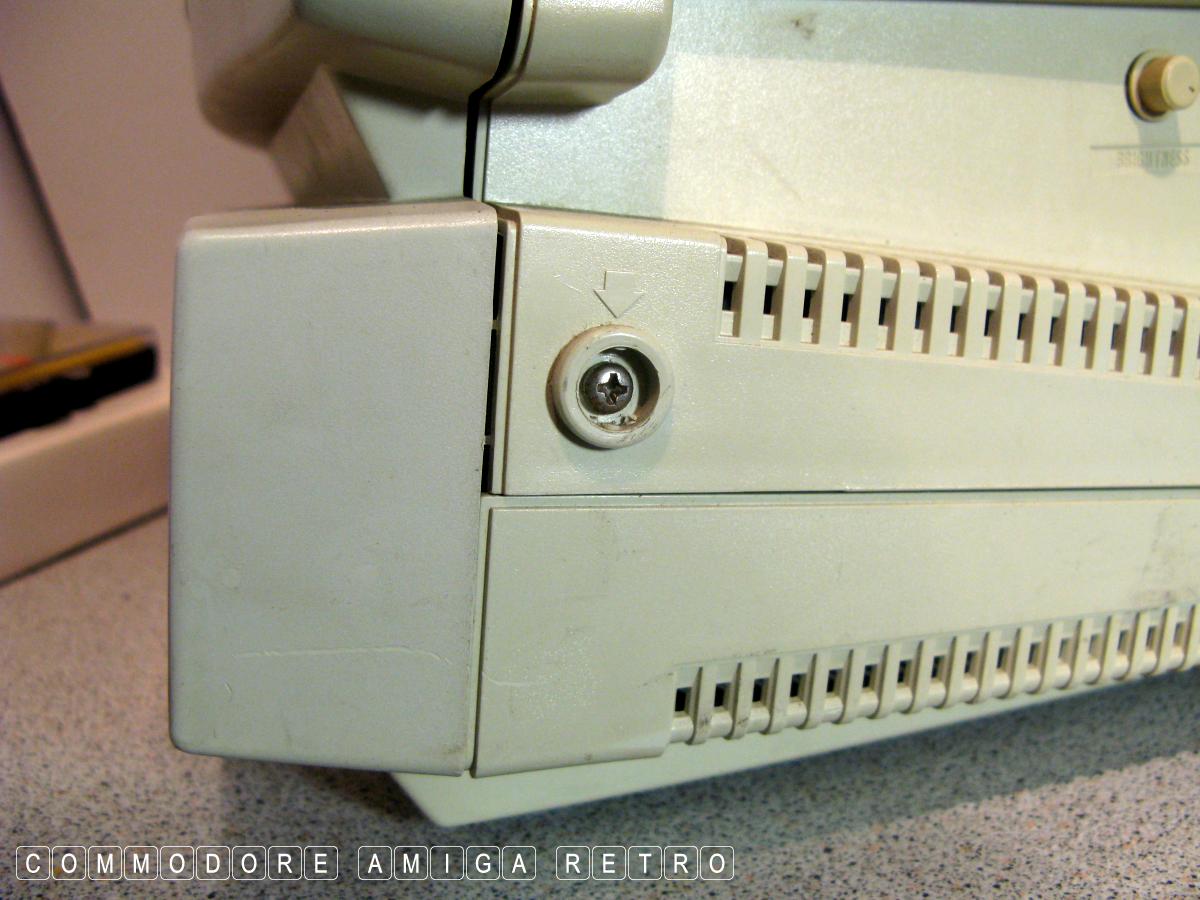
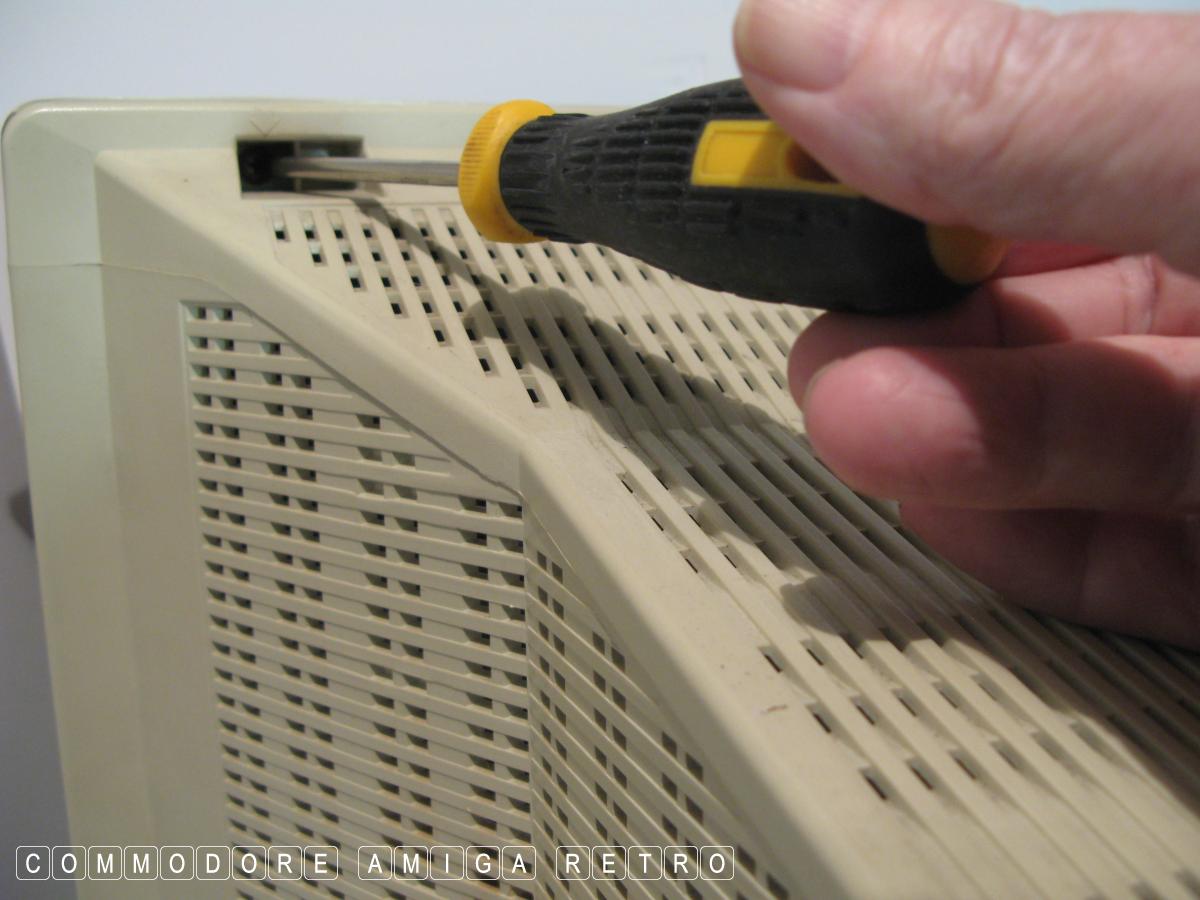
Unscrew the top case

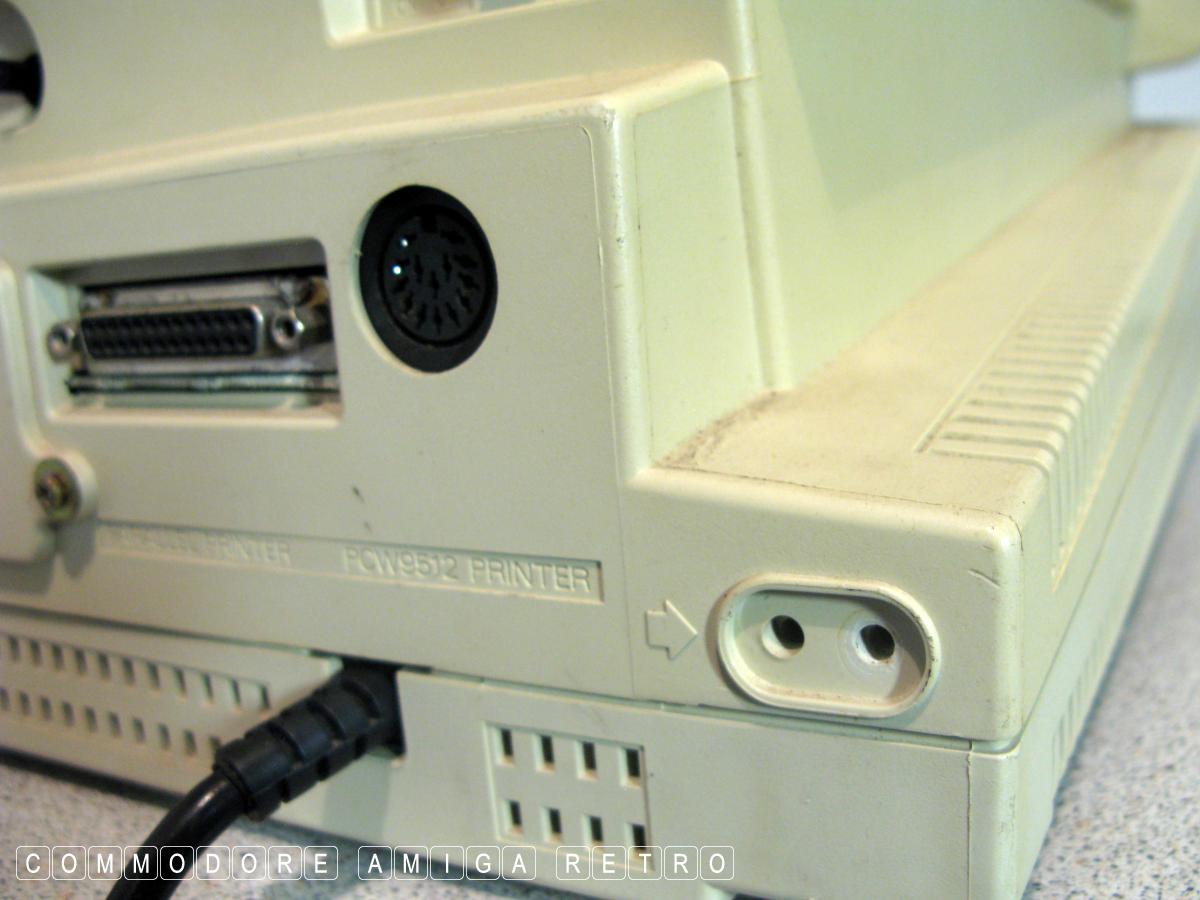
Screws to remove are shown with an arrow
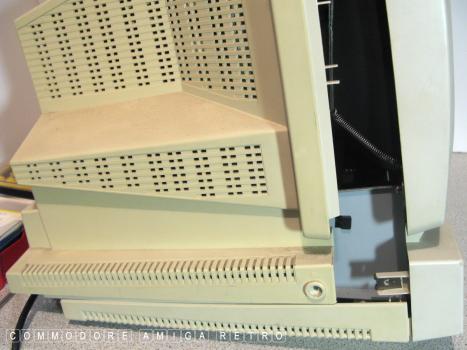
And carefully split the case. It is worth
remembering that tubes can hold residual
current for a long time. So leave for a
good while after use before working on. I
tend to leave them for a day
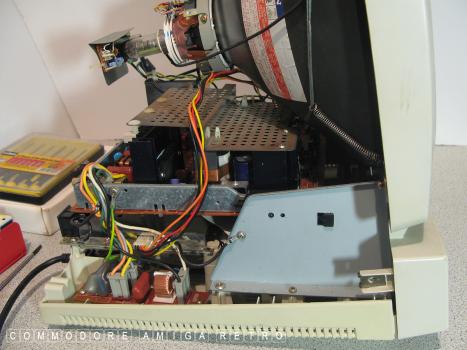
The machine inner workings are revealed
Much the same as the PCW9512 with the
addition of components bottom left
First detach top from bottom section
by unscrewing the earthing wires
There are two here
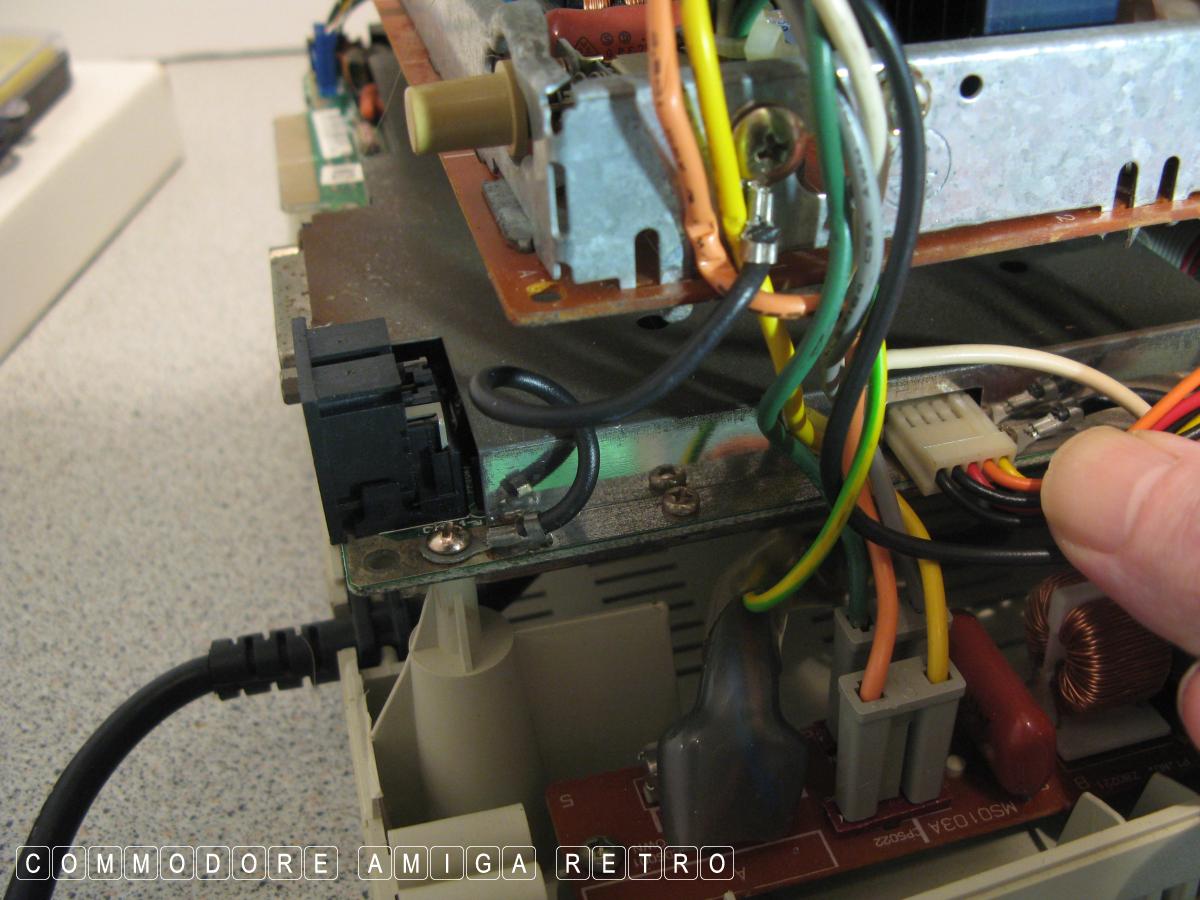
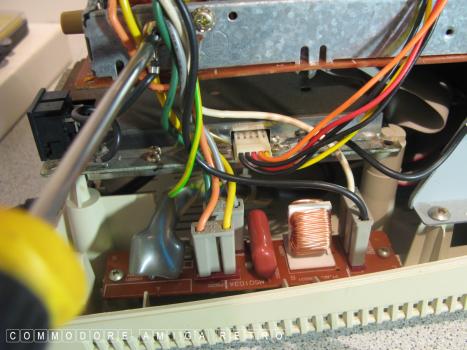
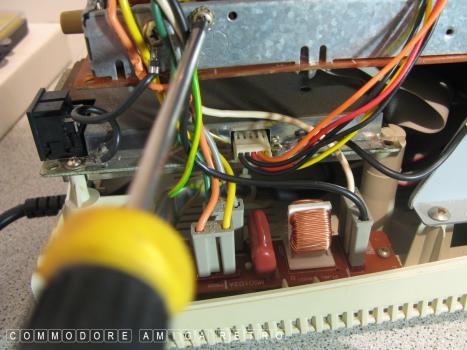
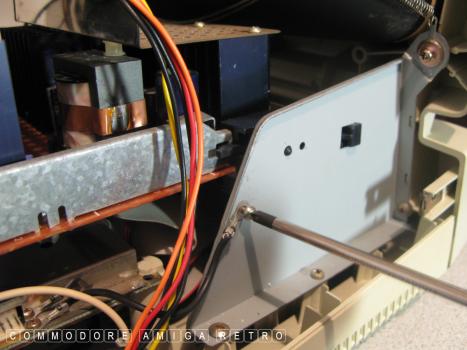
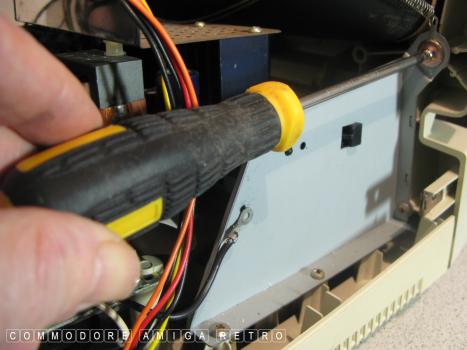
Detach the power supply
Store the screws and remember which
wire went to which hole. The screws
and holes have varying sizes
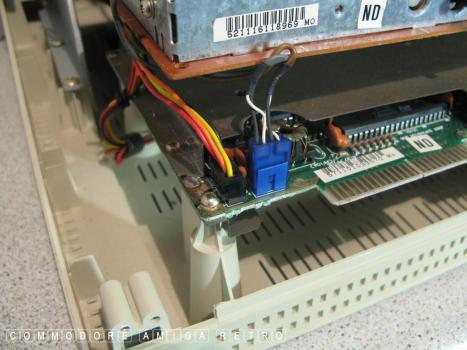
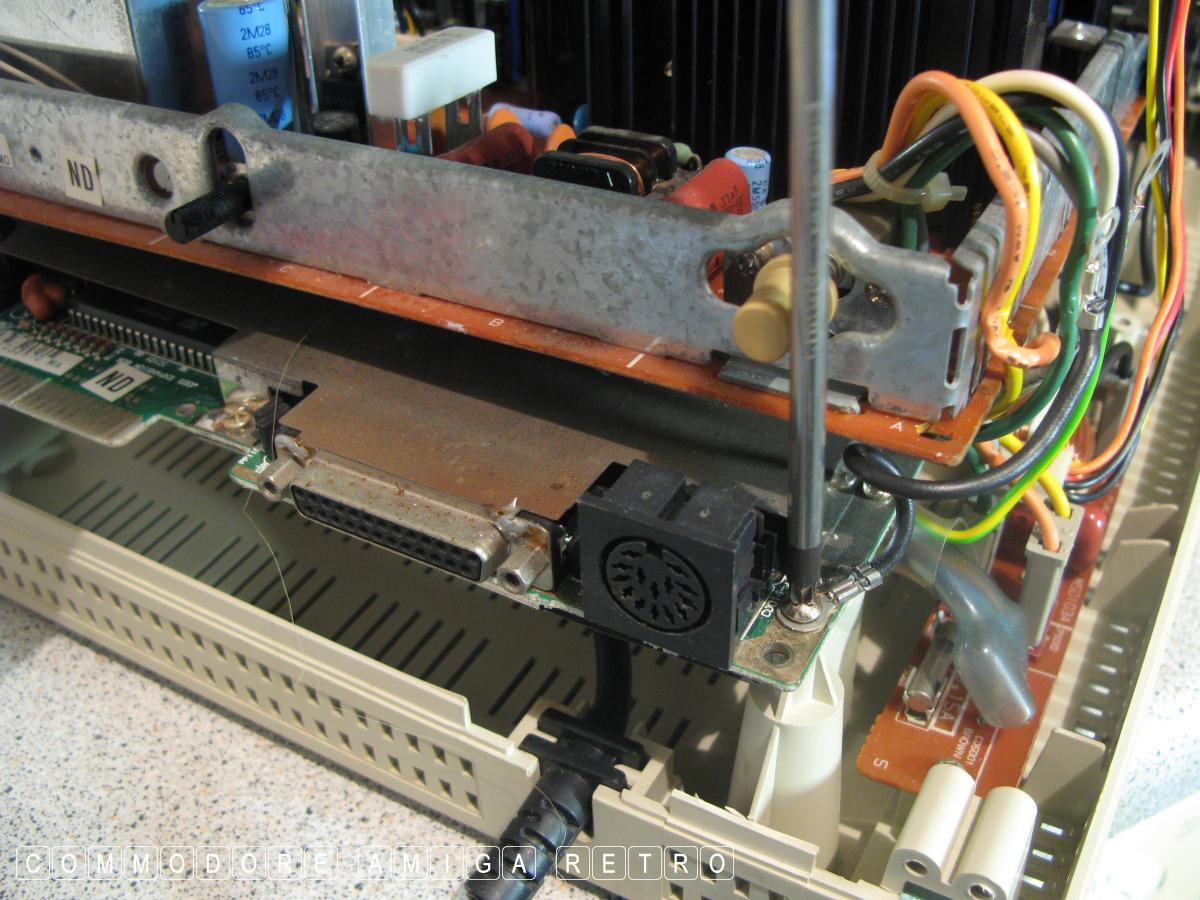
Detach these two connectors from the board

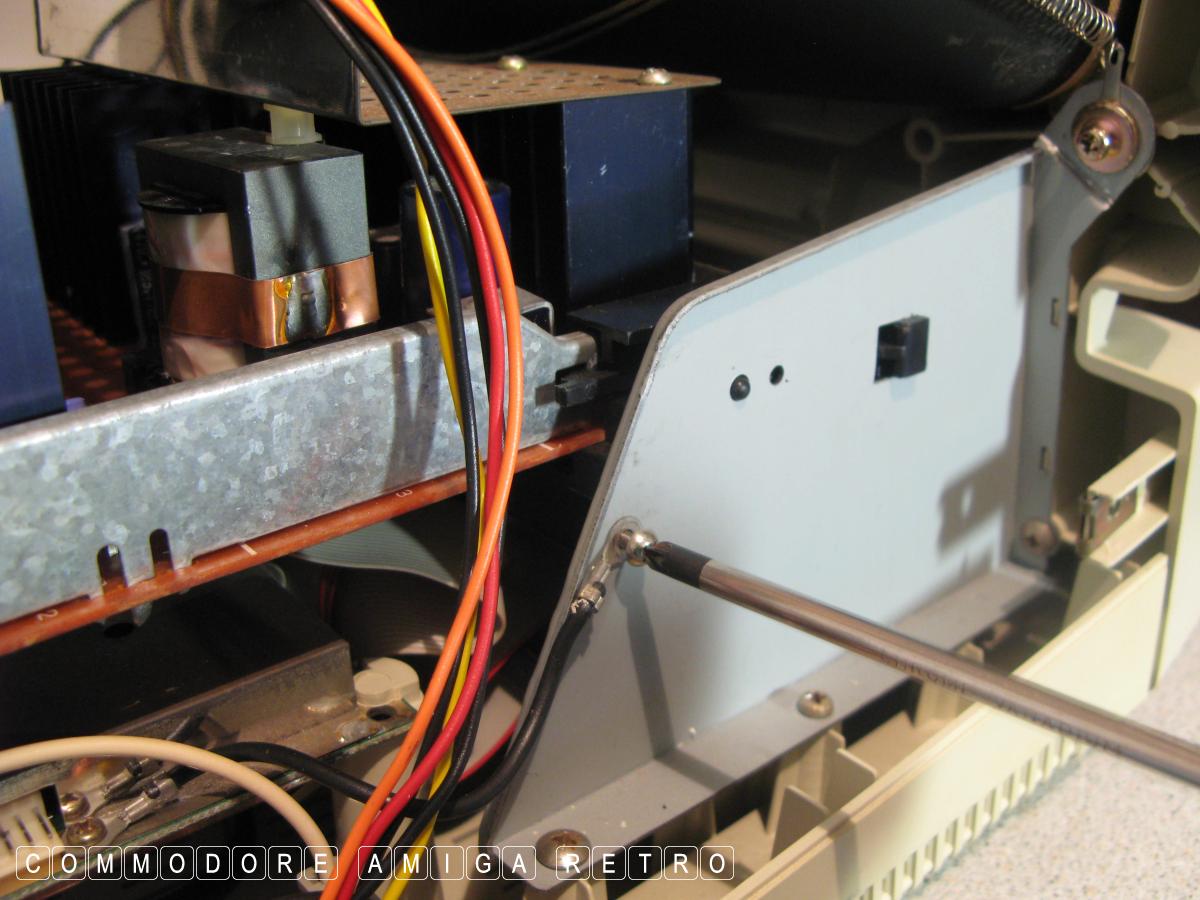
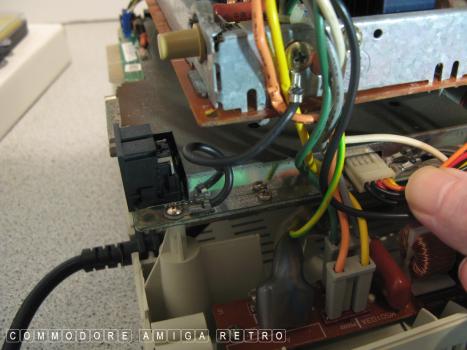
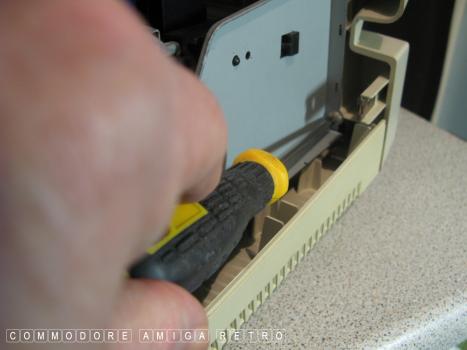
Time to remove the front bracket
Unscrew yet another earthing wire
Unscrew the top screw which also
holds the support wire to the main
tube. Take care as this is the bracket
that holds the front fascia and tube
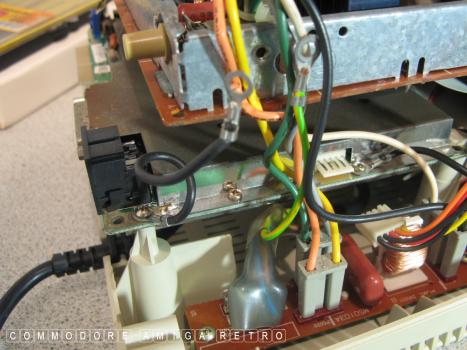
Remove the lower bracket screws
Both to the front fascia and bottom
Then jiggle the bracket free
from the plastic slider

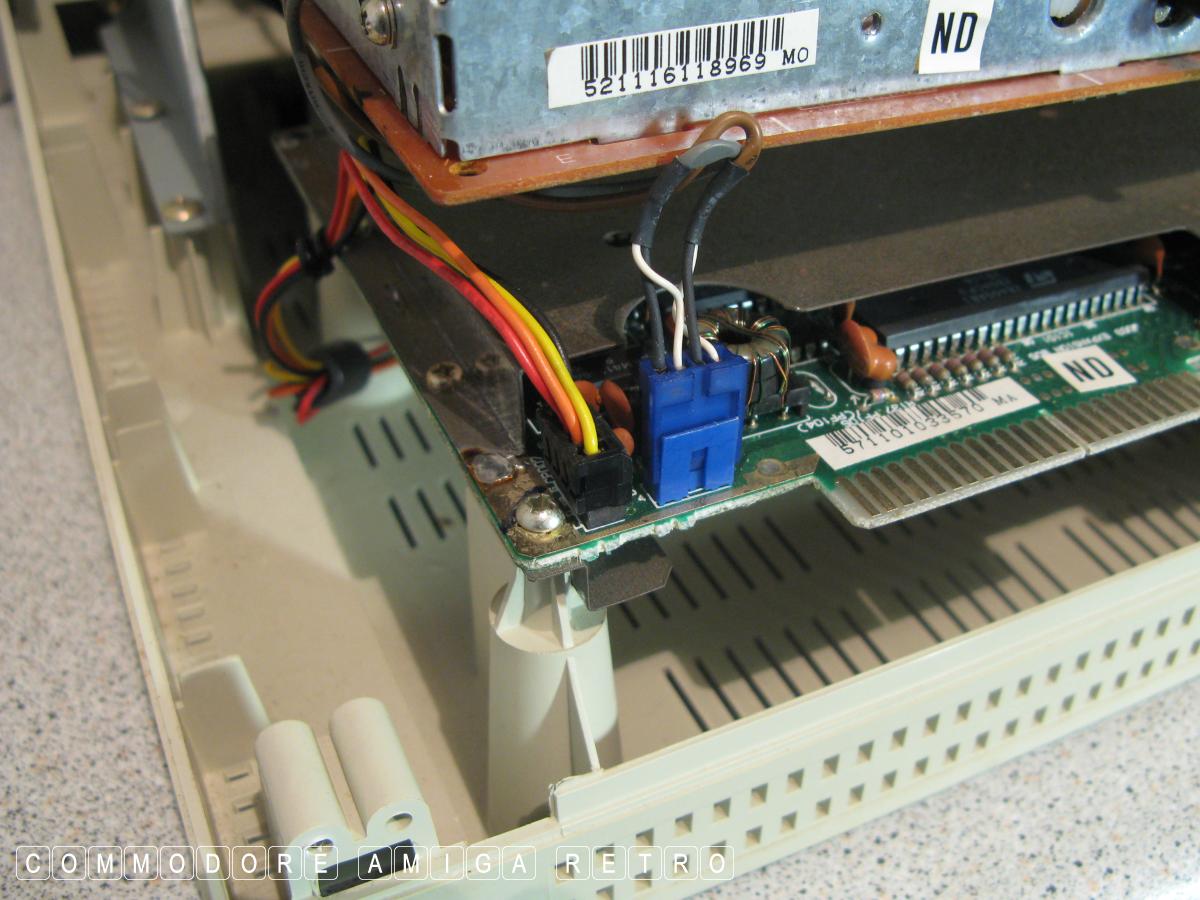
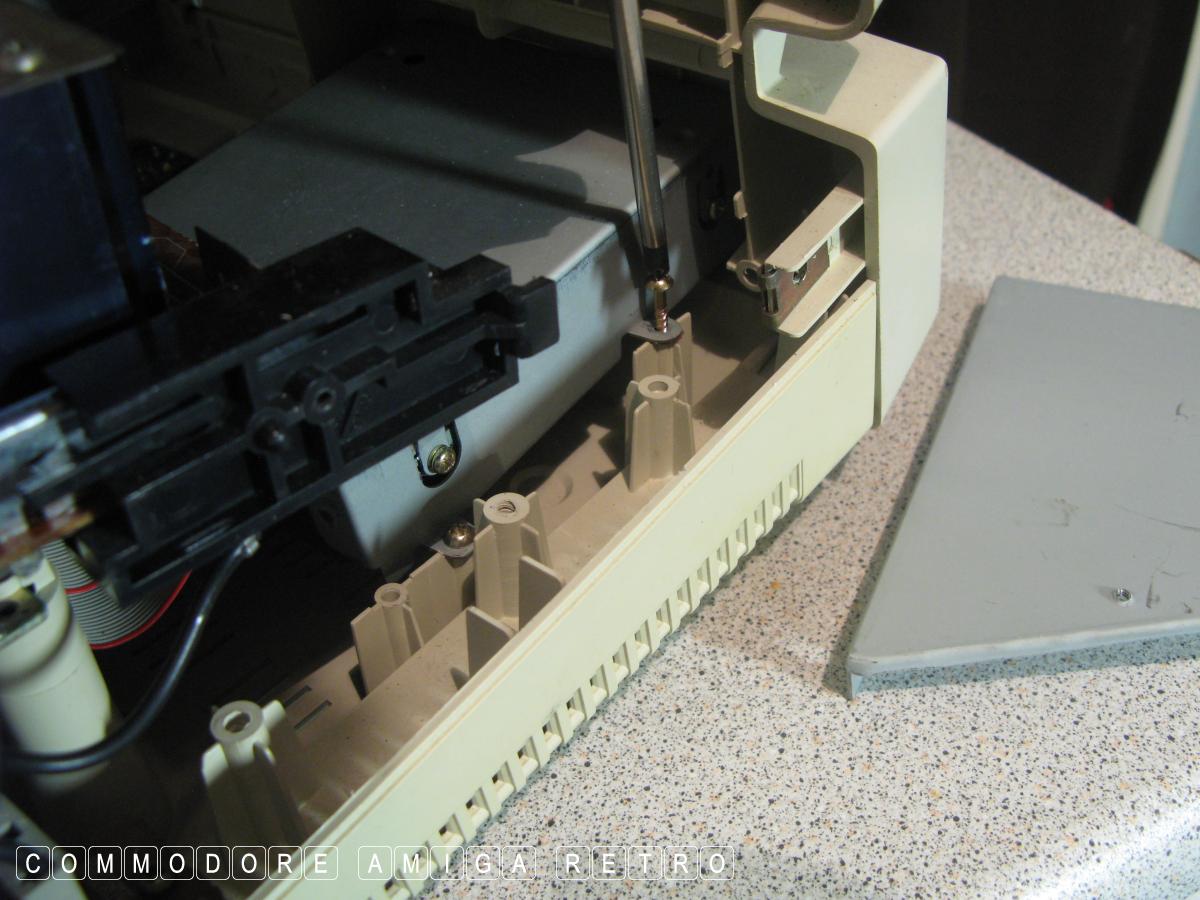
Unscrew the two corner screws to
the bottom mother board

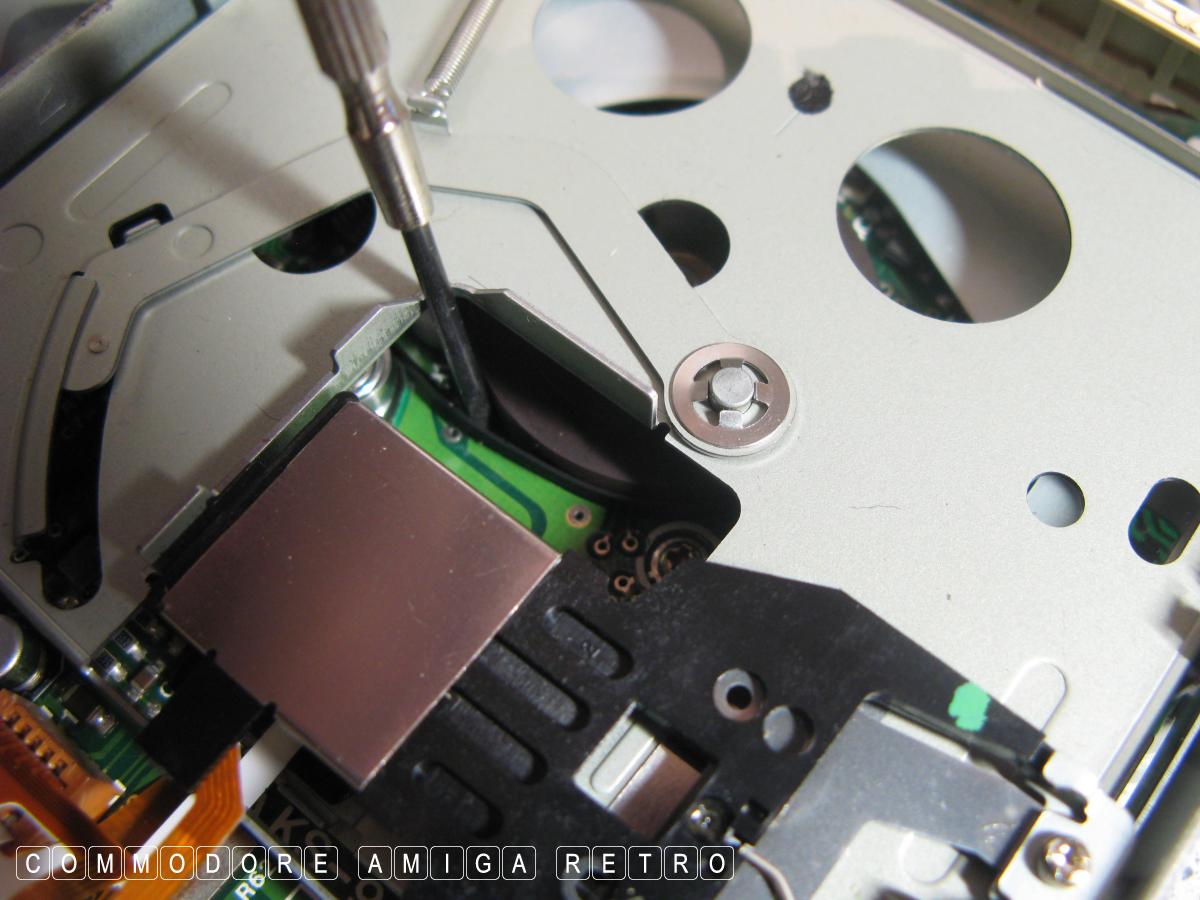
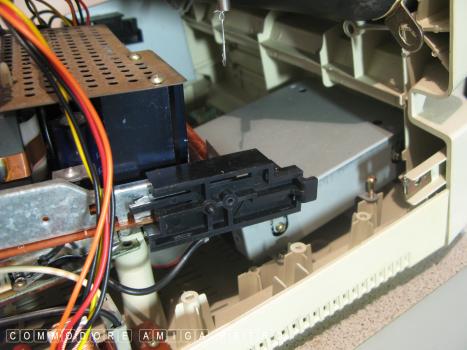
Then unscrew the drive casing

There are two screws the other side
which I guess you need a right angle
screw driver to remove. I use a small
screw driver on the end of some pliers
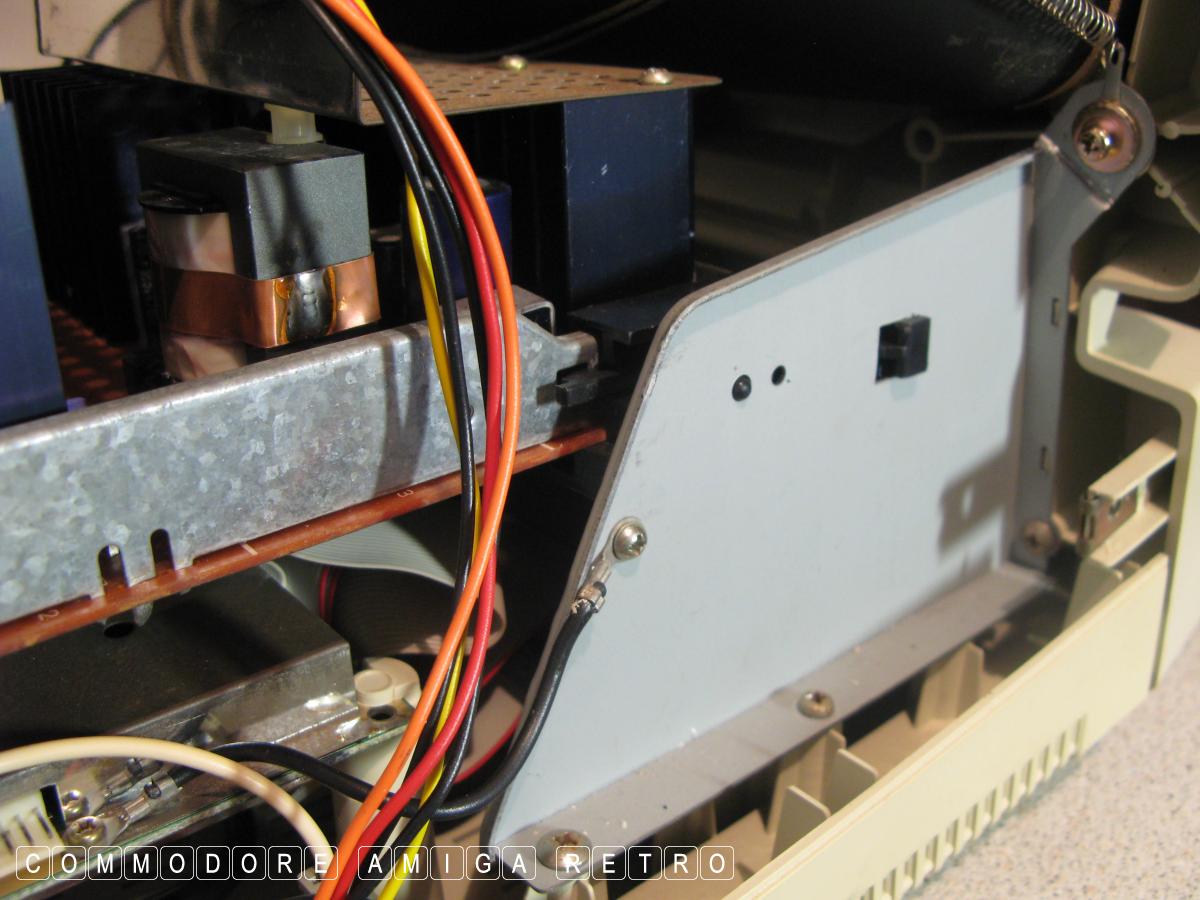
There is yet one more earthing screw
which is a pig to get back in. Little
tip. Stick the end of the screw and
screwdriver into some vaseline and then
work your way to the hole. The grease
should hold the screw in place and stop
it falling out all the time.
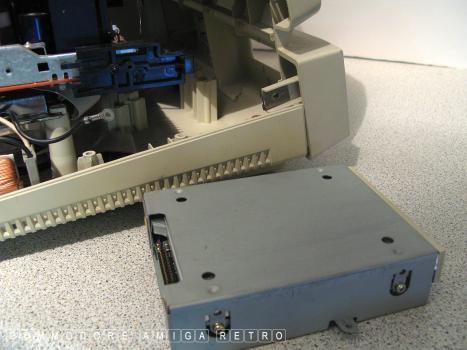
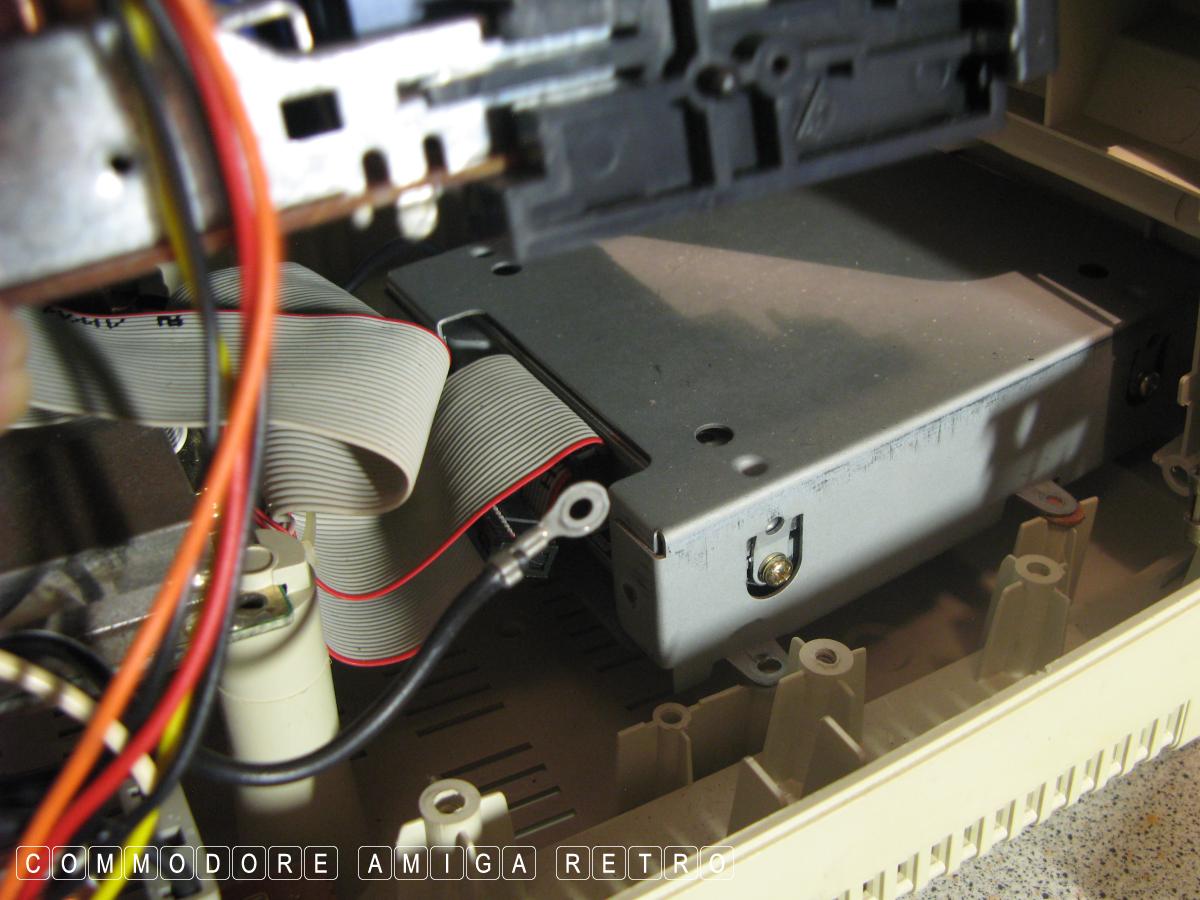
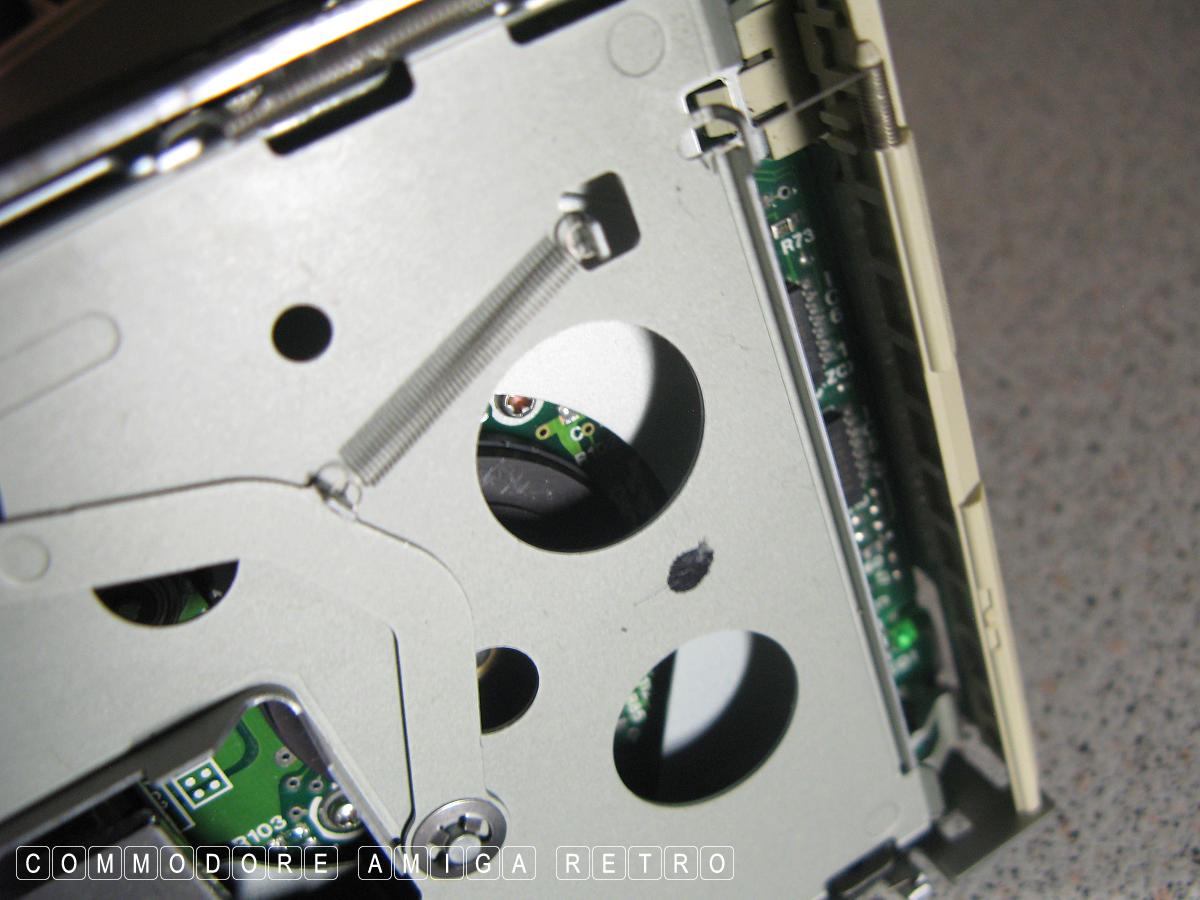
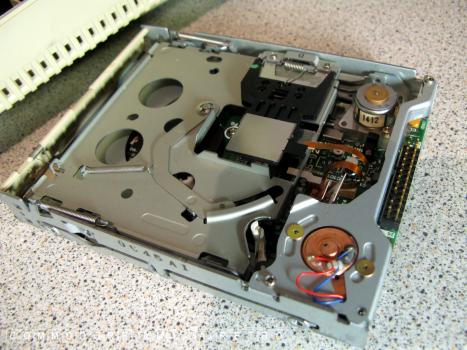
The outer casing is now removed
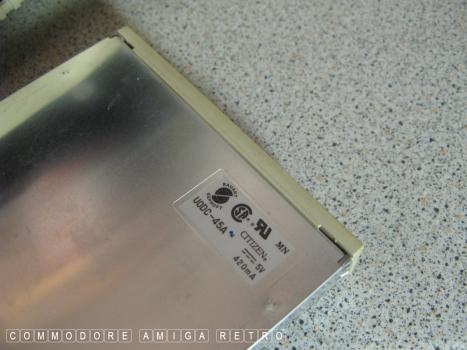
Make a note of the drive type

There is one screw to the actual
drive casing at the bottom. The
front fascia clips off to reveal
the main unit. Sadly I can see yet
another rubber drive belt and it is
completely loose
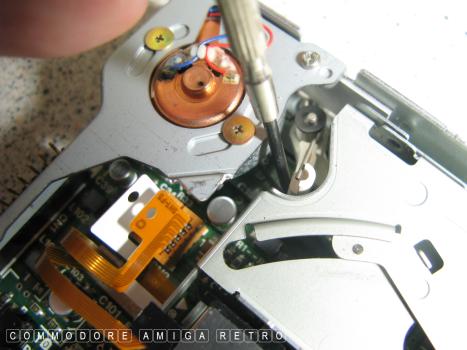
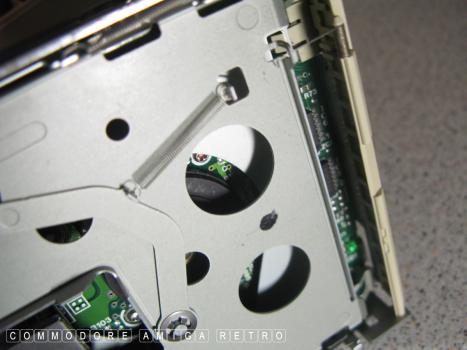
The drive belt runs around and to
the front motor on the drive
It is possible to just see the belt
within the front of the unit
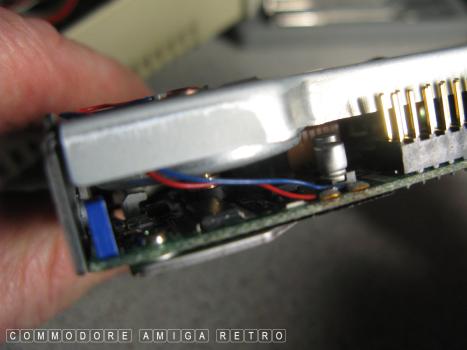
Sadly there is no obvious way of
getting at the belt. Scuppered
It is obvious that the belt is the
issue. It is not even attached to
the pully sadly.
I reassembled but the problem is the
same. I have to either find someone to
repair the drive or find another drive
SEE MY NEXT POST