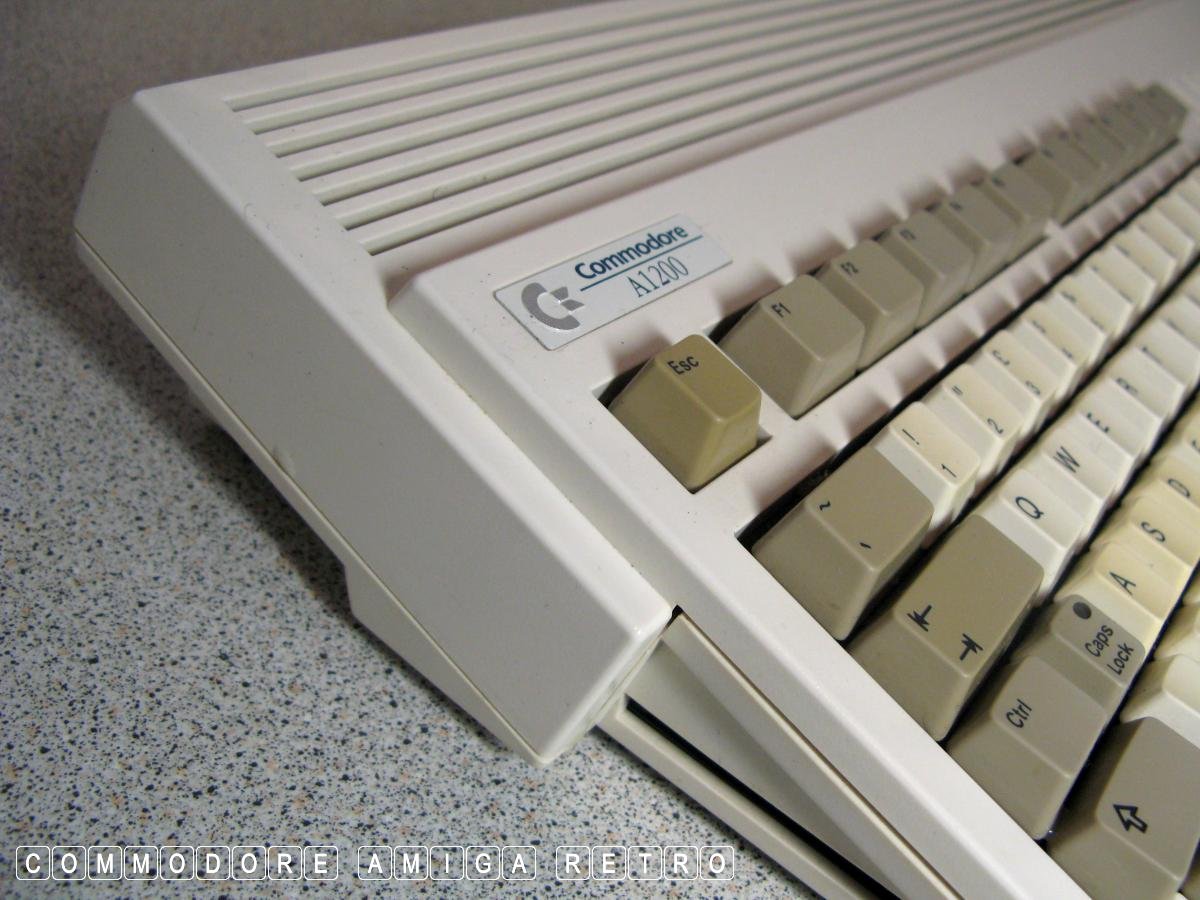
Amiga 1200 - Expanding Old Skool.

First port of call you should recognise is
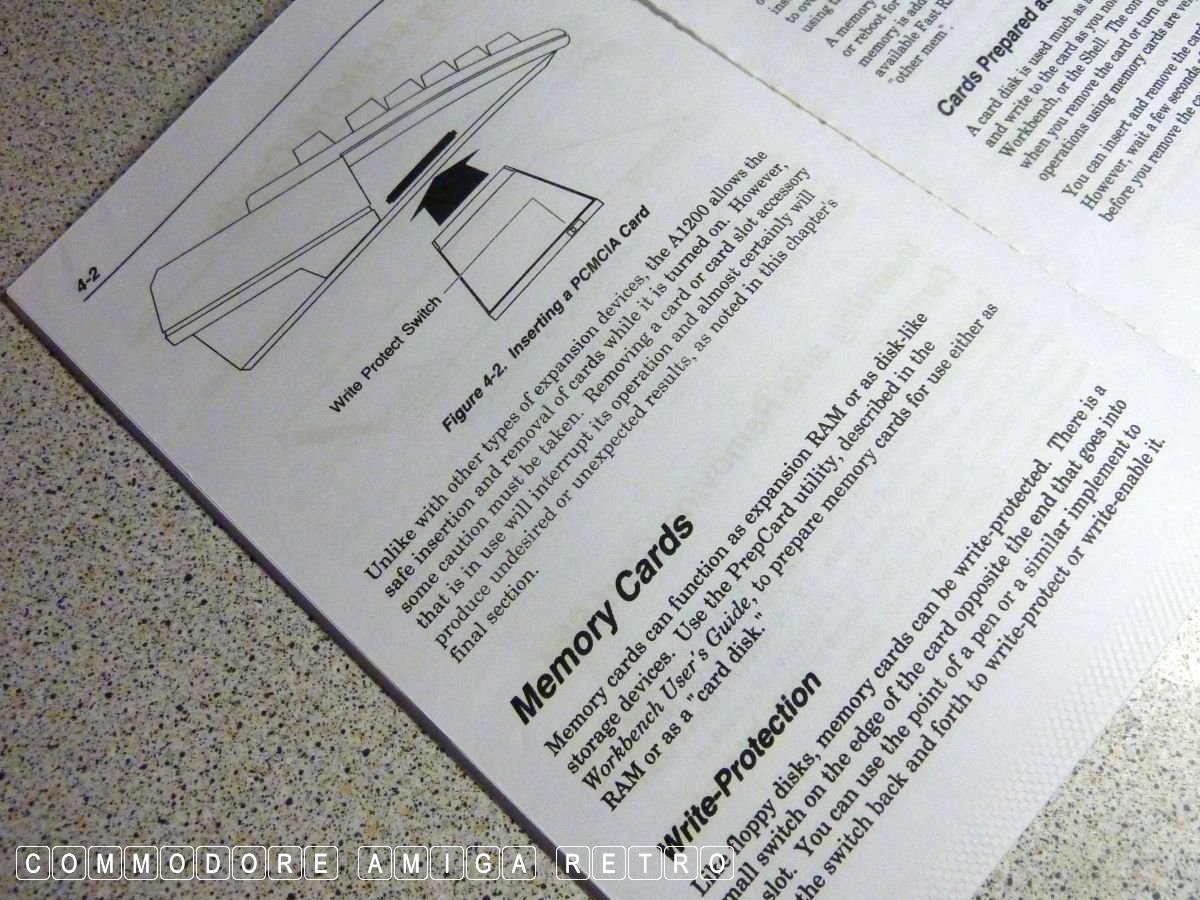
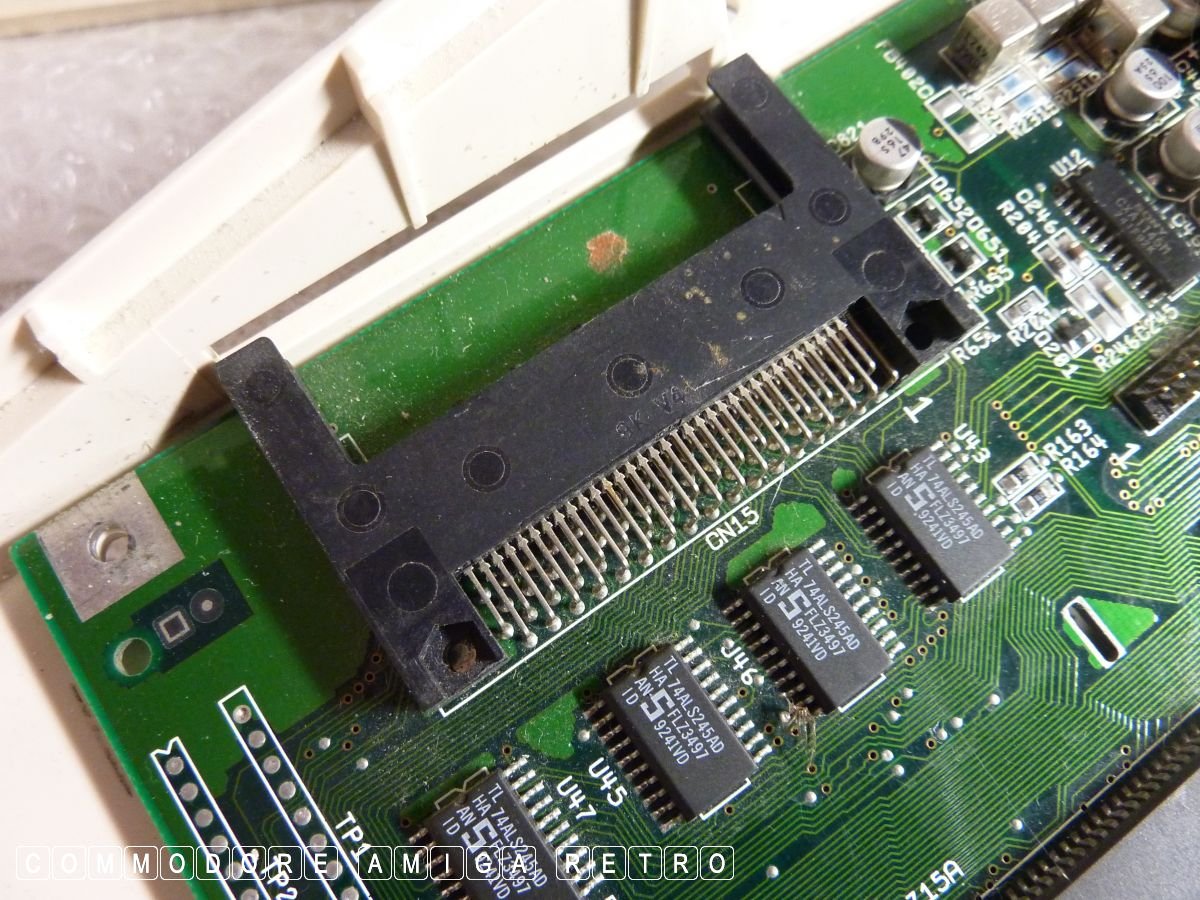
the very valuable PCMCIA slot on the left.

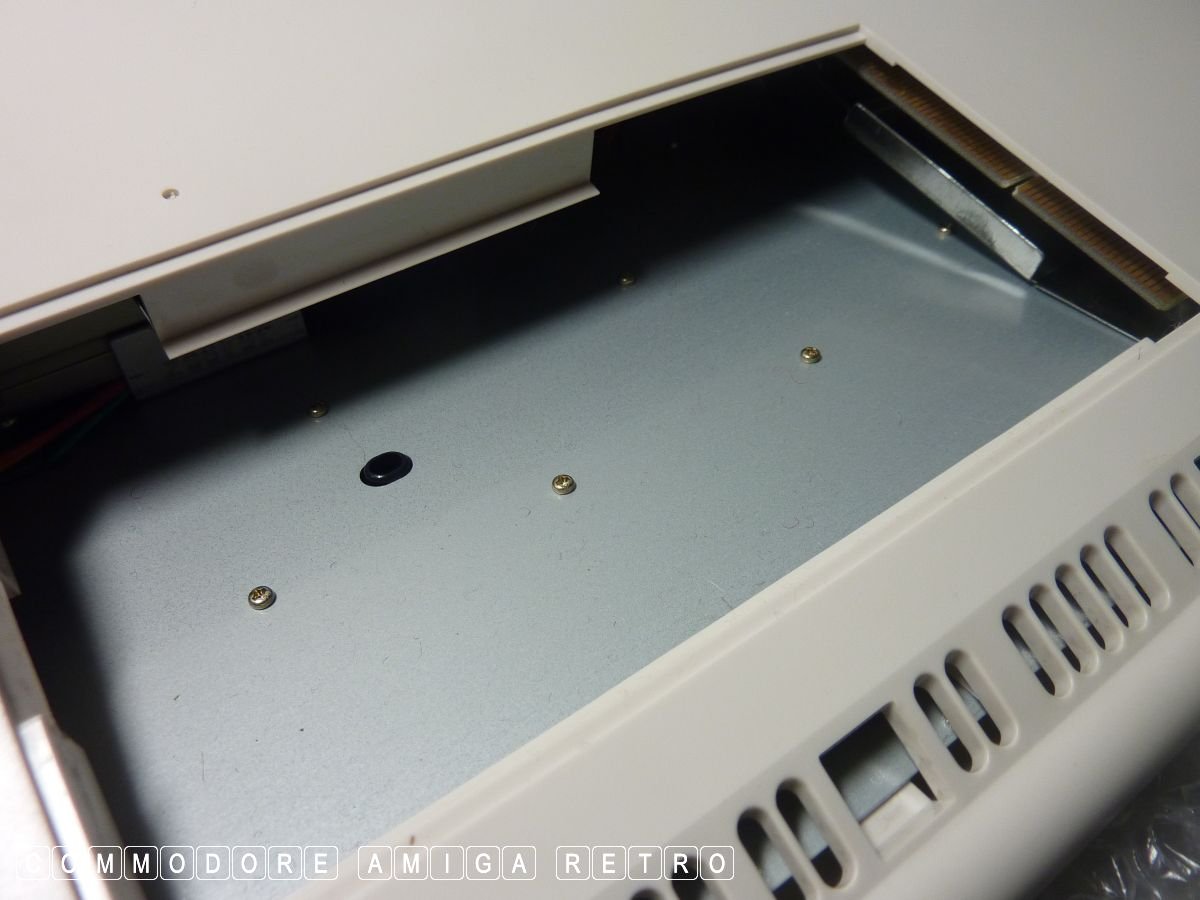
On the base is the trap door slot.
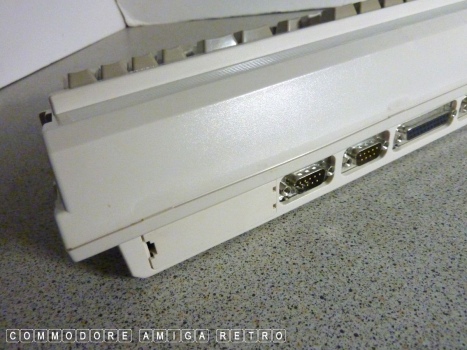
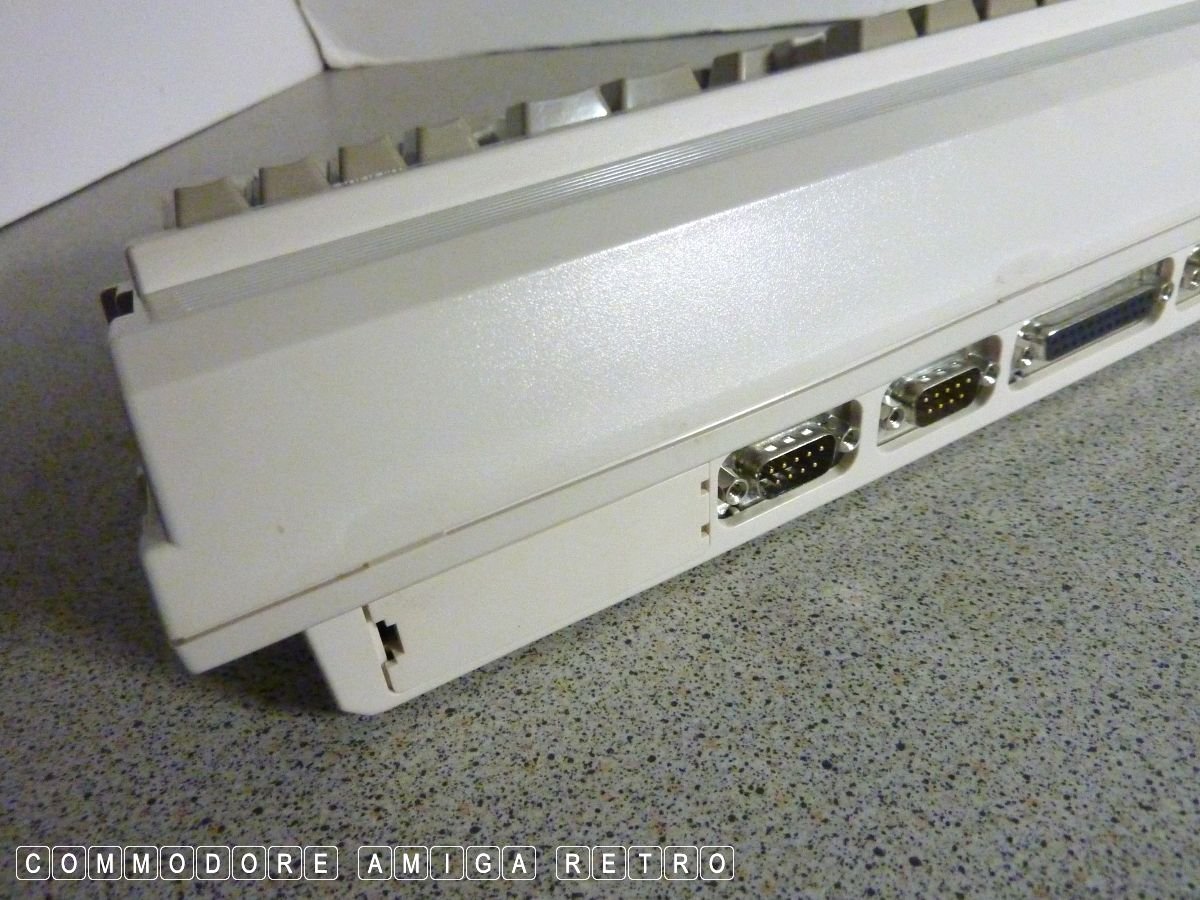
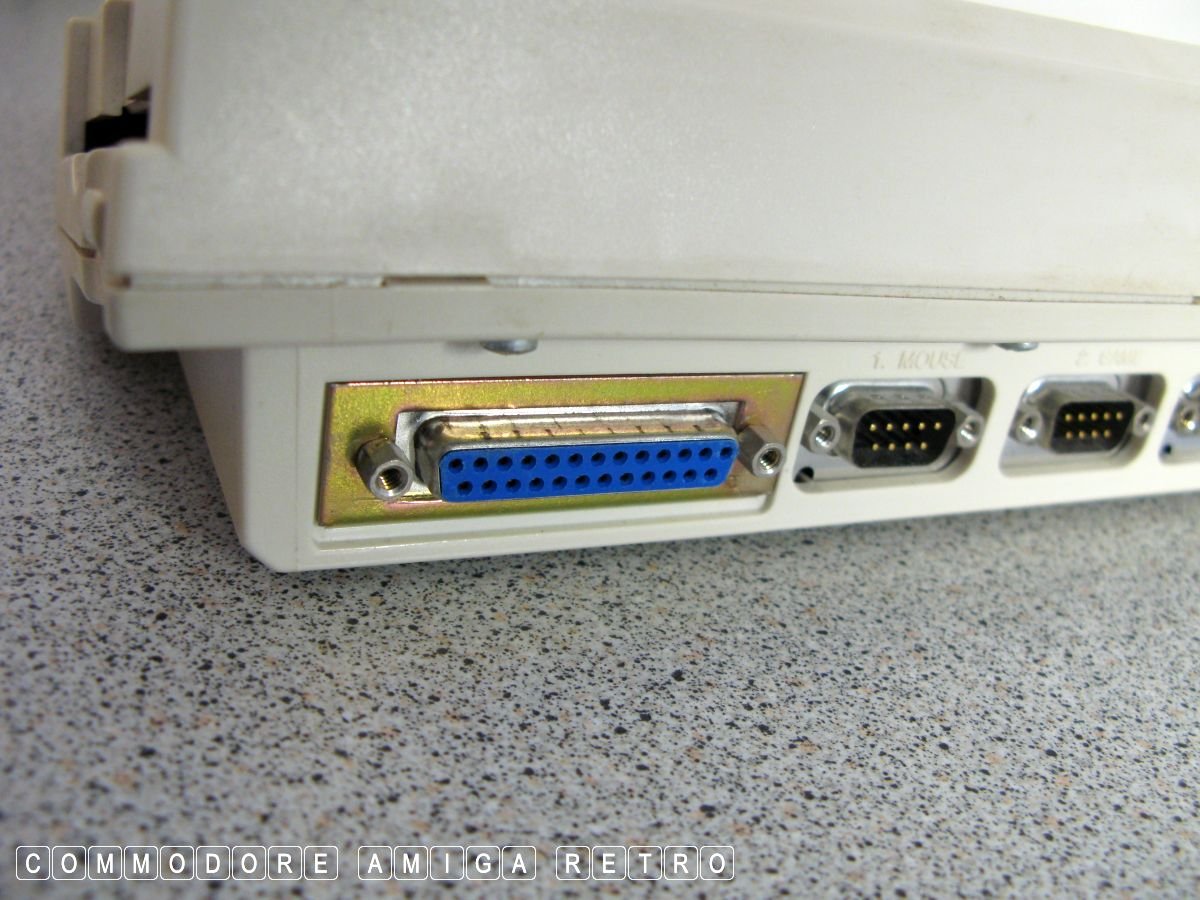
The A1200 has a spare rear port slot.

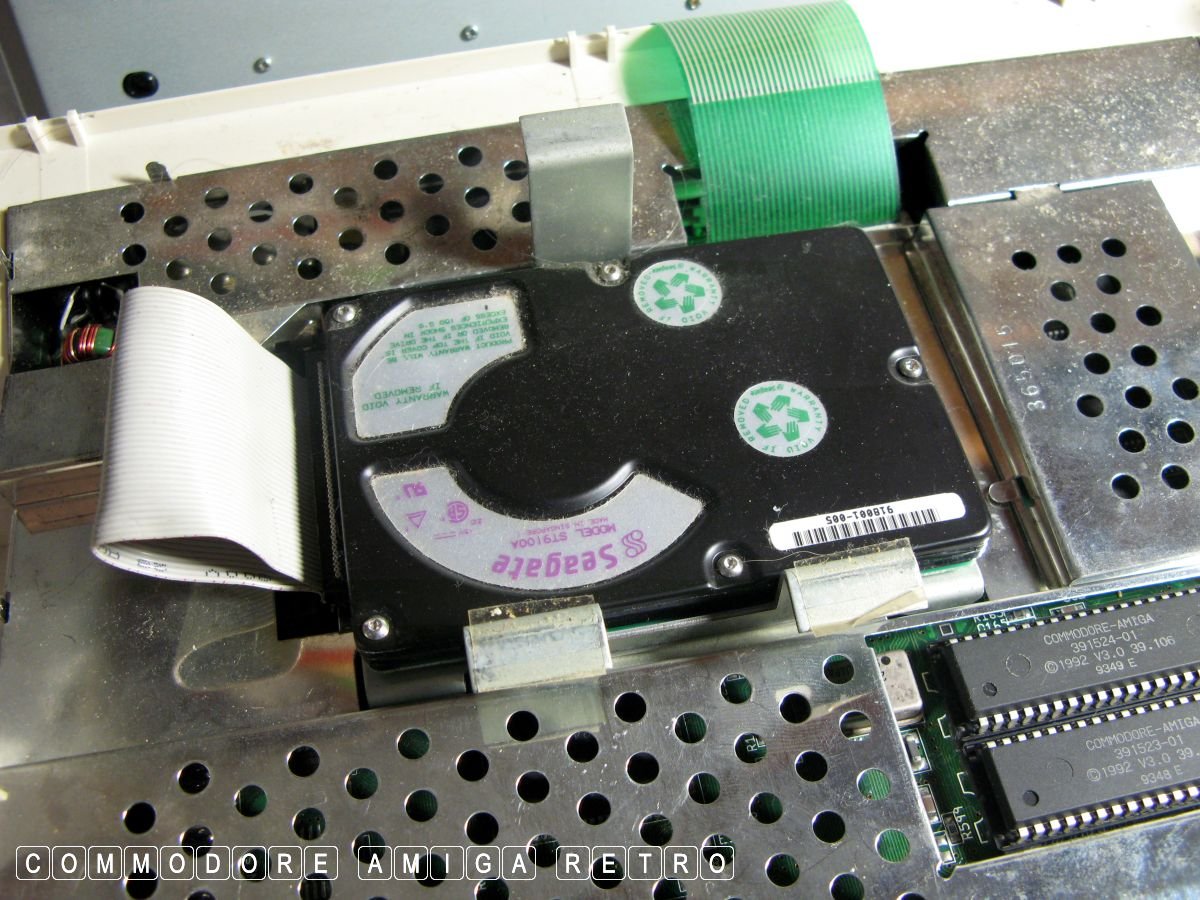
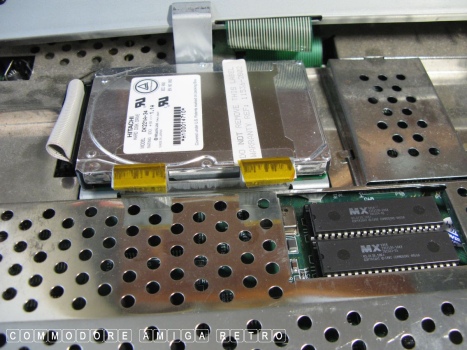
Inside there should be a 2.5" HD cradle.
It is missing from this system.
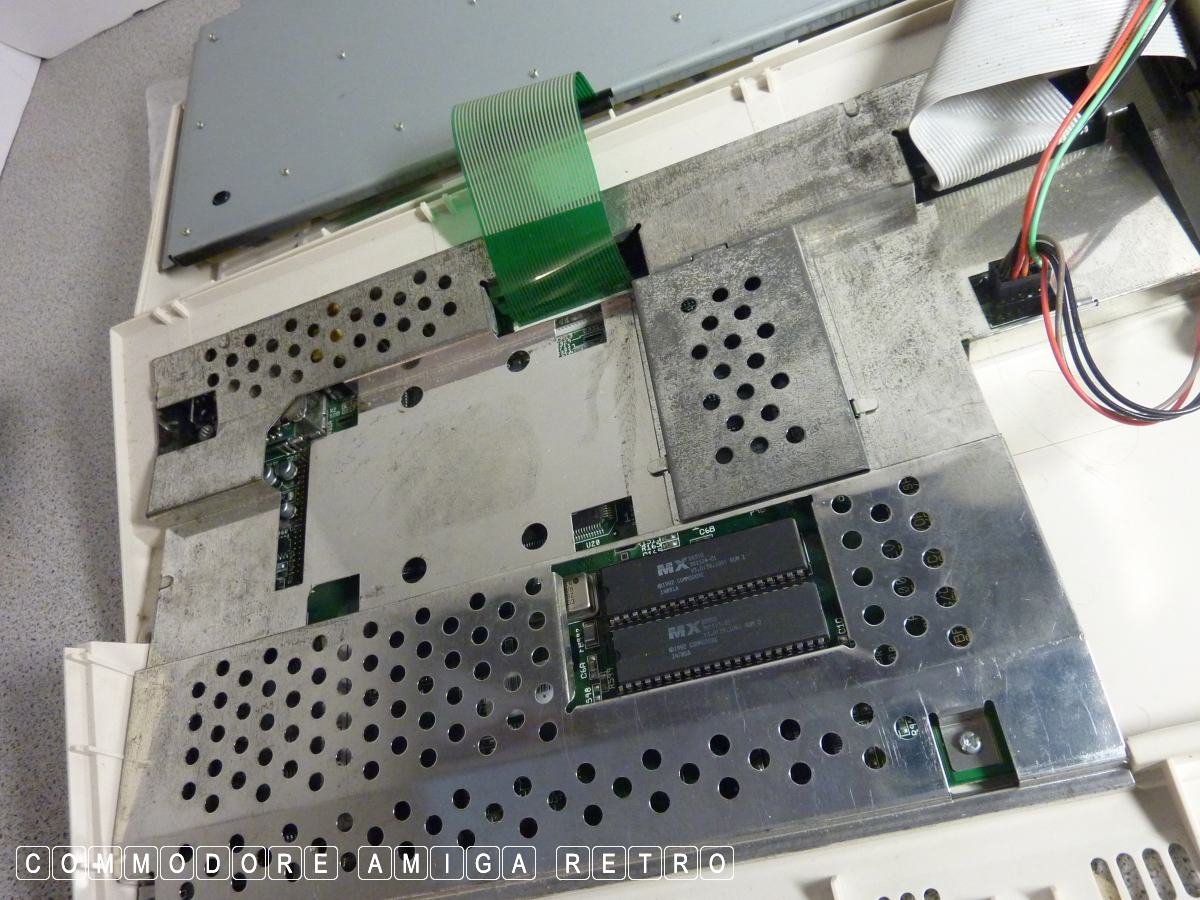
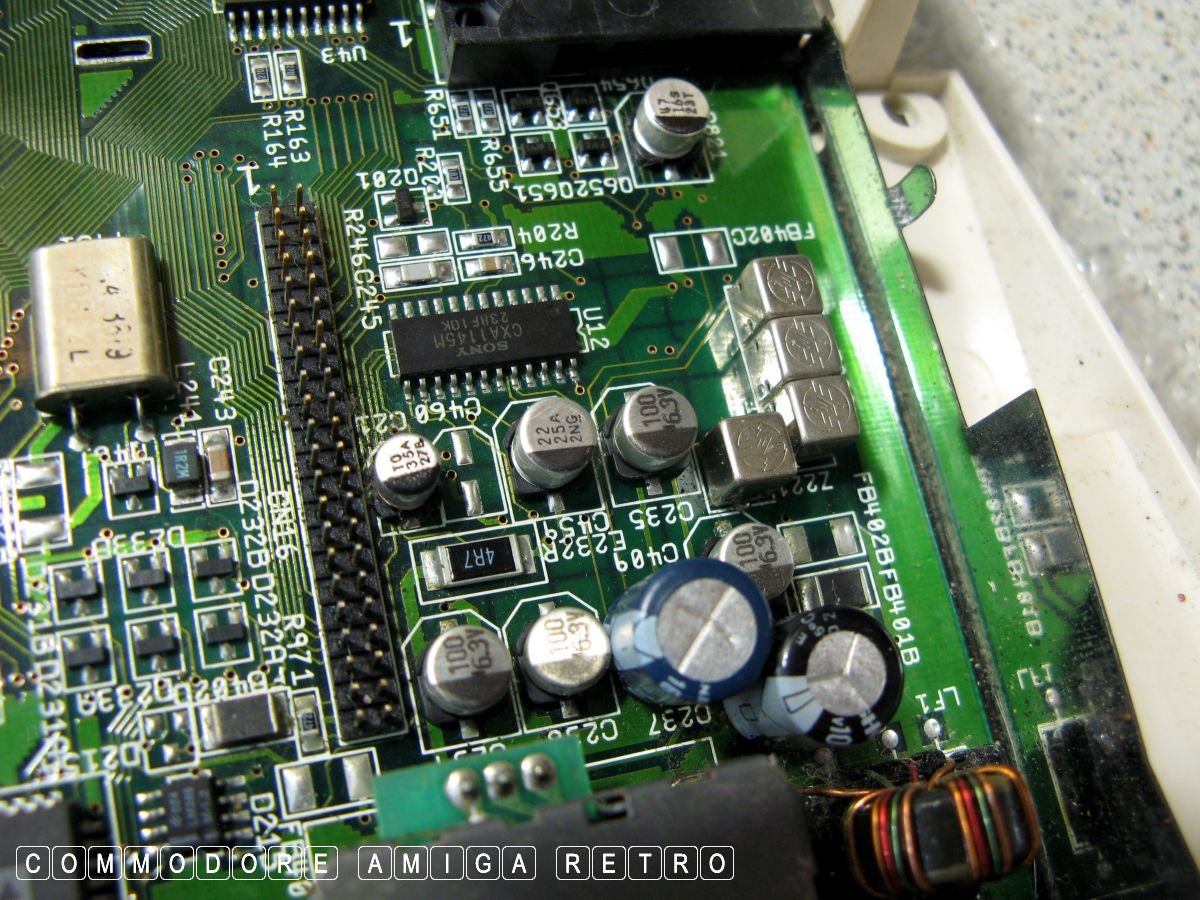
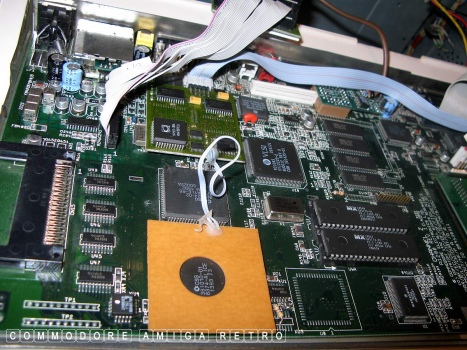
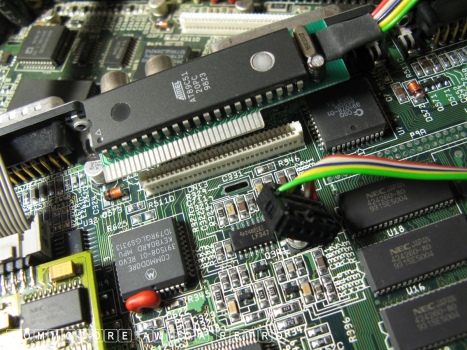
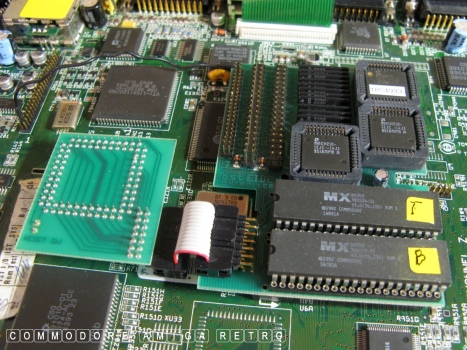
On the motherboard is a 44 pin interface
for 2.5" laptop style IDE drives. Note Pin 1.
This connector can also support 3.5" HDs.
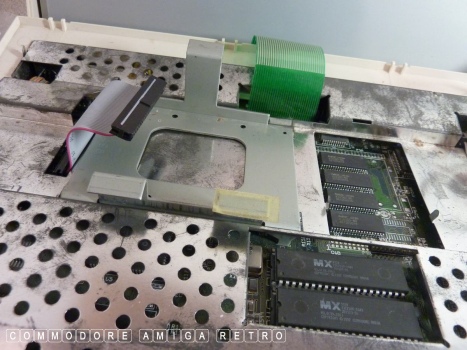
Just add a cradle and a suitable ribbon.
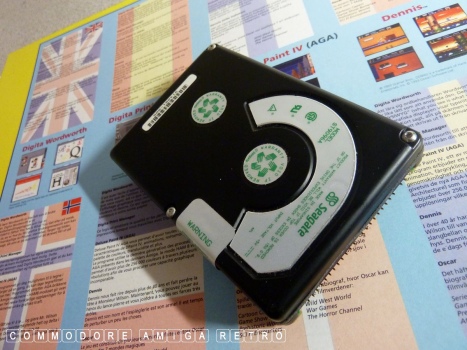
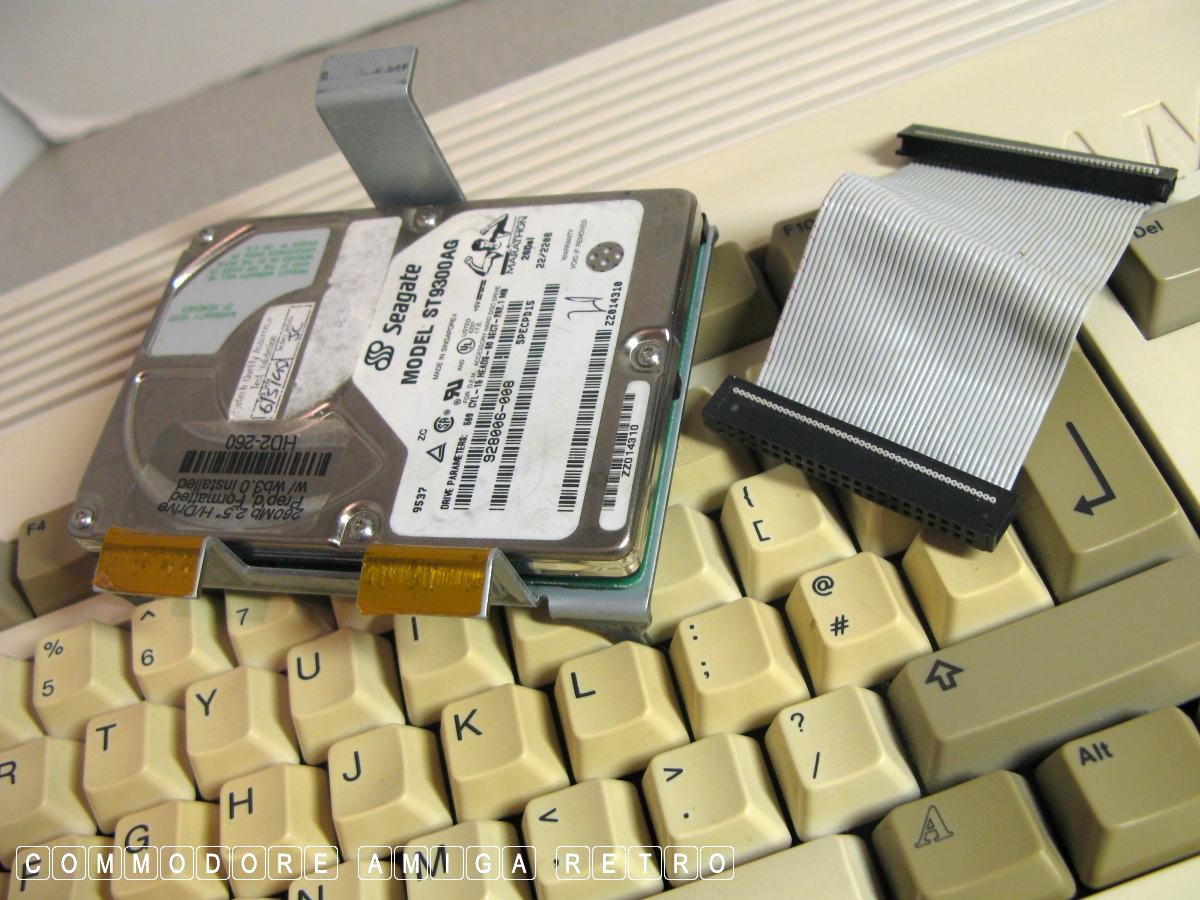
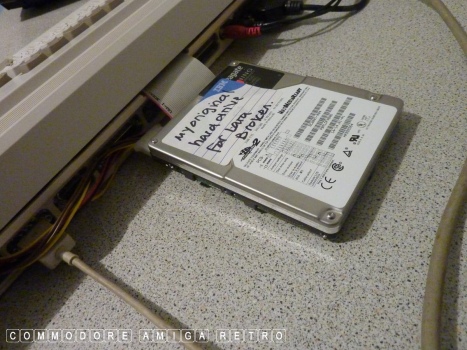
This was my first 80MB hard drive.

The Amiga uses drives up to 4GB generally.
This is subject to the OS and ROM.
Most laptop drives can be used.

Sadly smaller drives are very rare. There
is a trick to using say 40GB drives.

I have discussed this at length in my blogs.
The trick being only formatting 4GB and then
leaving the remaining empty.
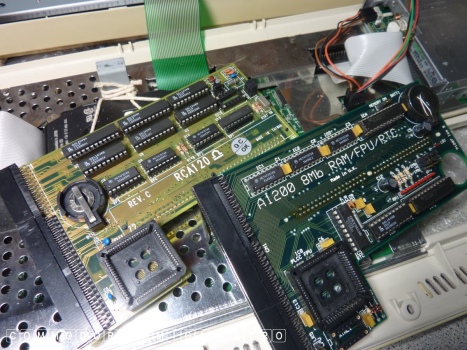
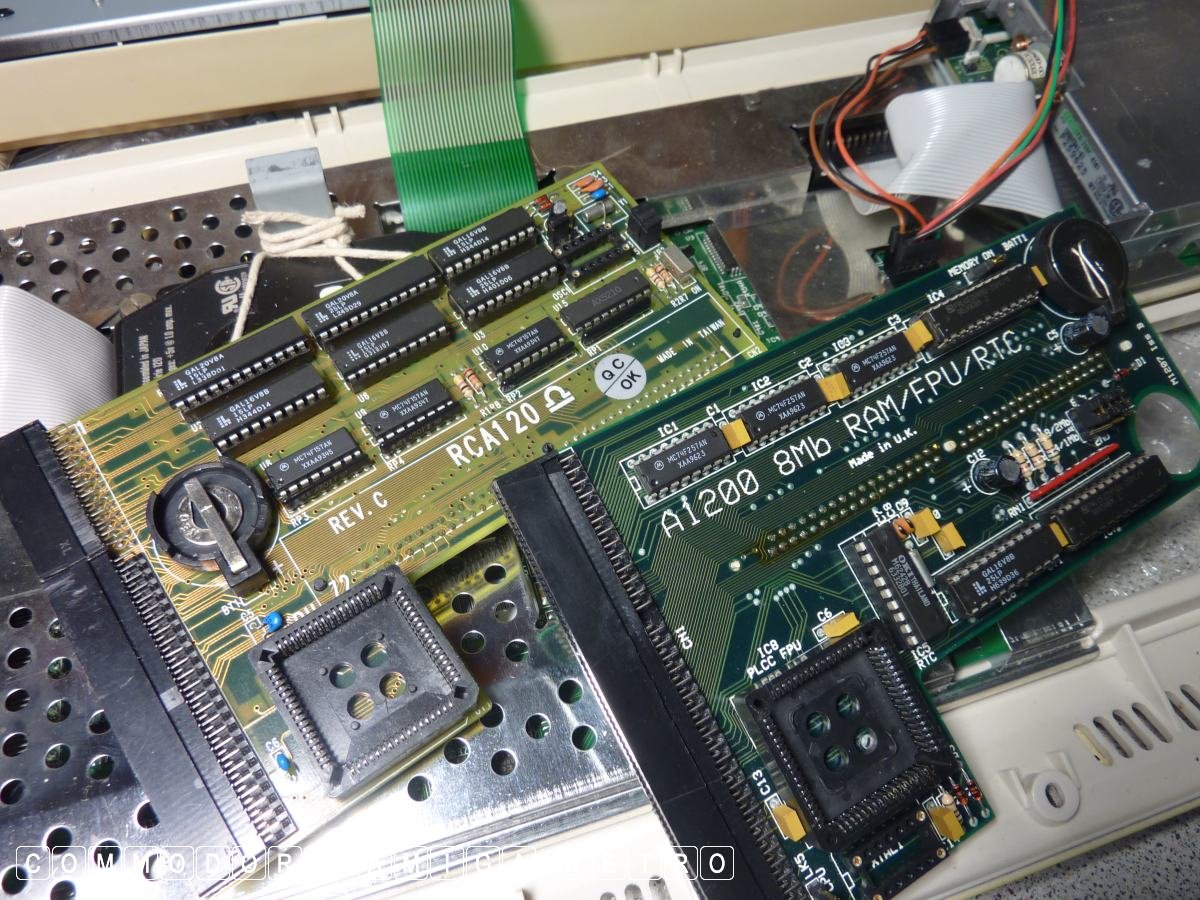
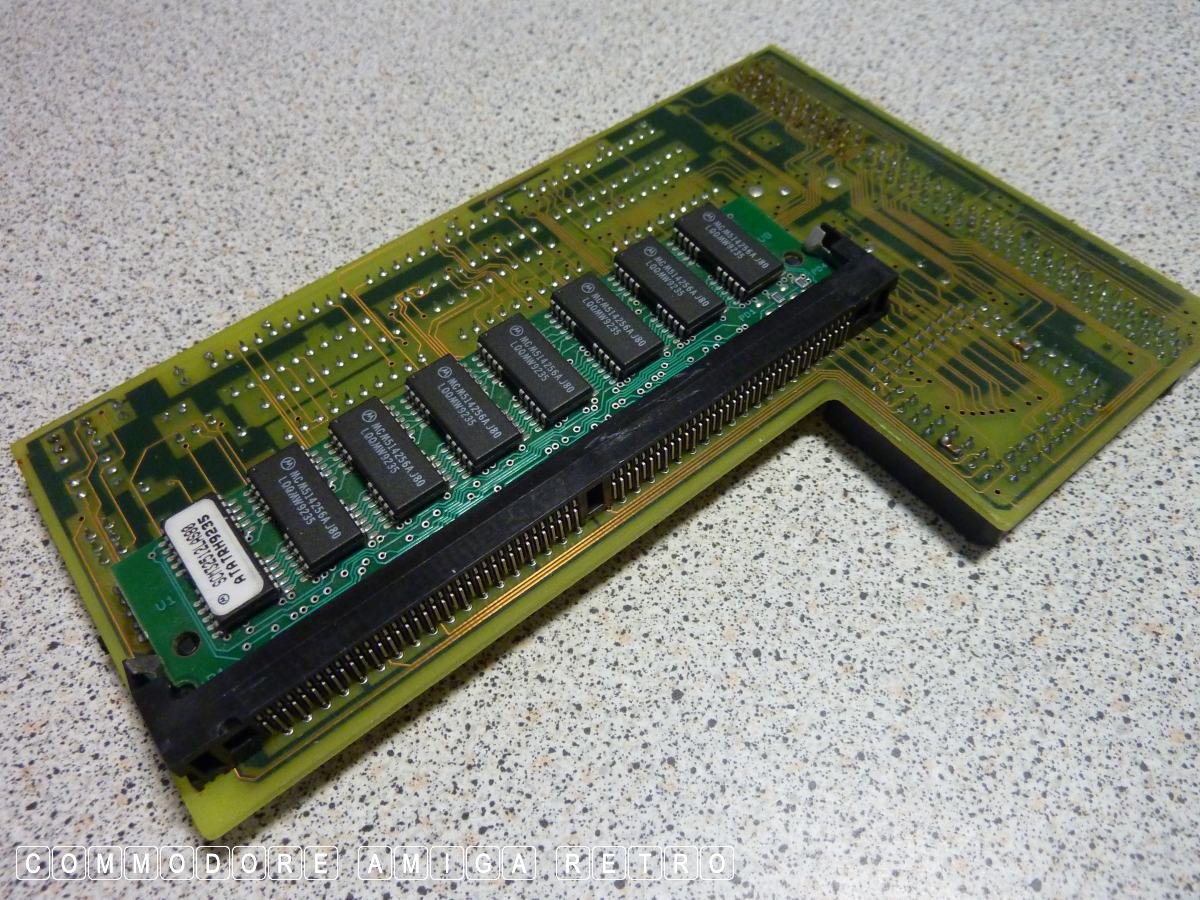
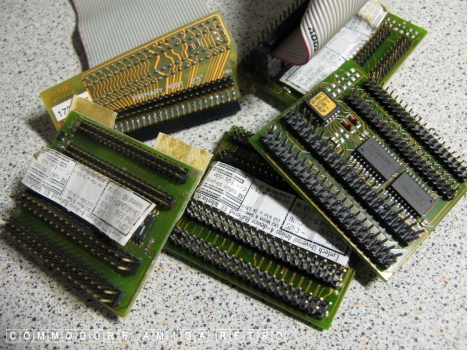
Trapdoor expansions. These can take a
number of forms starting with simple
RAM cards for memory expansion.

The memory can be either built onto the
the board or allow upgrades using SIMMs.

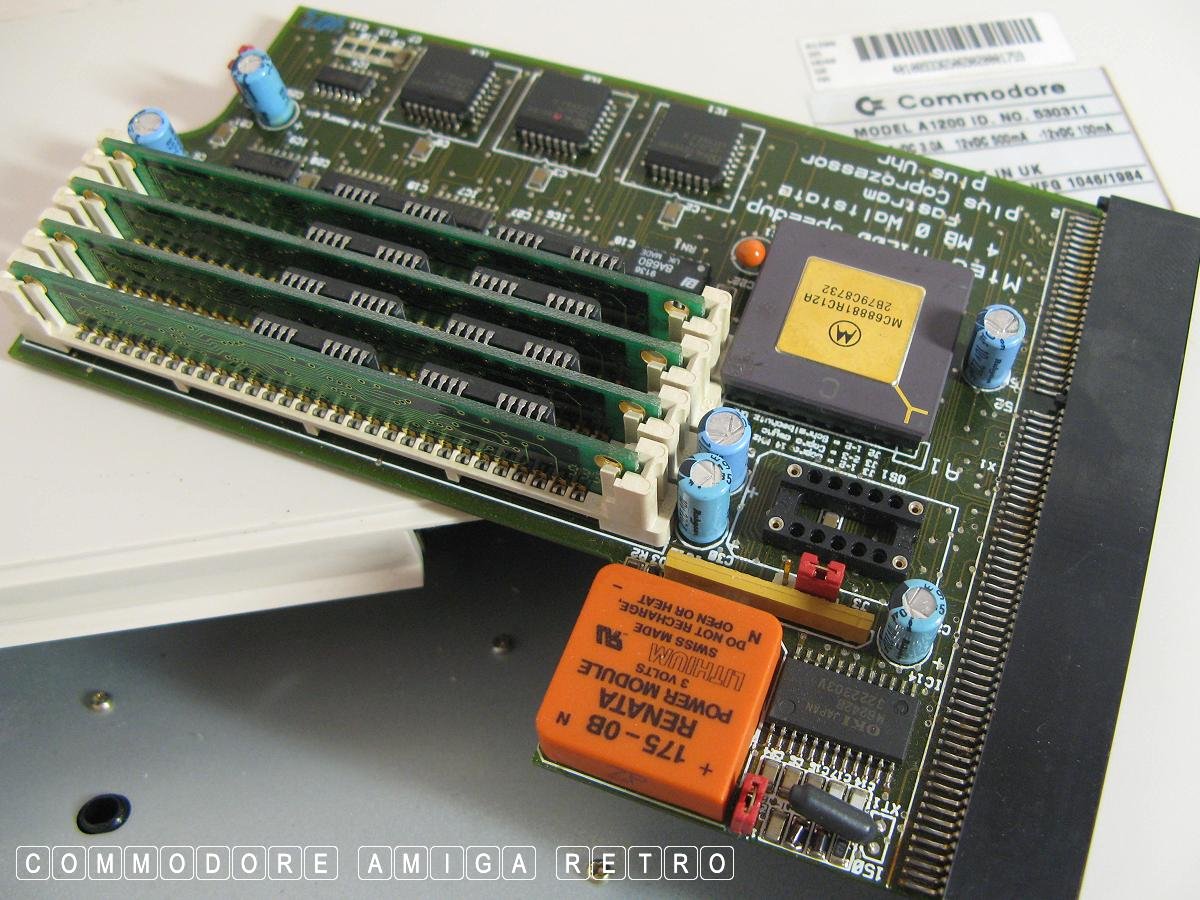
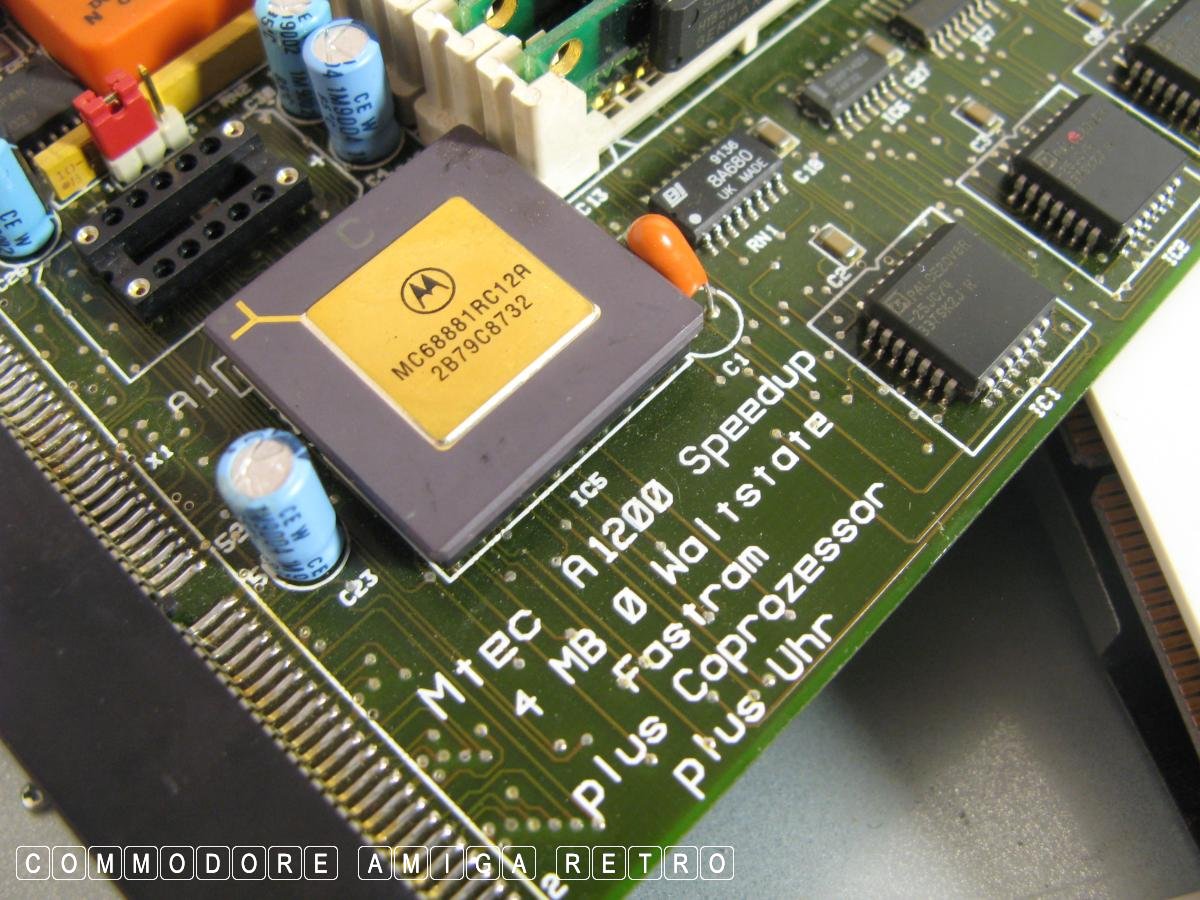
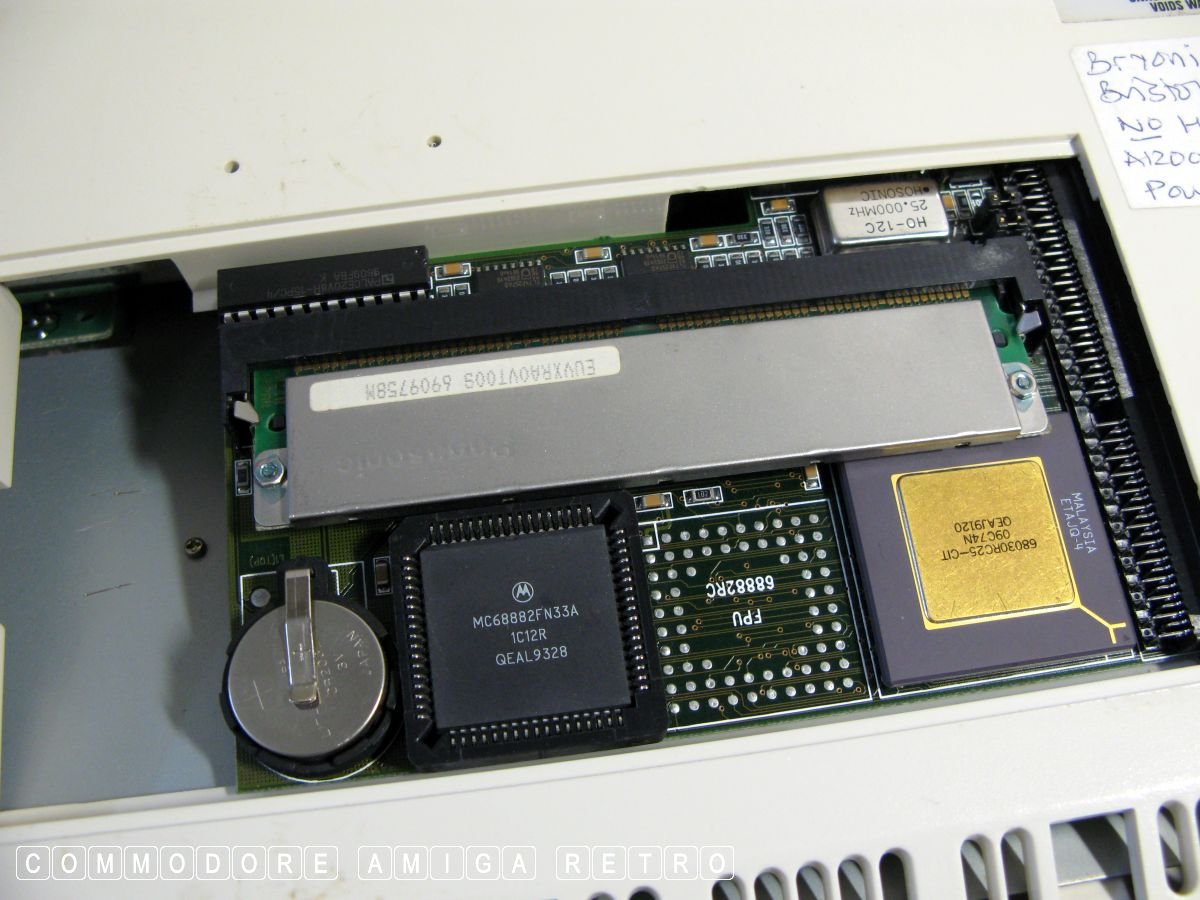
Next upgrade to these cards is the FPU
for floating point calculations.
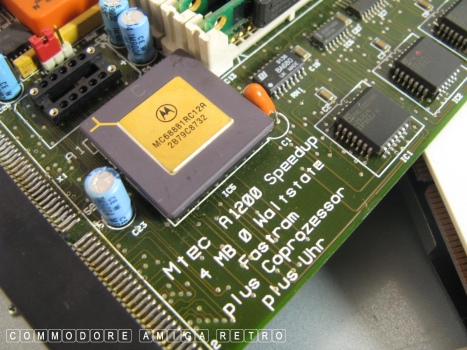
This can be recognised by the MC8888
on the Motorola chip. Please note that
this is not an accelerator.
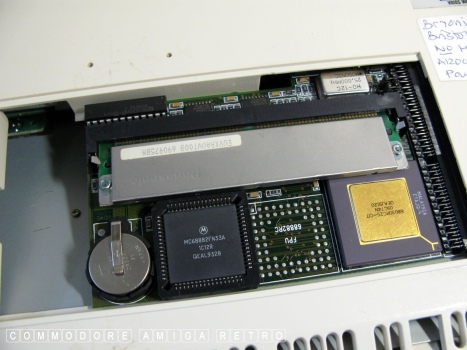
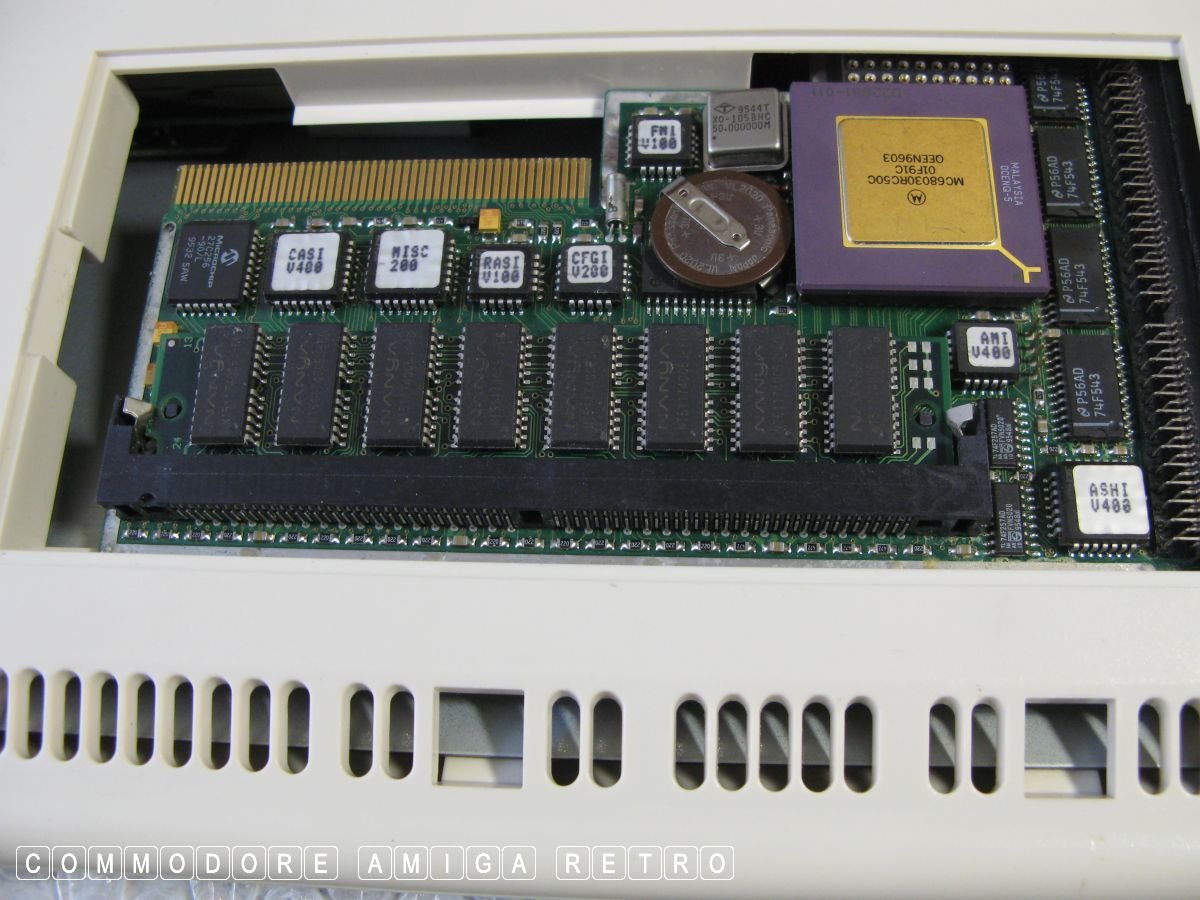
In addition to the FPU you now get the
68030 processor upgrade which is an
accelerator. Most common also is the clock.
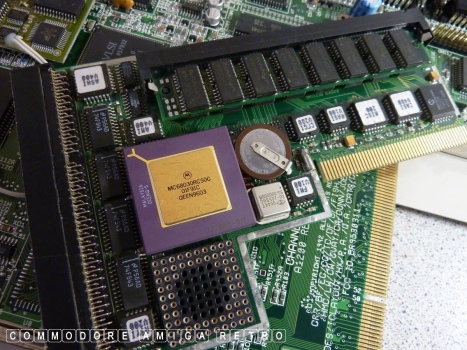
The card may either have the FPU or not.

Some cards came with SCSI interfaces.
The Blizzard 1230IV has the SCSI KIT
expansion interface.
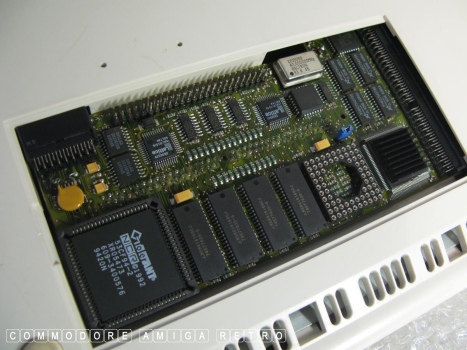
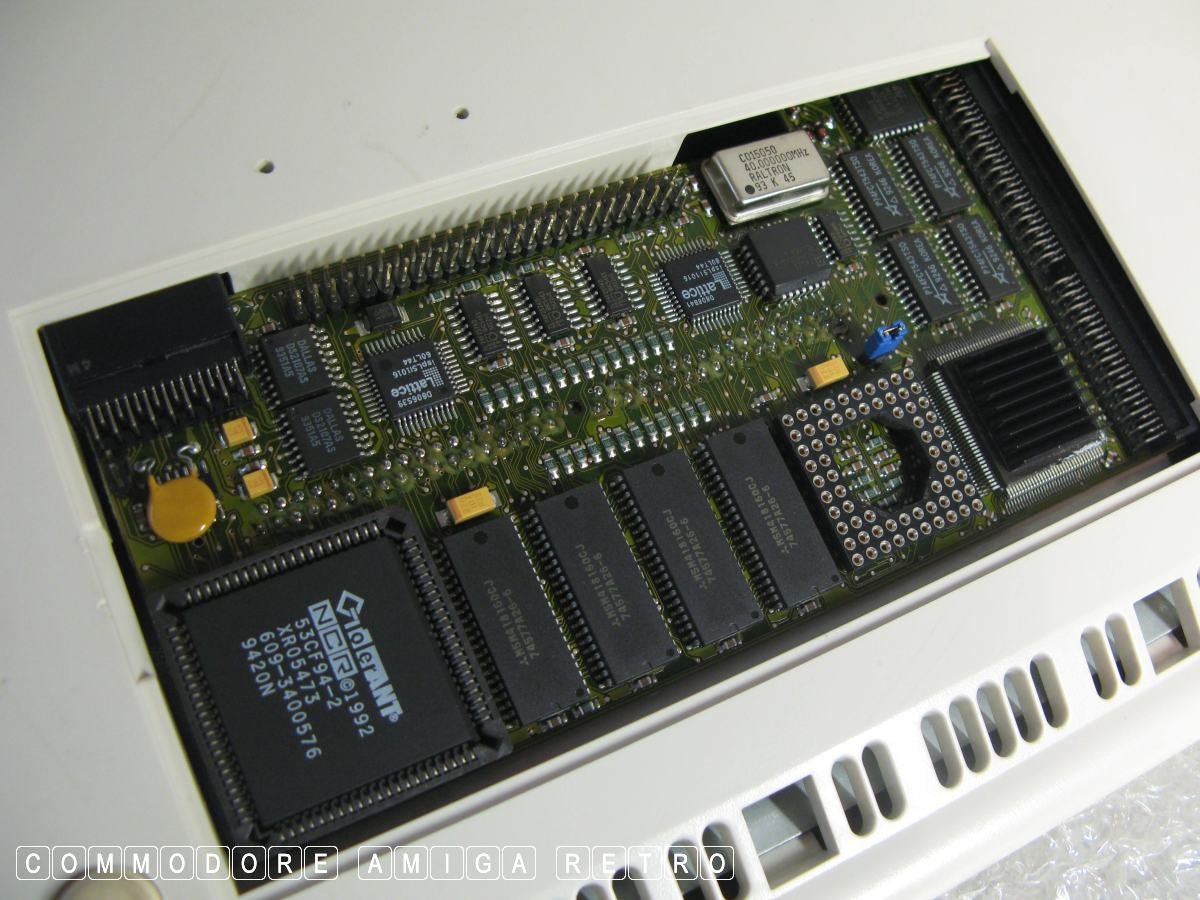
Some cards may look a little different
to the normal, as with the 030 Typhoon.

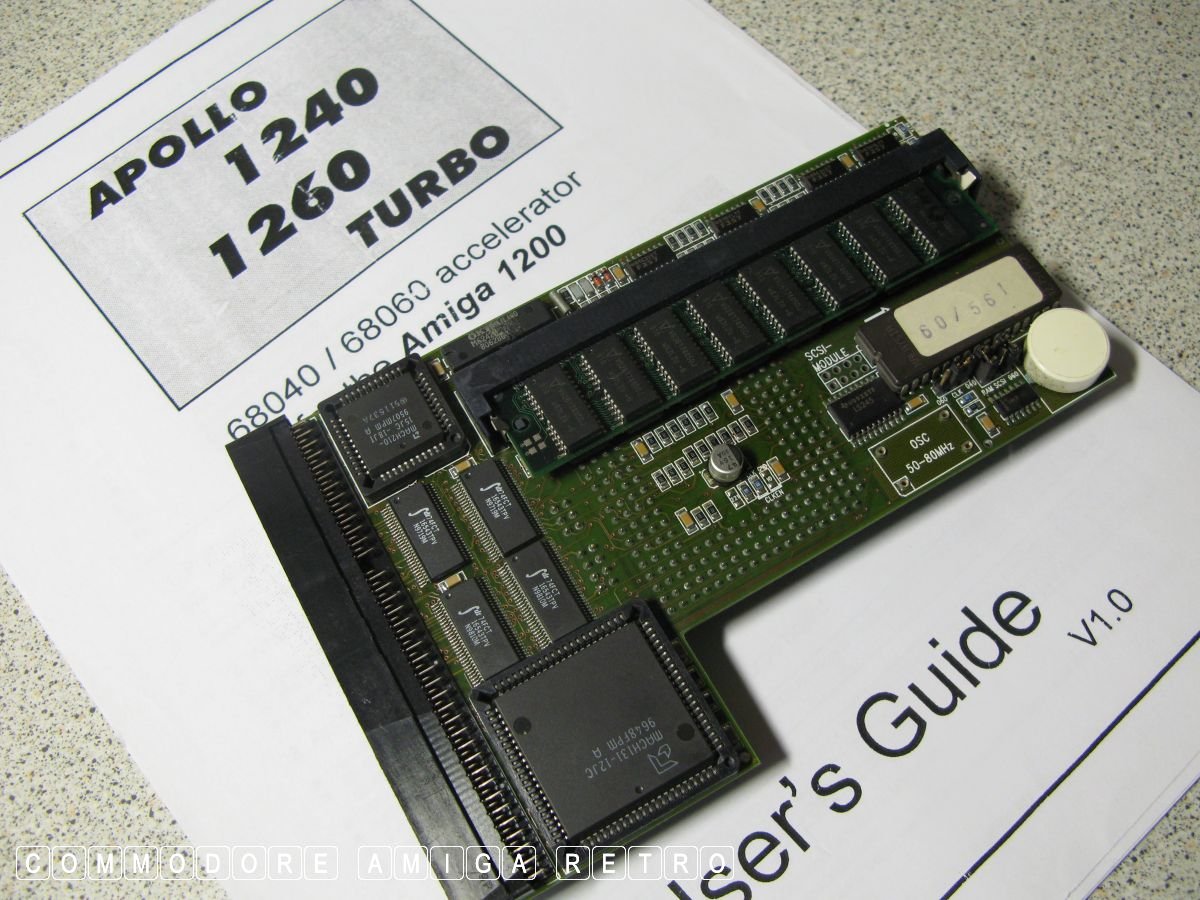
Cards such as the Apollo 060 did not
require a fan/cooling. Most 040+ boards
required some form of cooling.
I will not discuss PPC cards here today.
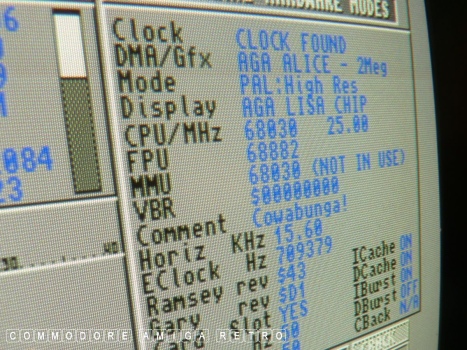
SysInfo is the best tool for identifying
just what is fitted to the card.
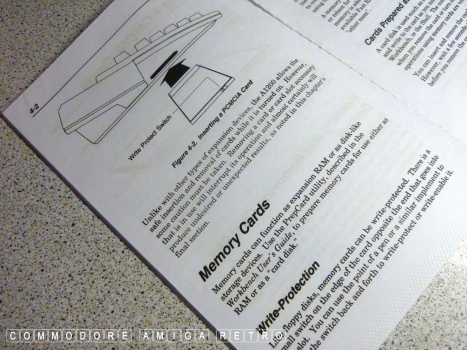
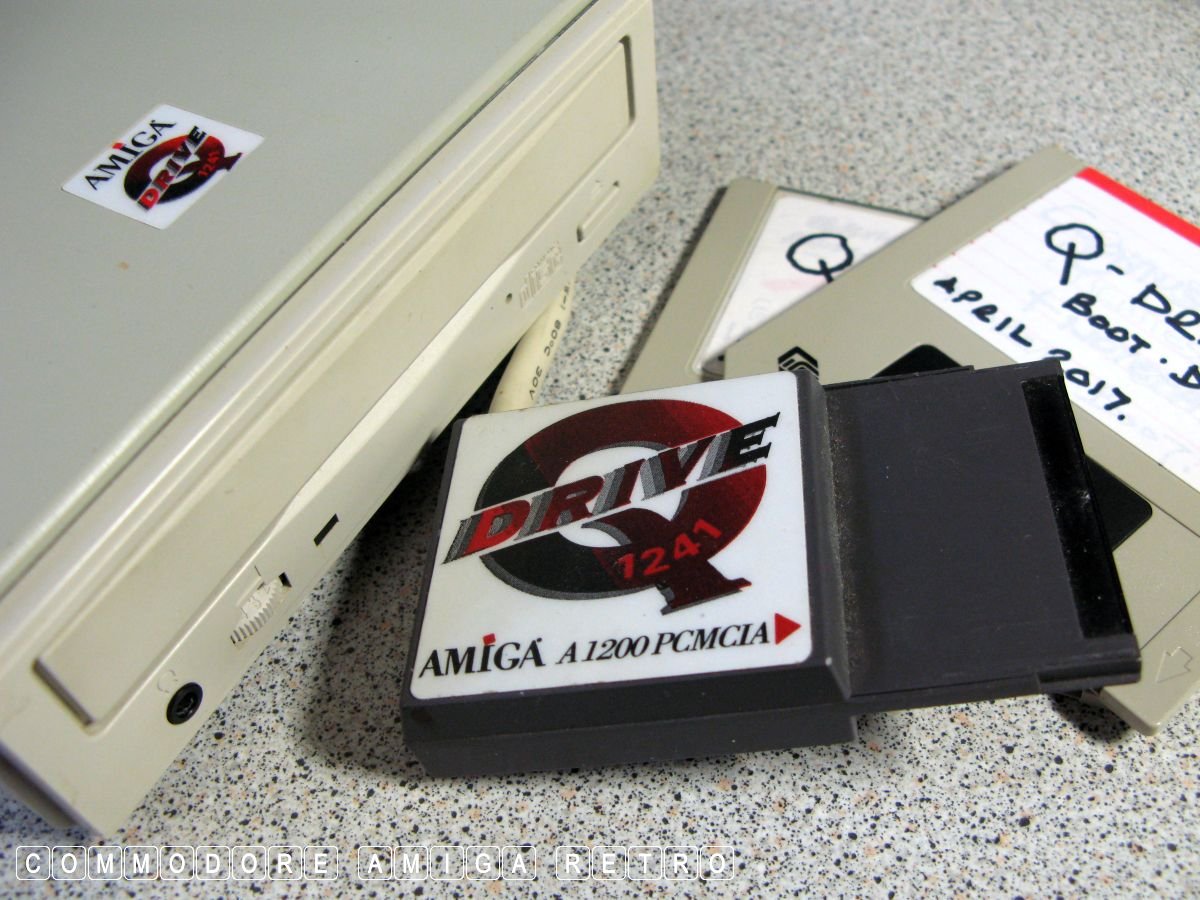
To that very valuable PCMCIA slot.

Always check that the connector is not broken.
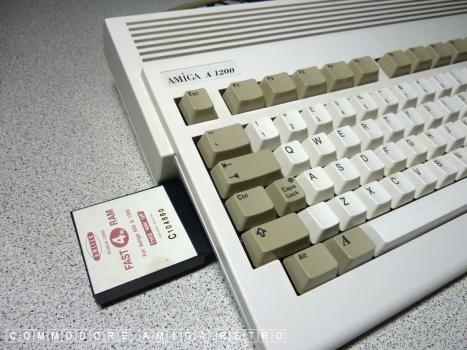
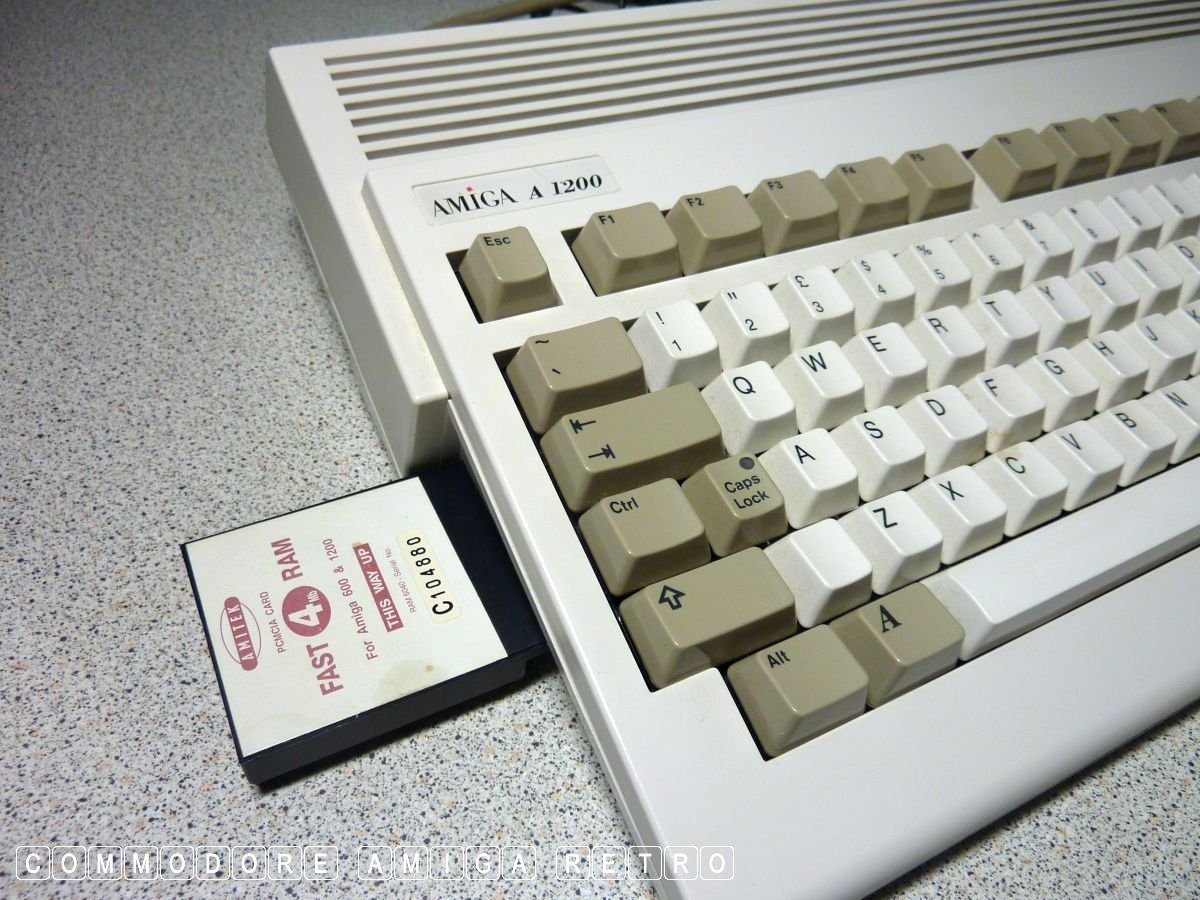
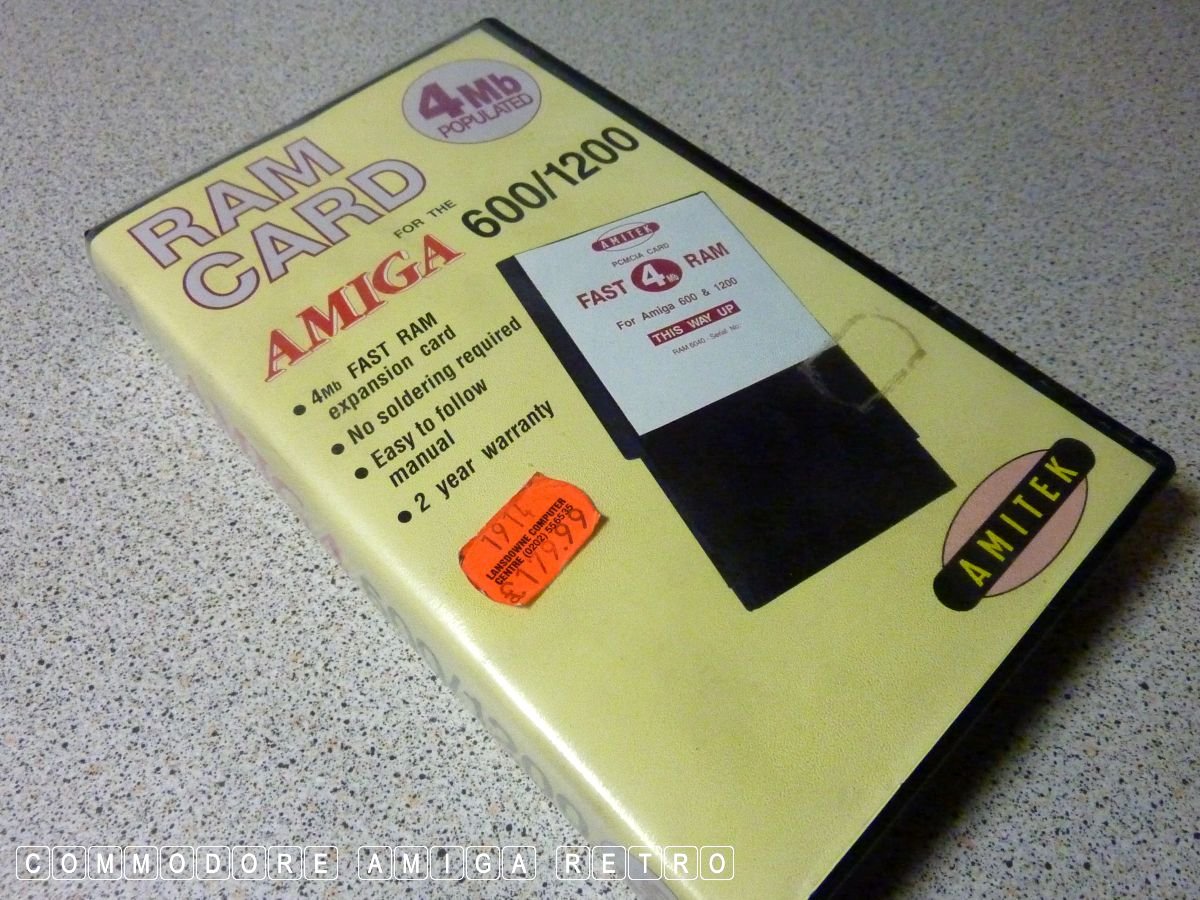
Simple FAST RAM cards can be slotted in.

These could be hot shoe'd and plugged
in while the computer was on.
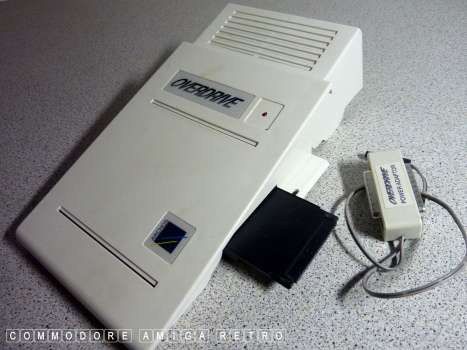
Hard drive expansions were available
using the PCMCIA slot.
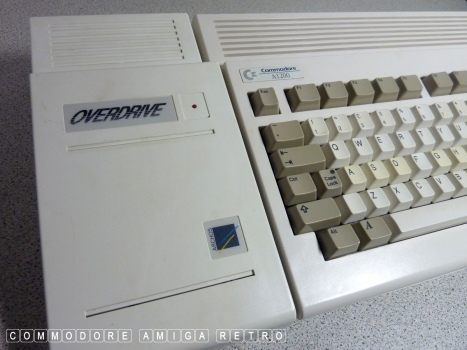
These were popular in the day as they
did not invalidate the warranty.

Many CD Drives also used their own
PCMCIA interface.
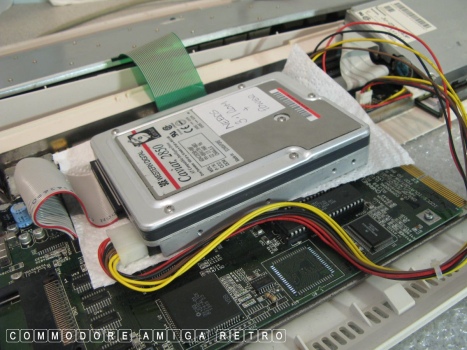
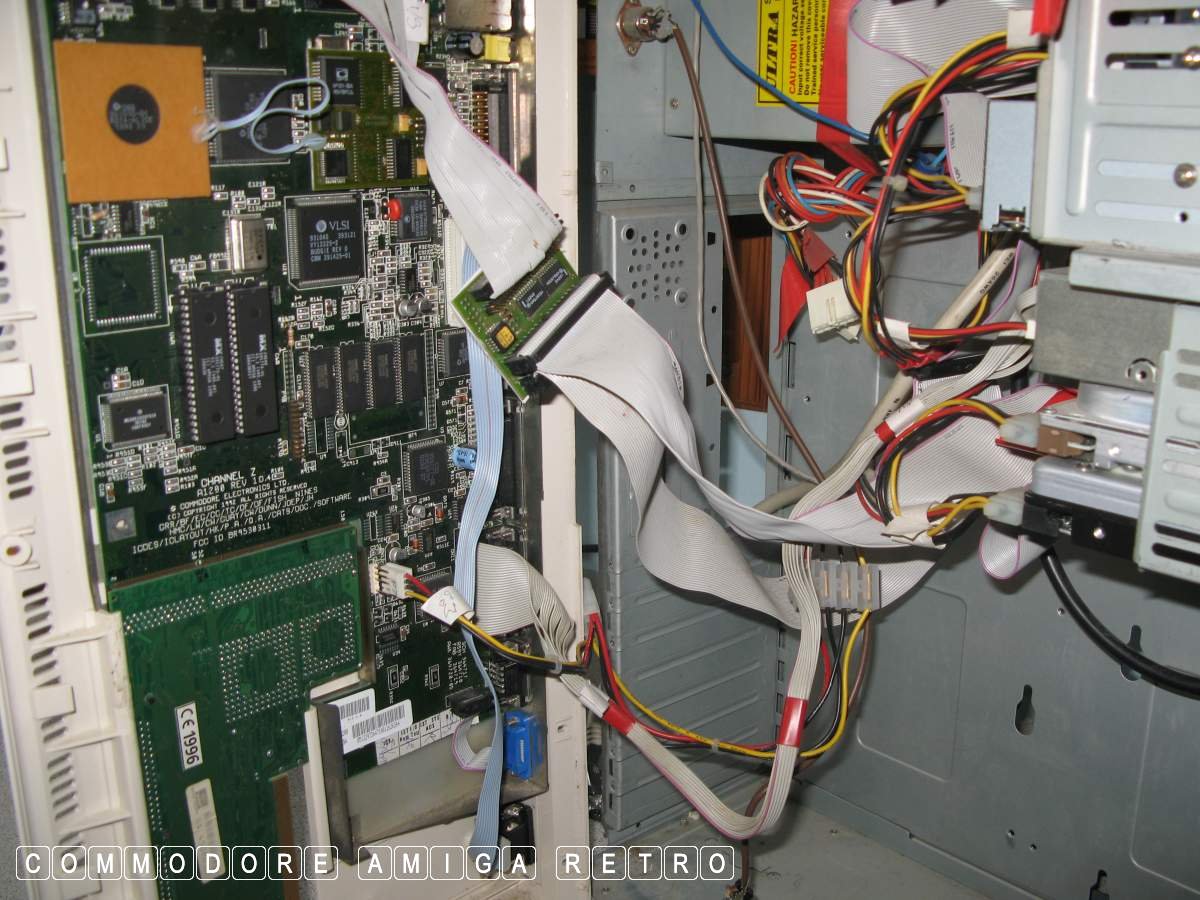
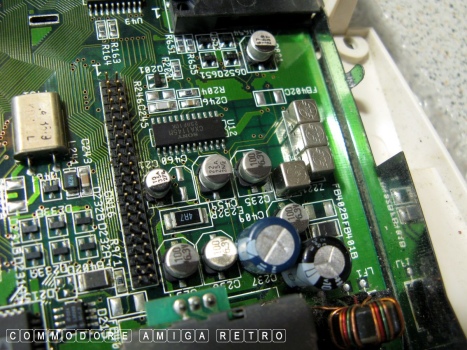
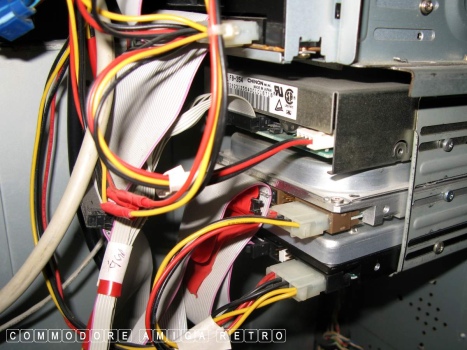
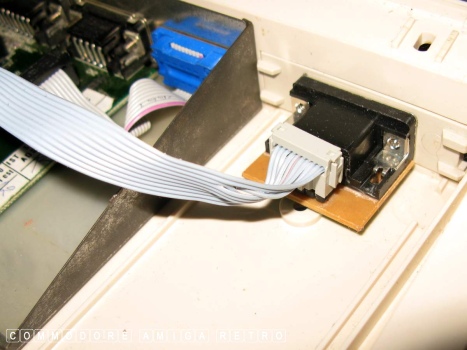
By removing the shielding internal
3.5" IDE hard drives can be attached.

These use a 44 small to IDE standard ribbon and
power from the motherboard.
You can also dangle the drives outside of
case if want to swap them out.
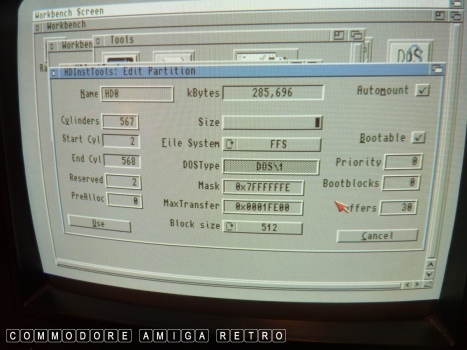
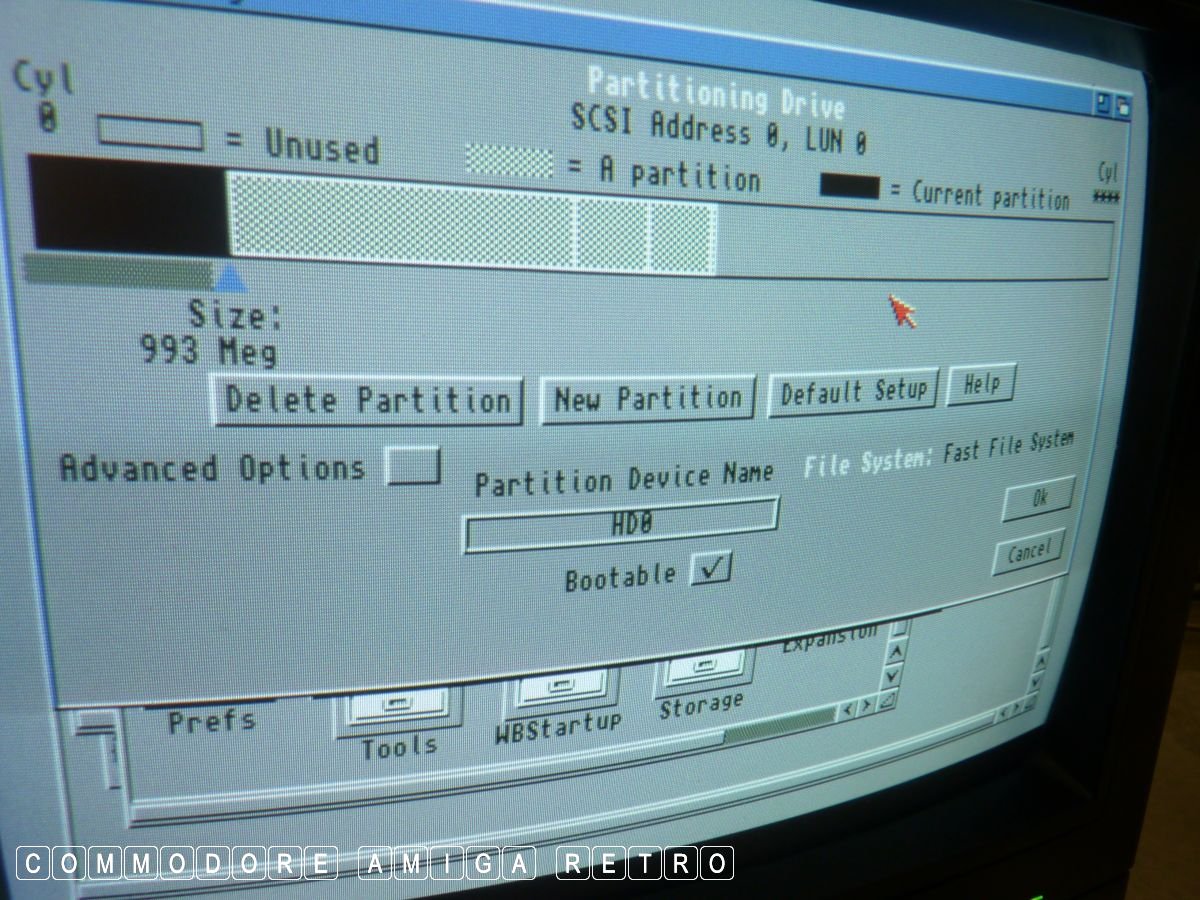
To get the larger IDE to work you need
to change the value for the MAXTRANSFER
and be sure to press RETURN before clicking OK.
Failure to do this will cause issues in
copying whole disks to the hard drive.

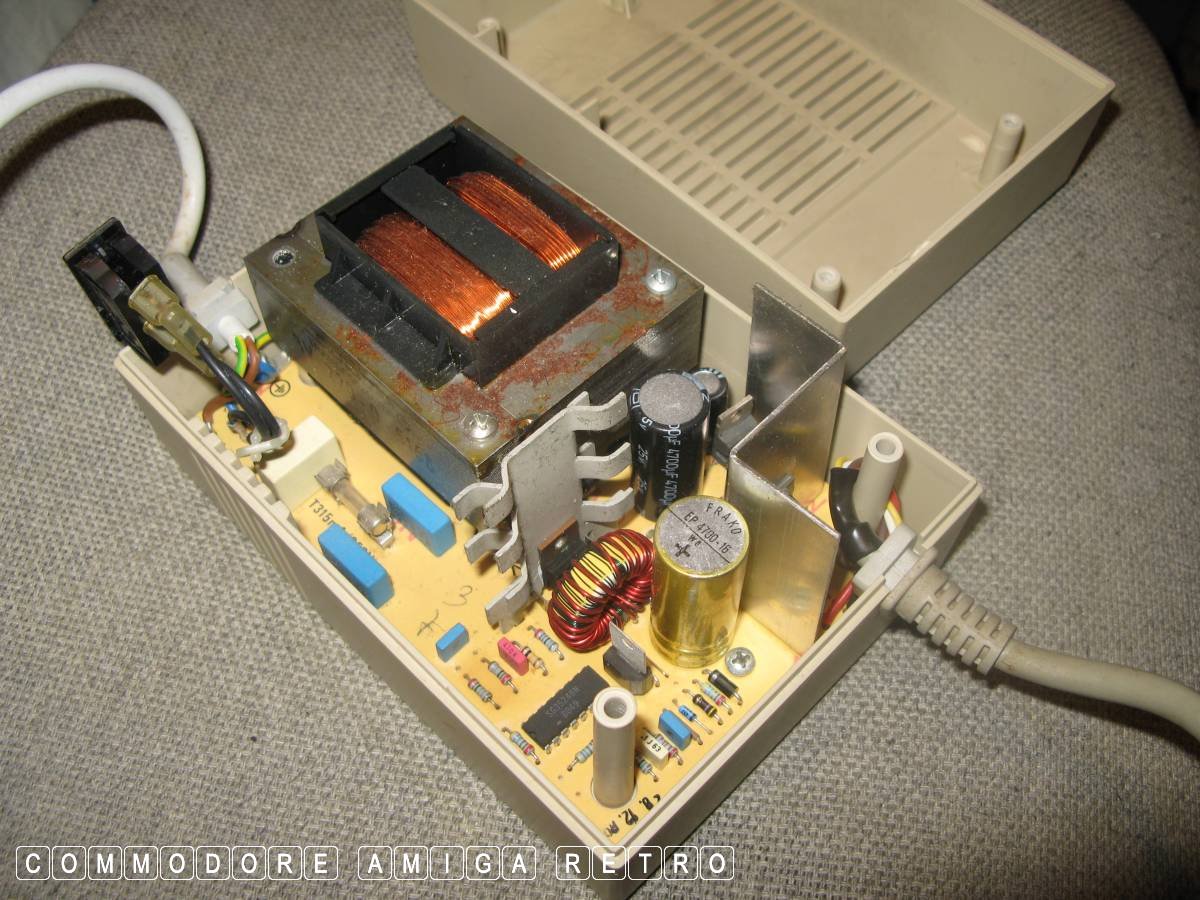
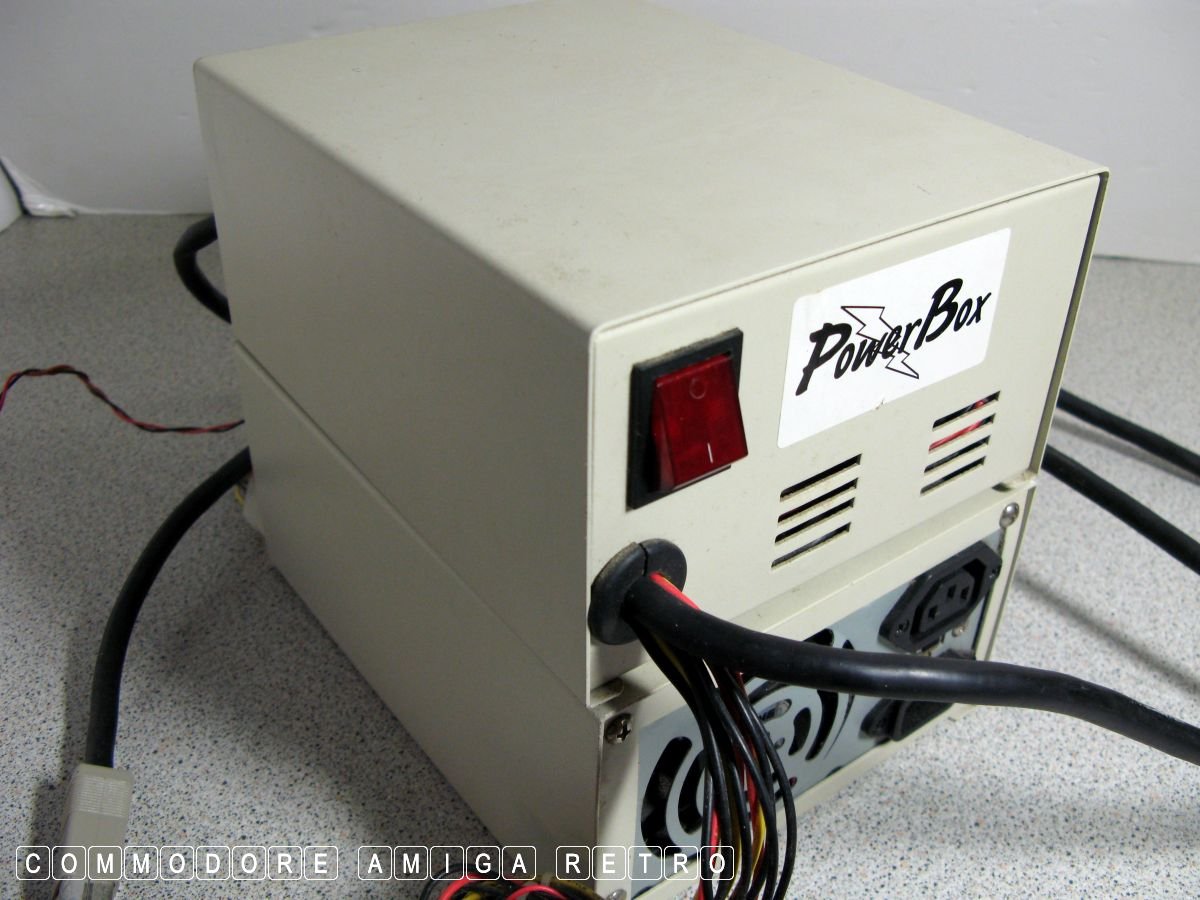
From my own experience the original A1200
PSU is not powerful enough to drive a 3.5"
internal IDE drive. Better to get a heavy brick
Amiga 500 PSU.

You can also get special adapted PC style PSUs.
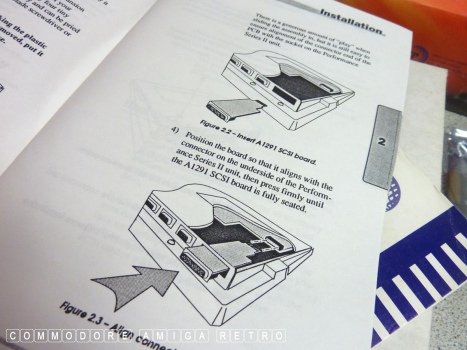
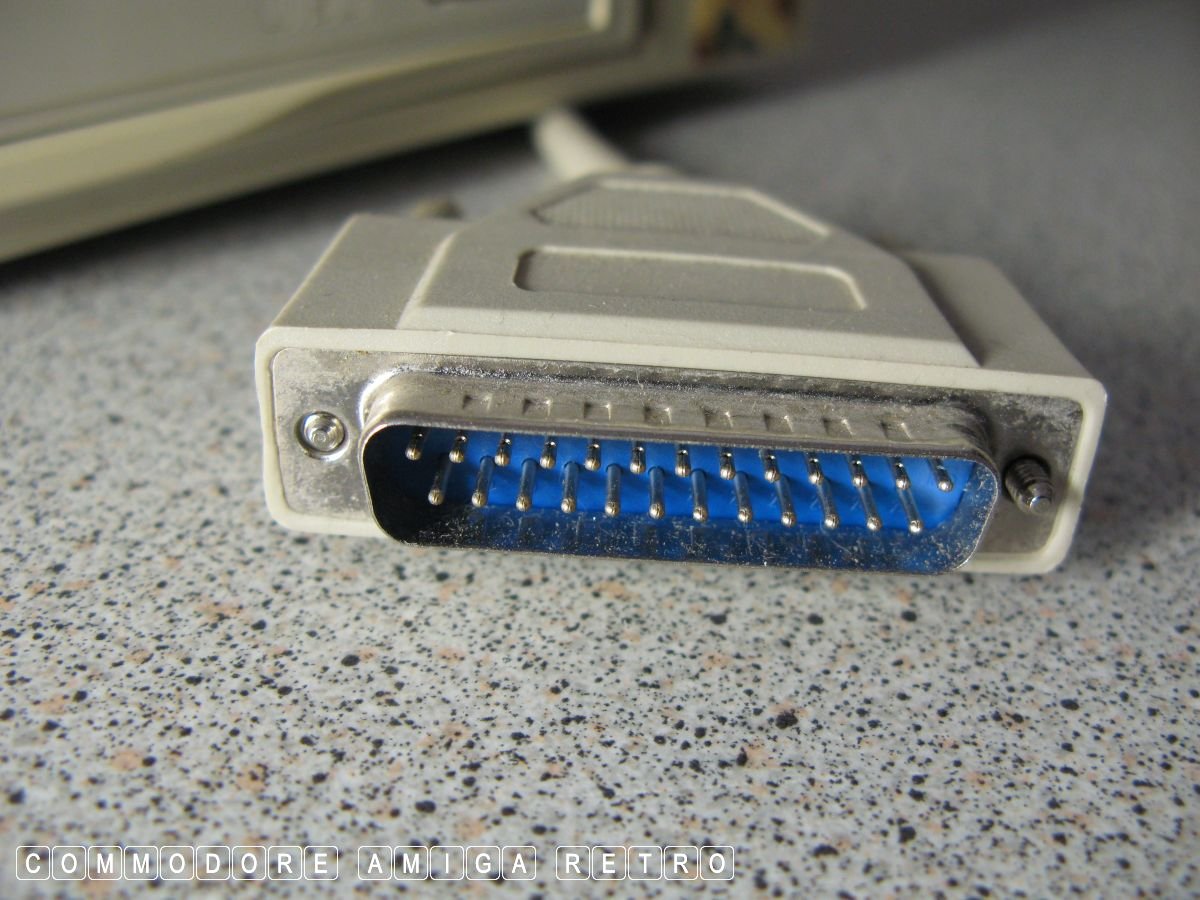
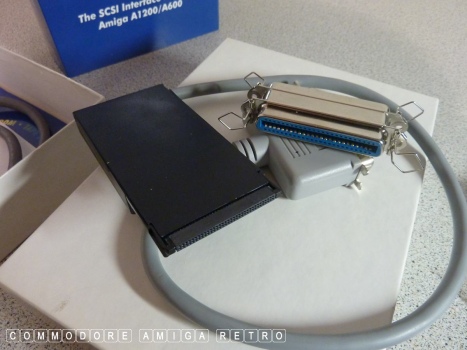
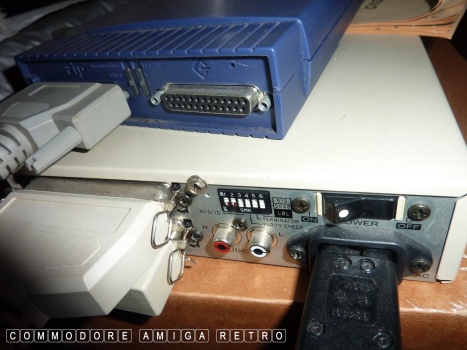
That port at the rear of the A1200 is suitable
for a number of SCSI add-ons to cards. Such as
the GVP 1230Turbo and the Blizzard 1230IV Turbo.

This gives a single SCSI rear connector.

Make sure the cable connector is SCSI.

There is also a spare screw hole in the
base of the 1200 to restrain the port plate.

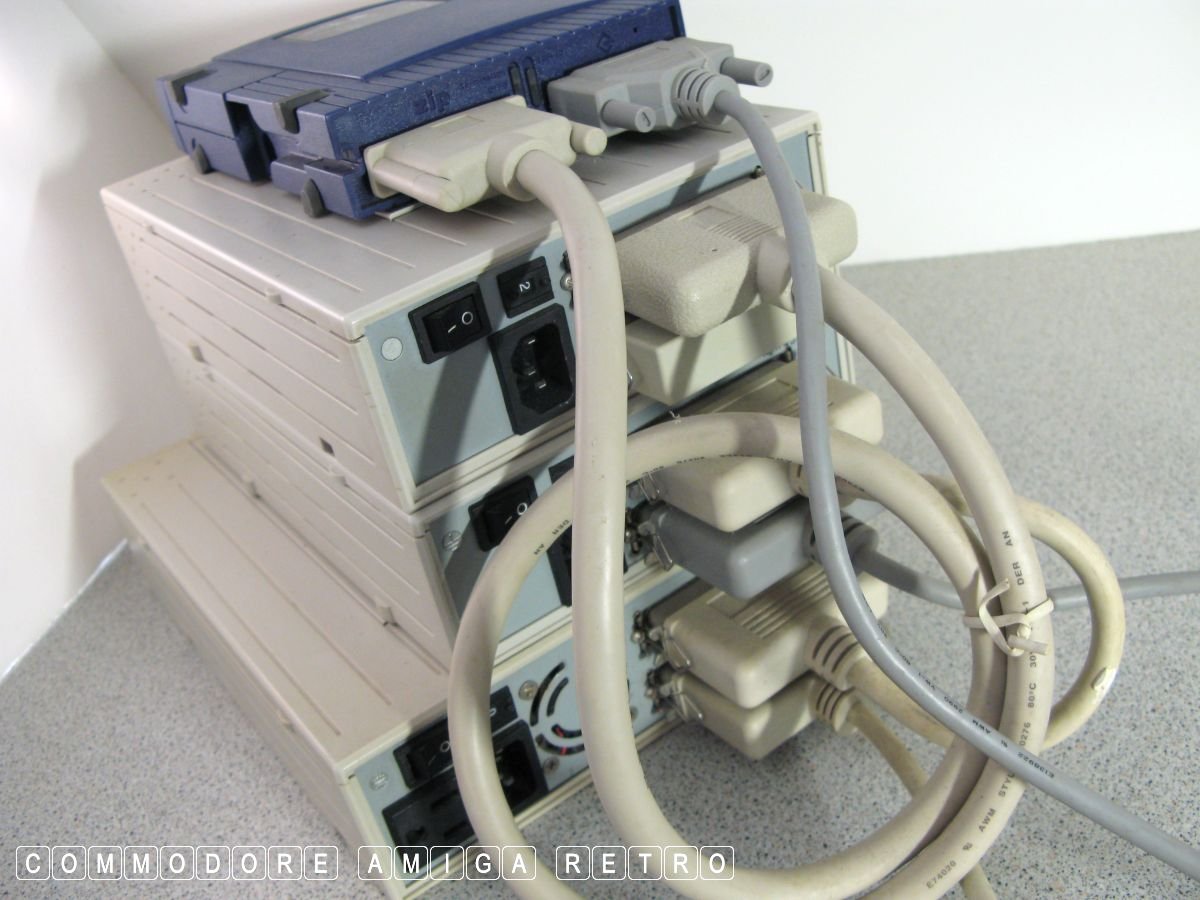
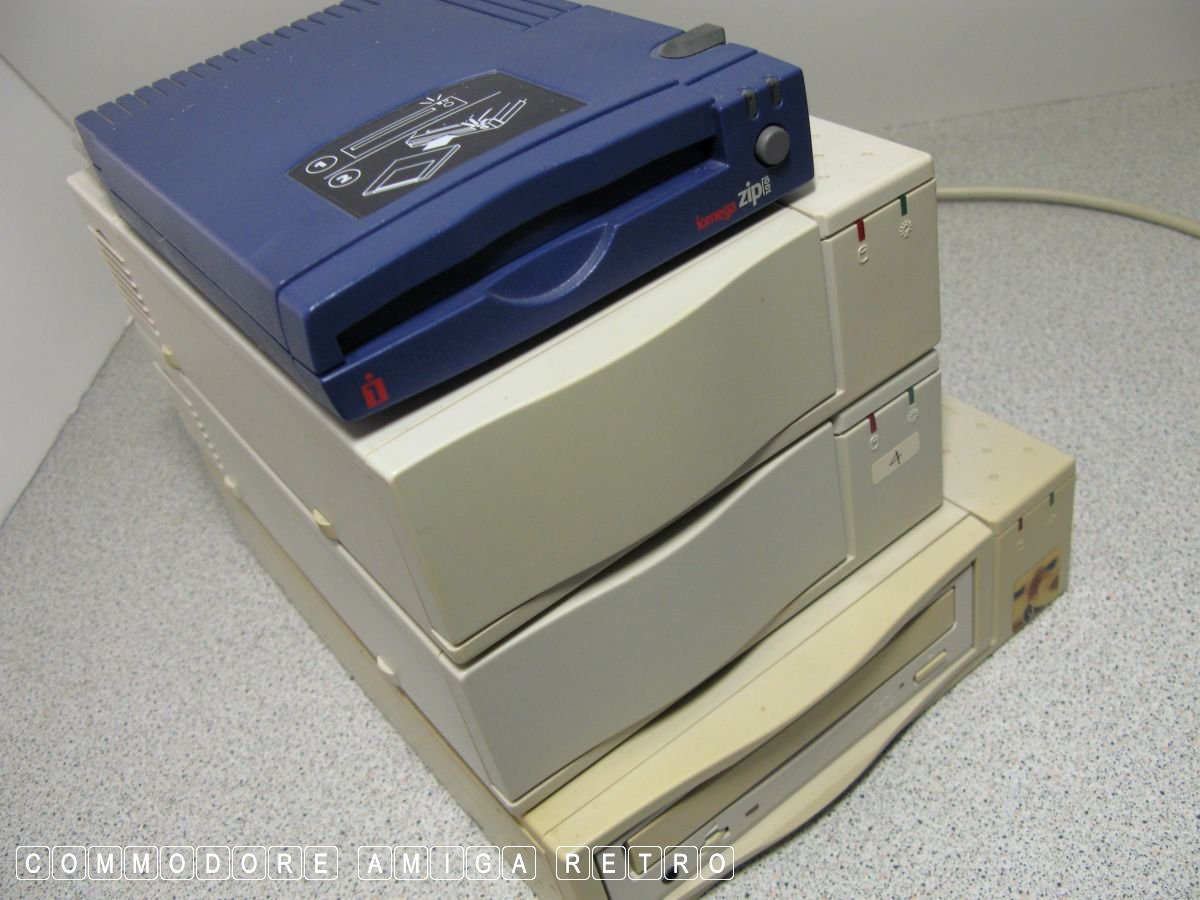
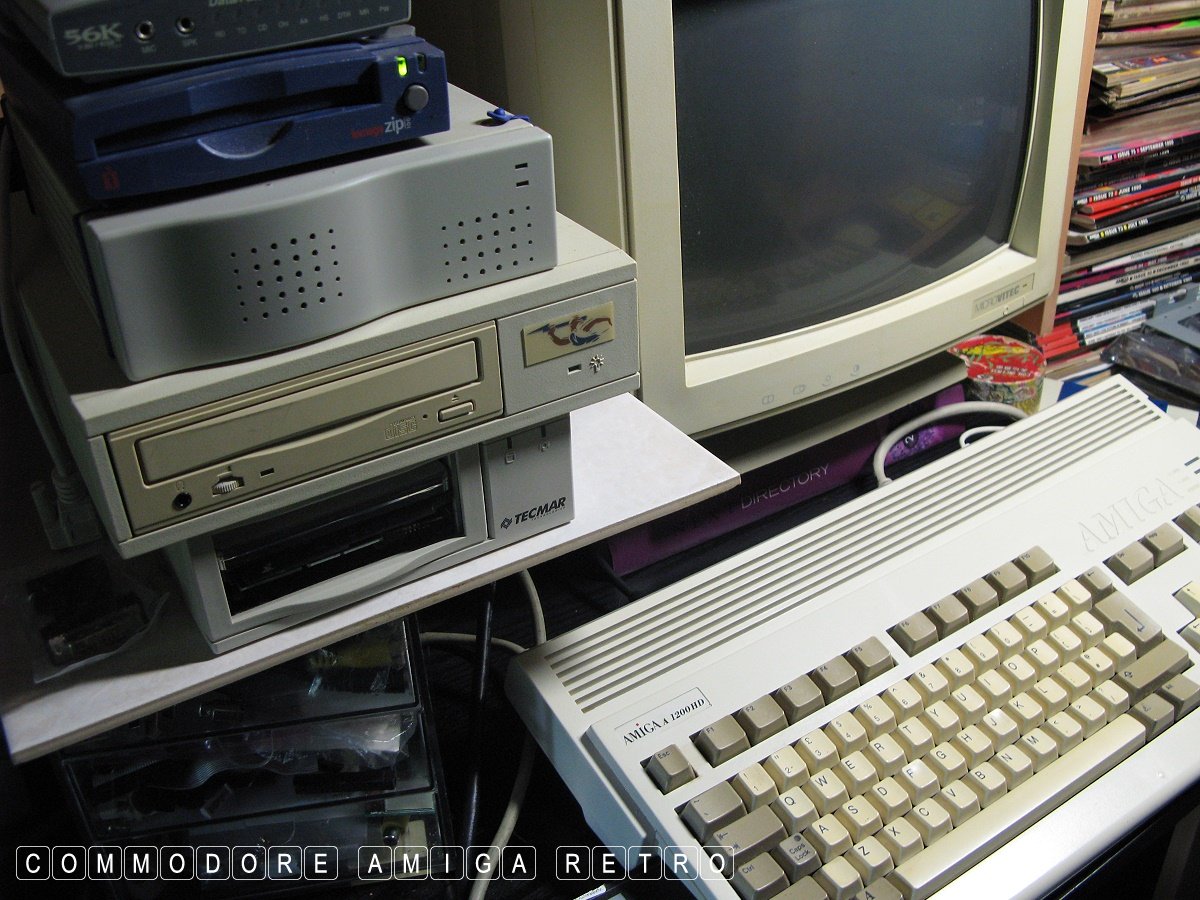
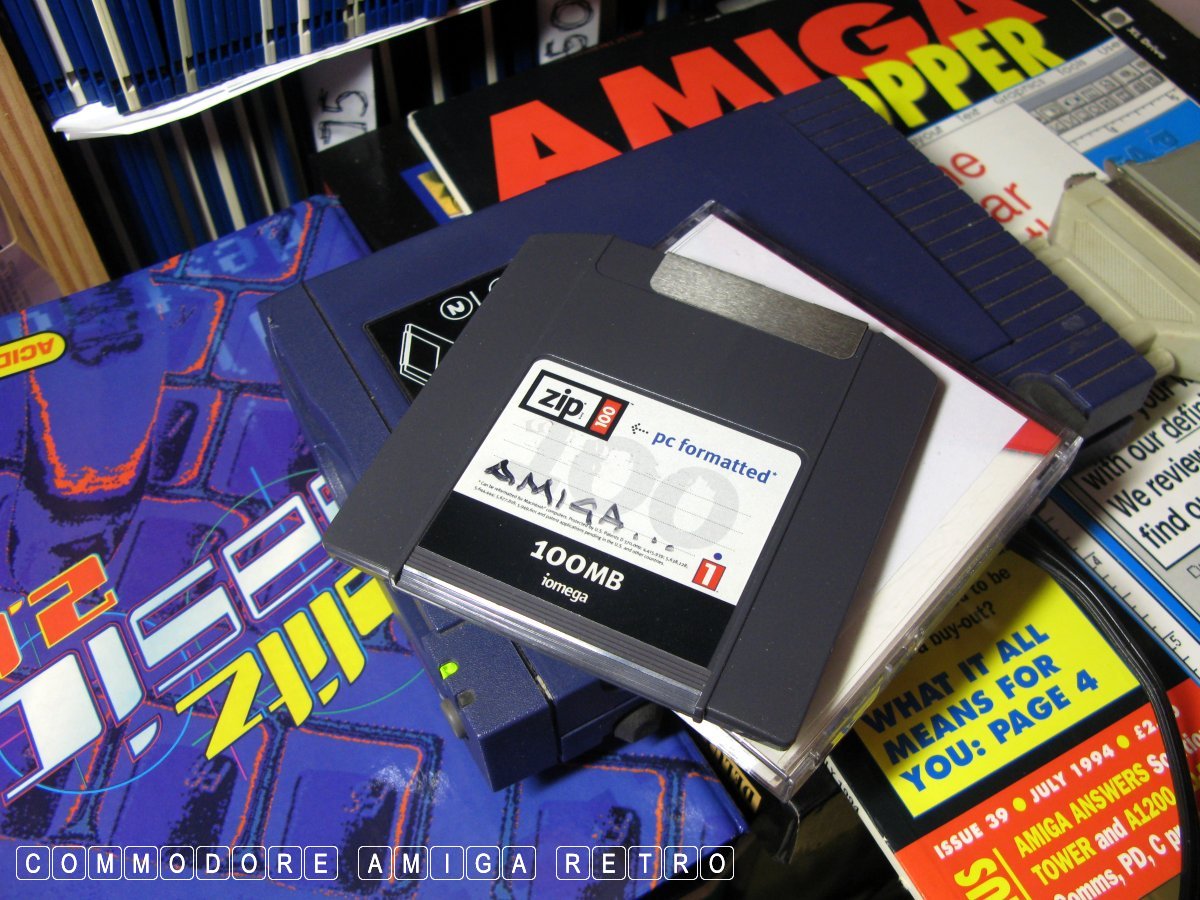
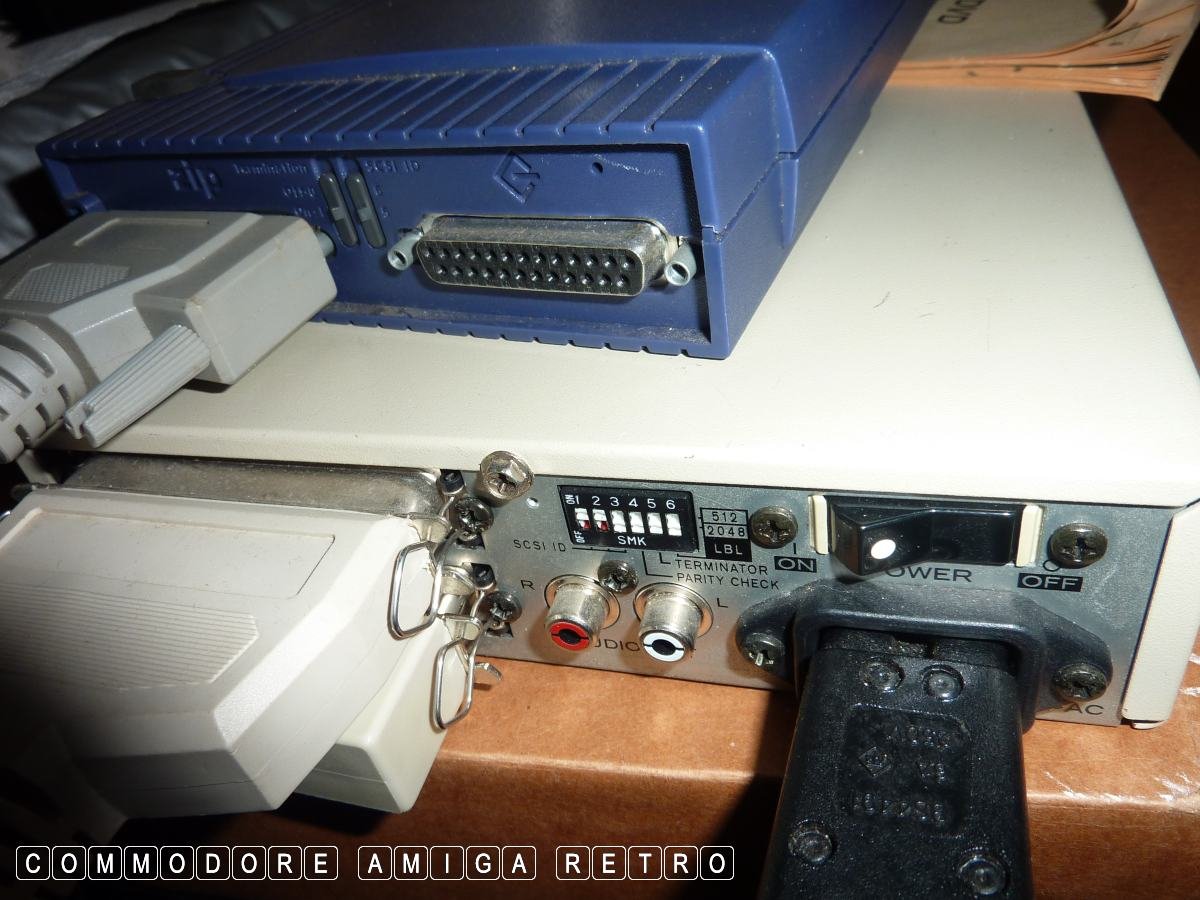
A variety of externally powered SCSI units
can be daisy chained subject to termination.
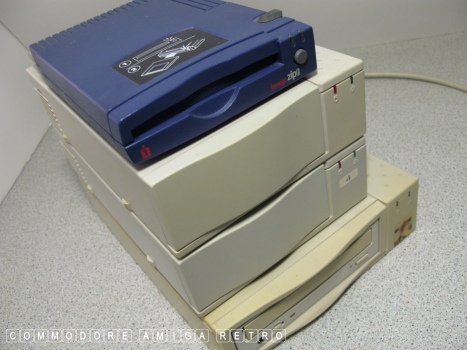
These include ZIP drives, SCSI hard drives
and SCSI CD ROM drives.
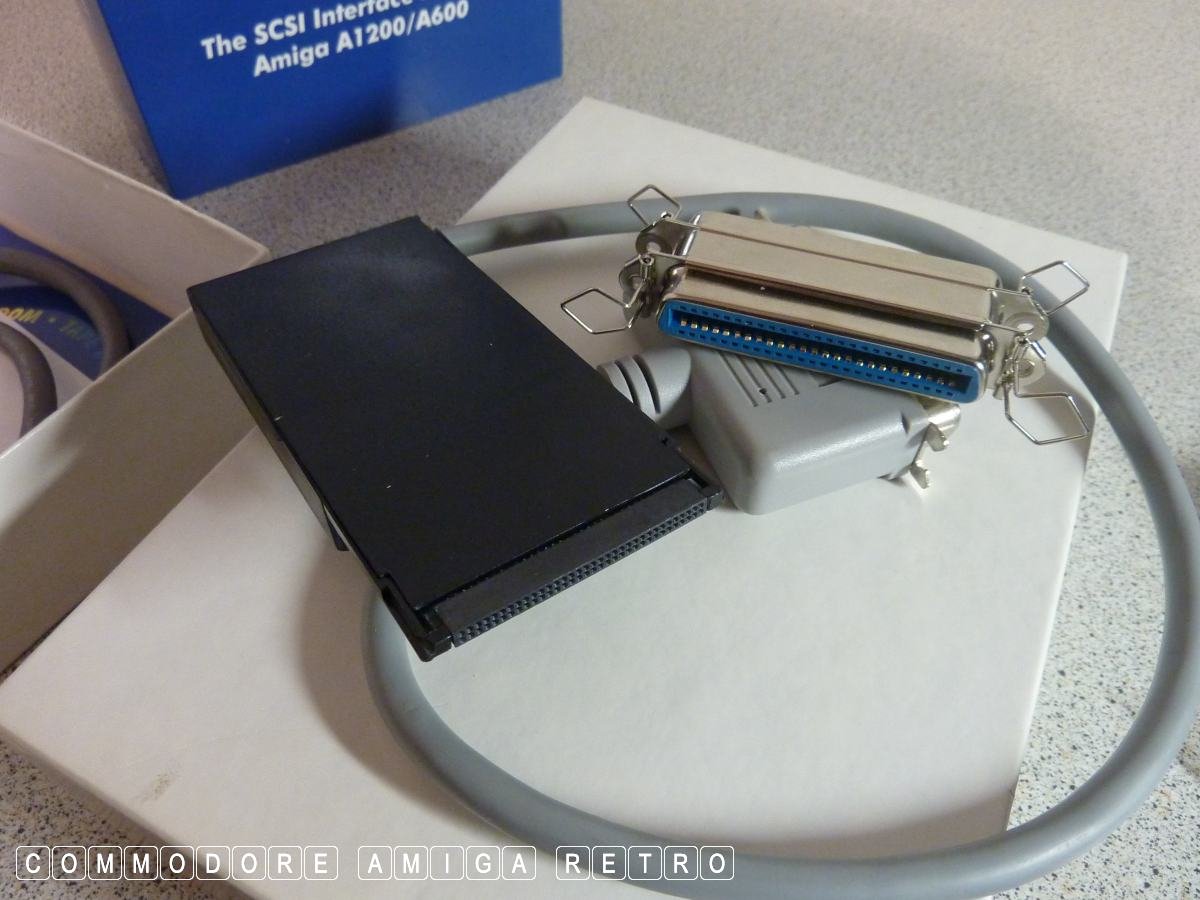
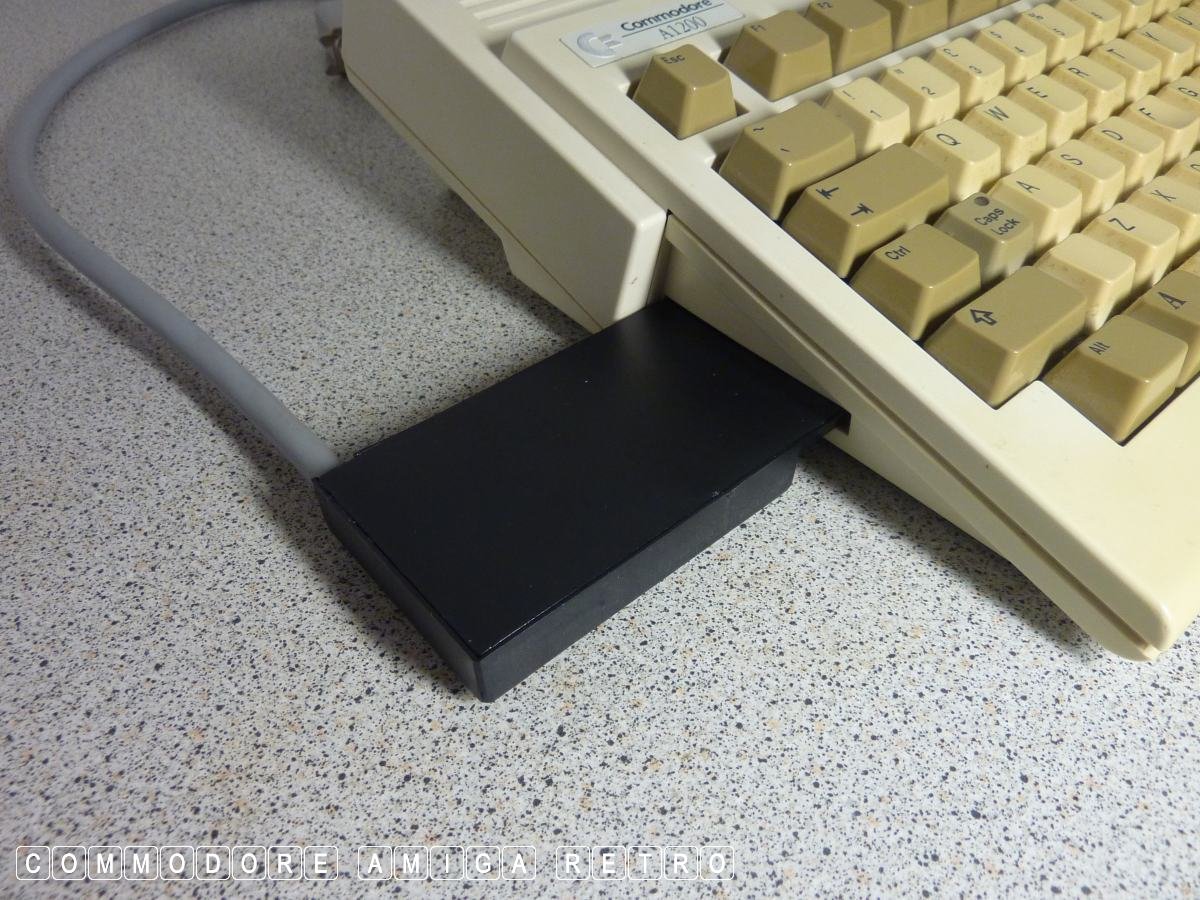
The most famous SCSI interface is the
HiSoft Squirrel which uses the PCMCIA.
Note that not all RAM cards are compatible
with the PCMCIA port. Do check first.

The Squirrel will prevent you using the
PCMCIA port for other uses.

Organising your drives can be challenging.

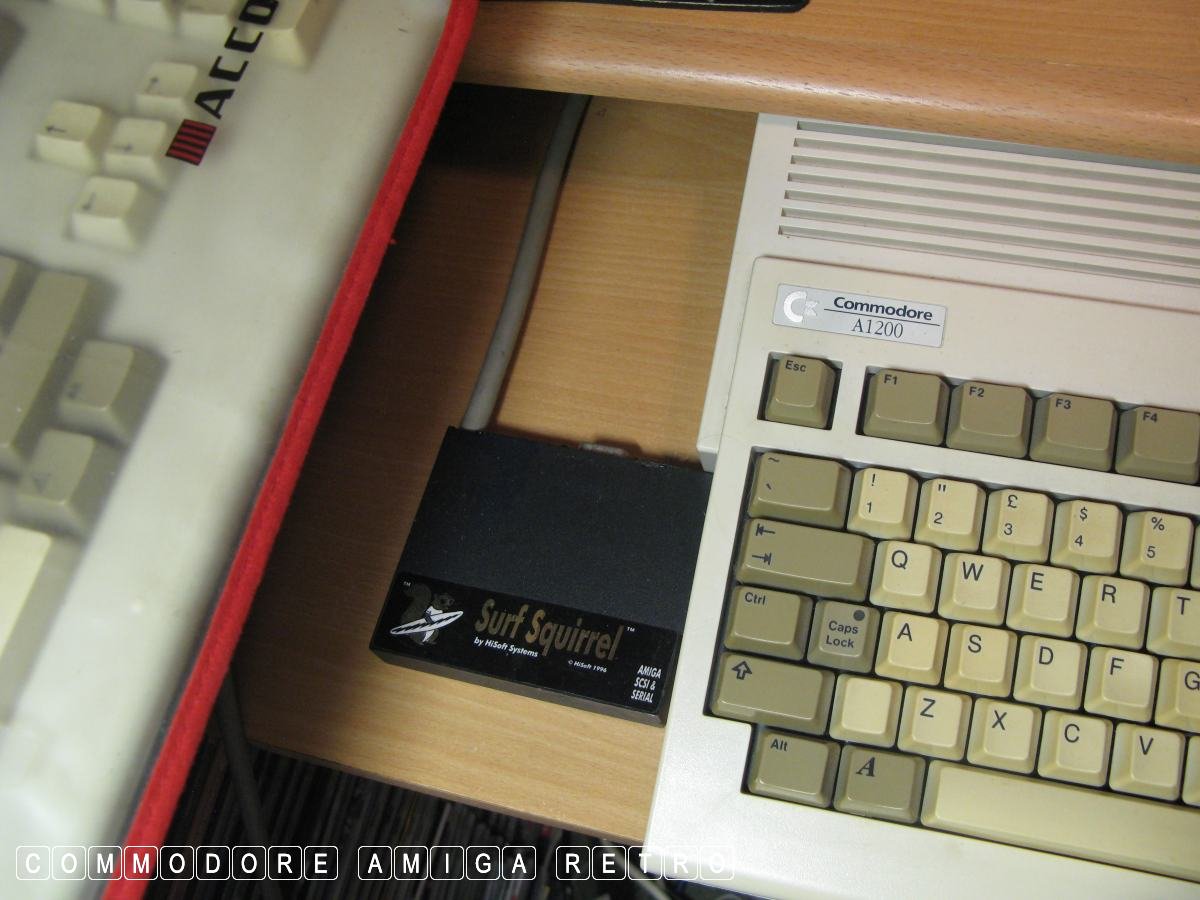
HiSoft also sold the SurfSquirrel.
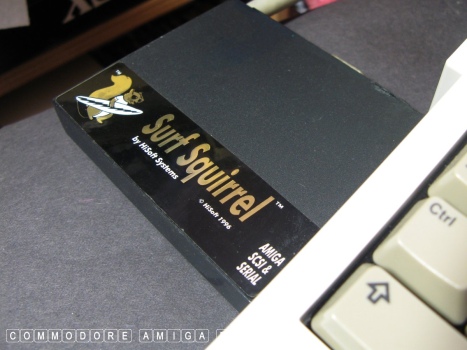
For it to work you have to first remove
any original Squirrel software.
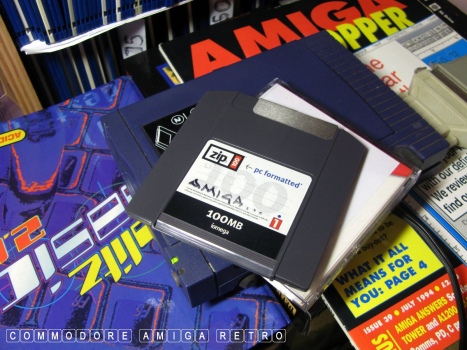
The Squirrel is particularly useful
with say a ZIP drive.
Understanding UNIT numbers and termination
is essential when using SCSI.
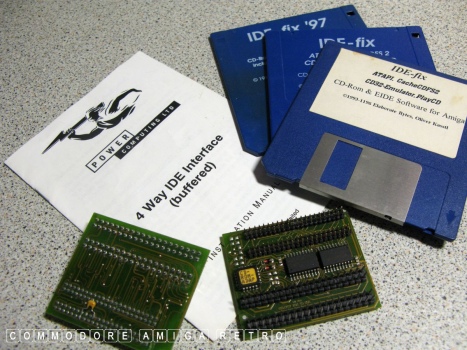
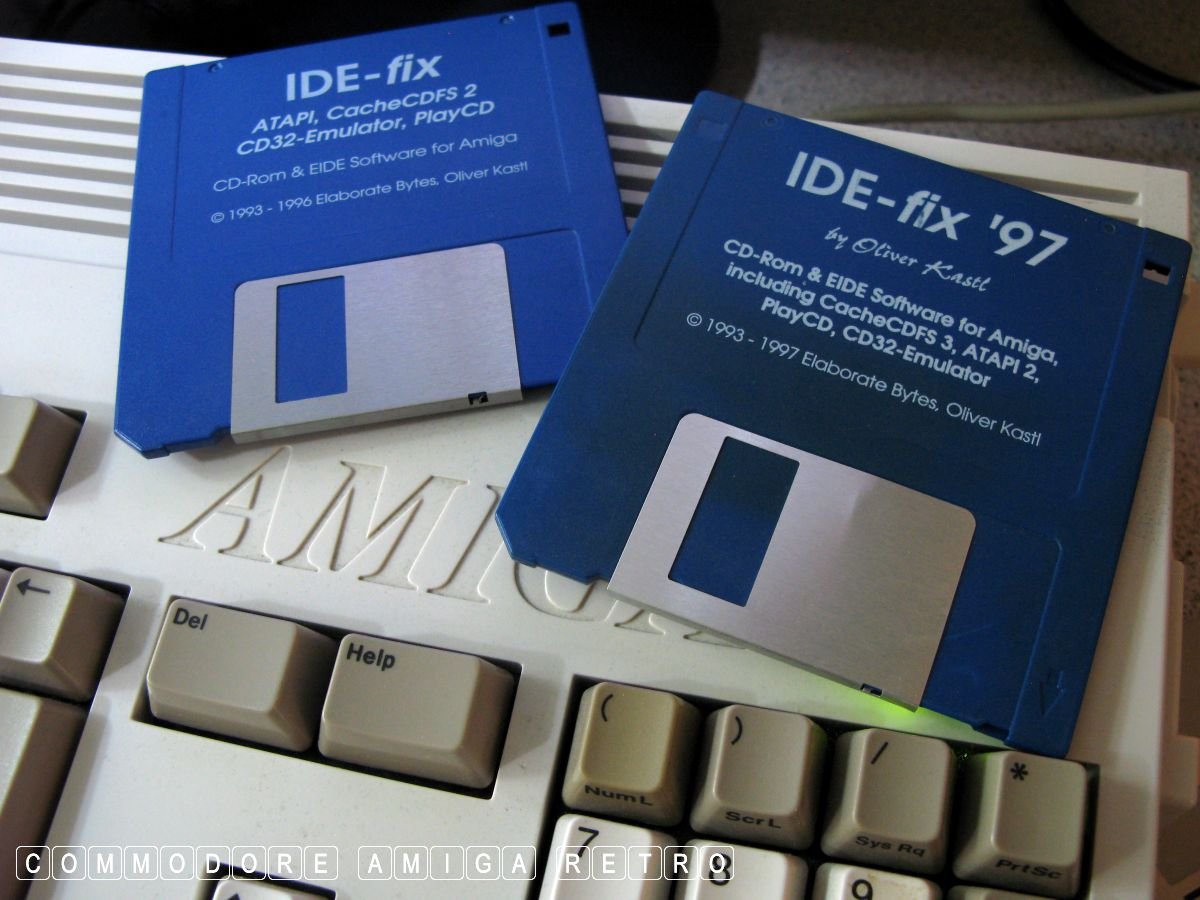
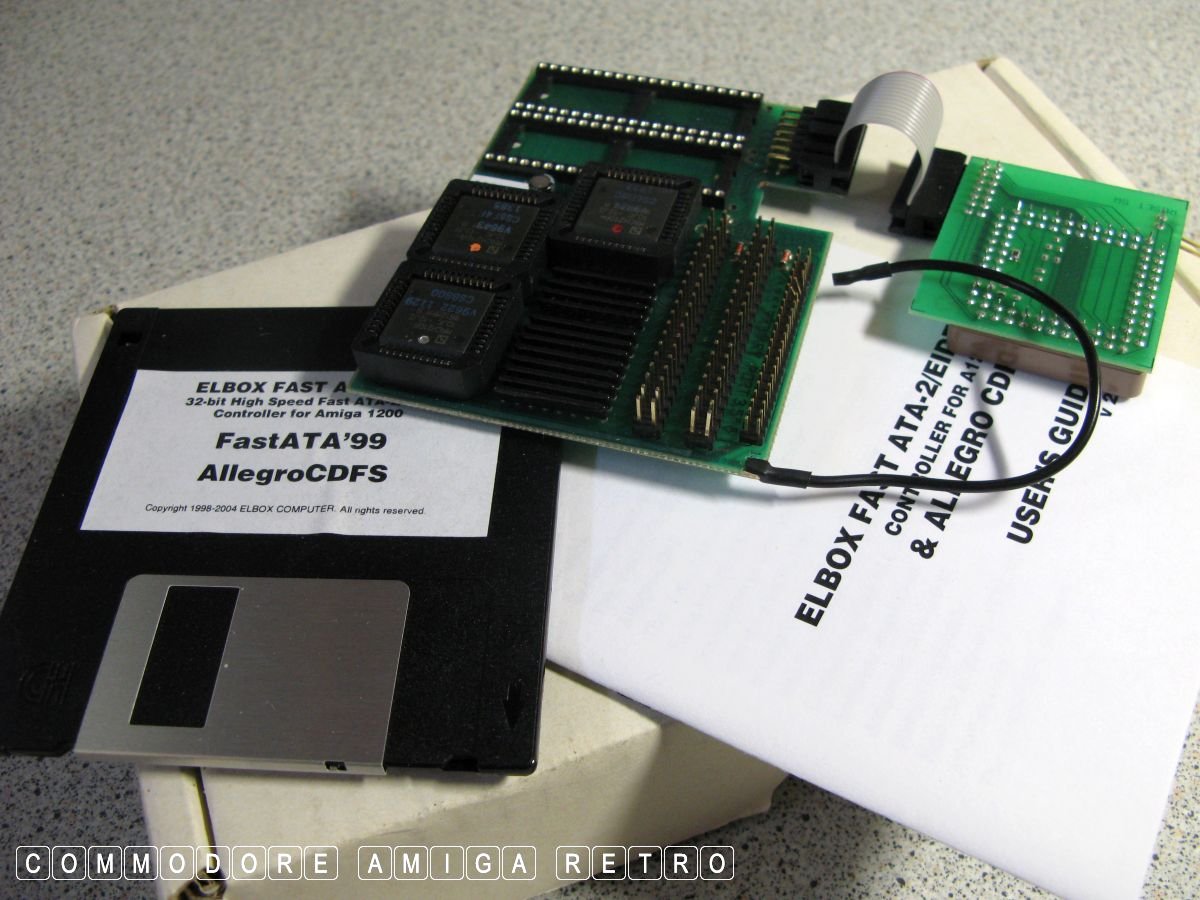
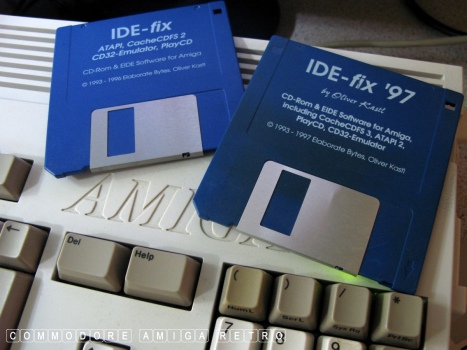
So what of ATAPI and the more traditional
IDE drives. The solution is IDEFix97 and others.
The software auto detects IDE type devices
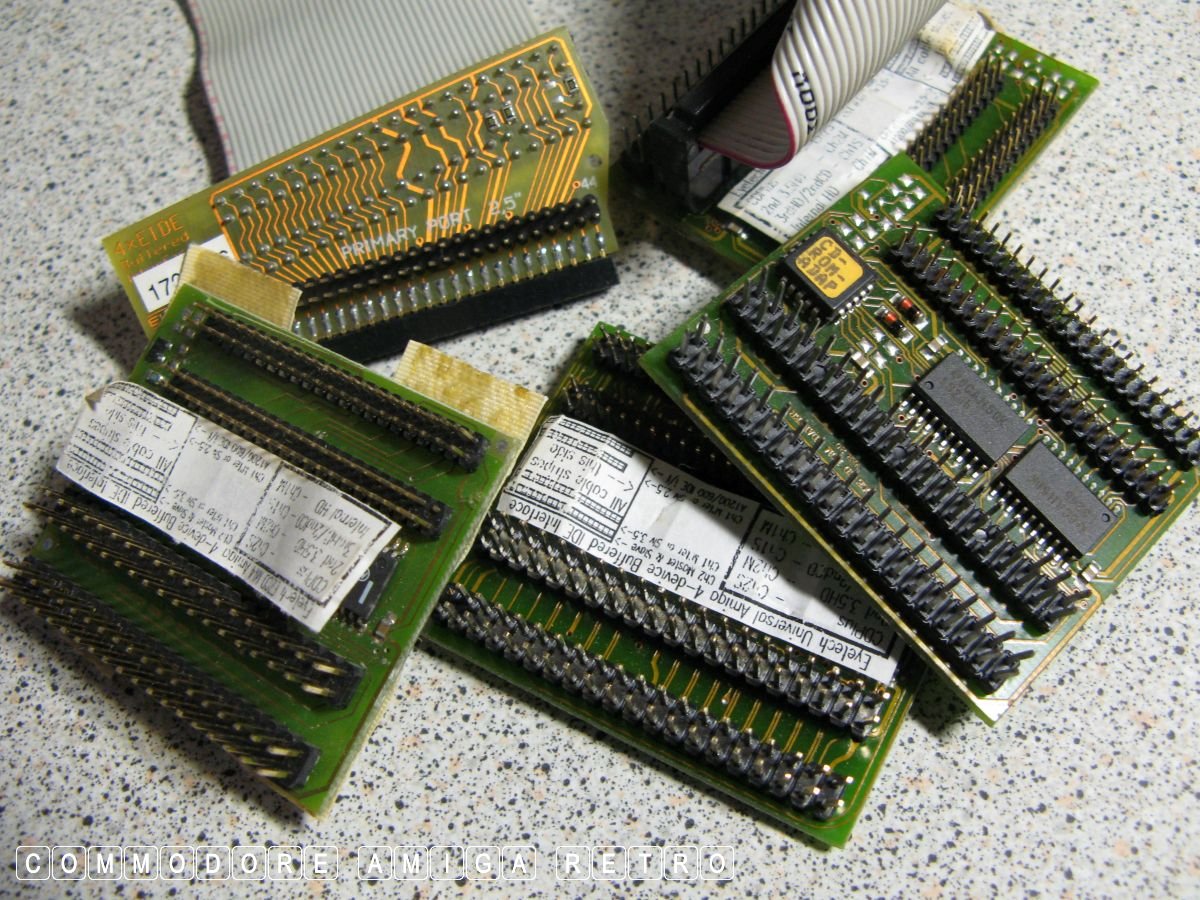
that are connected to a special buffered interface.

A mix if 2.5" drive interfaces and 3.5" drive
types can be connected to the interface.
Buffered interfaces came in a variety of types.
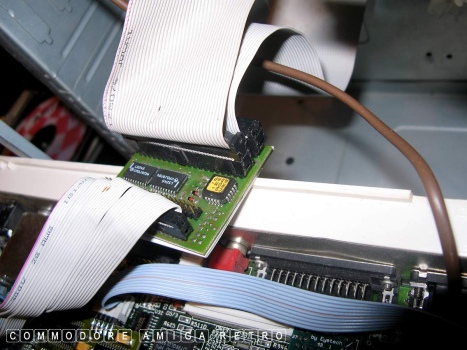
These were used predominantly in towers.
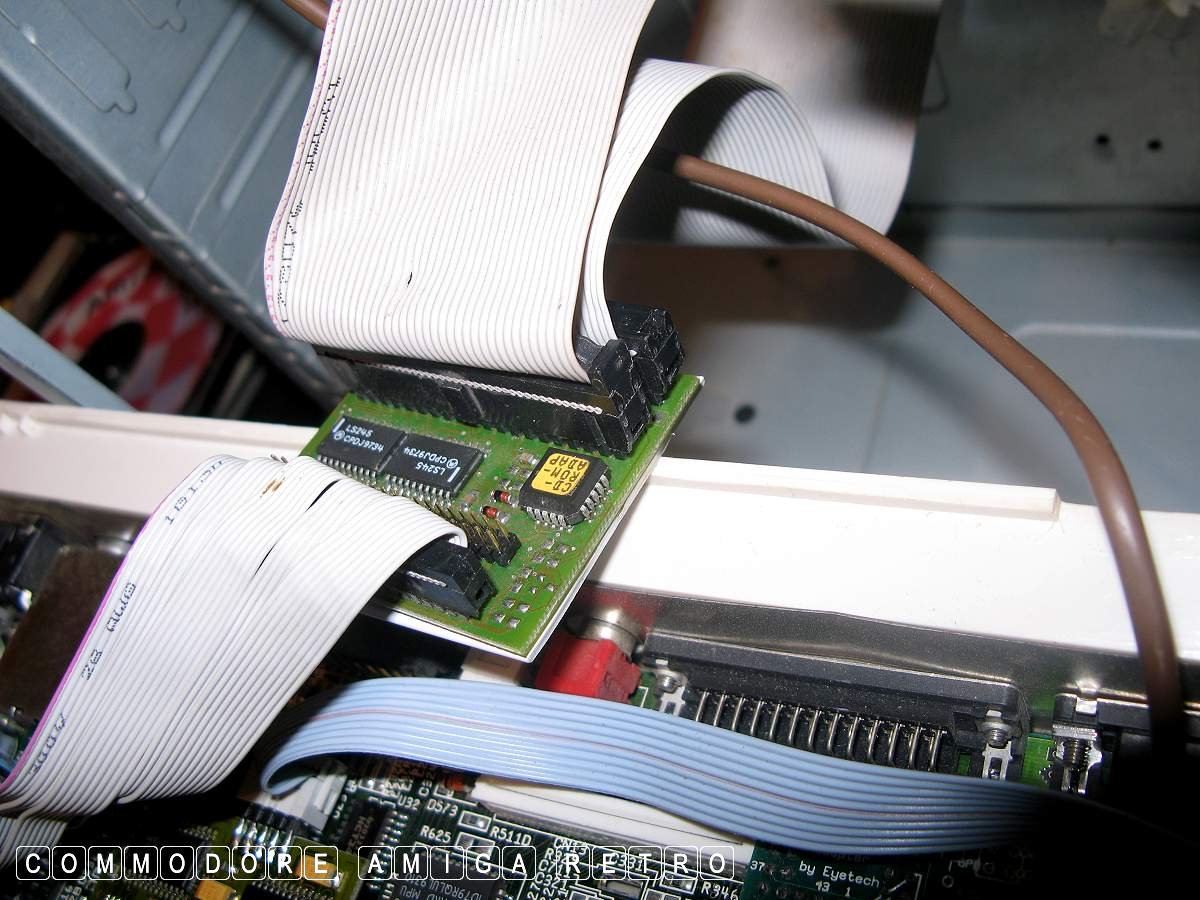
More traditional drives can be hooked
up to the interface which connects to
the Amiga 1200s internal drive port.

Sadly the motherboard of the A1200 is
extracted from its top case and floppy
to stand vertical in the tower.
Towered systems used scan-doubler flicker
fixers so that traditional PC monitors
could be used.

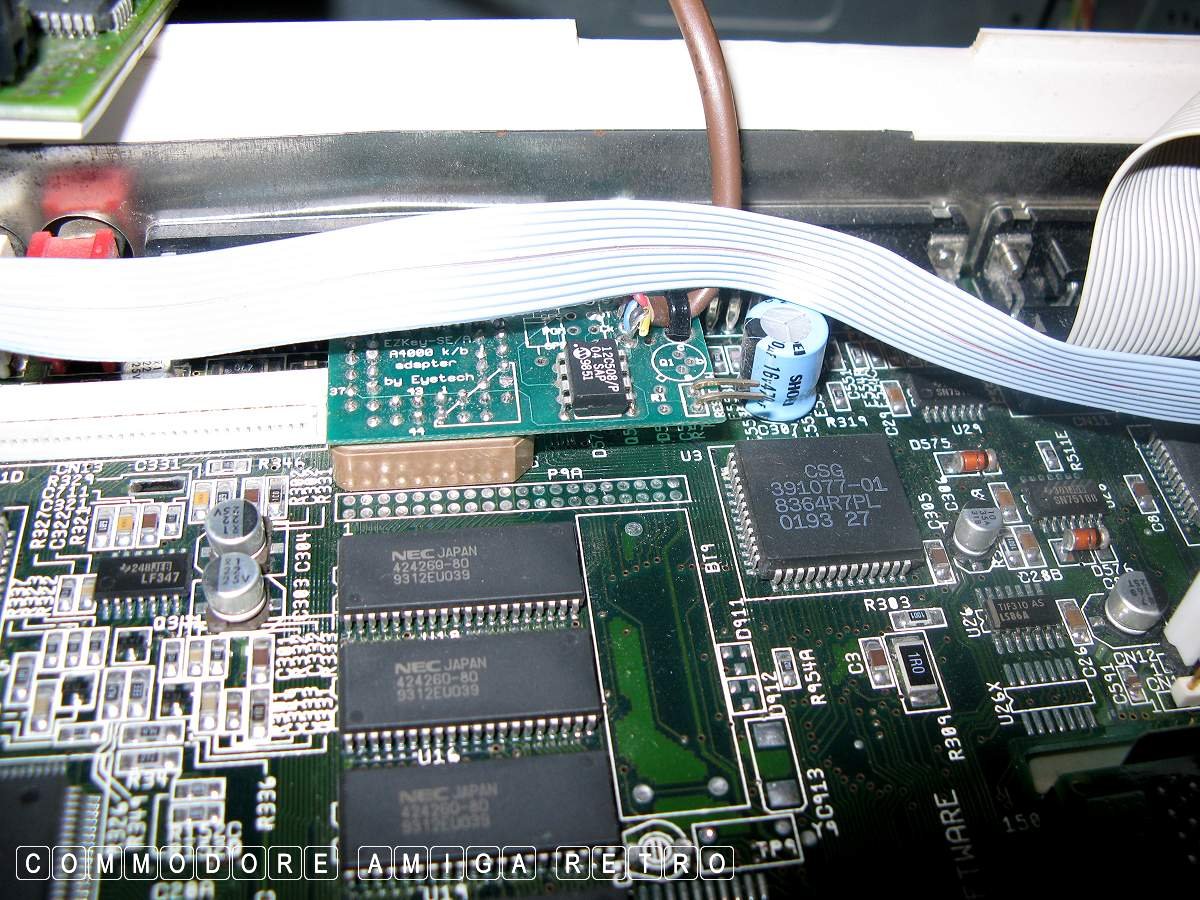
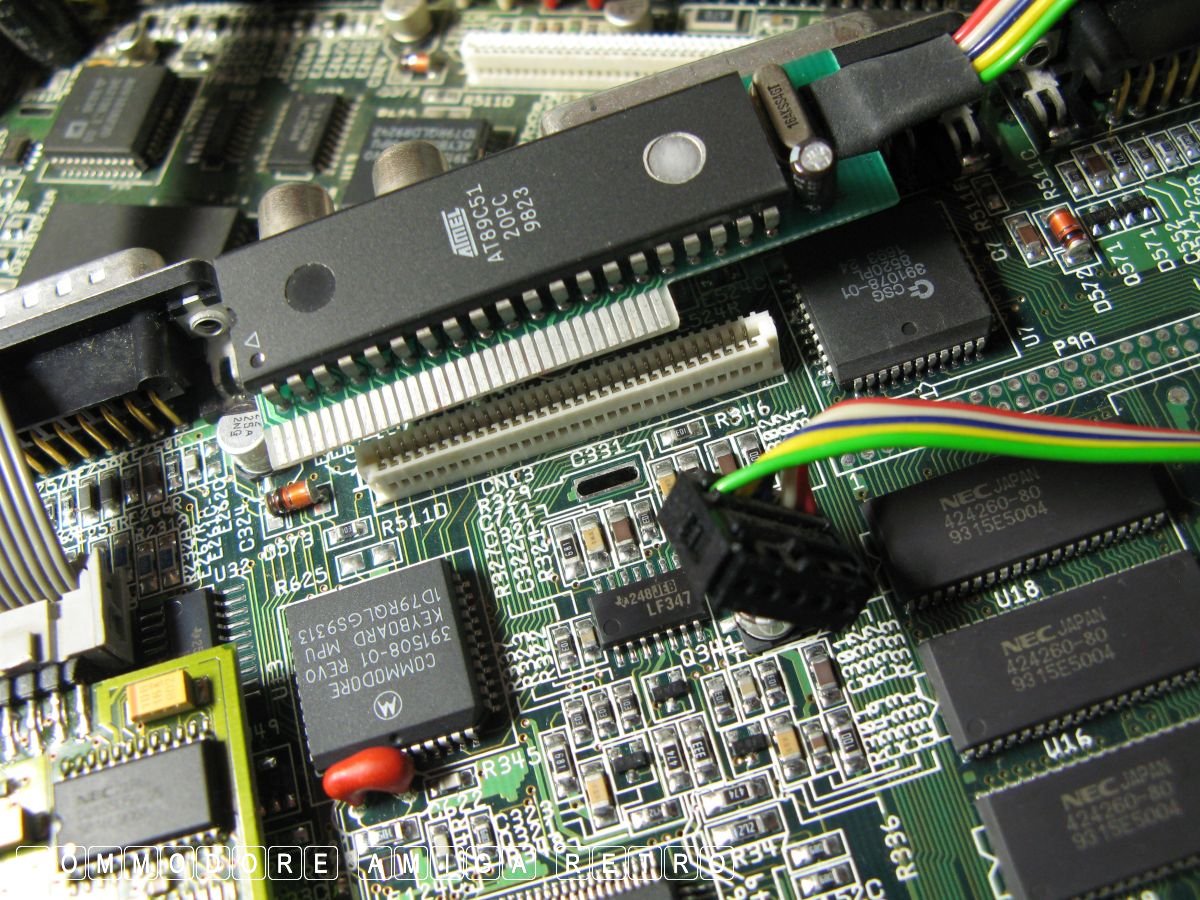
Keyboard adaptors were installed to connect
to the big box style of external keyboard.
There were a variety of connectors in
addition to mouse-port interfaces for use
of PC style mice.
That spare port being used for the monitor.

A variety of interfaces were made for
speeding up transfer rates on drives.
The Power Flyer was very popular.

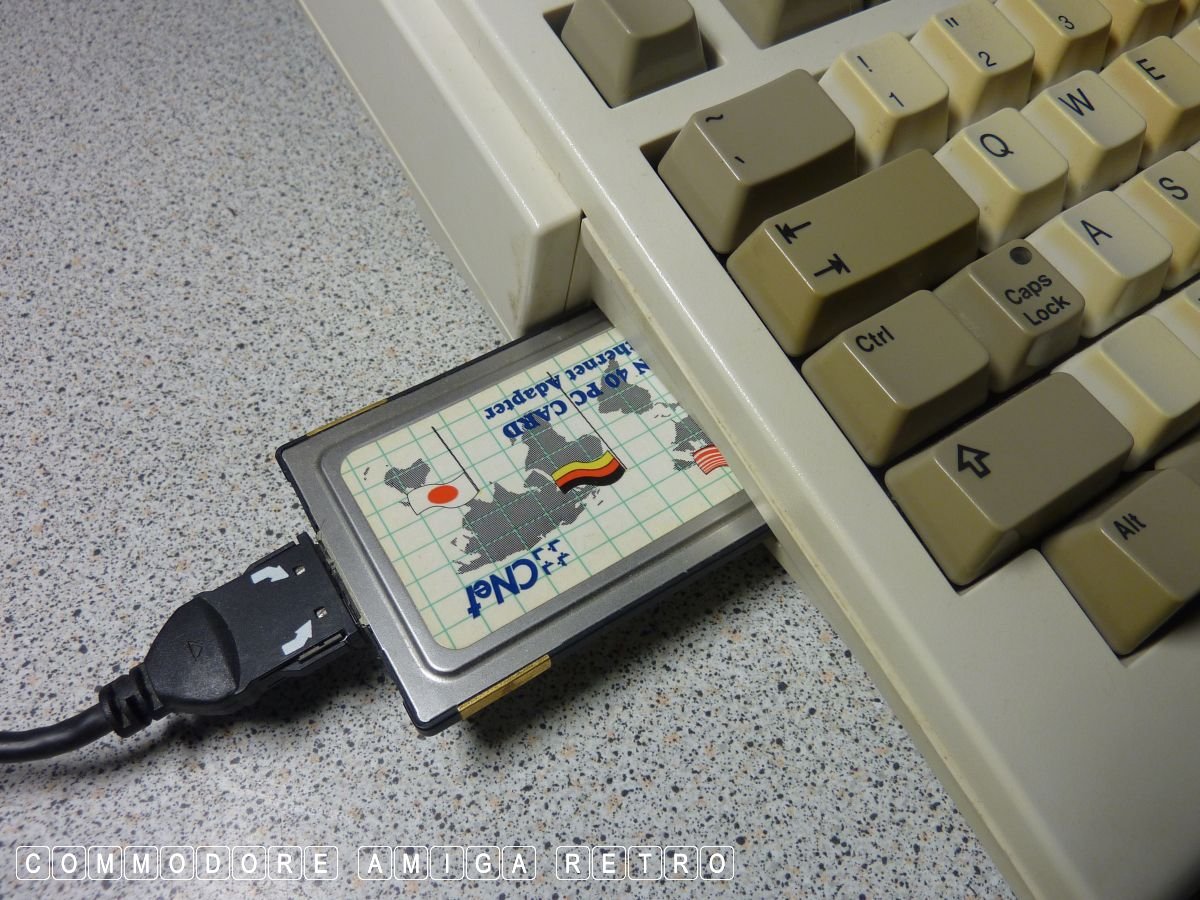
Networking the Amiga 1200 involves a
suitable ETHERNET PCMCIA card.
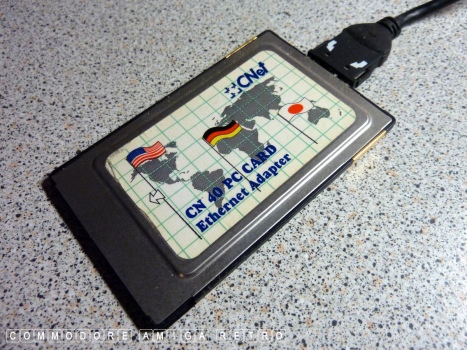
Before using, it is worth checking on the
suitability. There was also a problem with
the PCMCIA on the 1200 that required the
Card-Reset Tool which you can get from Aminet.

The outgoing Ethernet uses traditional
cabling and port switches.
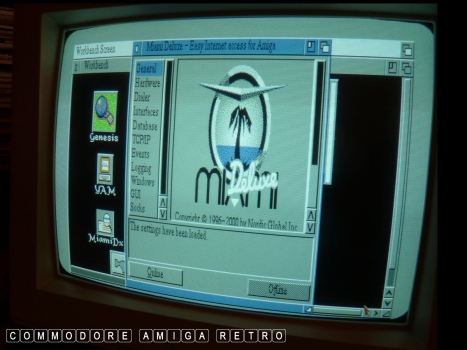
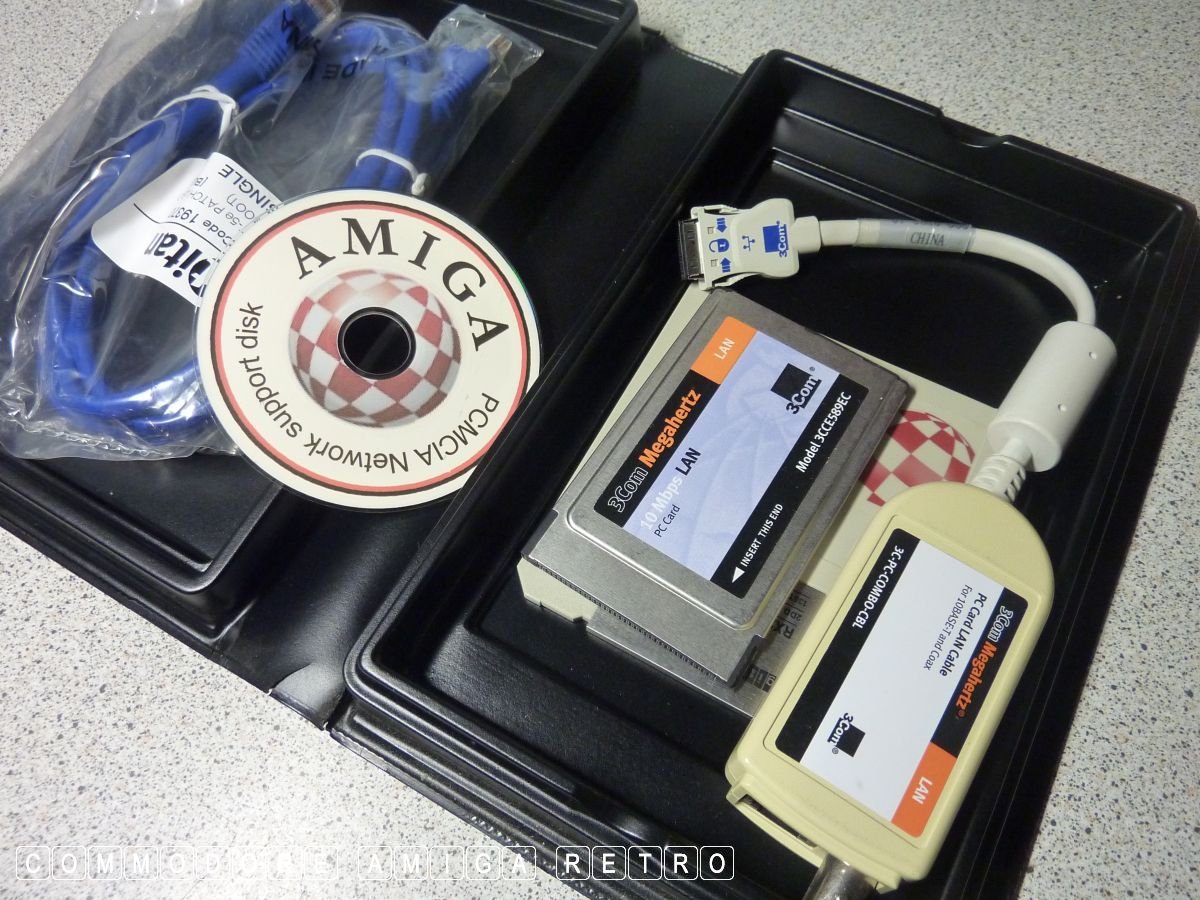
Connect to the internet or internal PC
network using say MiamiDeluxe. This puts
the interface online. The software used
for the actual networking such as SAMBA
will take a little work setting up.
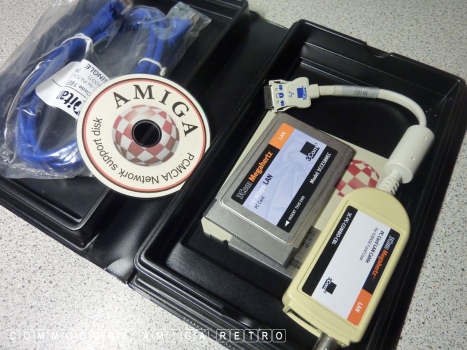
In the day there were kits for networking.
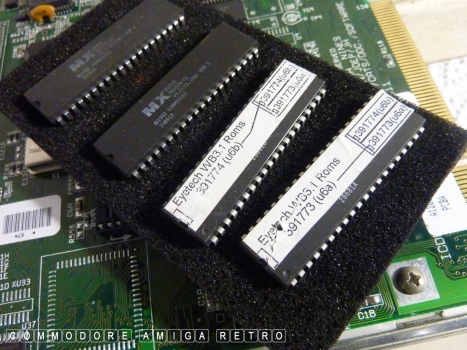
An obvious upgrade is the 3.1 ROMS.
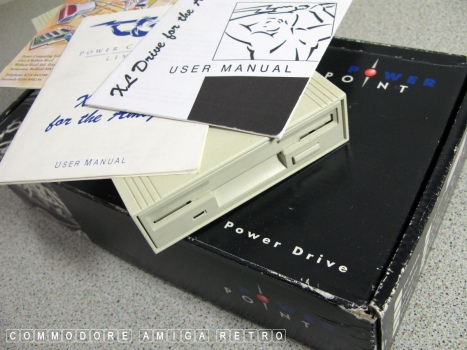
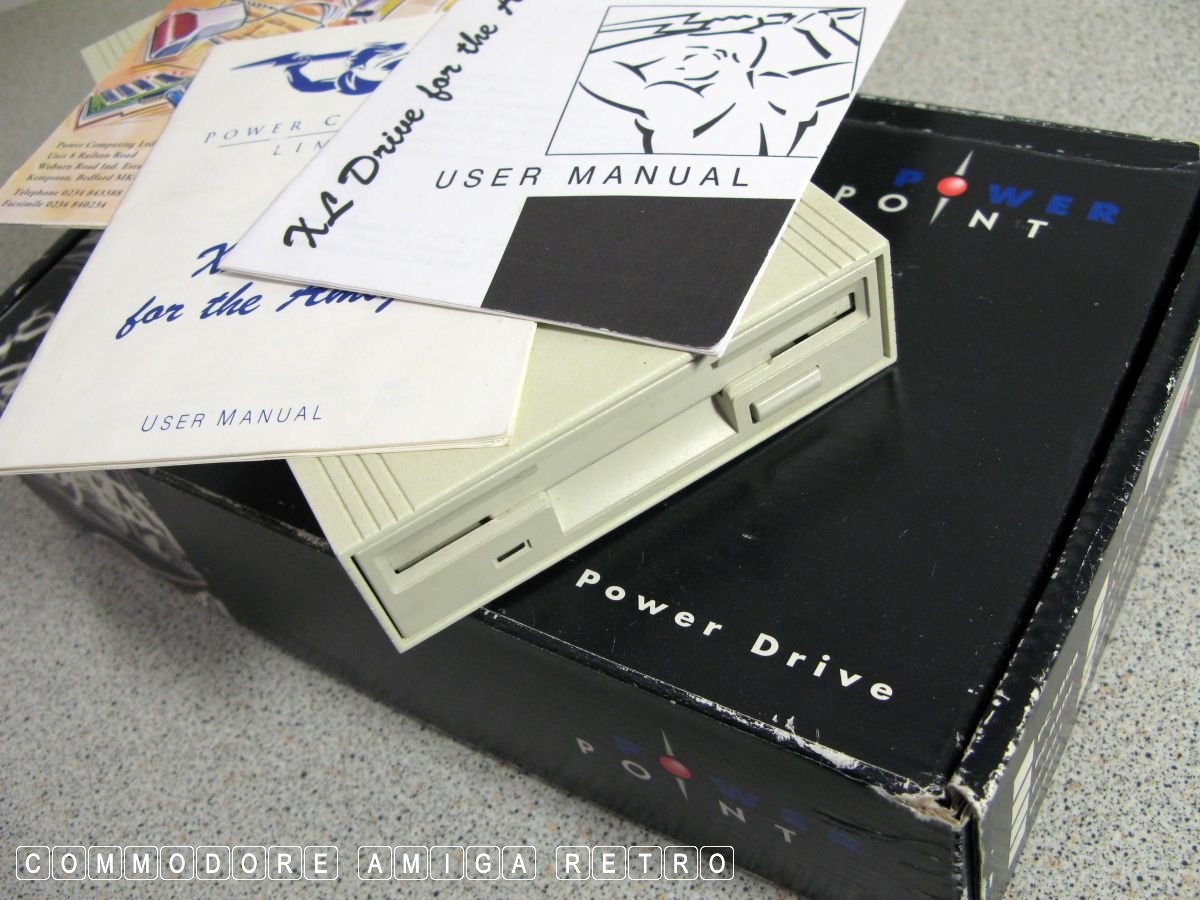
For larger capacity PC style HD disks
there were HD drives such as the XL drive.
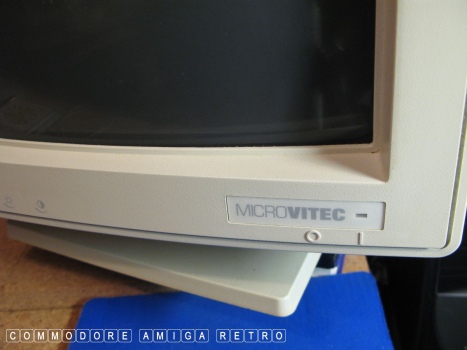
Monitors are a law to themselves on the
Amiga and tracking down a MultiSync monitor
certainly solves all your retro problems.
Otherwise you need to find suitable Commodore
style monitors of the era.

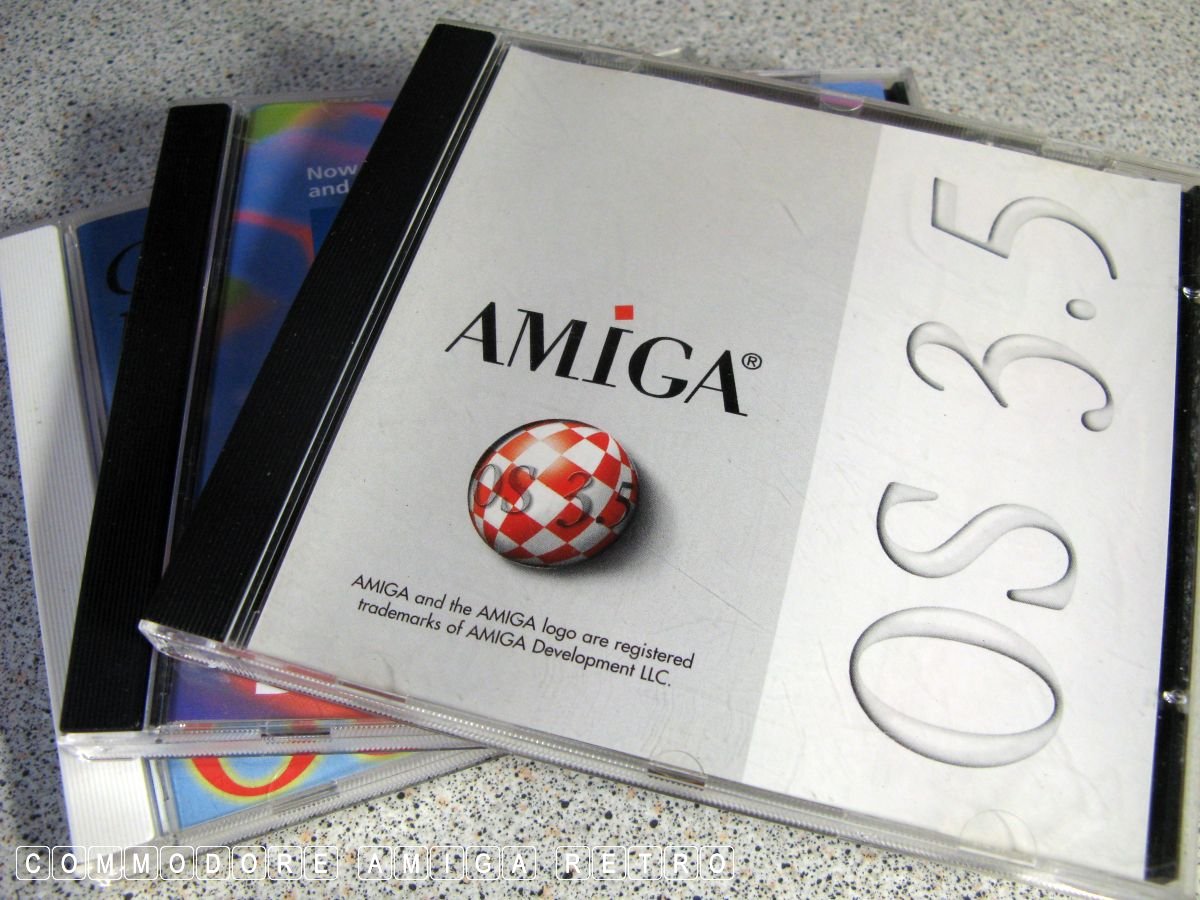
And finally if you feel ambitious you can
upgrade to the later OSs. Note that these
require the 3.1 ROM and a CD drive. Plus
you really do need acceleration and even
better, a graphics card. For me using the
later OS stretches the A1200 to cracking point
and just screams out to be towered.
Anyhoo hope that helps understand a little
about the way , for me, I tasked upgrading
my beloved A1200 in the nineties.
Be aware that this was a retro guide for all
those that like to be traditional 'OLD SKOOL'
before compact flash, Gotek and flat screens.