

ScuzzBlog: Diaries November 2022
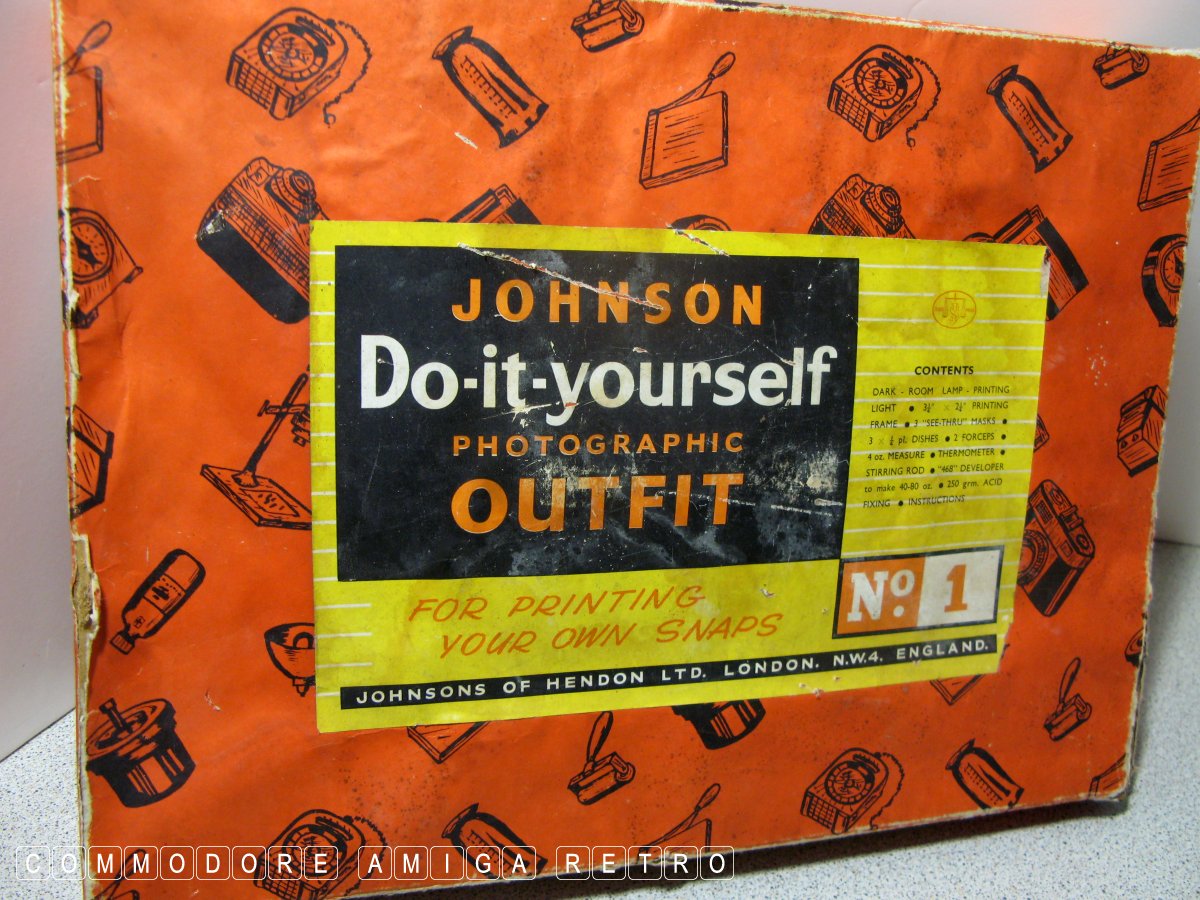
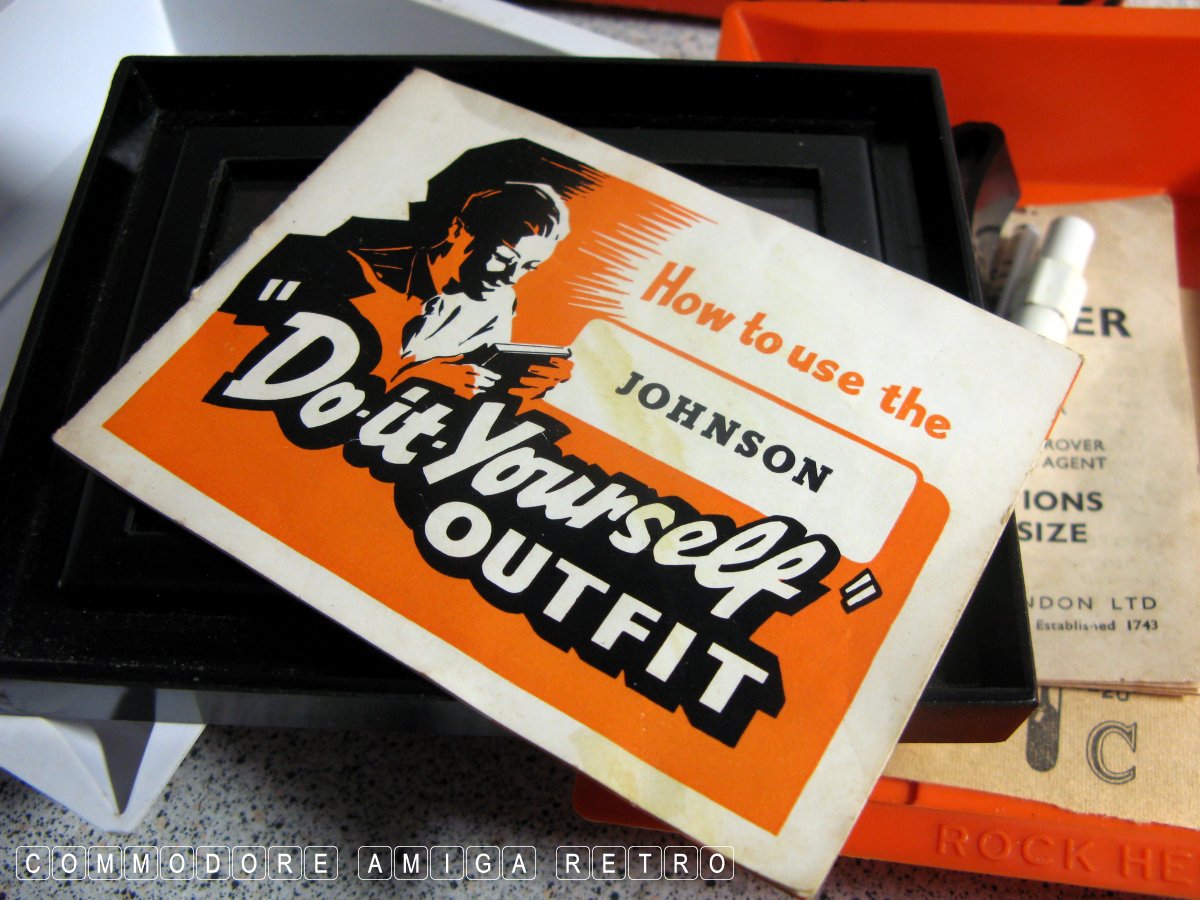
Entry 25th November 2022: Post 1: Johnson Do-it-yourself Photographic Outfit No.1.
Johnson Do-it-yourself Photographic Outfit No.1.
This was the last of those finds that I uncovered whilst tripping
through the loft the other week. This one did bring a lot of the
old memories back.
My era of developing my own pictures ended in the mid nineties
when I sold my Gnome enlarging lamp and developing tank etc. I
had been developing my own pictures on a regular basis since my
school days. I still have my first simple developing glass which
you literally loaded with photo paper and shoved in front of a
lamp for a few seconds. It was my dad that introduced me to the
whole process.
Following that early period I bought a good camera plus all the
developing kit which I used very frequently during my years at
School of Architecture.
The process in simple terms:
First take a black and white film and make a note of the film
settings etc.
In a complete dark space extract the film and load into a spiral
that inserts into a special developing tank. The spiral can be
extended if you need to develop two films.
Next mix your developer and fixer and make sure they are at the
correct temperature. Pour in the developer and agitate then I
simply inverted at regular intervals. Once the time was expended
simply flush out the developer and then pour in the fixer. The
process is repeated as for developer. Then pour out and pour in
clean water with a touch of washing up liquid. Finally run clean
water into the tank for several minutes. Then remove the film
and hang using a couple of bulldog clips in a dry place.
Next we bring in the Gnome Enlarger and a frame board for sizing
the prints. Next prepare a developing tray, stop tray and fixing
tray located to the side of the enlarger. In the dark under the
safety of your red light insert your film, now cut into sections
of three and or four frames and focus your image onto the frame.
When happy extract the photo sensitive paper and then insert in
the frame. Time for those 'thousands'. So switch on the enlarger
lamp and count your thousands as seconds... 'thousand and one' etc.
With practice you learn the number required for the image and
the type of paper.
Place your paper in the developer face down and make sure it is
free of bubbles. Then turn over and watch the magic. I used my
fingers for this process. Next when happy drop in the stop or
water, and then quickly into the fixer. And that is all you do.
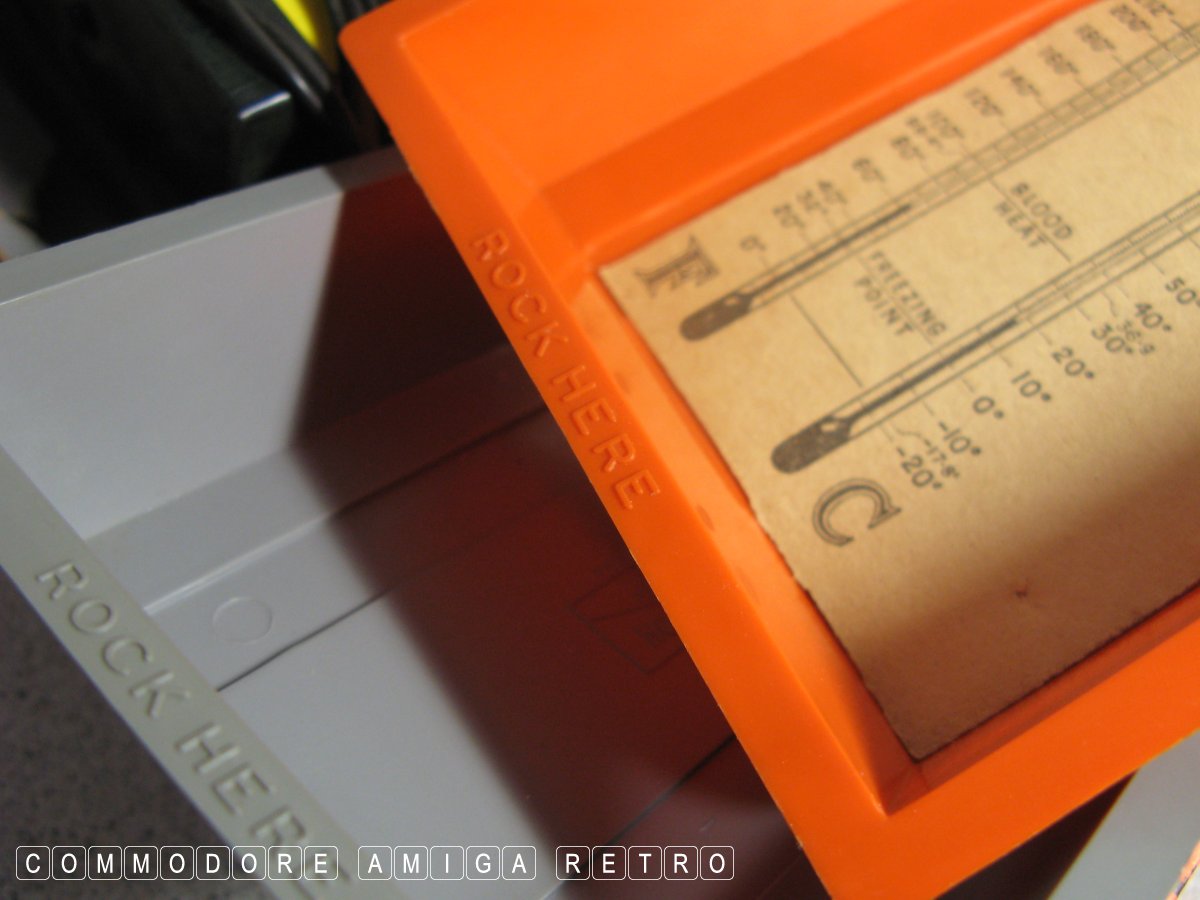
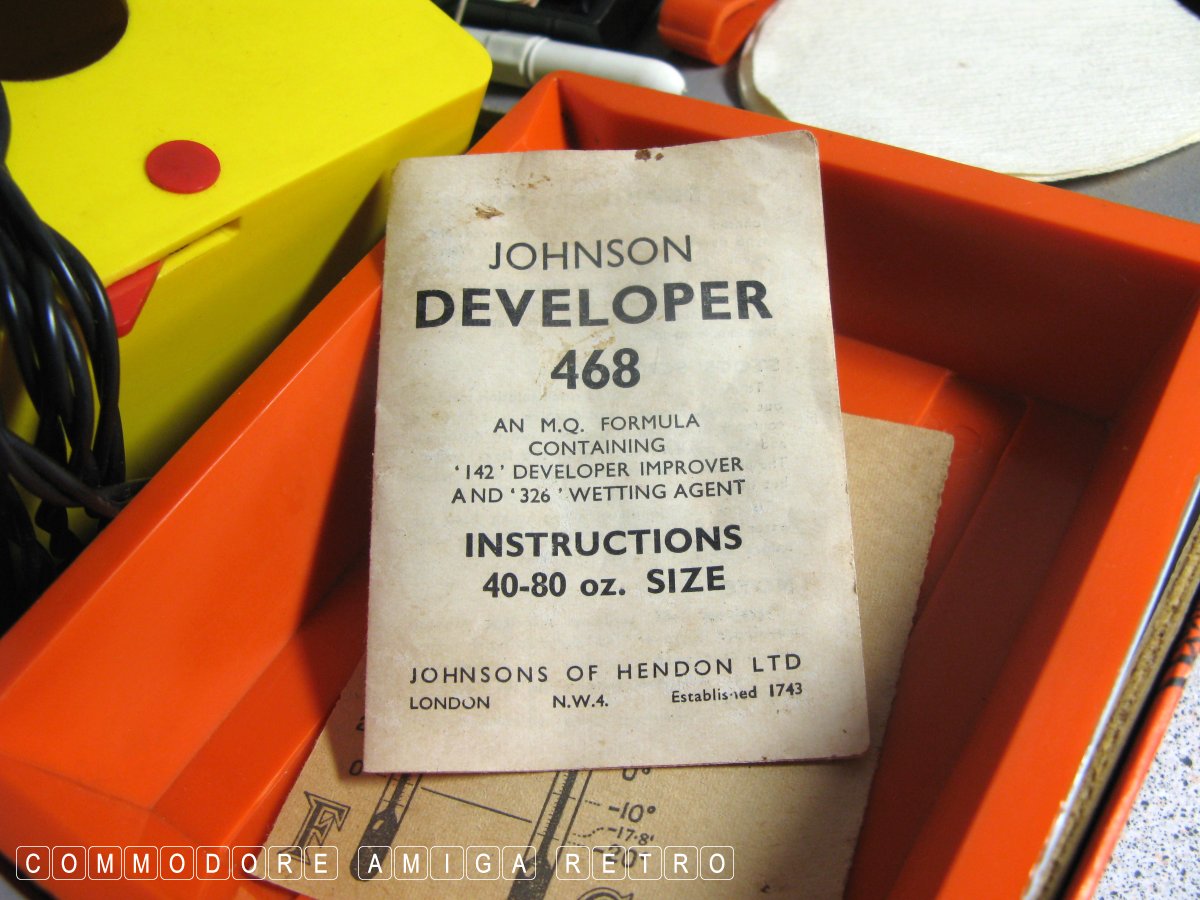
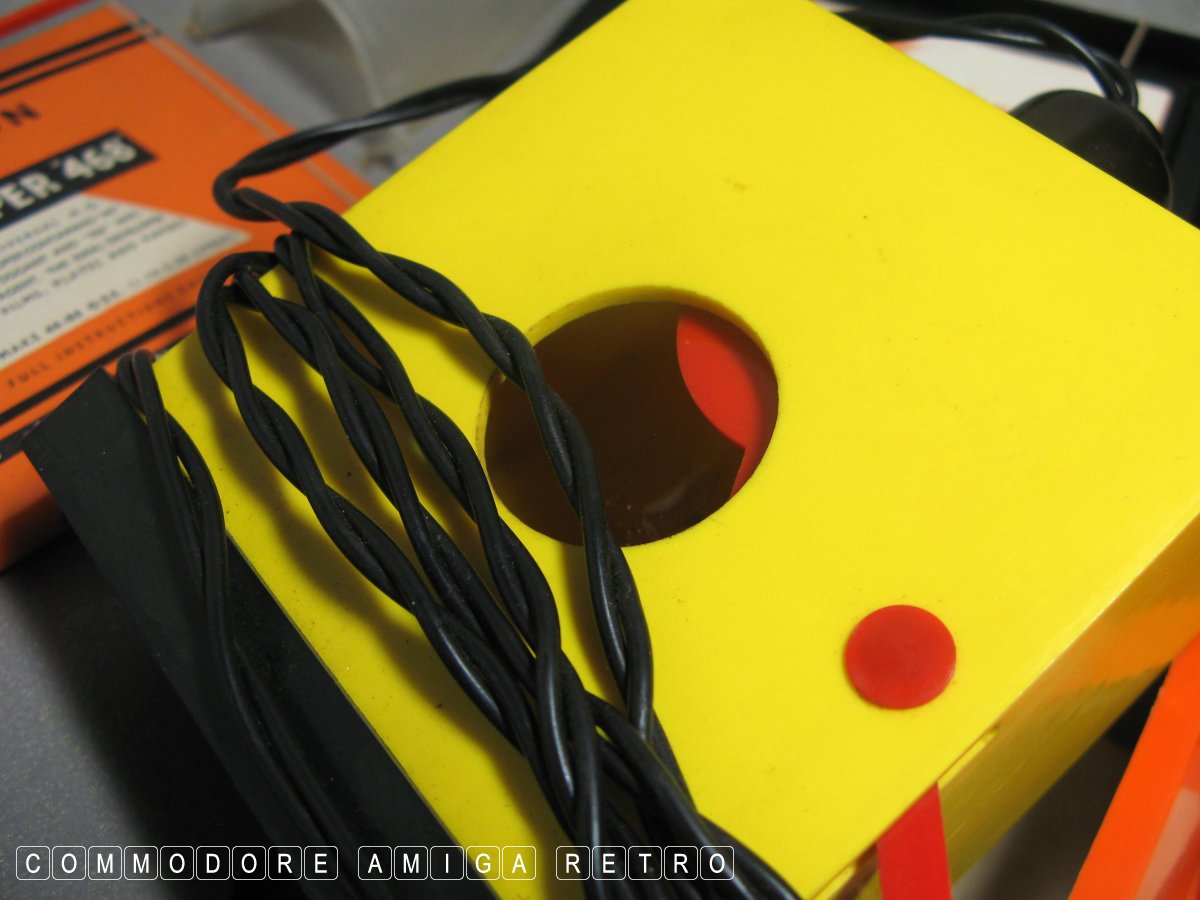
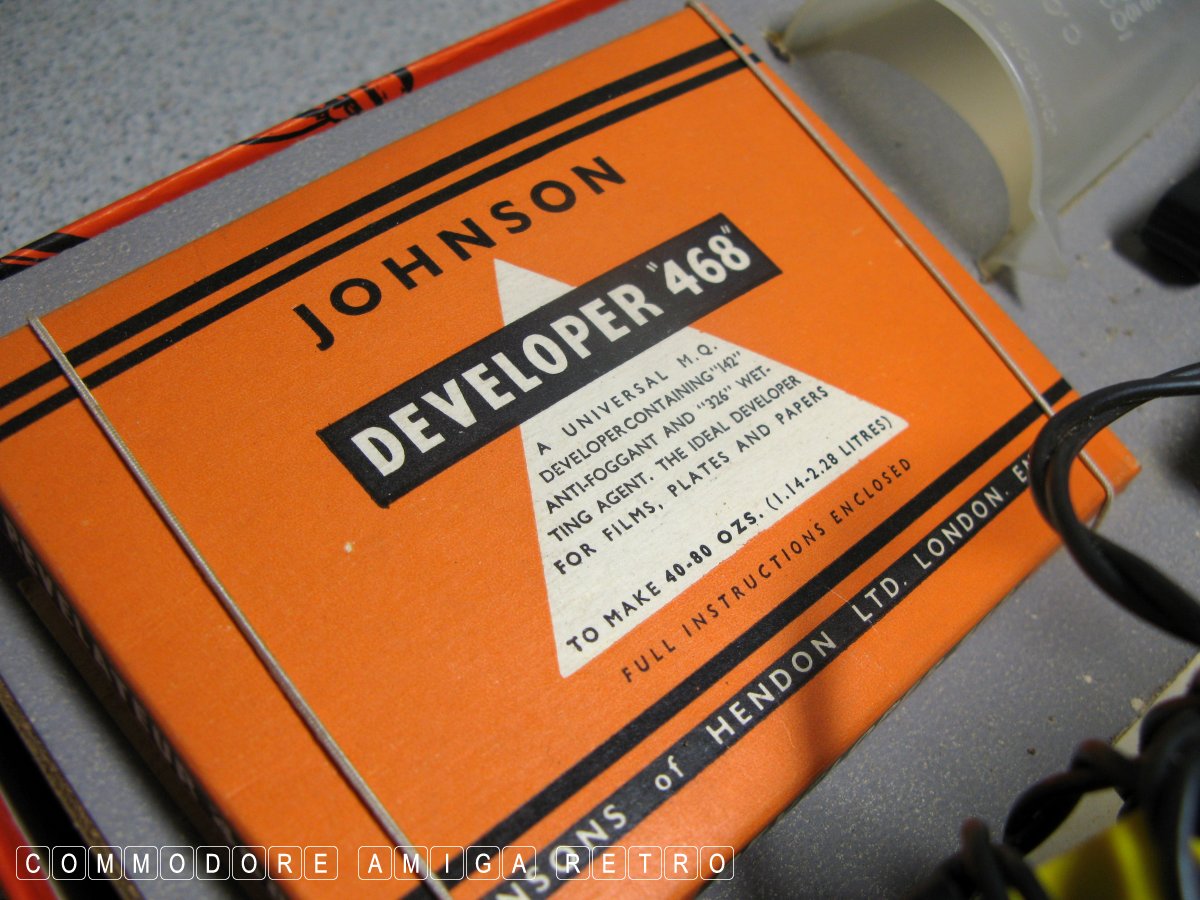
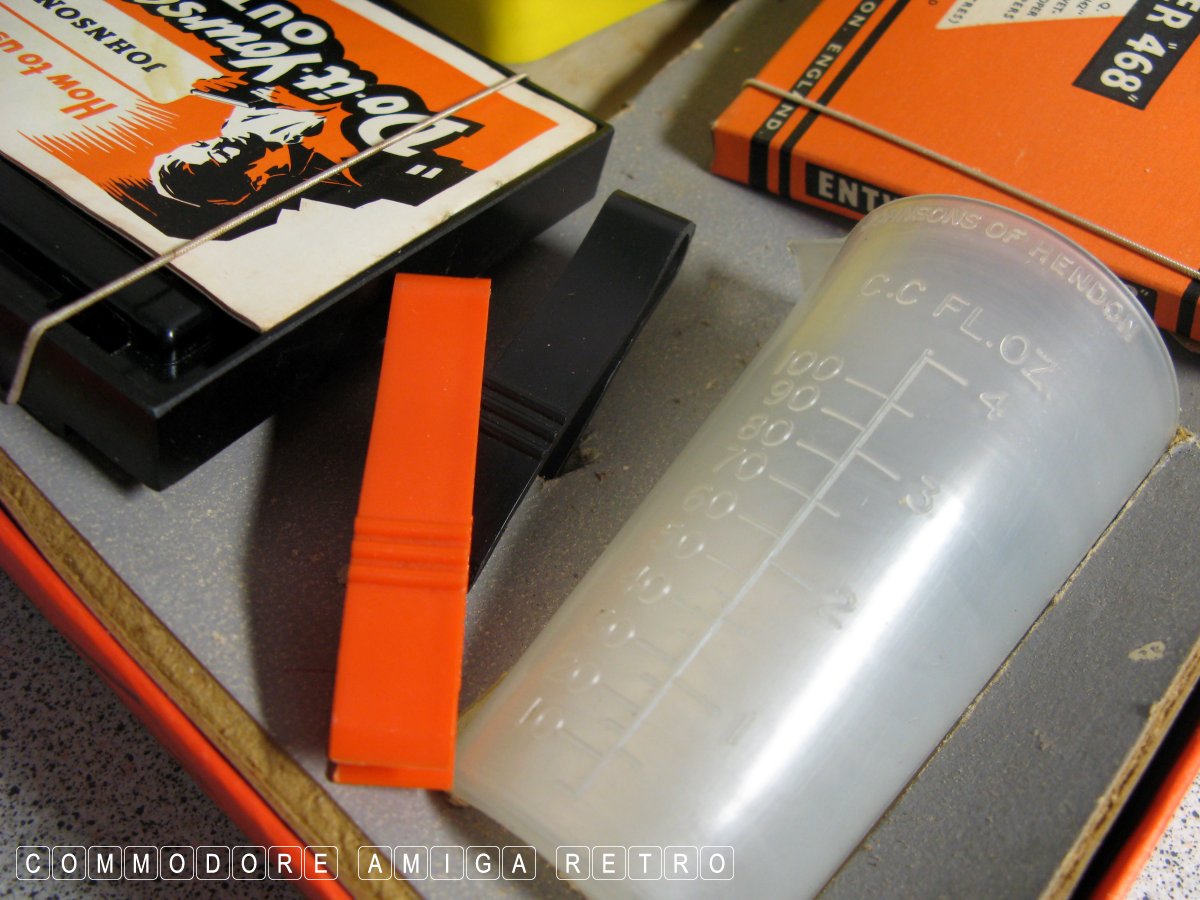
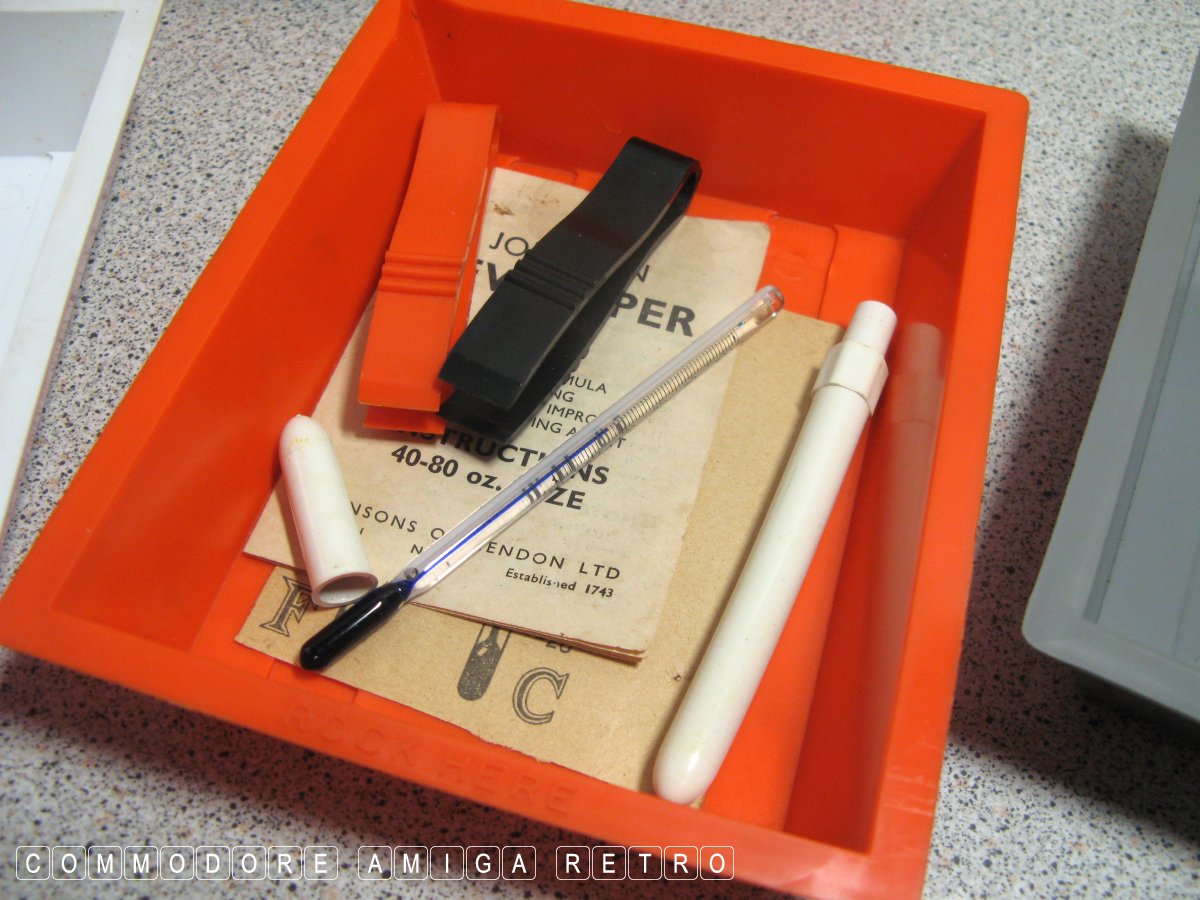
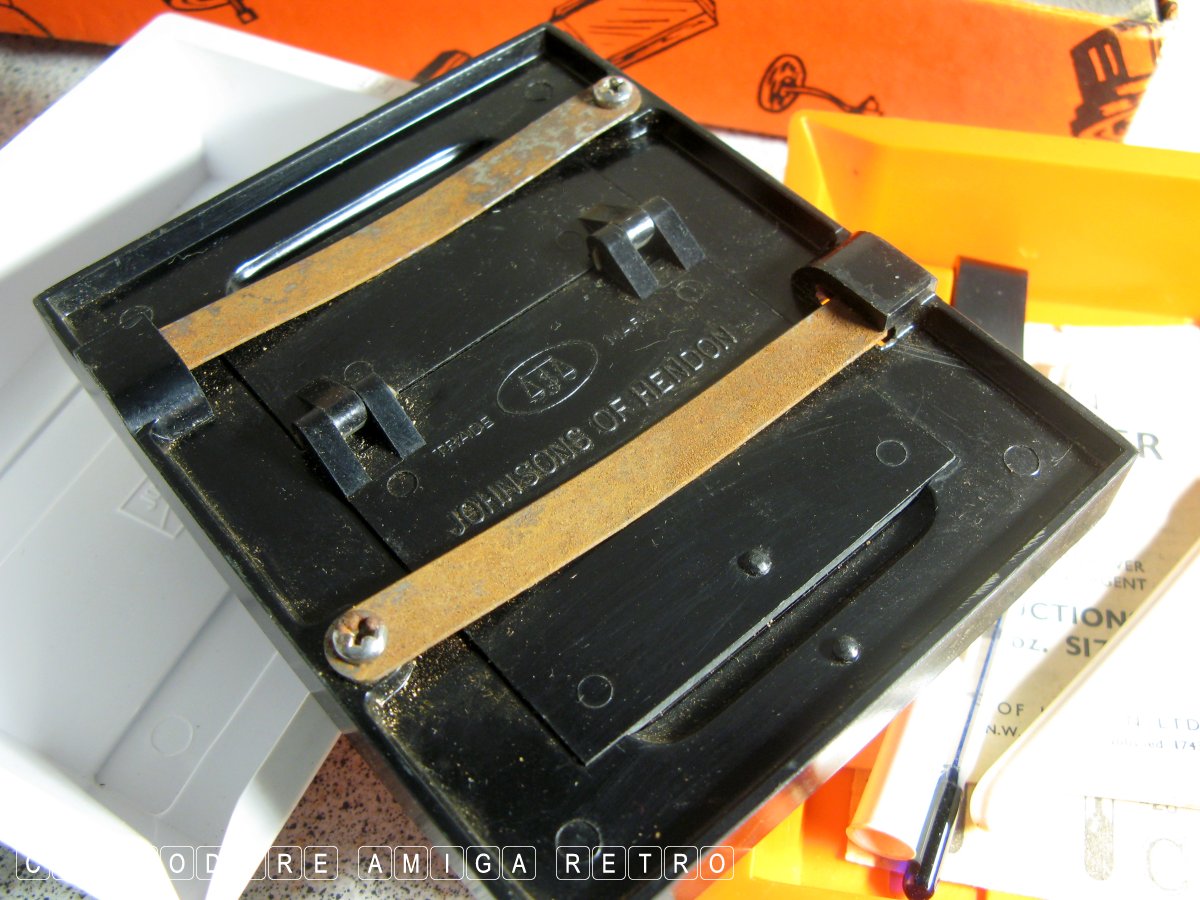
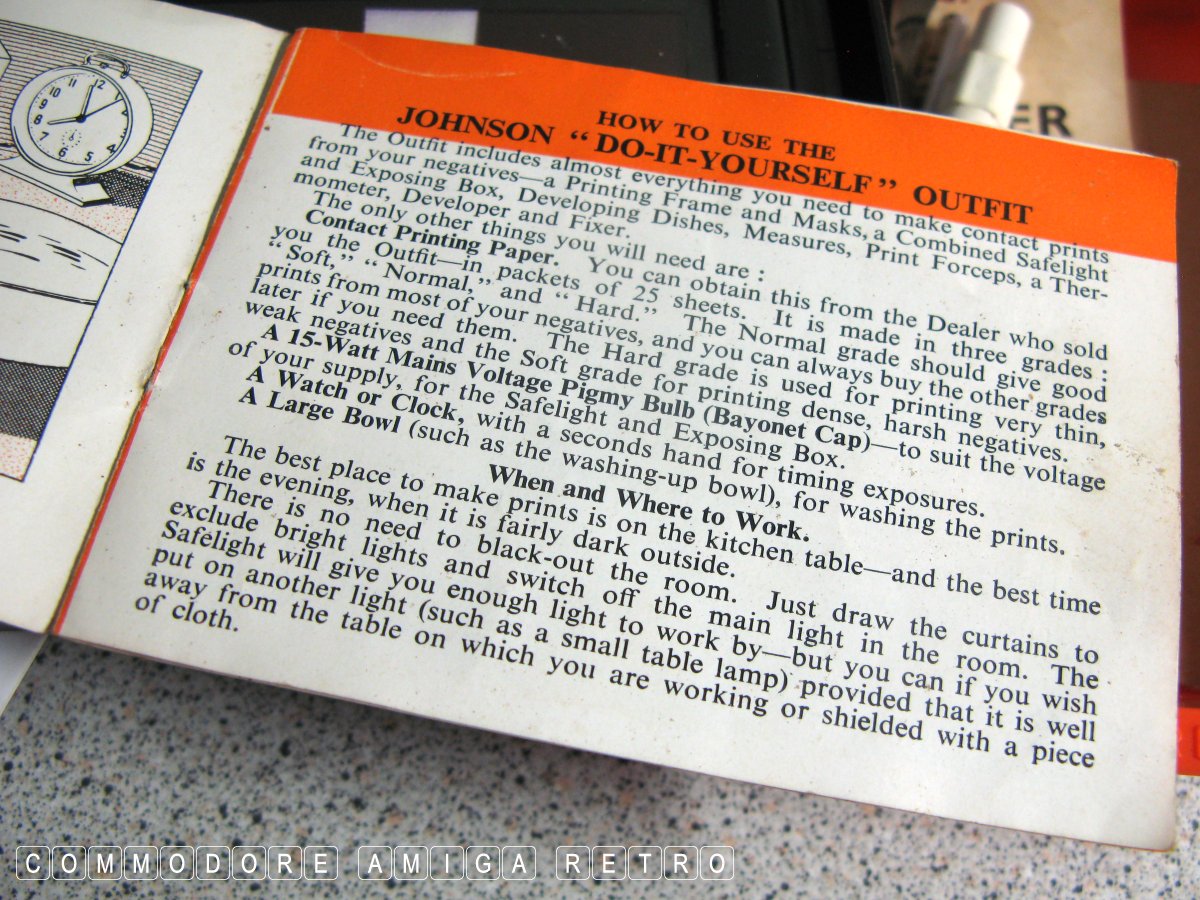
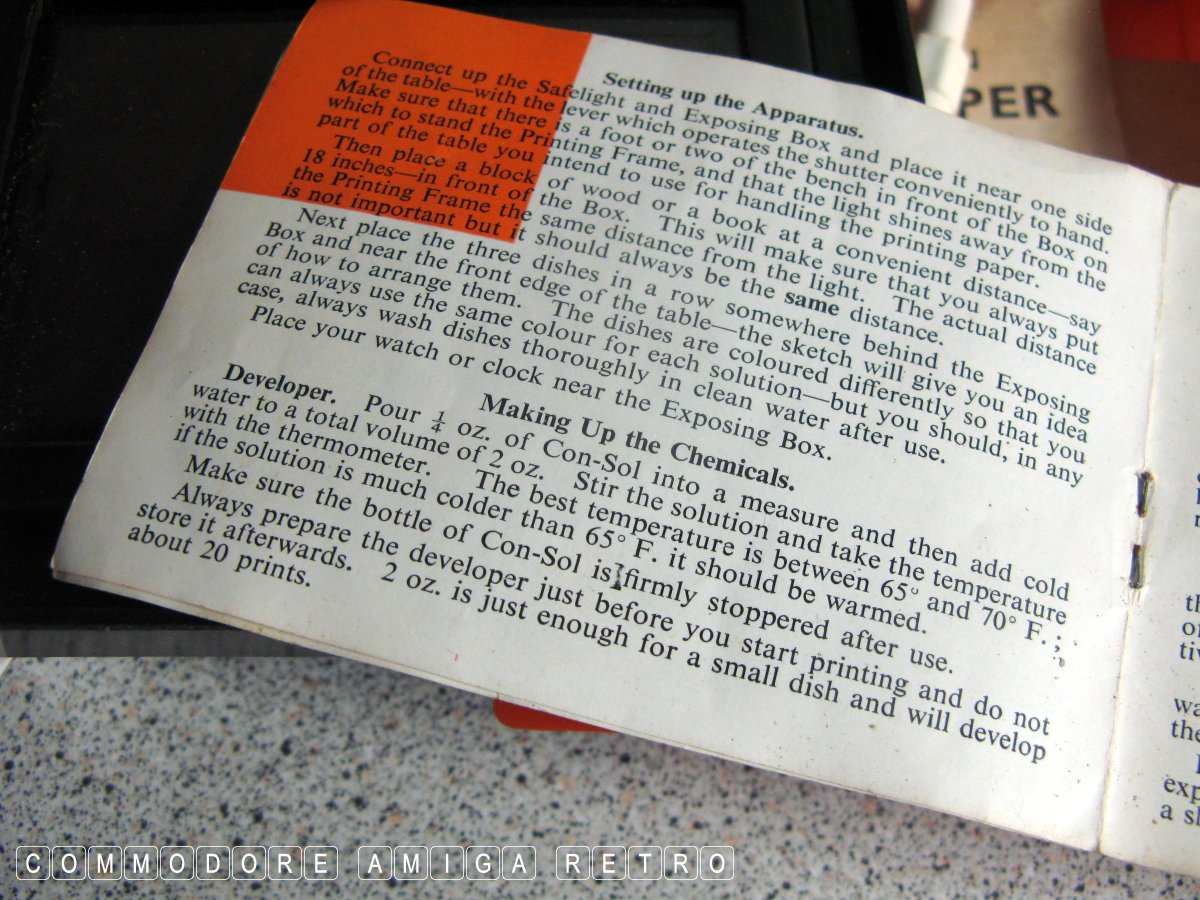
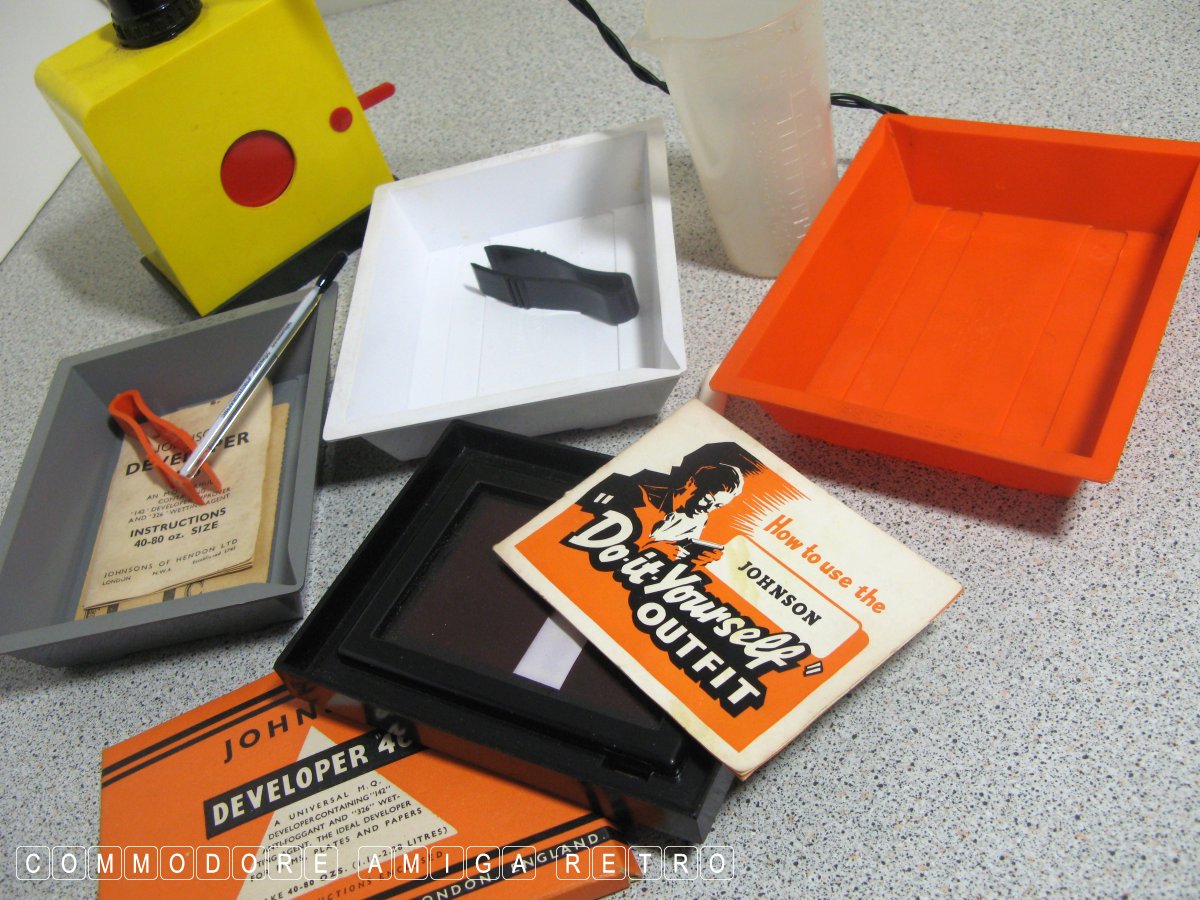
Anyhoo the Johnson Do-it-yourself kit was a gift from my gran I
think. Something she had stored in her attic no doubt. I have no
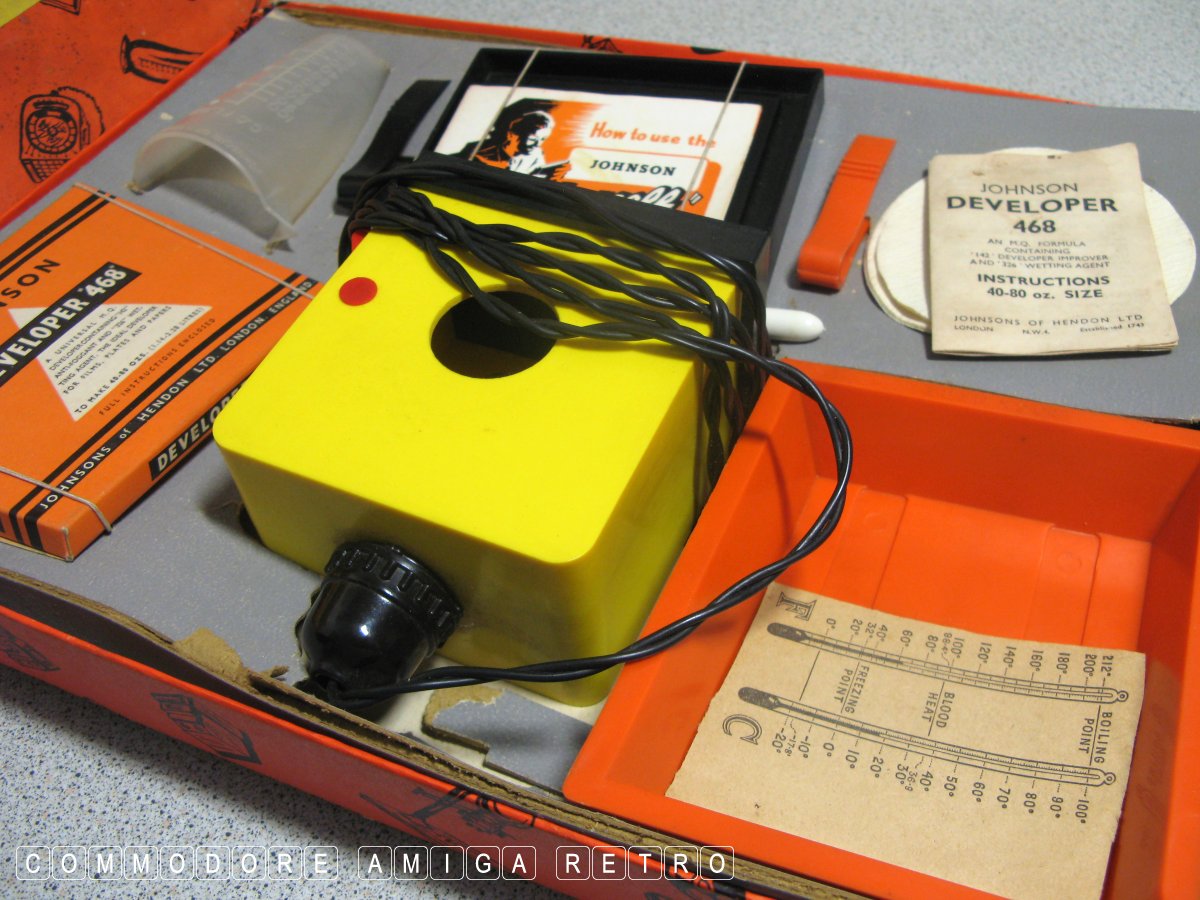
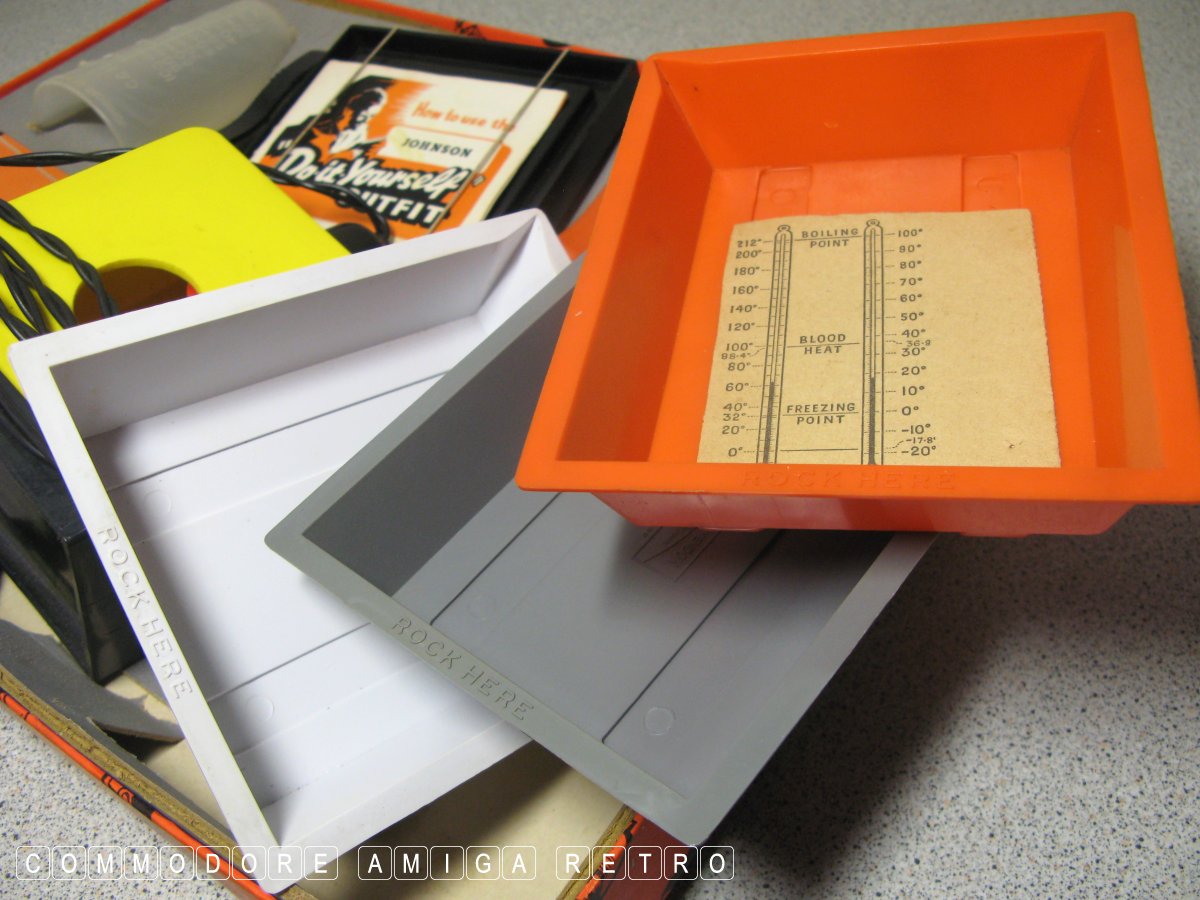
idea of the date. The chemicals have long gone. The paper is still
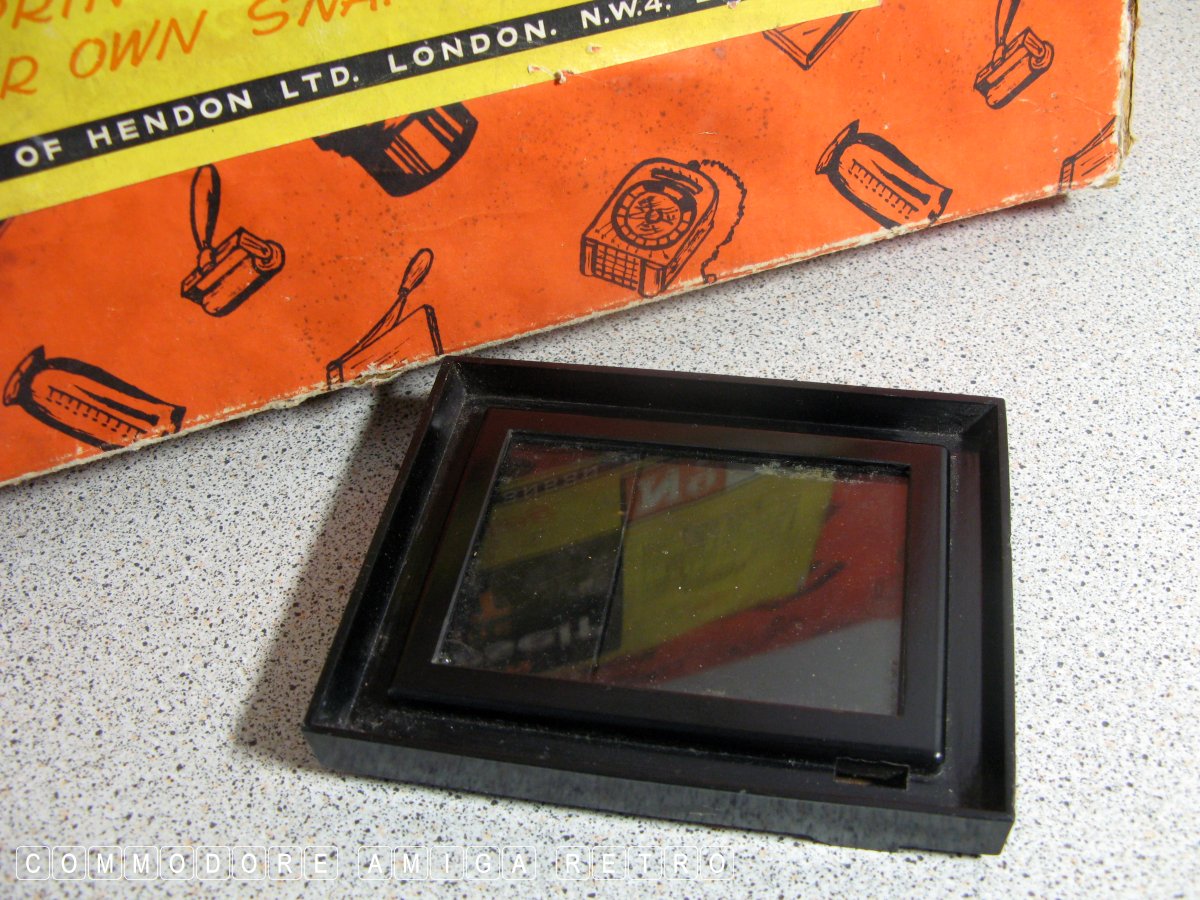
in the envelope. There is a safelight and mini trays plus a therm
ometer. In this system you simply place old style large negatives
into the 'bako' glass frame and expose direct to a light. Pretty
crude but does work. I have never used the kit as I had way more
advanced stuff in the day.
I have even taken photographs of negatives and developed as black
and white slides. Very useful when drawing perspectives.
That is that then... I guess I will have to visit my loft a
little more frequently. Who knows what is up there.
Johnson Do-it-yourself Photographic Outfit No.1.


If you can only see this CONTENT window
then click the image above for the full site
Last updated 25th November 2022
Chandraise Kingdom
![]()
Keep the Faith
scuzzscink 2022