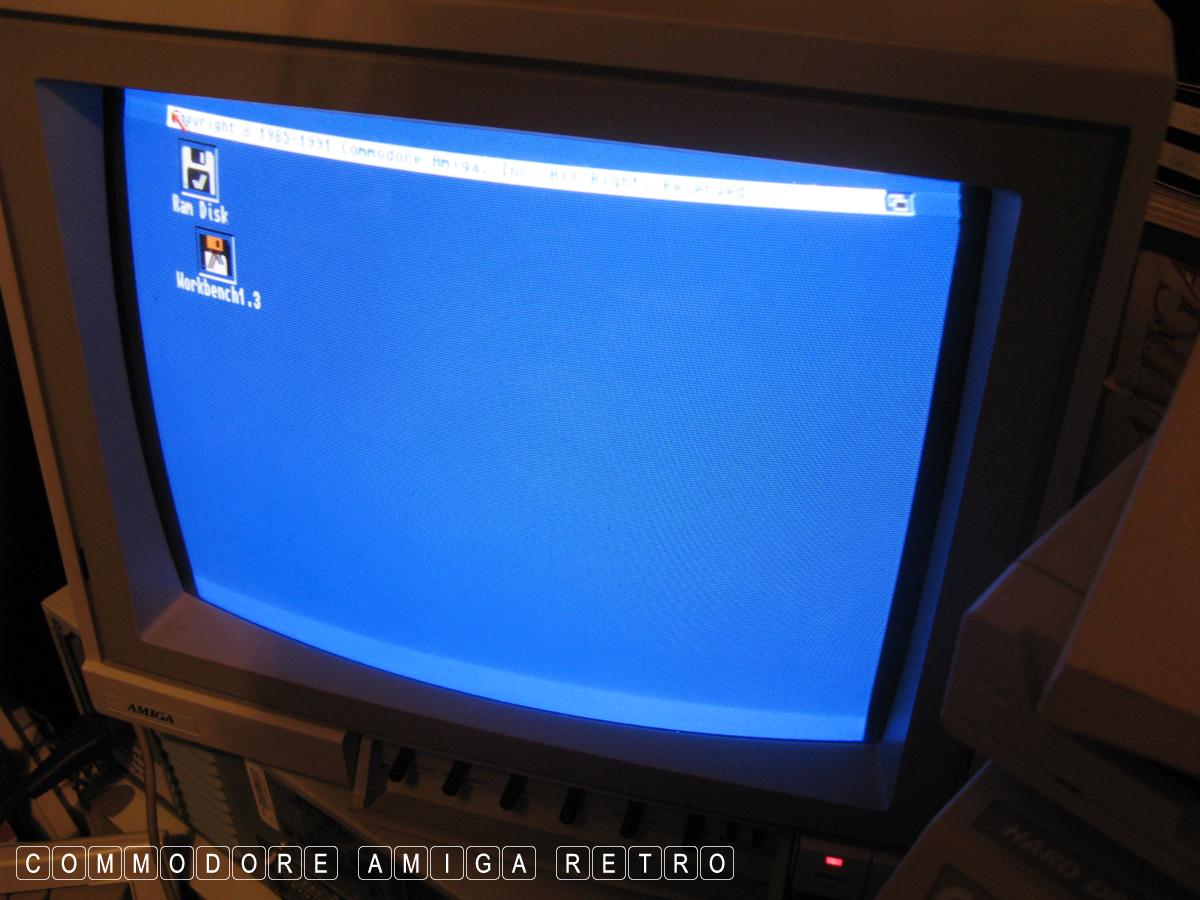
I again removed the 500 Plus from the Cartoon Classics box
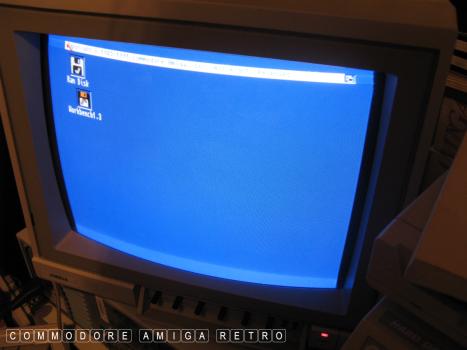
Checked if she was working. Used a spare 1.3
disk that was lying around.

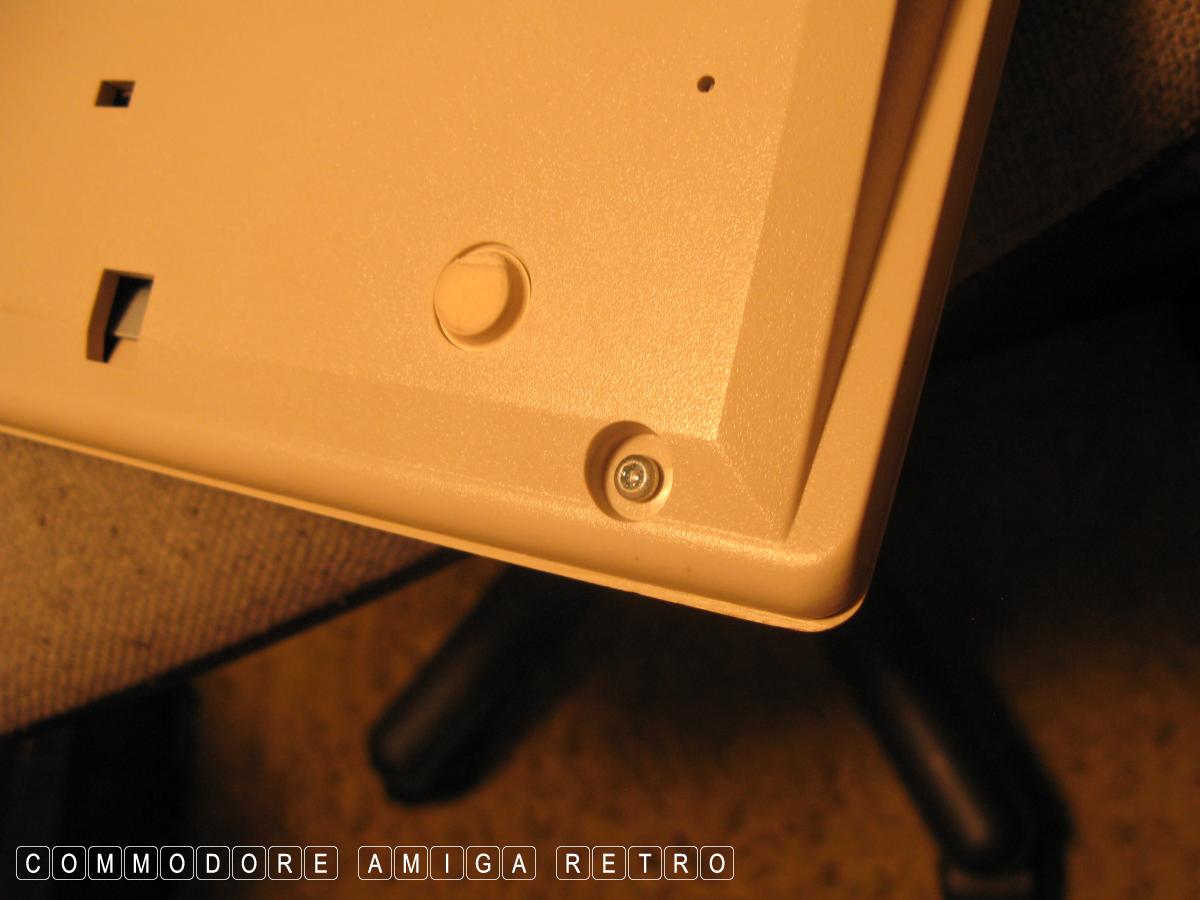
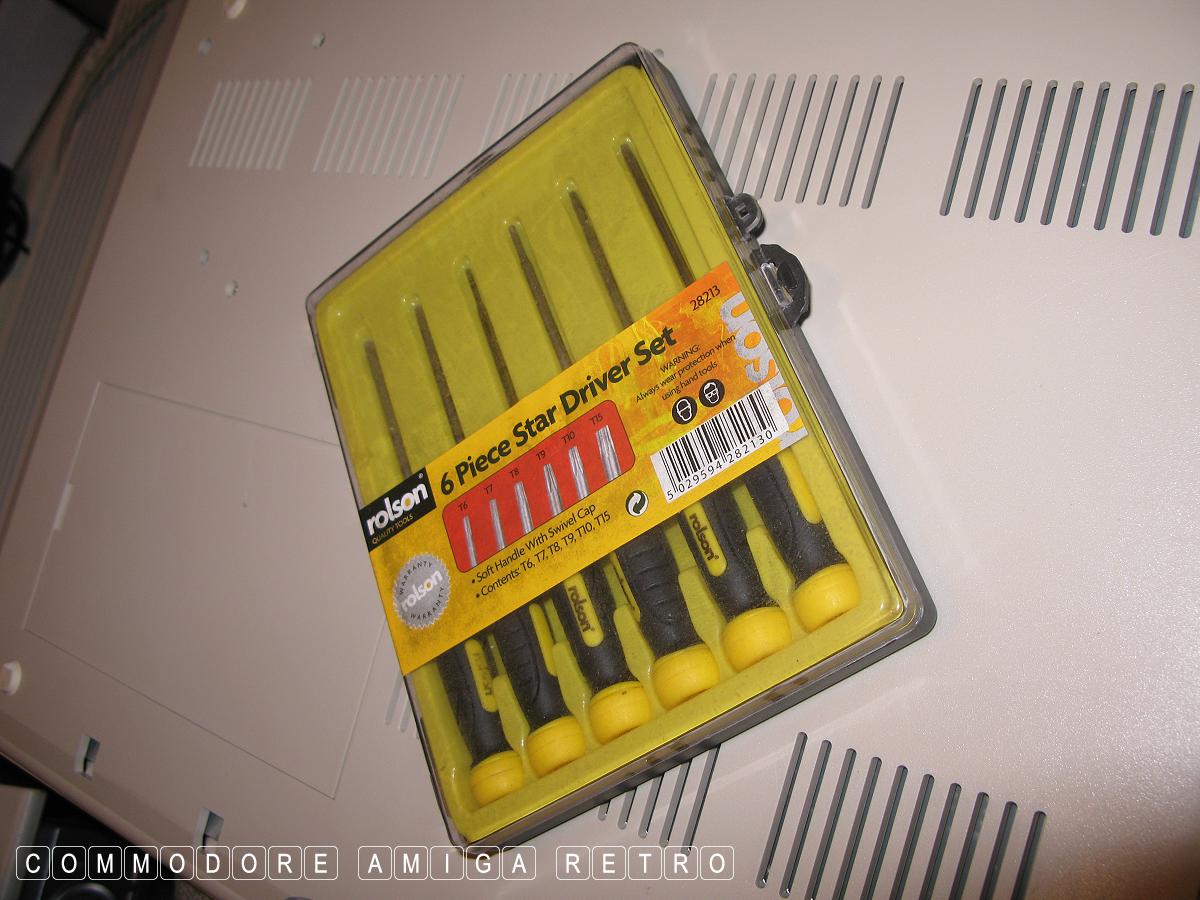
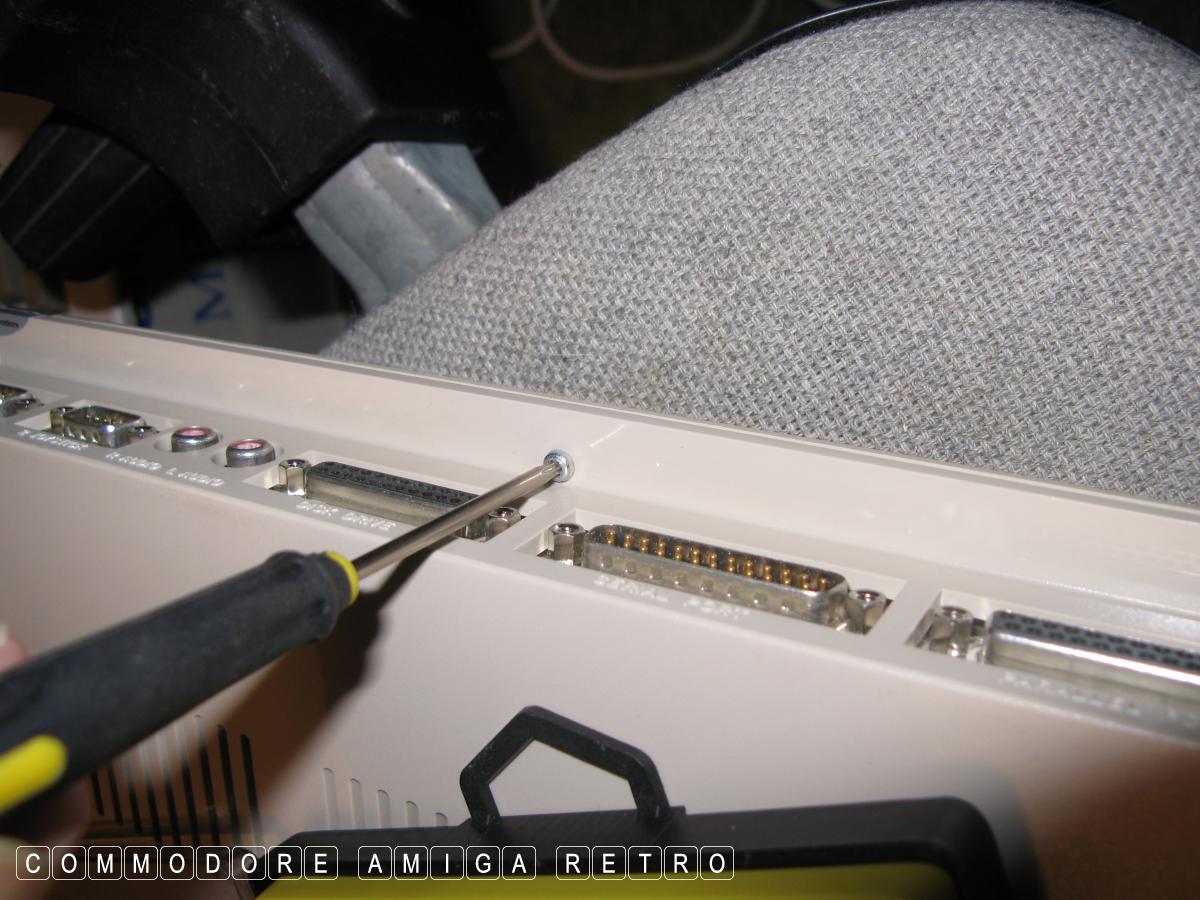
First problem is the star screws

Always use the correct tool to remove these screws
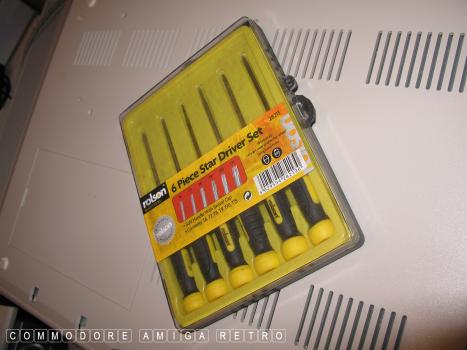
Or you will render them useless and have to
drill the little blighters out

There are six screws to be removed
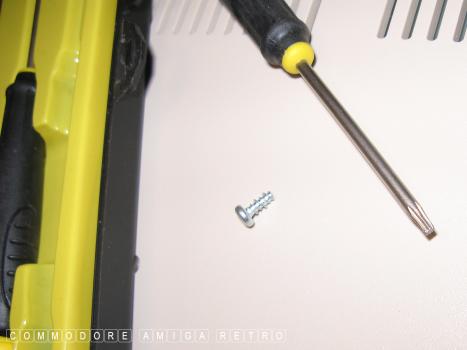
I generally swap them out where I can
Three screws at the back and three at the front

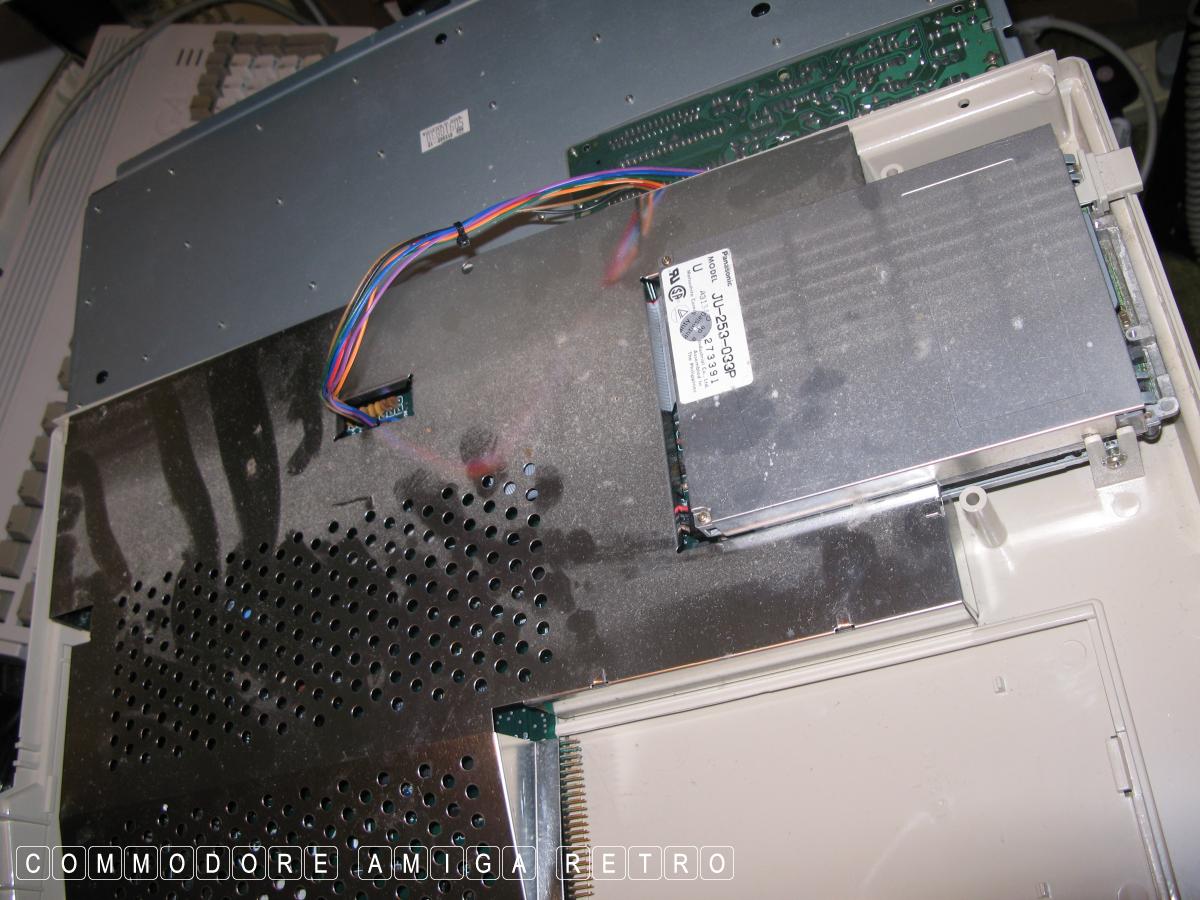
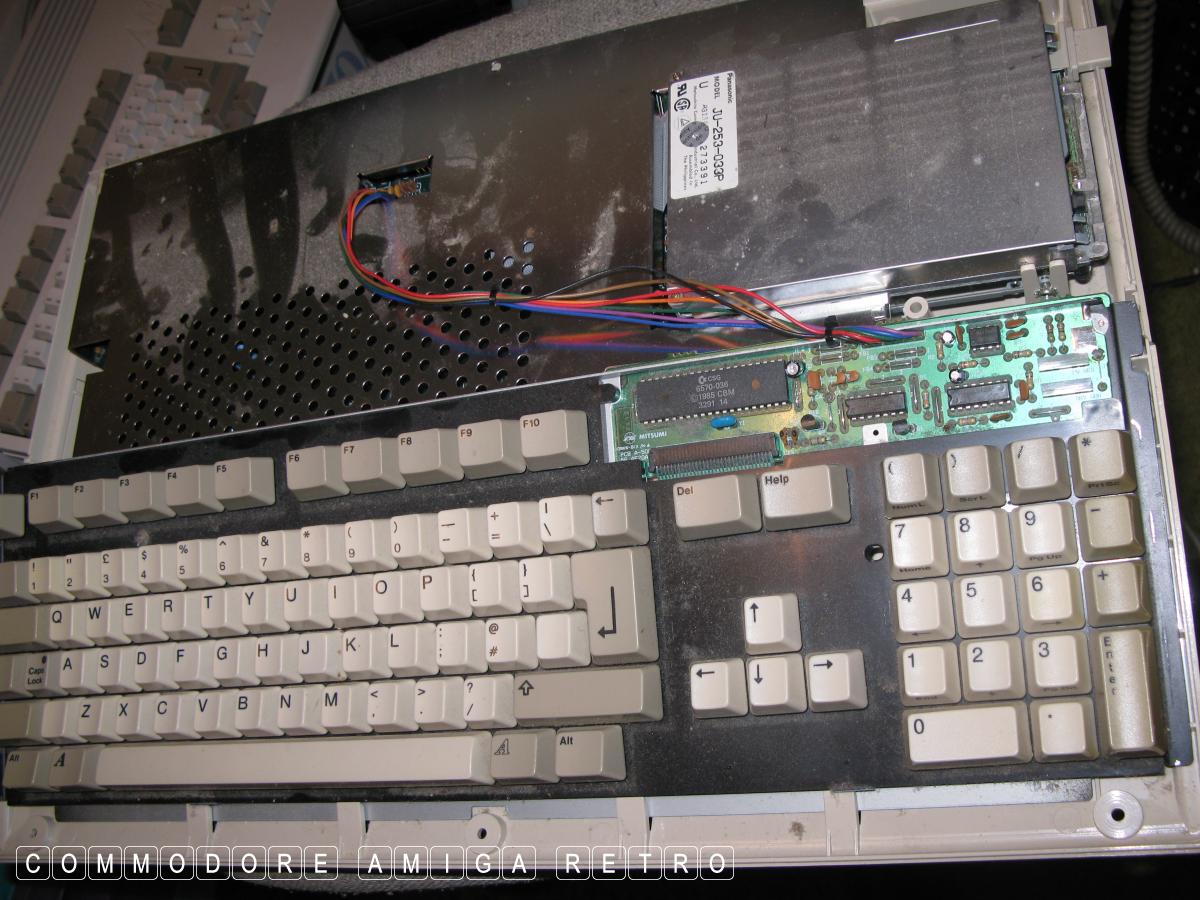
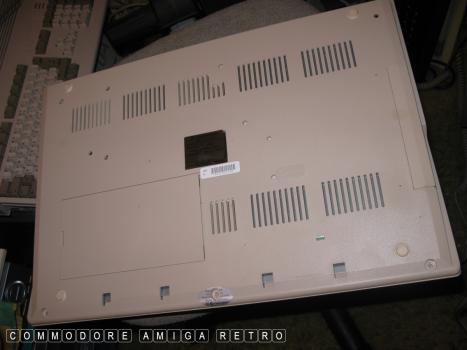
Gently unclip the top cover from the machine

Unlike the A1200 the top can be fully removed
without snagging the LED wires
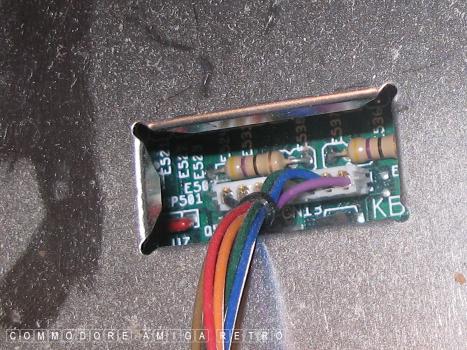
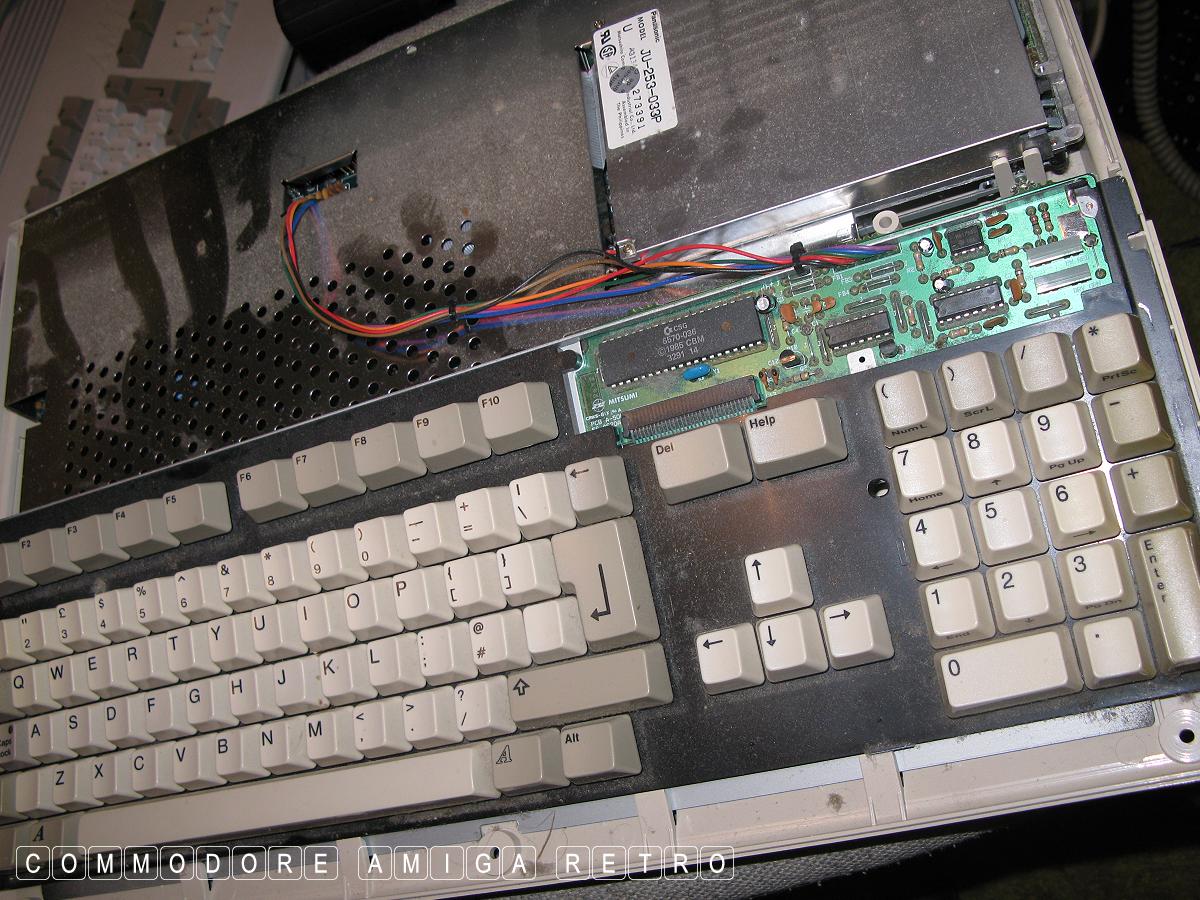
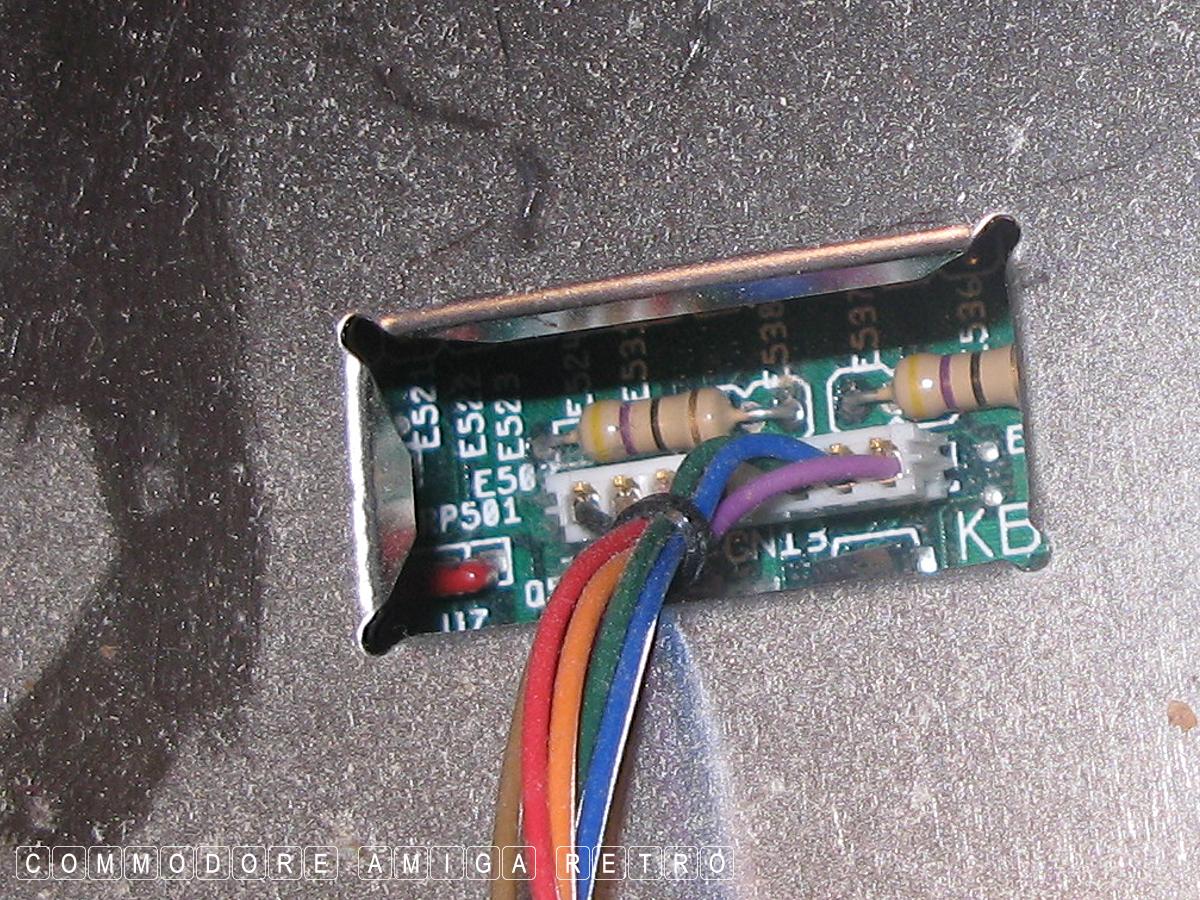
Note the keyboard connector. There is no real
need to disconnect this

Simply fold the keyboard over to the back
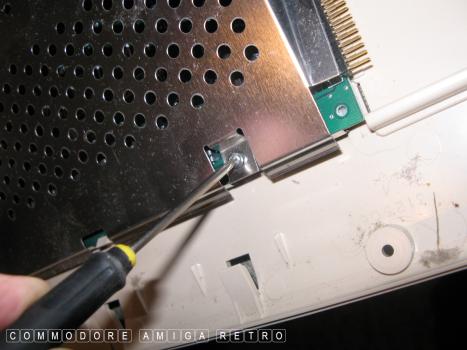
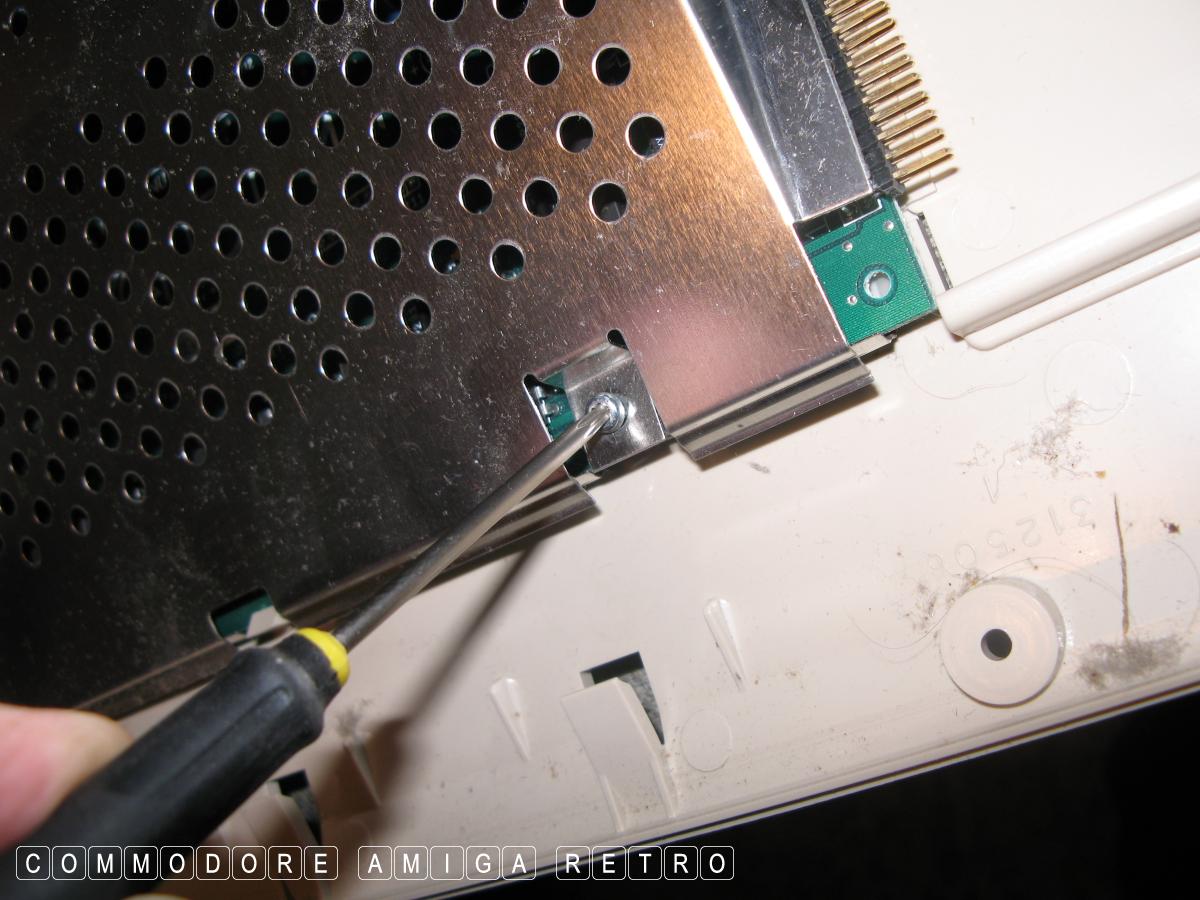
Remove the four screws to the shielding
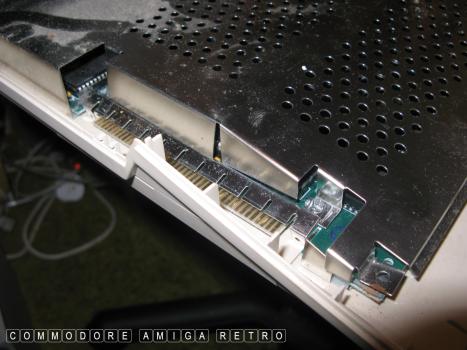
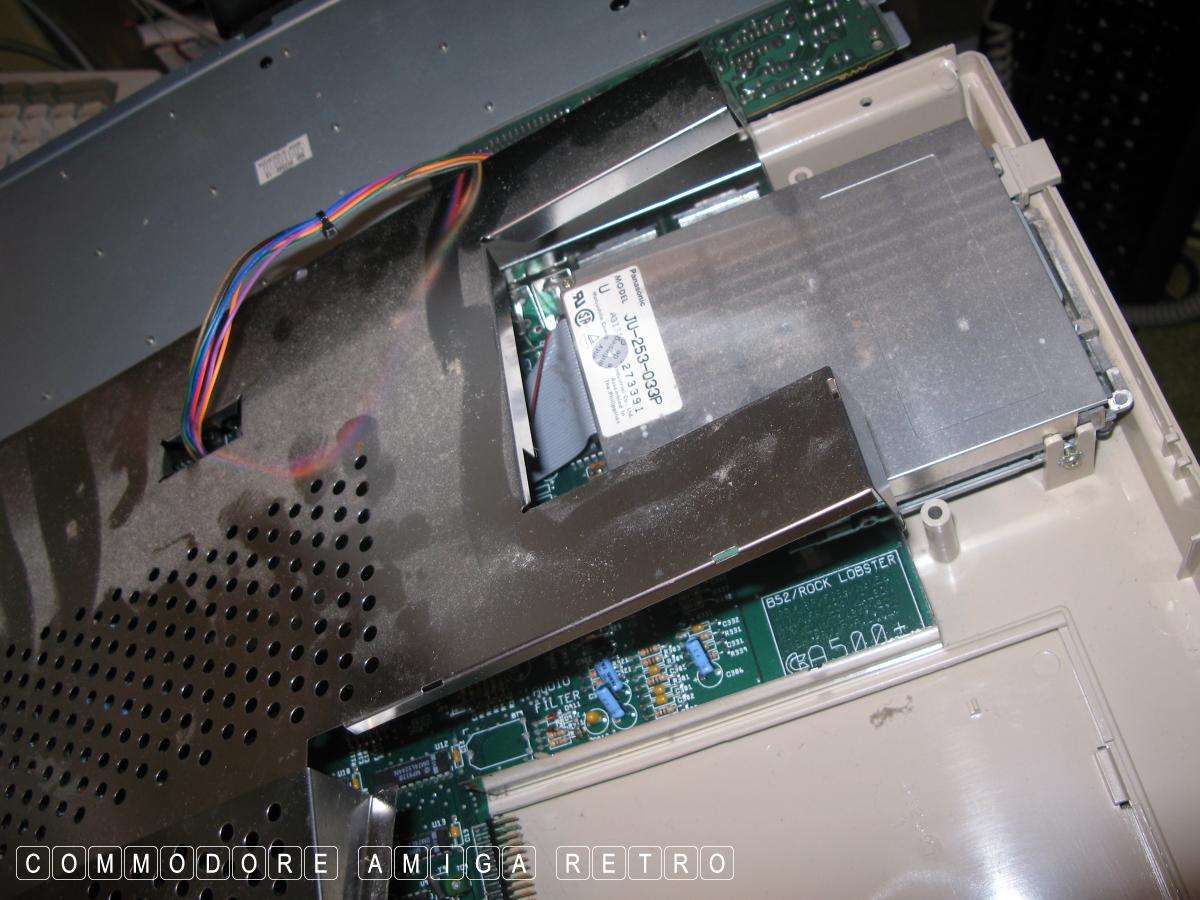
The side expansion slot cover is a bit fiddly
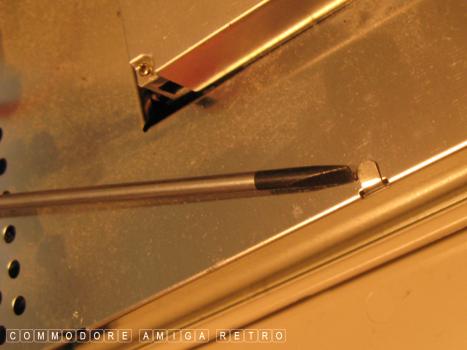
Next lift the metal tabs with a small screwdriver
Then carefully lift the shielding. The metal
is very sharp so avoid cutting yourself
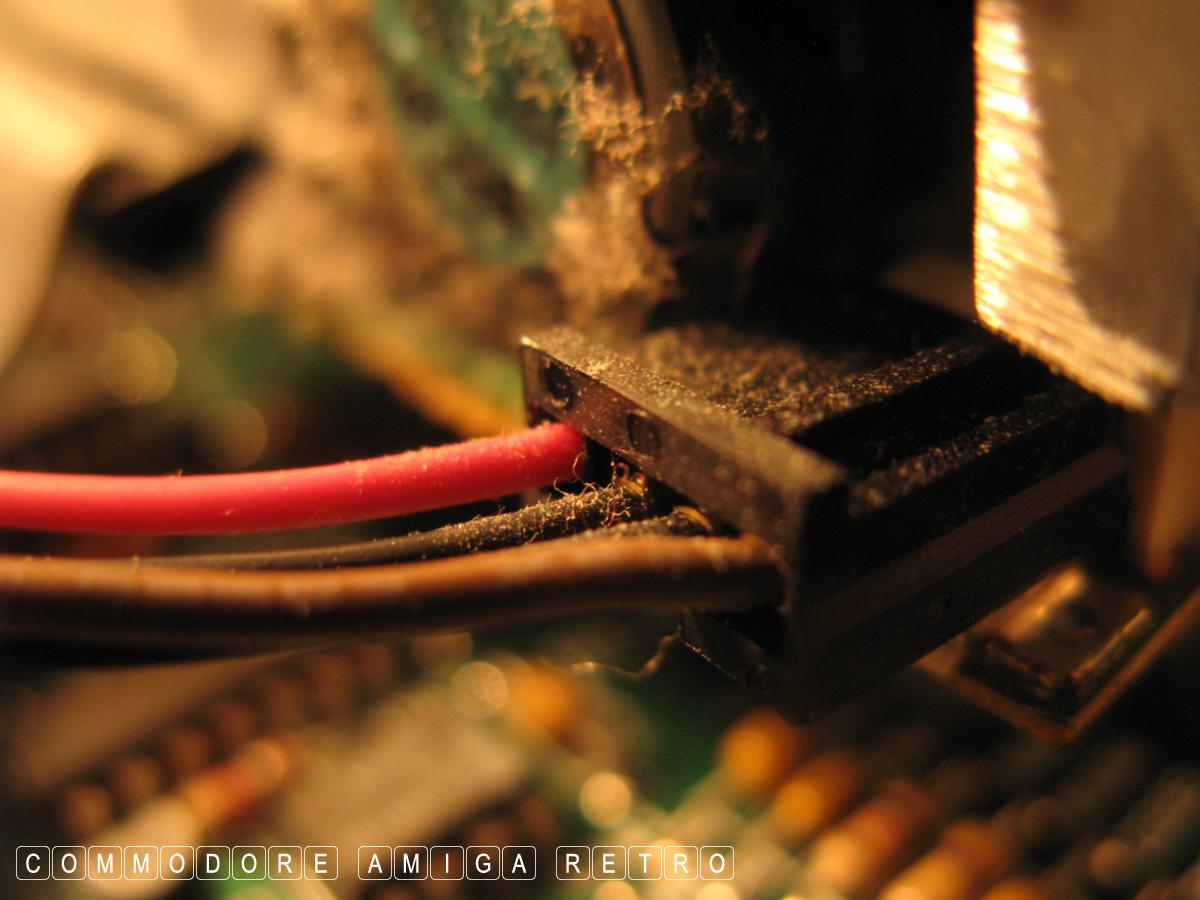
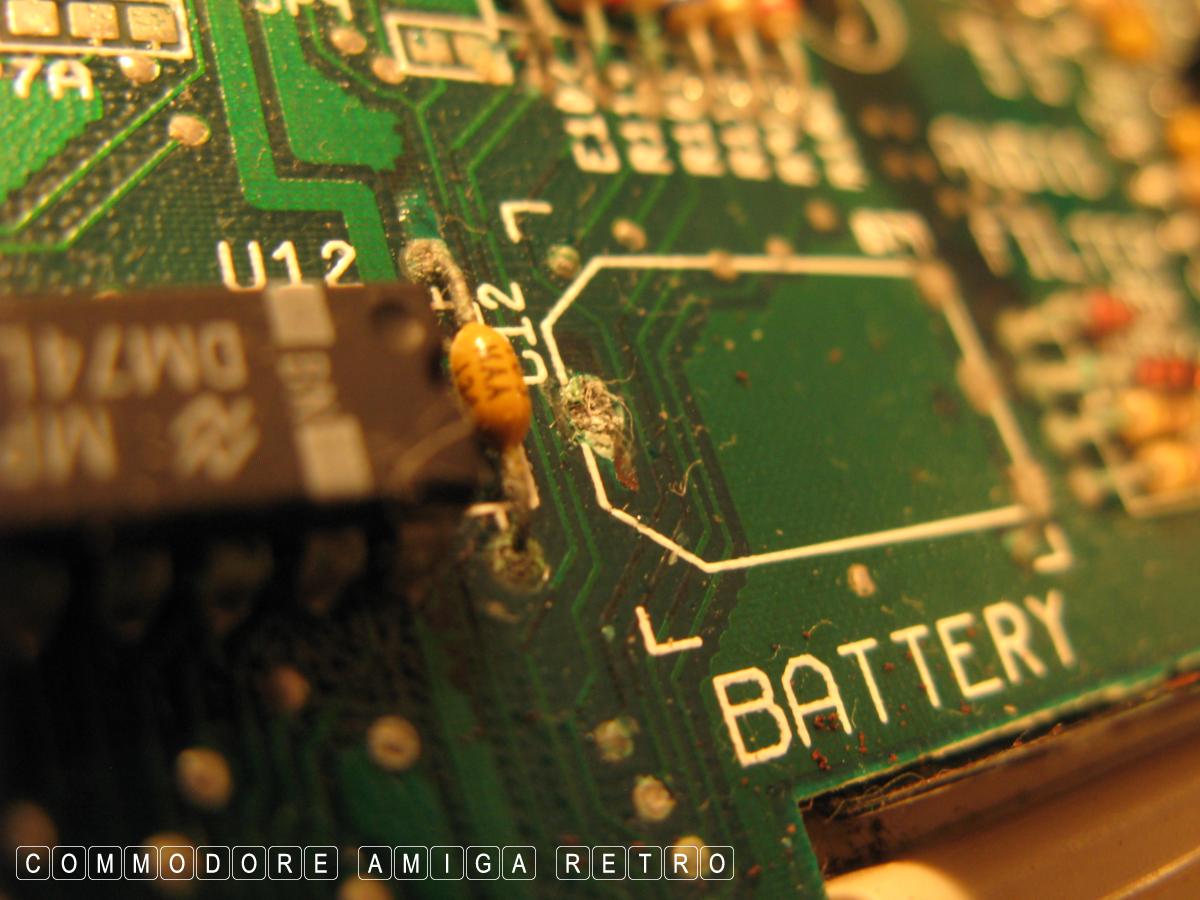
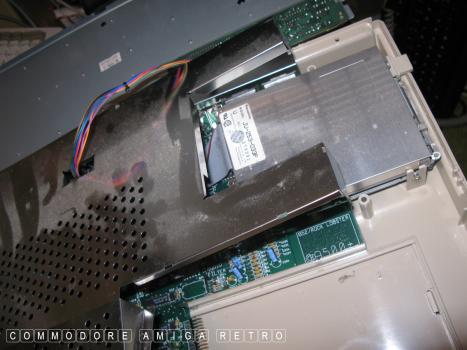
And there we have it and the battery has
already been removed.. by me
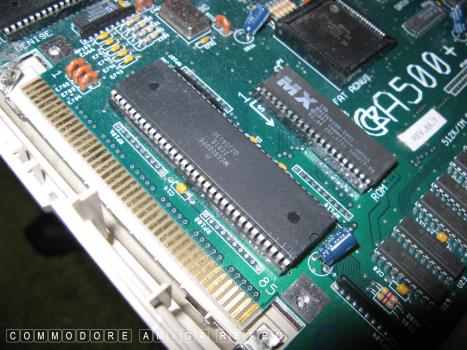
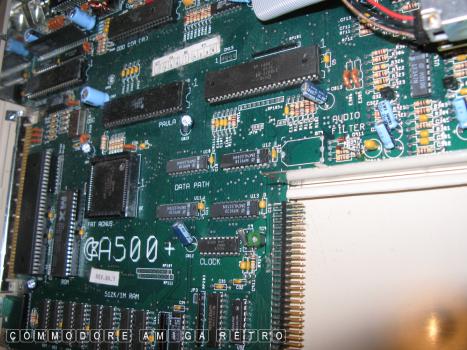
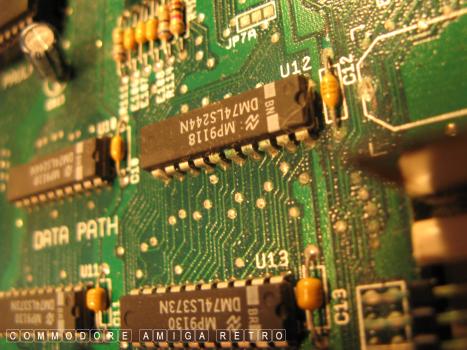
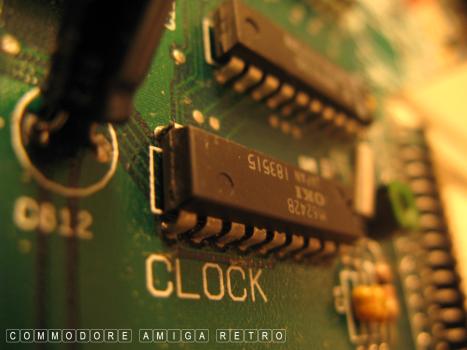
Ok time for the tour. The 68000 processor
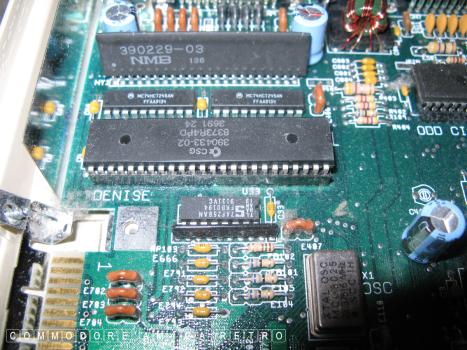
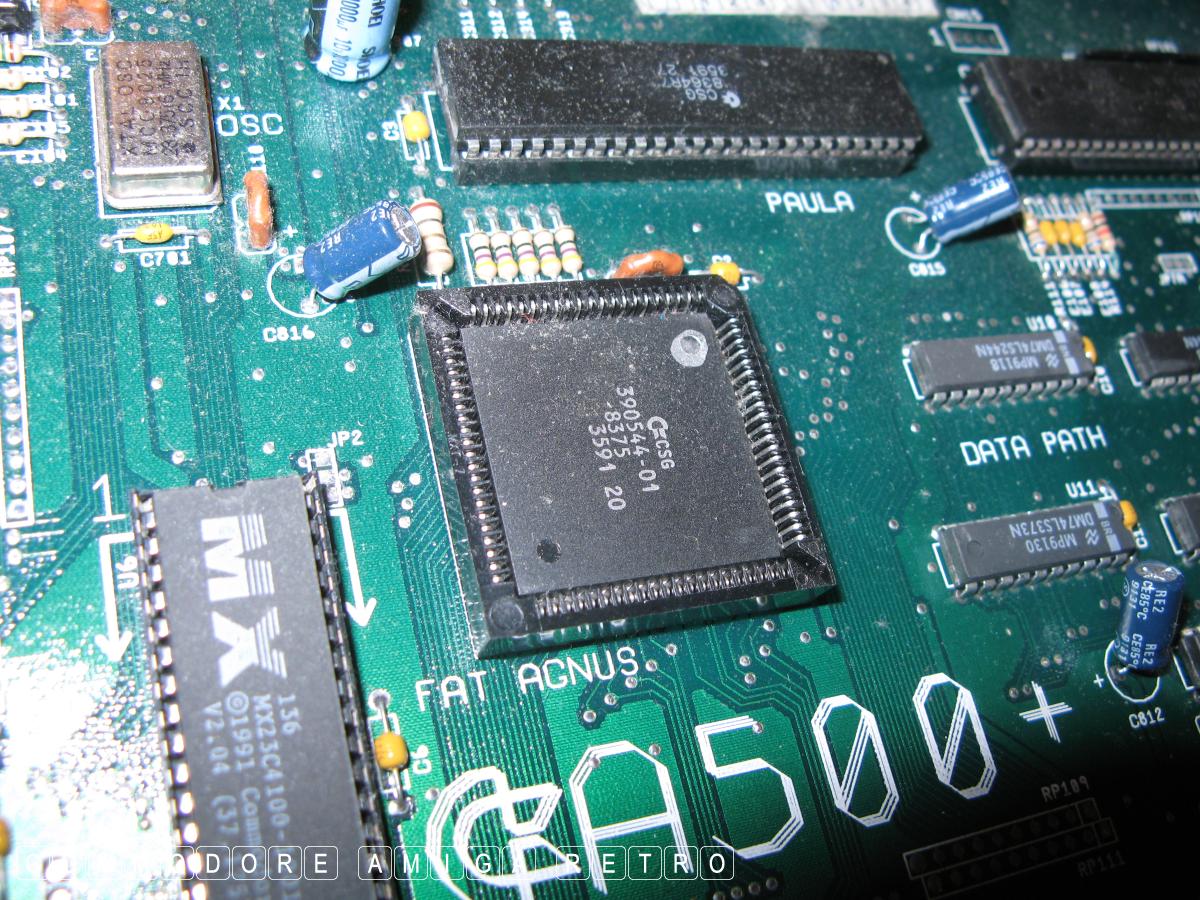
Meet Denise
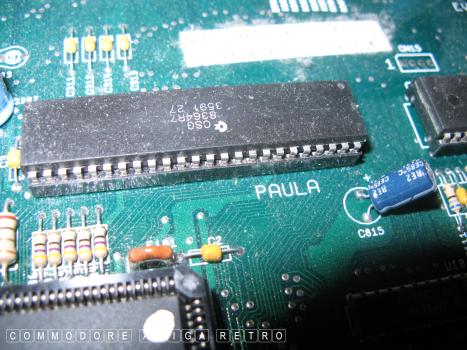
Introducing Paula
And Gary
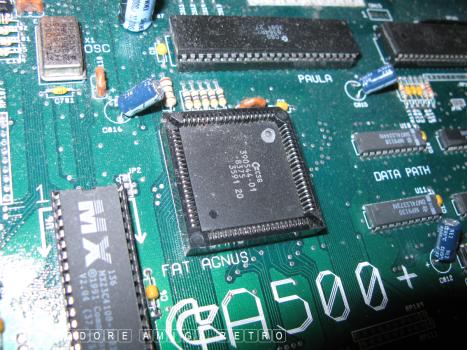
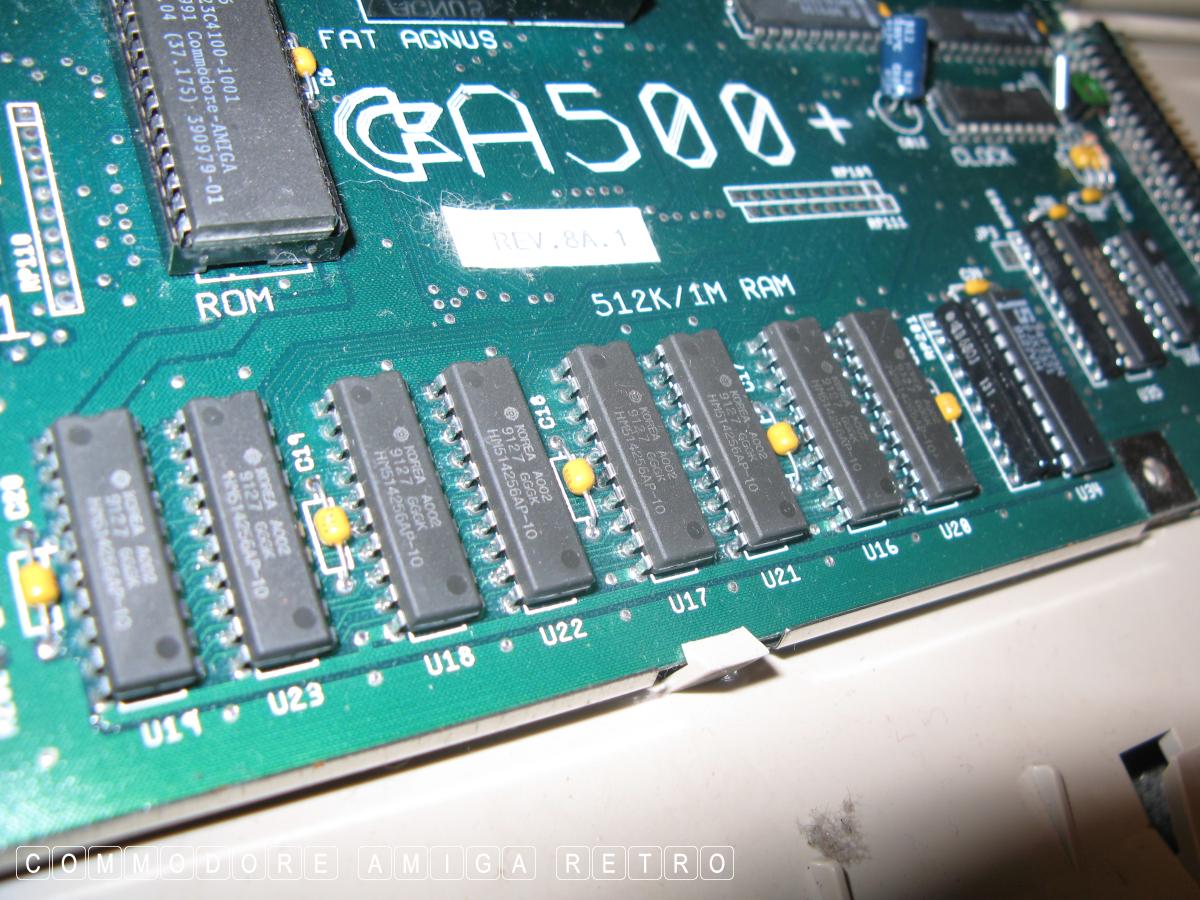
Next up is Fat Agnus
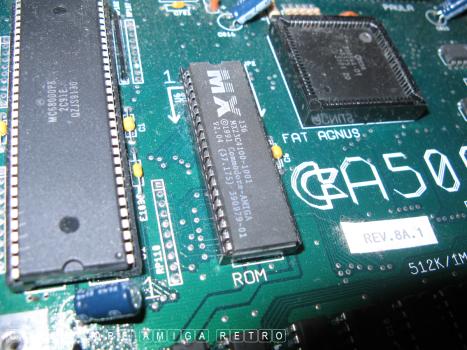
R O M

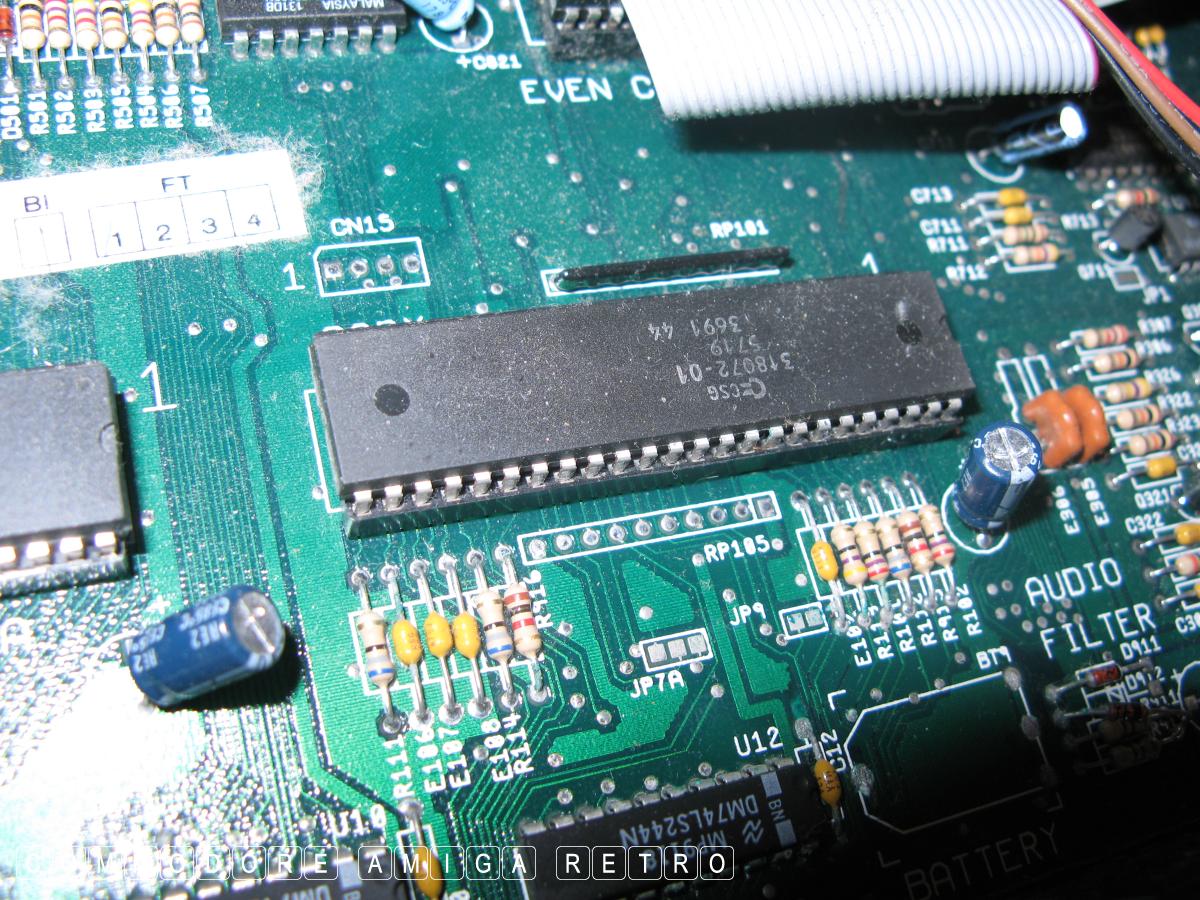
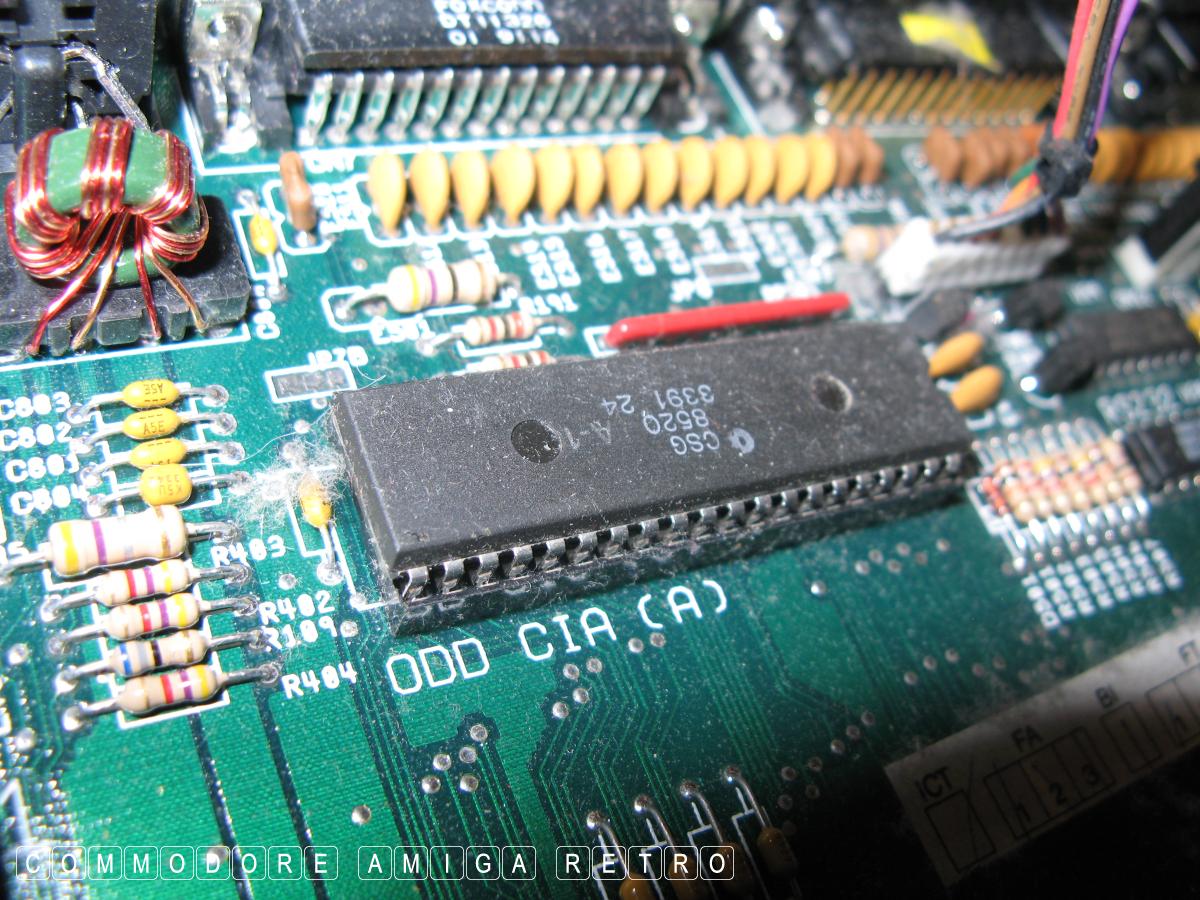
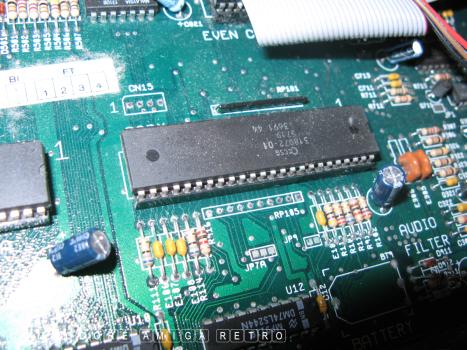
Your Odd CIA [ A ]
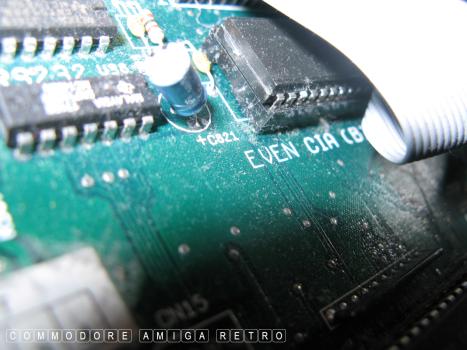
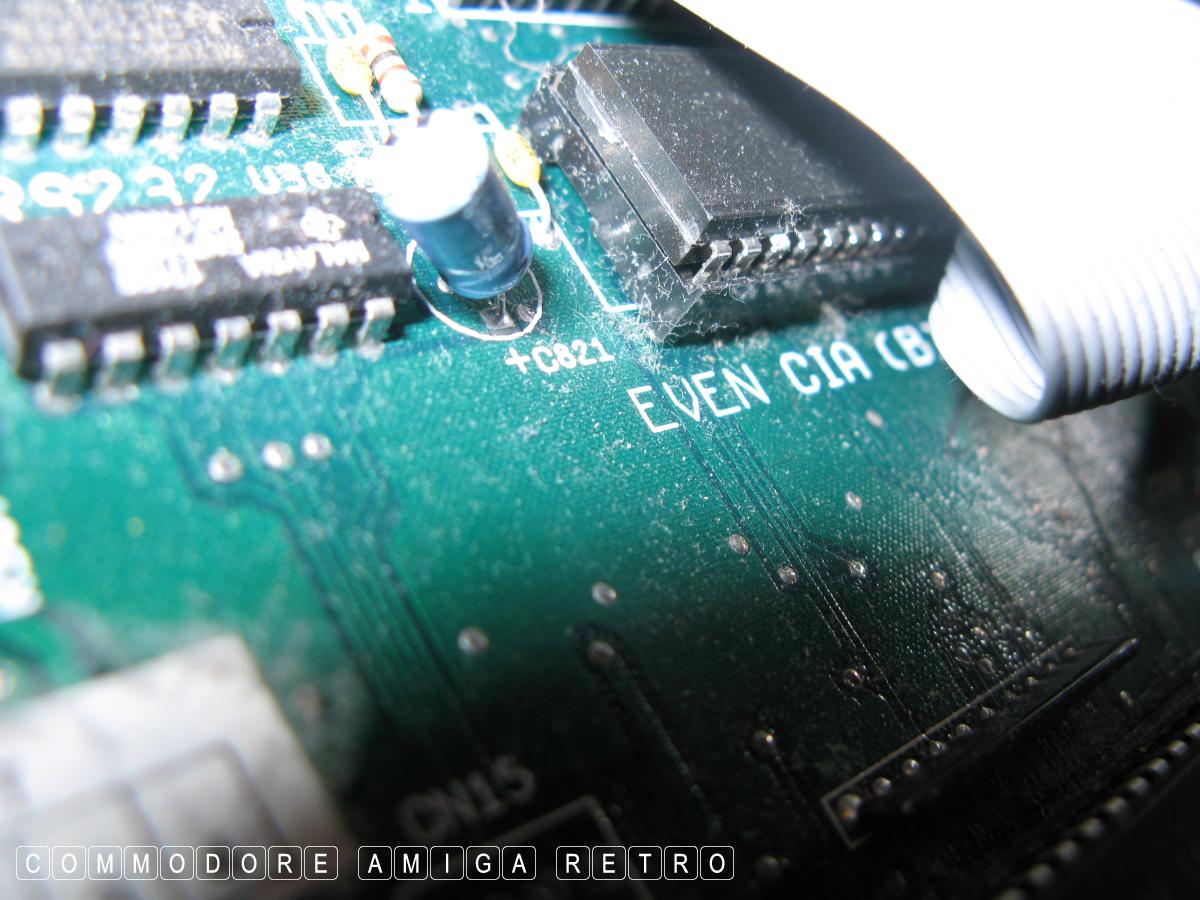
And your Even CIA [ B ]

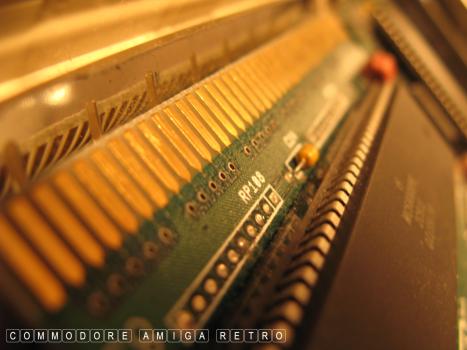
512 or is it 1MB of RAM

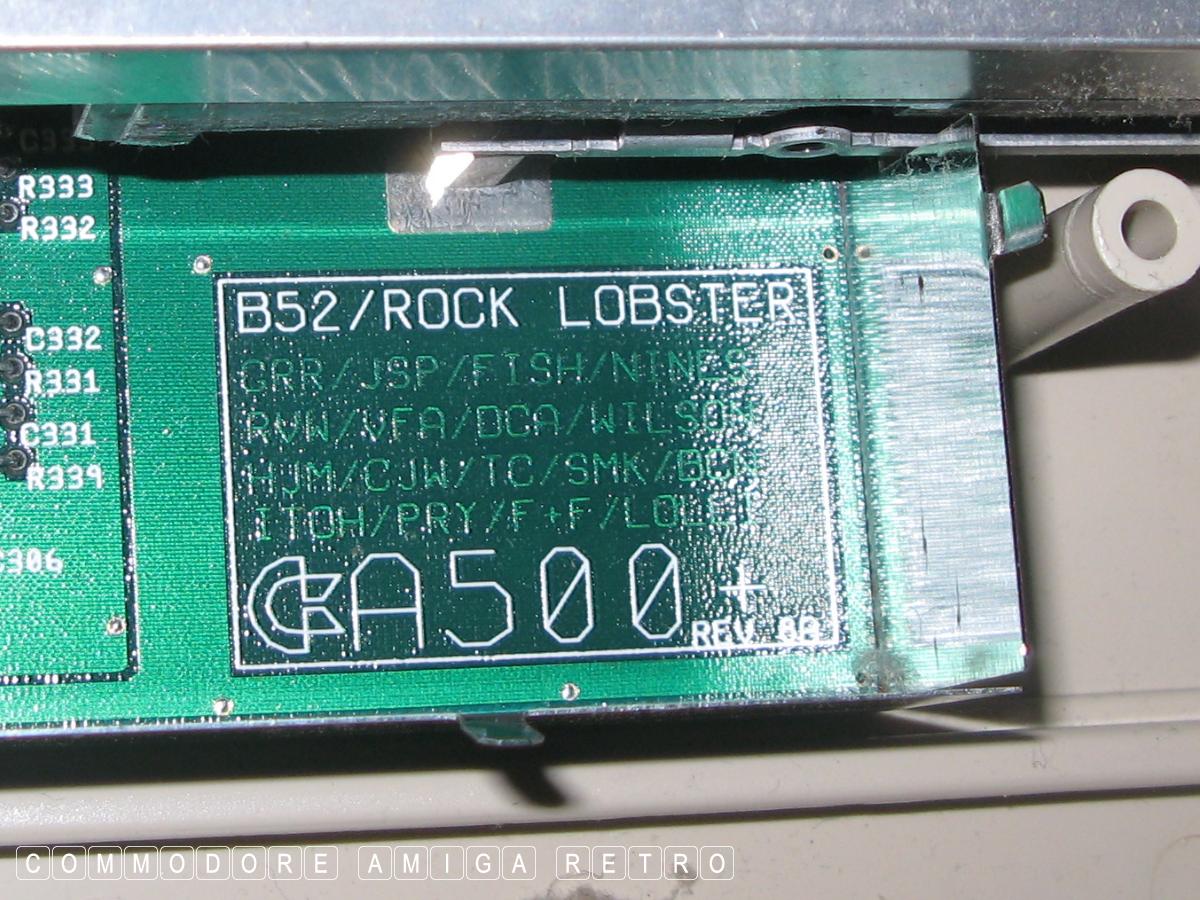
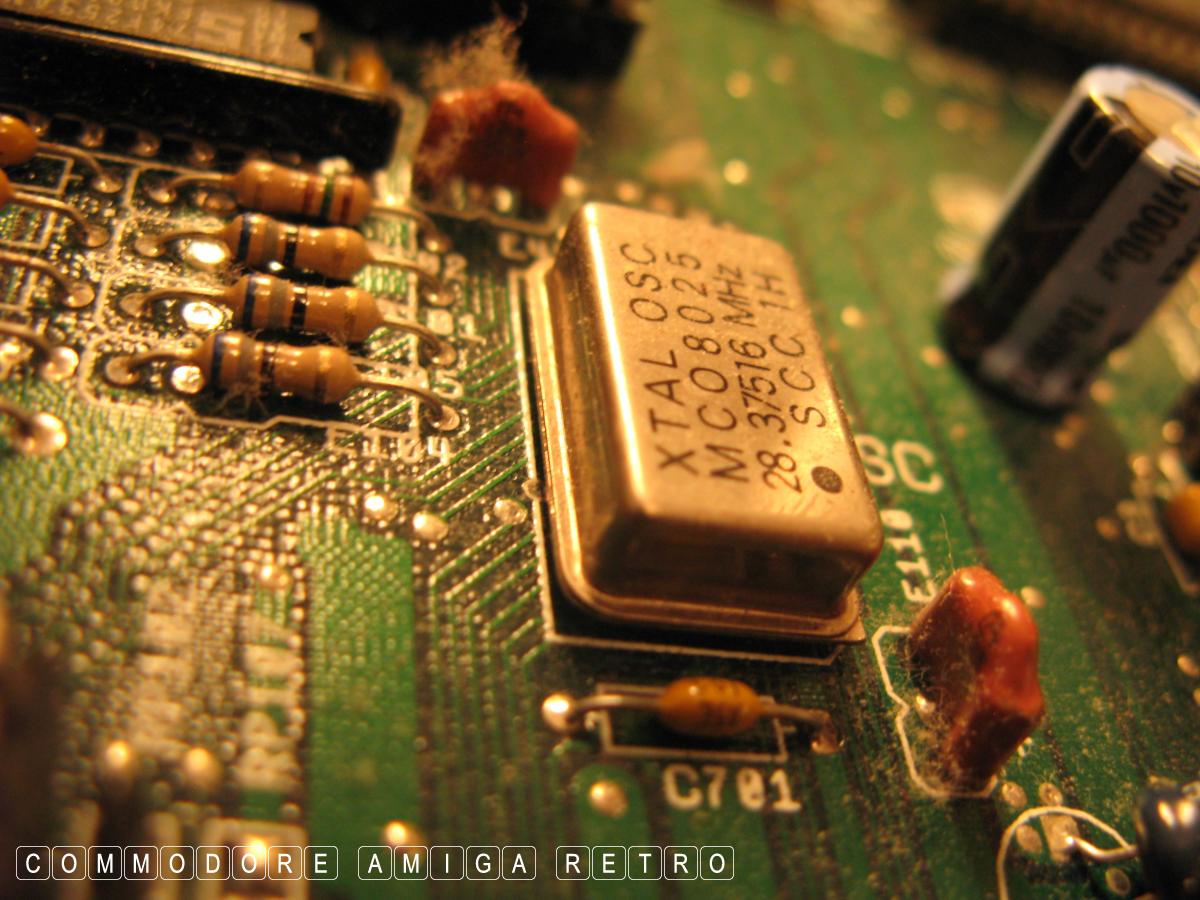
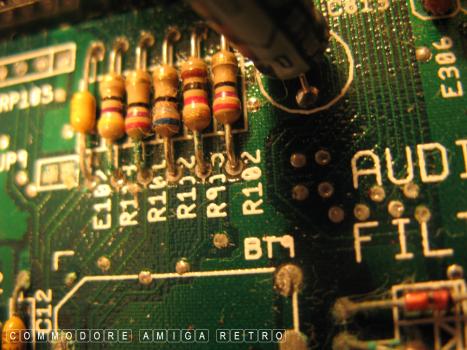
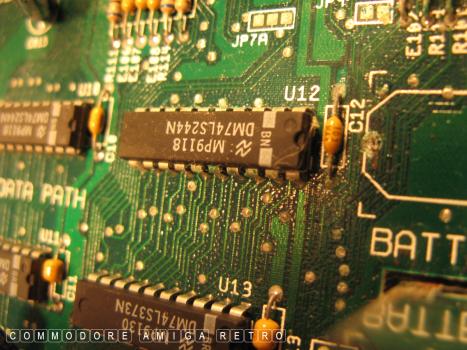
Just your run of the mill B52s

And real close up

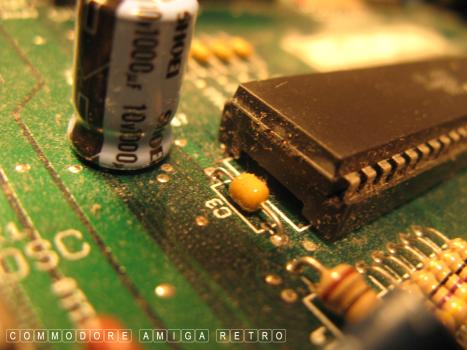


Not forgetting why we are here. Seriously
if you have an A500Plus you need to remove
that killer of a battery as soon as possible
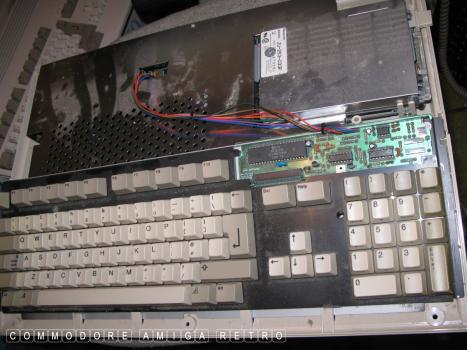
All back togther now and just the top to fit
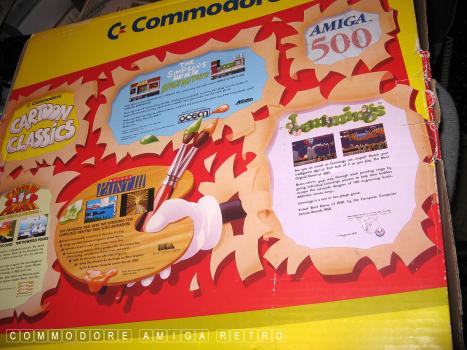
Back in the box and safe from battery damage