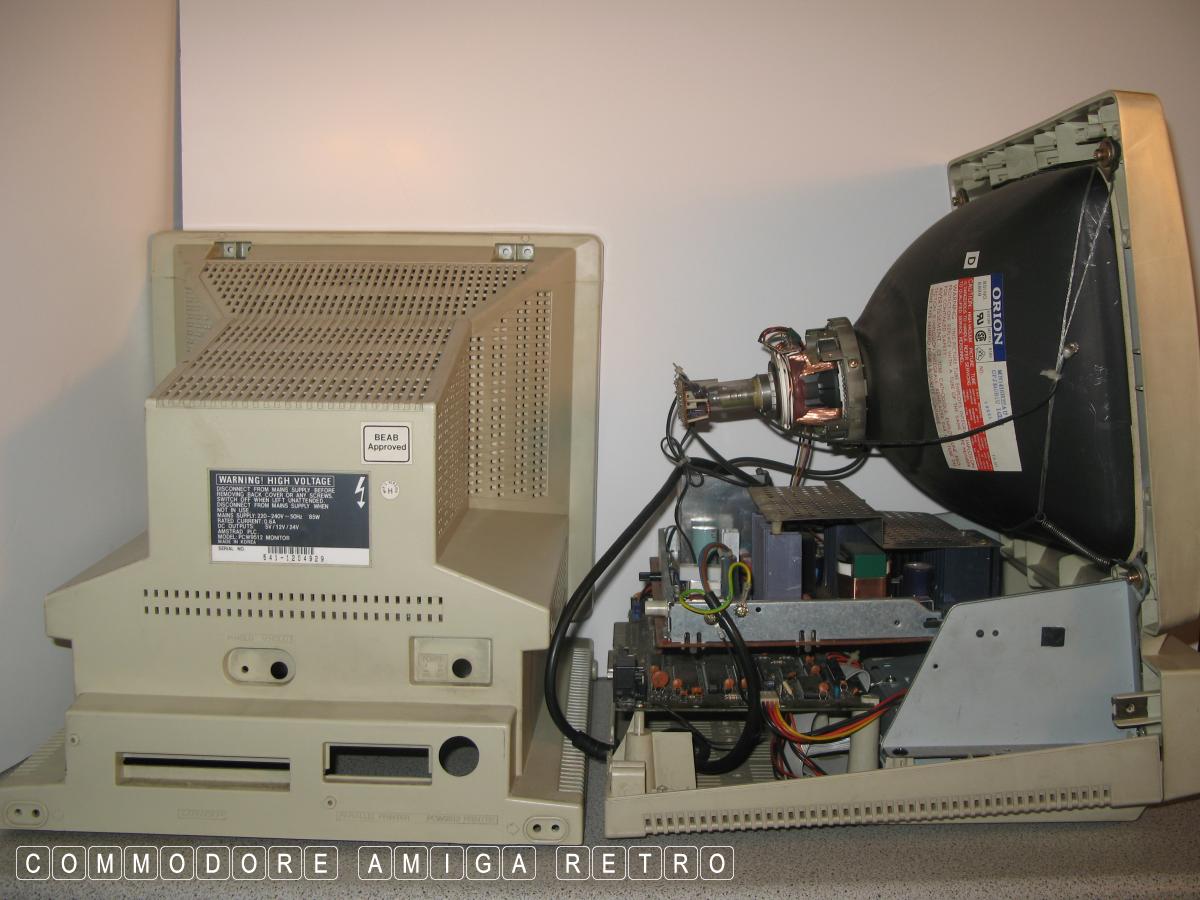
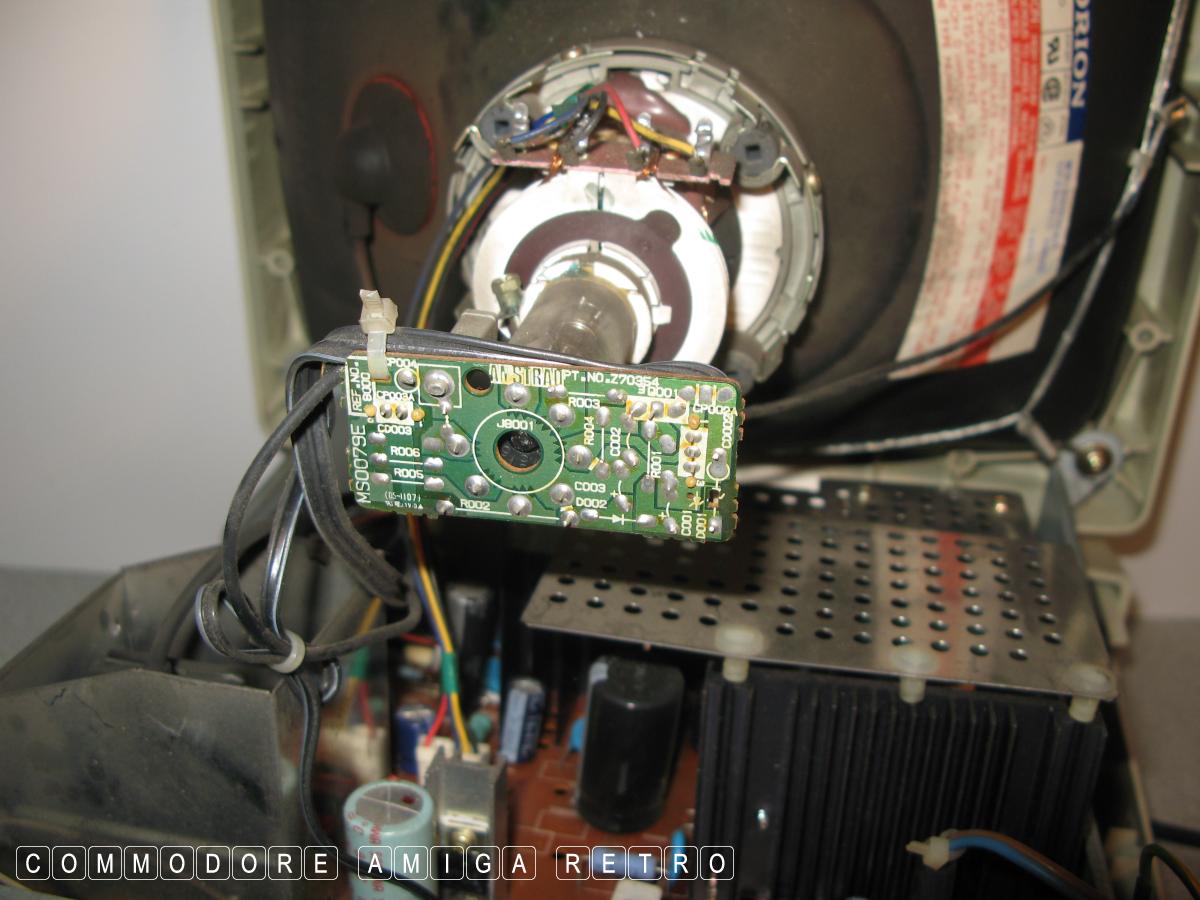
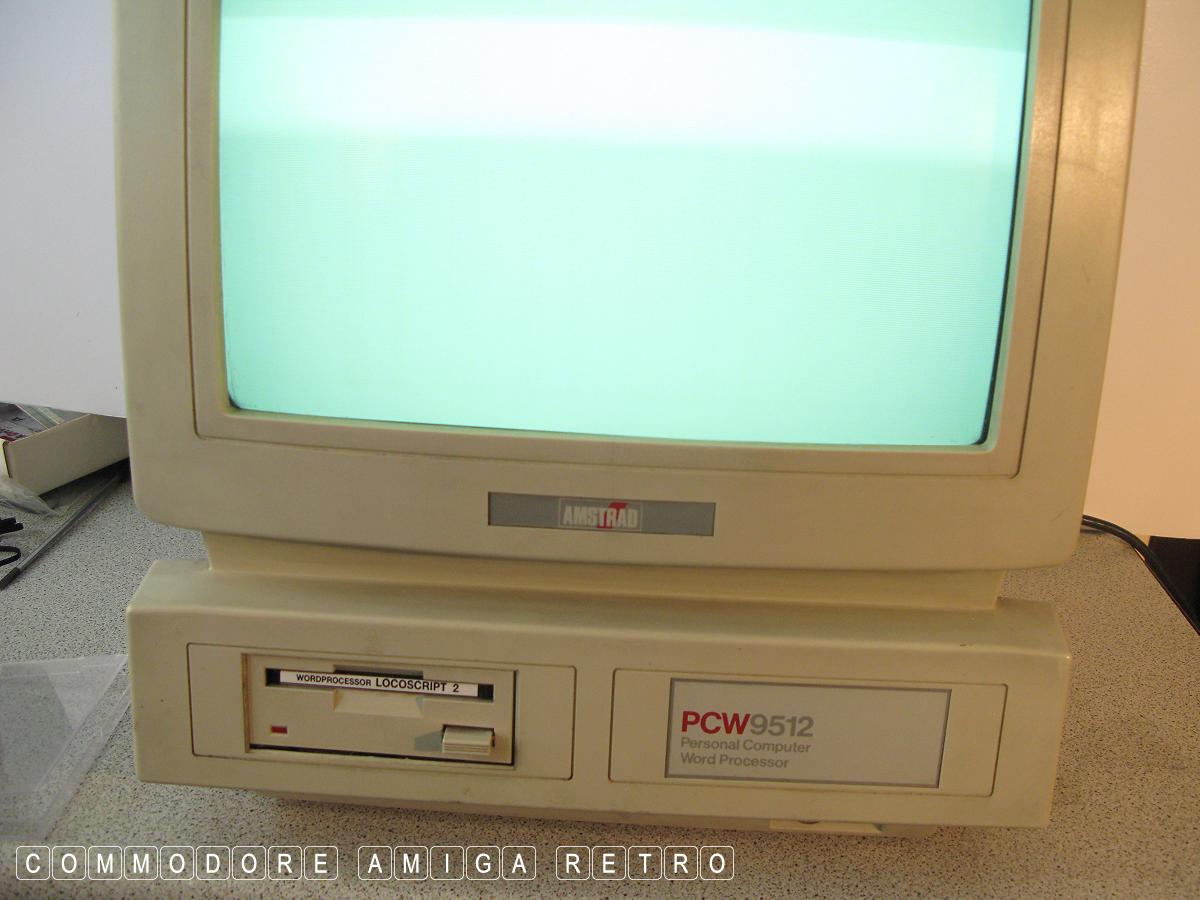
Trust me .. not a Dalek
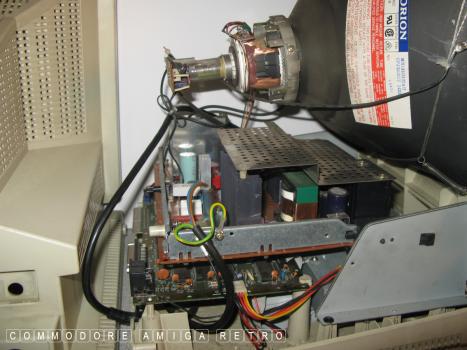
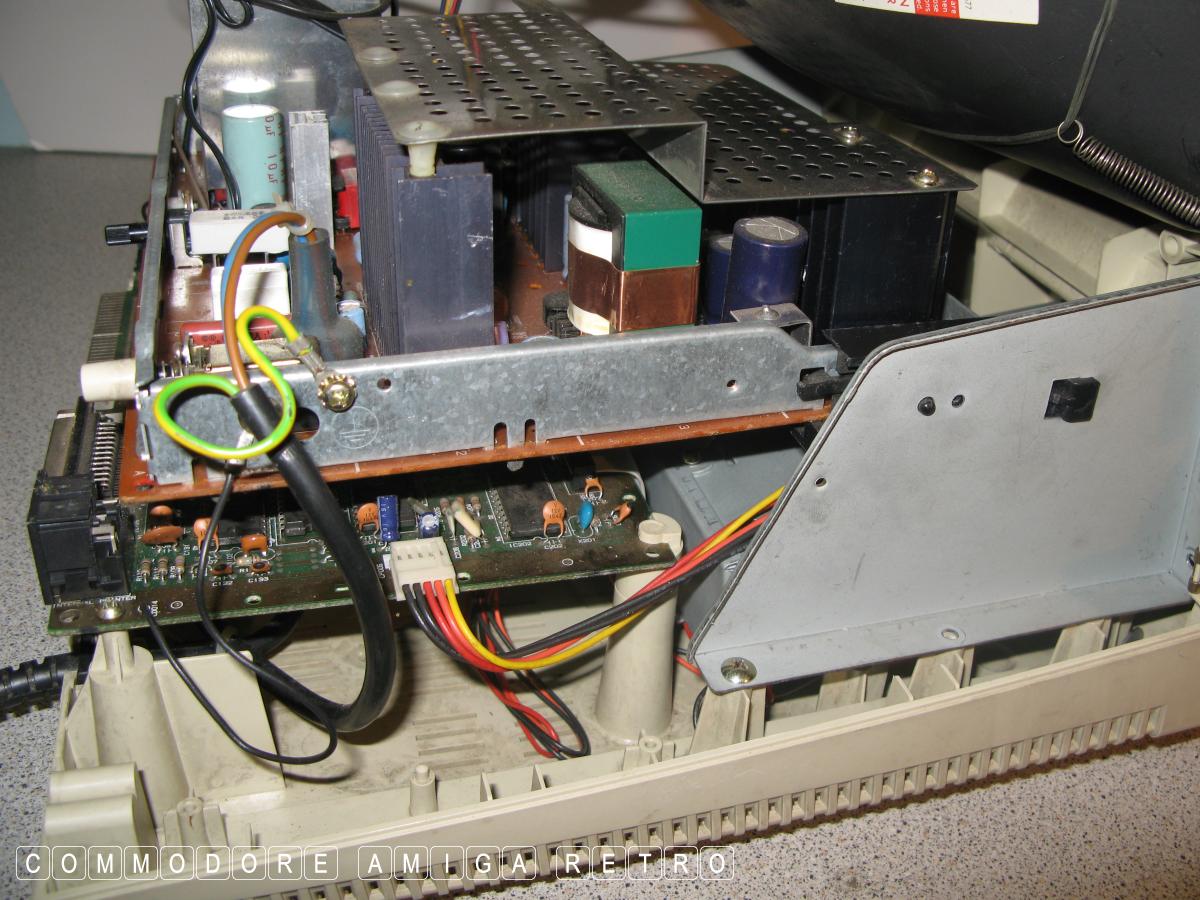
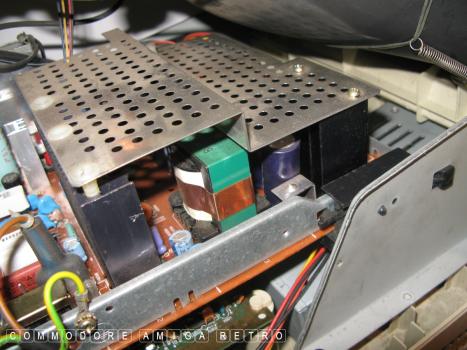
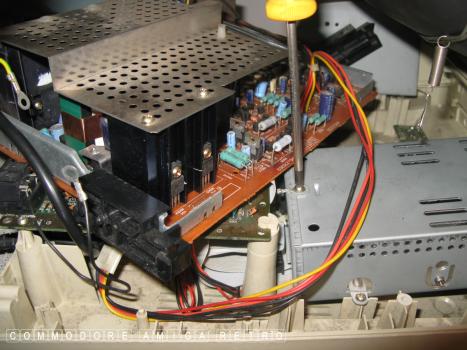
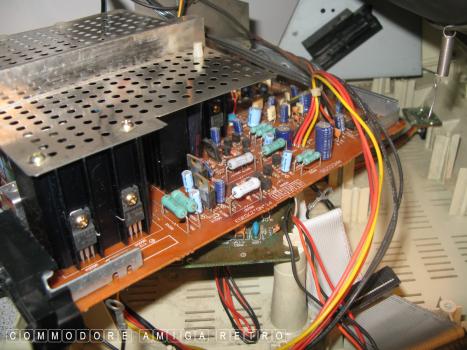
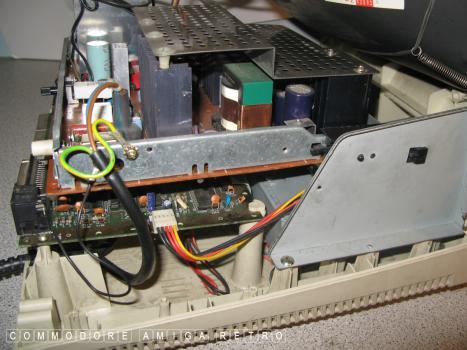
The inner workings of the PCW9512
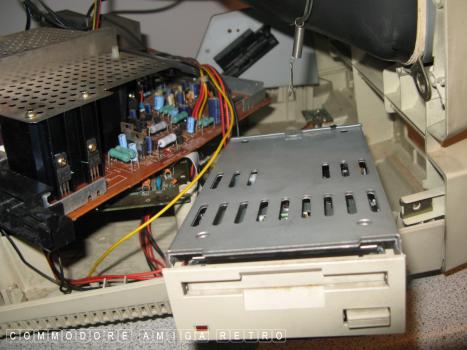
And somewhere in there is a disk drive
And a computer

Just have to avoid getting a shock
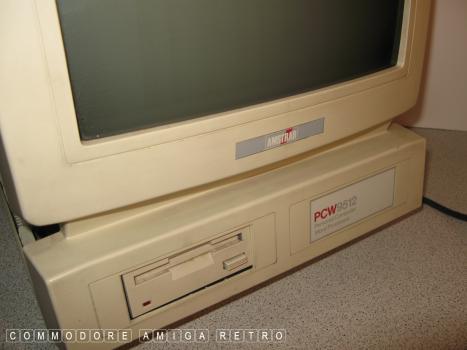
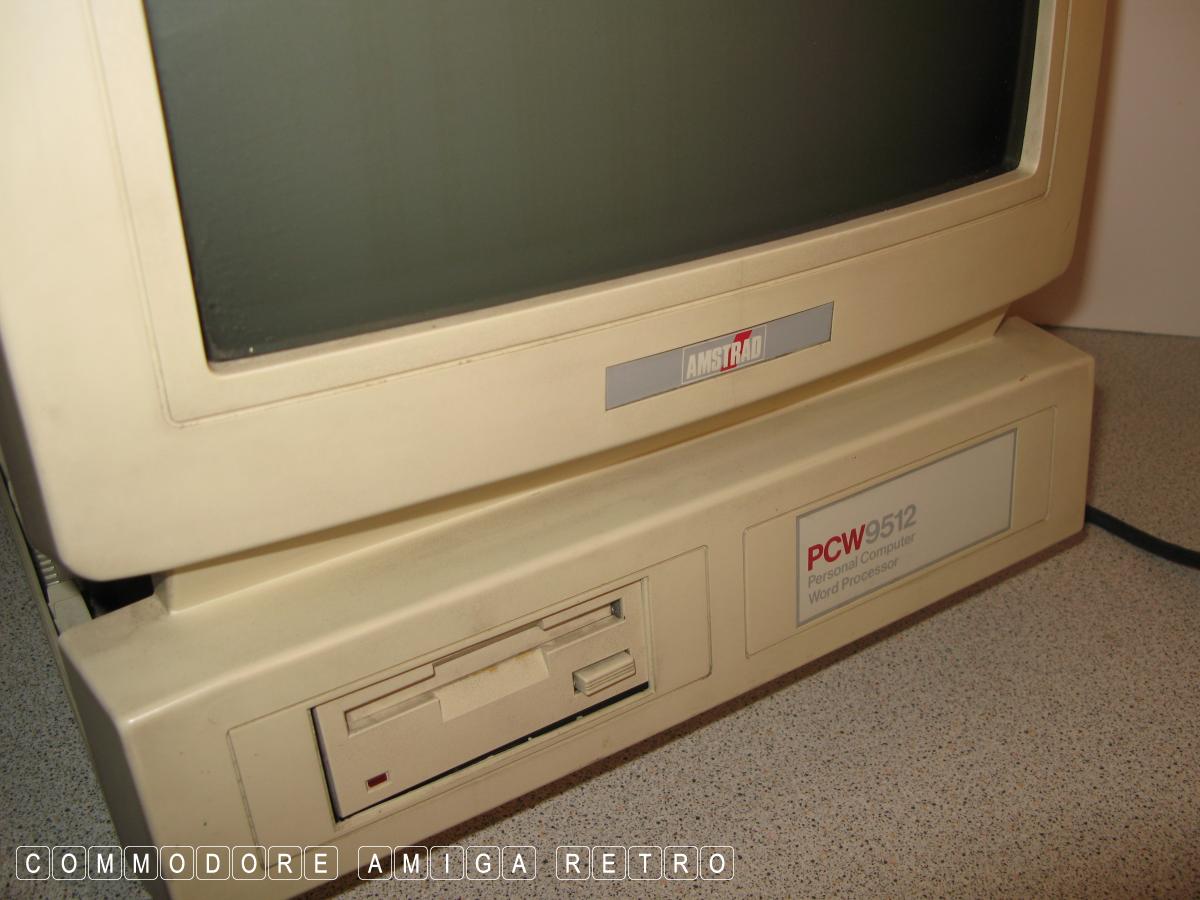
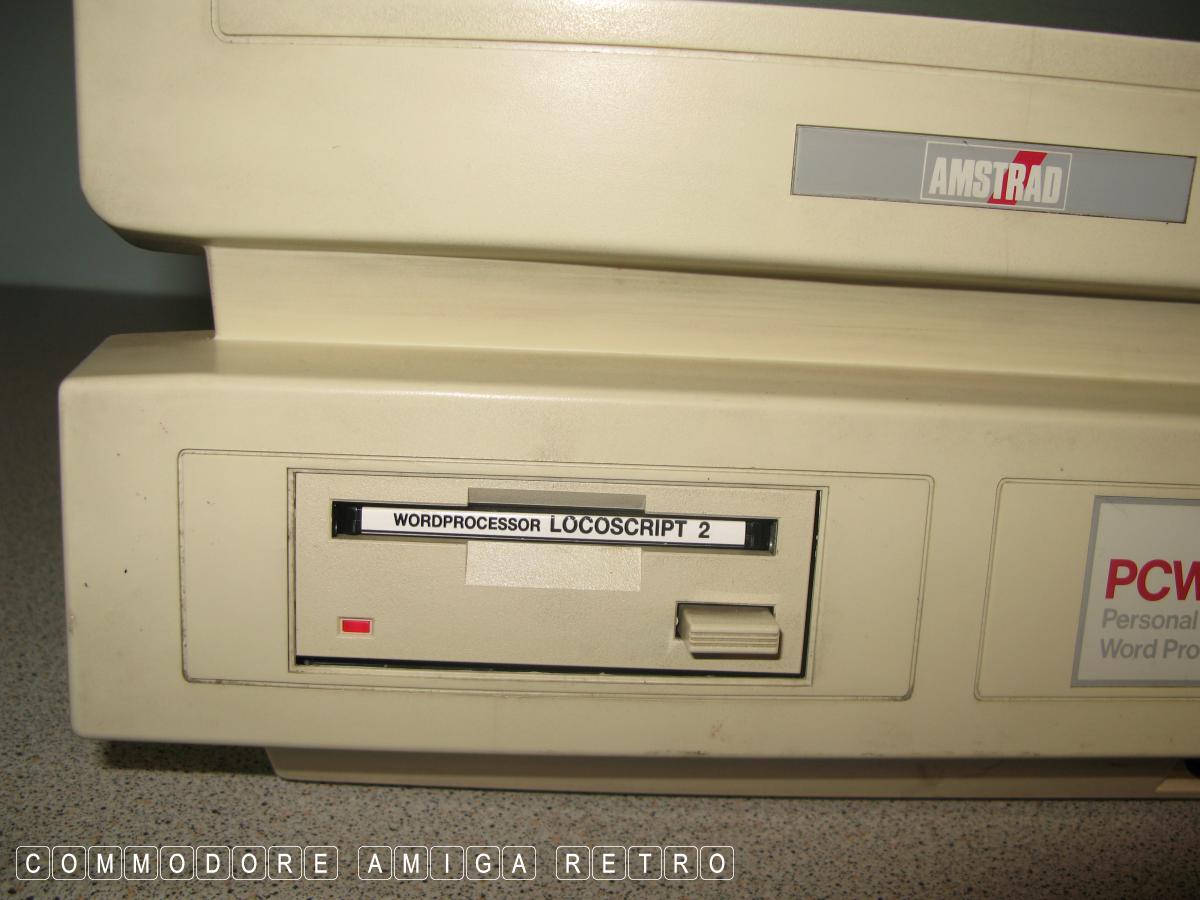
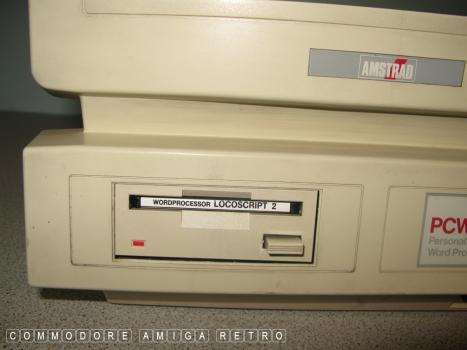
Sad little PCW9512 and not working
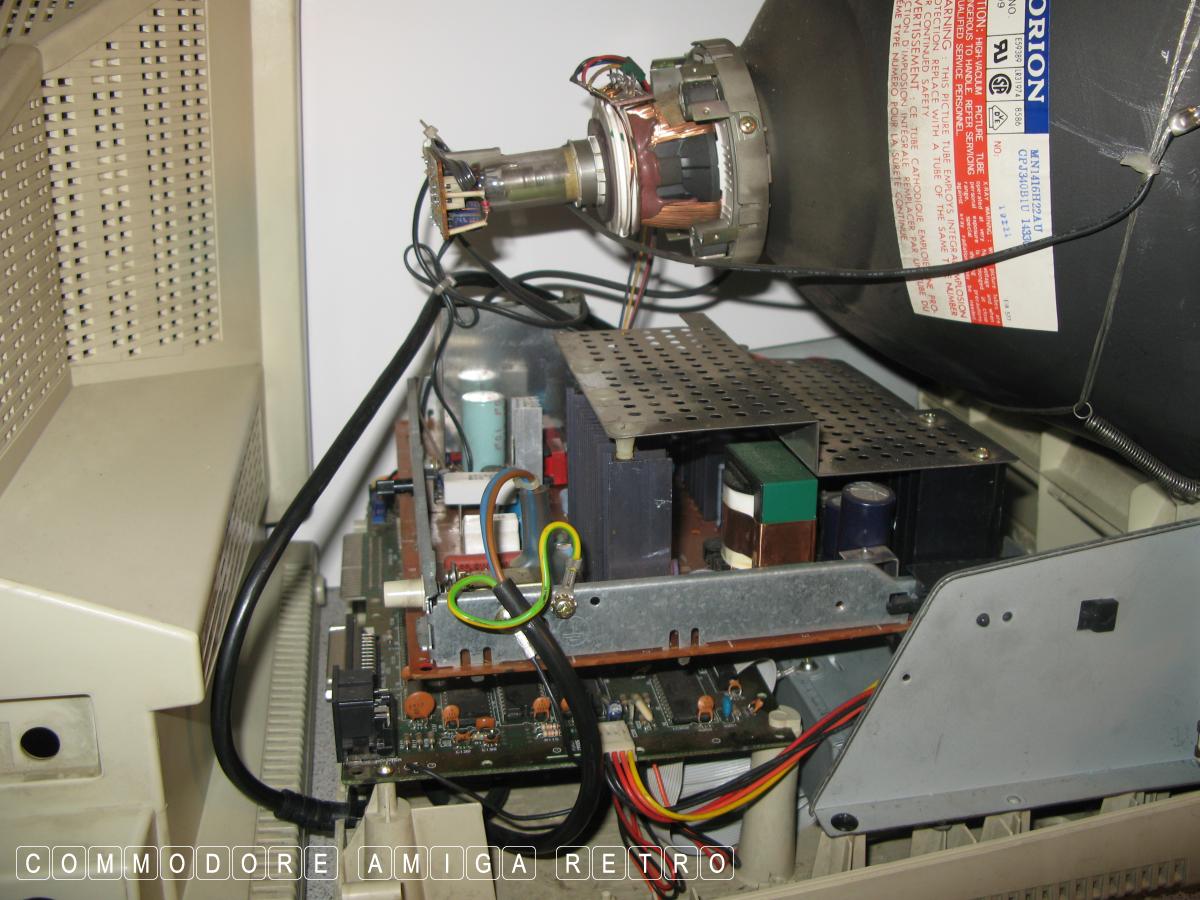
Bought this one earlier this year and
failed to get her up and running
Time to get digging
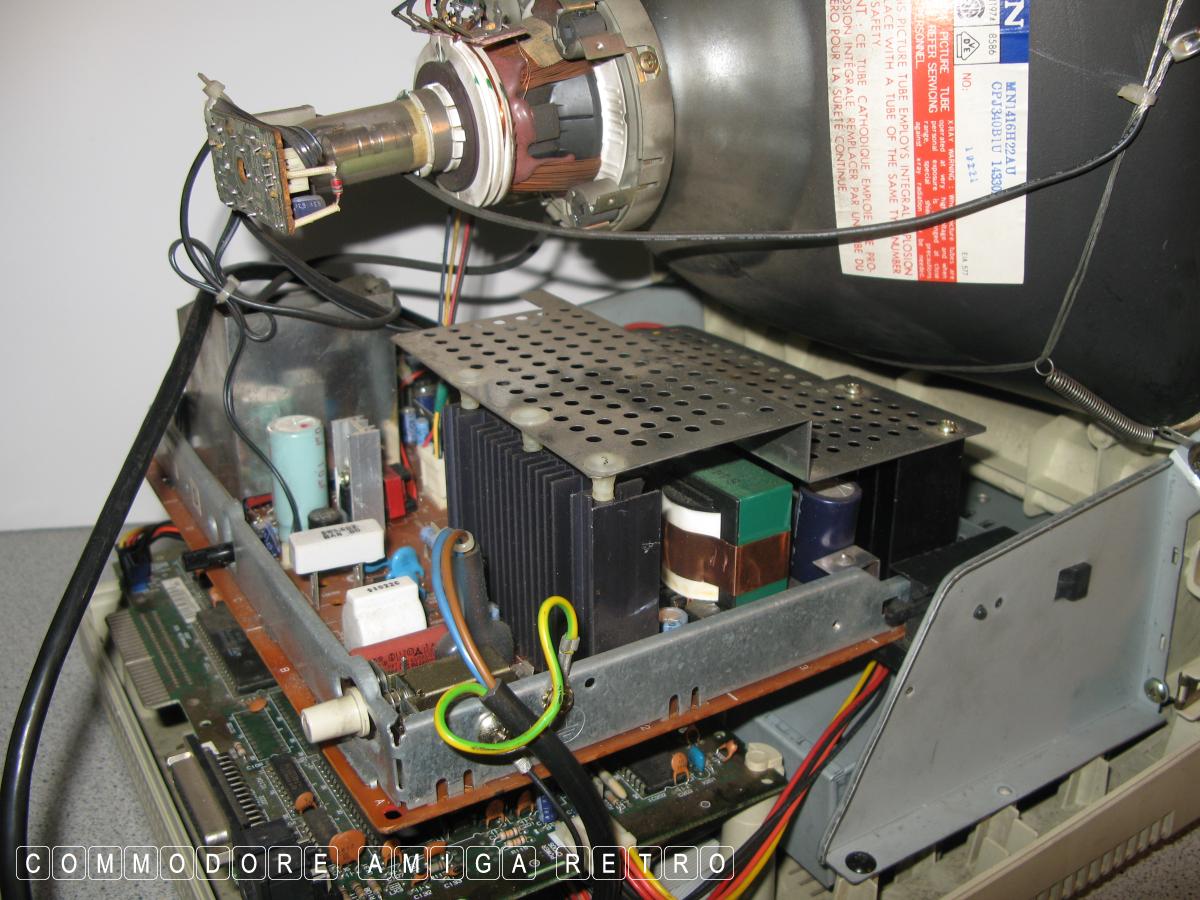
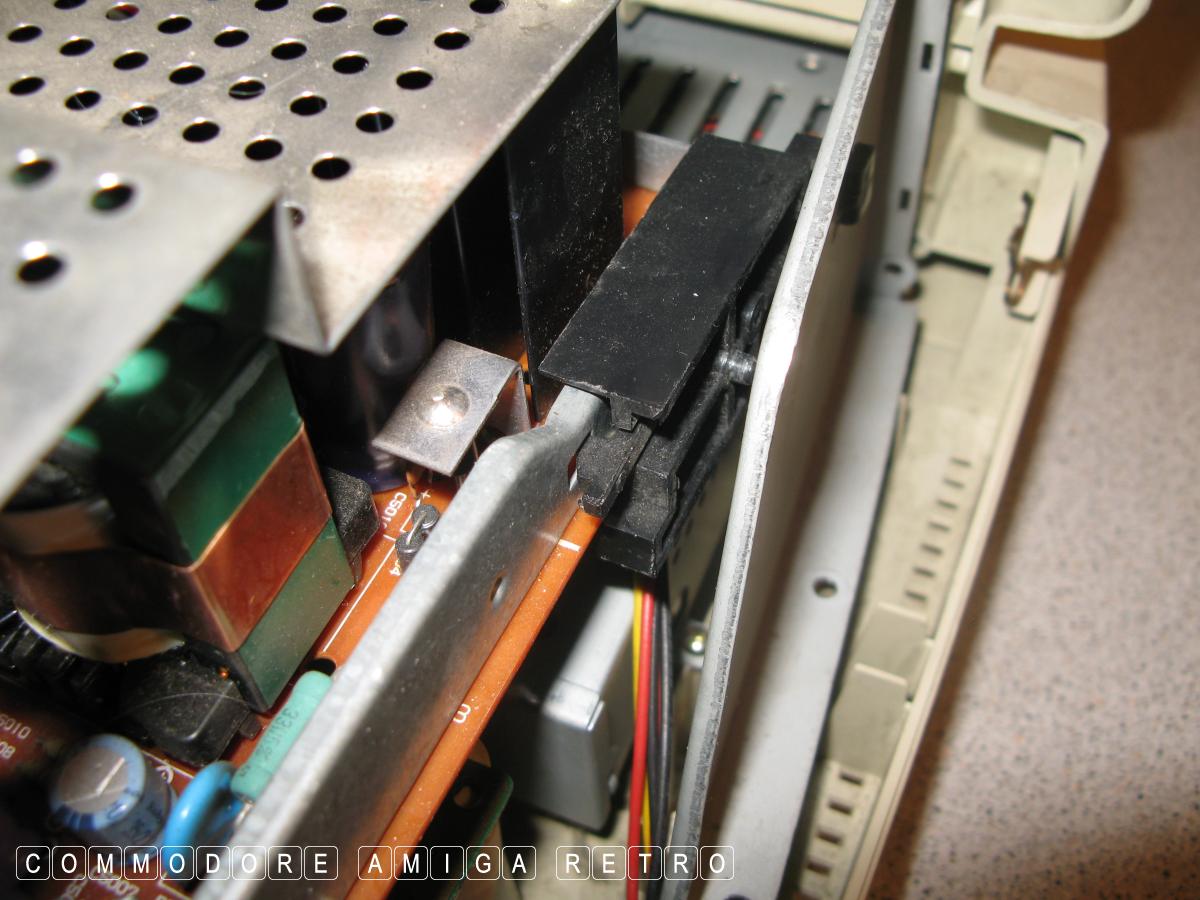
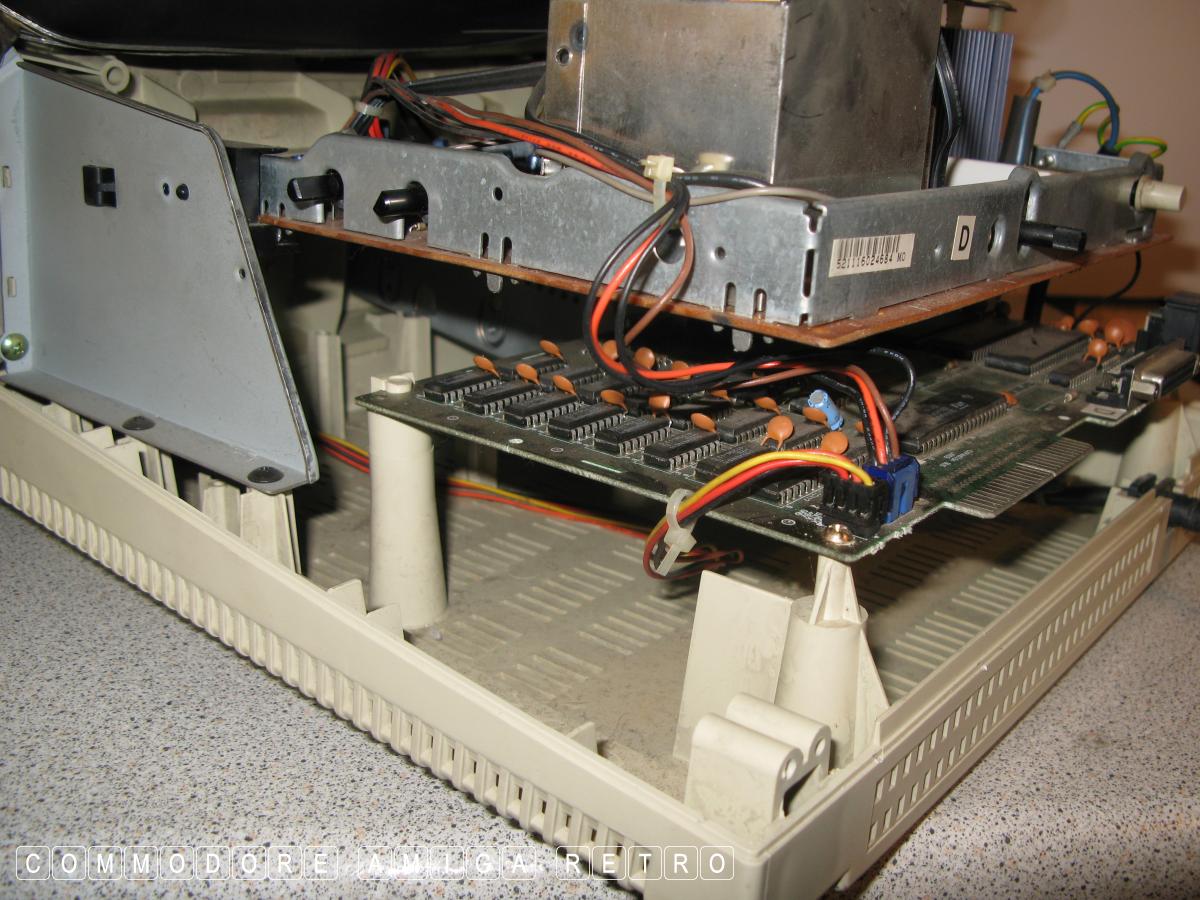
First I need to disconnect the
top tray from the bottom. First I release
the two earth connectors and the power
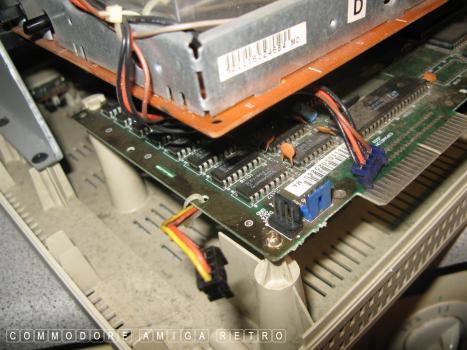
Next the two power connectors to
the motherboard below. I need to
free the top tray to slide it out
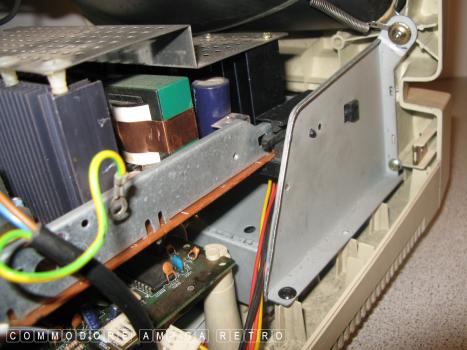
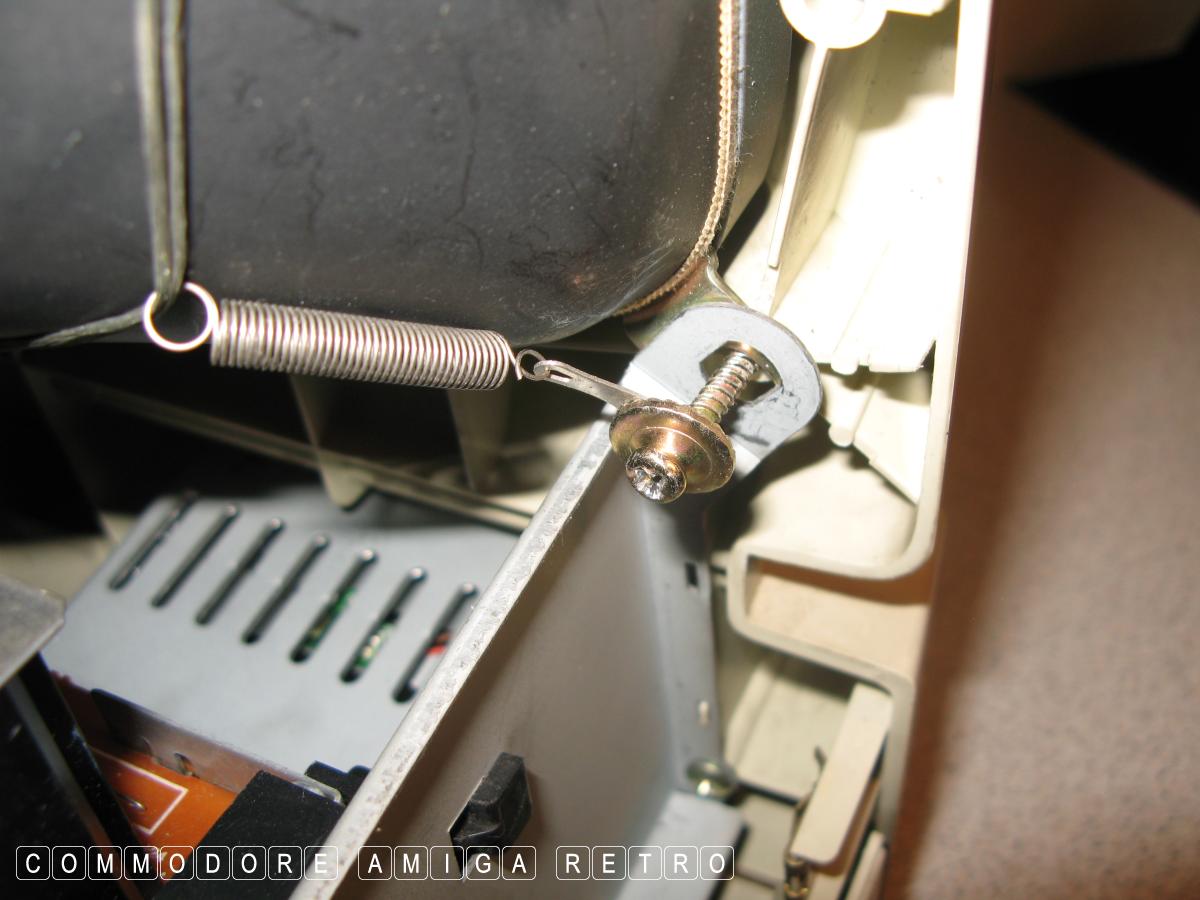
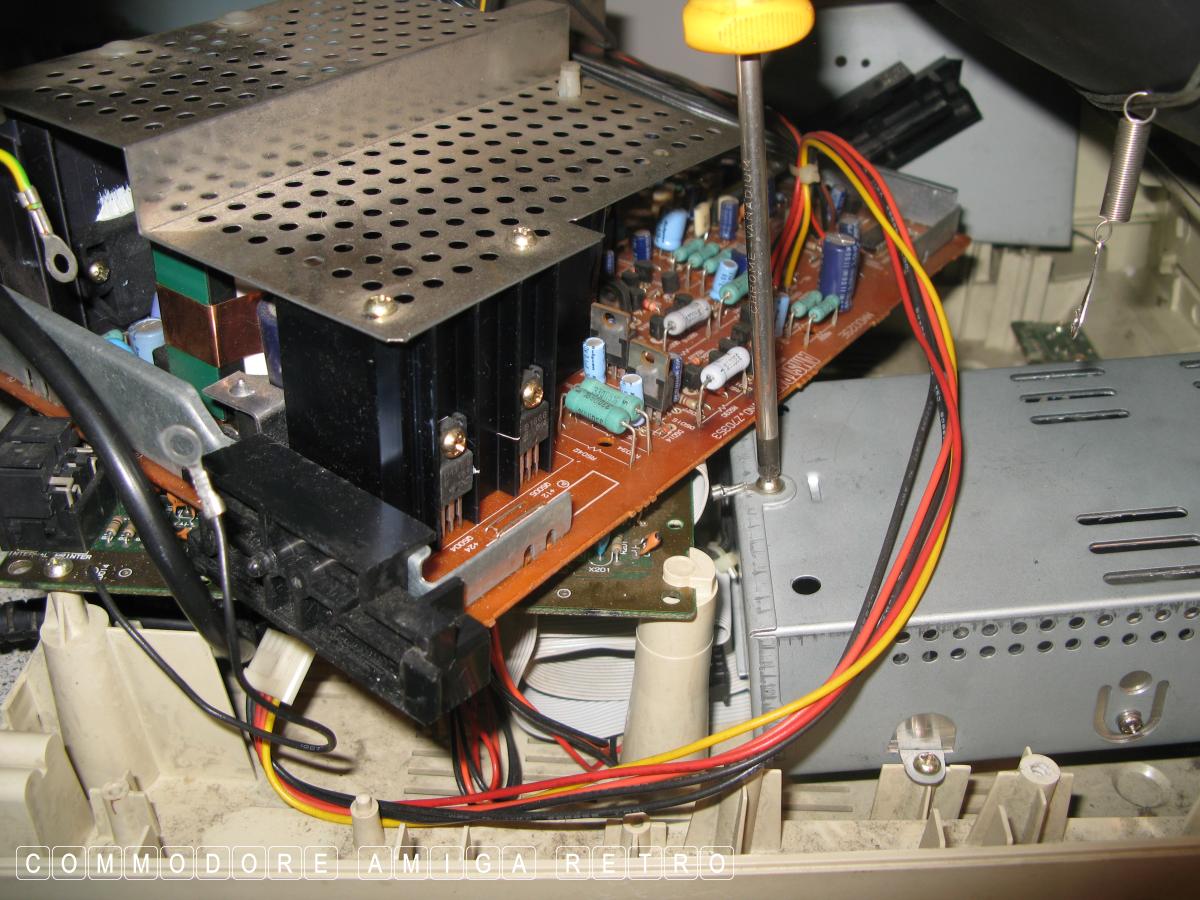
Next I remove the side bracket. This
bracket is in tension as it forms a
right angle with the main front fascia
and is carrying the weight of the tube

Remove the one large screw and washer
and release part of the tension support
to the main tube. Careful.
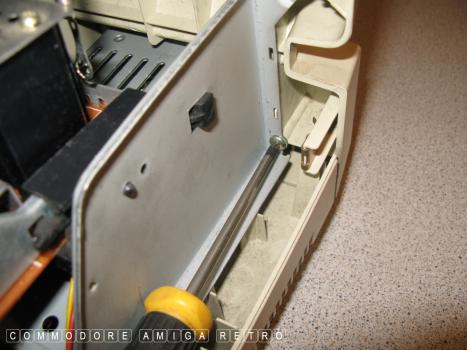
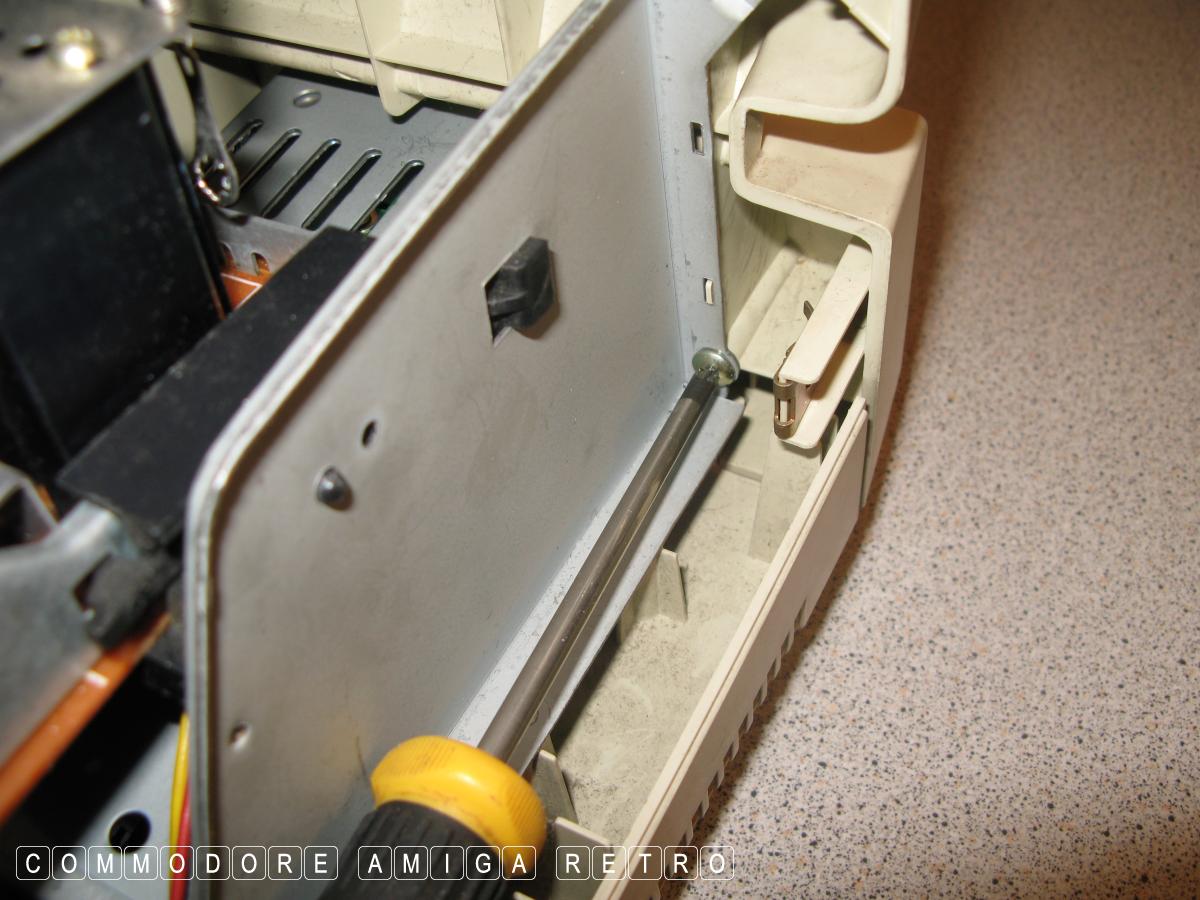
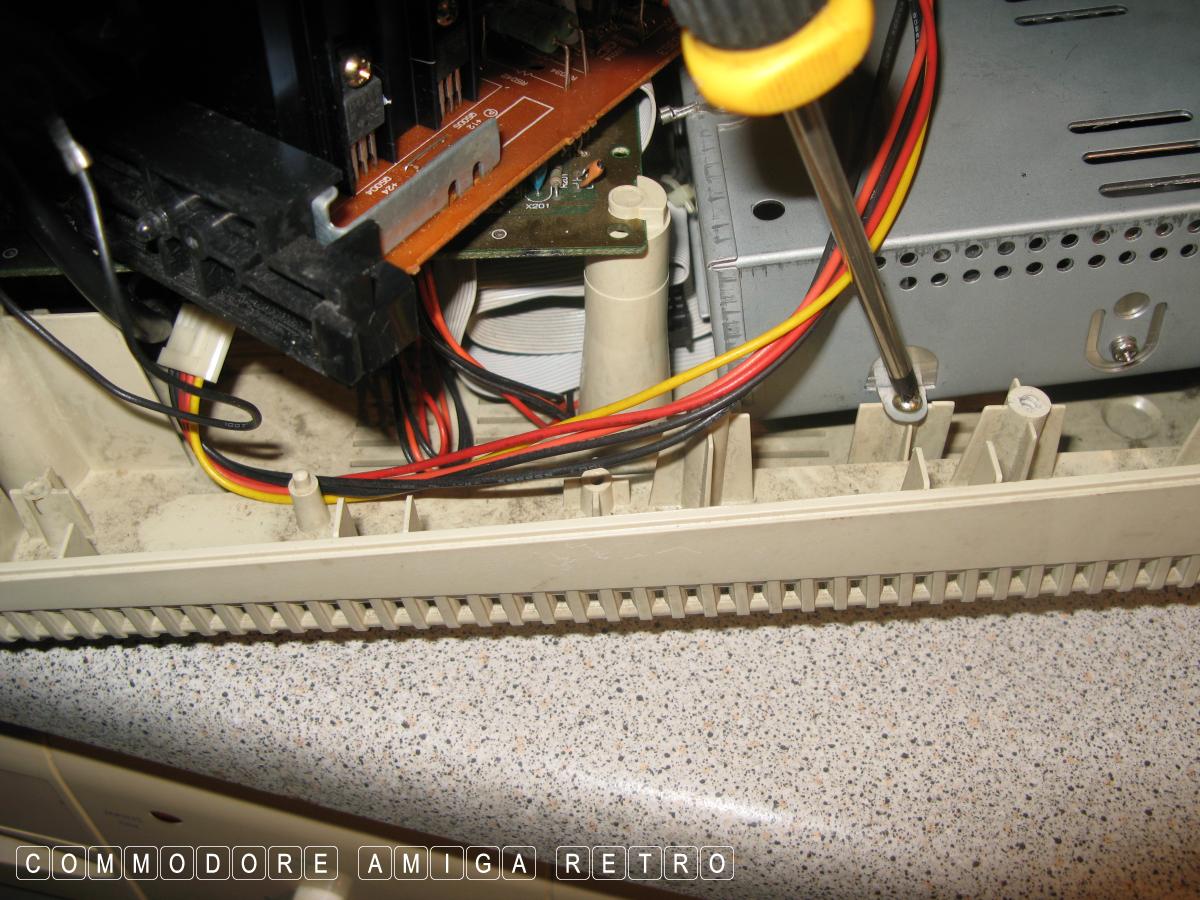
I then release the bottom screw and
bracket screws to the base of the plate

I can then unhook the plastic slide
that allows the tray to be withdrawn
The top tray can then be gently slid out
Note that on the other side there is a
similar plastic slide with a locking clip
just press in slightly to release
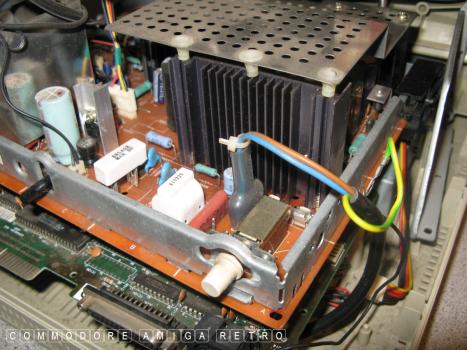
The idea is that this tray can be pulled
back normally to service the electronics

I ease the tray out carefully and rotate
to expose the disk drive casing below.
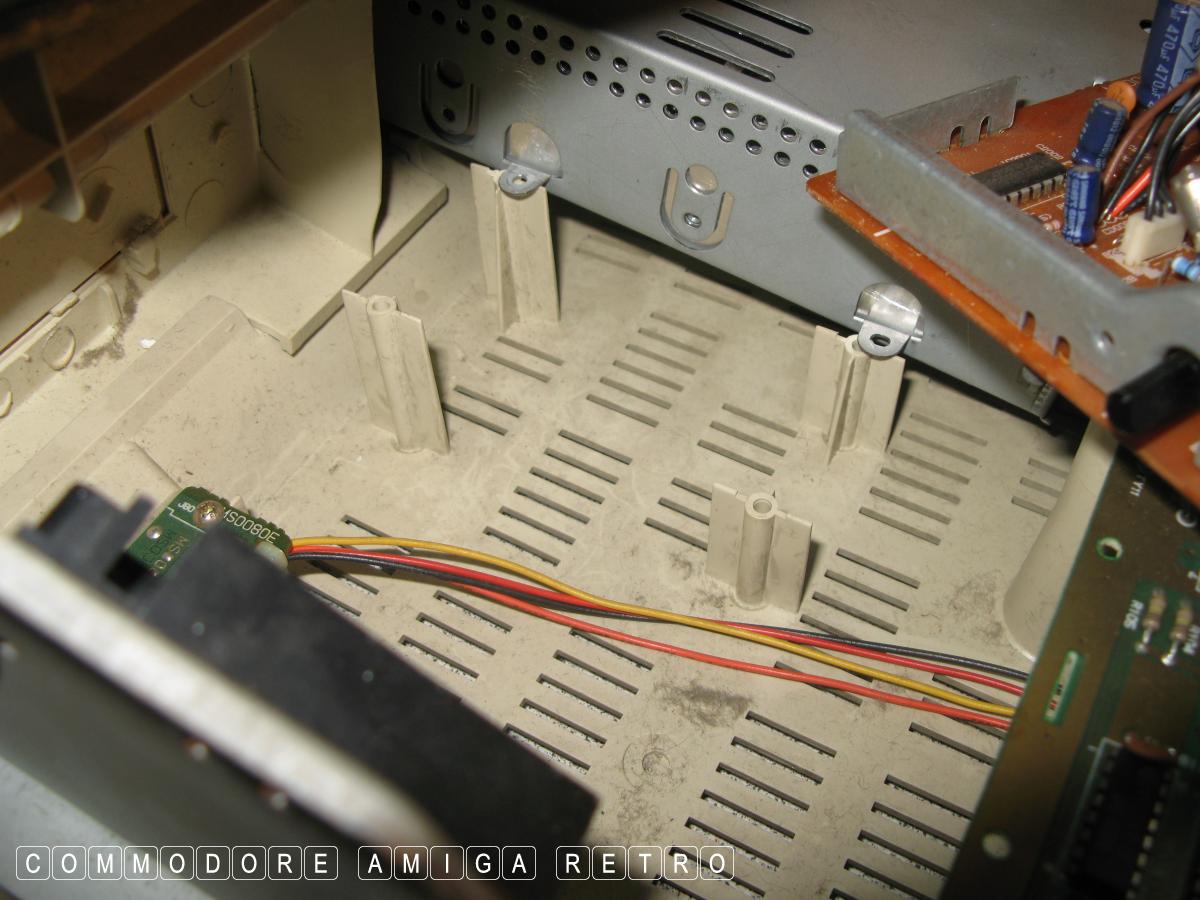
I then unscrew the case earth connector

There are four screws holding the case in place
The two on this side are a pig to get to
What I did was use a small screwdriver and
twist using a small pair of grips. Took for
ages. What I found is that I didn't need the
screws this side so I left them out so I could
easily remove in the future
I only generally screw drives in on one side
on all my machines.
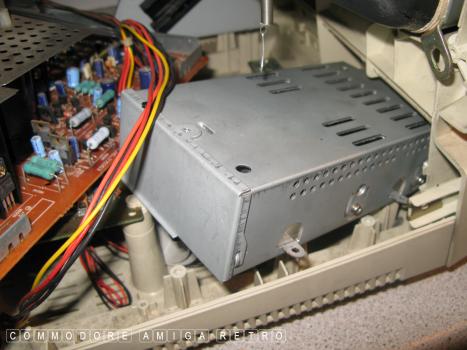
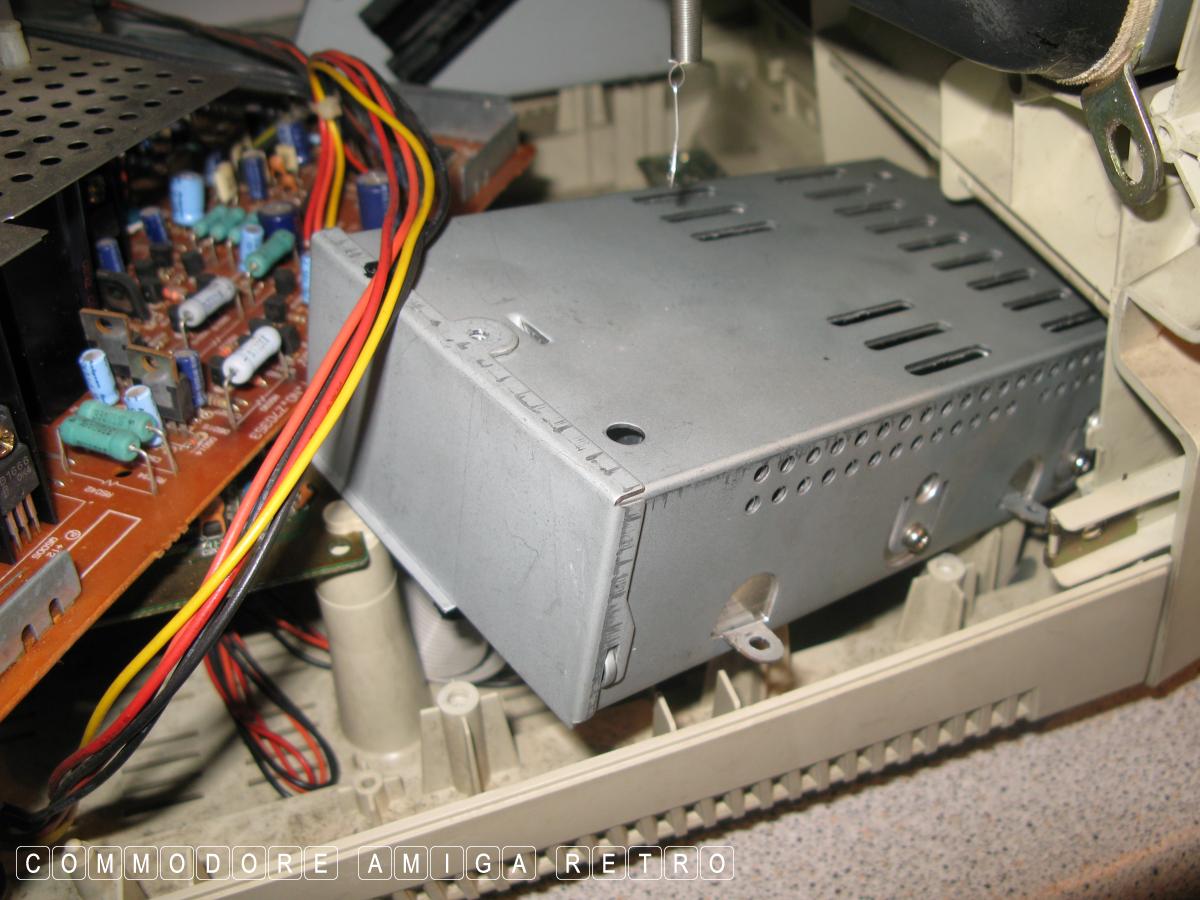
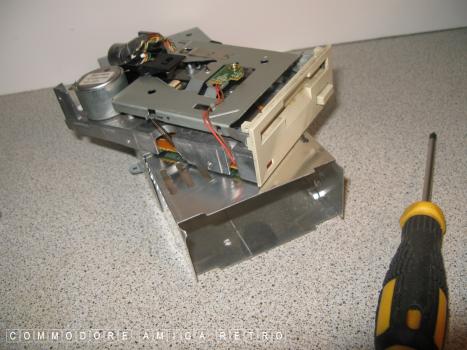
I gently ease the case out
Twist and rotate

Eventually getting the end plate vertical
I need to be very careful here as there is
only just enough space for the drive and I
don't want to damage enything. Watching
the tube casing all the time and connectors

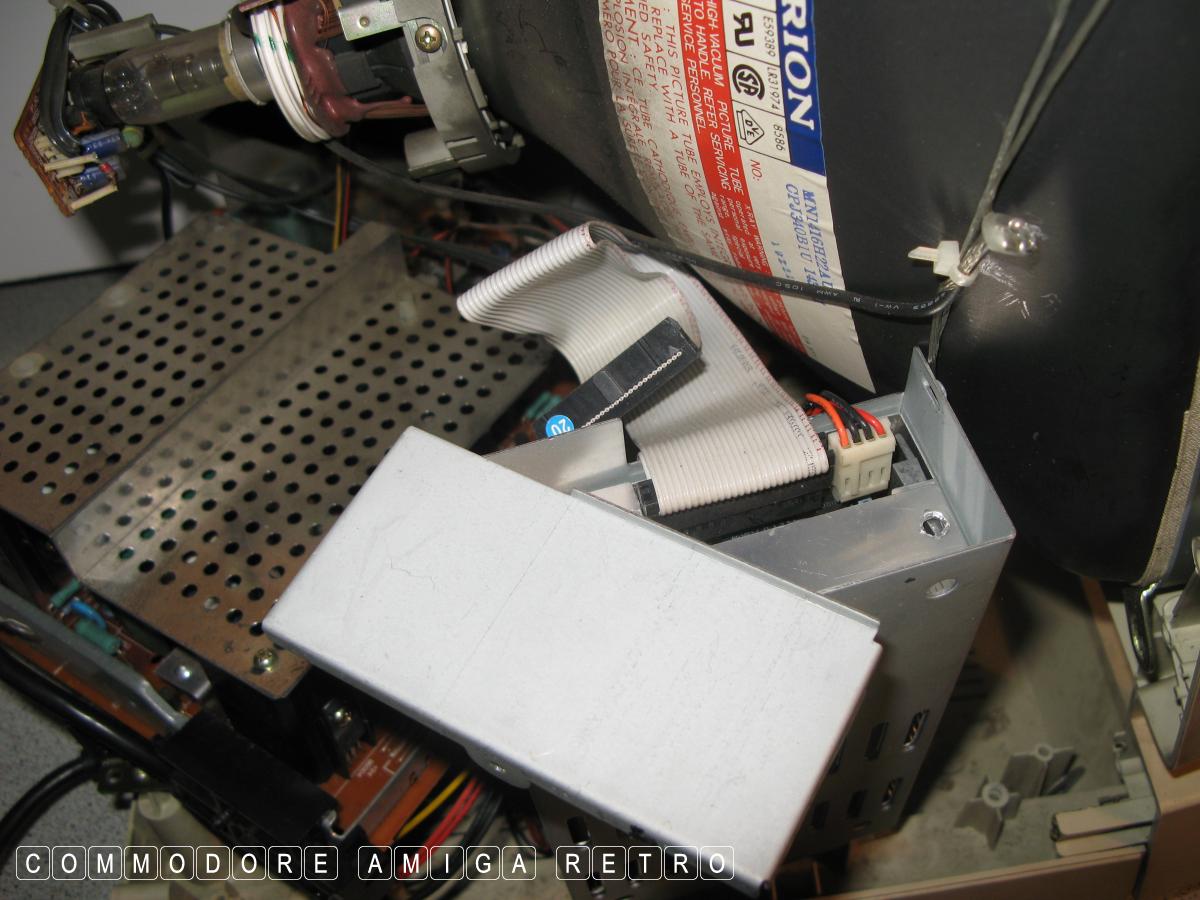
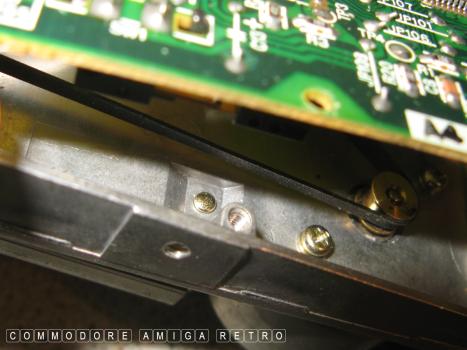
The end plate to the drive slides off and
allows removal of the ribbon and power. I
record which way the ribbon connects which
has the coloured ribbon edge to Pin 1

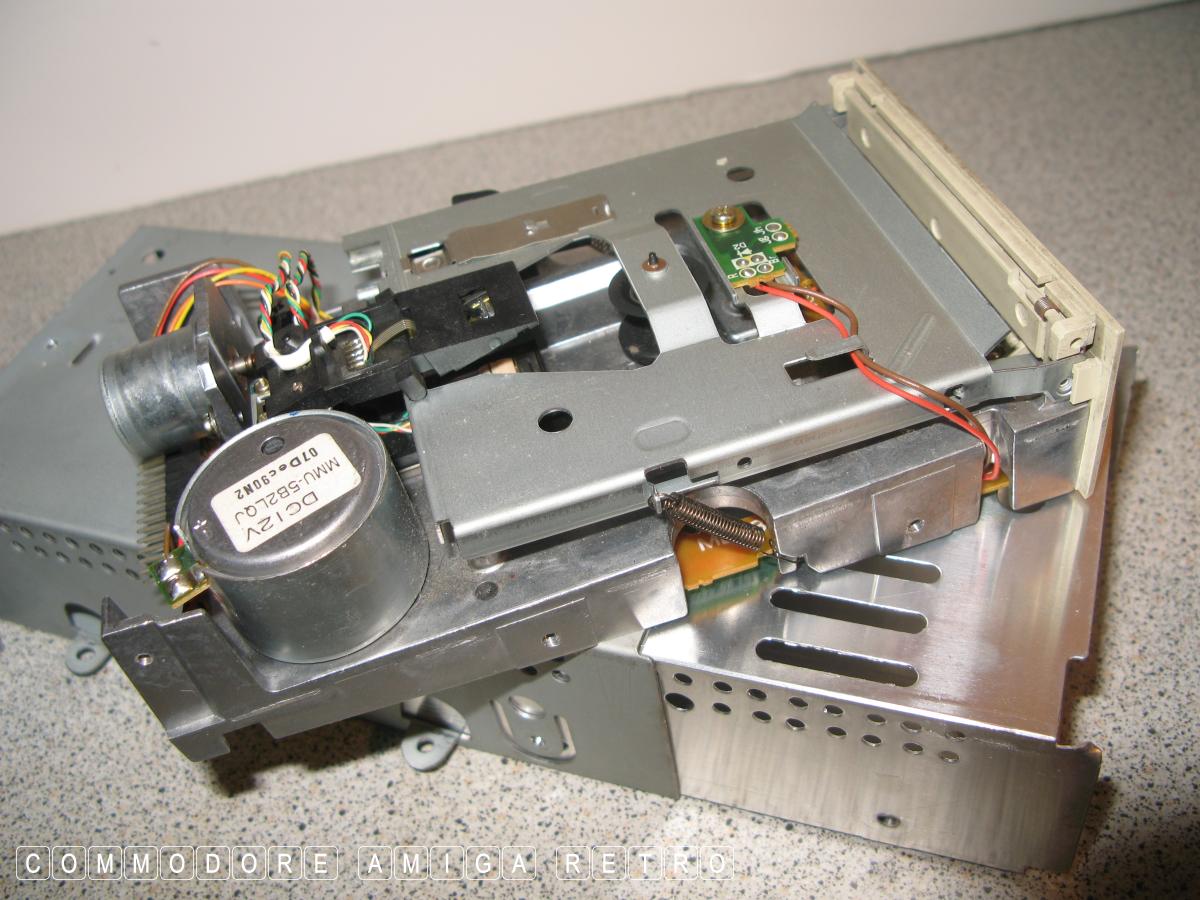
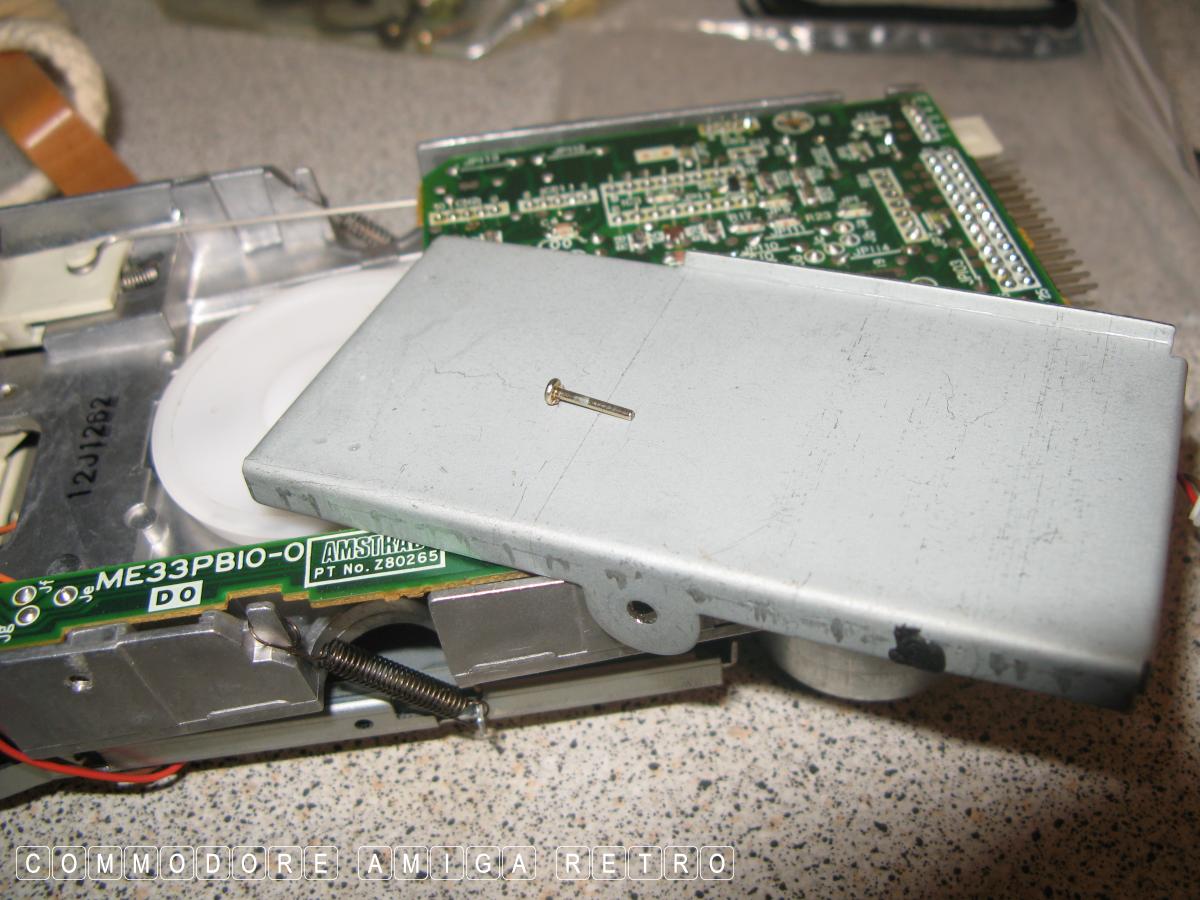
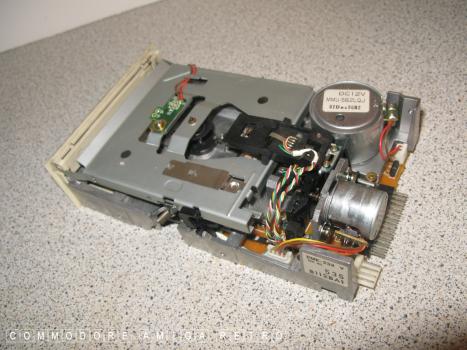
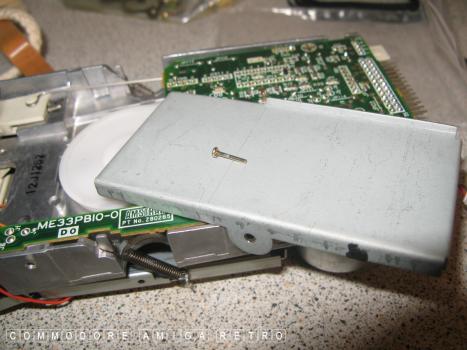
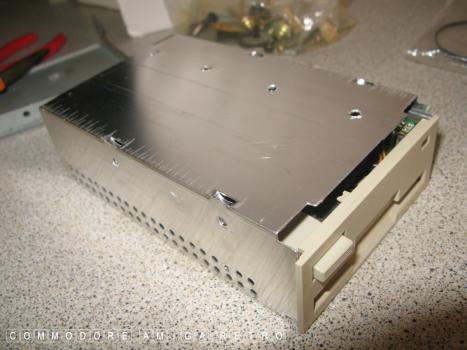
OK stage one complete and drive is out

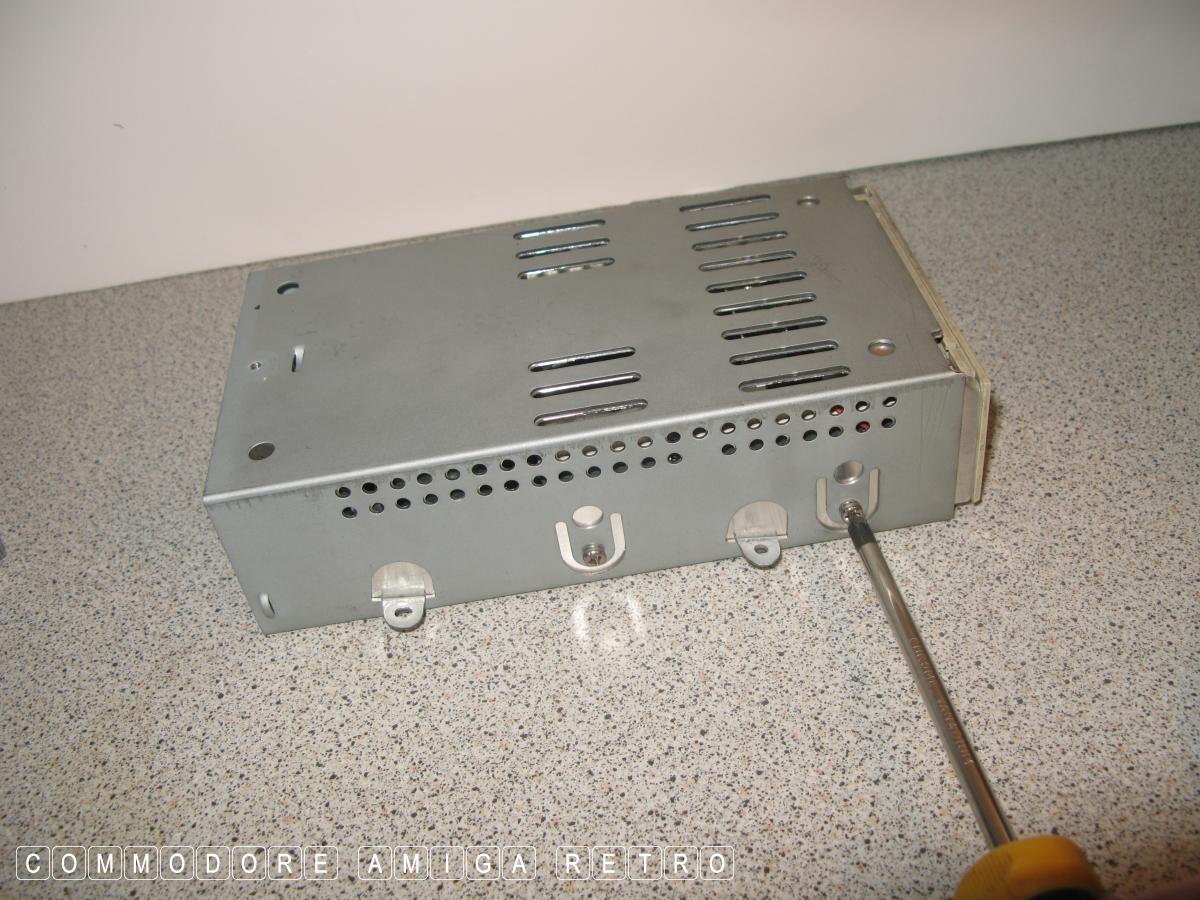
No idea why there are so many shields
and casing covers to the unit
There are two casing covers and then the drive

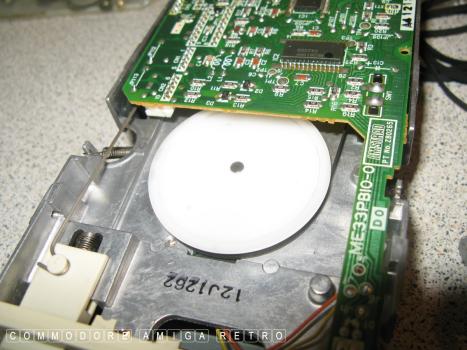
And there she is
Ready to be re-rubbered
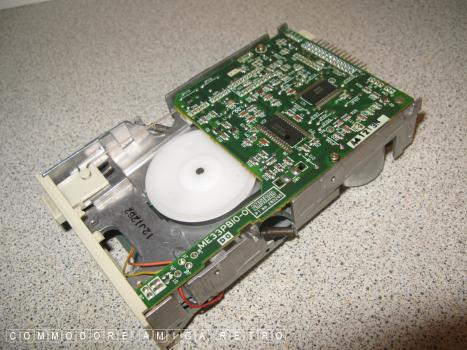
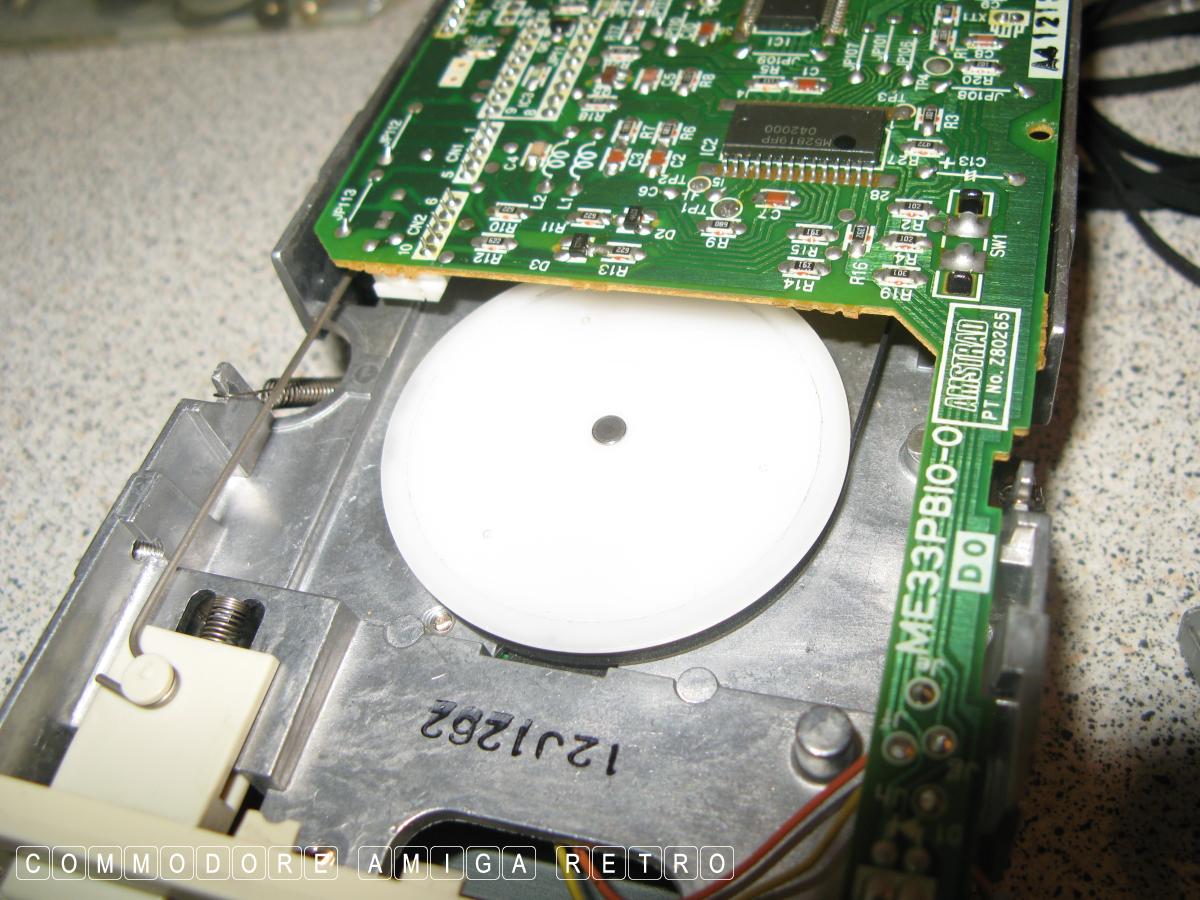
This unit has most of the large wheel visible
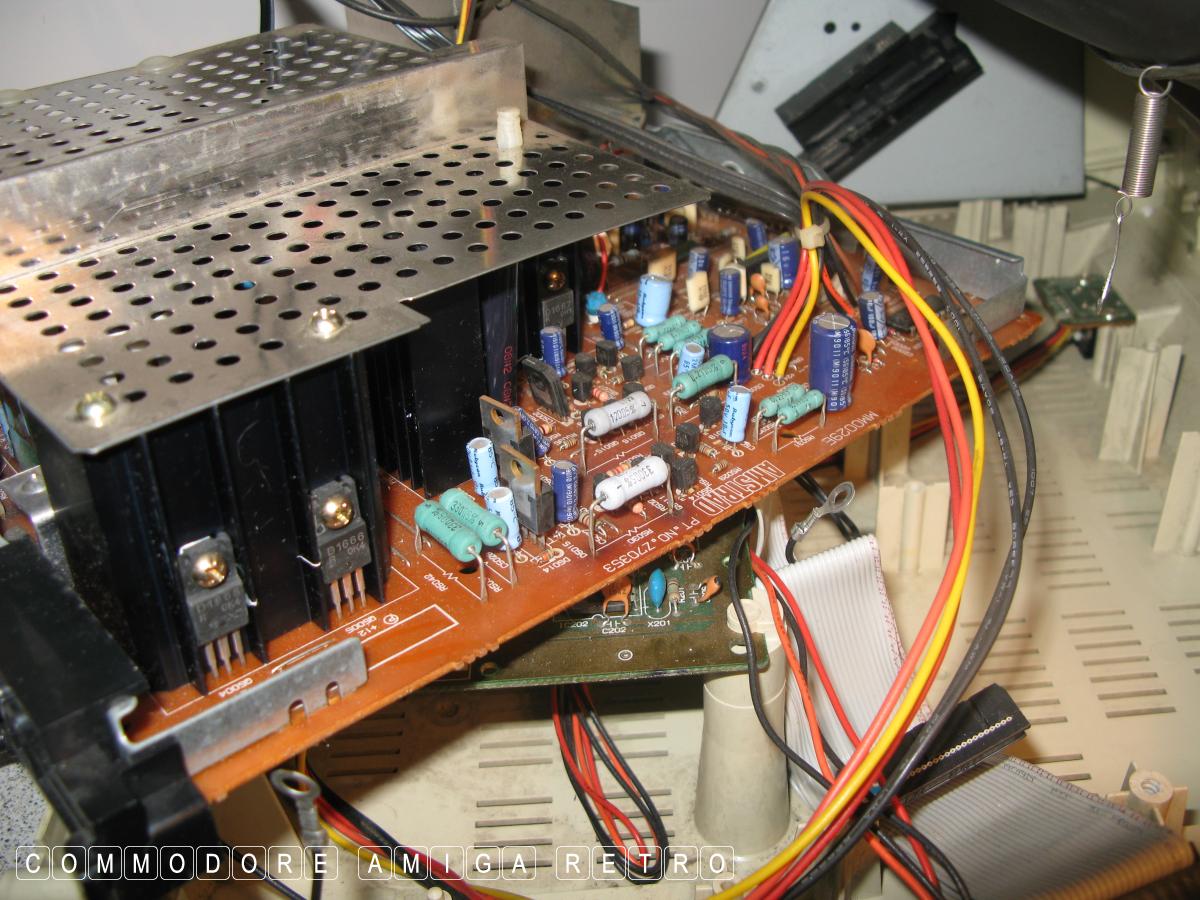
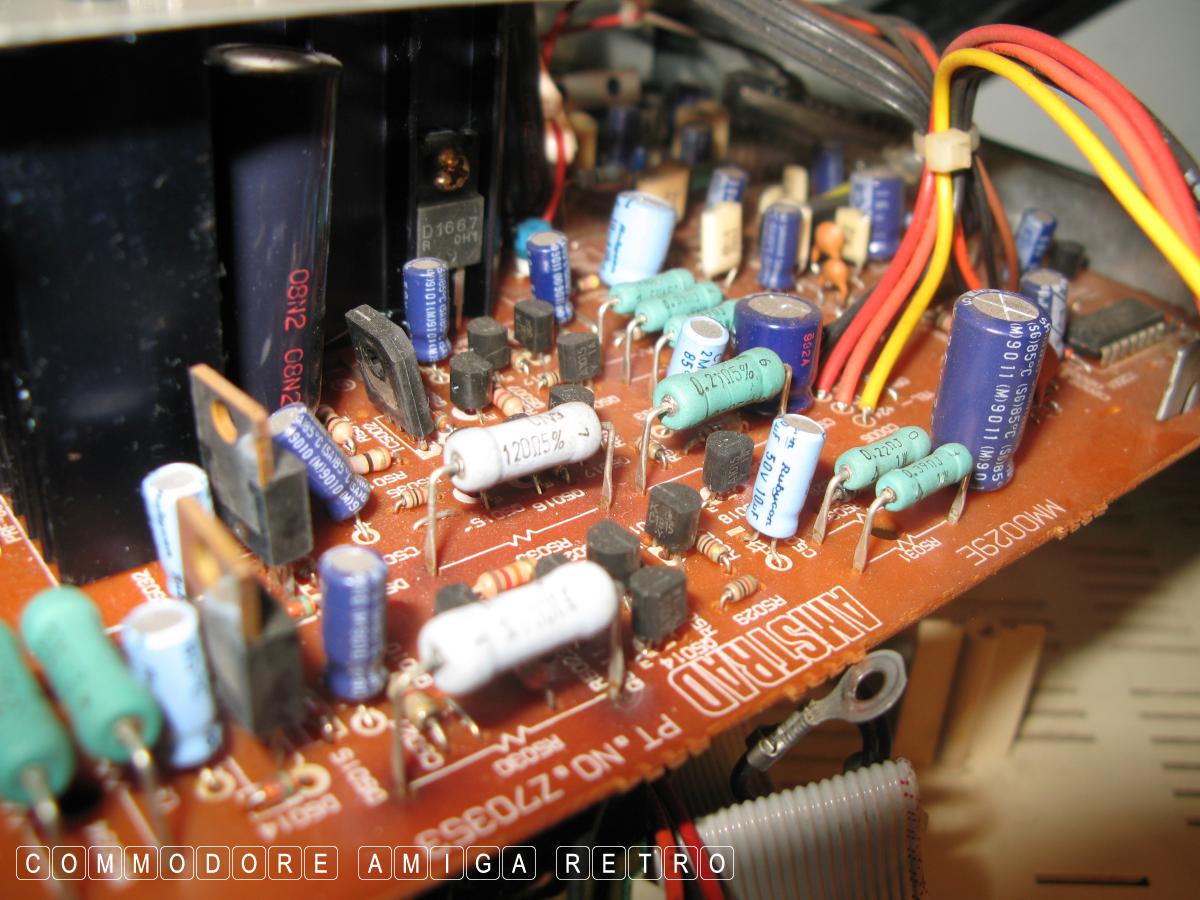
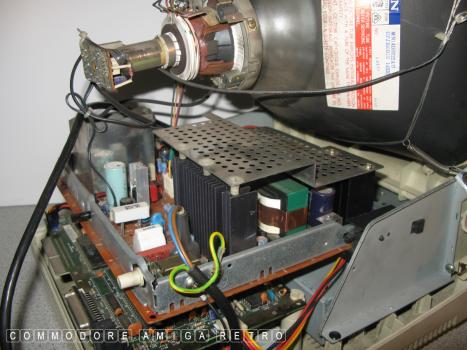
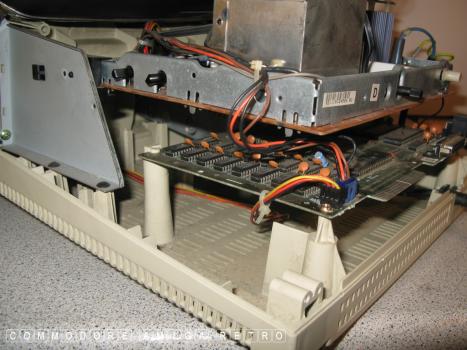
Back down the rabbit hole for a few choice
pictures of the PCW tomb for the records
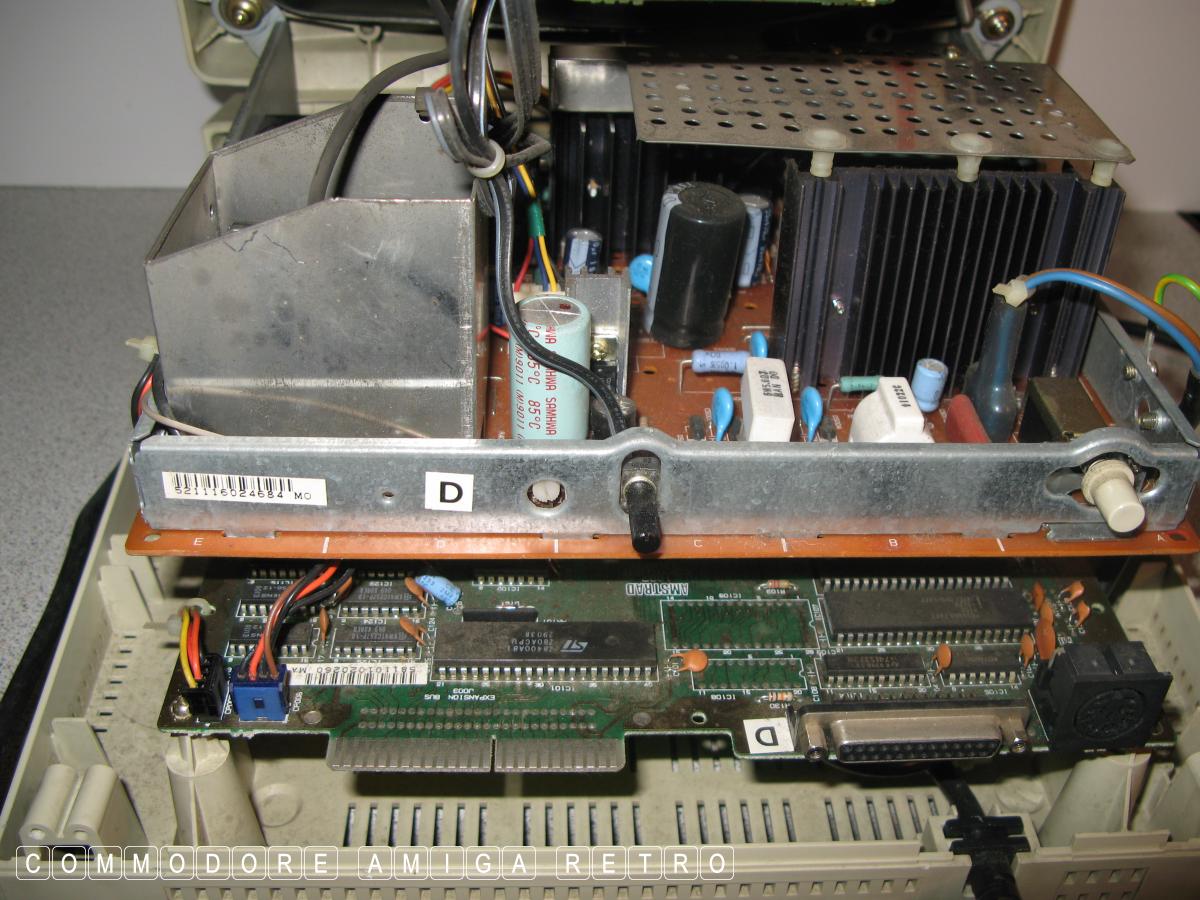
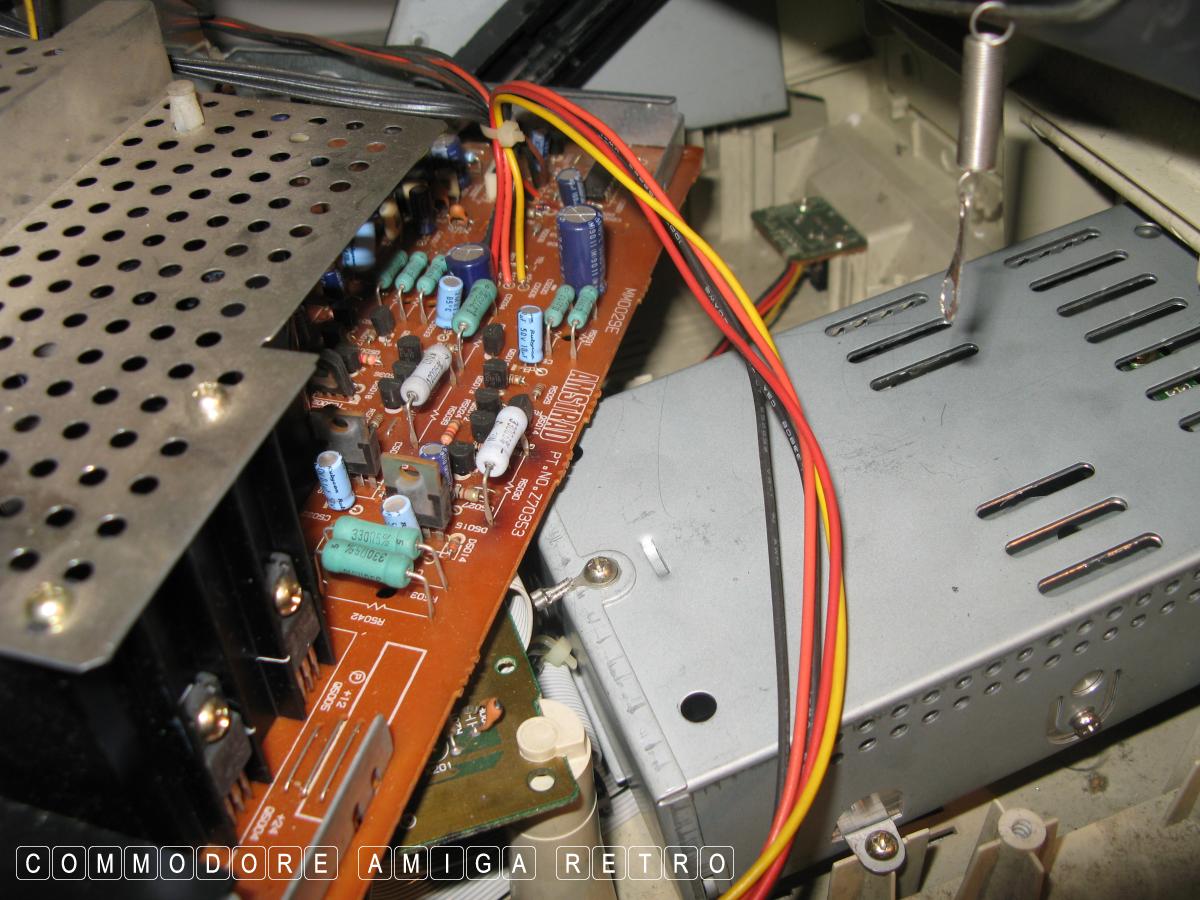
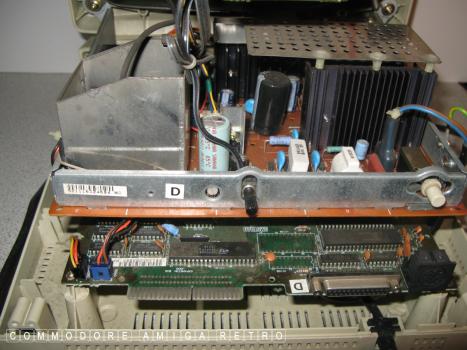
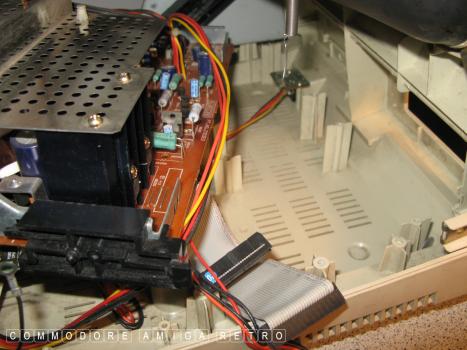
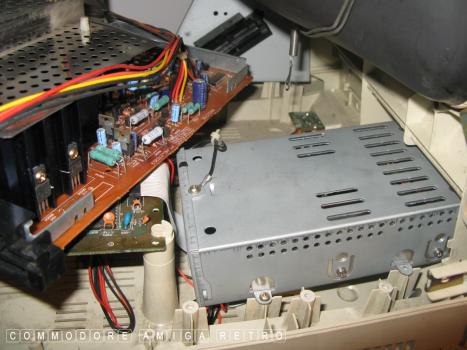
Orange for tube and green for computer
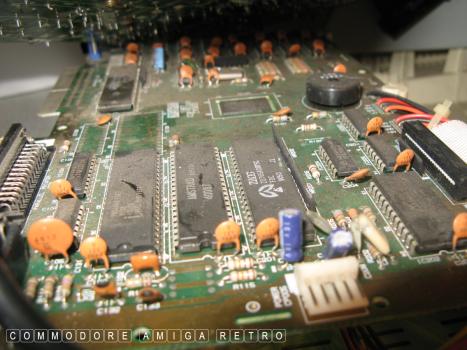
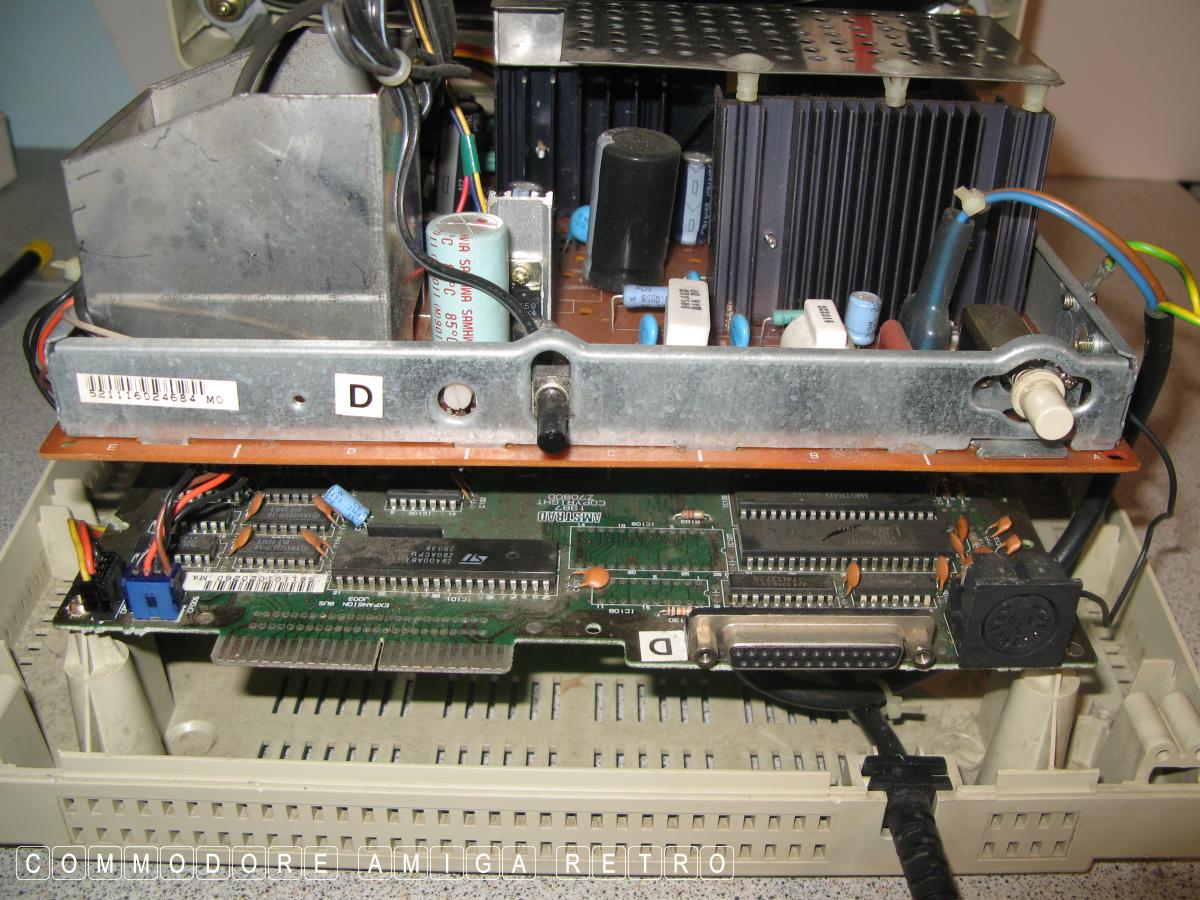
A rather dusty motherboard
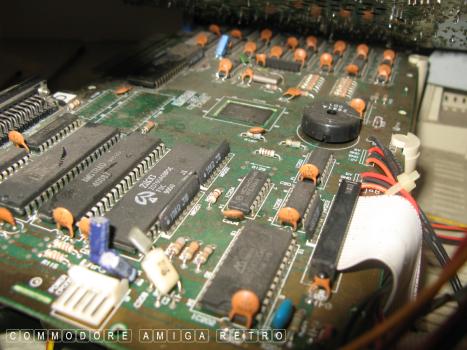
You can just make out the zilog
zo765A08PSC 9050 and Amstrad chips

Capping my stuff would be a nightmare

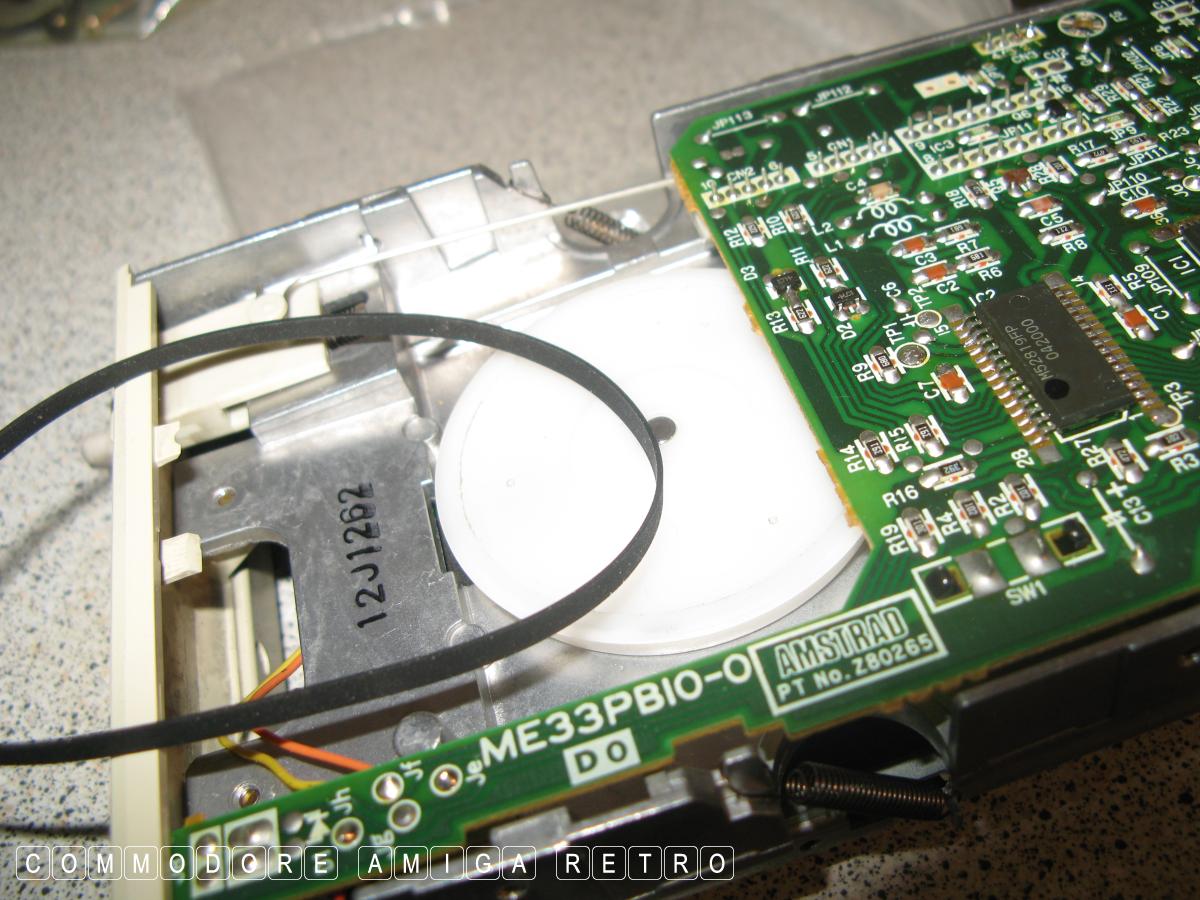
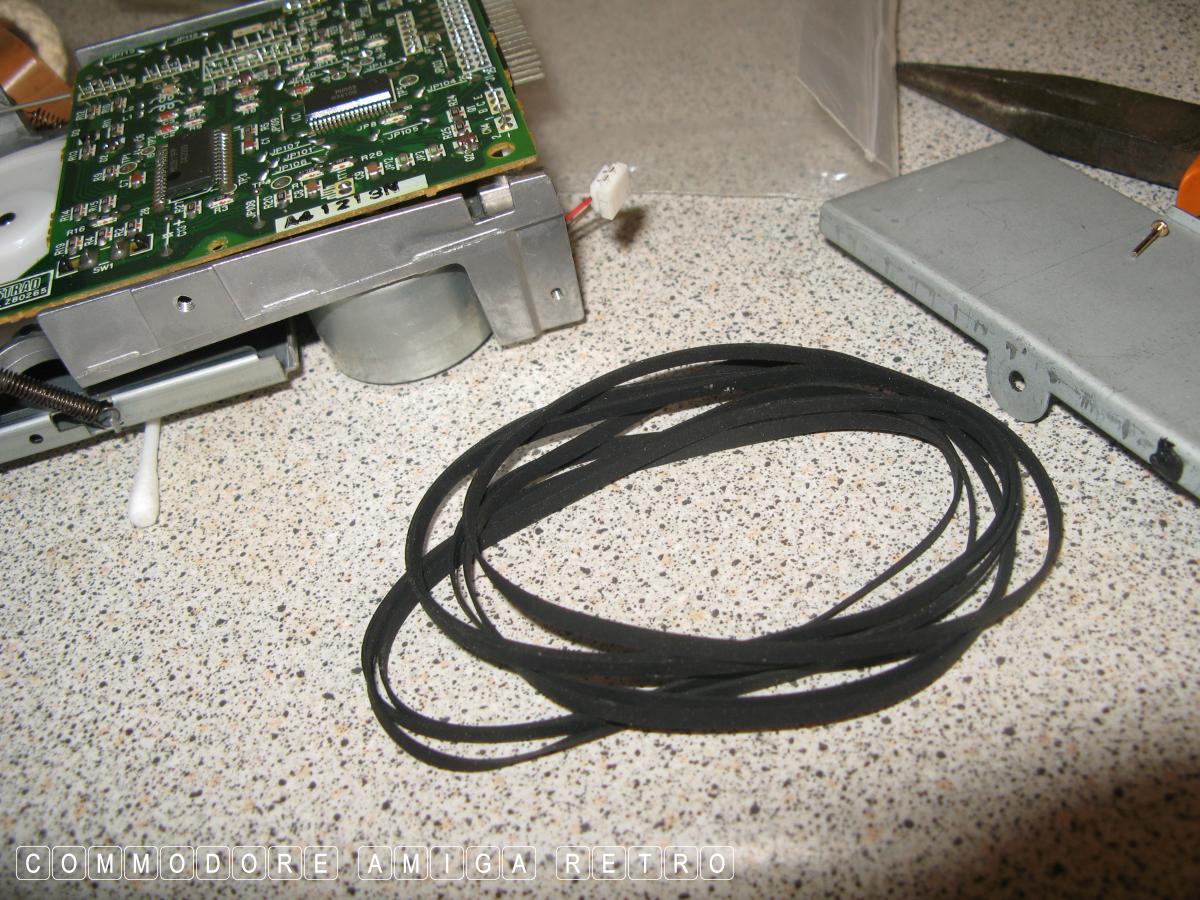
The drive belt has been removed

All clean and tidy.. Did this earlier
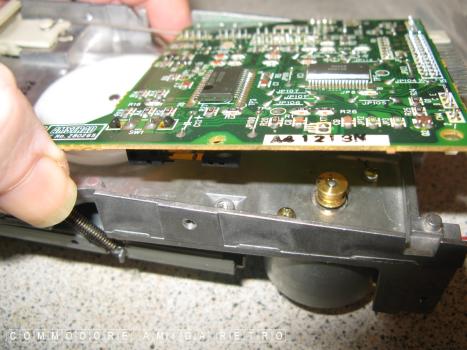
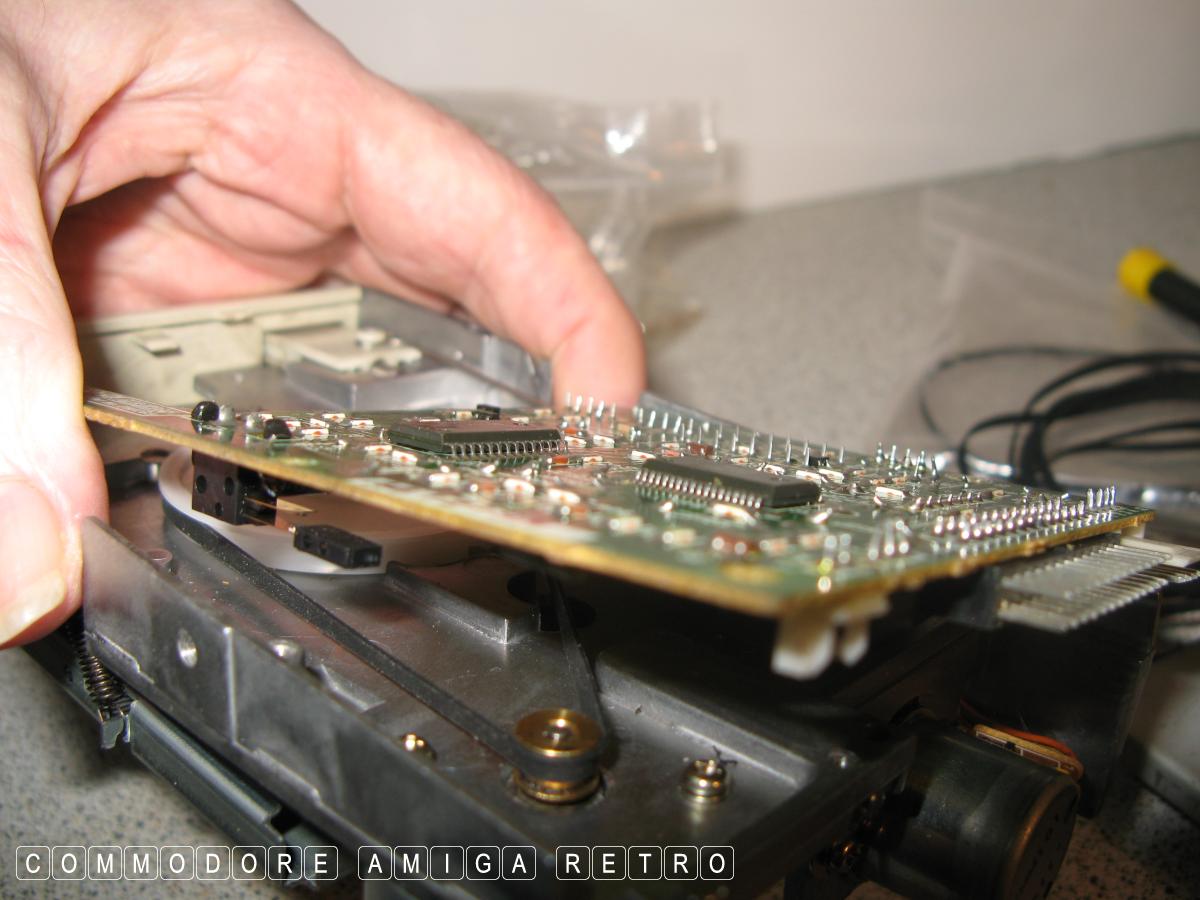
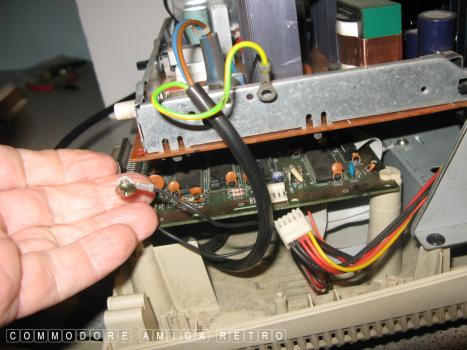
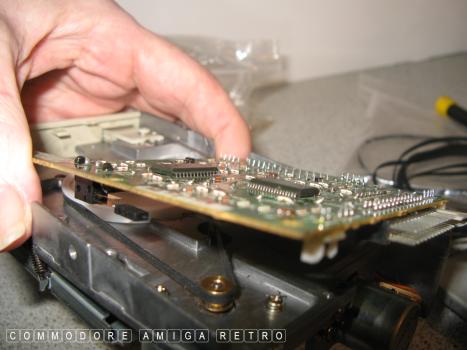
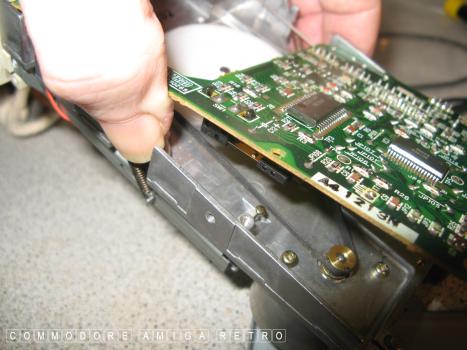
There can be various electrical connectors
to the circuit board. The board can not be
fully removed as it is soldered one end. There
is also a write protect pin that will fall out
Make sure not to lose the write protect pin
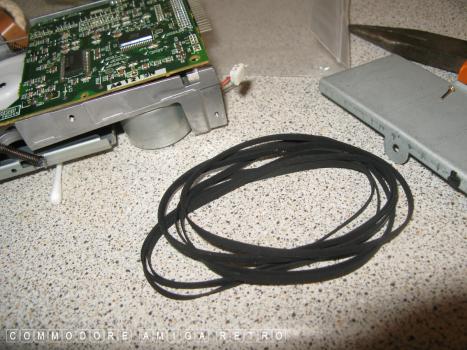
Rubber drive belts at the ready
Drive belt replaced and checked
The write protect pin is re-inserted
That's the write protect pin to the
left of that screw
All back together and ready to go
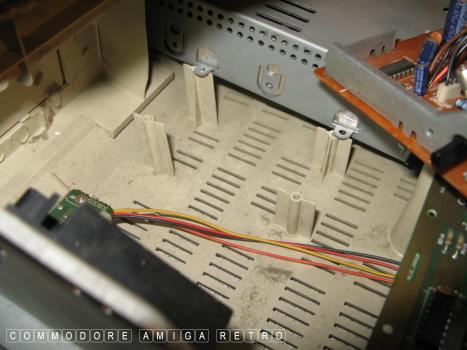
I gave the front casing a good clean
Reinstalled the drive casing having first
given the base of the main case a dust
Reconnect the power and earth connectors

Check and lock into place the top tray
Reconnect the main motherboard
And fire her up

So did she work ?
Did she f*ck !!!!!
All the lights are on and the drive
tries to work but I think the actual
alignment of the drive is faulty. I have
no idea how to fix. I just keep searching
for a replacement drive. I don't give up
Thankfully I have another PCW9512 that works