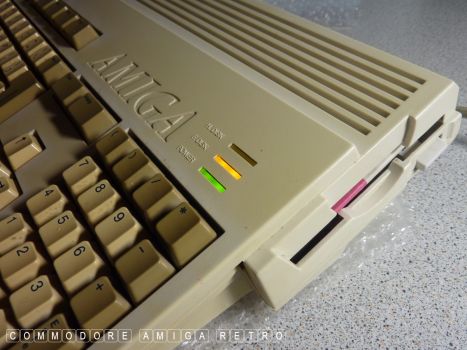
Amiga 1200 Inner Workings
Locate the two screws that hold the floppy
in place. These are different from the normal
case screws and are not self tapping. They have
a fine thread as they screw into the metal and
not the plastic.
Also... PLEASE !!! put some protection down to
avoid scratching your Amiga.
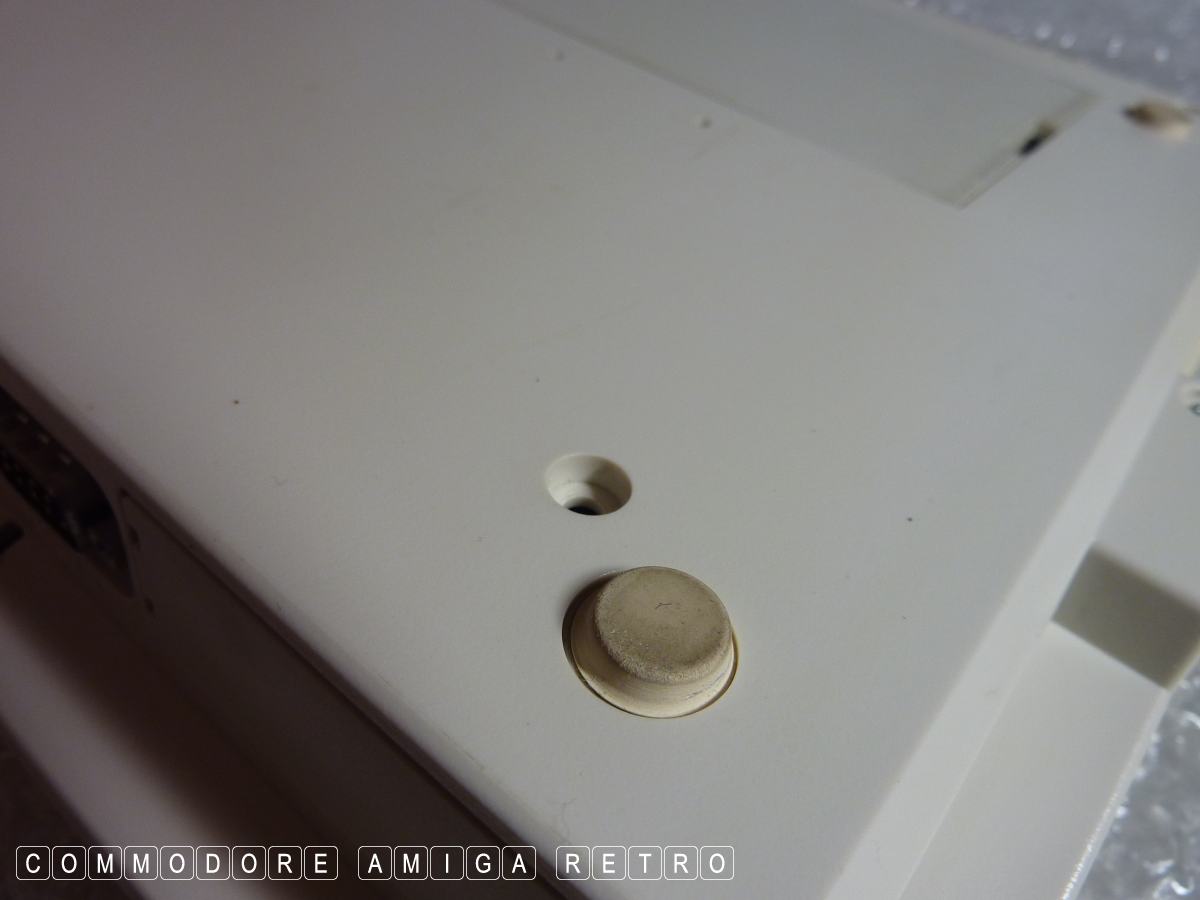
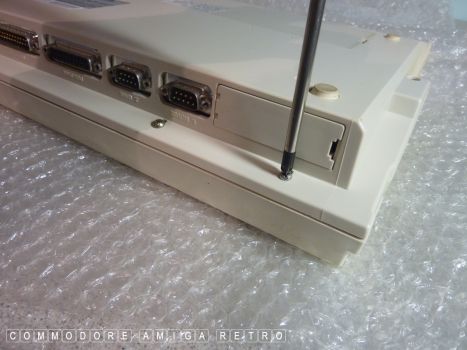
That little hole is for supporting an additional
port like the Blizzard SCSI KIT or Port Junior.
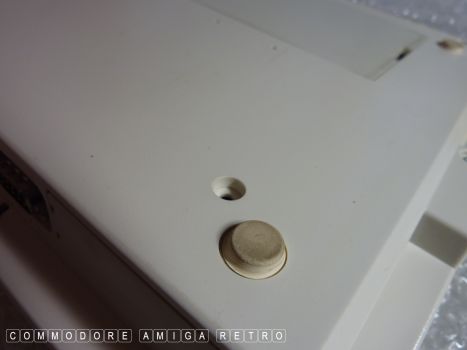
Also check the rubber feet.. they can melt and
and become very very sticky.

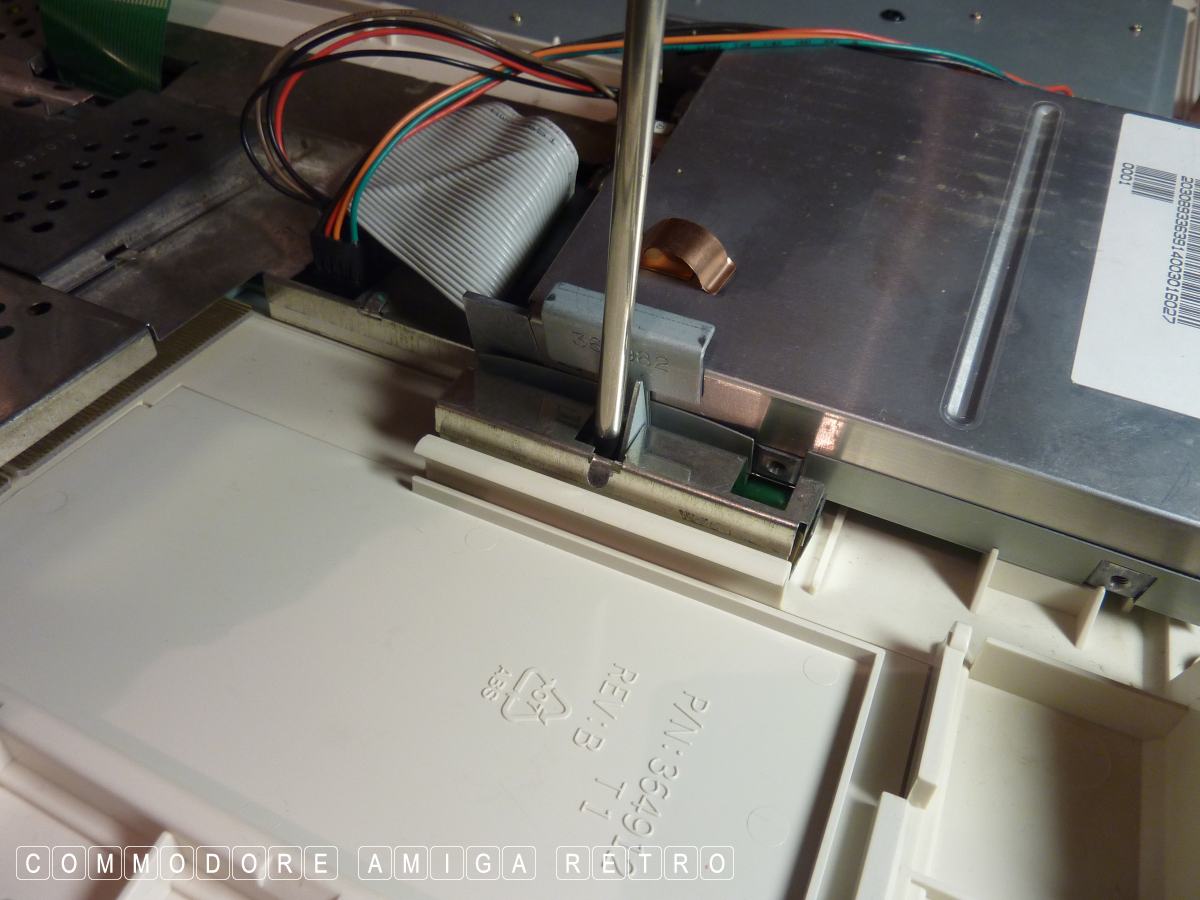
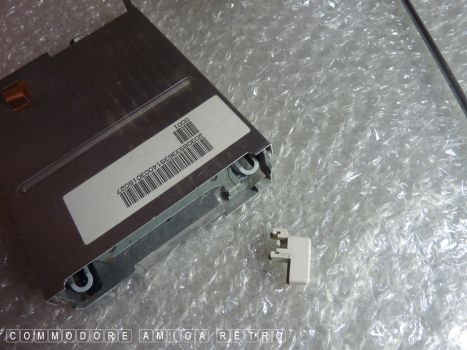
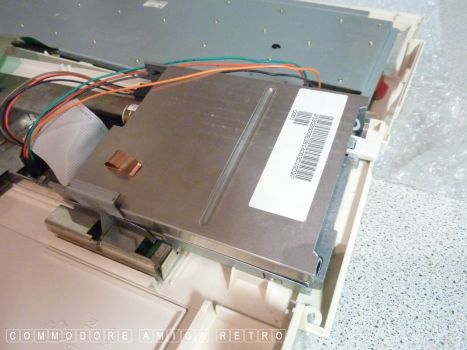
Next we remove the small bracket from inside.
If you are going to leave the keyboard connected
make sure you support both the case and keyboard
as you are likely to damage the ribbon and or
the wires connecting to the LED plate. I would
avoid unplugging the keyboard ribbon too often.
just lean the keyboard and case against a vertical
object to the rear and check wires are not
in tension.

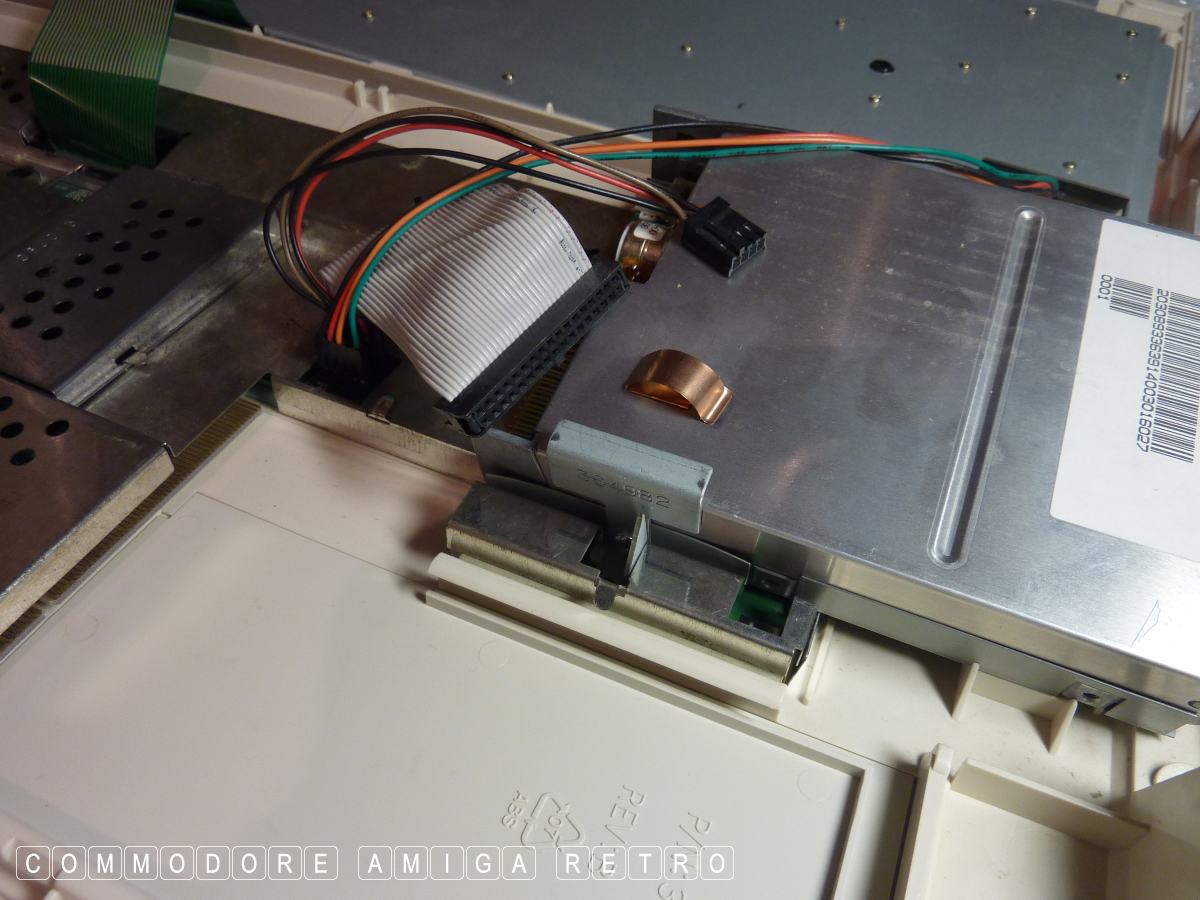
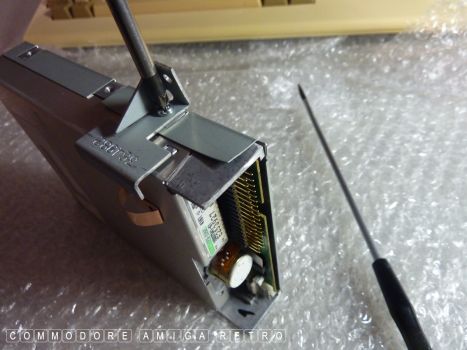
Unplug the ribbon and power connector and
remember which way round they connected.
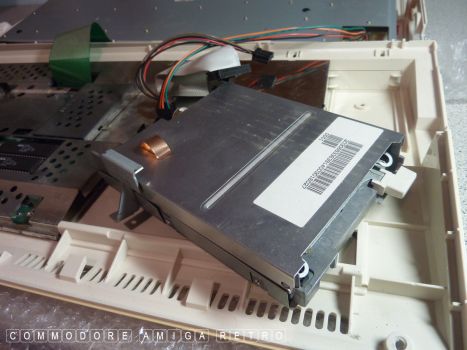
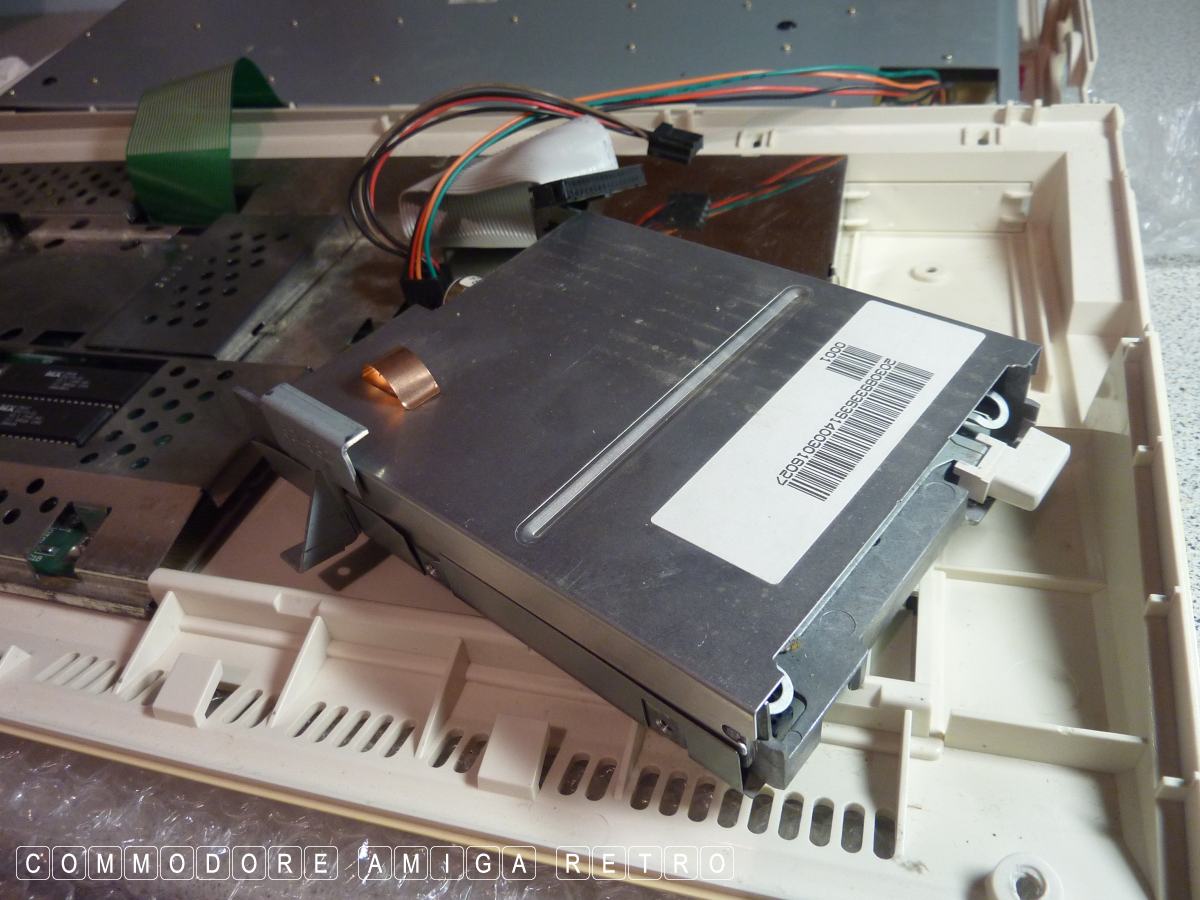
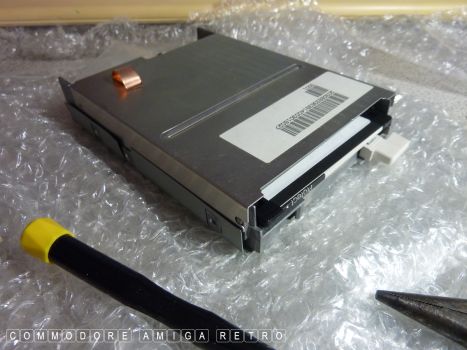
The floppy drive can now be extracted.
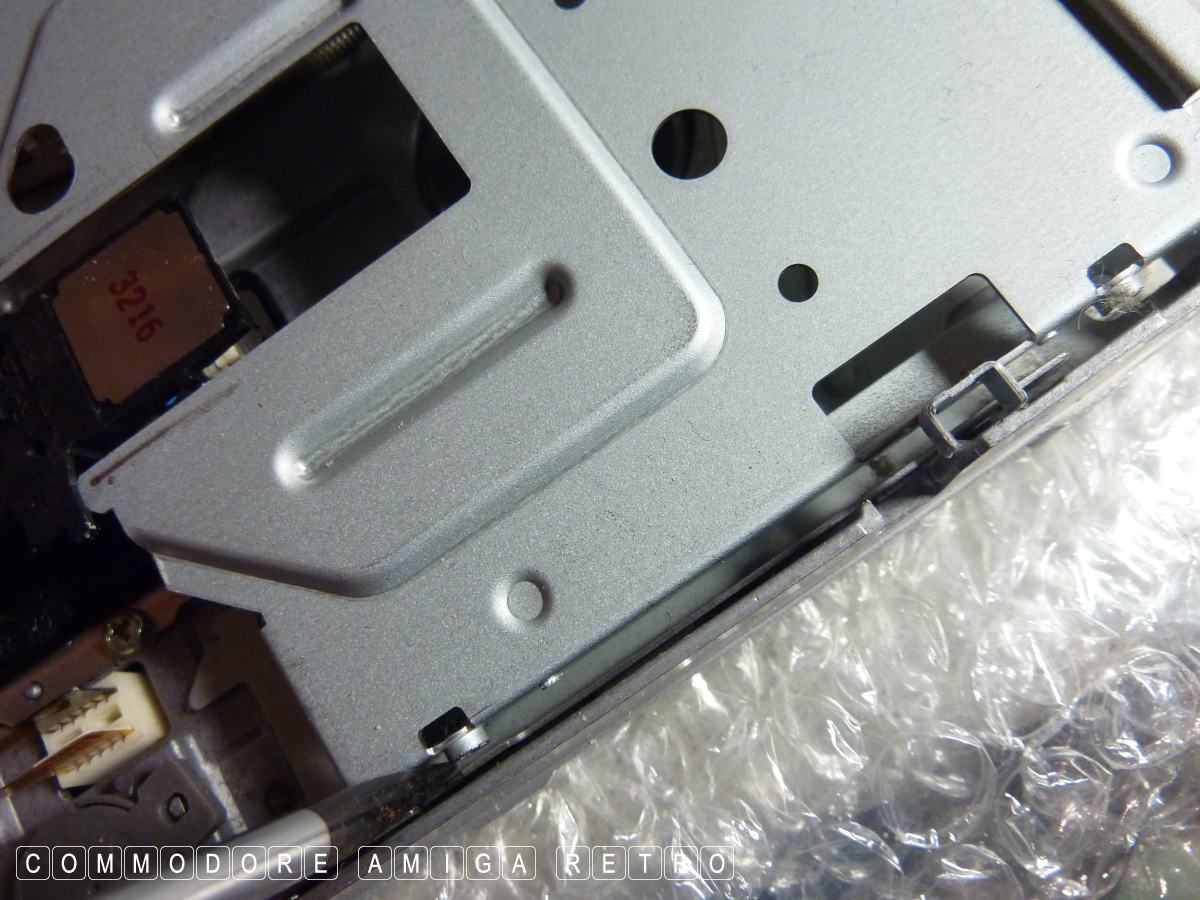
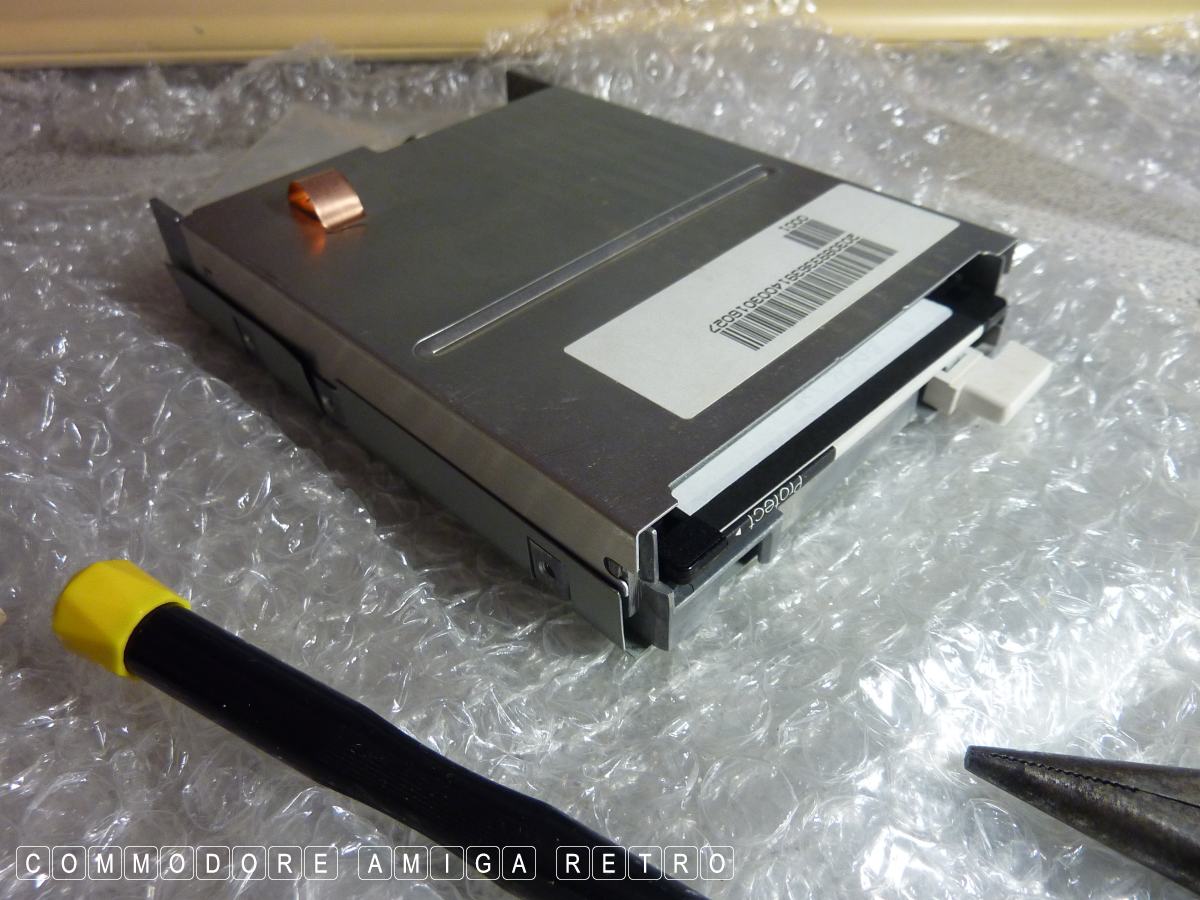
That bracket can be in two different
positions. If the disks are sticking then
try the bracket in the other slot. If they
had put a slot in the bracket it would
have allowed vertical adjustment.

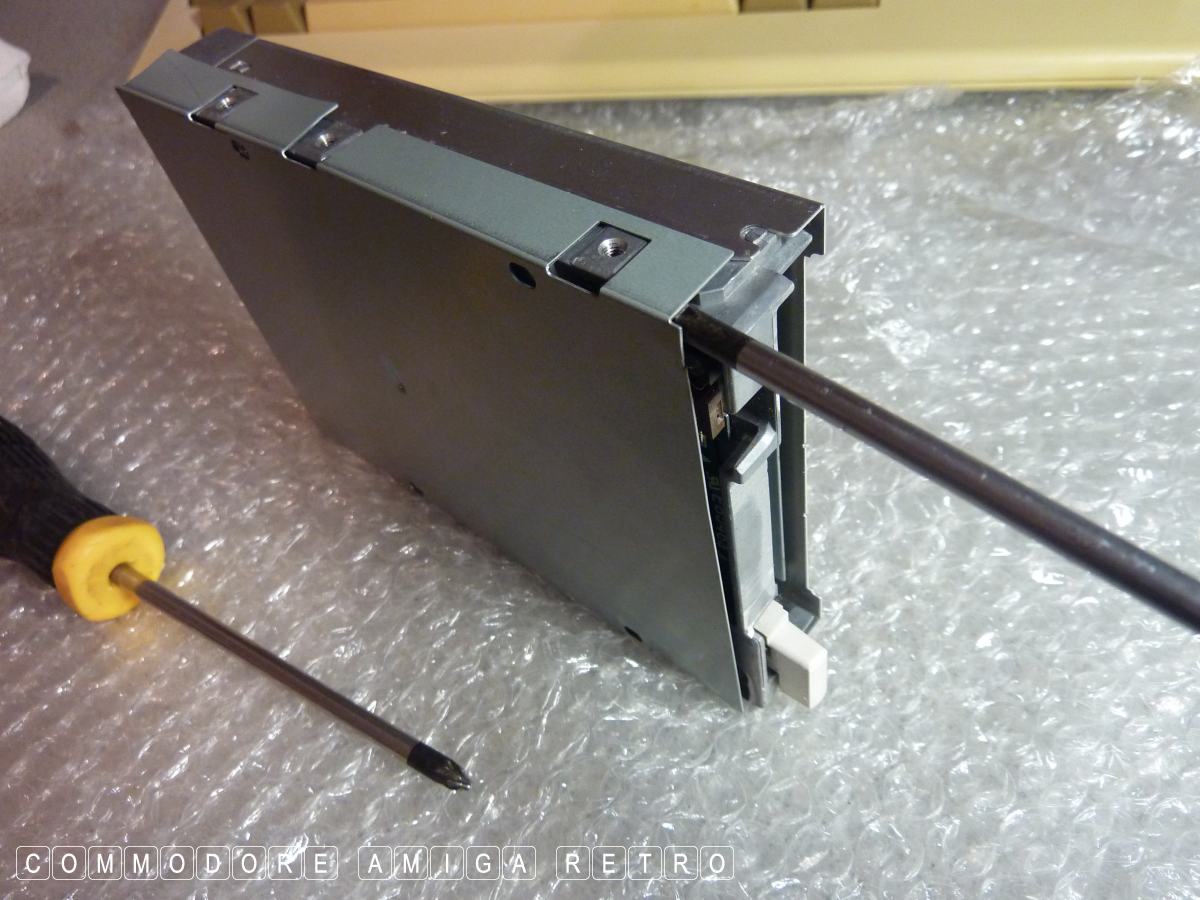
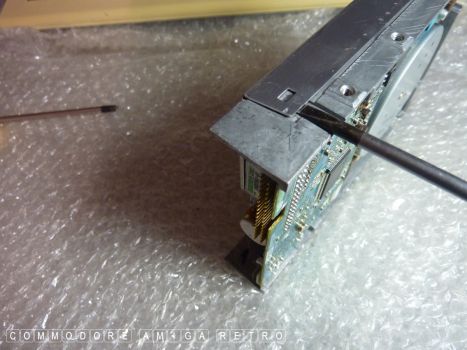
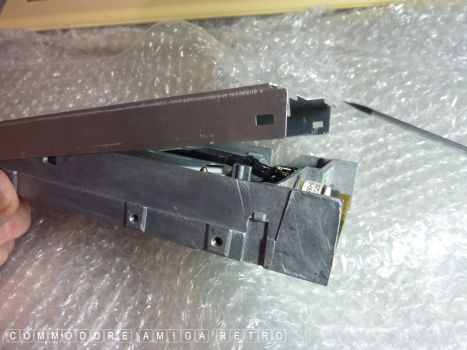
Both top and bottom faceplates can be
removed from placing a flat head screwdriver
into slots provided for this. Locate the
slots and lever up. Avoid simply wedging
the screwdriver behind the metal and bending
the casing as I often find with drives...
This one included.
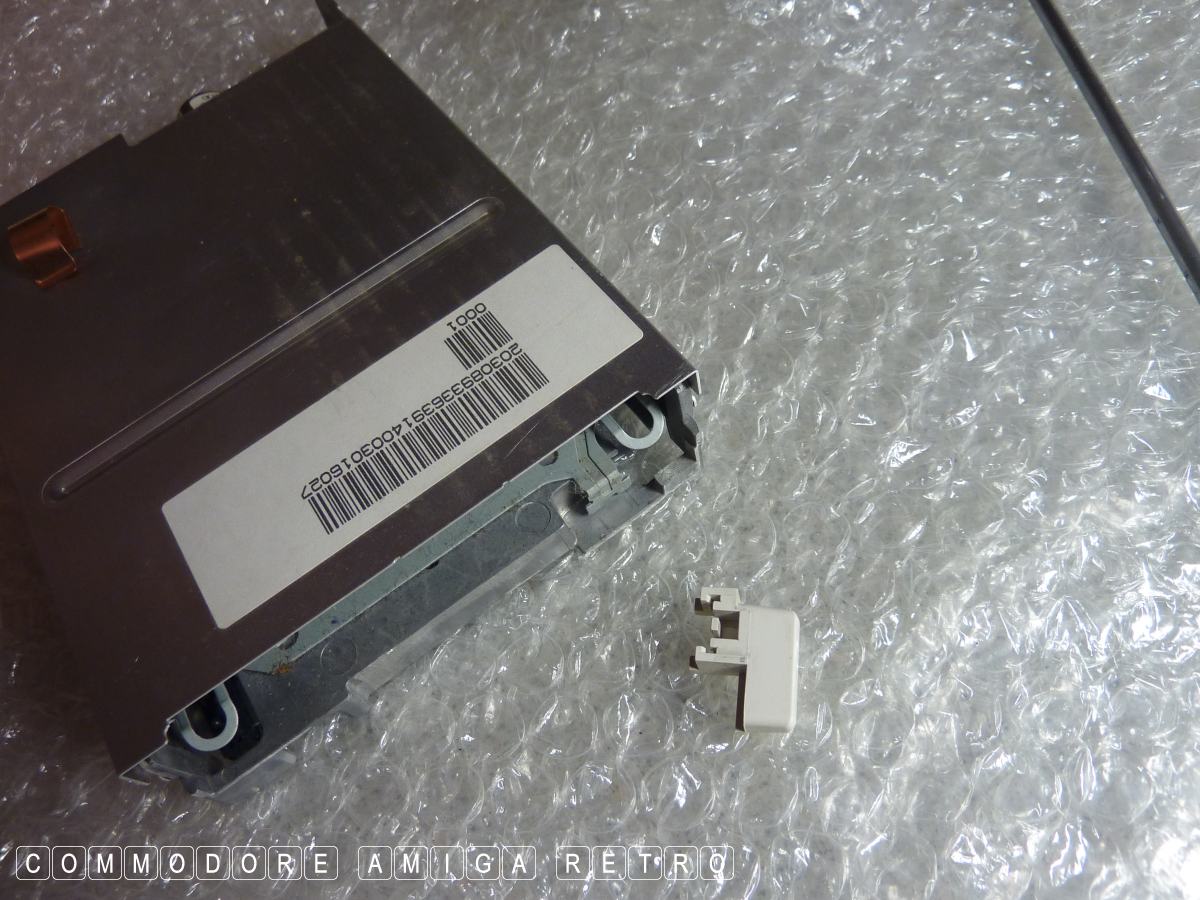
Ease the eject button slowly from its
support. AVOID snapping it off.
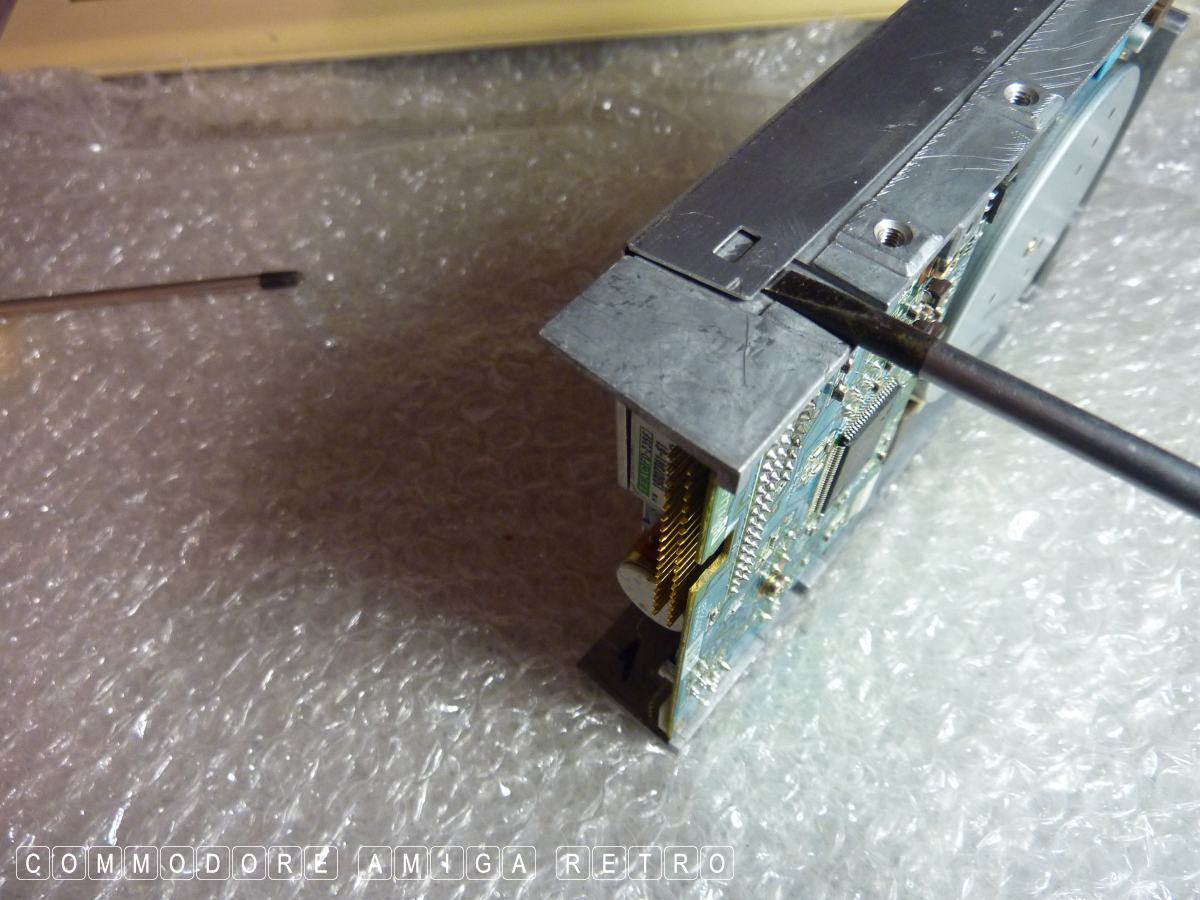
Again locate the special slots for removing
the case covering and lever off.
USE THE SLOTS and stop bending the case.
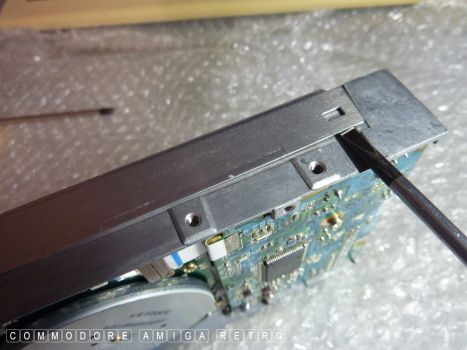
The slots are there for this purpose.
And the case simply rotates off.

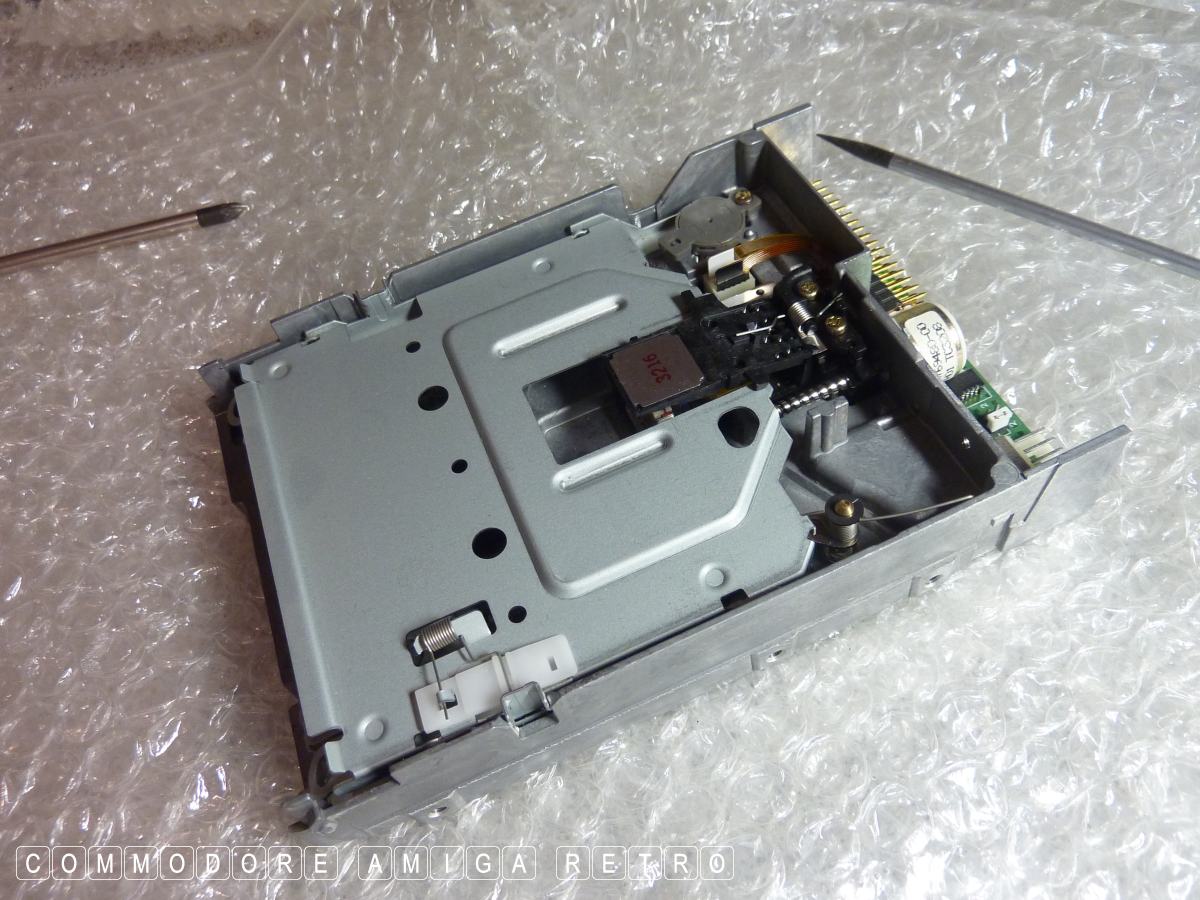
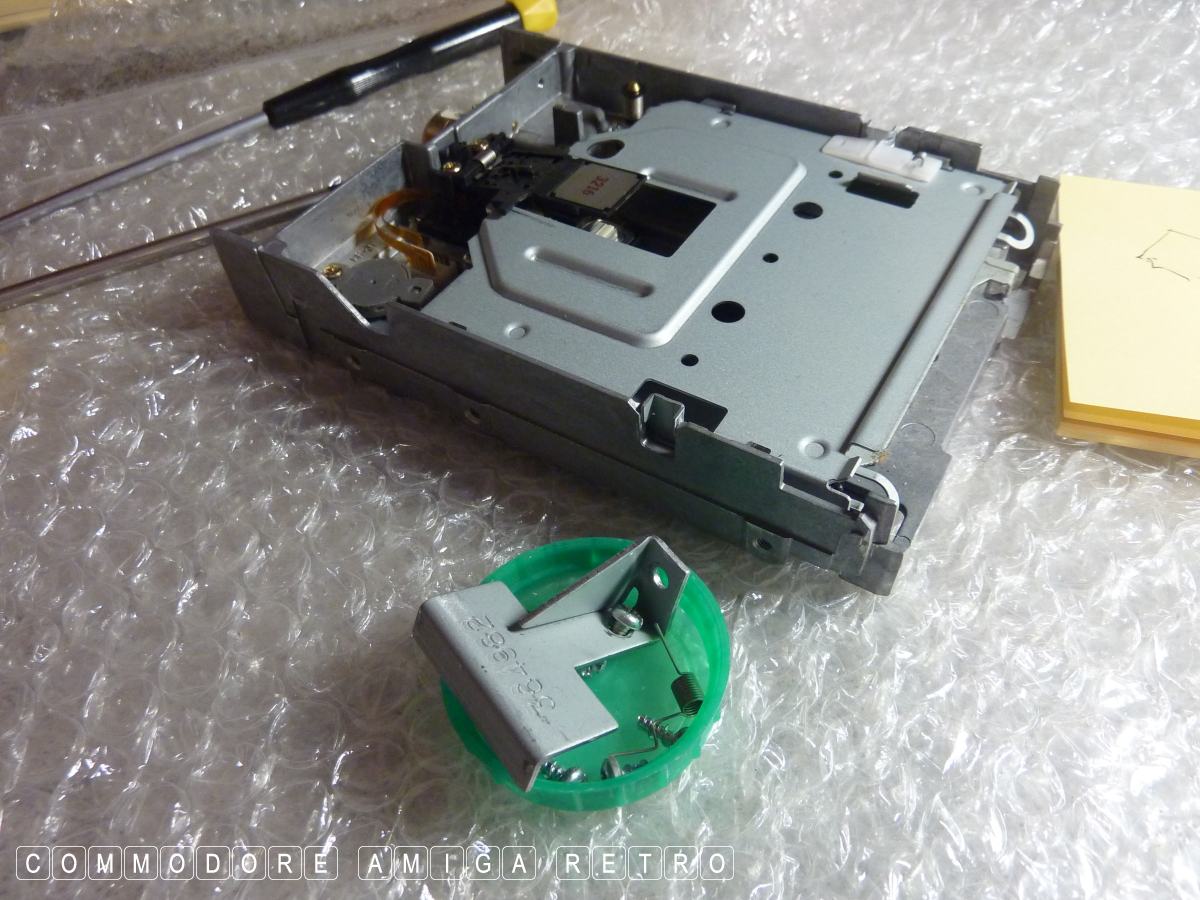
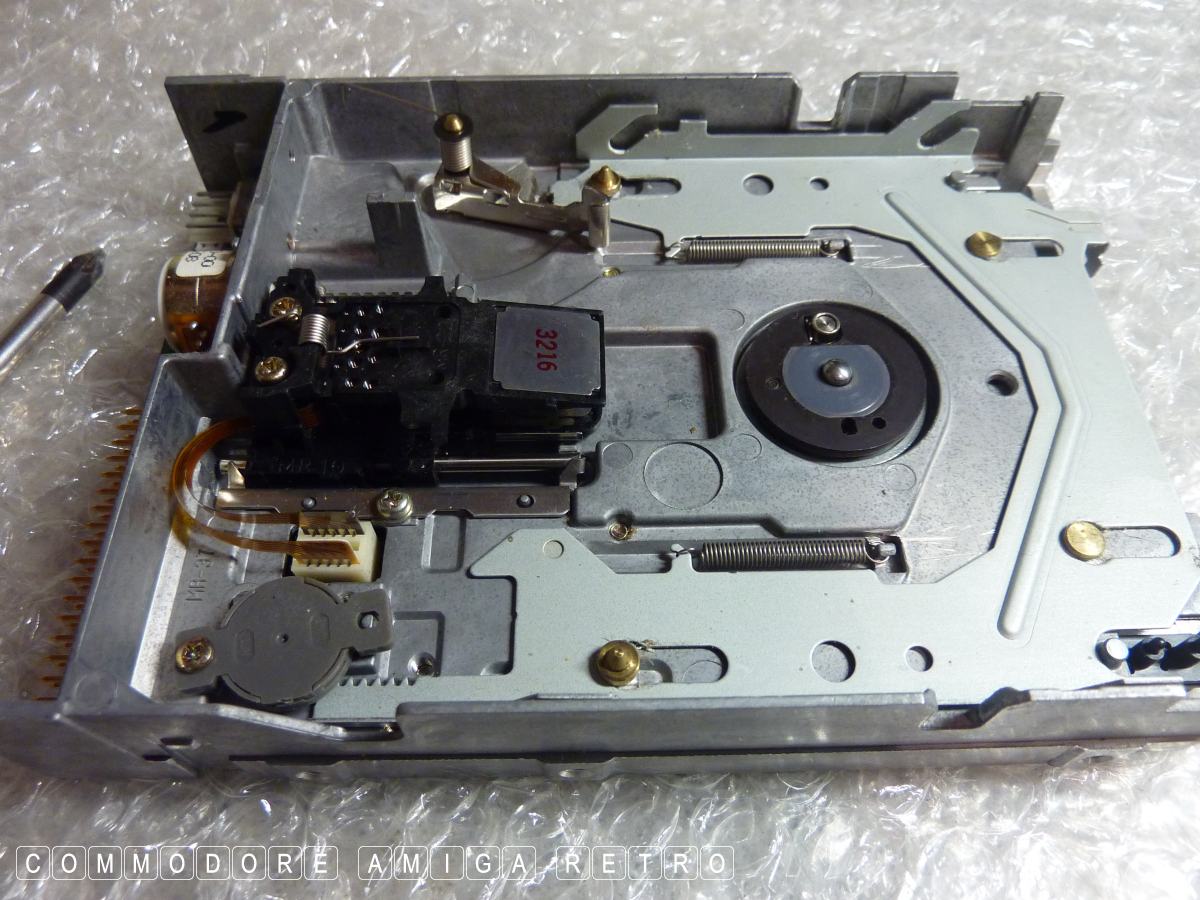
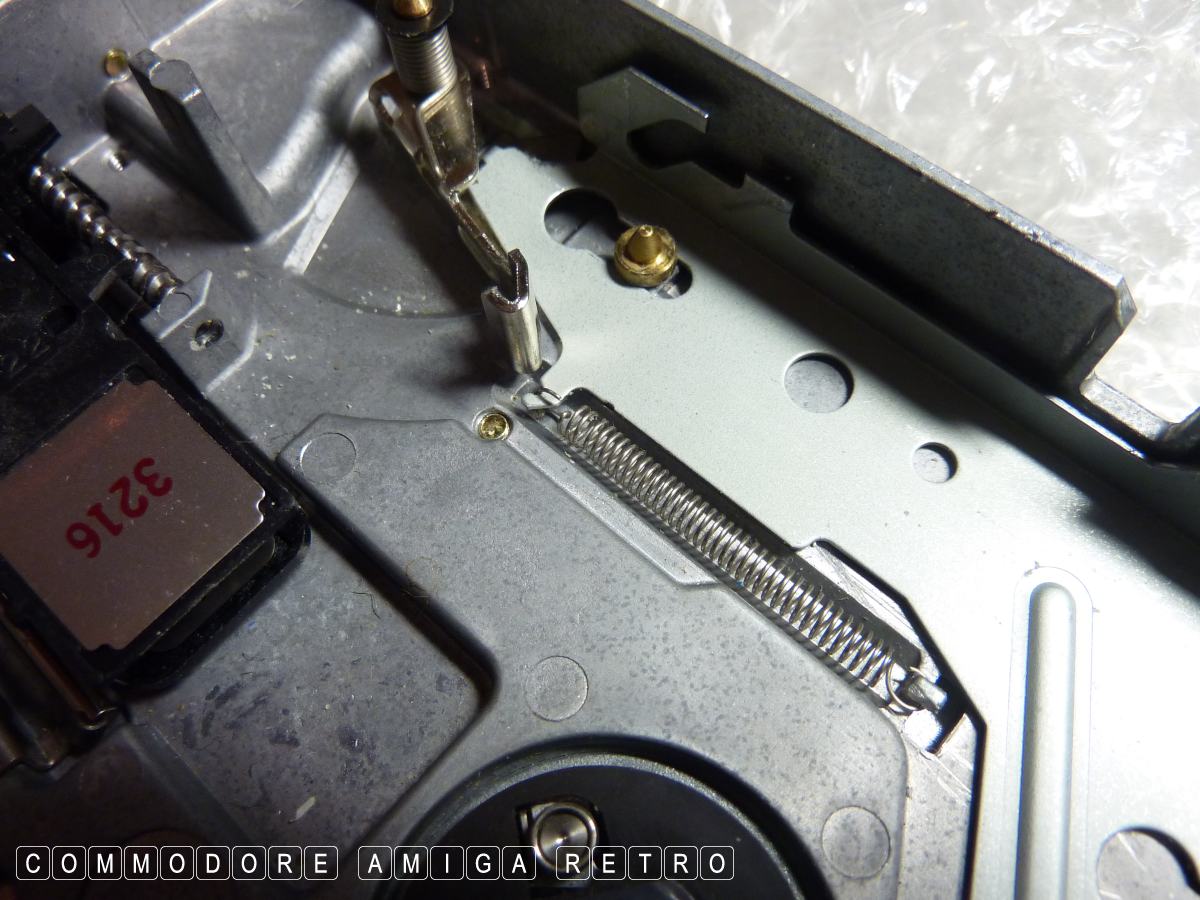
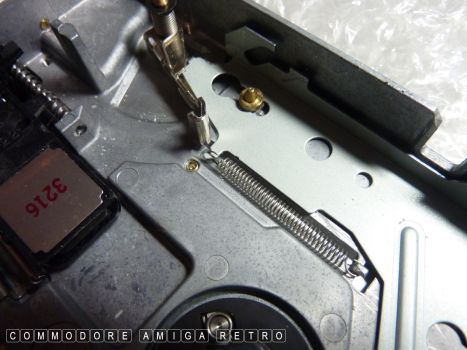
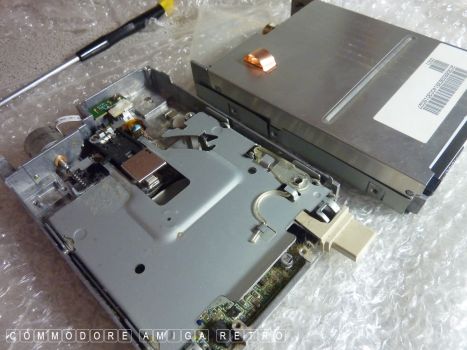
DO NOT mess with the drive head mechanism
and avoid touching the worm from the motor.

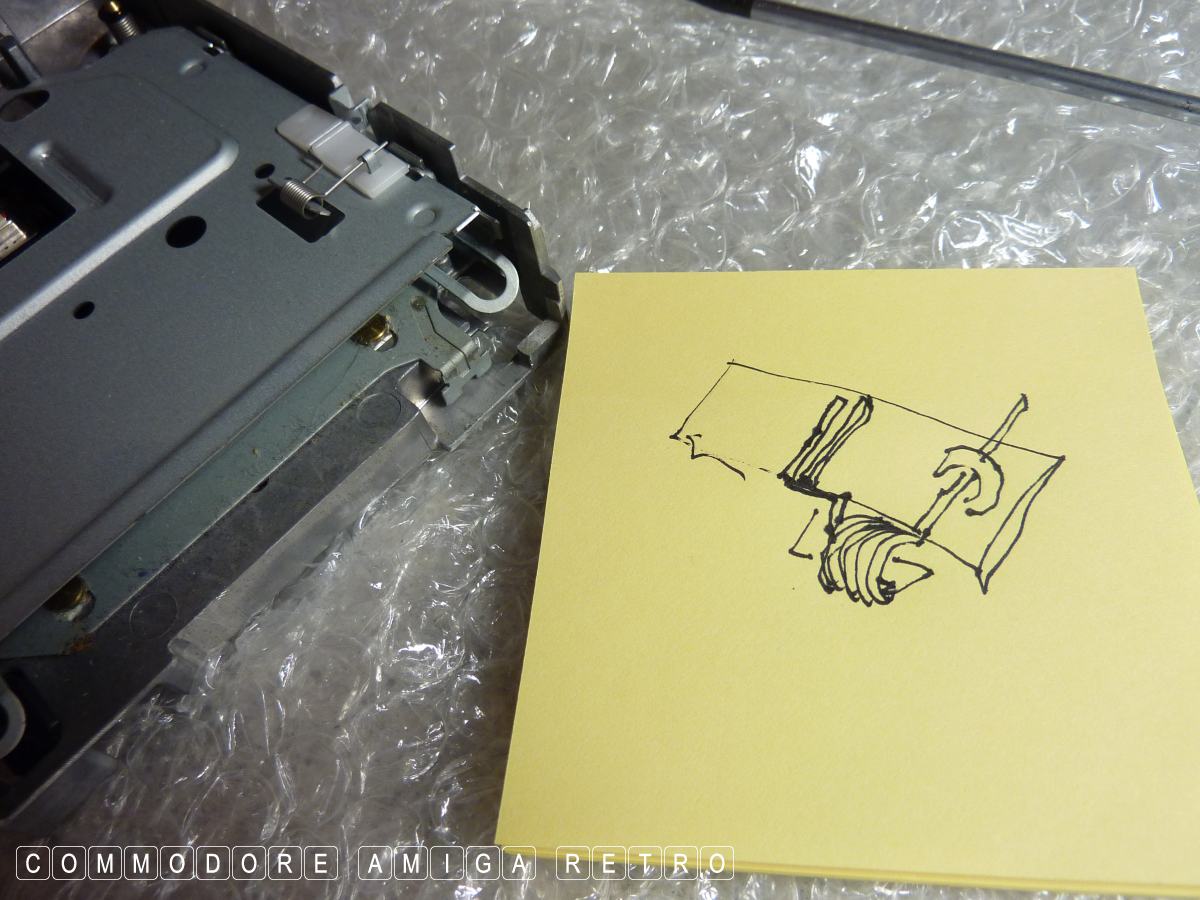
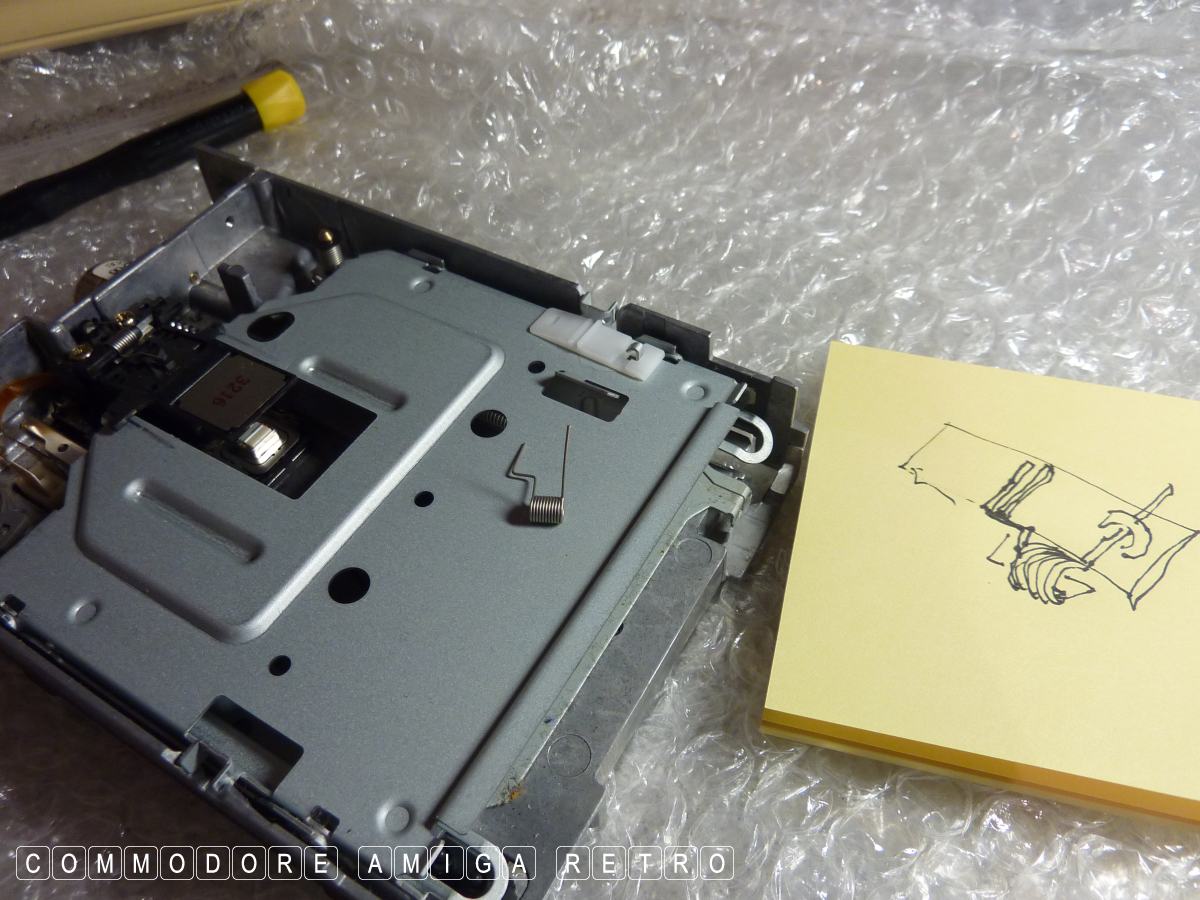
The spring does not need removing. However
if you do take a photograph and better
draw what you see. Its easier having a
simple sketch than needing to check a
picture on the camera.

A simple sketch is easier to have around
when you are working on putting things
back together. Trust me.

Always store your items and do not leave
lying around. They have a habit of running
under the case and scratching it.

Just save the tops off the milk cartons
and use them as dishes for screws.
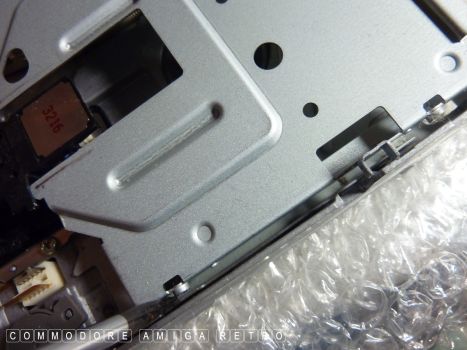
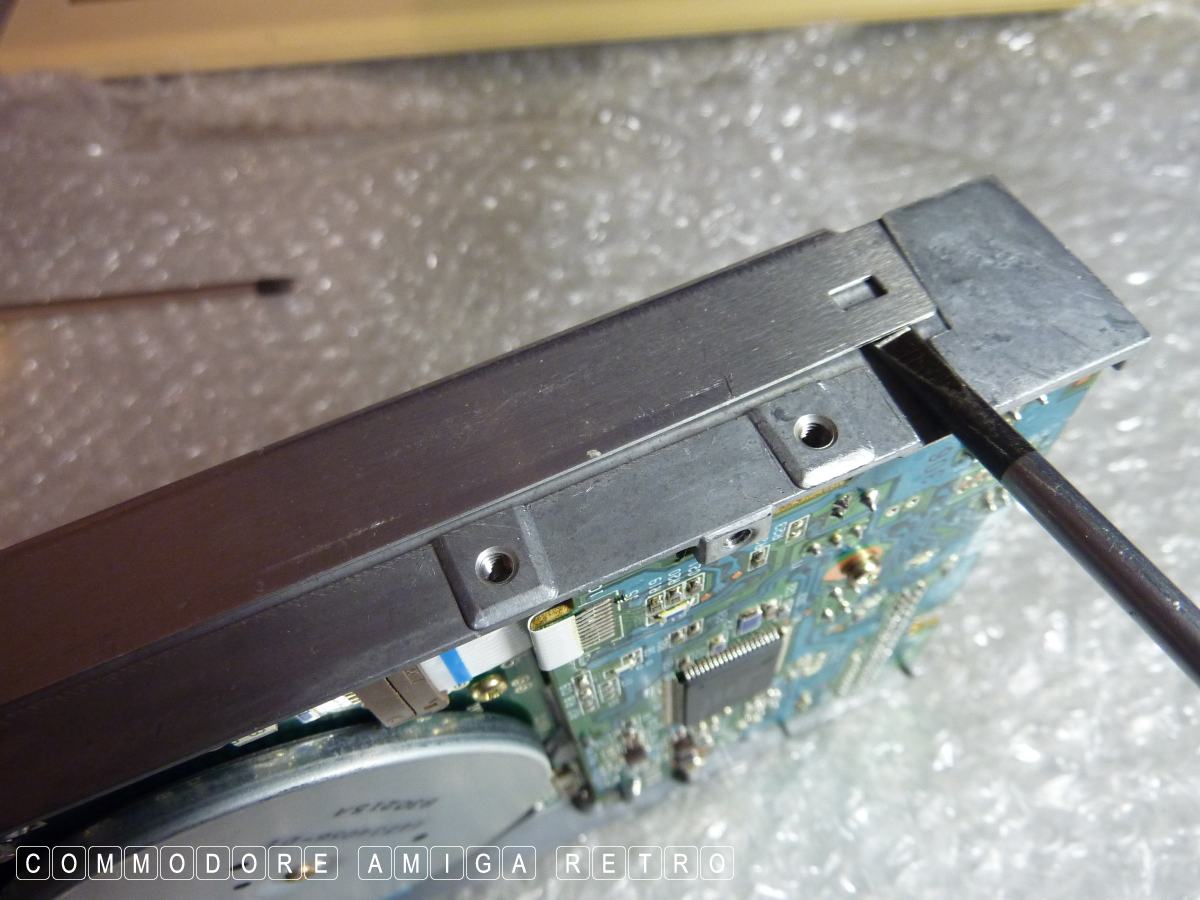
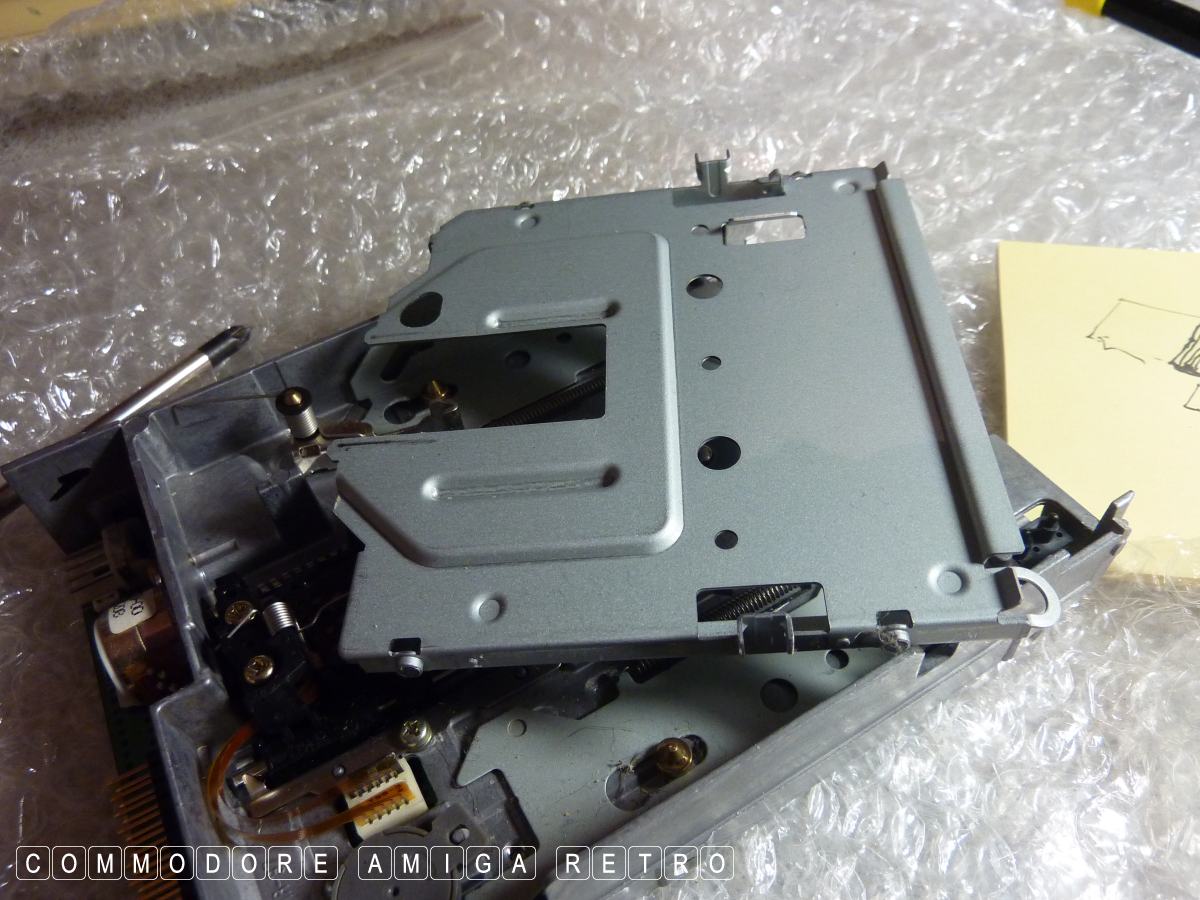
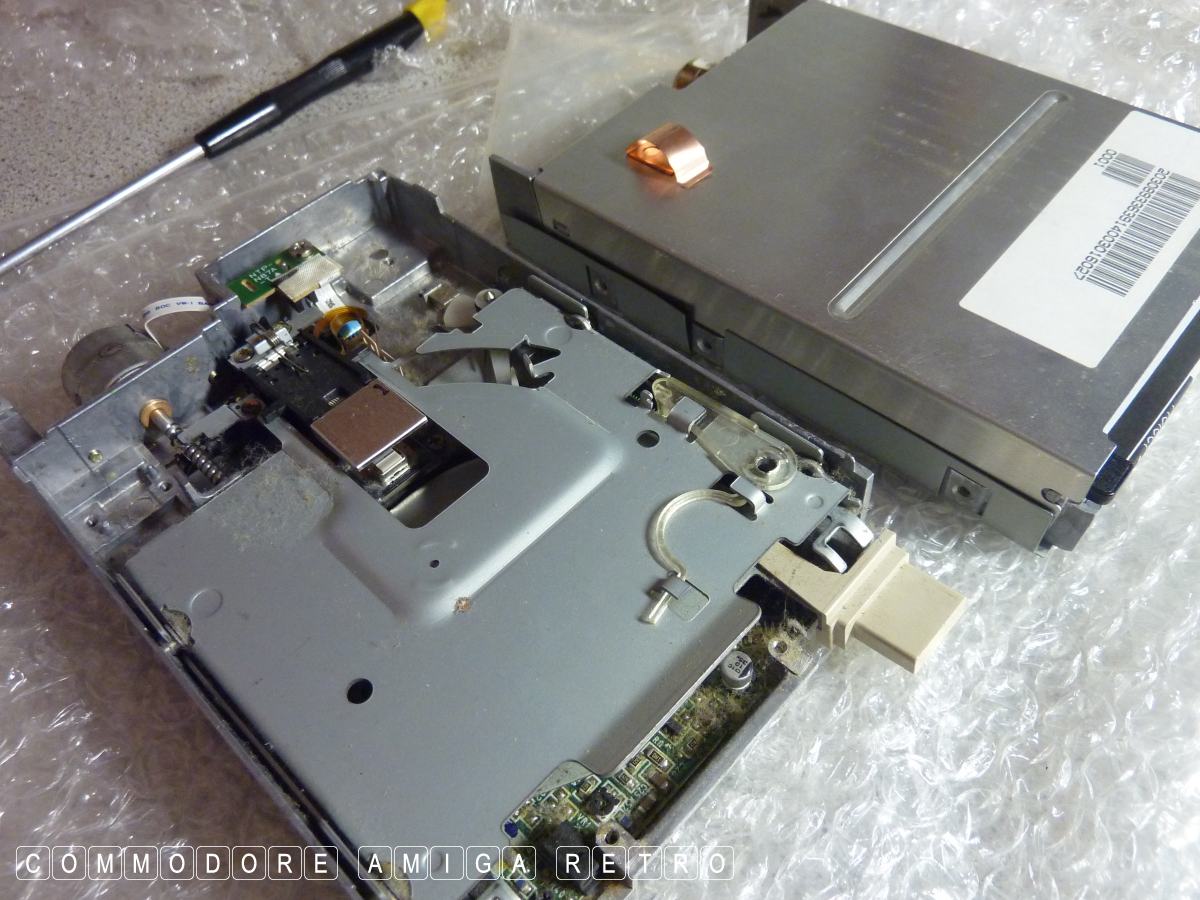
This is tricky to explain. But there are
two small circular projecting locating stubs
to both sides that slide inside a bottom
casing. There is a locating square tang on
the side that fits in a slot on the casing.
The whole thing just slots in so very carefully
lever those circular stubs out from the side
casing and it should come away.

Place the casing to one side.

Set too cleaning out all the gunk. Though in
truth the process is more therapeutic than
useful as it never seems to fix any problems.
Folk on YouTube seem to think that dirty cotton
buds are a cure to all problems.

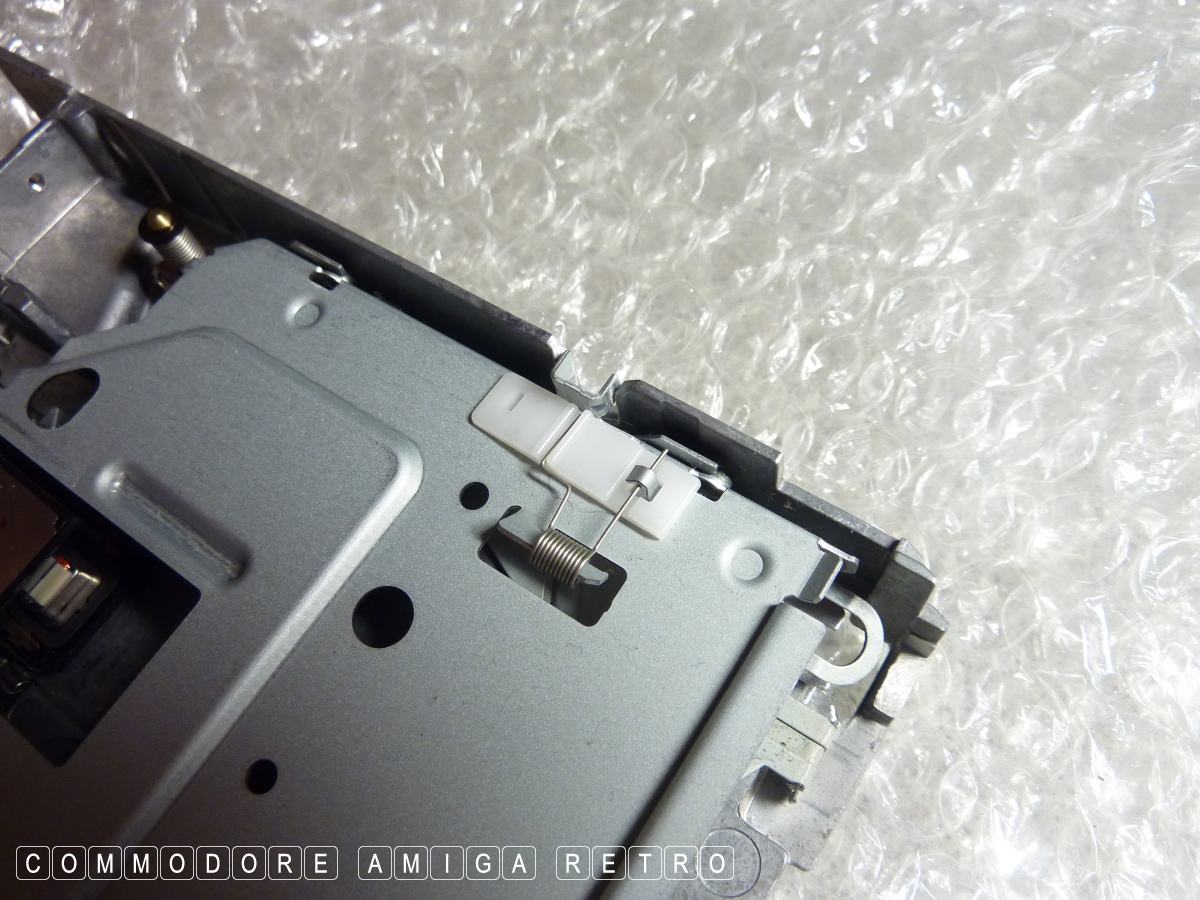
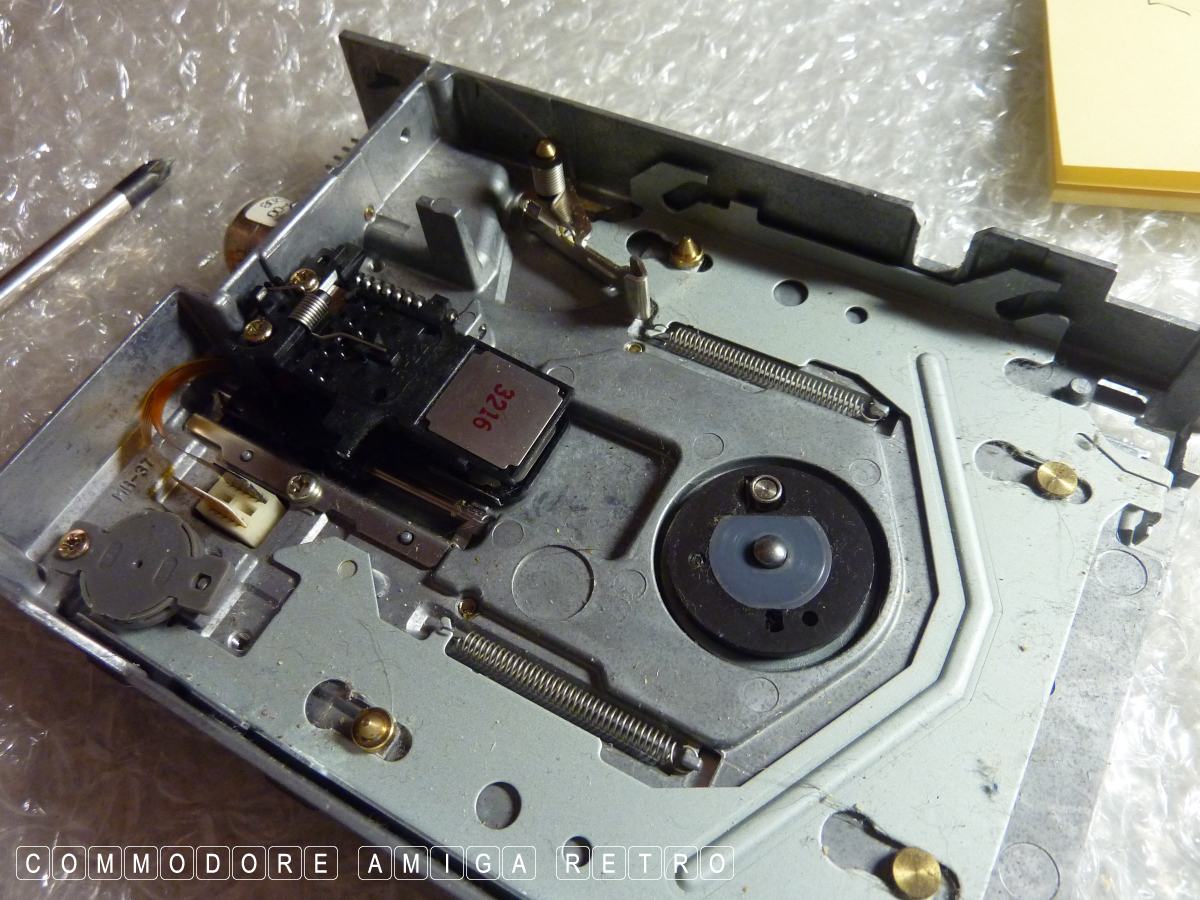
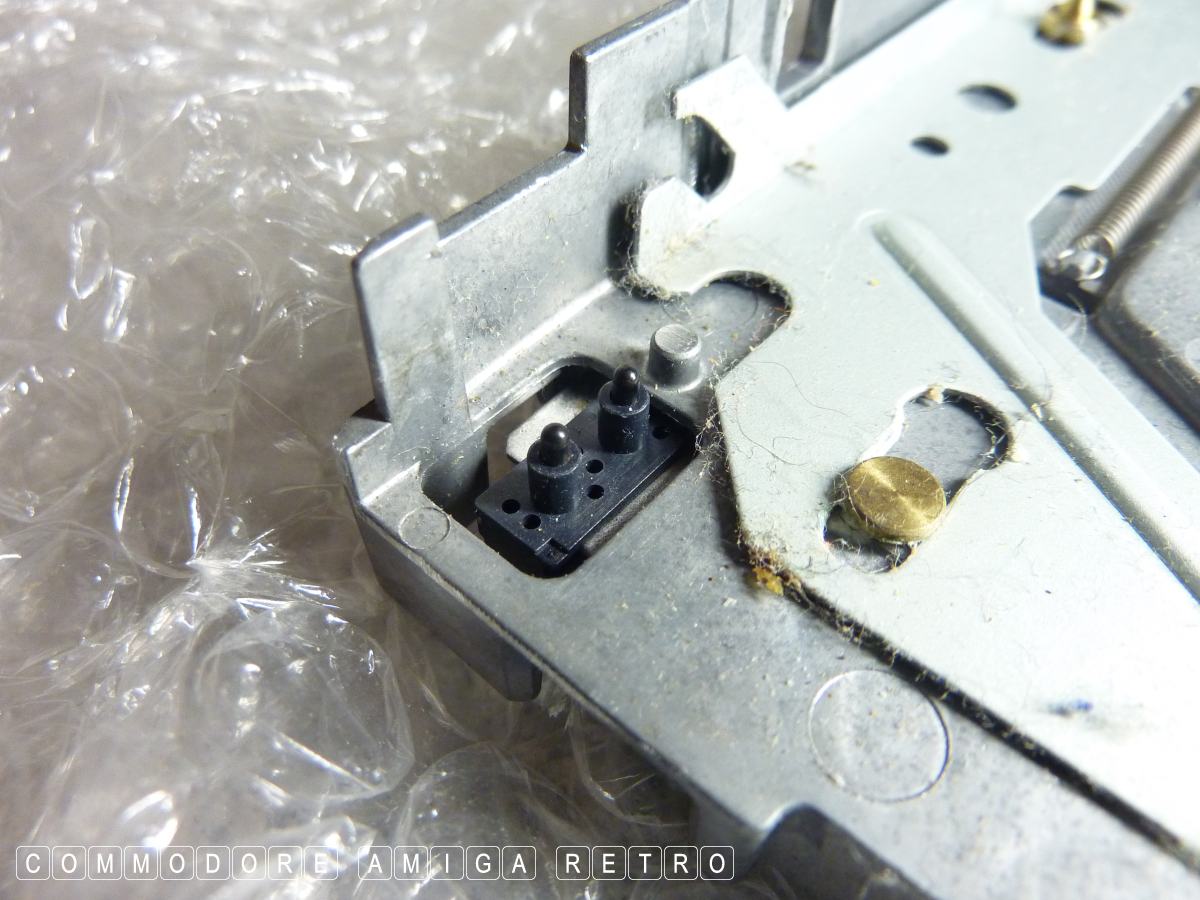
Those pin switches can be a real problem.
Make sure they are free from dust and are
springing freely up and down. These can be
north/south or even east/west in arrangement.

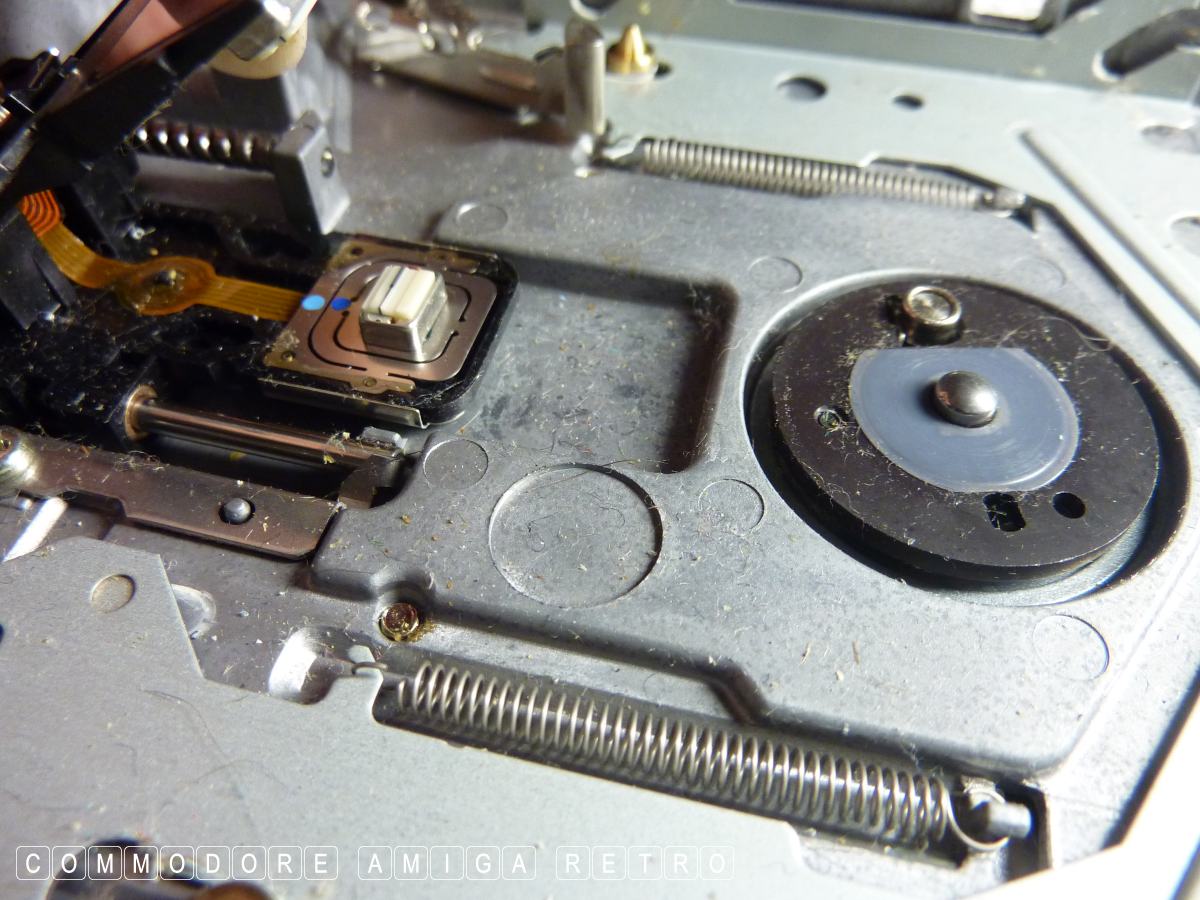
Clean the gunk from around those slots to
the bottom slider and check that they are
moving freely and level and flat.
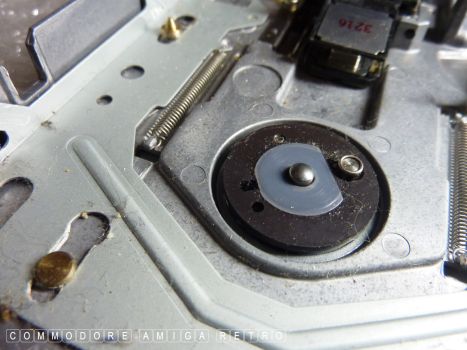
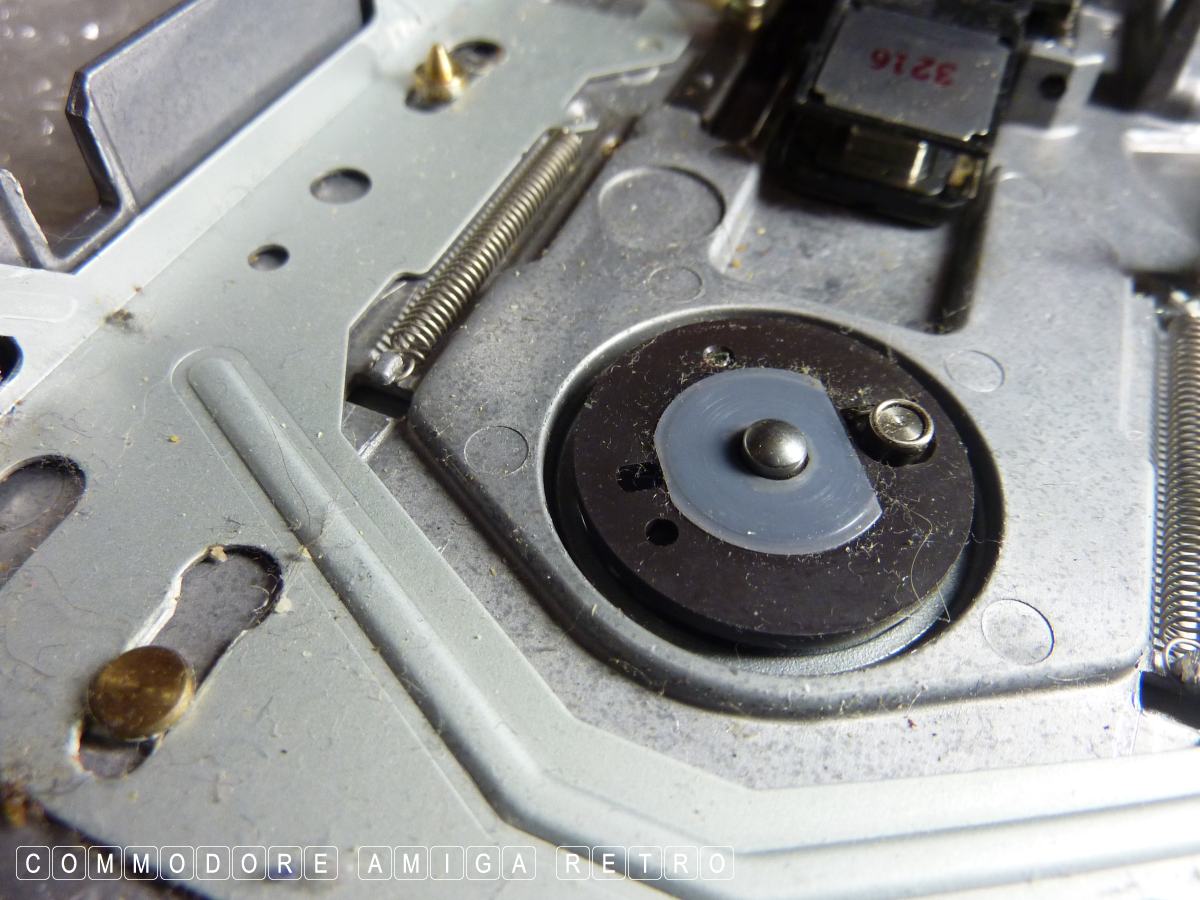
Check the springy circular locator in
the centre disk holder and make sure all
is moving freely.

Be very careful lifting the read/write
head and clean. I tend to use a disk
head cleaning kit.

You can have a general clean inside the case.
Check springs and also make sure the
bottom case is located over the rotating
arm at the top or the thing won't work.
And reassemble.
And please note that not all floppy drives
are the same. They can vary a lot. However
the basic principles are the same.

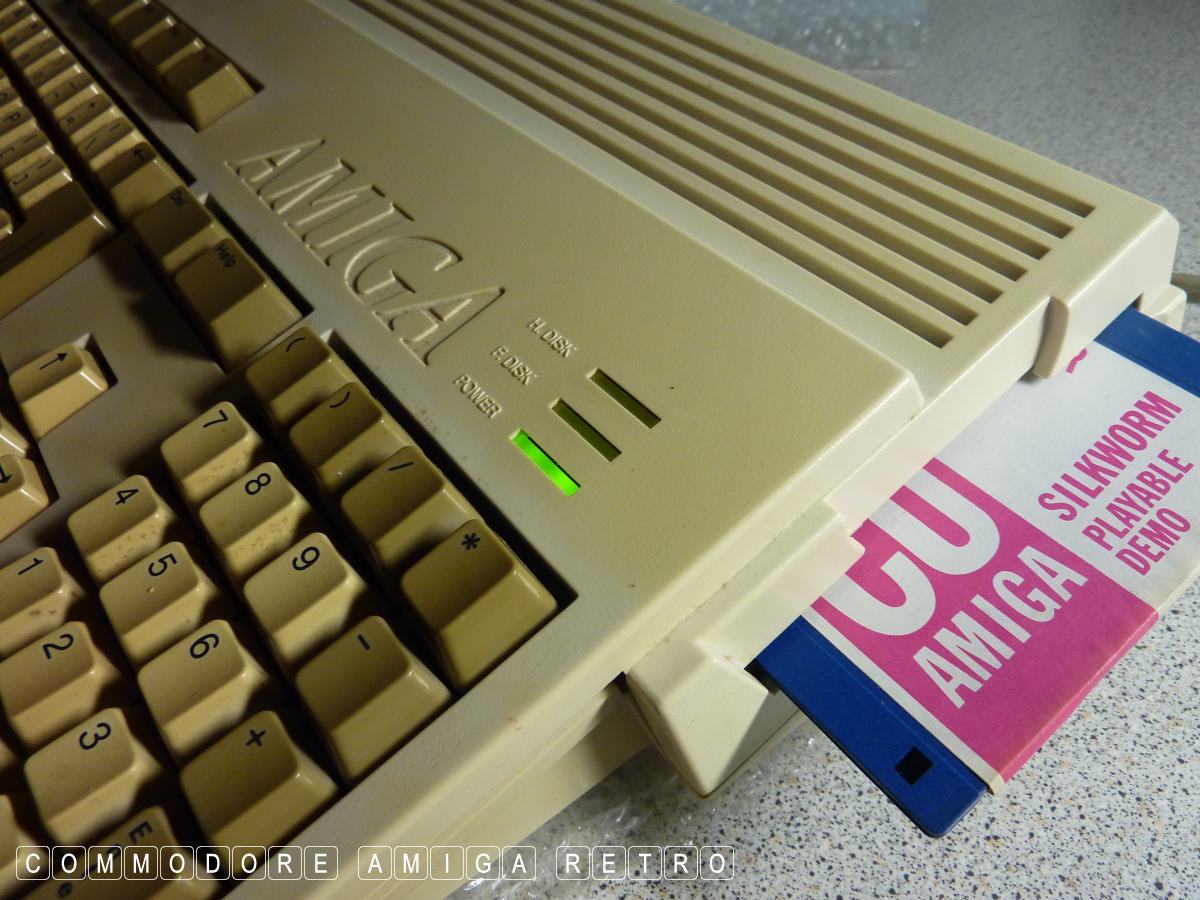
So did it work ???
Did it **ck !!!
But then I didn't hold out
too much hope cus with the drive simply
spinning out of control and then dying
pointed to an inactive drive head which
means on the whole a busted motor.
Onward
Like I was going to give up.
This is what retro is all about.