ScuzzBlog: Diaries September 2020
Entry 8th September 2020: Post 1: Amiga 500 Plus checking - It's what I do.
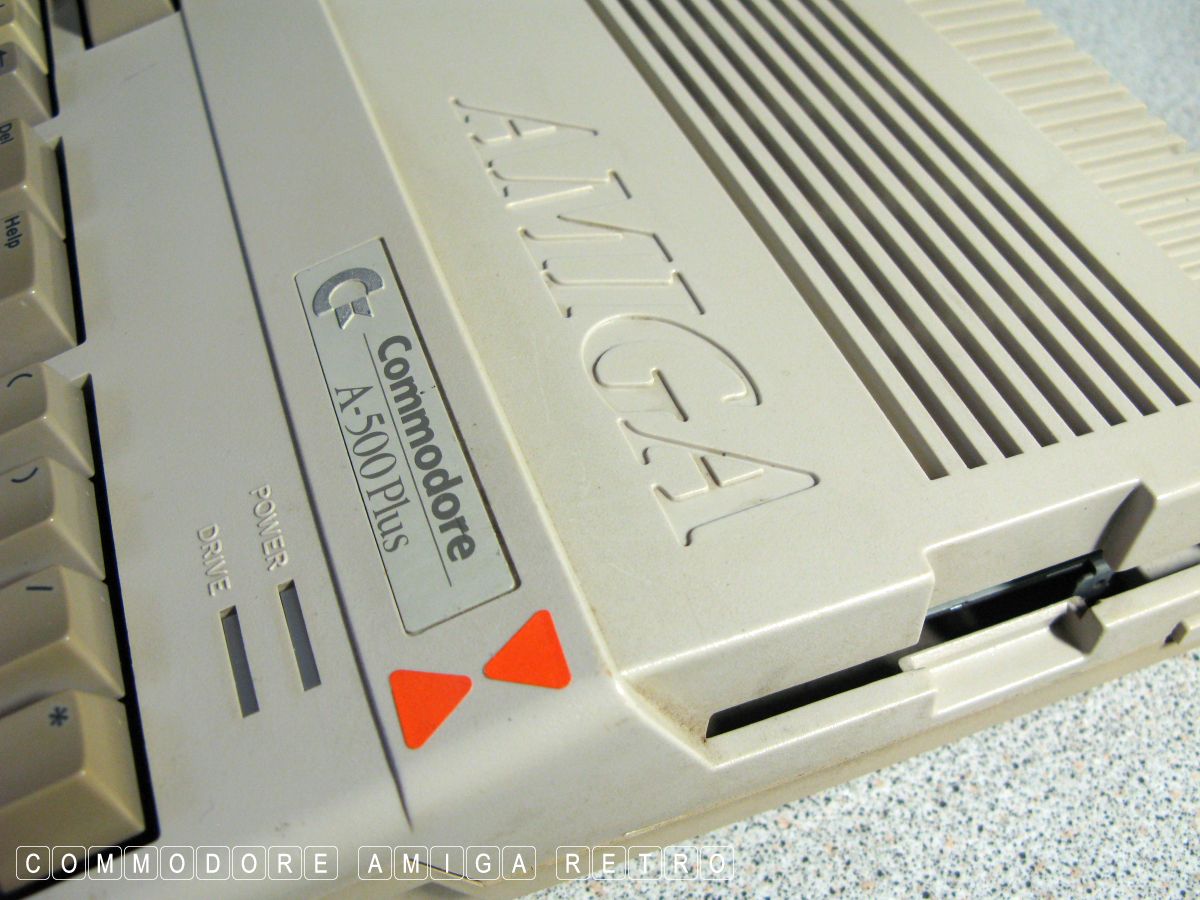
Amiga 500 Plus checking - It's what I do.
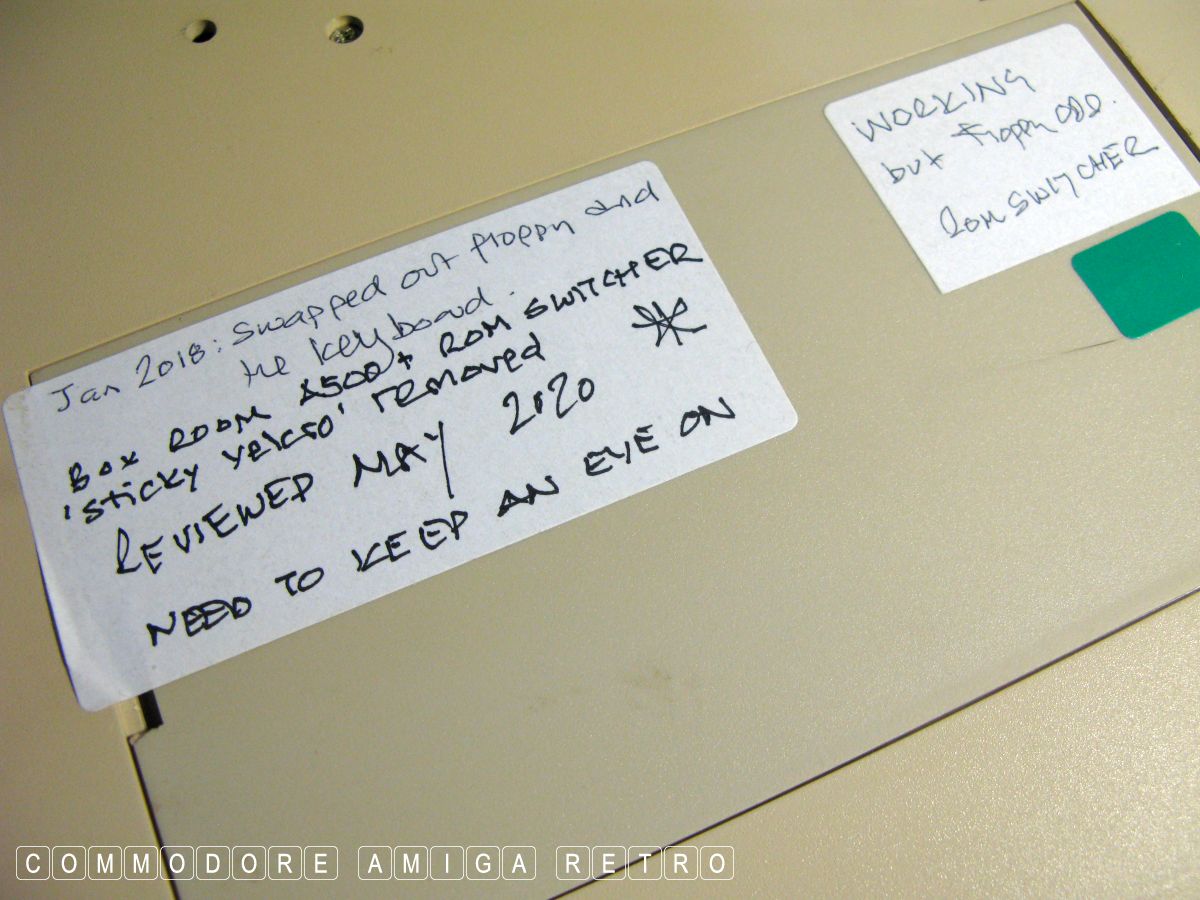
Prior to the summer shut down due to the excessive heat I pulled
this A500 Plus from the box room cus of a nasty 'blotch' that had
appeared on the motherboard. I was convinced it was residue from
sticky back tape that was holding the ROM switcher down. However,
just to be safe I cleaned her up and avoided using her till I
could check again after the summer. And so here we are.
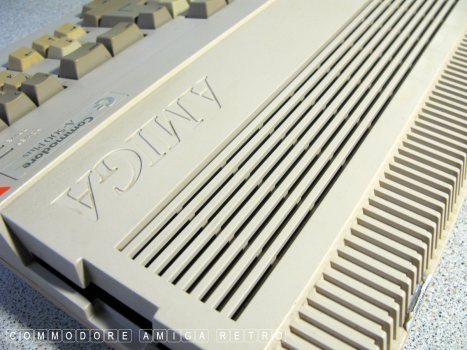
First up I generally give the computers a good clean. No retrobrite
is allowed in this collection. If you have ever used bleach on a
tea cup or the pan of a toilet you will realise what aggressive
cleaning processes can do. In the case of ceramics it removes the
protective coating making it susceptible to staining. In the case
of the Amiga, the removal of the protective paint coating without
some form of sealing coat will simply cause the intumescent to
migrate back to the surface and yellow the plastic.
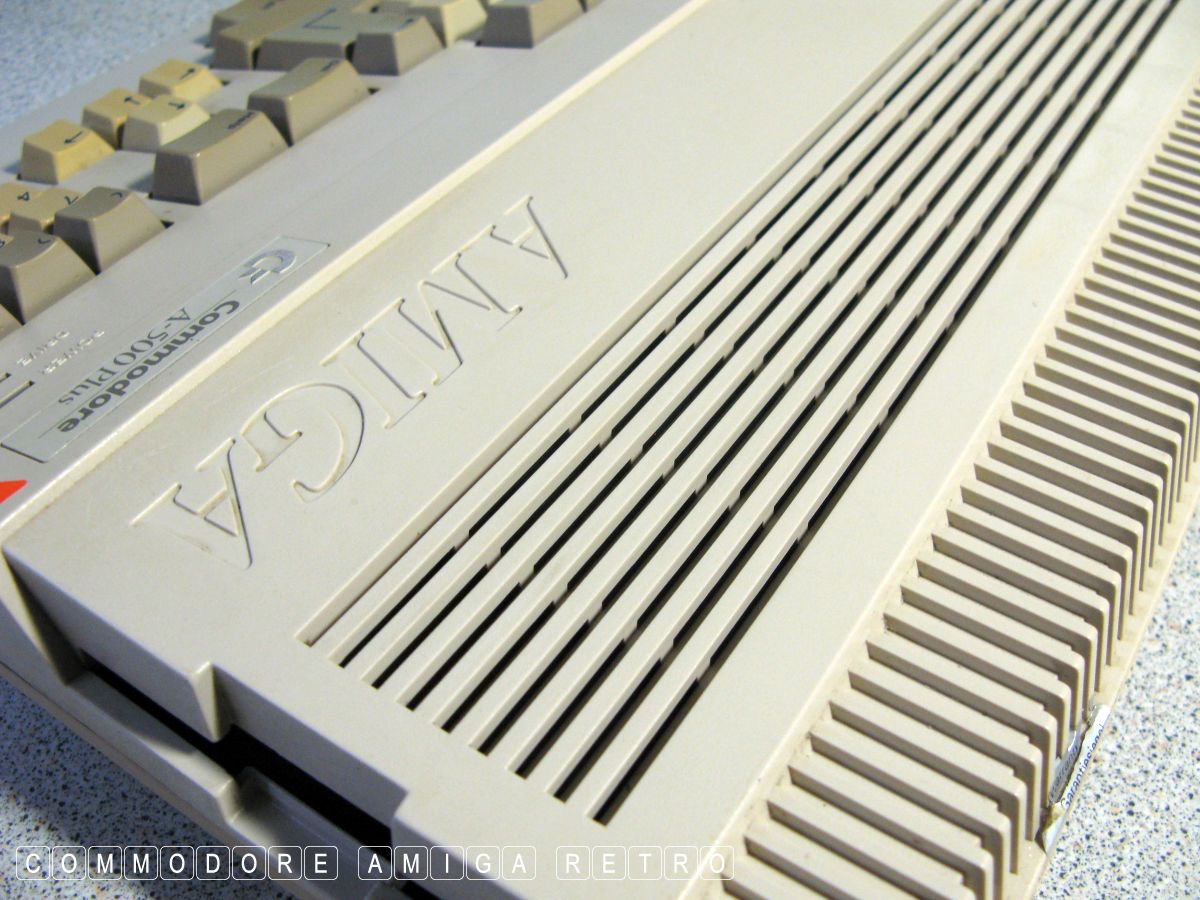
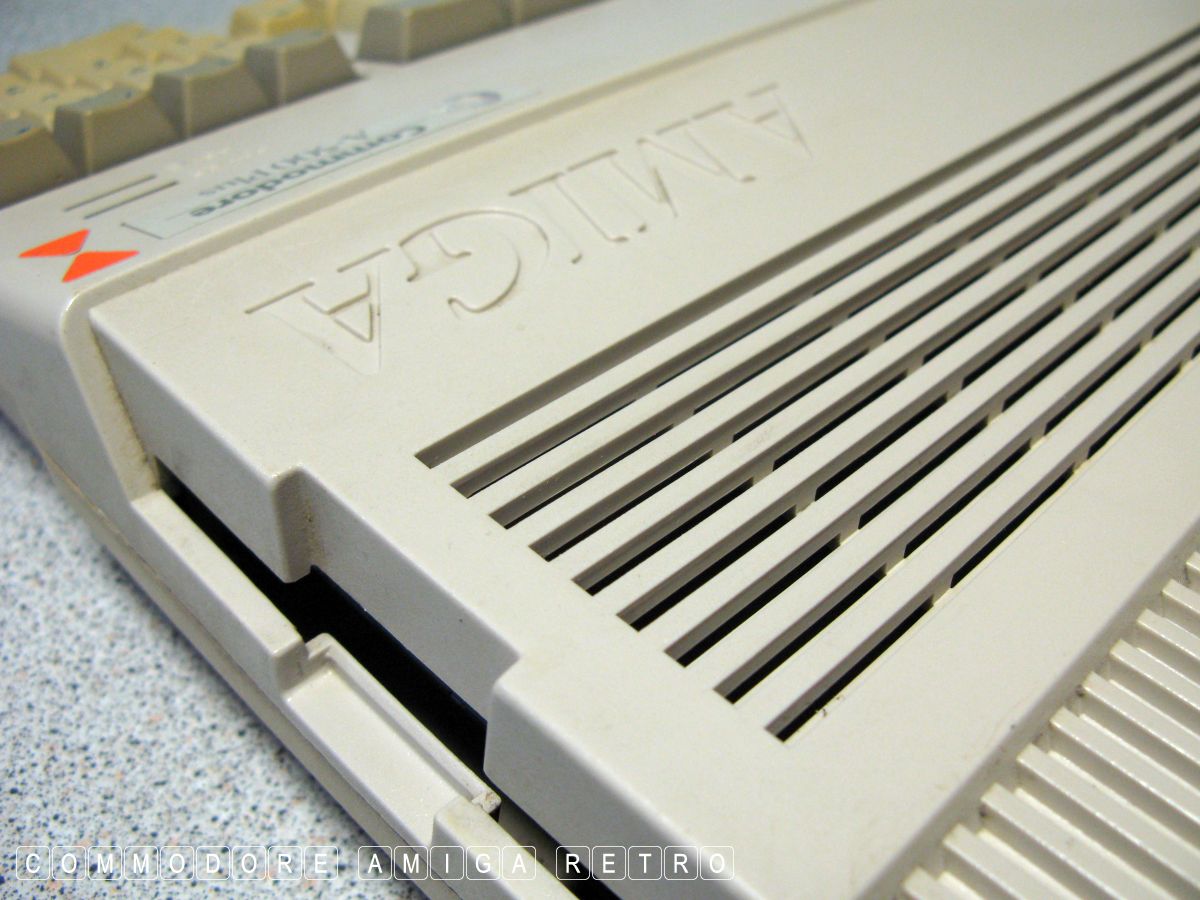
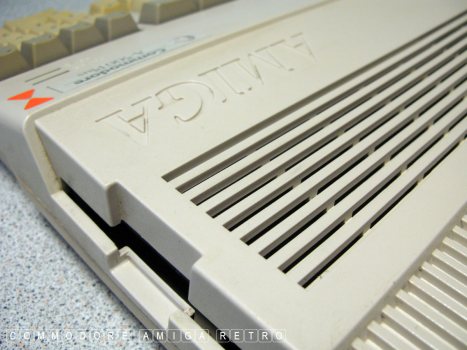
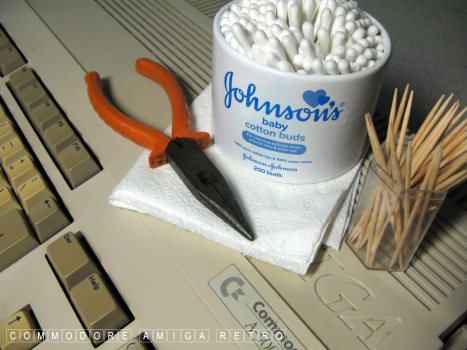
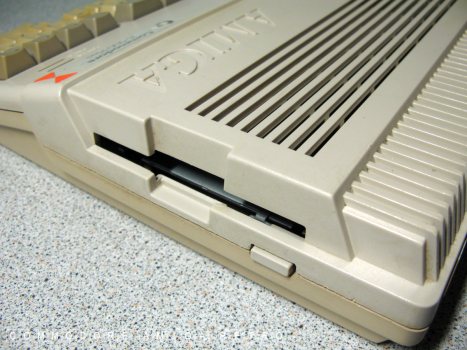
My cleaning is focussed on necessary housekeeping and that means
cleaning all the ventilation slots, floppy ports and drives plus
the areas below the keyboard line. Mainly the aim is to remove
the dust and maintain mechanical components. And to repeat I simply
just clean. But clean well. I do this regularly. Also after the
cleaning process I use endless rolls of kitchen towel to lay across
ports and keyboards and vent slots to stop both dust and spiders.
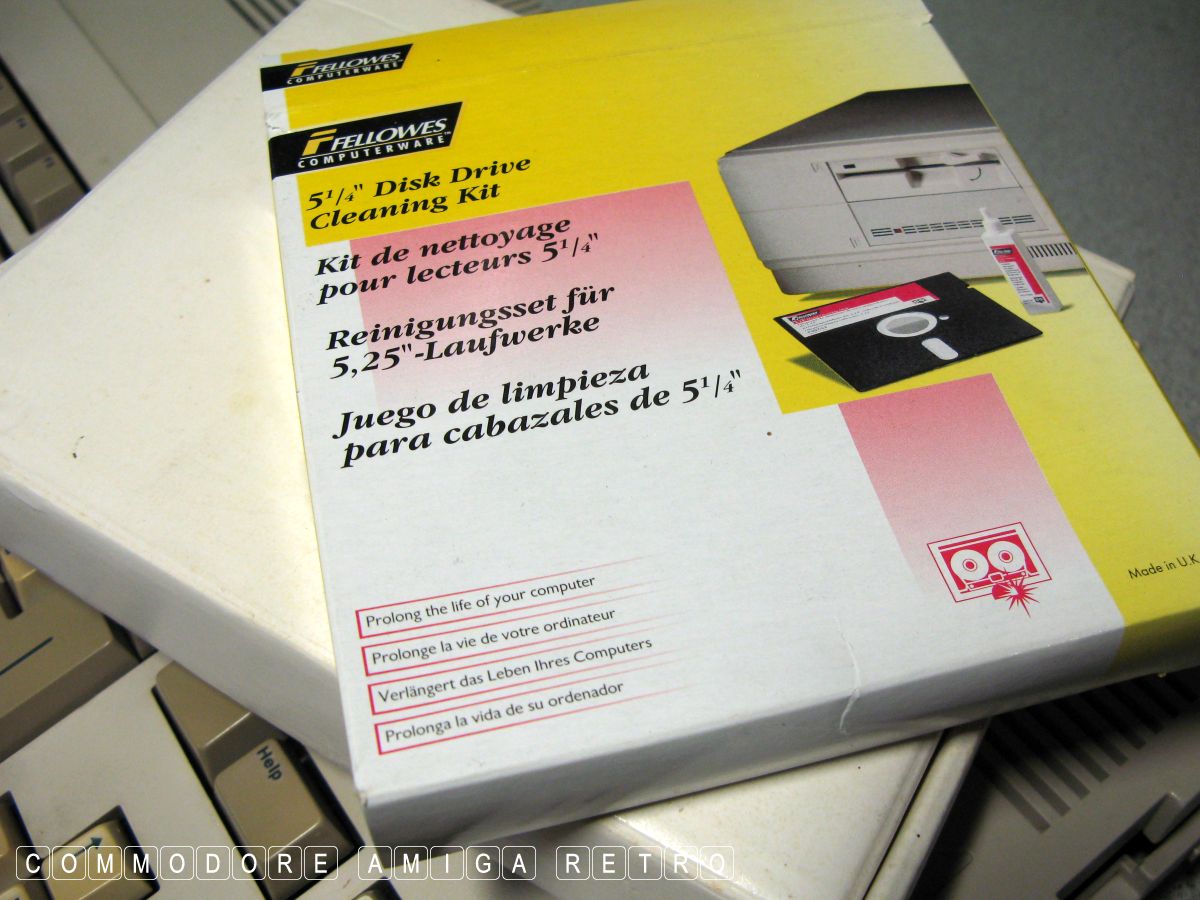
I squish cotton buds and wet them in mild detergent and drag them
along all ribs and slots and below keys. Drives are cleaned with a
disk head cleaner.
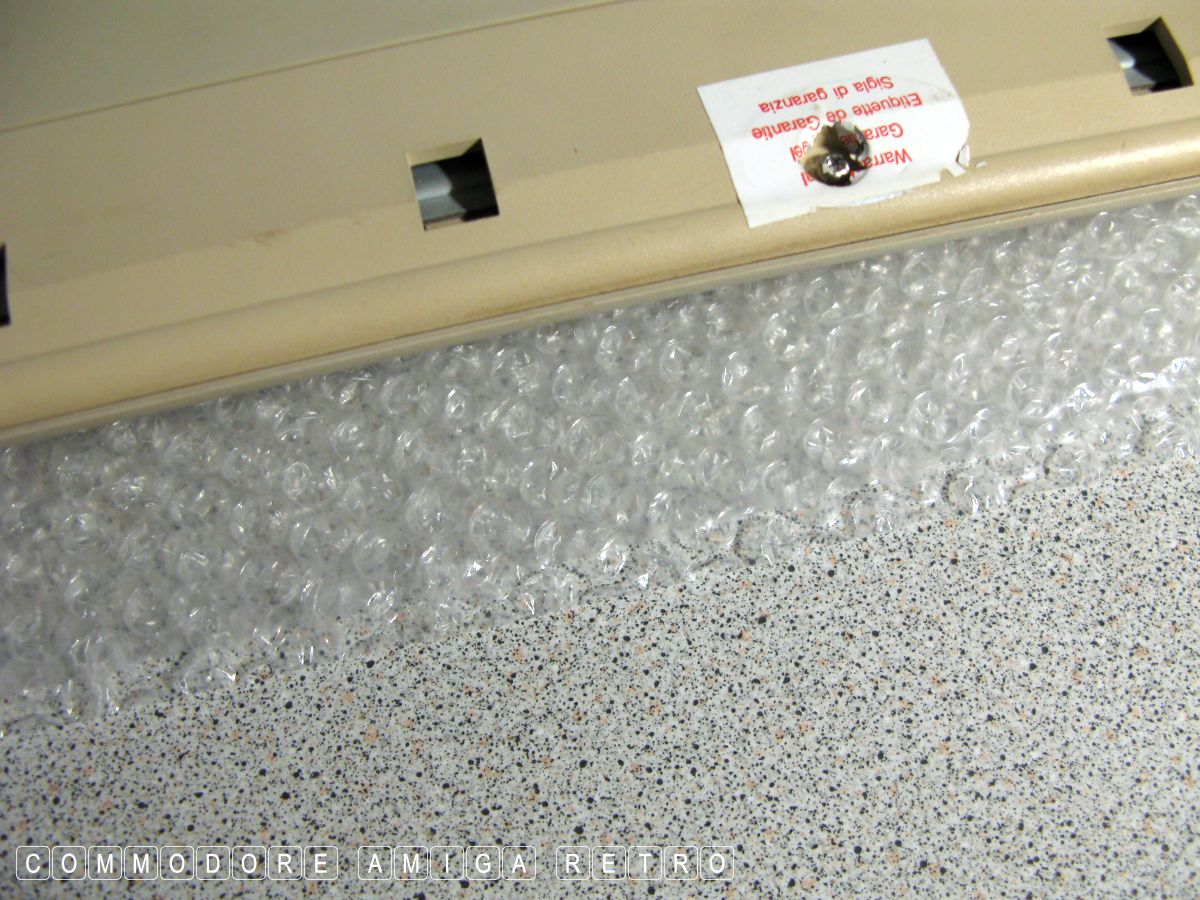
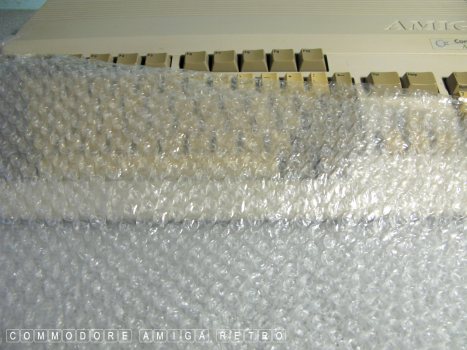
When turning the machine on face work always put bubble wrap down
to prevent scratching of the face-work and keys. Next time you see
a YouTube video where the 'knob-head' doesn't protect the face-work
just leave a comment telling him of his failing. Makes me cringe.
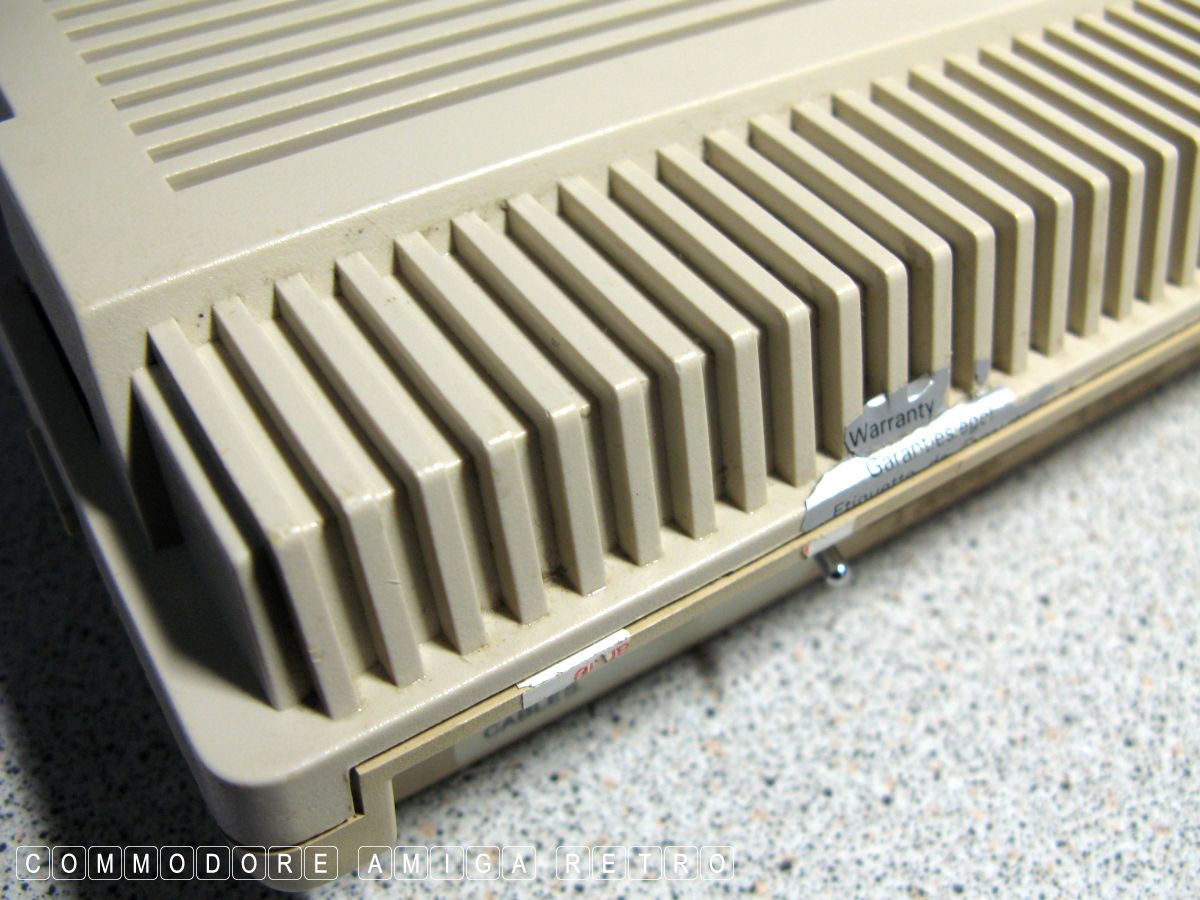
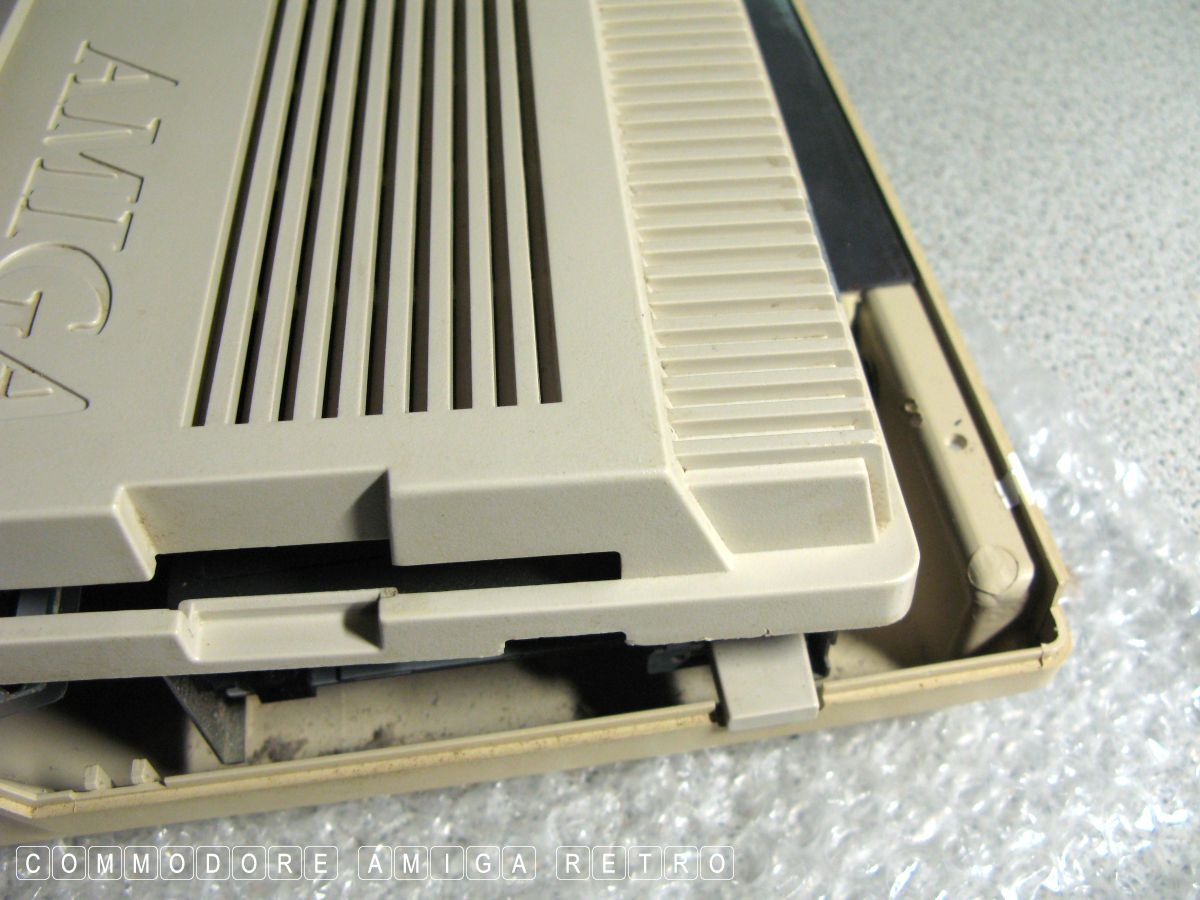
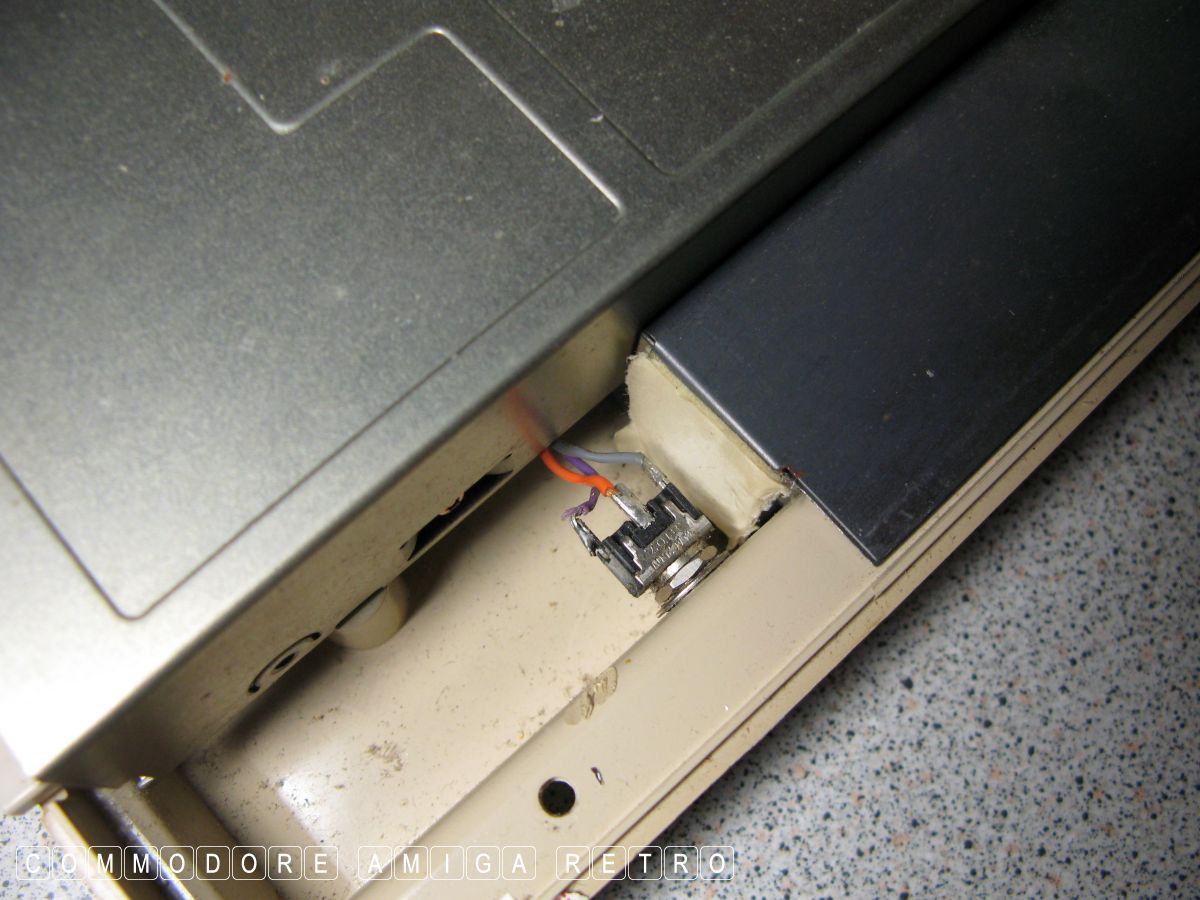
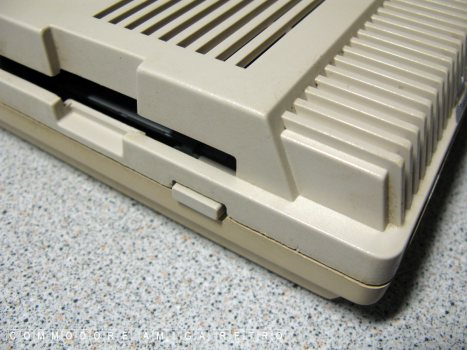
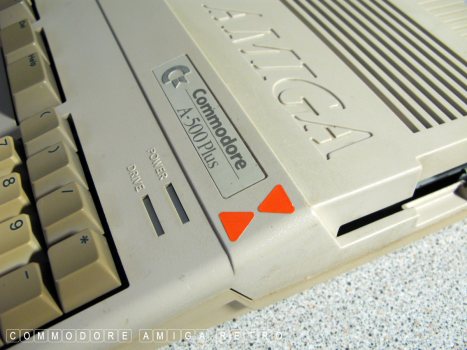
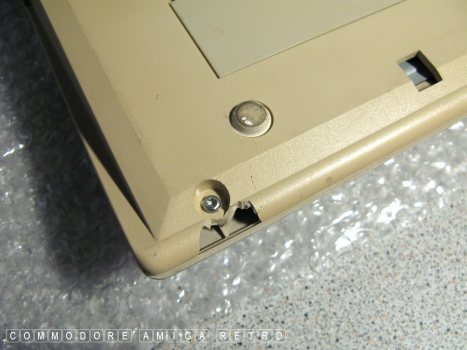
This A500 Plus had the bottom casing replaced with an old A500
case cus I think the owner was reluctant to drill a hole in his
new A500 Plus case. There is cracking to one of the screws. The
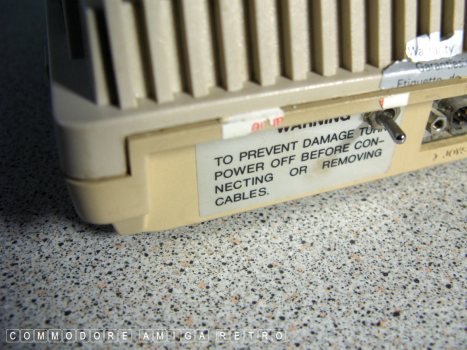
case bottom is a different shade to the top. Note the ROM switcher
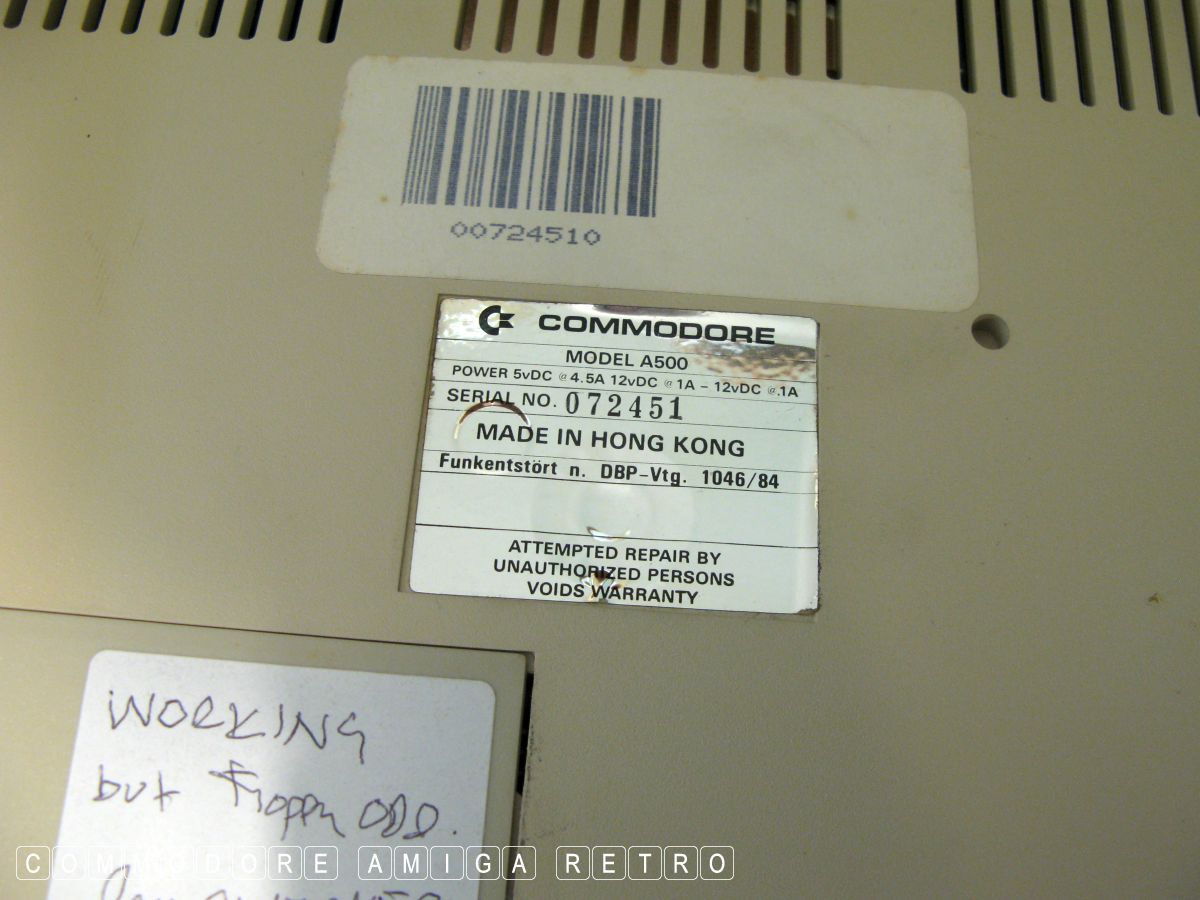
actual switch in the back of the case. You will also note that the
warranty stickers on the back do not align showing the case parts
to be different.
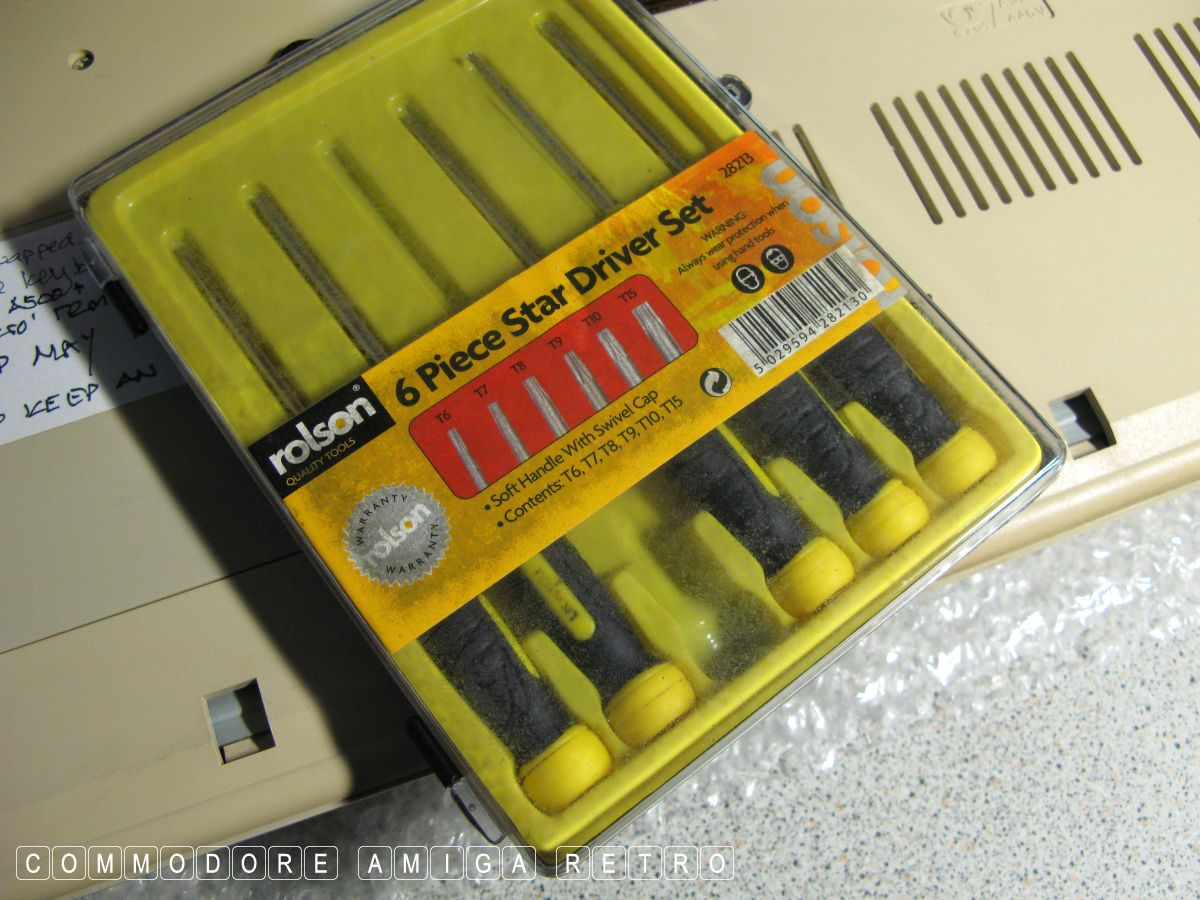
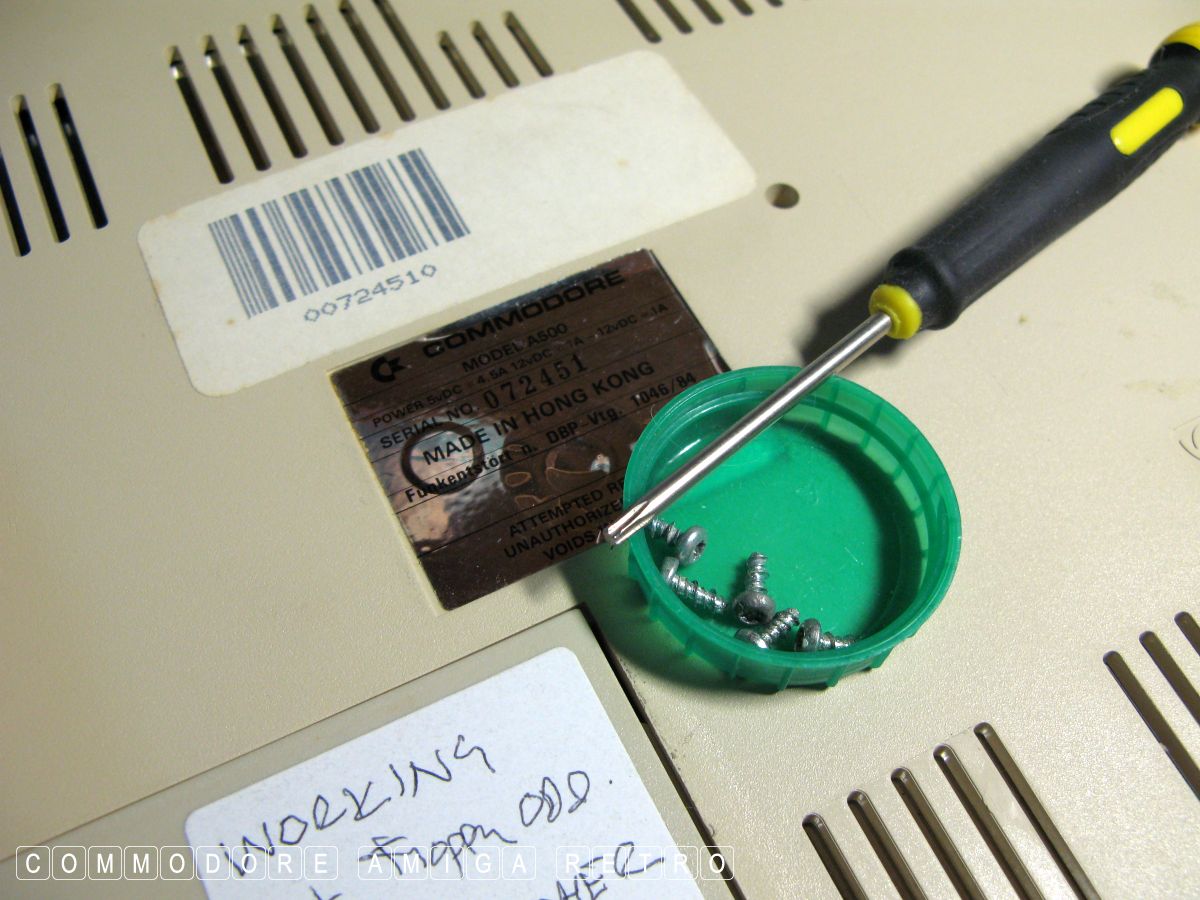
Always use the correct screwdriver. NEVER use a a Philips to open
a star screw and always use the correct size. Keep your screws in
separate pots. Mostly so you know how many there were. Again when
you see 'knob heads' on YouTube scattering screws over the desk
feel free to remind them of their stupidity. It really is a problem
that can be completely avoided. Just save your milk tops.
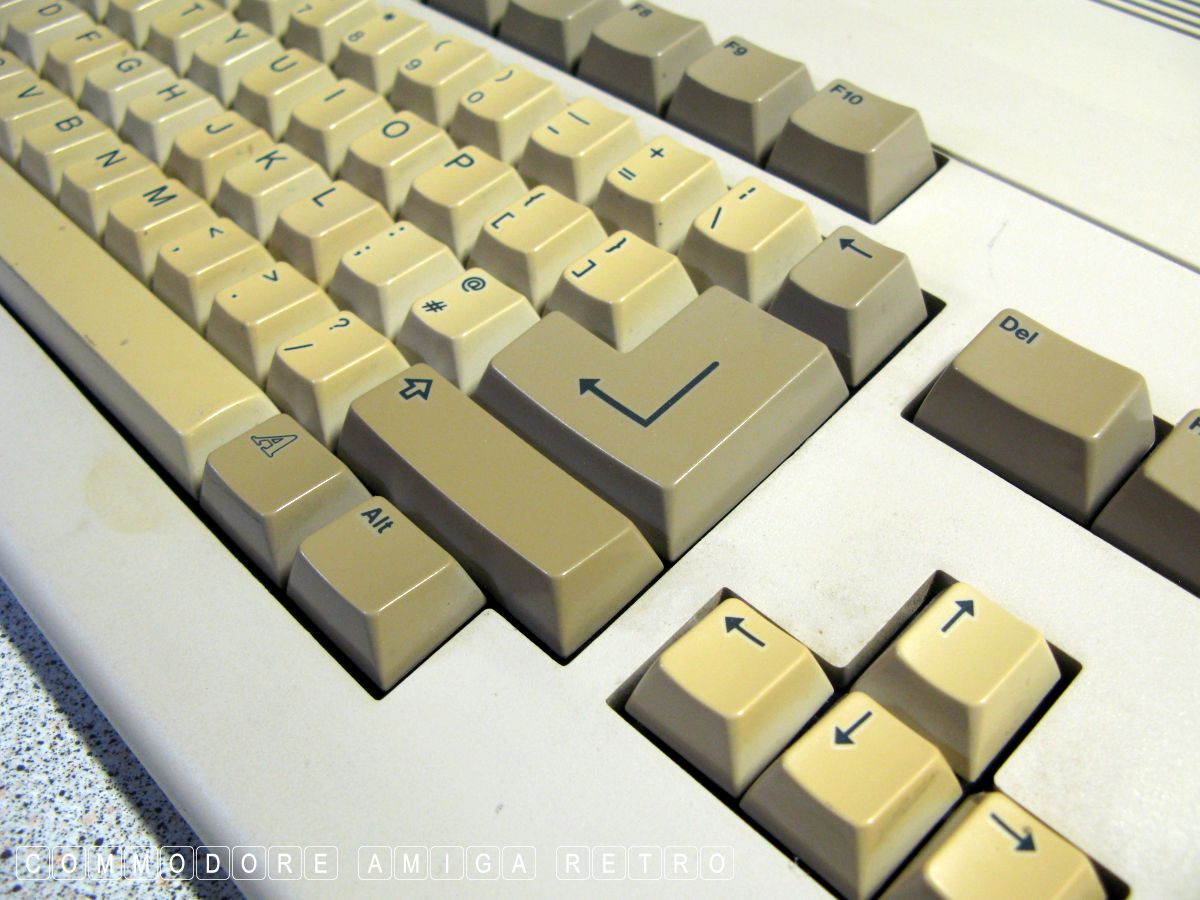
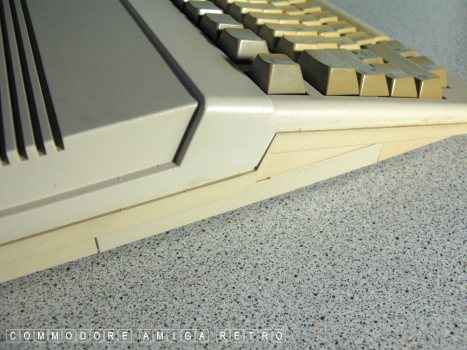
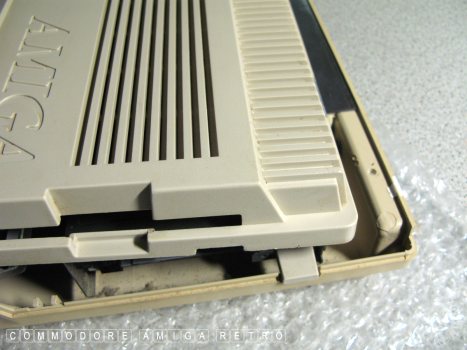
When removing the top case from the A500 or Plus lift from the back
of the computer and not from the front. Hinging up from the front
my result in cracking of the case just above the holes for the keys.
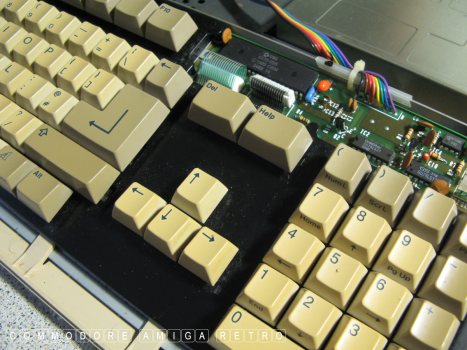
Take photographs of what you do and if you are going to remove the
keyboard connector then take a picture of the cable and which way
round it goes. I am begging you. Same with ribbons and any power
connectors.
Removing the dust from a motherboard is purely cosmetic. It;s quite
therapeutic cleaning but I have never found it to solve any problems.
The trick is to try and stop the dust getting in. Remember to replace
the expansion port cover. Always.
OK I was happy that there had been no further deterioration in the
area of the ROM switcher and so I am pretty comfortable that I have
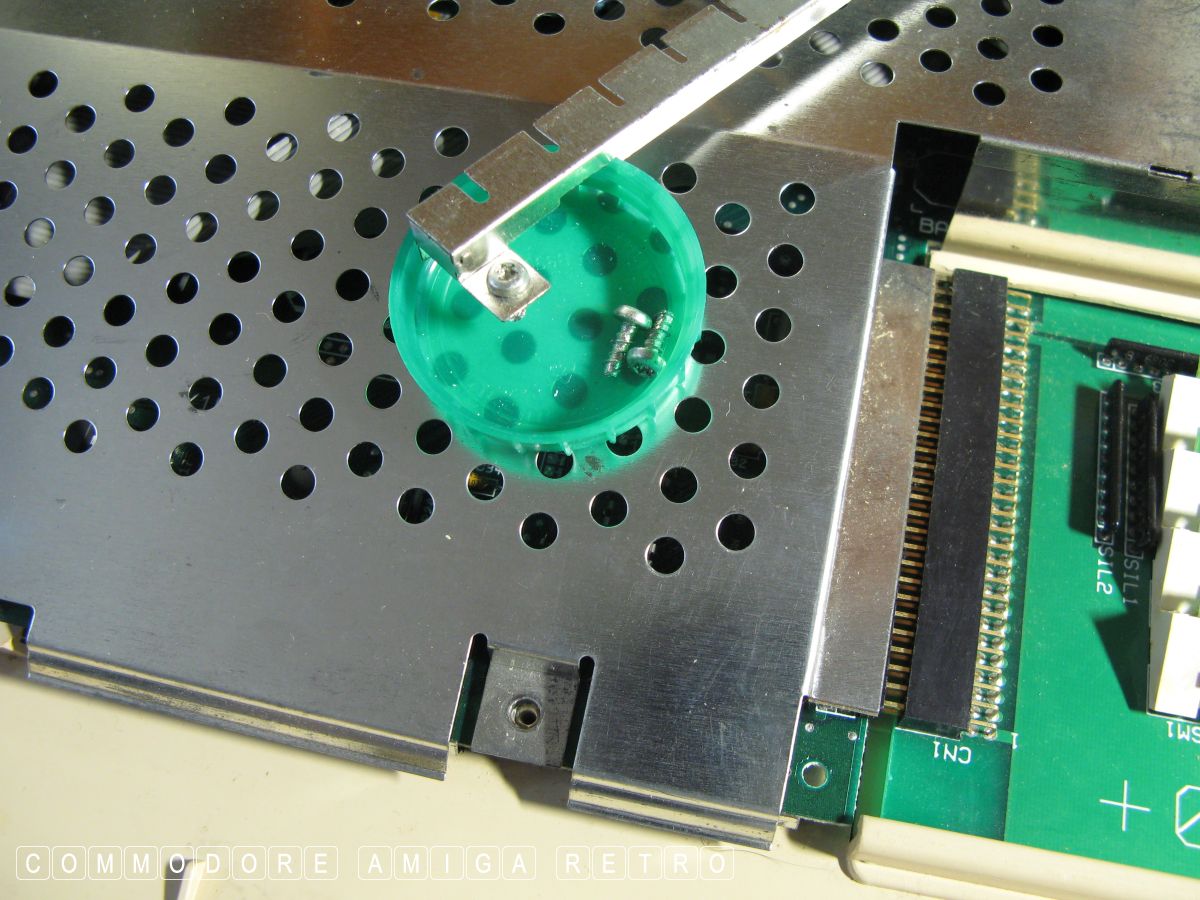
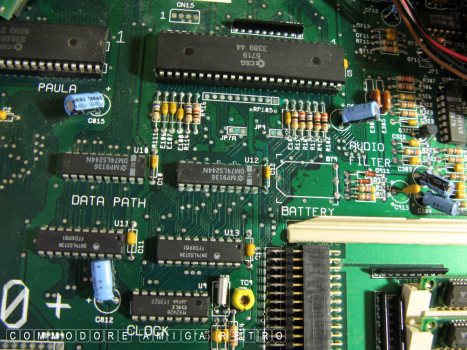
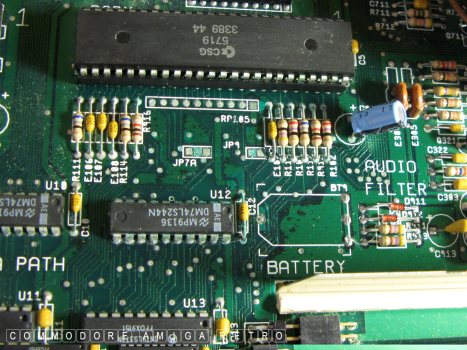
resolved that little issue. I always check the battery area and if
the corrosion to legs, circuits and sockets has gotten any worse.
There are two ways of looking at corrosion. The first is by simply
doing your best and then just ignoring it. Or you can start replacing
traces, chips and sockets. For me I have a policy of 'if it aint
broke'. If the computer is working I just keep an eye on things and
try not to get too reactive to every problem an old bit of kit may
or may not have. The stuff is old and getting older. It will never
be the youthful computer it was. Just be mindful of this and don't
tax the circuits with new-fangled kit. if you look after the
original kit it will last a good while. And trust me when I say
that games and software were designed to work on the original kit.
No amount of pimping is going to make those games work better.
My advice is to stay 'OLD SKOOL' and be a real Amigan.
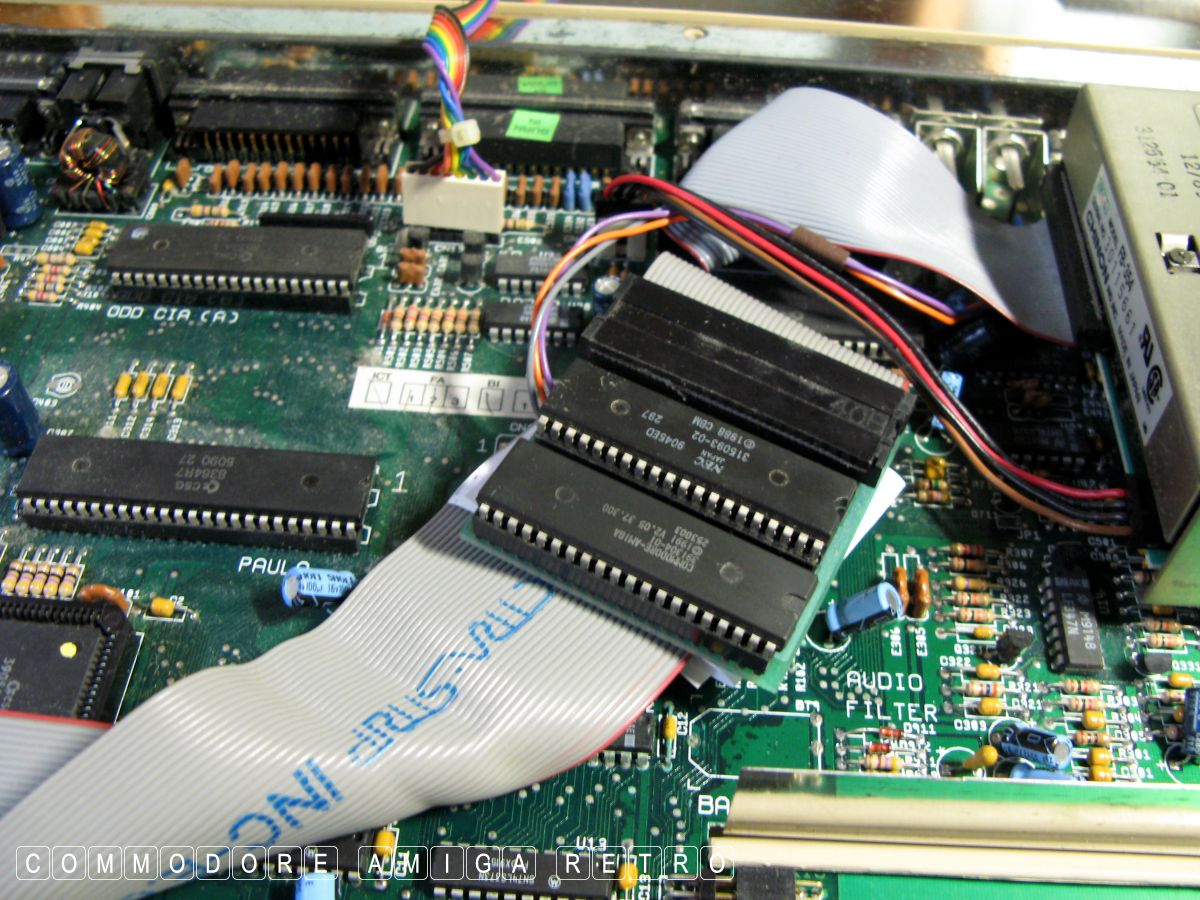
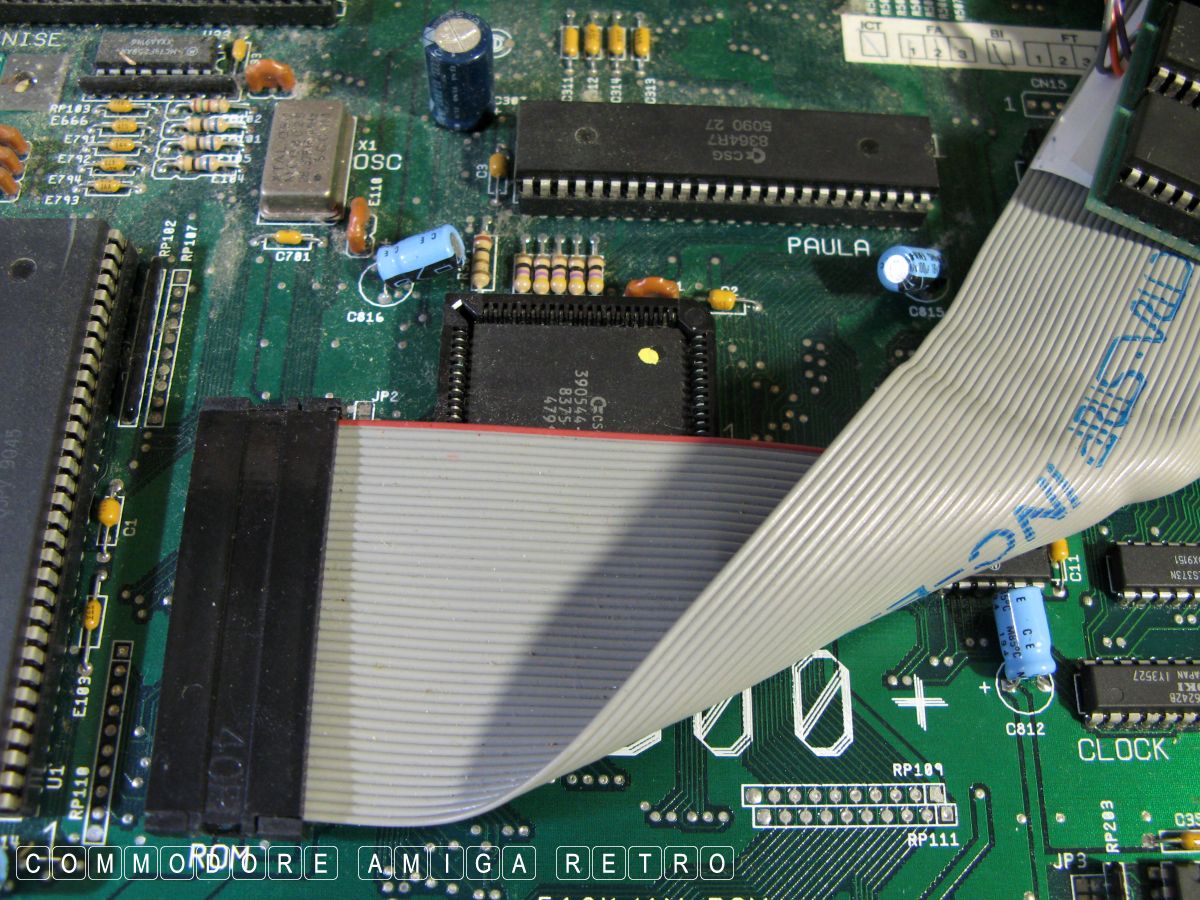
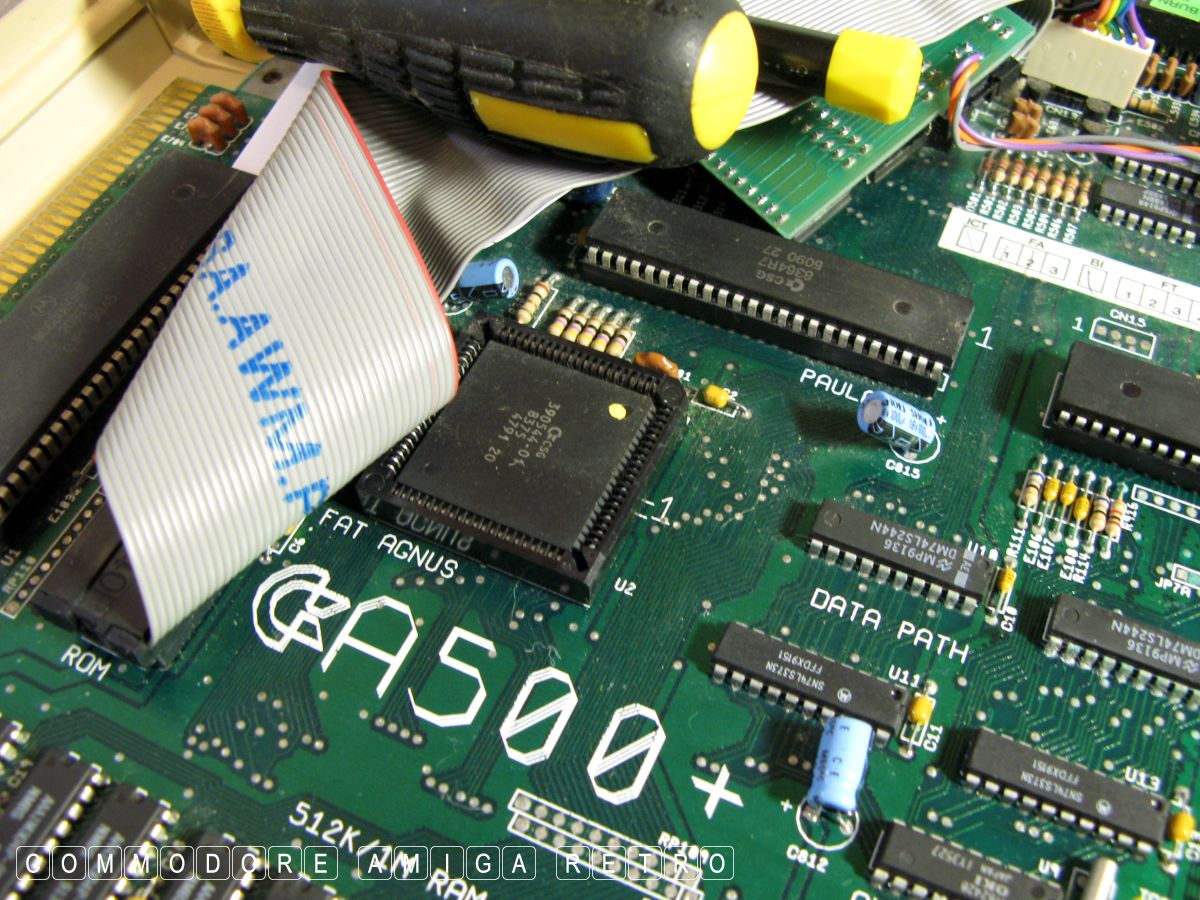
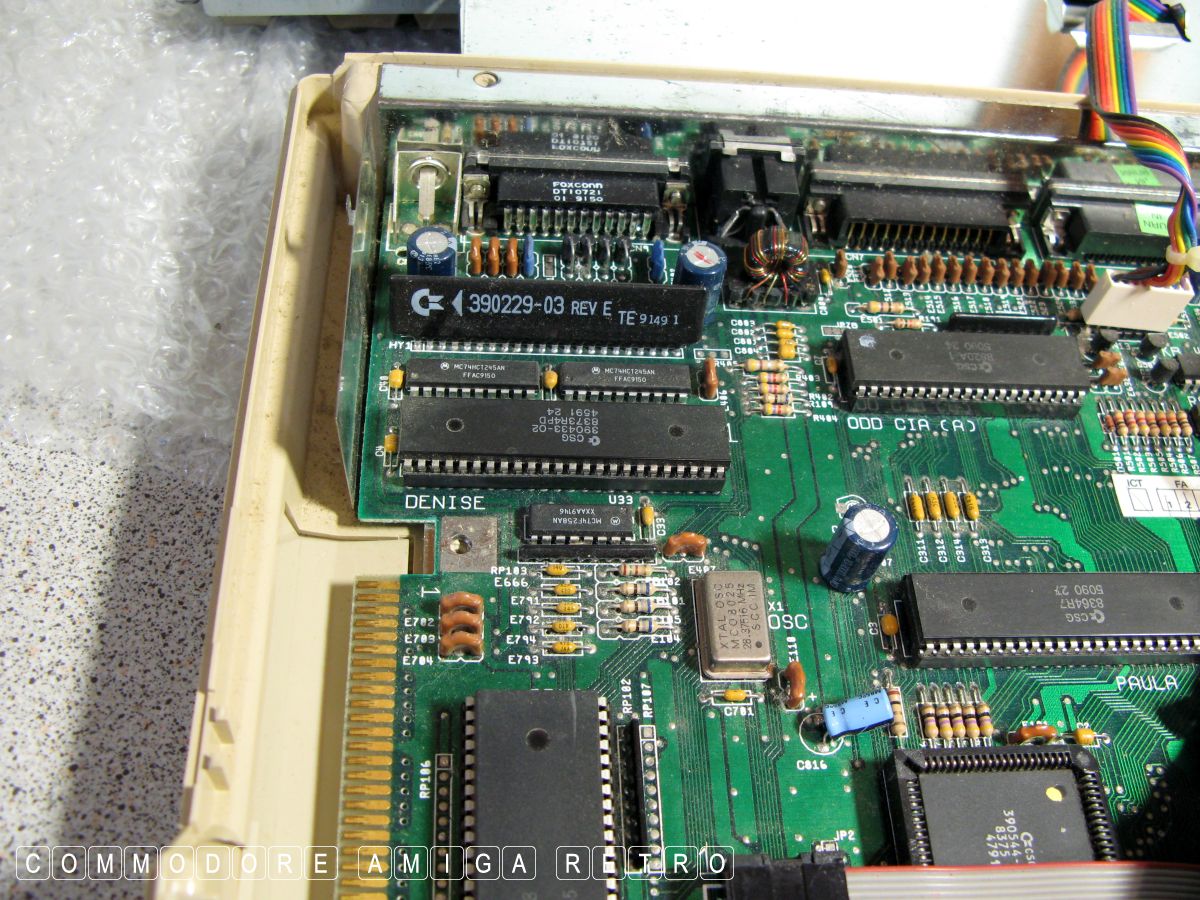
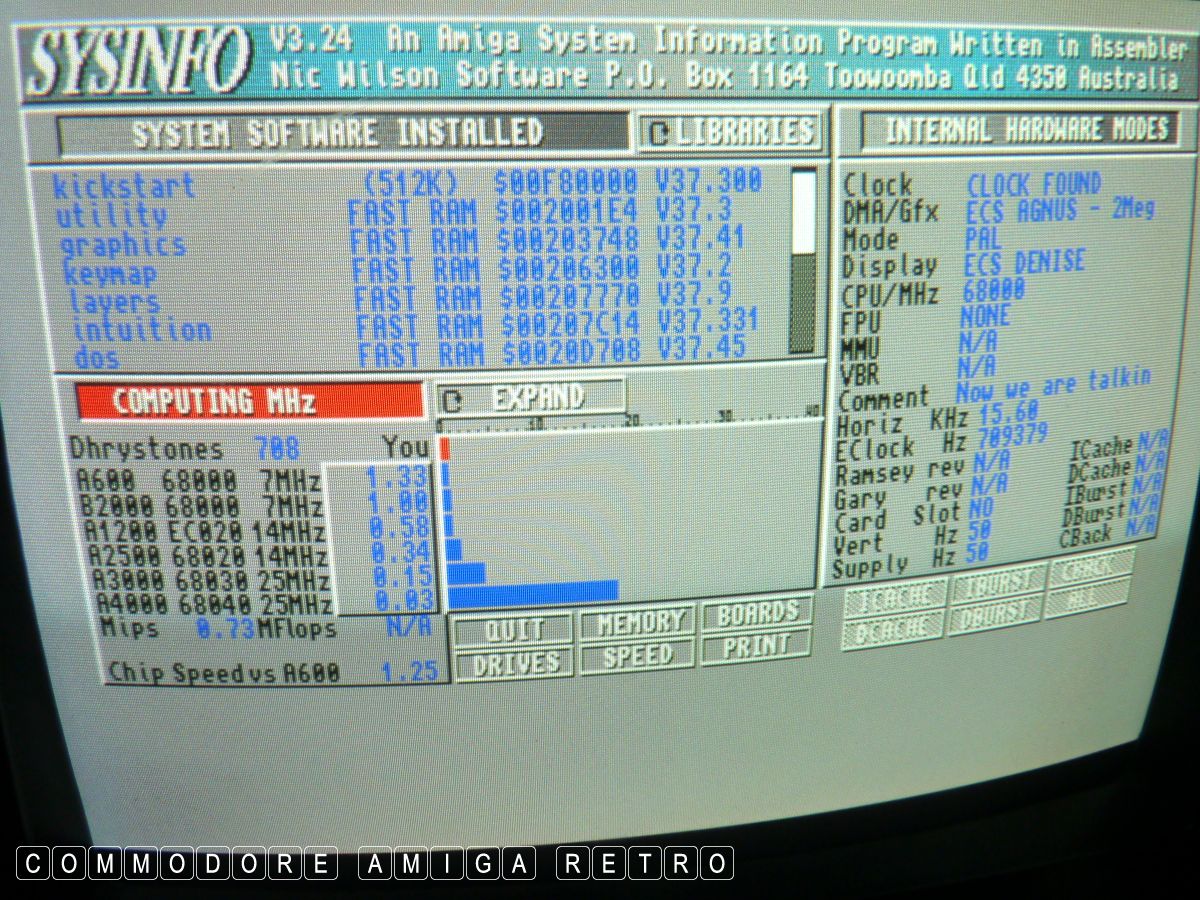
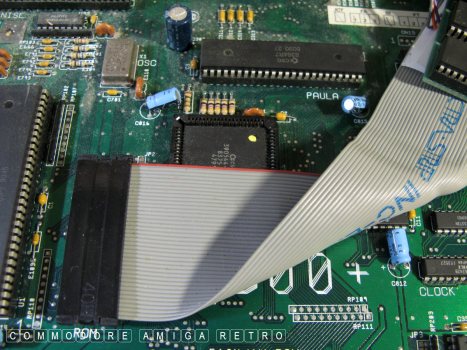
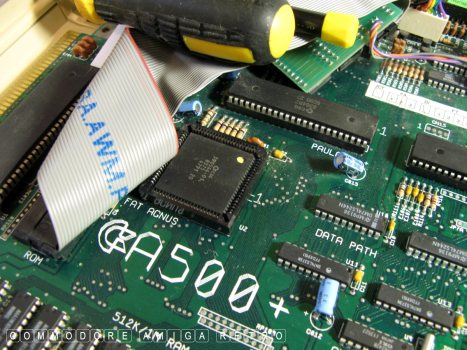
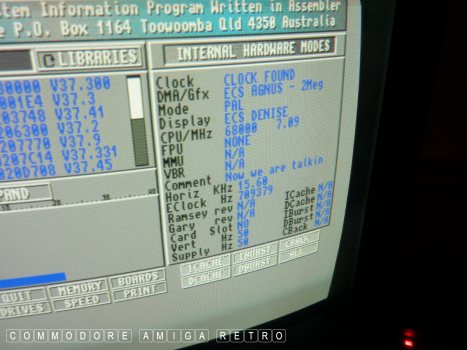
So I checked over the Denise and Agnus for reference numbers and
recorded them. Important to appreciate just how significant the
AGNUS is and the upgraded Denise when it comes to ECS.
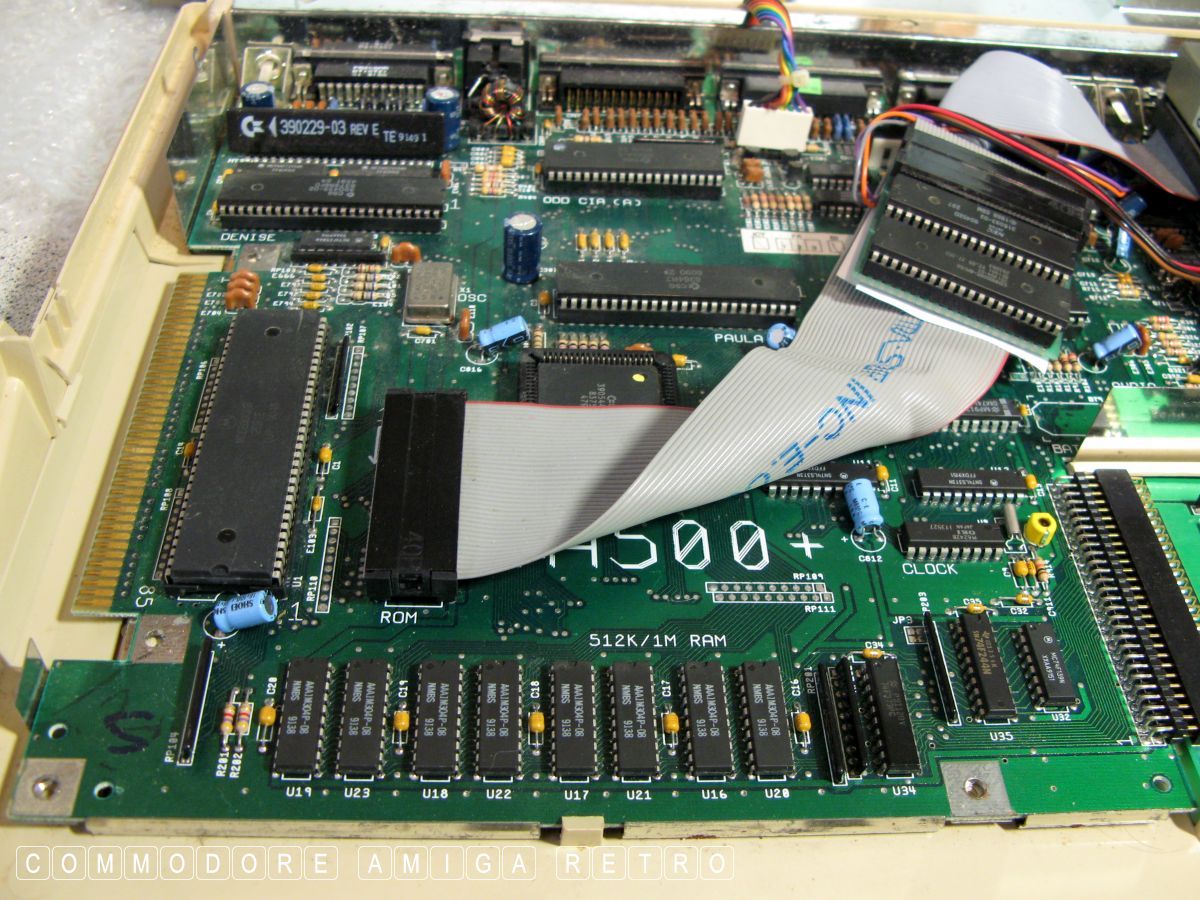
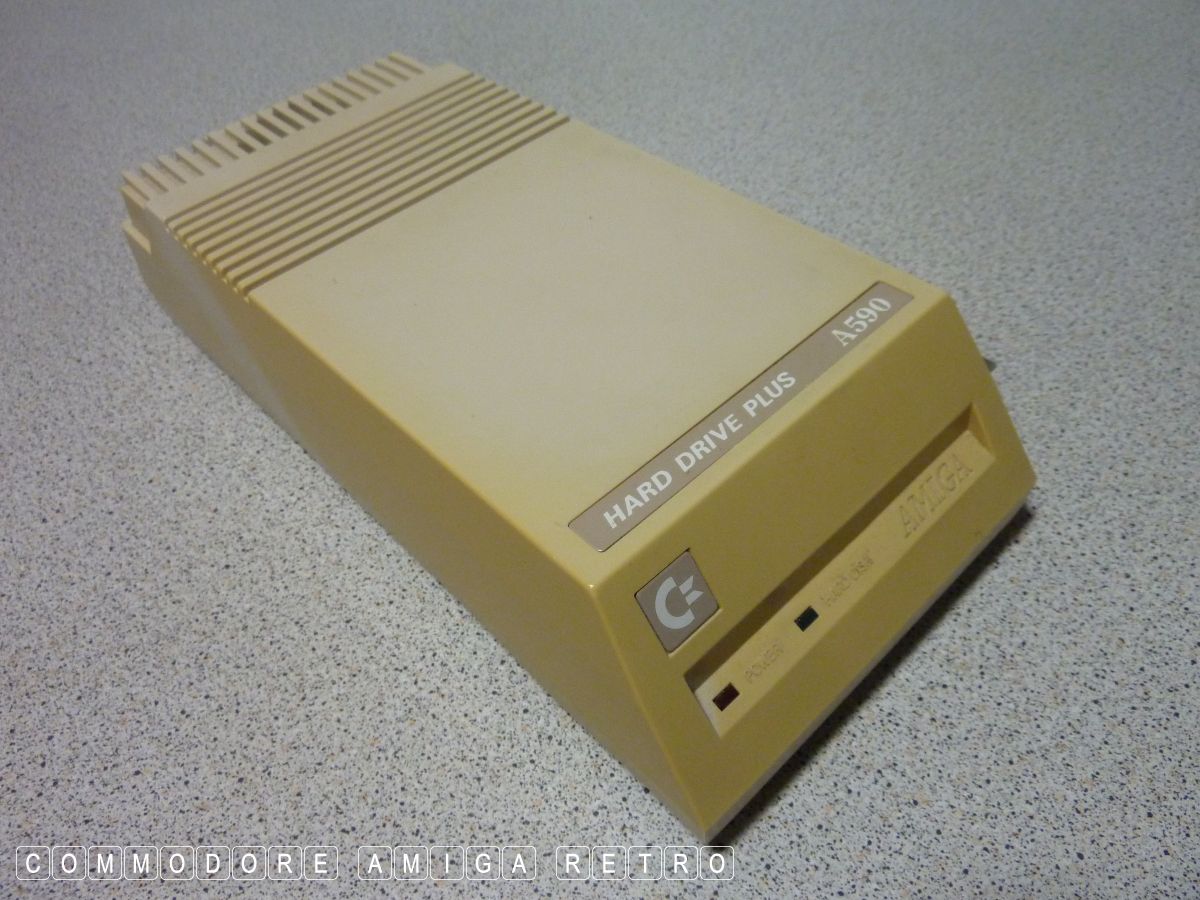
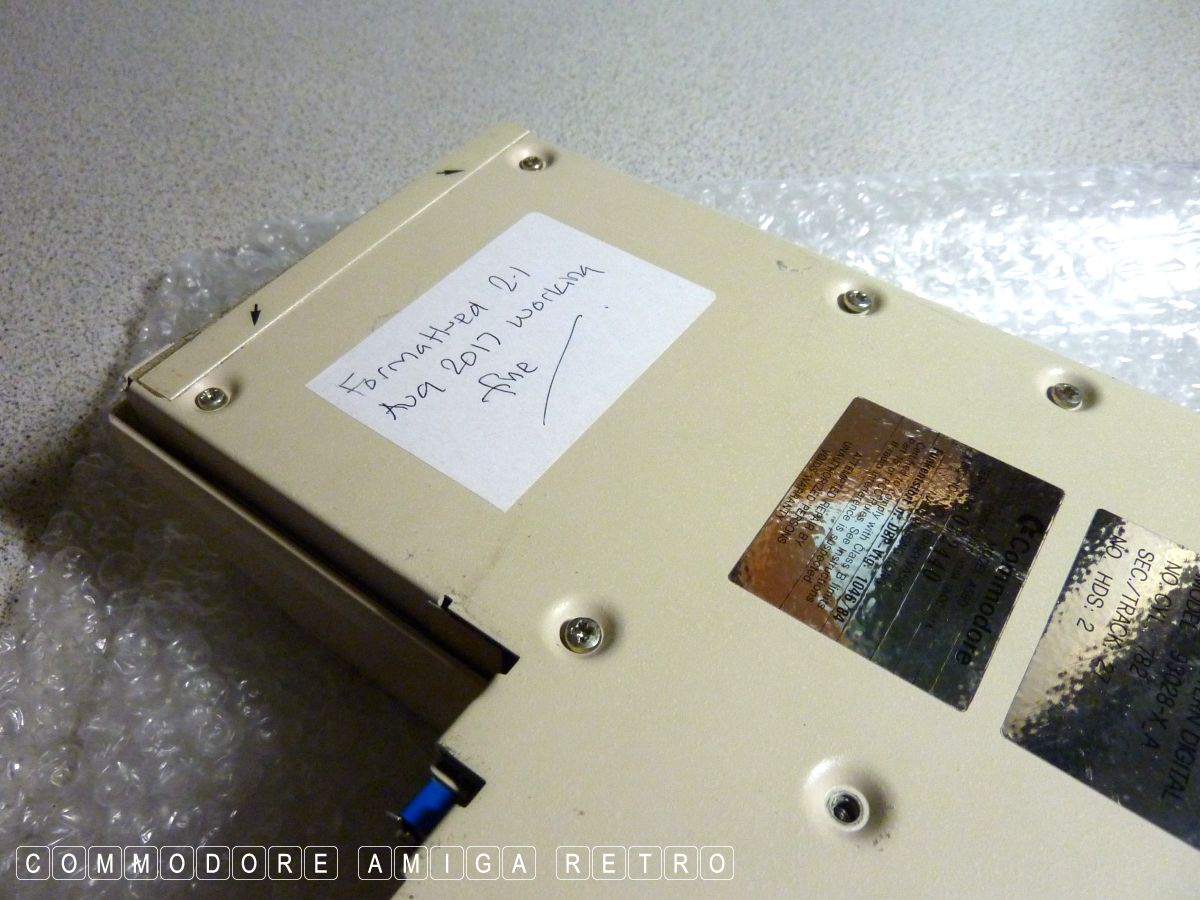
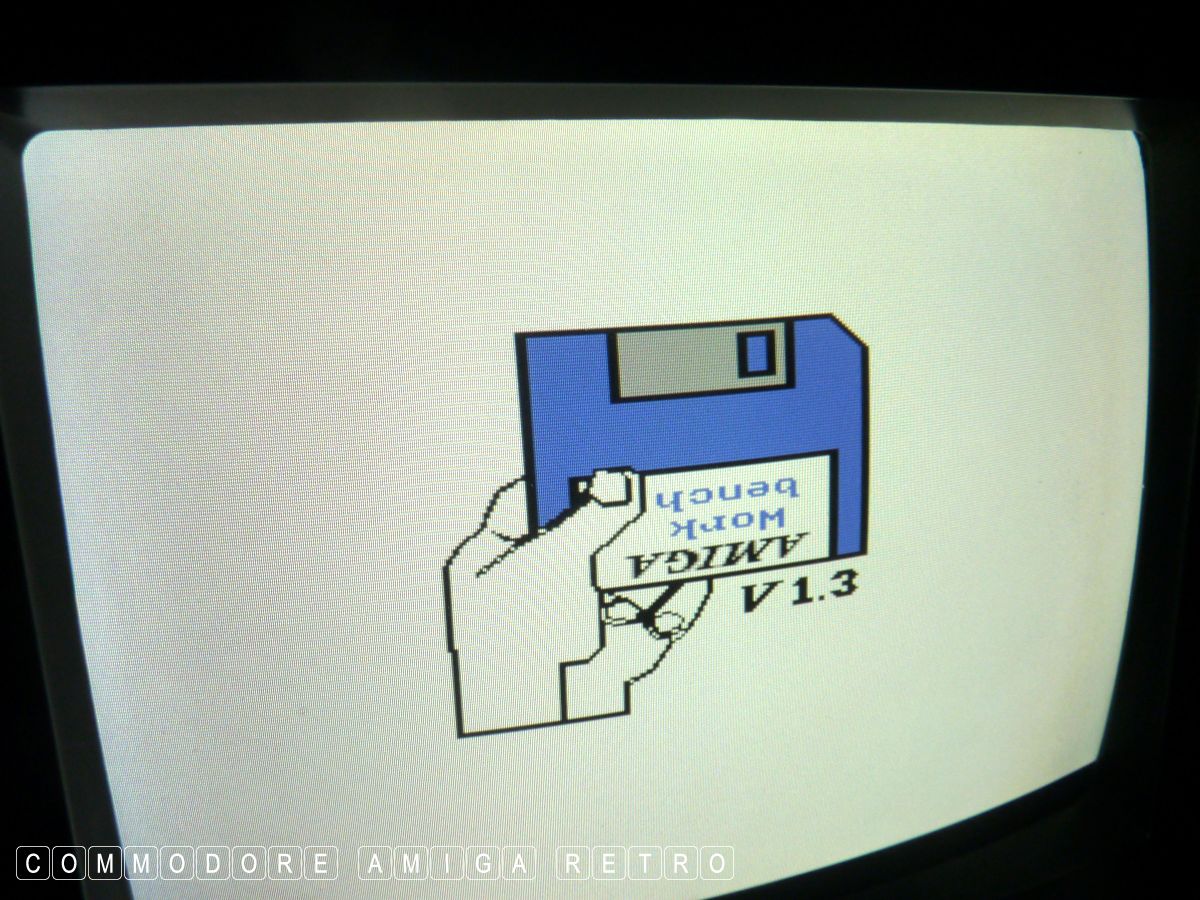
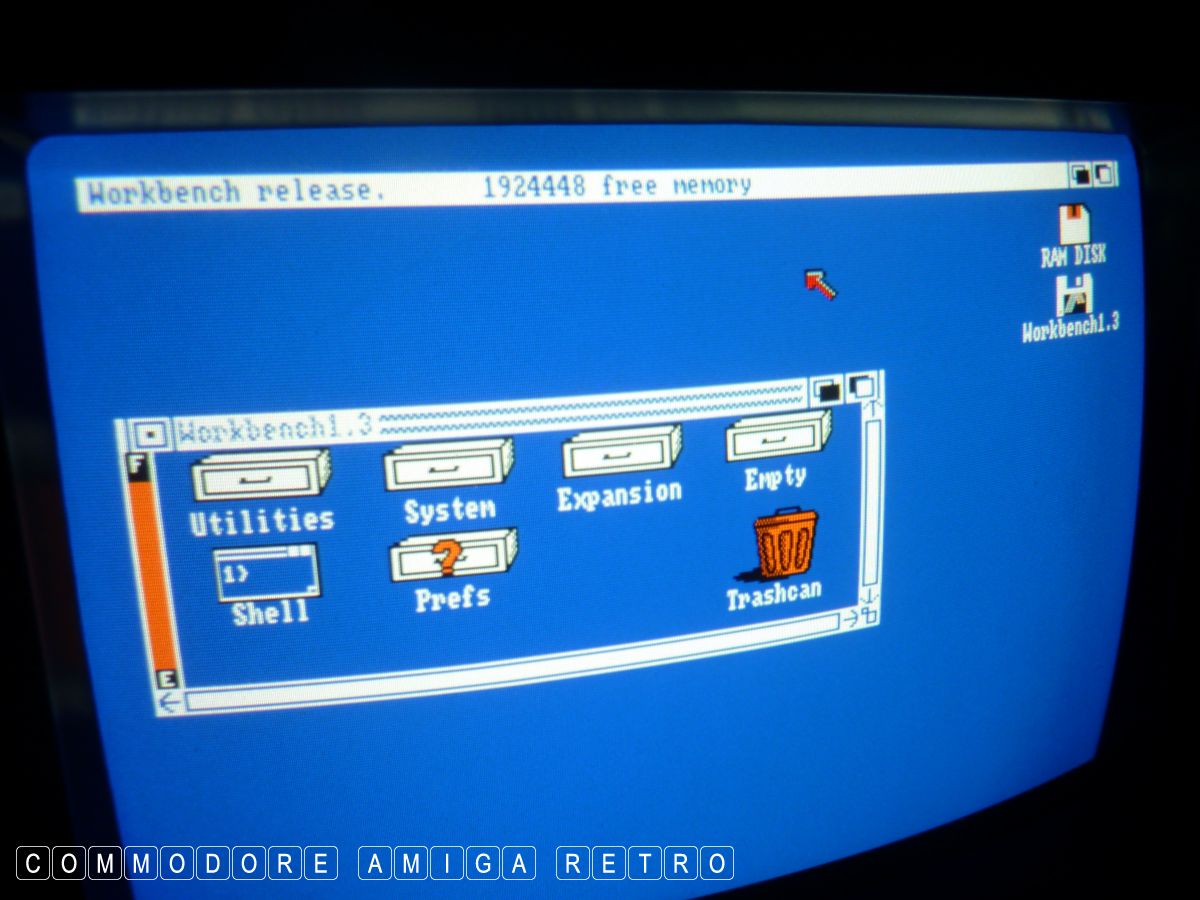
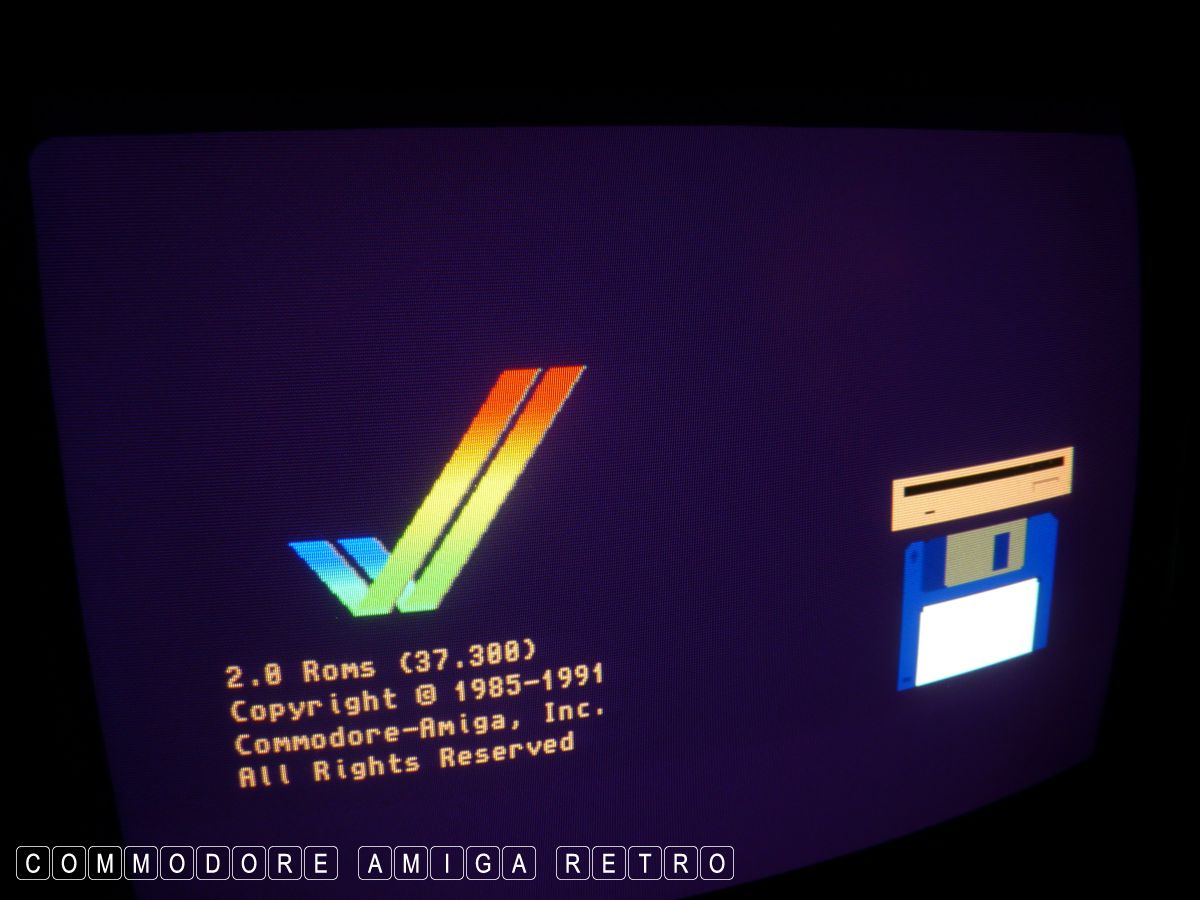
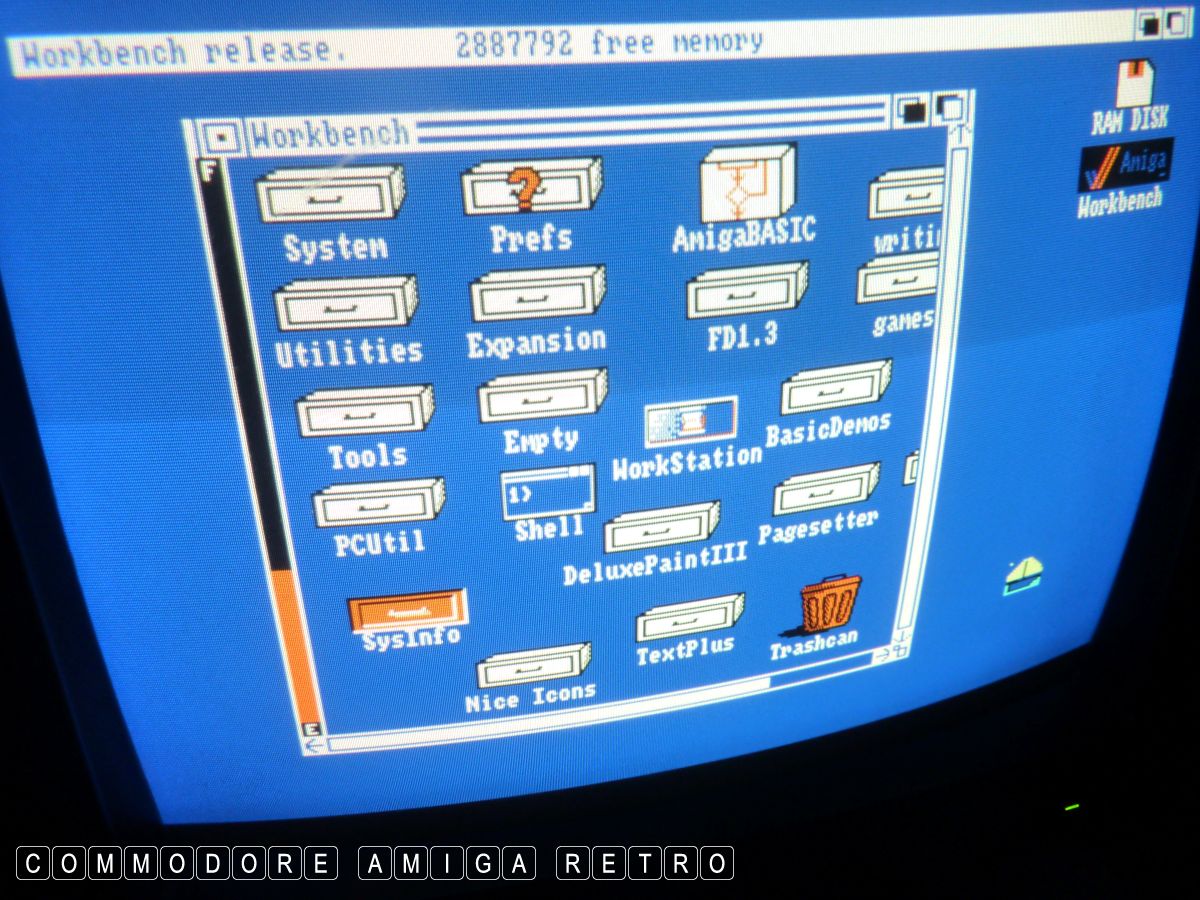
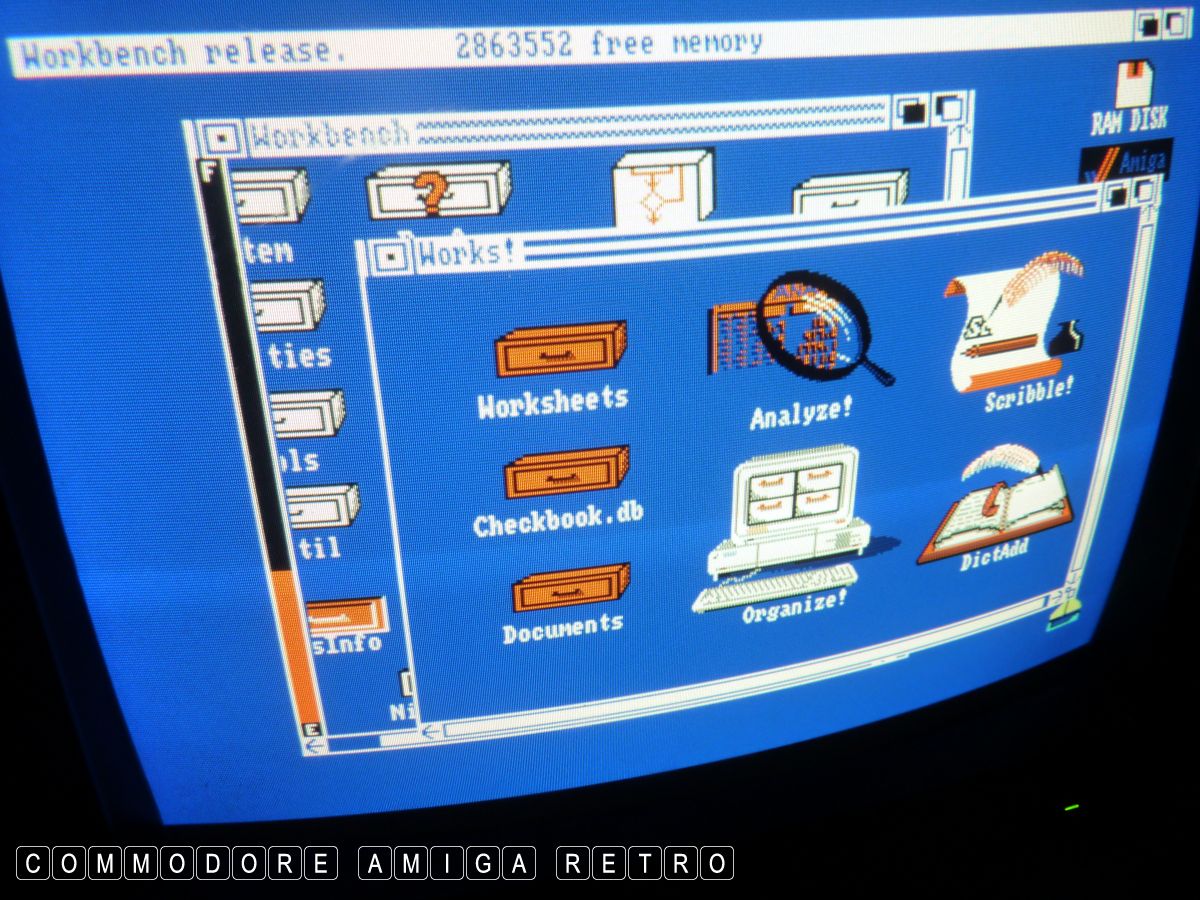
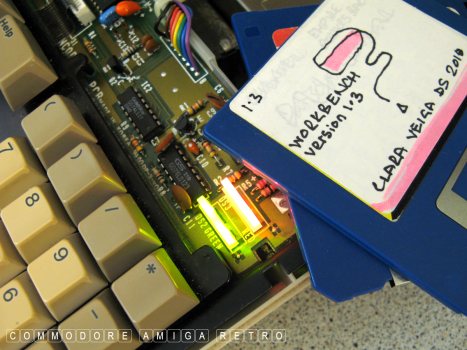
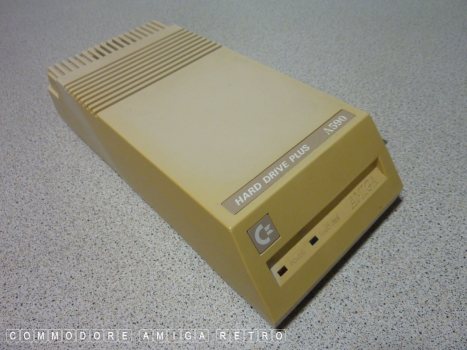
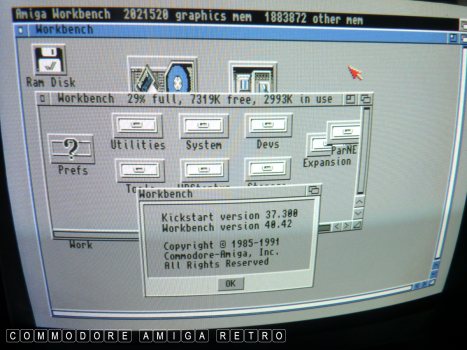
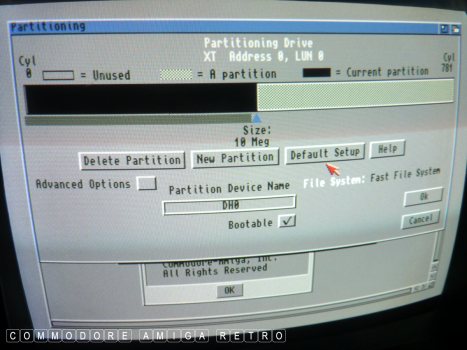
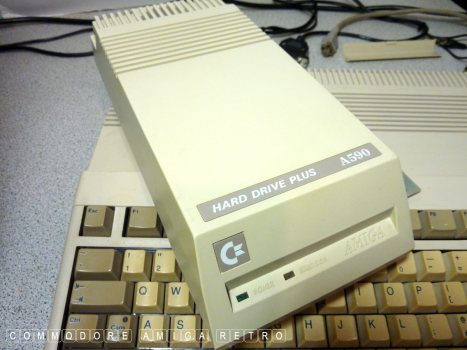
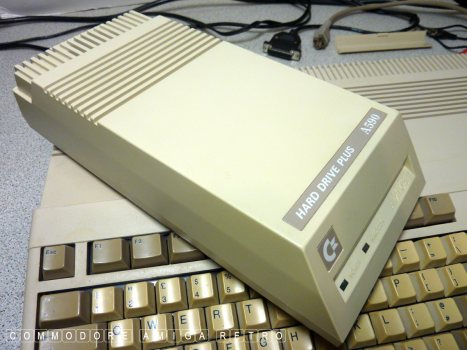
Next up I wanted to check the ROM switcher so I first switched on
cus I had forgotten which way the switch went. So having established
which way round the switch worked with the 1.3 or 2.0 ROM I then
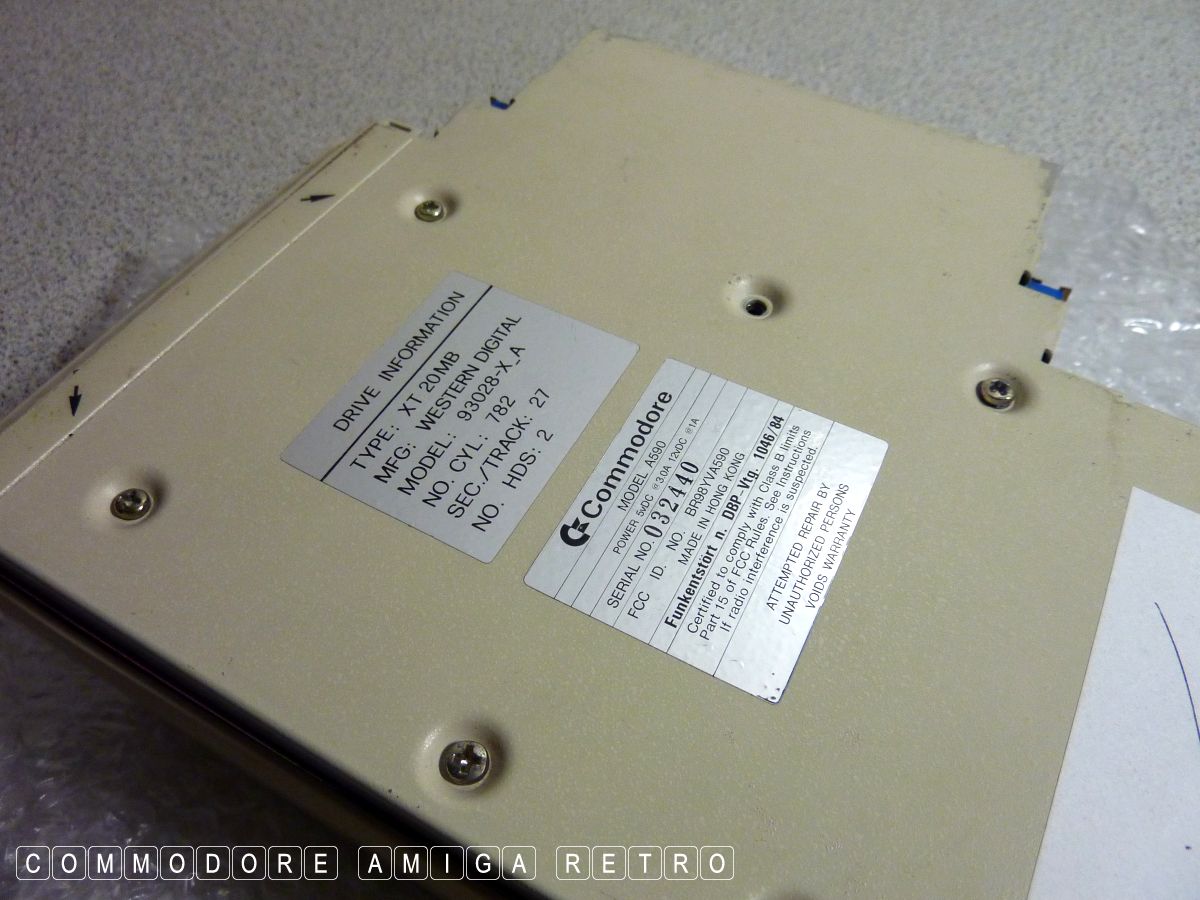
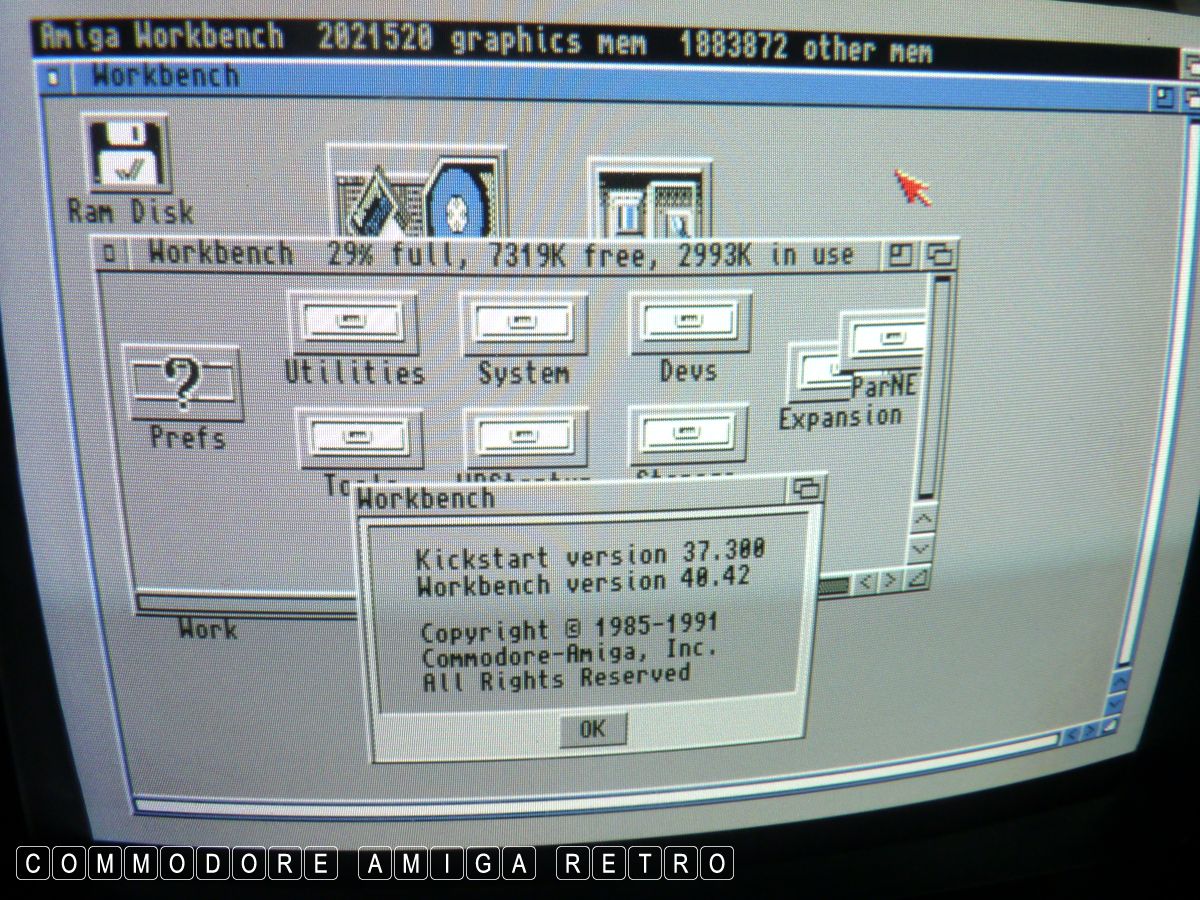
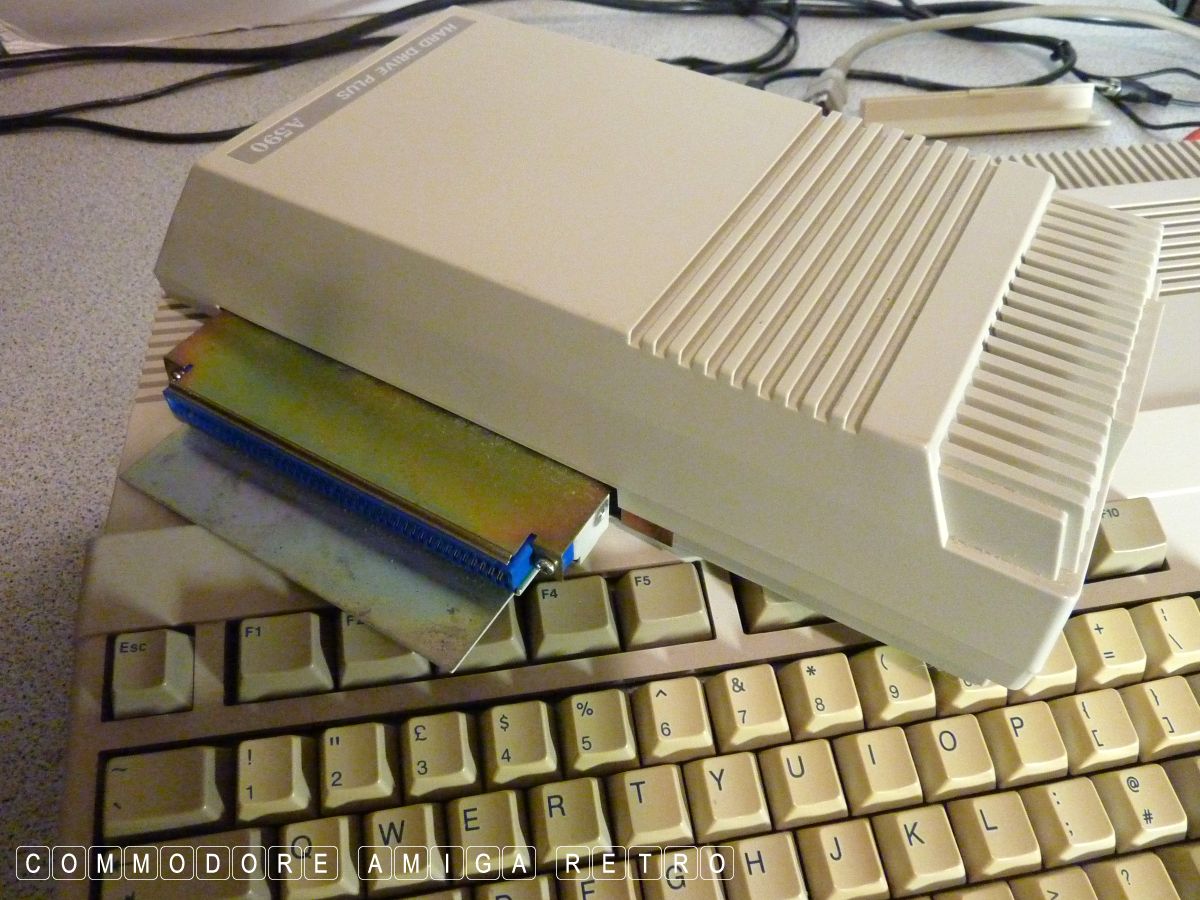
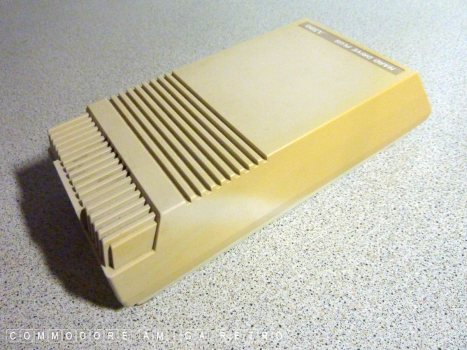
hooked up the respective A590s ( 1.3 and 2.0 ) and fired up the
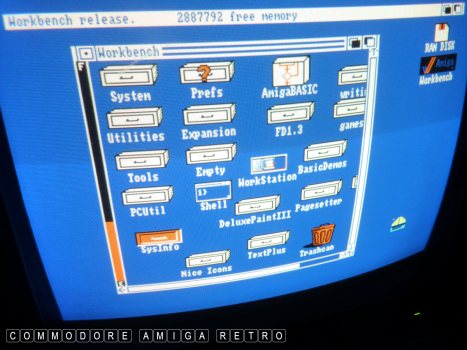
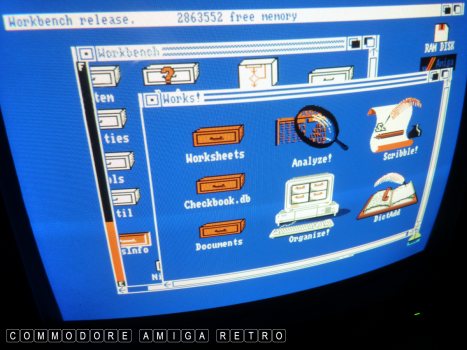
different Workbenches.
I was getting no issues so it was time to put this baby to bed.
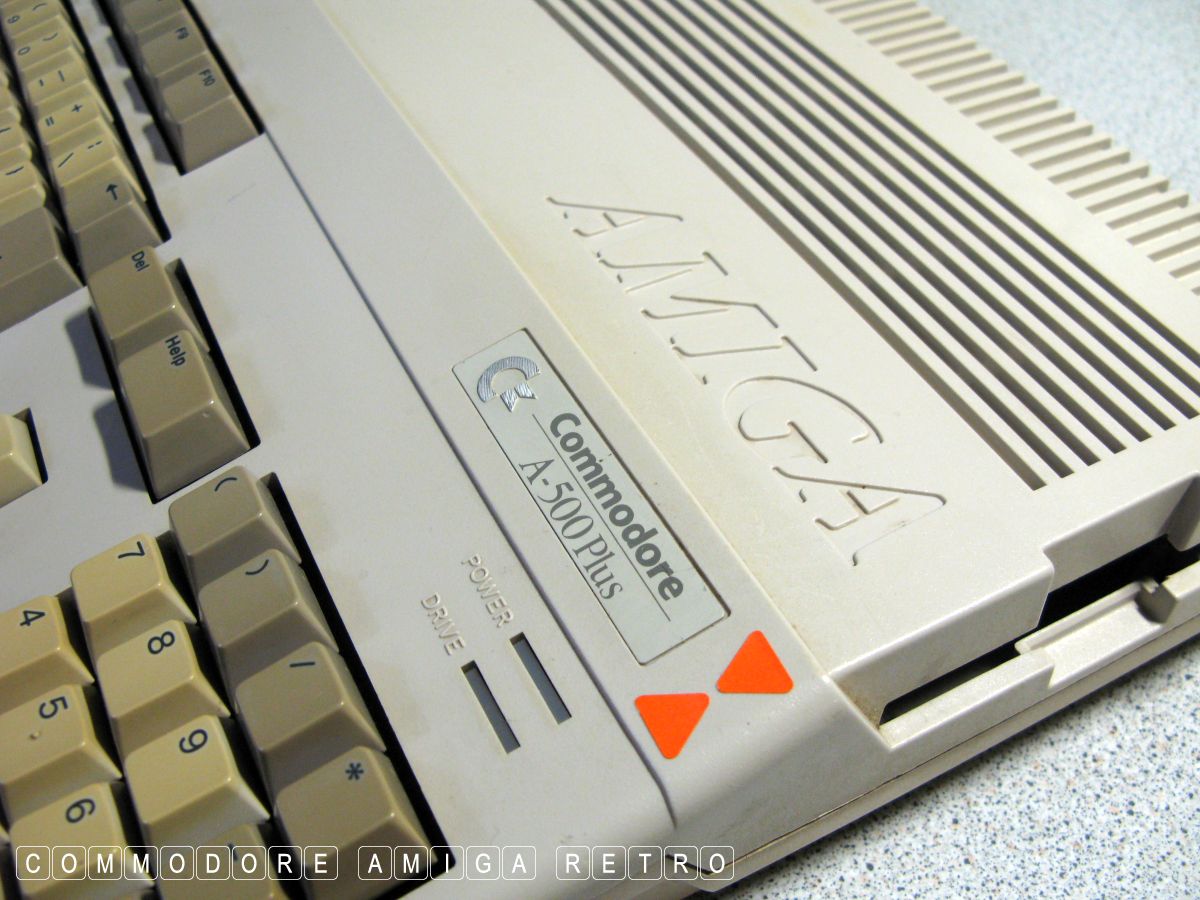
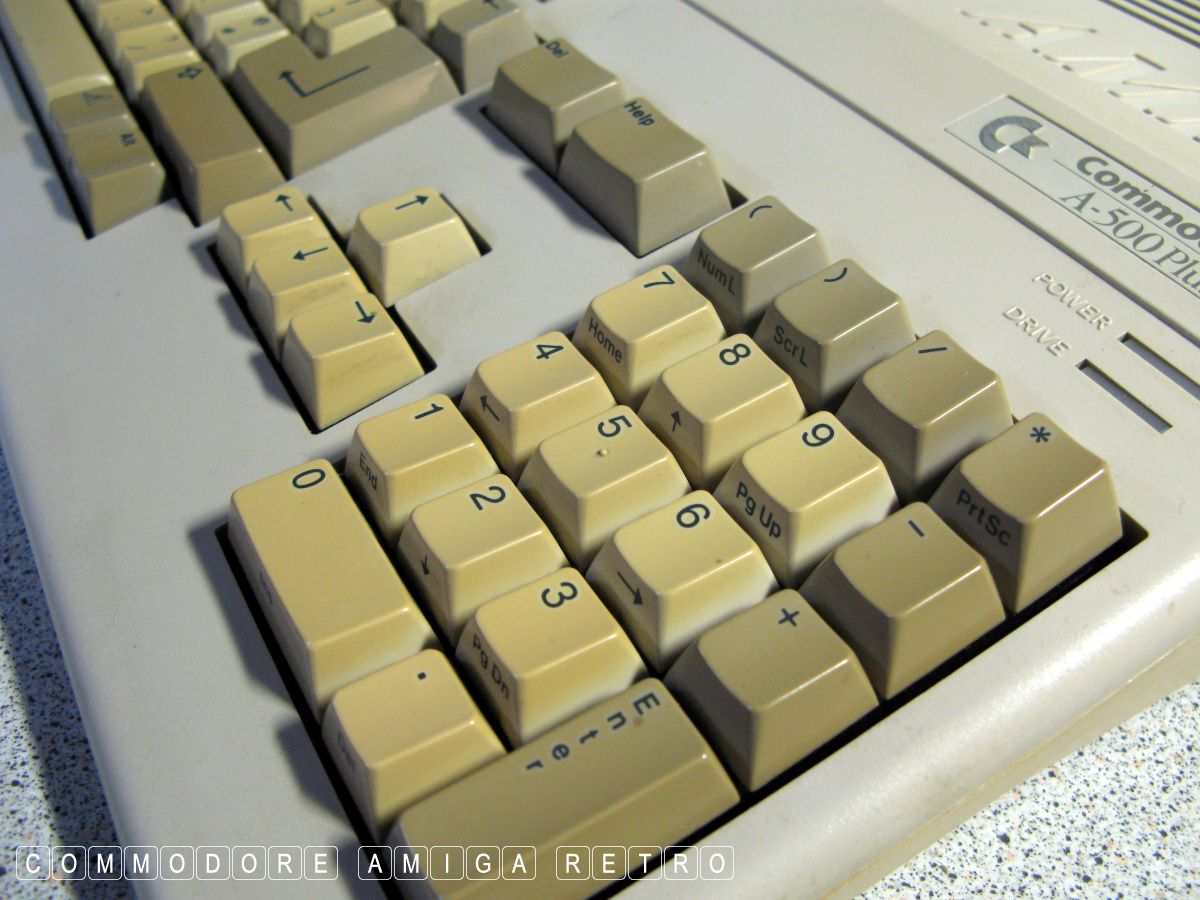
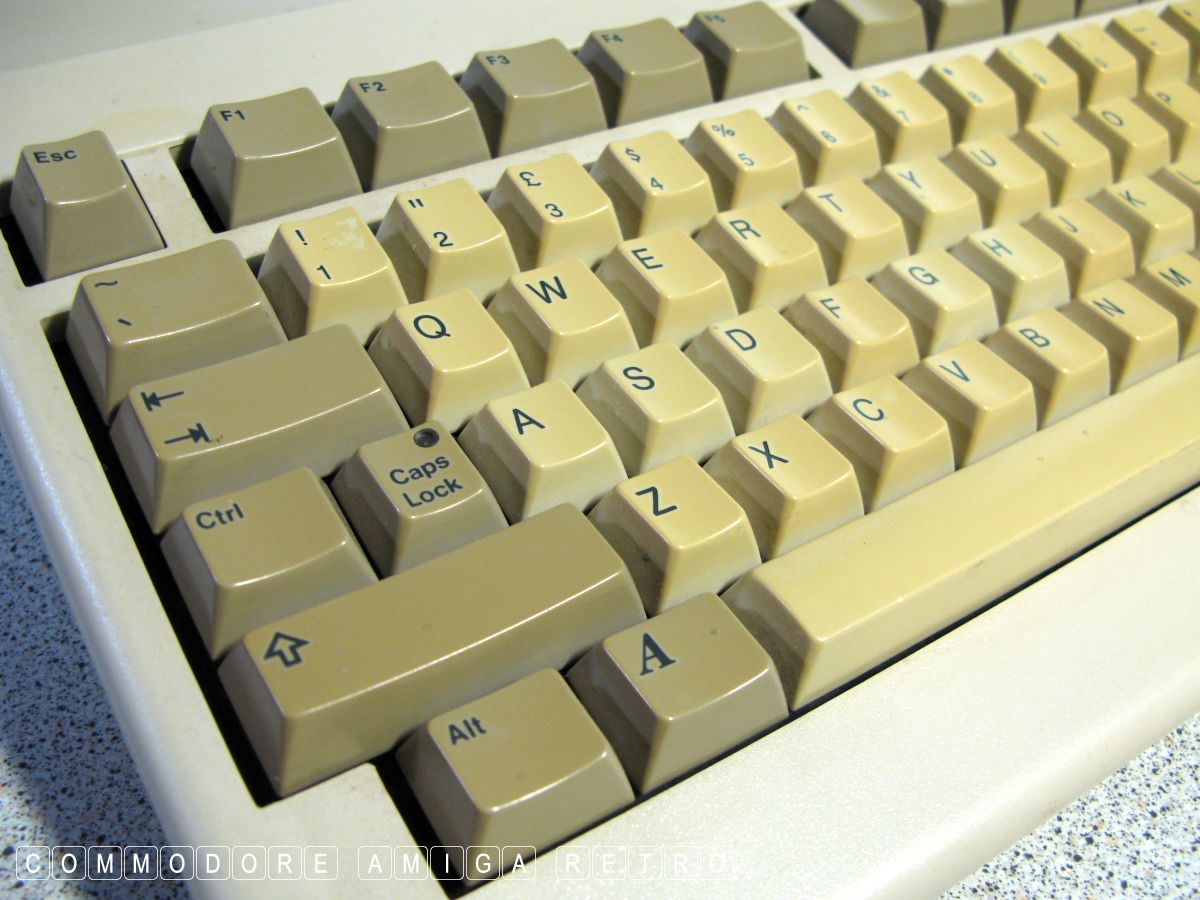
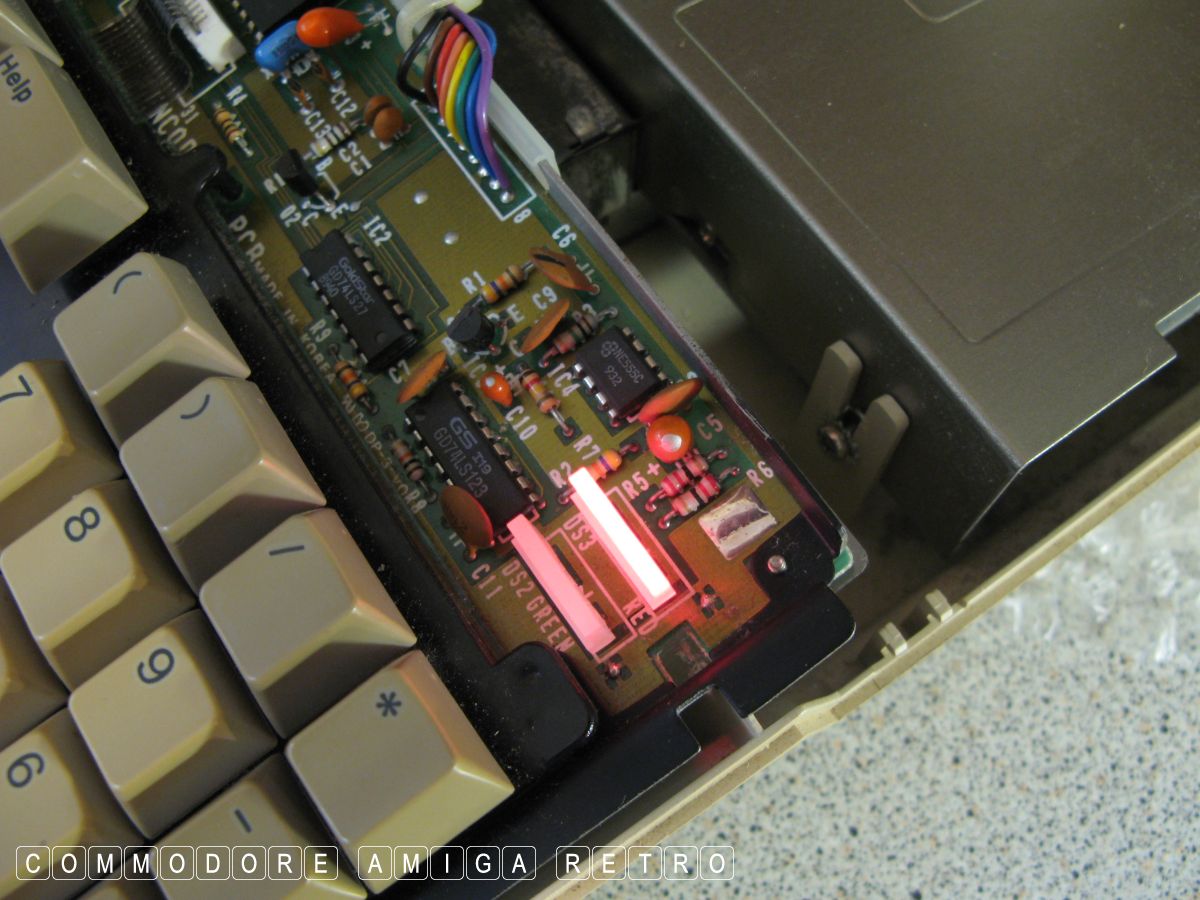
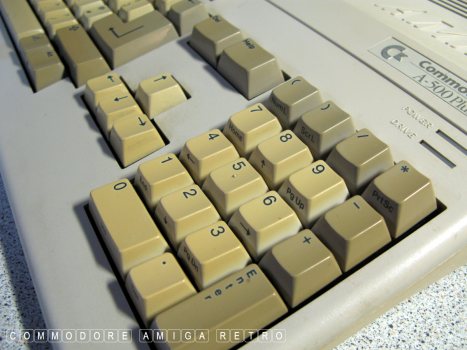
You may have noted the red LED to the keyboard. It's not only the
base that is 500 but also the keyboard. I swapped it over some
time back. This Plus has seen some heavy activity over the last
ten years and I certainly do like the ROM switcher and the ECS
plus the extra memory. Personally I have never had any issues with
the A500 Plus other than the dreaded battery. They wear very well
for their age and allow use of the grey Workbench out of the box.
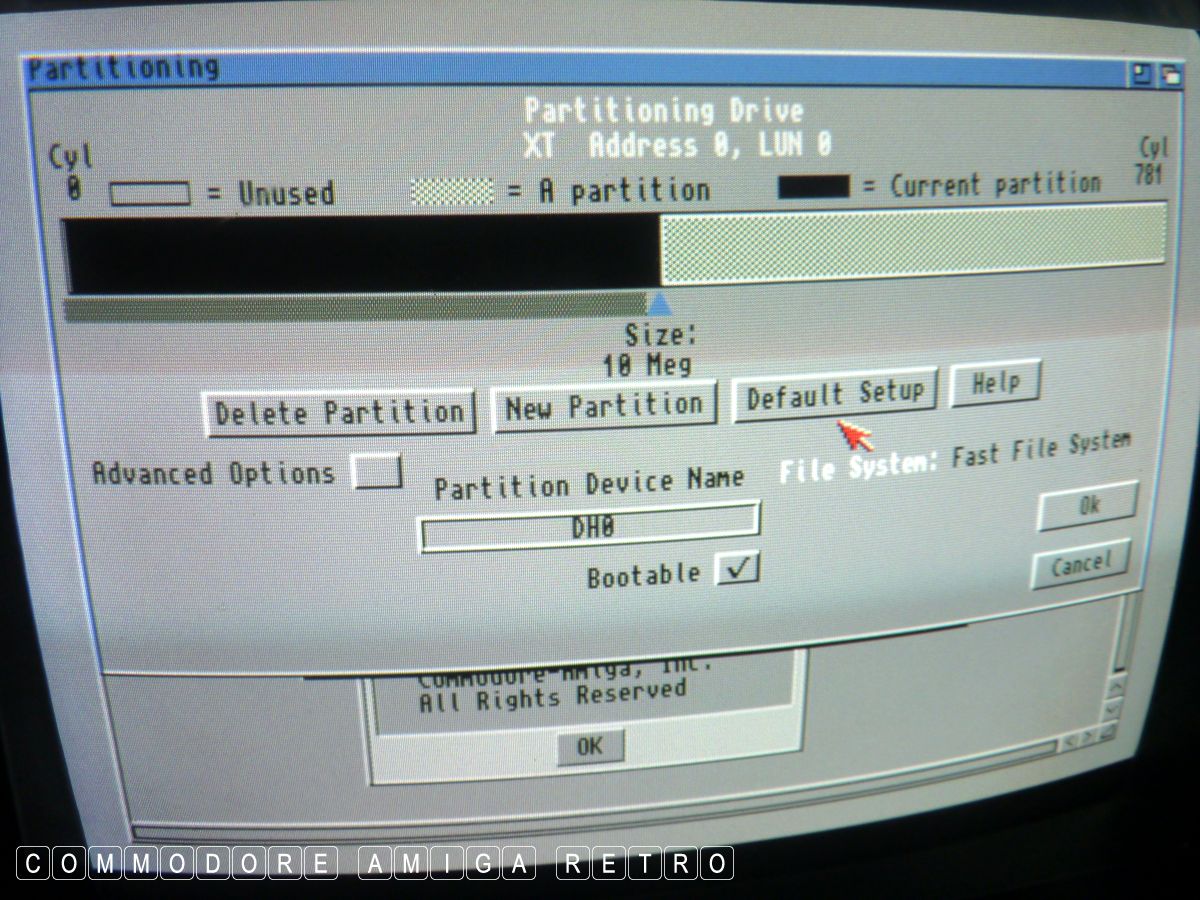
1.3 is truly crap in truth. It only has nostalgic use. The biggest
problem is the lack of hard drive controller and the very poor
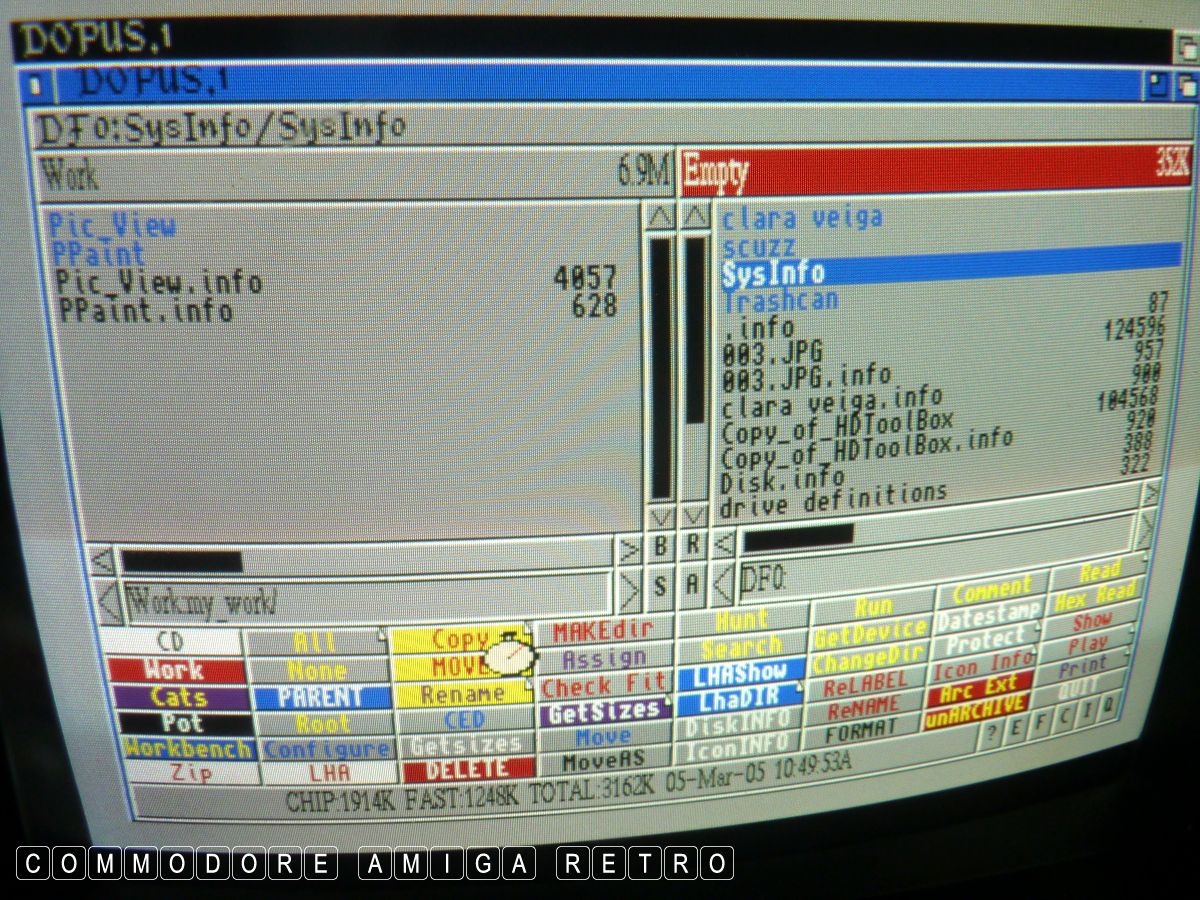
Workbench. You need to be able to show all files and have a good
HDToolbox and better install functionality.
Anyhoo all was well and I enjoyed checking the A500 Plus. After all
IT'S WHAT I DO. So forget the new gadgets and stay commando and be
a classic Amigan and keep the faith.
Amiga 500 Plus checking - It's what I do.


|