Graham - The Amiga hard drive specialist.
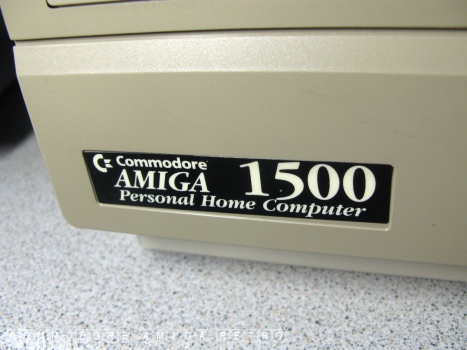
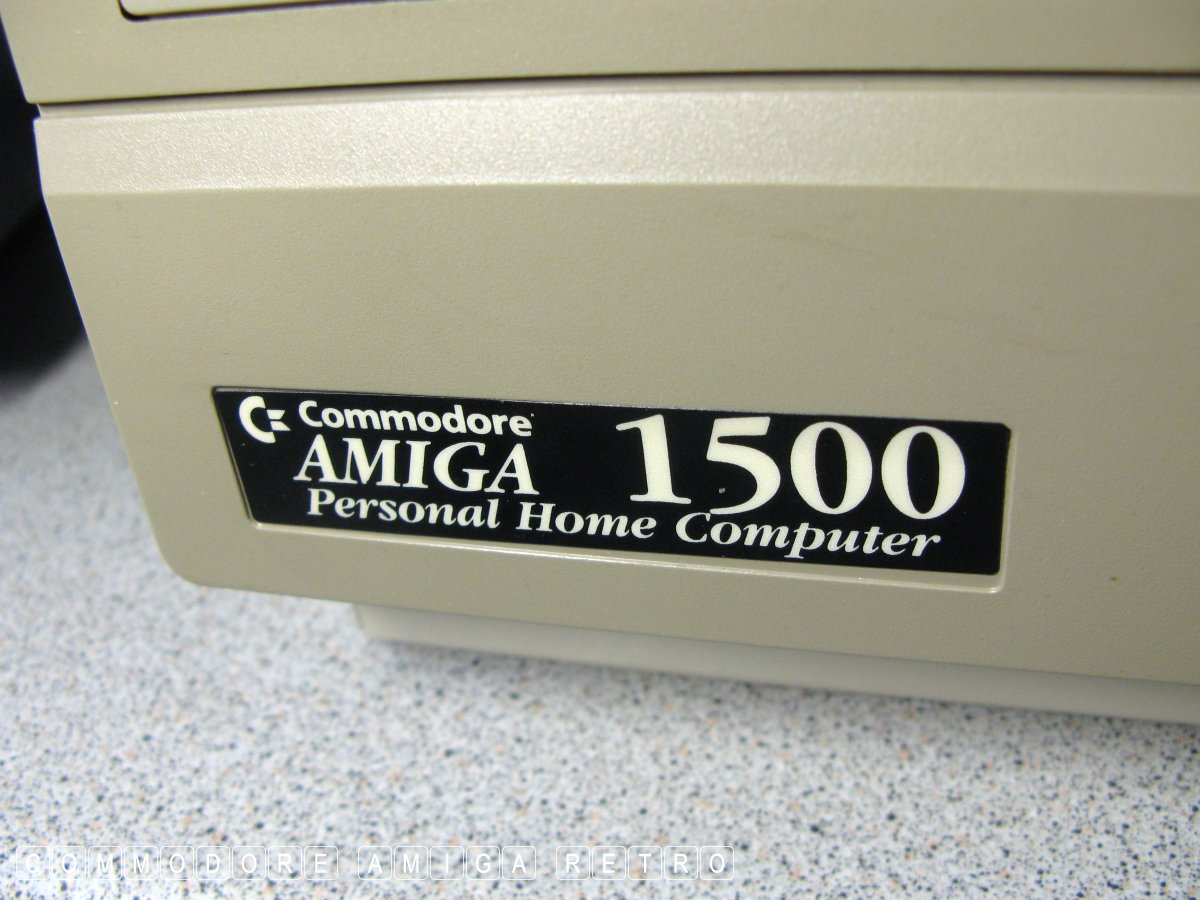
Meet Graham an A1200 in an A1500.

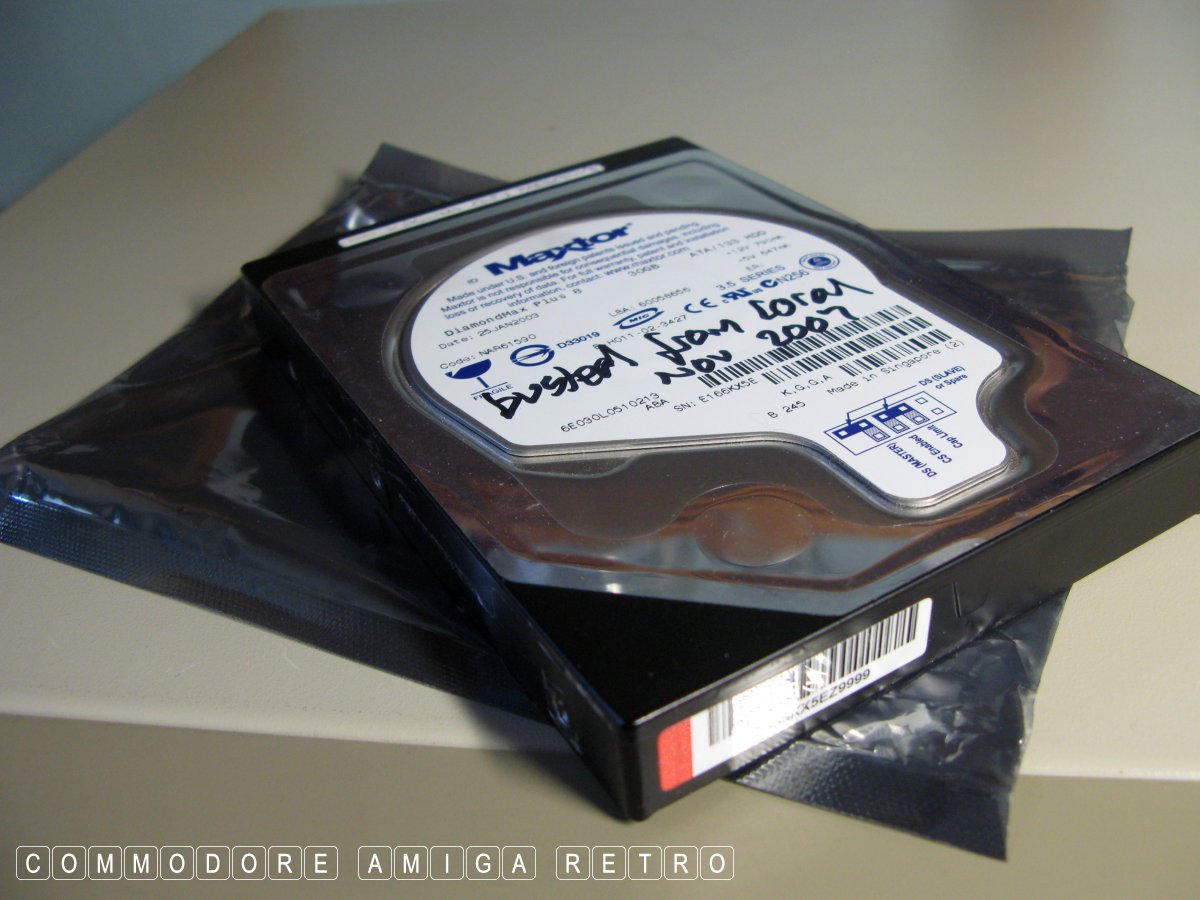
The broken hard drive from the PC.
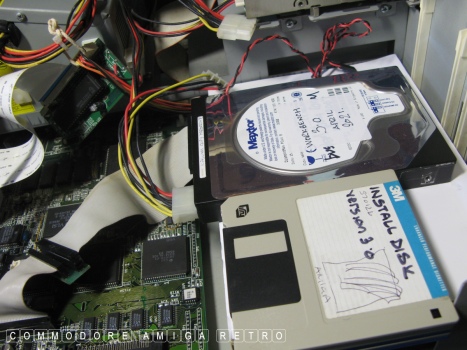
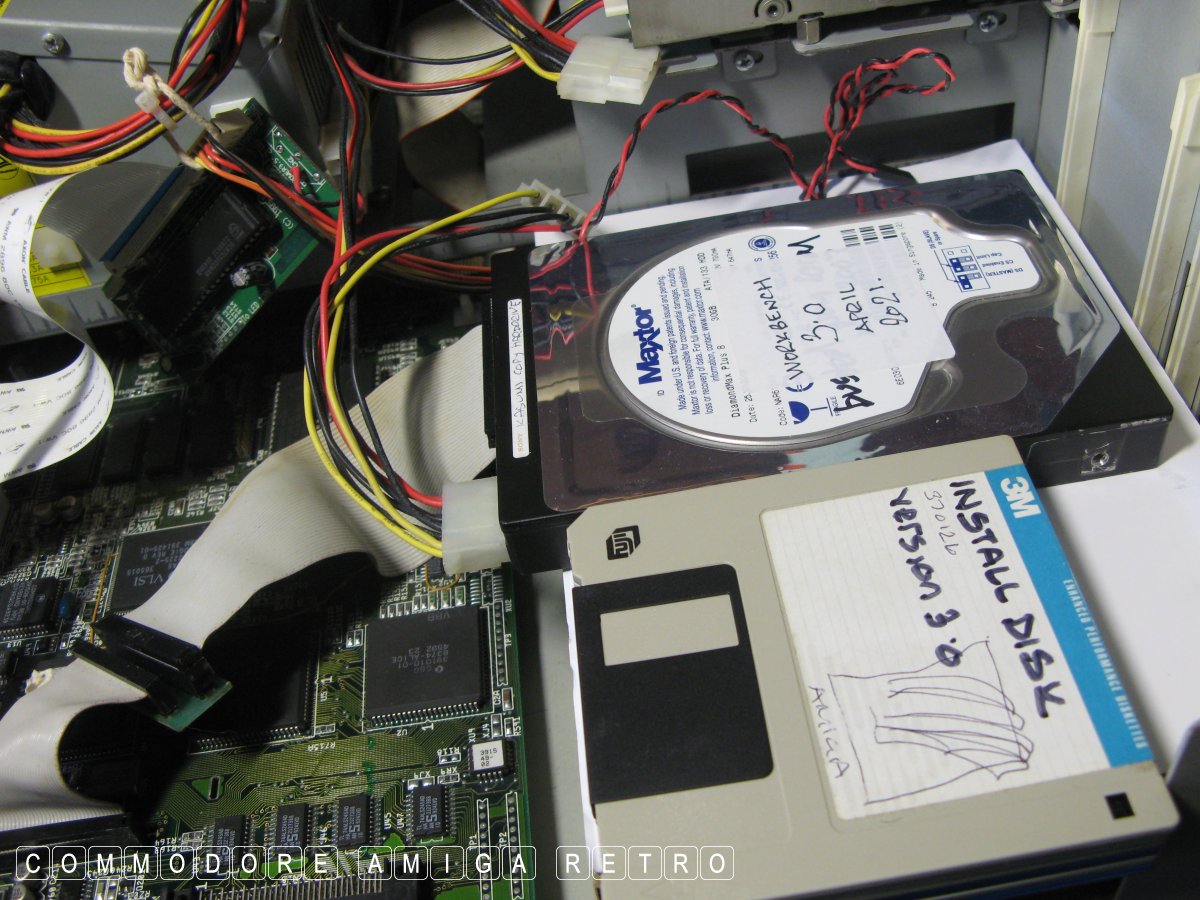
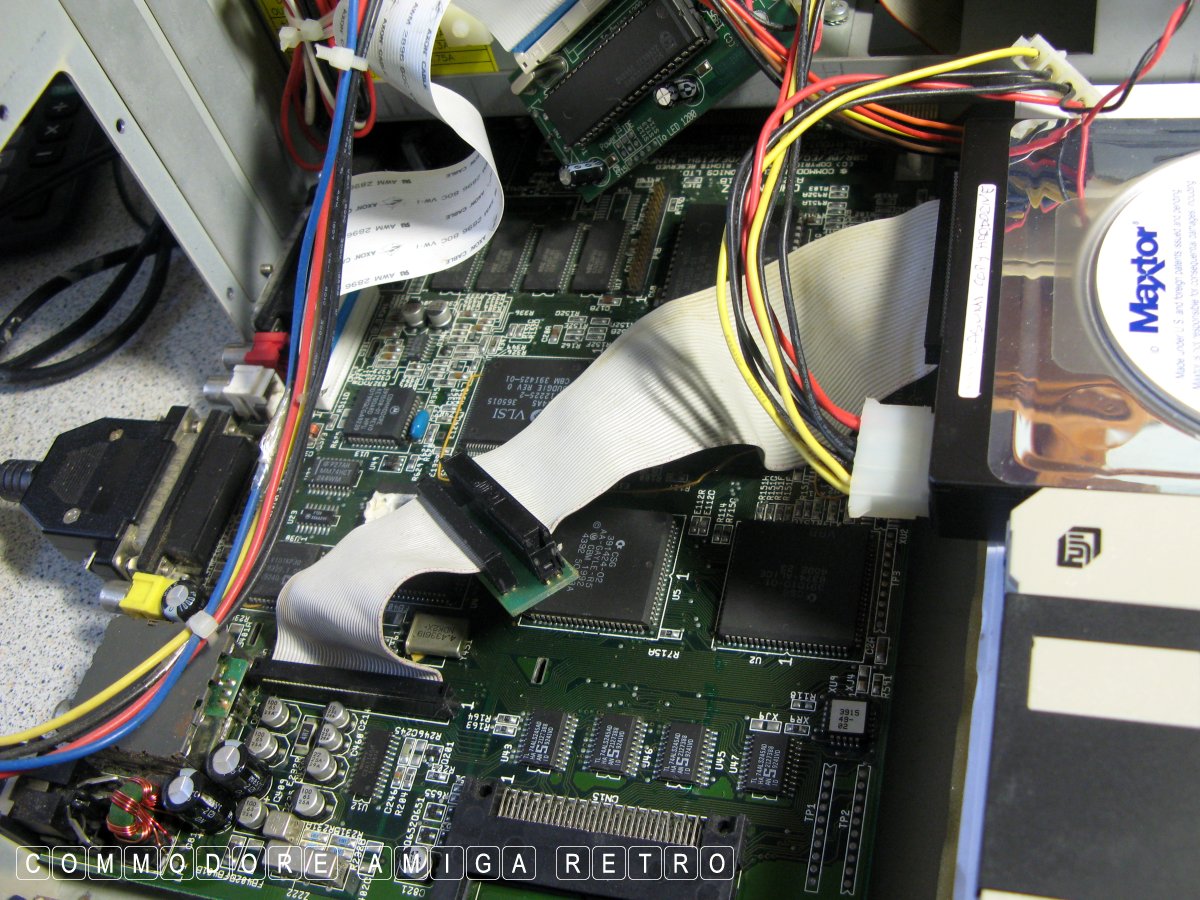
I sit the drive on the shelf and
connect to the buffered interface.
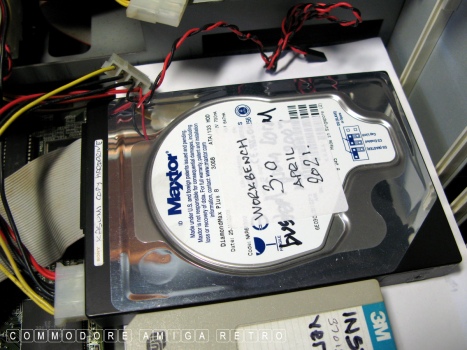
The drive I am working on can just
sit there. Quite safe.

Note the 1200 motherboard in the A1500.
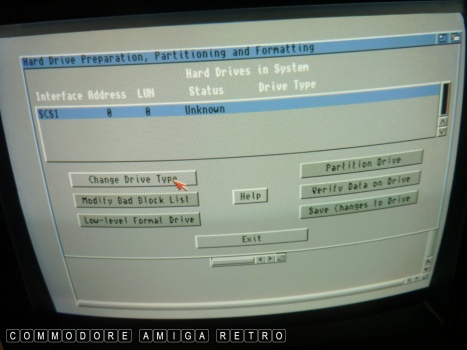
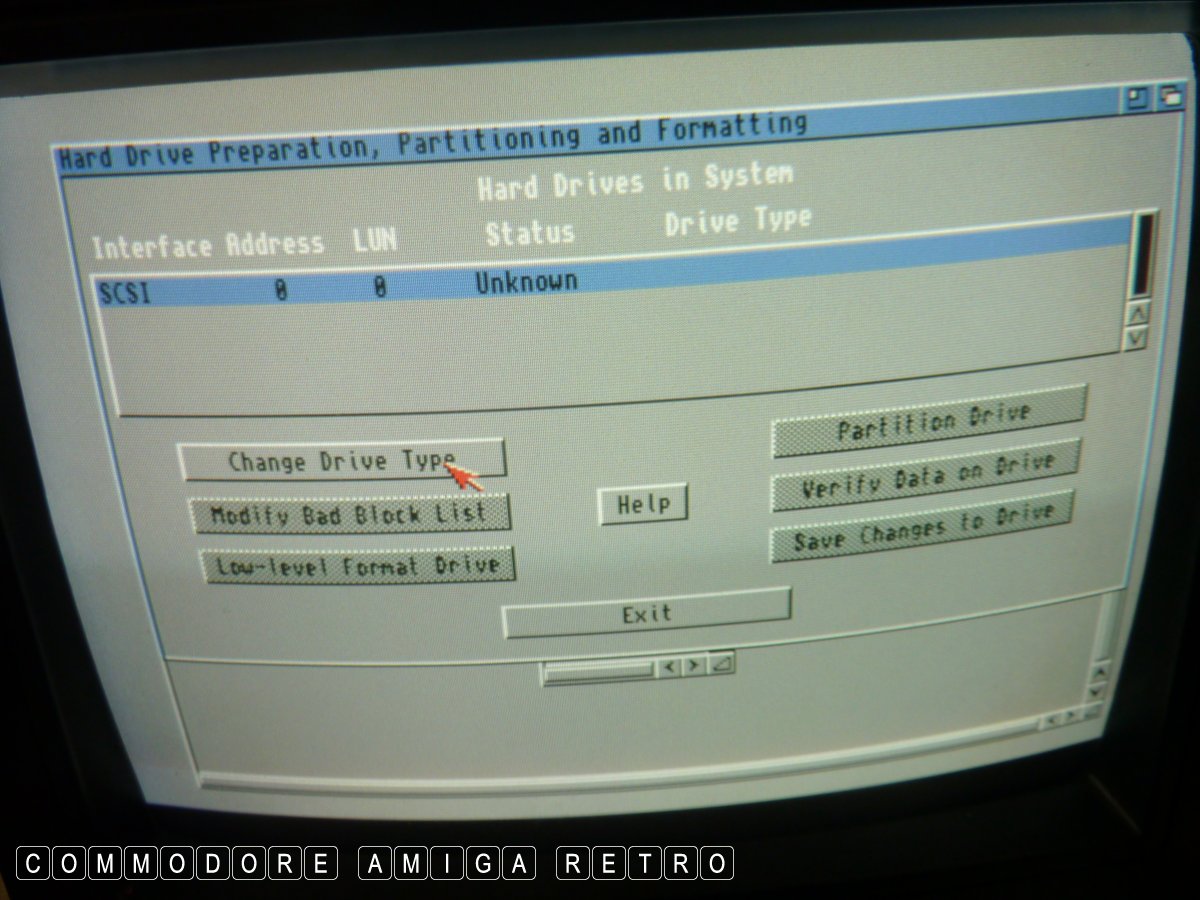
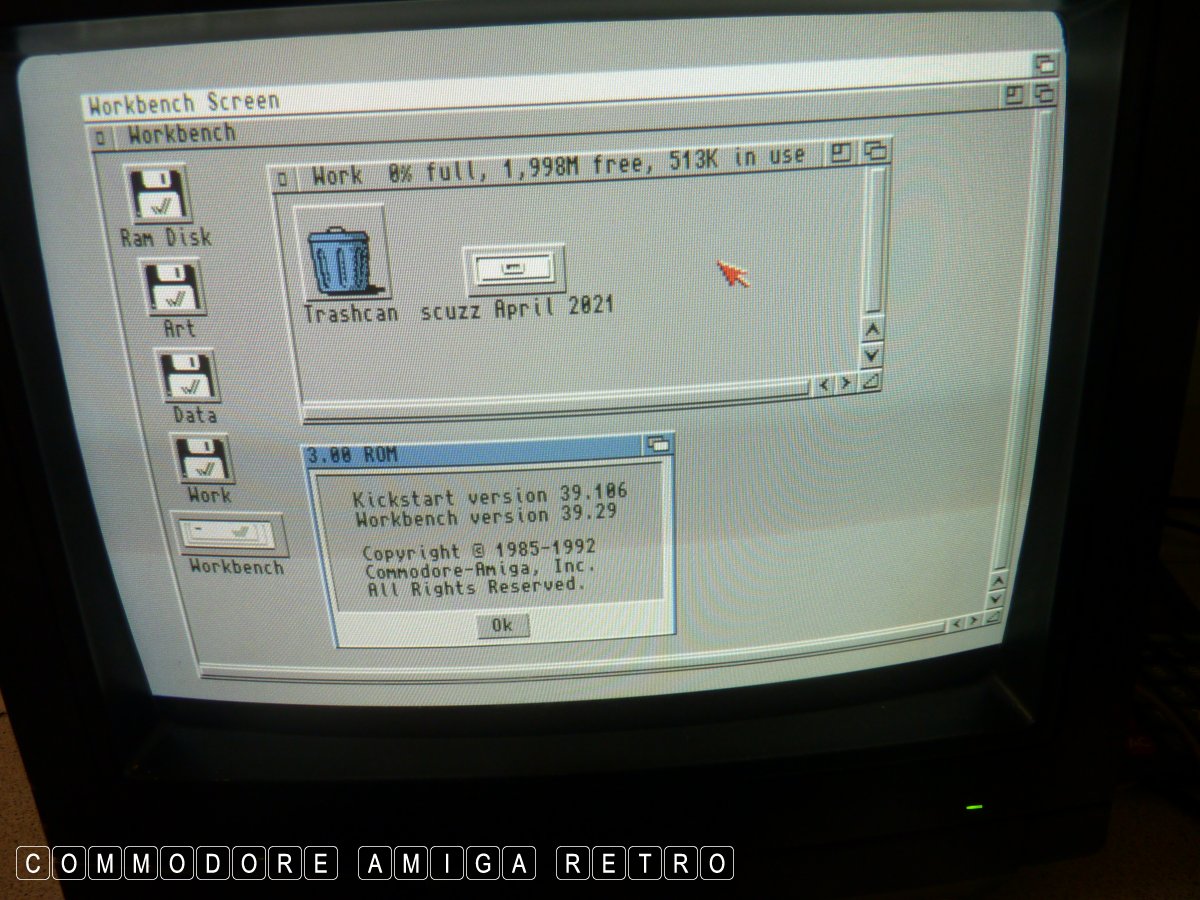
I boot the install disk and use HDToolBox.
The drive is not recognised.
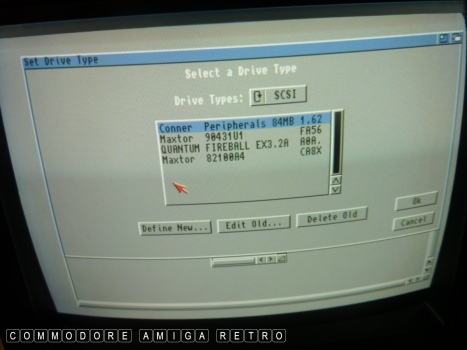
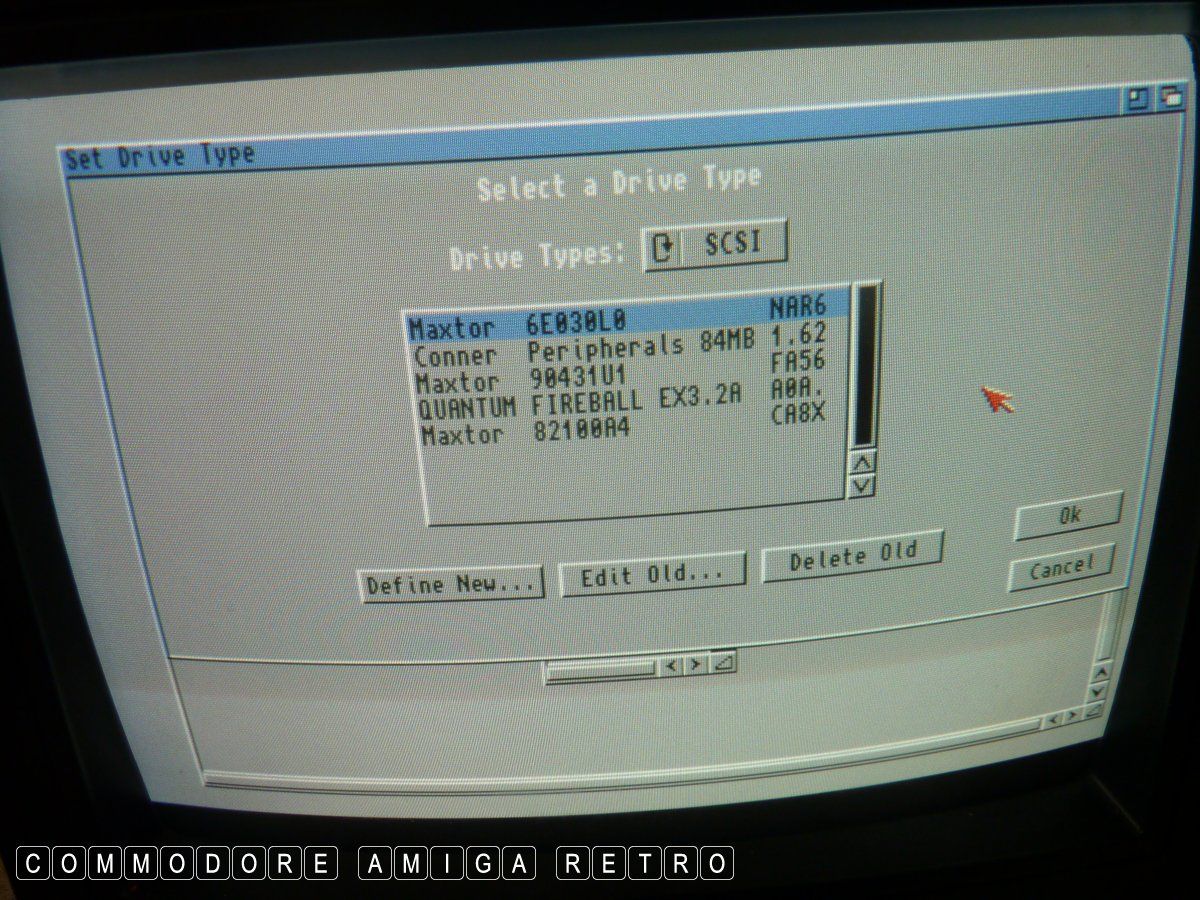
This is the list of previous drives
saved on the Install Disk. My drive
is not on the list.
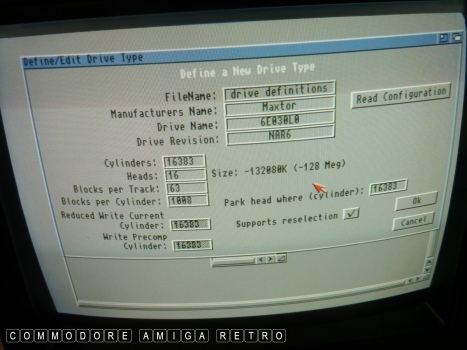
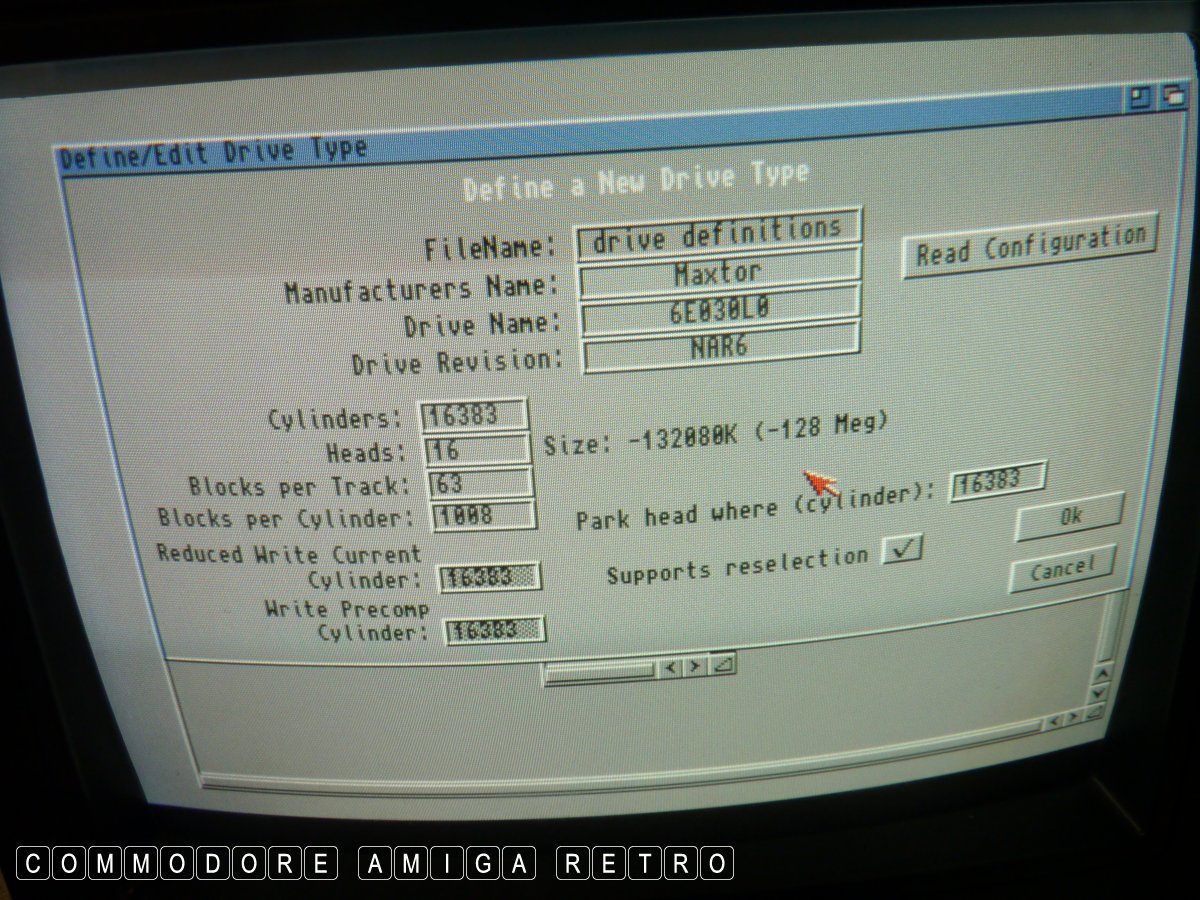
So I read the configuration from the disk.
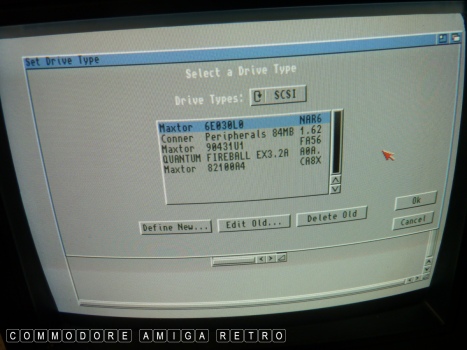
And now we have the Maxtor on the list.
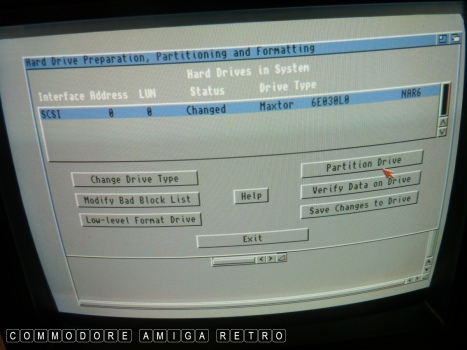
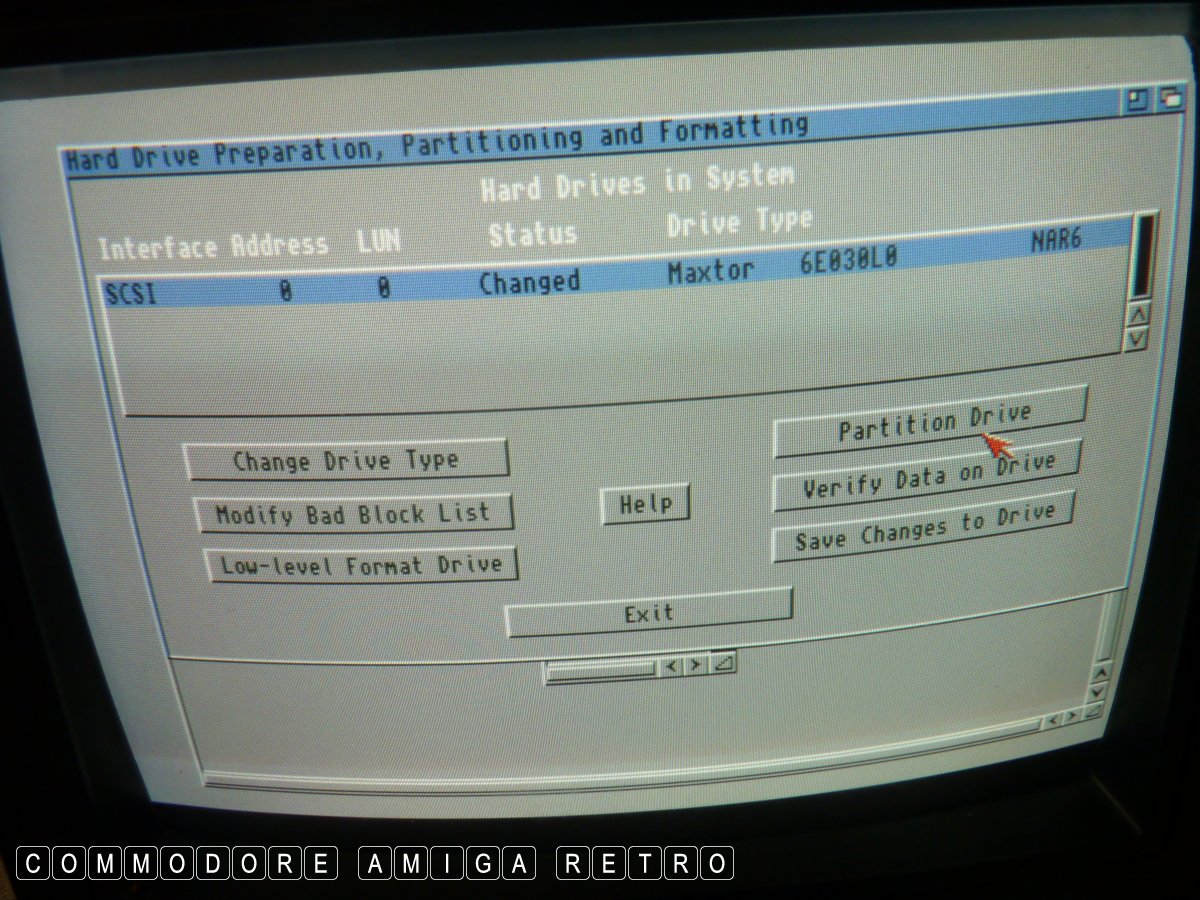
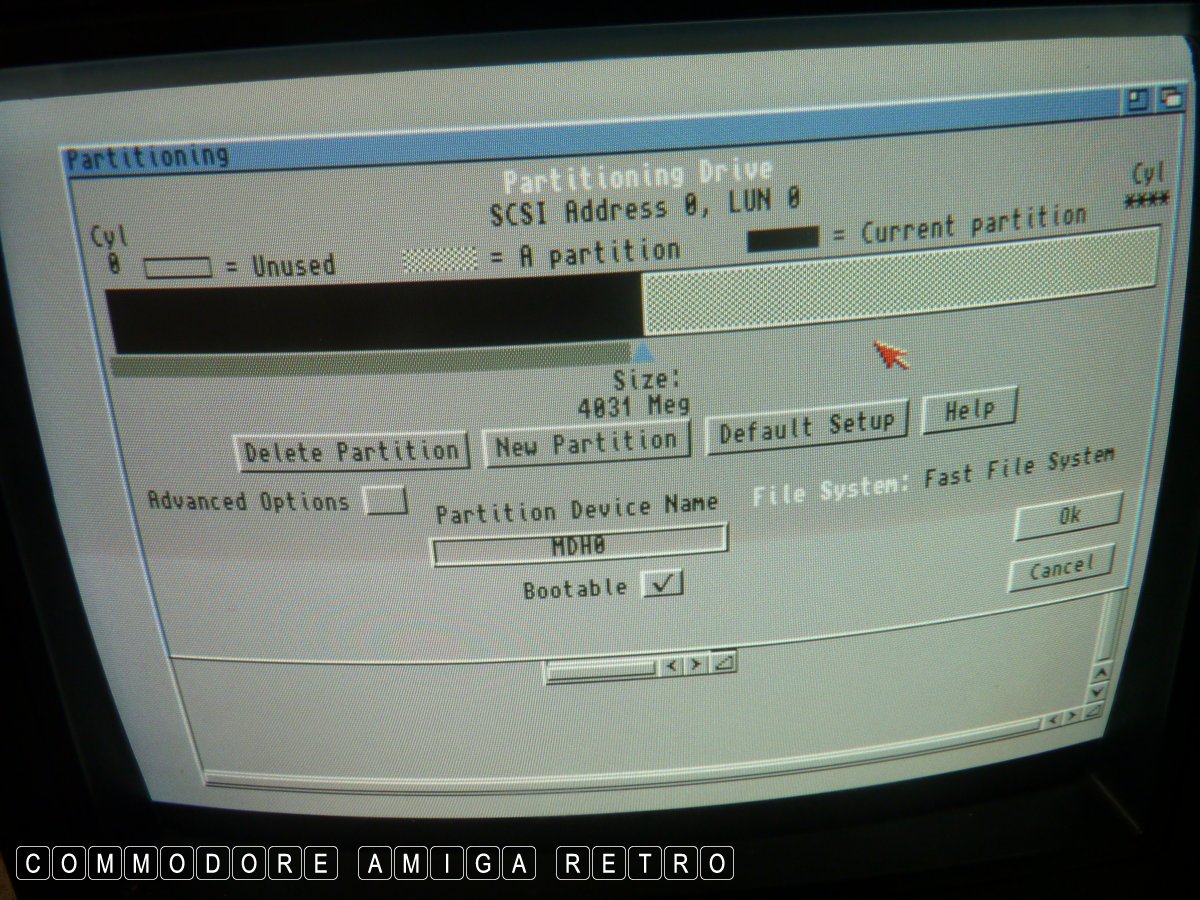
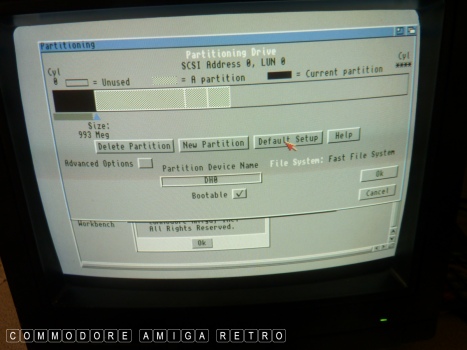
Click OK and there is the drive ready to partition.
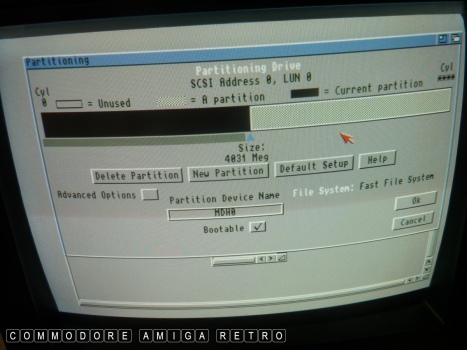
The HDToolBox defaults to two 4.GB drives.
This is the largest that the Amiga can see.

So we DELETE the second partition and
work with just 4GB. Very important to
ensure that the second partition is empty.
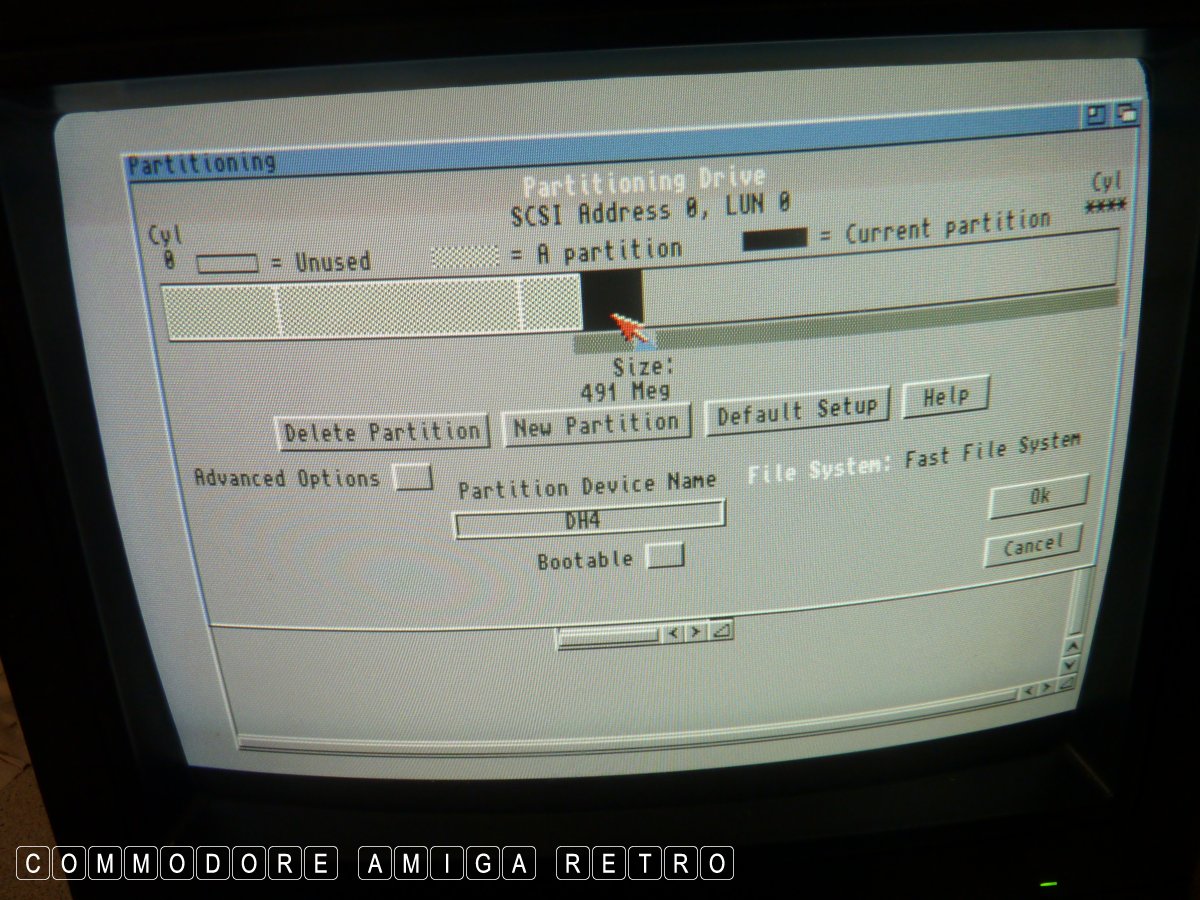
So create a series of partitions that
add up in total to just 4GB and no more.

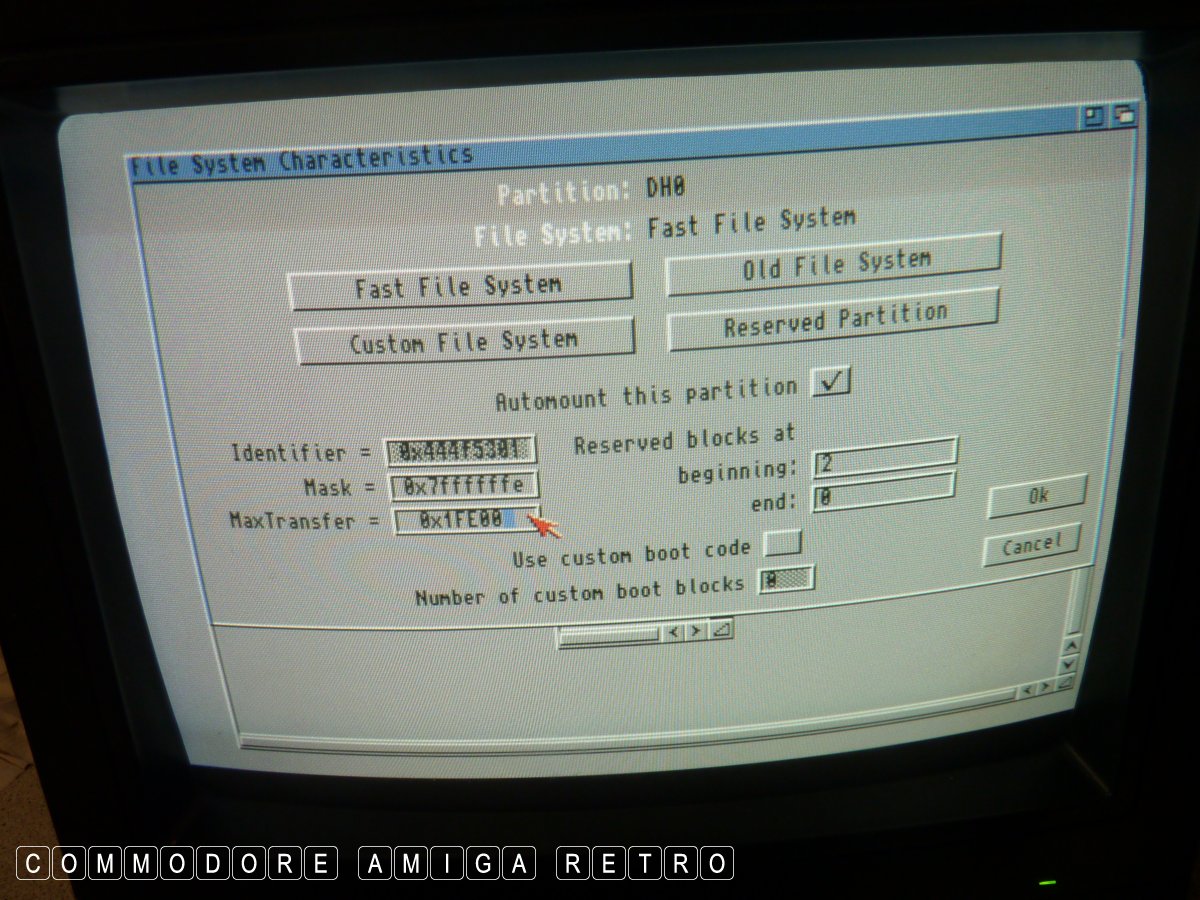
Next click Advanced Options and set the
MaxTransfer to 0x1FE00 and press RETURN .. twice.
You must press RETURN before saying OK or you
will not save the settings.
The MaxTransfer has to be changed or you will
not be able to copy whole Amiga disks to the
drive. They will become corrupt. Trust me.

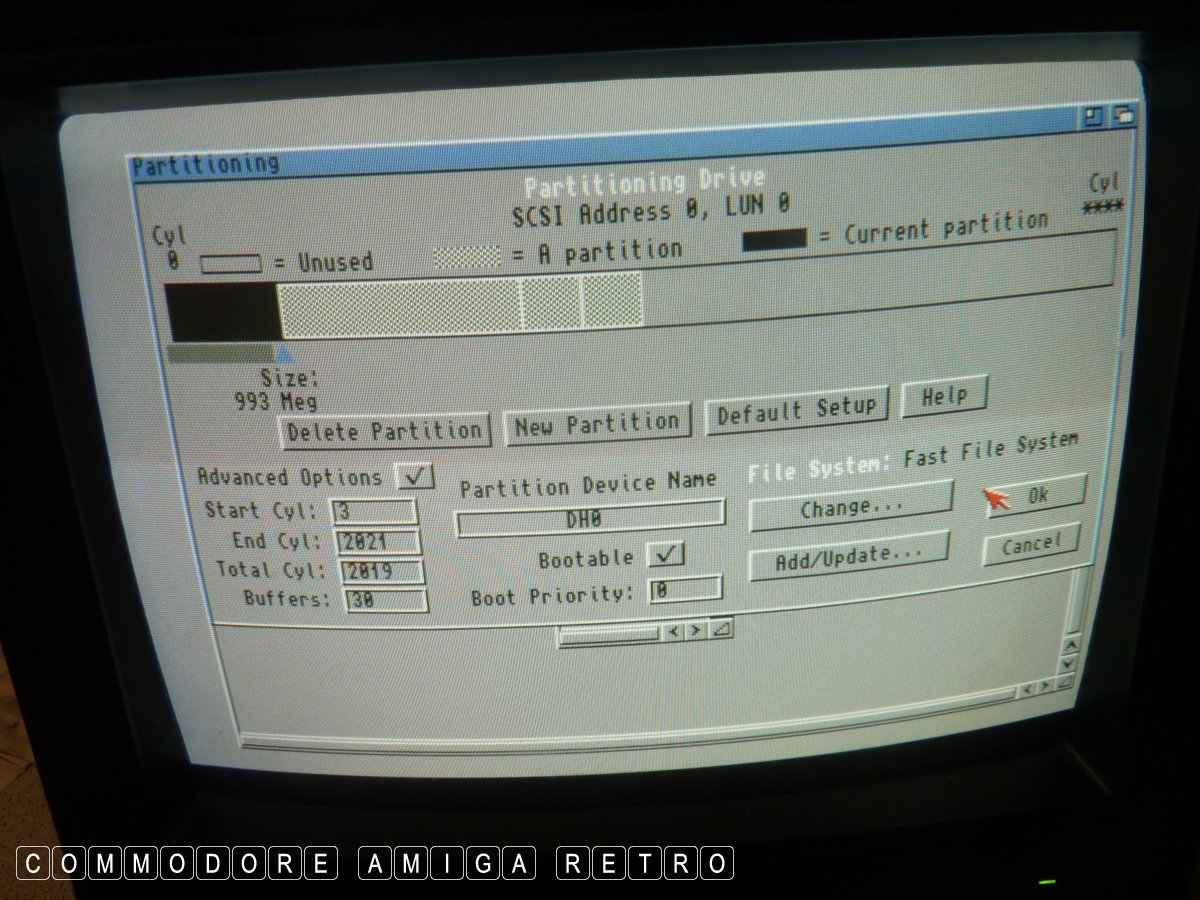
Make sure the drives are still all as they
should be. That empty partition can sometimes
be problematic.
Make sure the partition you are going to use
for Workbench DH0 is 'Bootable'. Only this
partition needs to be bootable.

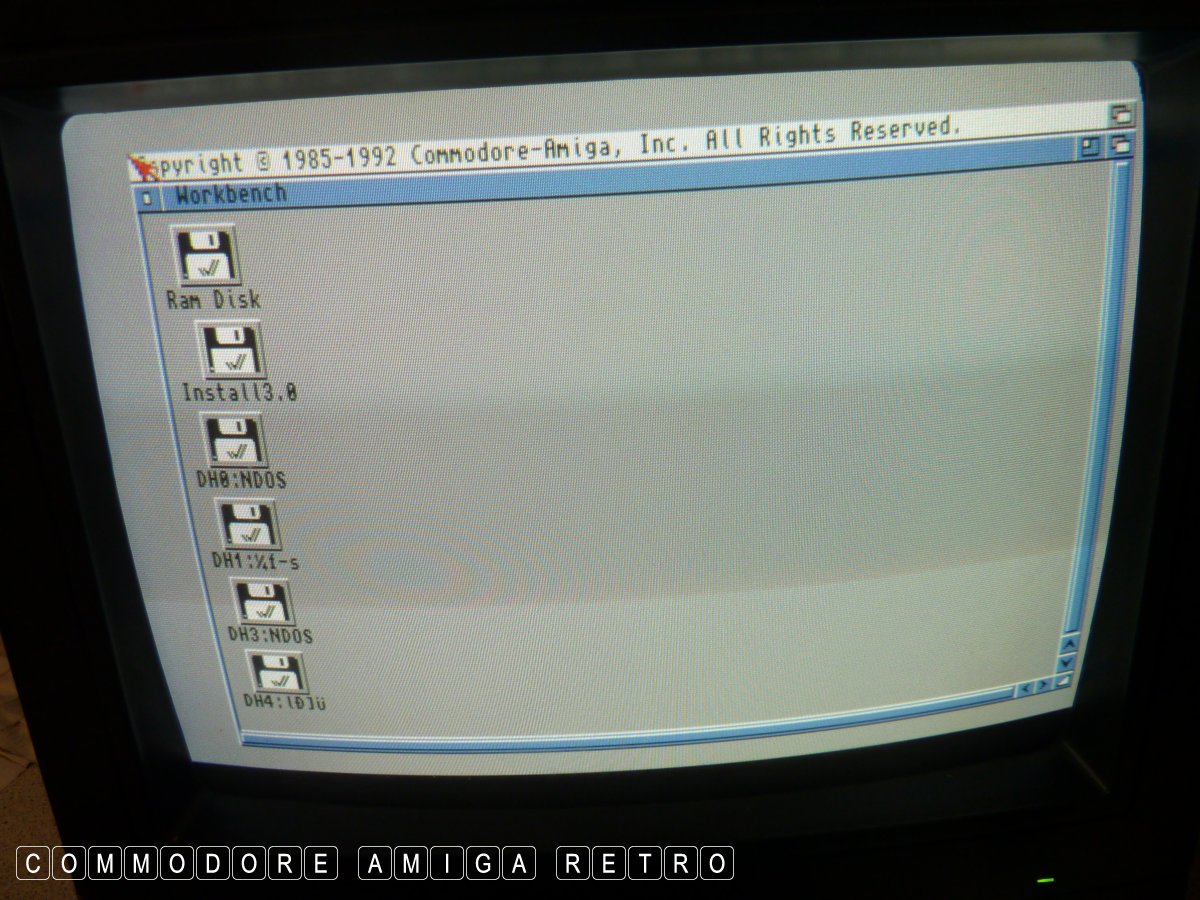
The system will reboot and load using the
Install Disk again... You should see the
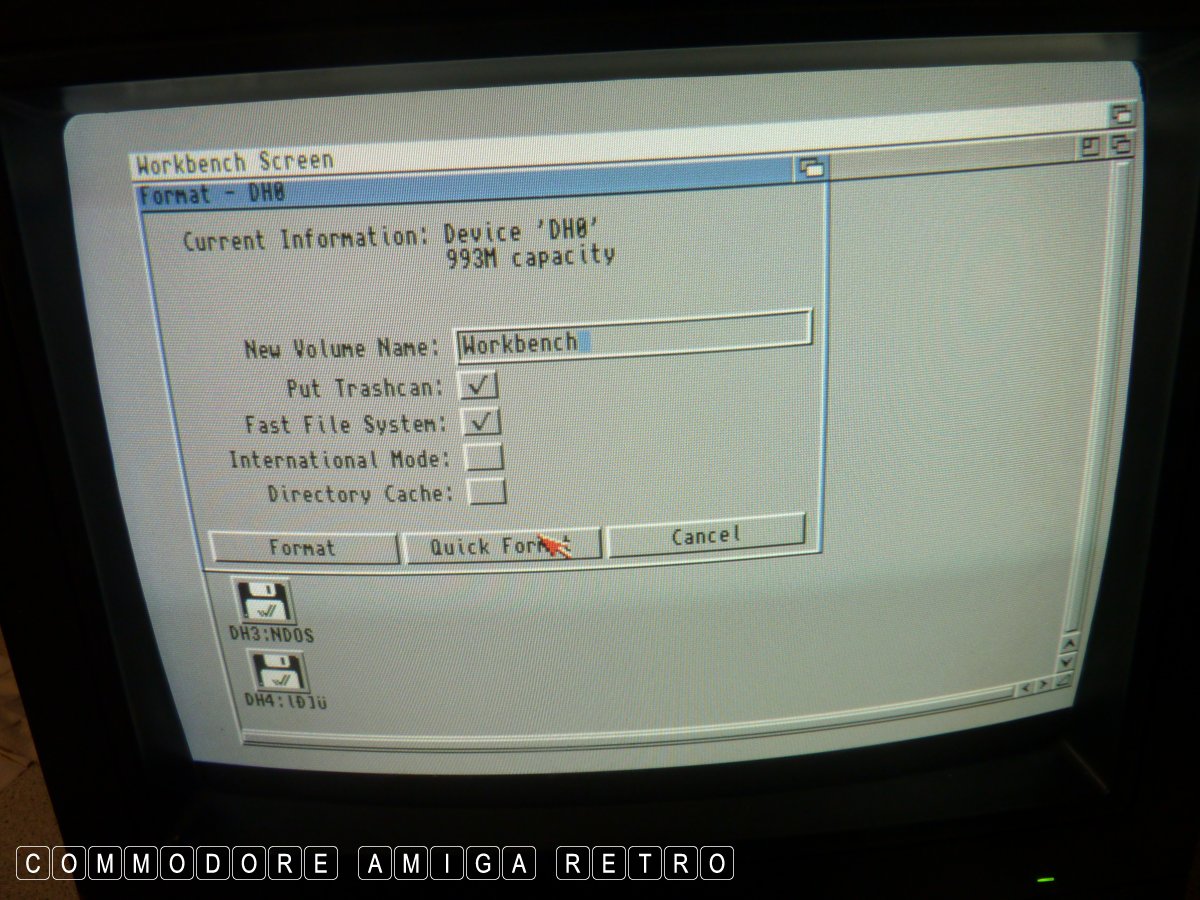
new partitions with garbled names.
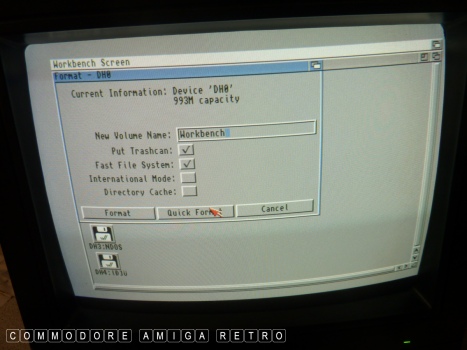
VERY IMPORTANT: Only ever 'Quick Format' drives.
If you full format the partitions will wrap
around and you will lose them.
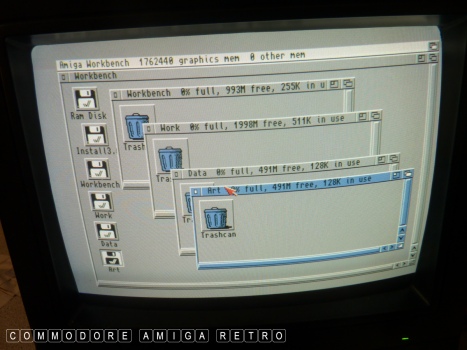
Name the partitions what you want.
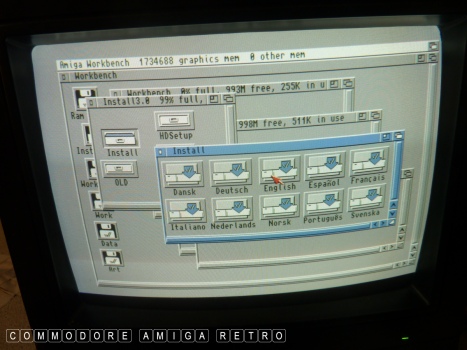
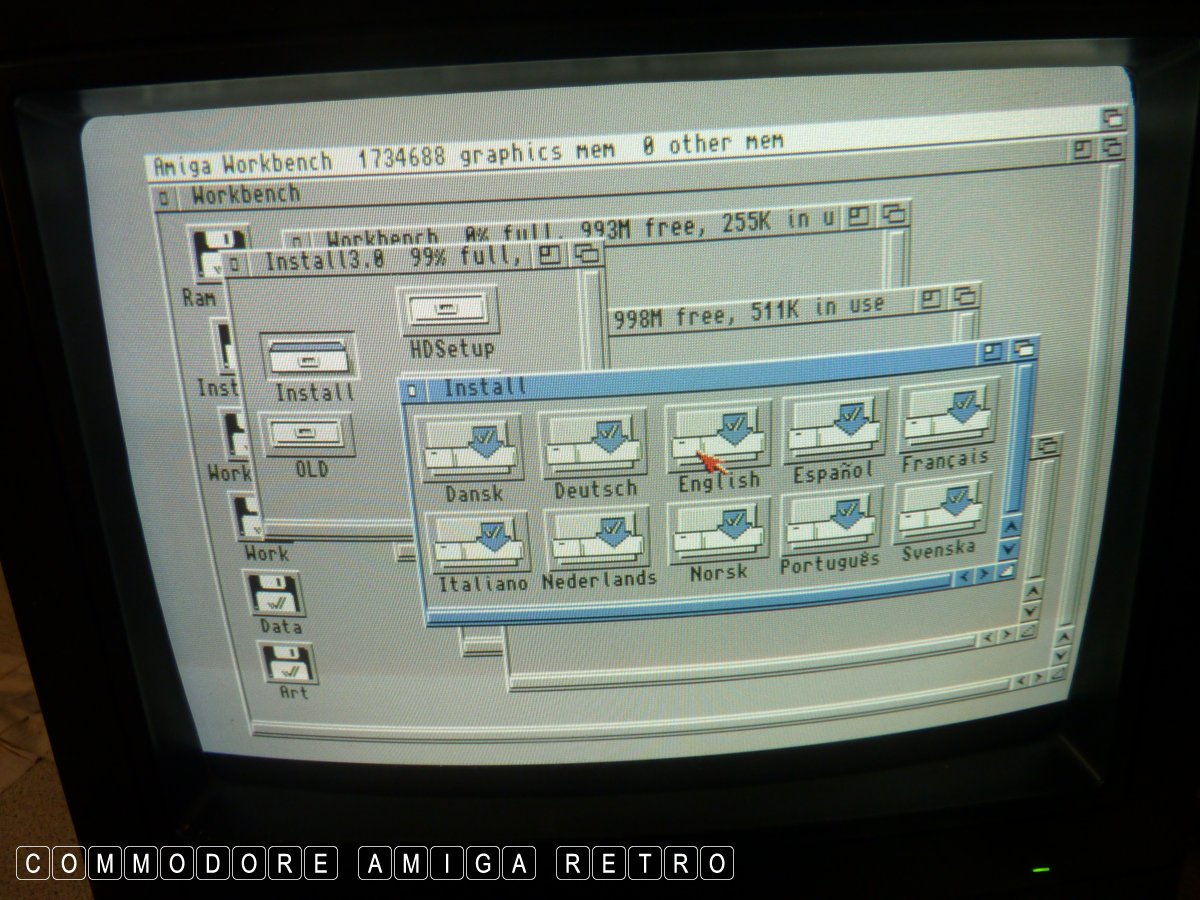
Next up use the Install disk to install
the desired Workbench. I use WB 3.0.
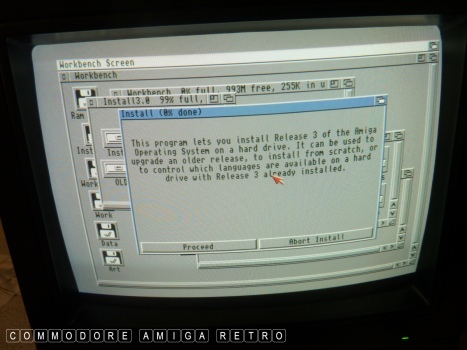
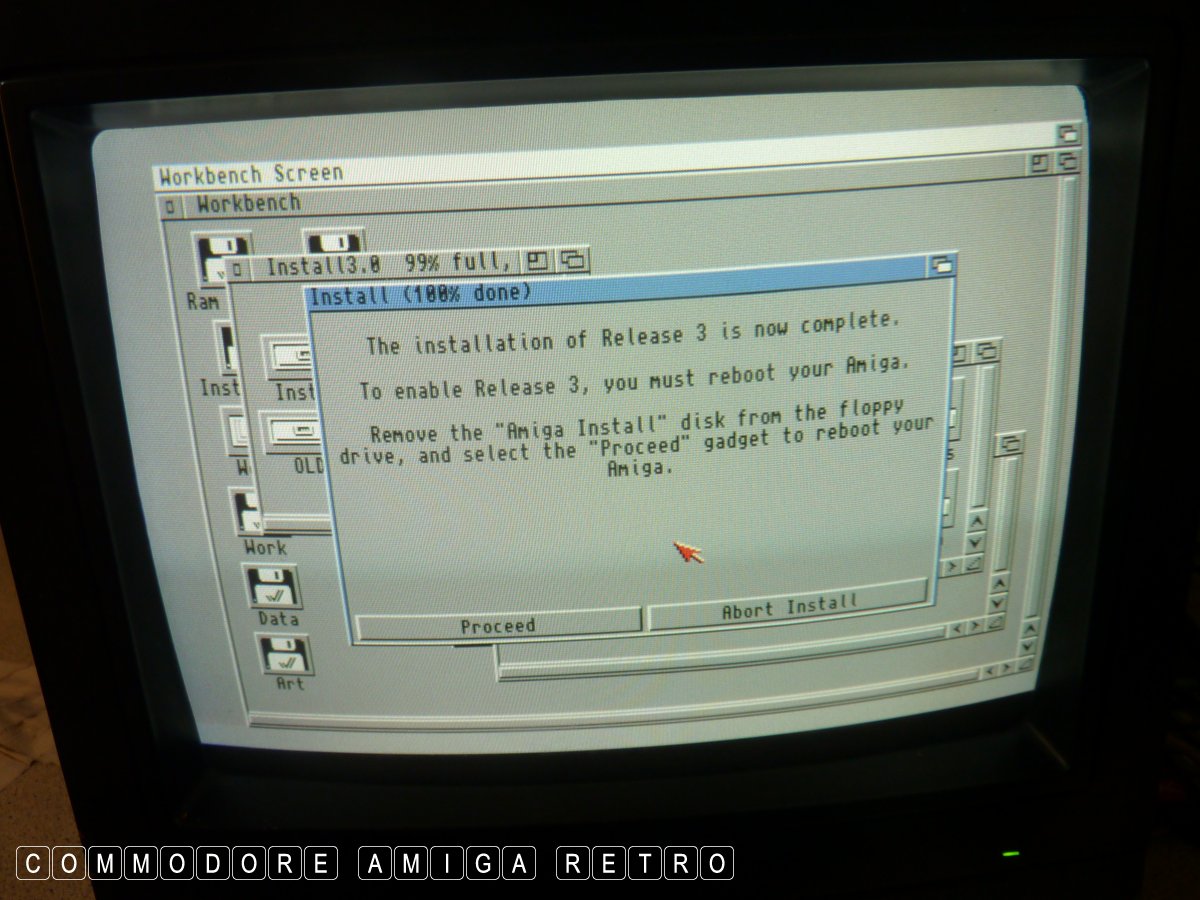
Follow the prompts.
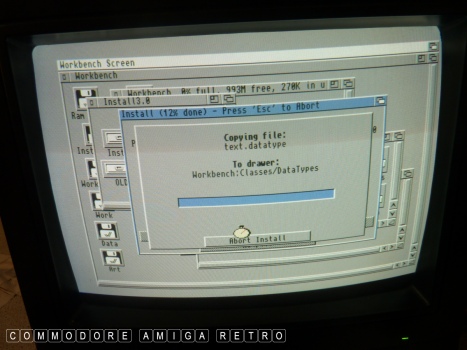
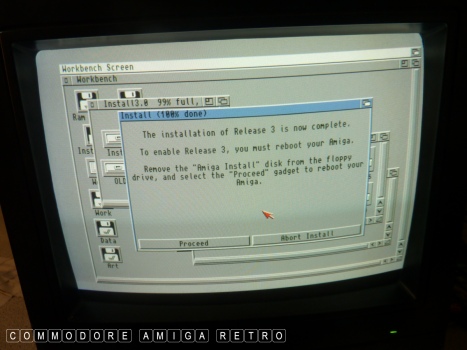
And there you go ... ALL DONE
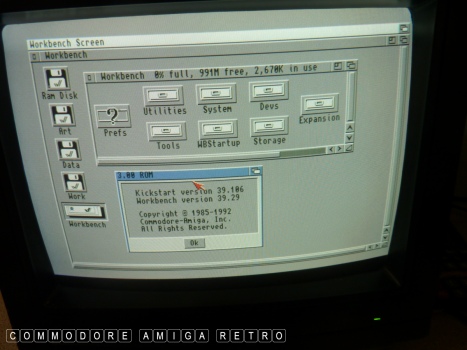
Remove the Install disk and reboot.
Then check HDToolBox in your Tools
drawer on the drive and make sure
all your partitions are OK.

Finished. I can now remove the drive and
use on any Amiga with an IDE 3.5" interface
and a suitable ROM.
Easy peasy !! Graham goes back into store.