Day Four
Replacing the floppy drive..
Remember to earth yourself... very important
And never work with the power connected to the Amiga..doh !
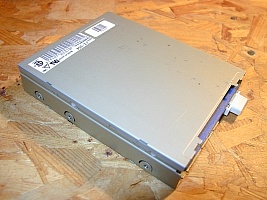
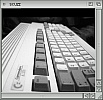
I obtained this replacement DD floppy drive from AmigaDeals.
First thing I checked was the mechanical operation, by
inserting a floppy and ejecting it. The drive workedjust fine.
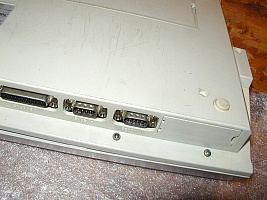
Next I put down a protective sheet on the workbench to
avoid damaging the A1200 keyboard and unscrewed the case.
Having removed the three screws from the front bottom edge
and two from the sides, I removed the screws shown in the
picture to the floppy casing. These screws have a different
thread to the others so put in seperate place.
Carefully open the case and lean the top section against an
upright restraint to the rear. There is good reason for this
The next item you will lift is the keyboard which slots in at
the front edge. This needs to be supported perpendicular to the
A1200 as the small green keyboard connector can come out if laid
fully back. The keyboard connector is quite simple to fit back
into its white plastic sheath, but for this exercise. I would avoid
removing it.
Did you note the small wires to the LED display which I replaced
last time around. Quite simple to unscrew and remove connector
from adjacent the floppy power connector, but as with the keyboard
leave the LED in place for now
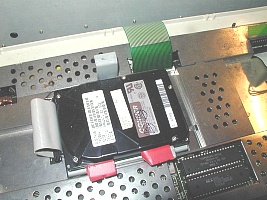
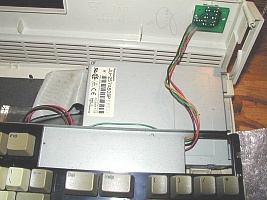
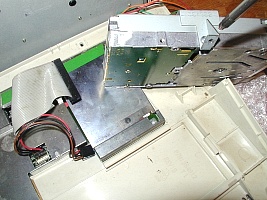
Three components of note are revealed by lifting the keyboard
The keyboard green ribbon connector at the top of picture, the
small 2.5" IDE hard-drive in its cradle, and the 3.0 ROMS ( the two
black chips you can see protruding through the sheathing ).
Each of these components can be removed without fully lifting
the shielding to the Motherboard. The ROM removal can be tricky
but thats another story.... and not for today
Note the small strips of red insulating tape on the cradle
There may have been problems here with shorting between the
cradle and the keyboard.. quite a common problem
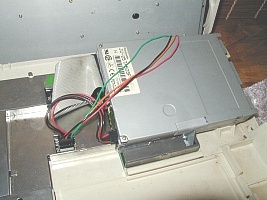
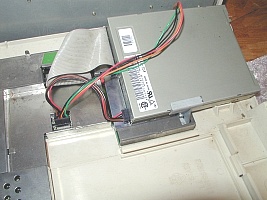
Next we turn to the floppy removal. Note the cable connectors
and the way they fit. Its often useful to photograph the whole
procedure as I have, if you have a digital camera
The cable to remove first is the outer connector adjacent
the connector to the motherboard floppy power supply which
runs to the LED display. Be very careful with the LED wires
as they are very thin.
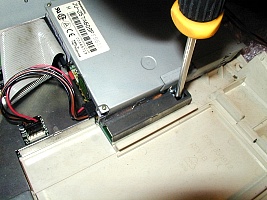
Note the small bracket clamping the floppy in place, this is the
last fixing you need to unscrew. Carefully unscrew the bracket and
then remove the bracket fully from the floppy drive. Be careful
not to drop the screws into the casing.
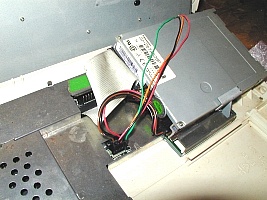
Carefully pull out the ribbon connector and power cable
from the floppy and remember which way round they fitted
They really will only go back one way.
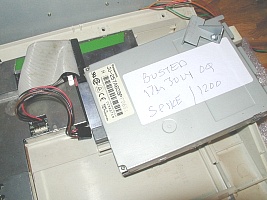
Always mark your broken kit with labels, but never throw
away. You never know when your gonna need bits from it
Note the small bracket which you now need to fix to your
replacement floppy drive
And then simply reverse the procedure and you will have
replaced the DD floppy in your machine.
Having reconnected the computer back together test the
drive by formatting a disk as this is a real killer test
that will instantly tell if the drive is OK. In my case
it worked just fine.
It is interesting to to see how many computer systems are
junked because of a failed floppy drive. Honestly, as you
can see they are the easiest thing on the planet to replace
 Wanna know what to do with it ?